
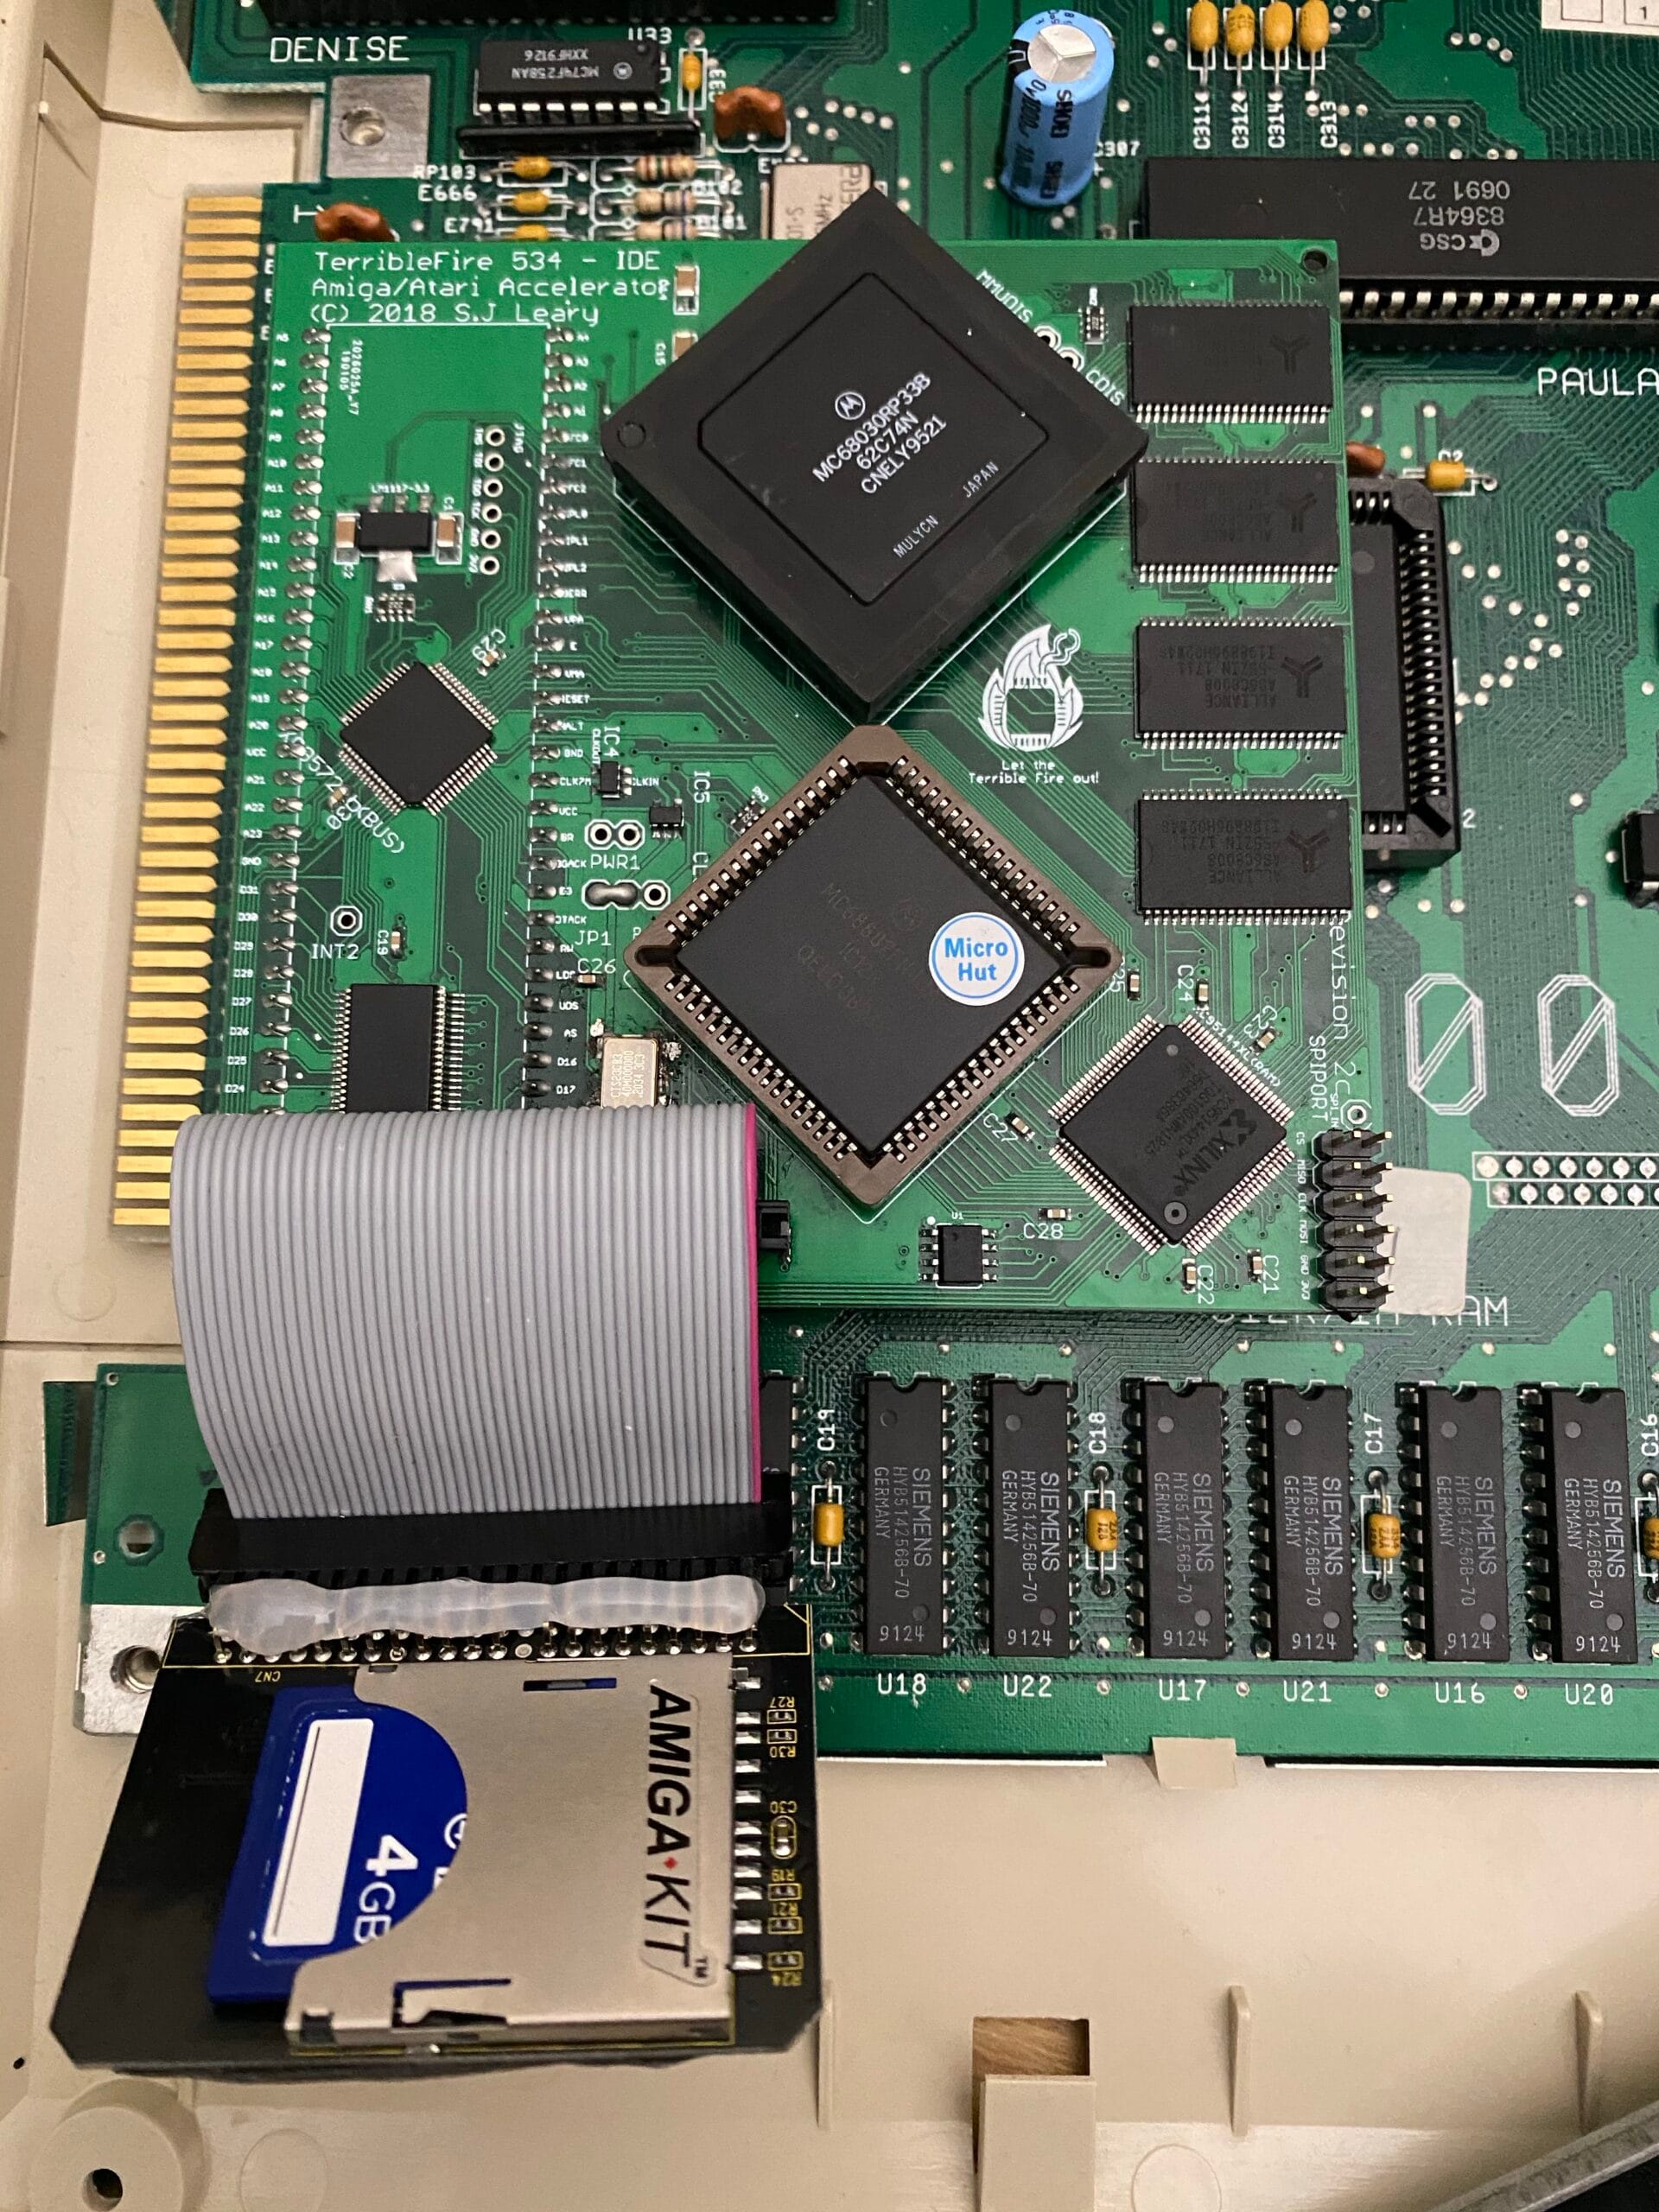
In my previous post I mentioned that I acquired and repaired a faulty TF534 accelerator. Over the past couple of weeks I have been upgrading the card and the Amiga around it. This is where I am at now.
Amiga OS
Unfortunately within the Amiga community there is a small battle going on as to who owns certain rights over the original Kickstart and Workbench parts that make up the Amiga OS. It has been difficult as someone who is semi-new to this to figure out which way to go. I ended up buying Amiga OS 3.1.4 from Hyperion Entertainment. I bought it from Sordan.ie who give a genuine licensed product shipped direct to the UK.
First thing to do is to upgrade Kickstart, Sordan.ie’s package includes a pre-burnt ROM so this part is as simple as removing the old one and installing a new one. As a side note I’ve started using the Wera chip lifter tool. It may look nothing more than a screwdriver but it is an order of magnitude easier to remove DIP ICs without damaging anything.

Be careful when installing a ROM in revision 8a motherboard, you need to install it with the top socket pins empty.

FPU
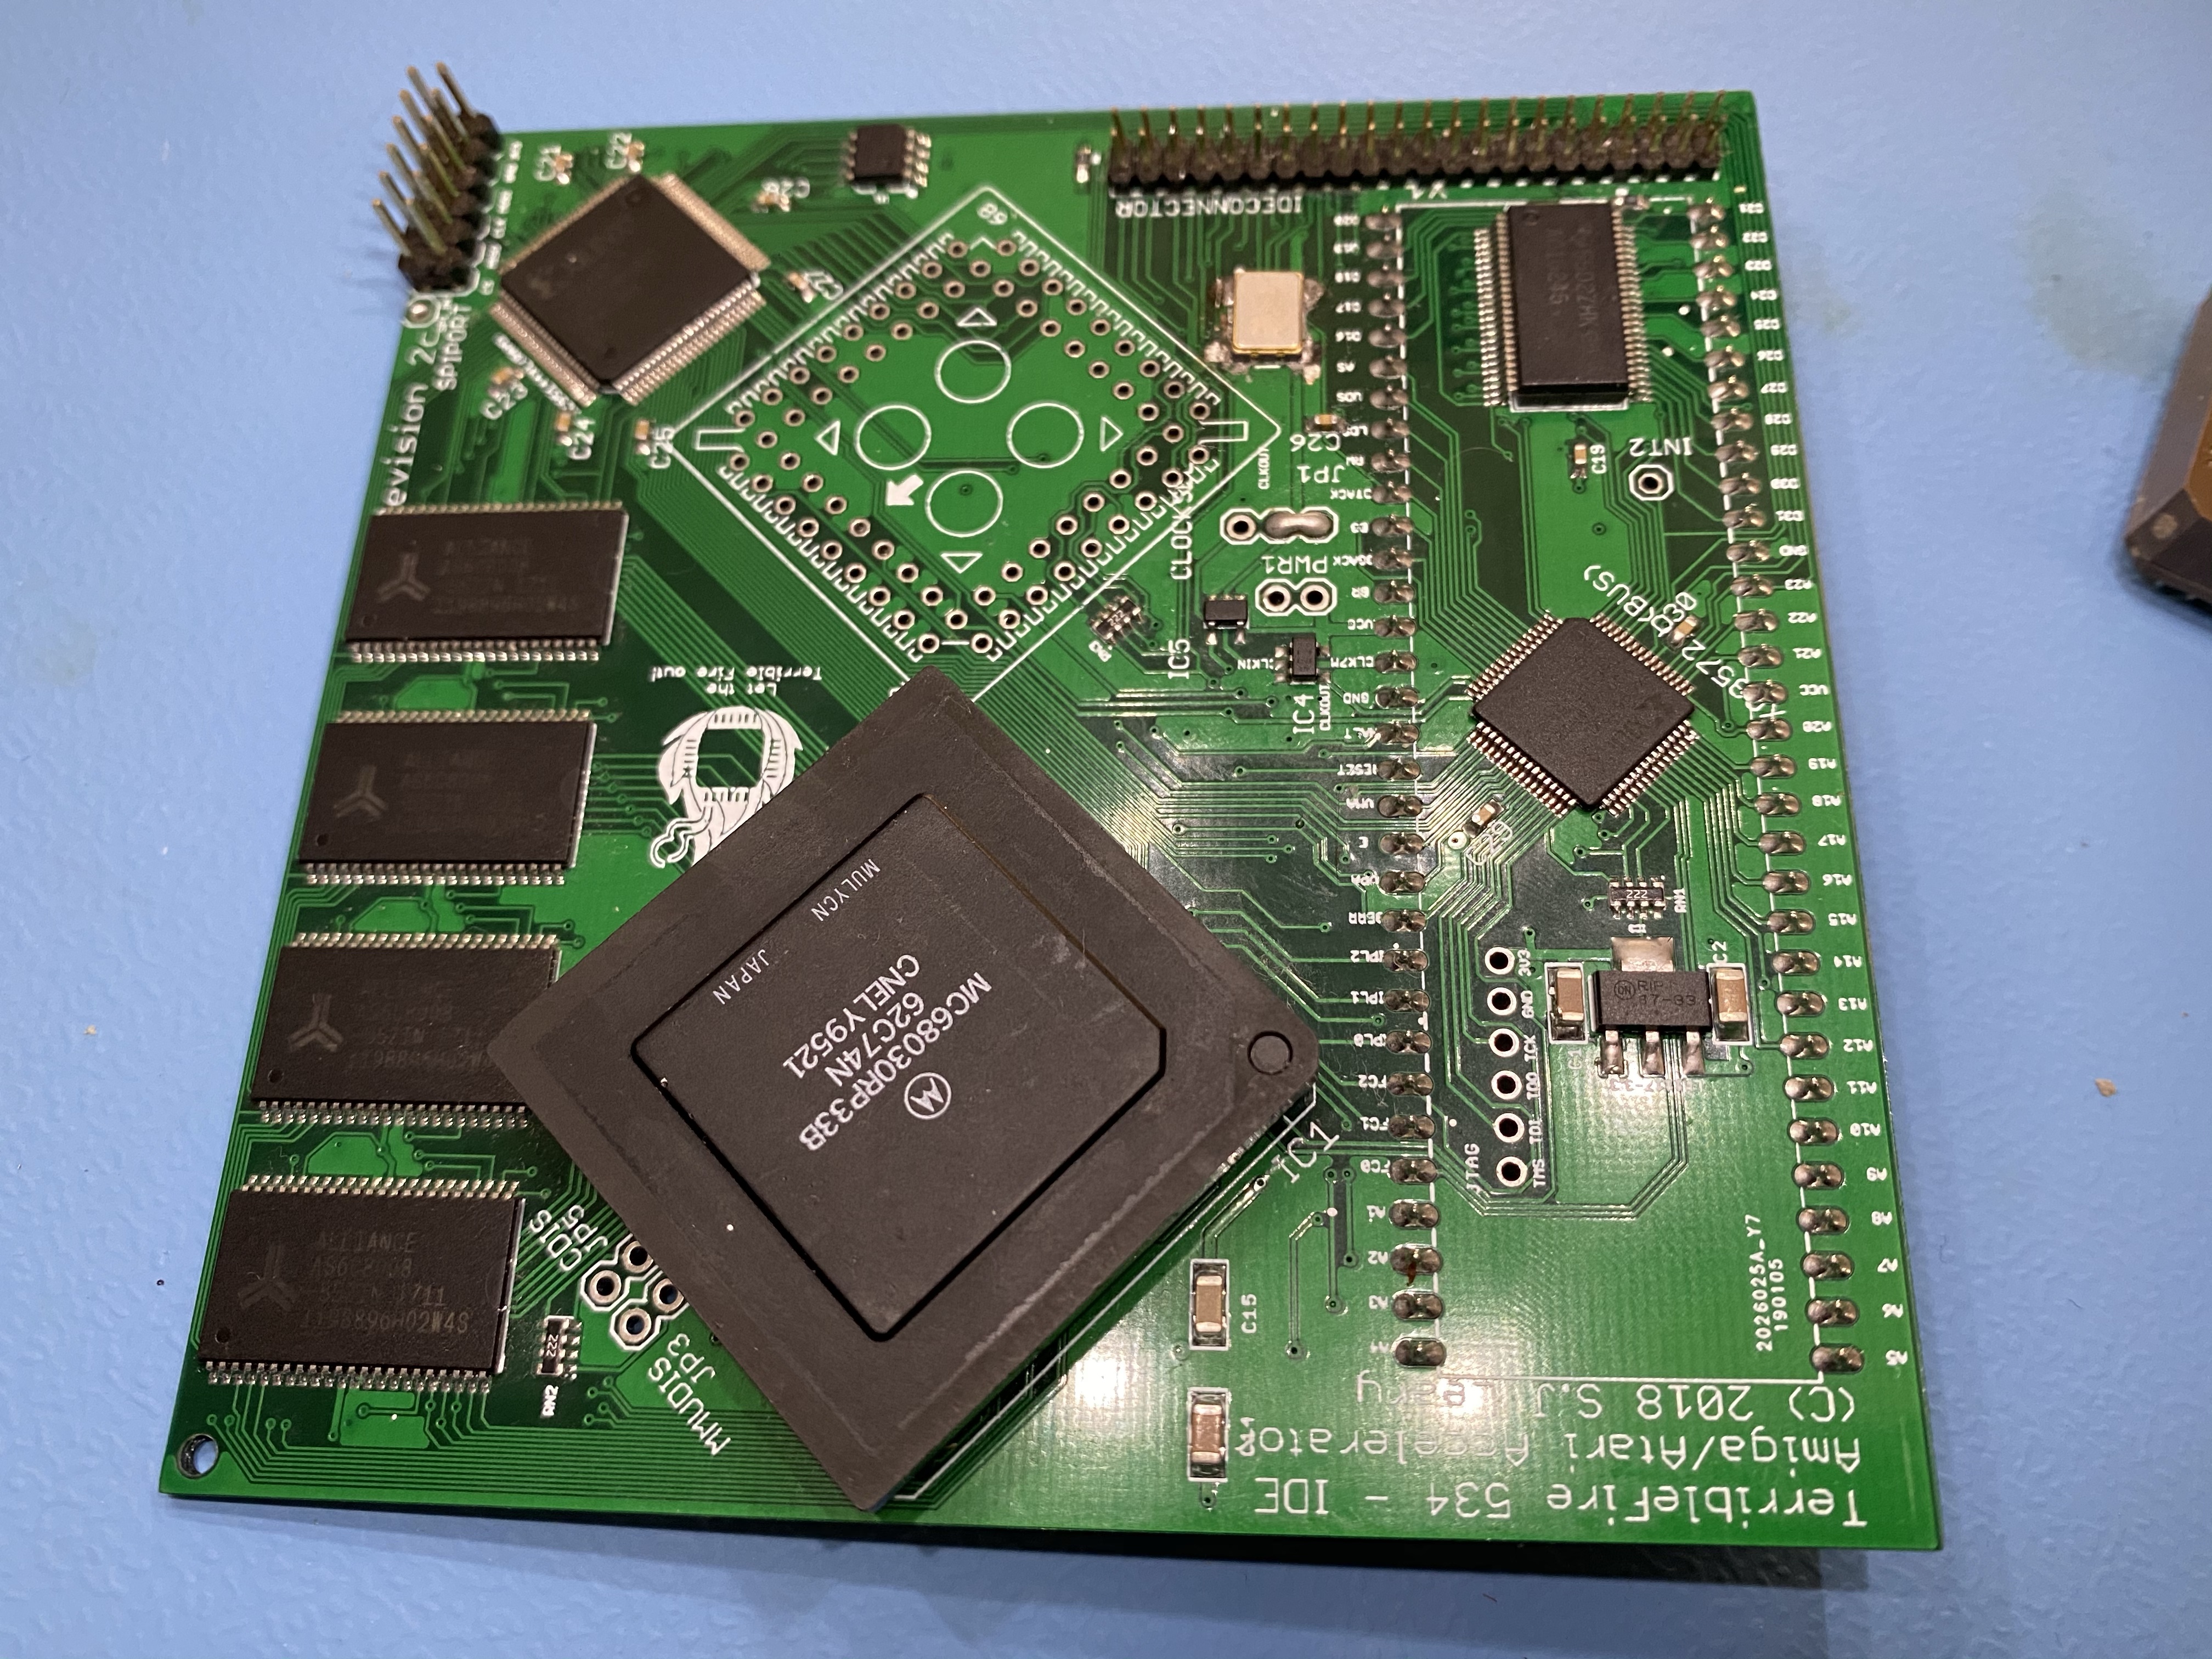
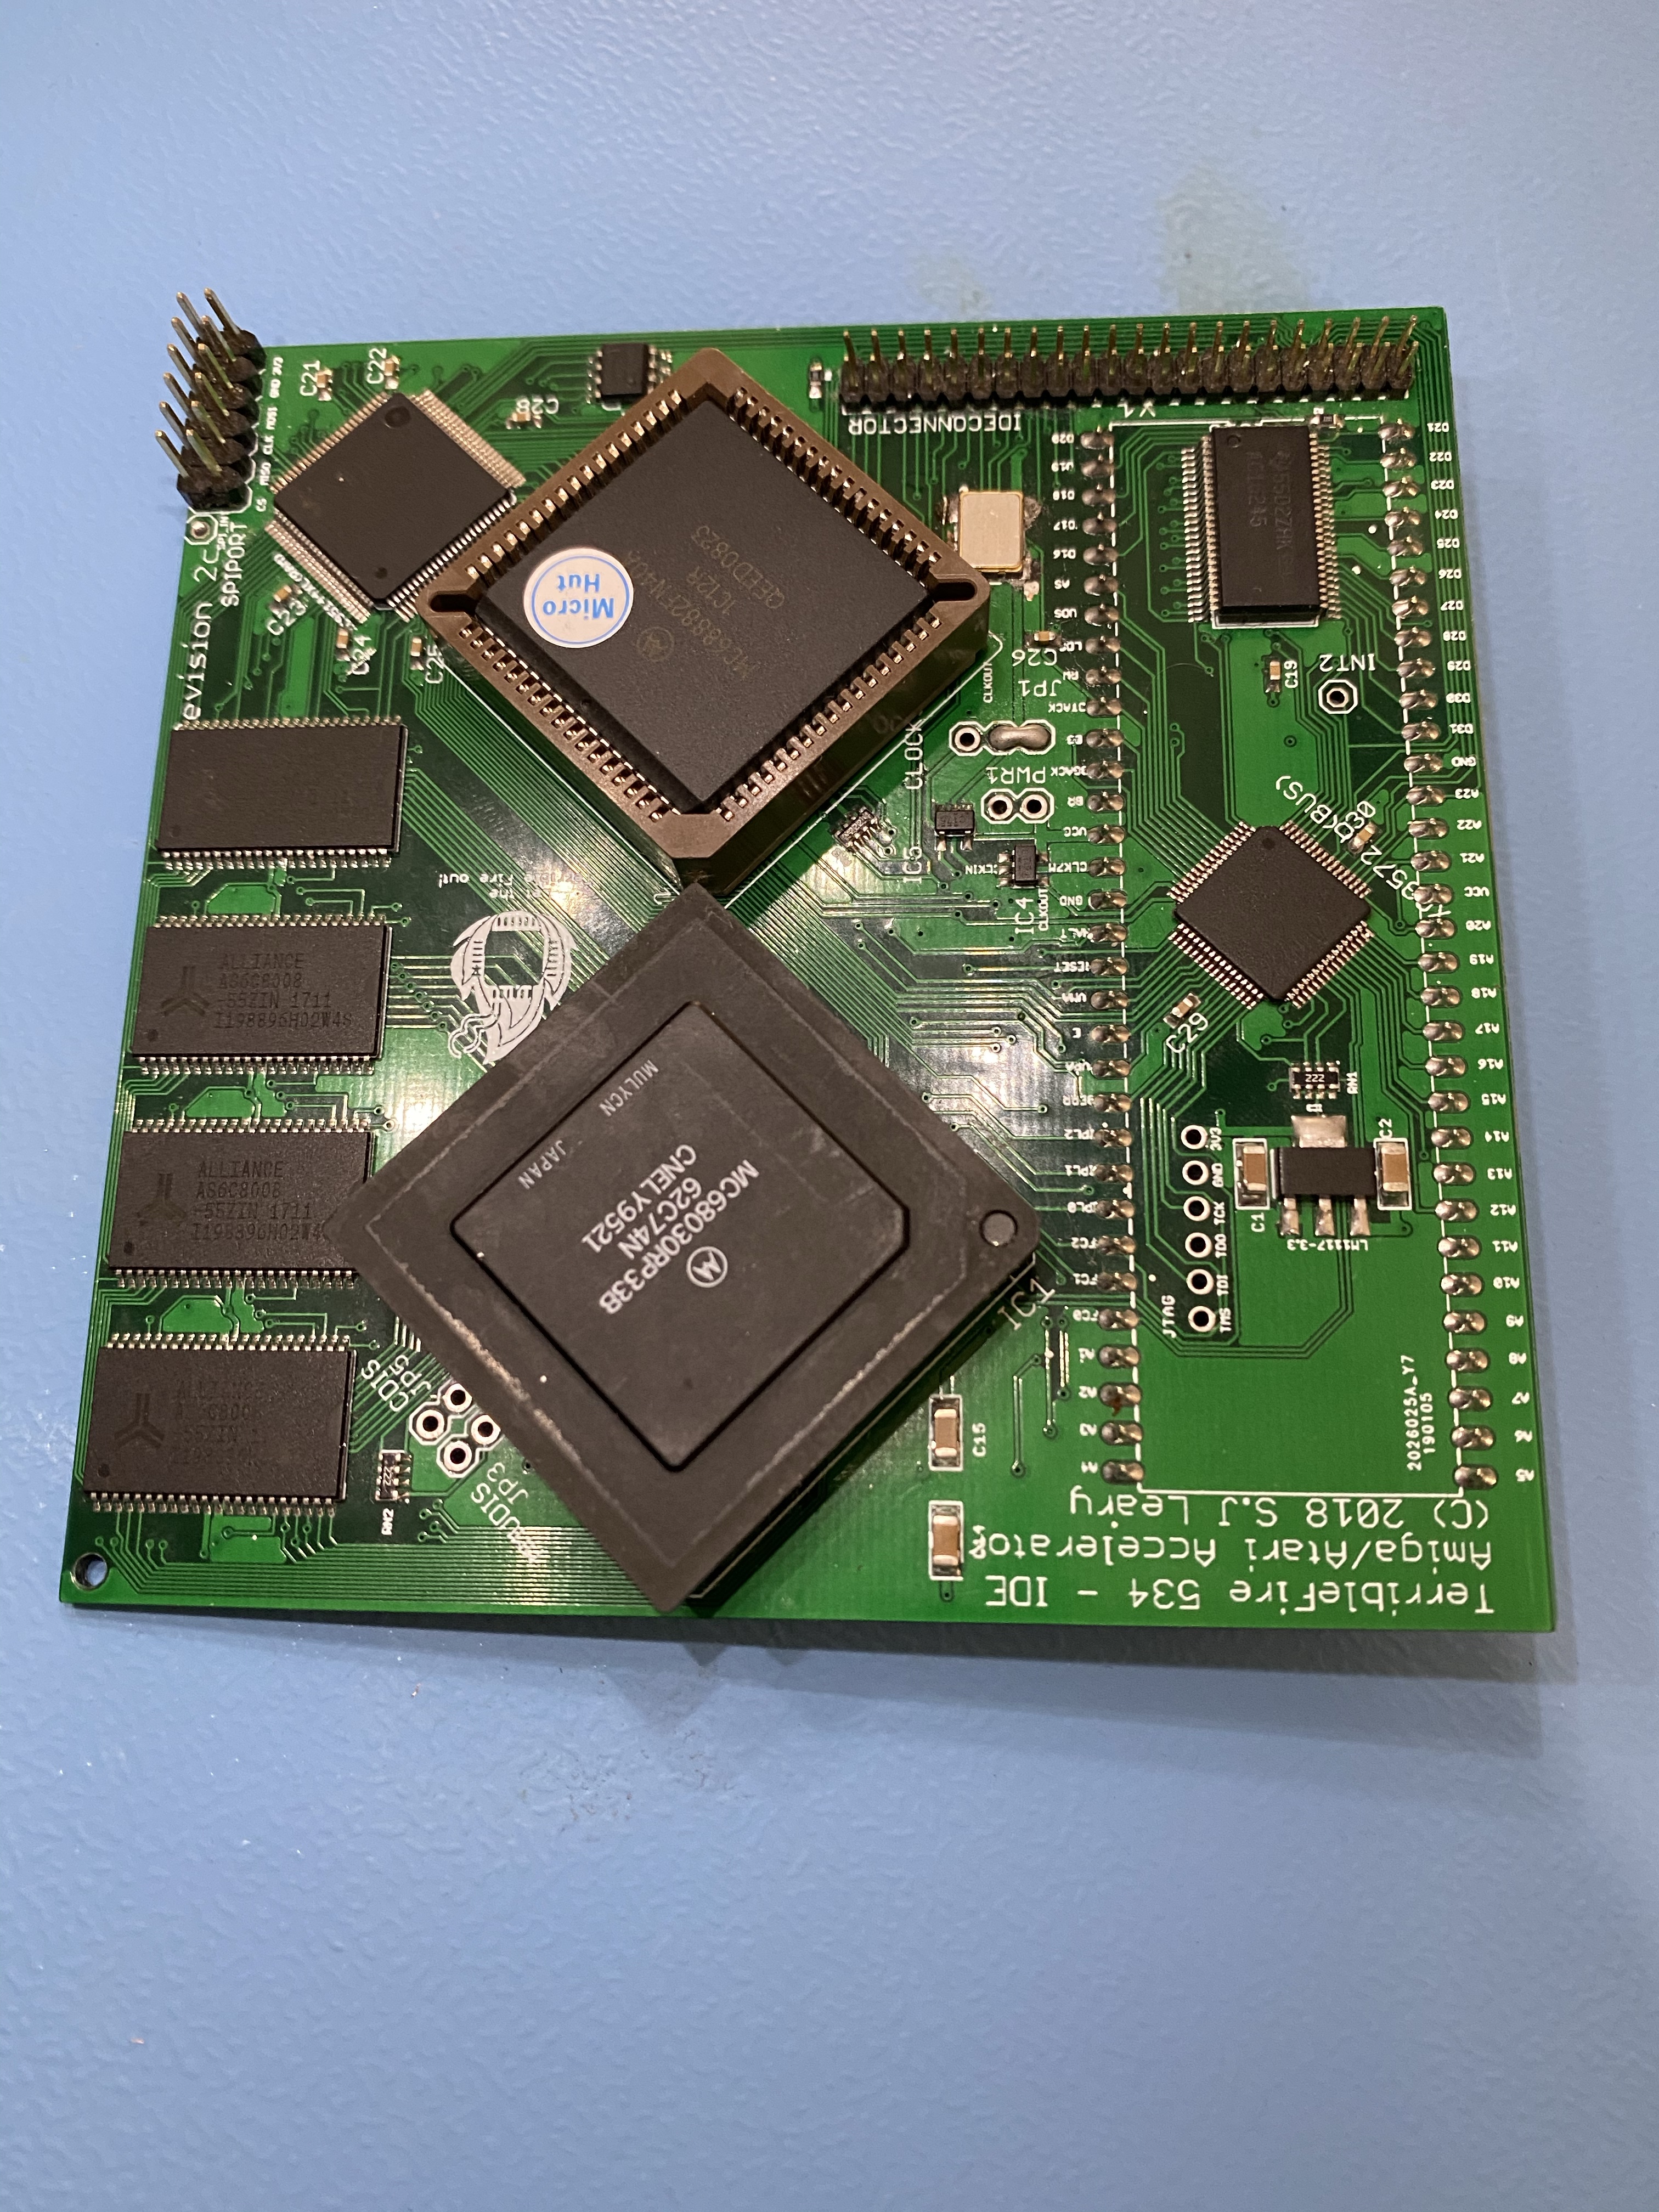
The TF534 card supports a 68882 FPU (Floating Point Unit) chip, basically a maths co-processor. My friend Gavin, who is much more of an Amiga expert than me, told me that I had to install one. Since they were relatively cheap I acquired one from an eBay seller called The Micro Hut. A word of warning here. Since the 68xxx series CPUs are not made any more, there are a lot of fake / bad quality chips floating around. Please make sure you buy from a reputable source. Amiga Future issue 147 (in German and English) has a great article on this.
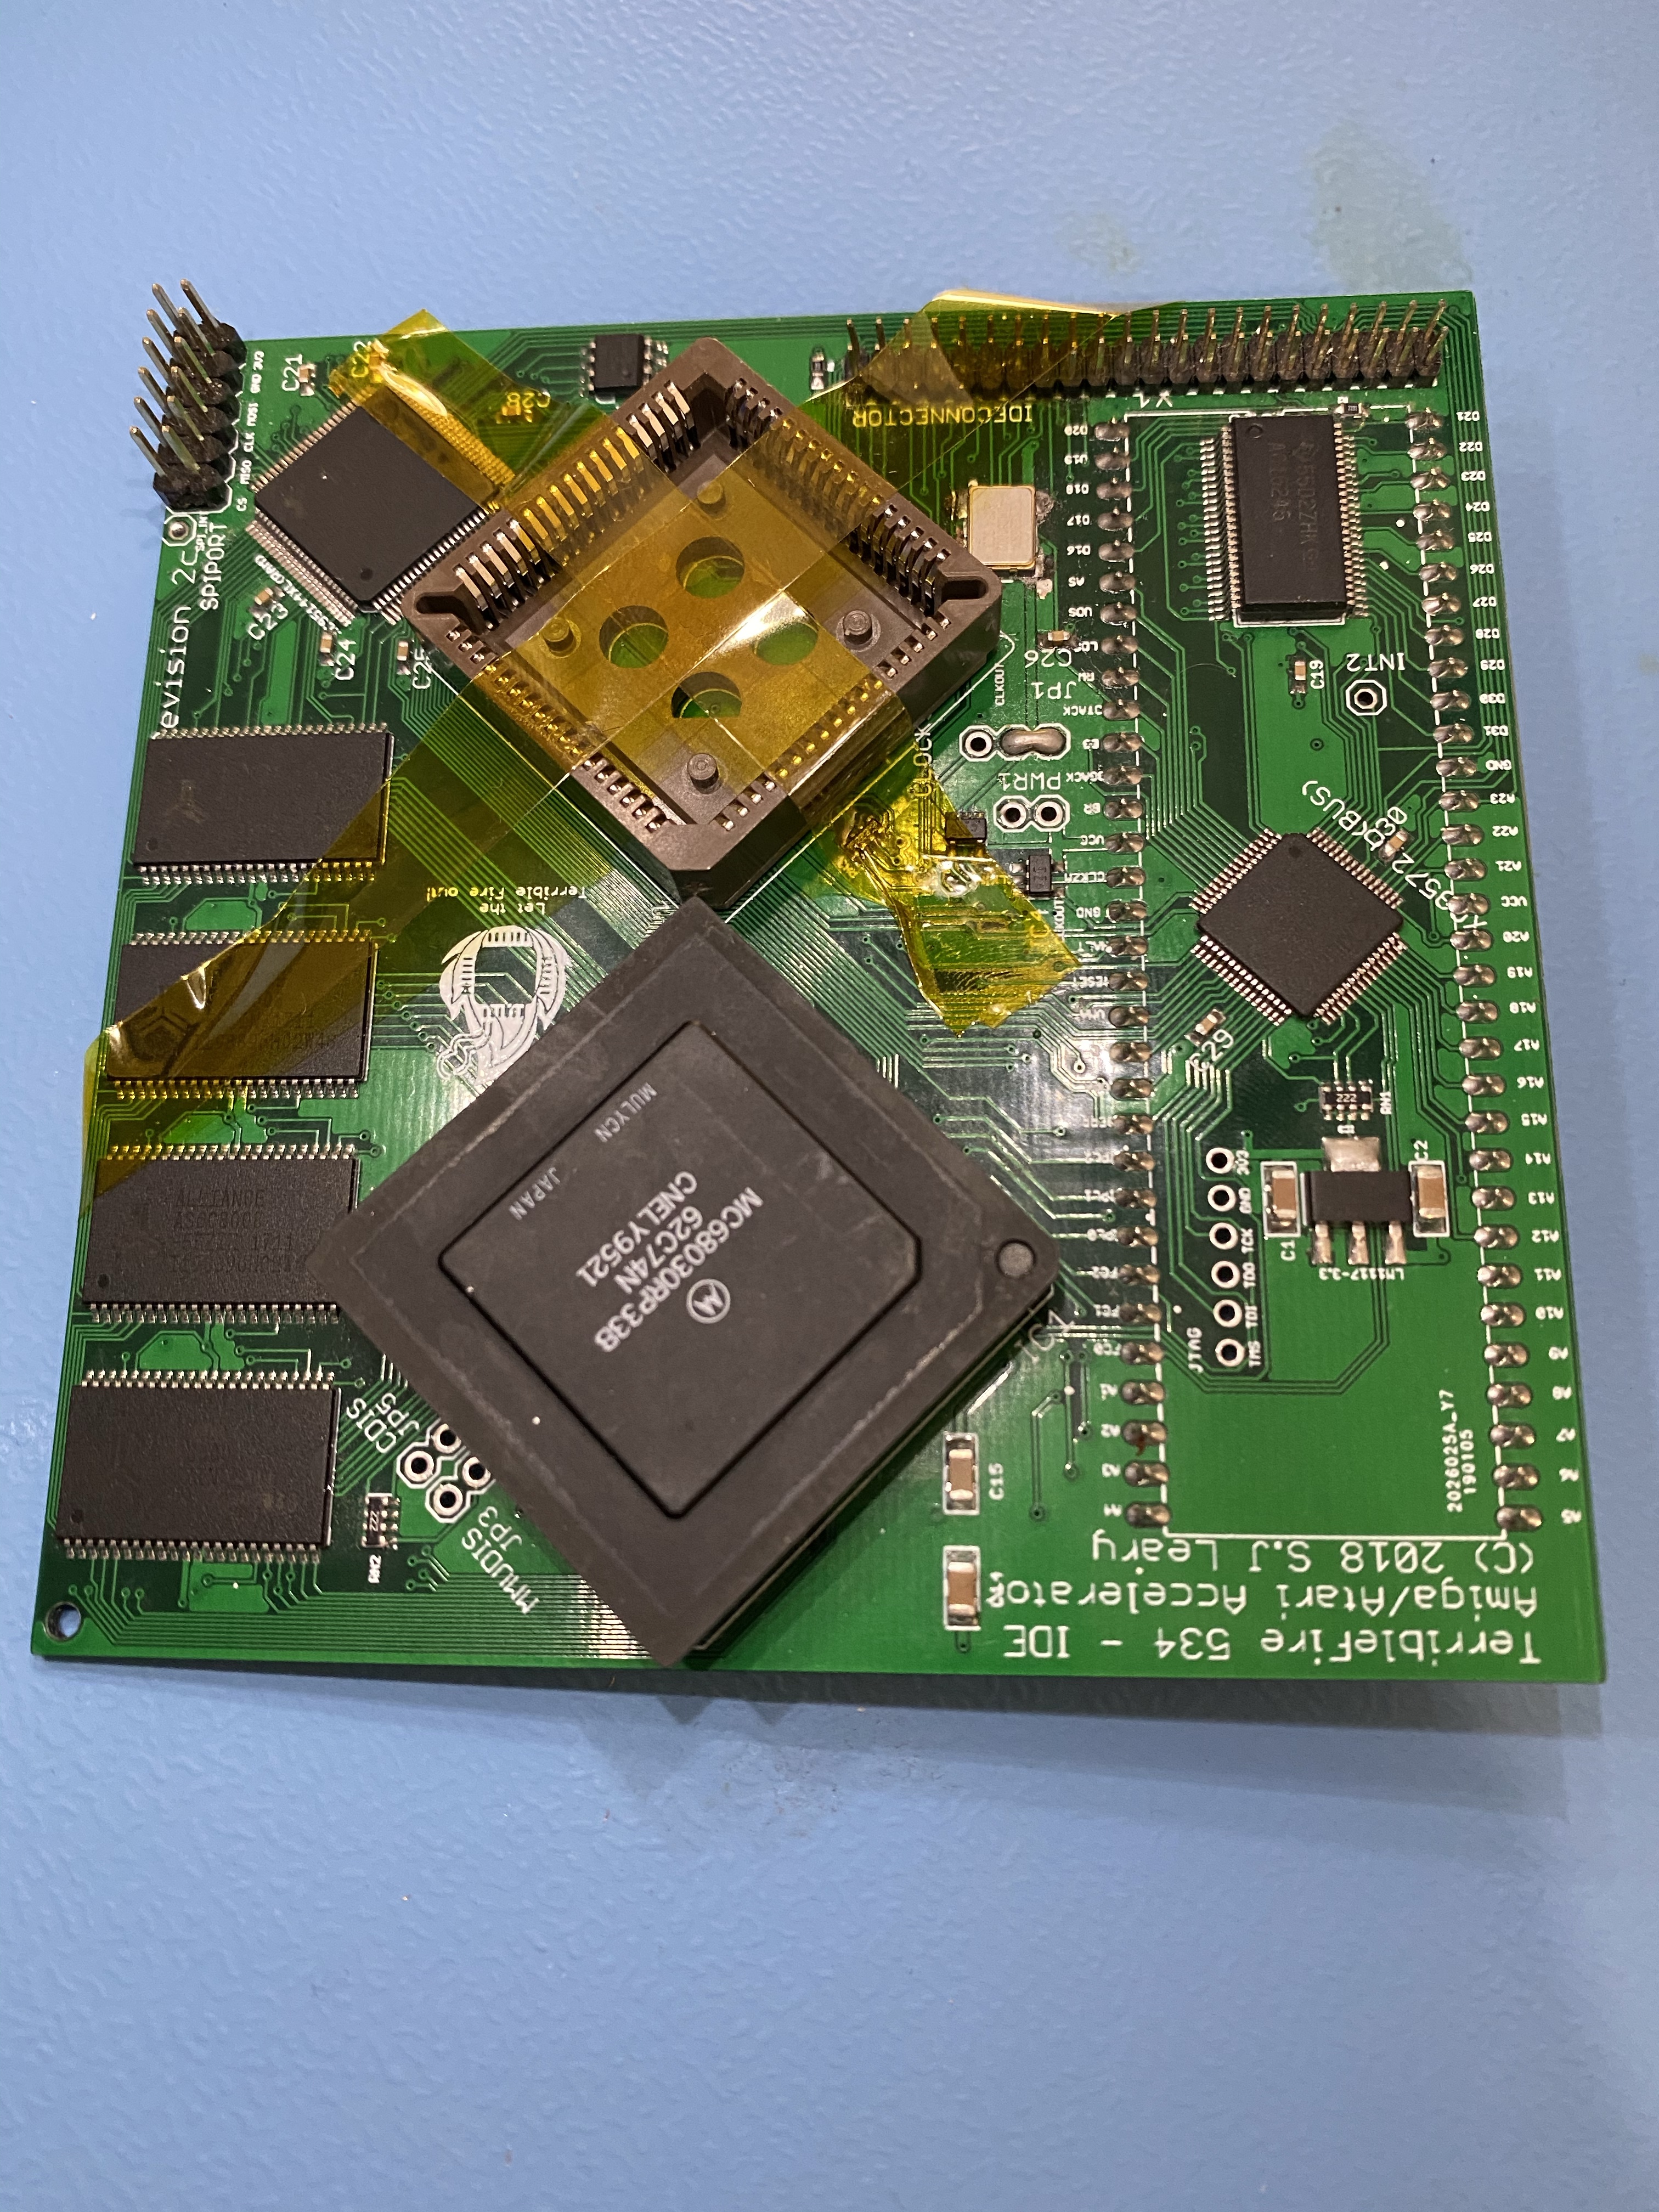
I also purchased a socket for the chip from another UK eBay seller for a couple of pounds. Using tape I held the socket in place so that I could solder it on. Once soldered it was just a case of popping the FPU into the socket.
When loading SysInfo we can now see that the OS confirms that we have a 68882 FPU installed.

SD Card
Another thing the TF534 supports is an IDE hard drive. It includes a 44pin unbuffered interface, the same that is found in pre-SATA laptops. There are a few options as to what can be connected to this, I tried a compact flash adaptor but the physical dimensions of it made it difficult to use with the FPU. I therefore settled on an SD Card -> IDE adaptor from AmigaKit. I had an old 4GB SD Card lying around (I honestly can’t remember where it came from) and this is plenty for an Amiga.

The Amiga OS license allowed me to download the Workbench disk images direct from Hyperion. I loaded these onto the USB stick in my Gotek as well as a software pack called BestWB. This adds lots of utilities and support for the MMU on the 68030 which mirrors the ROM data and accelerates things considerably.
The Workbench install disk comes with a handy disk preparation utility, and then it was just a case of running the installer and disk swapping using the Gotek buttons.
Once this is done we have a fully working, accelerated, Amiga 500 Plus that boots straight into Workbench from power on.

Next up I will attempt to repair the relocator board and will document my experience of using WHDLoad to play games directly from the SD Card.
Leave a Reply