Now that the RiscPC is working well, I’m starting to install upgrades to it. The first few have arrived and been installed, so this is the first blog post covering them.
VRAM Upgrade
My RiscPC came with a 1MB VRAM card, this accelerates the video but of course 1MB doesn’t give you a huge range of resolutions and colour depth. The maximum you can upgrade to is 2MB but the 2MB cards sell for at least £90 at the moment.
The alternative is to upgrade your own card. The 1MB VRAM boards have positions on the back of them for the additional four chips and decoupling capacitors required to make it a 2MB board. Likely for cost reduction the PCB is the same for 1MB and 2MB boards. So I acquired the VRAM chips relatively cheaply from a Chinese supplier and soldered them on, along with the 0805 decoupling capacitors which I always have plenty of.

When I put this back in the RiscPC it booted to show 34MB RAM (32MB SIMMs and 2MB VRAM). Success!
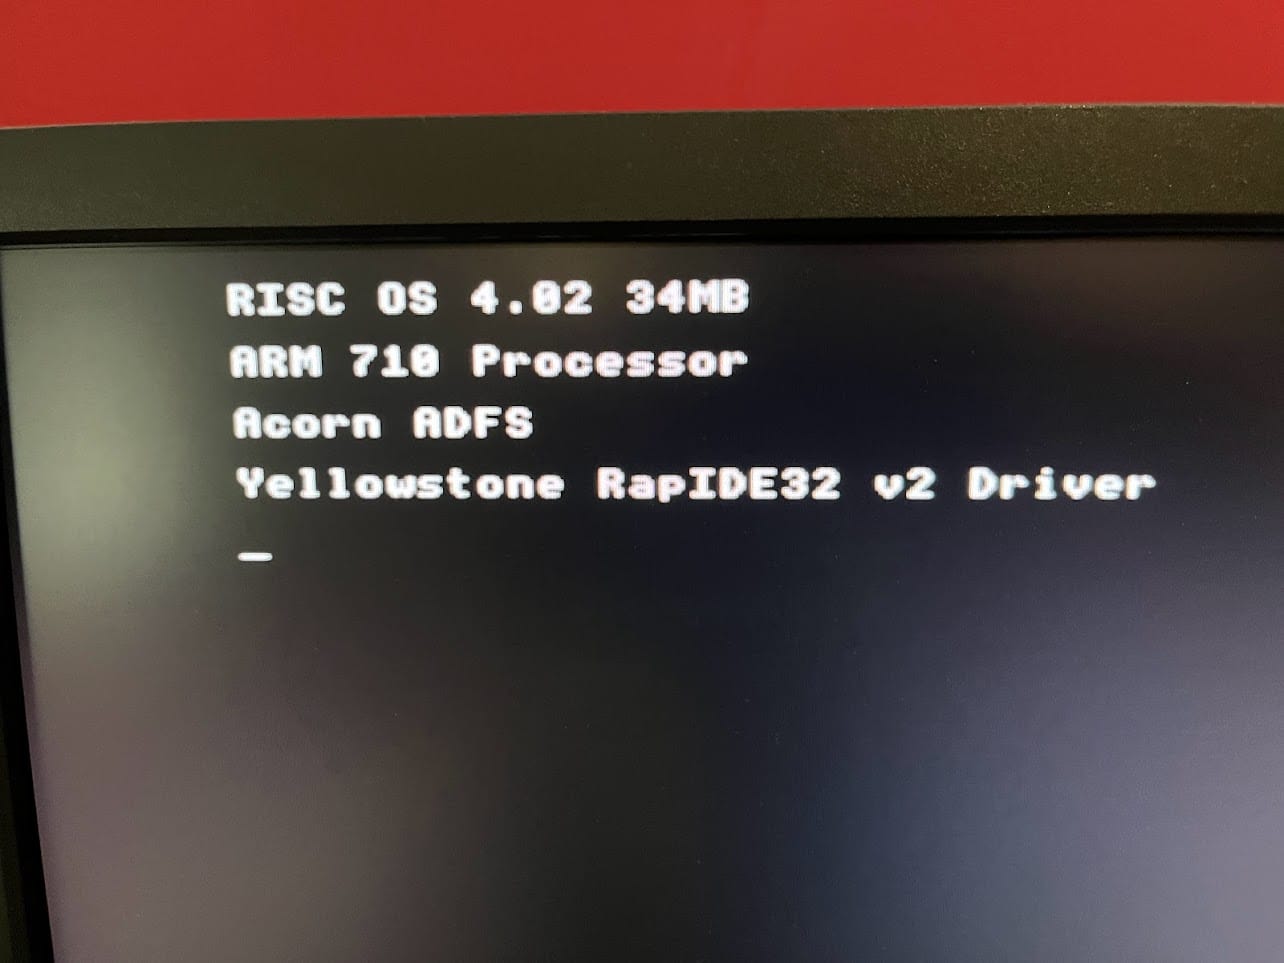
This also means that I can now safely use 1024×768 as a resolution. I can increase the colour depth too, but I haven’t done that for now.

Network
I acquired a “Myson” based network module for RiscPC. The RiscPC motherboard has a special socket to fit a card such as this one and the ports are exposed to the back.
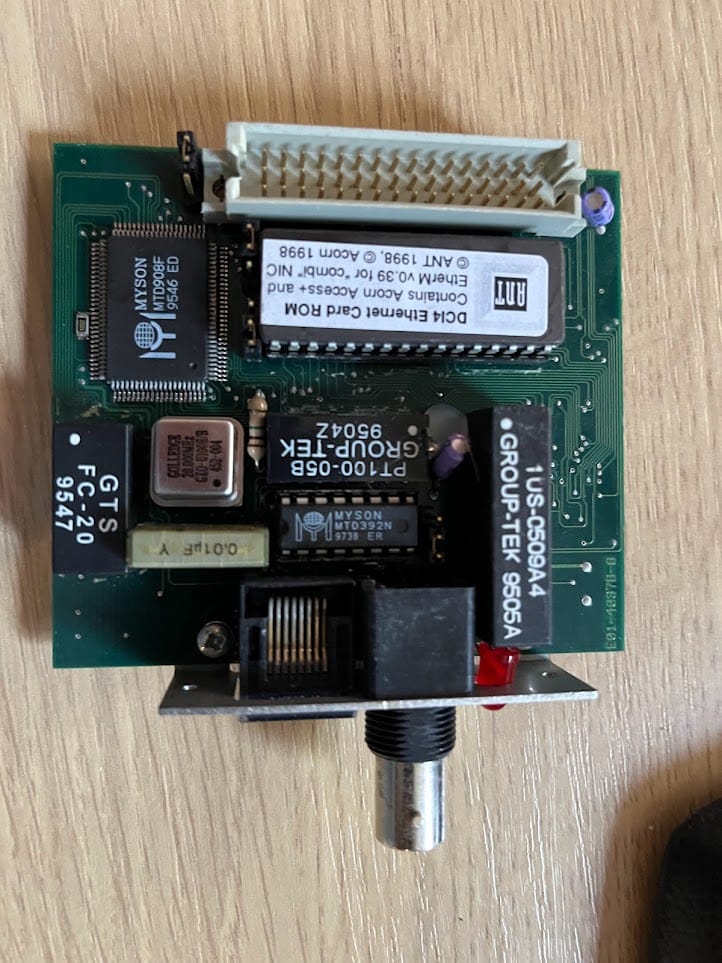
Getting networking to run on this is a little tricky in today’s world of “it just works” network connections, although I believe it is easier on my RiscOS 4 ROMs than on 3.x.
First of all you need to go into the network settings and enable the interface, from there you can insert a static IP and netmask. DHCP was greyed-out for some reason. I’m assuming the ROM doesn’t support it?
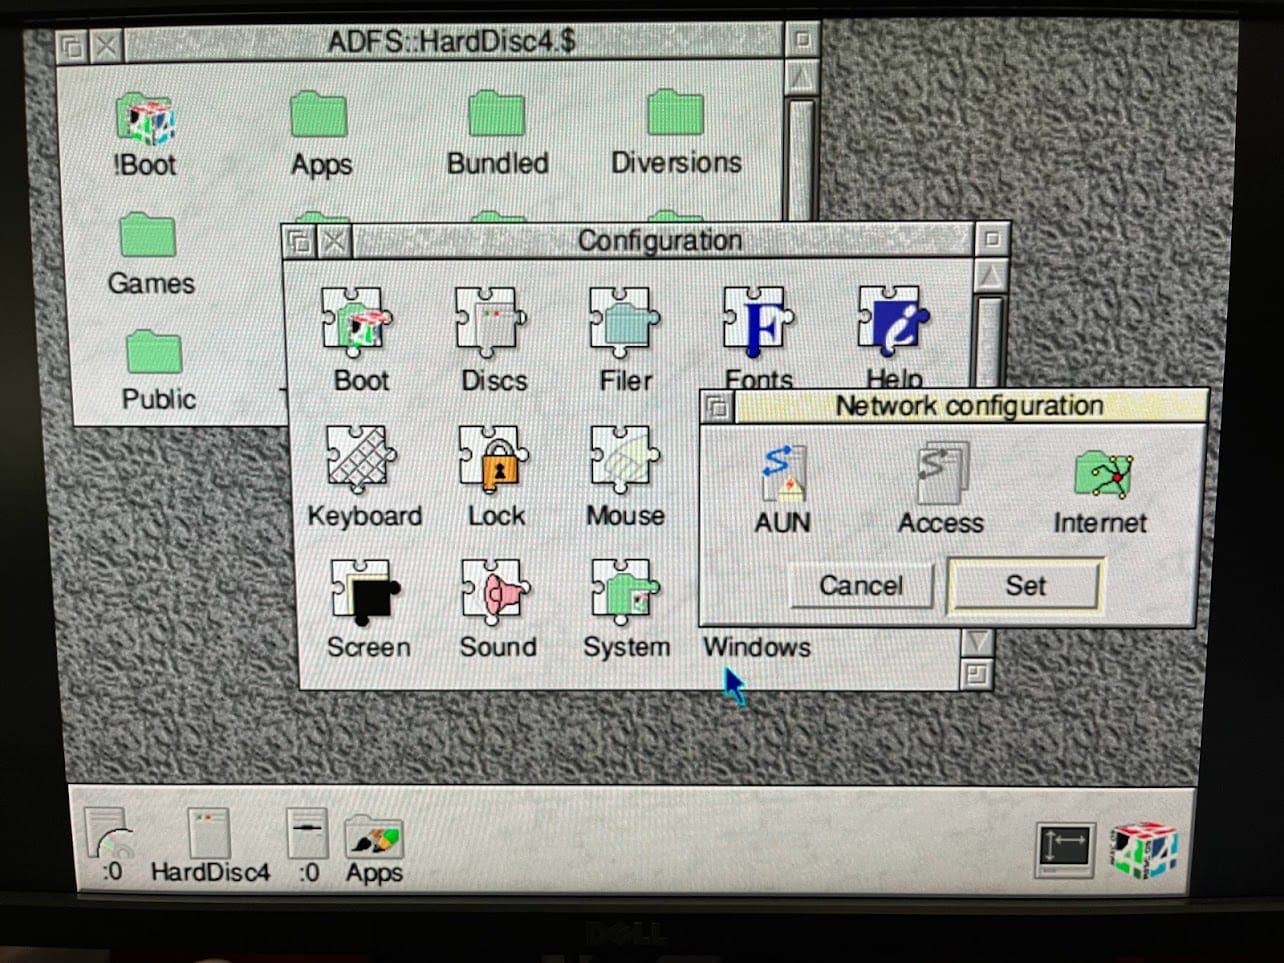
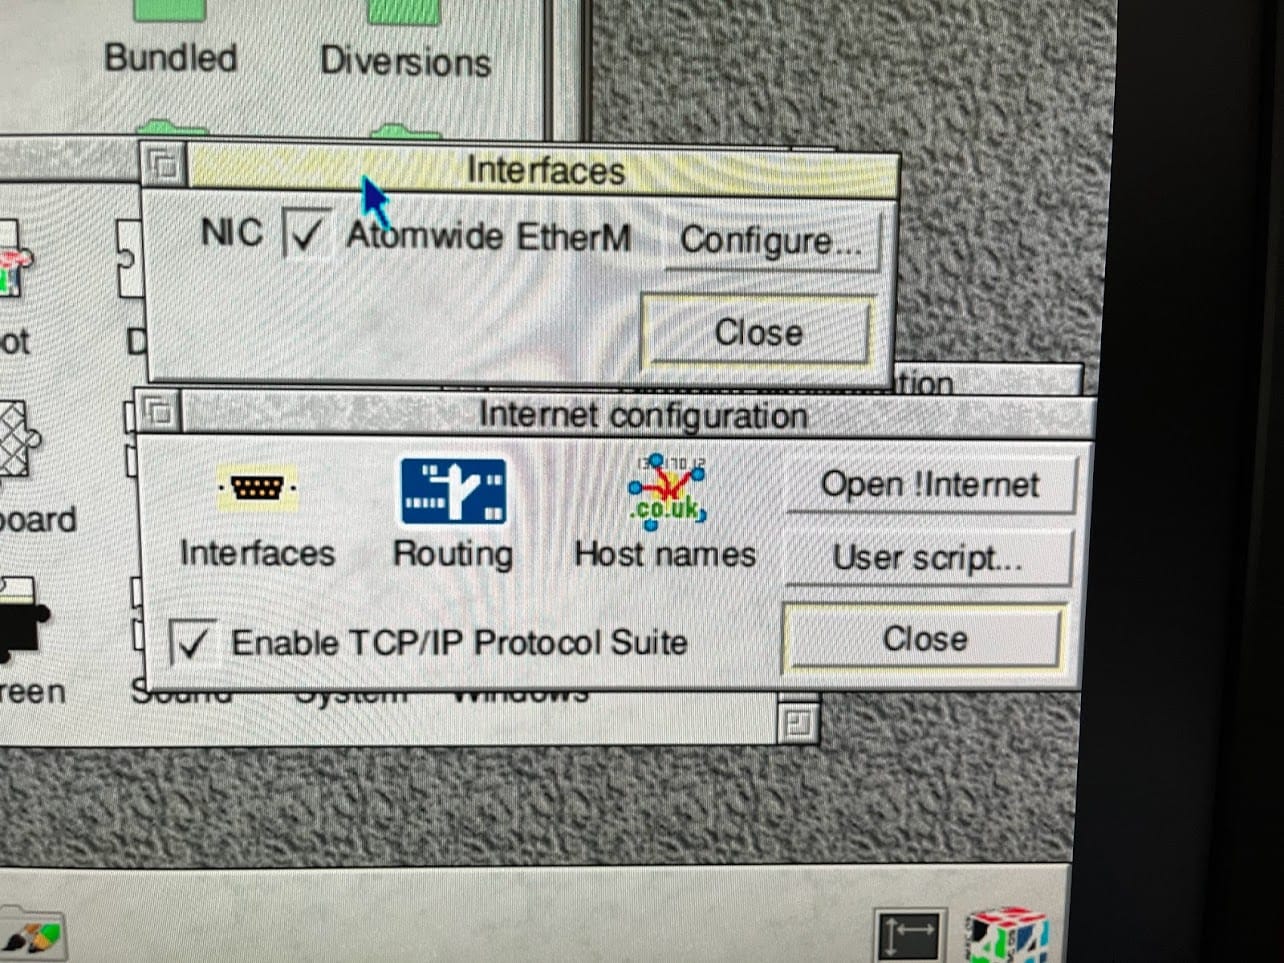
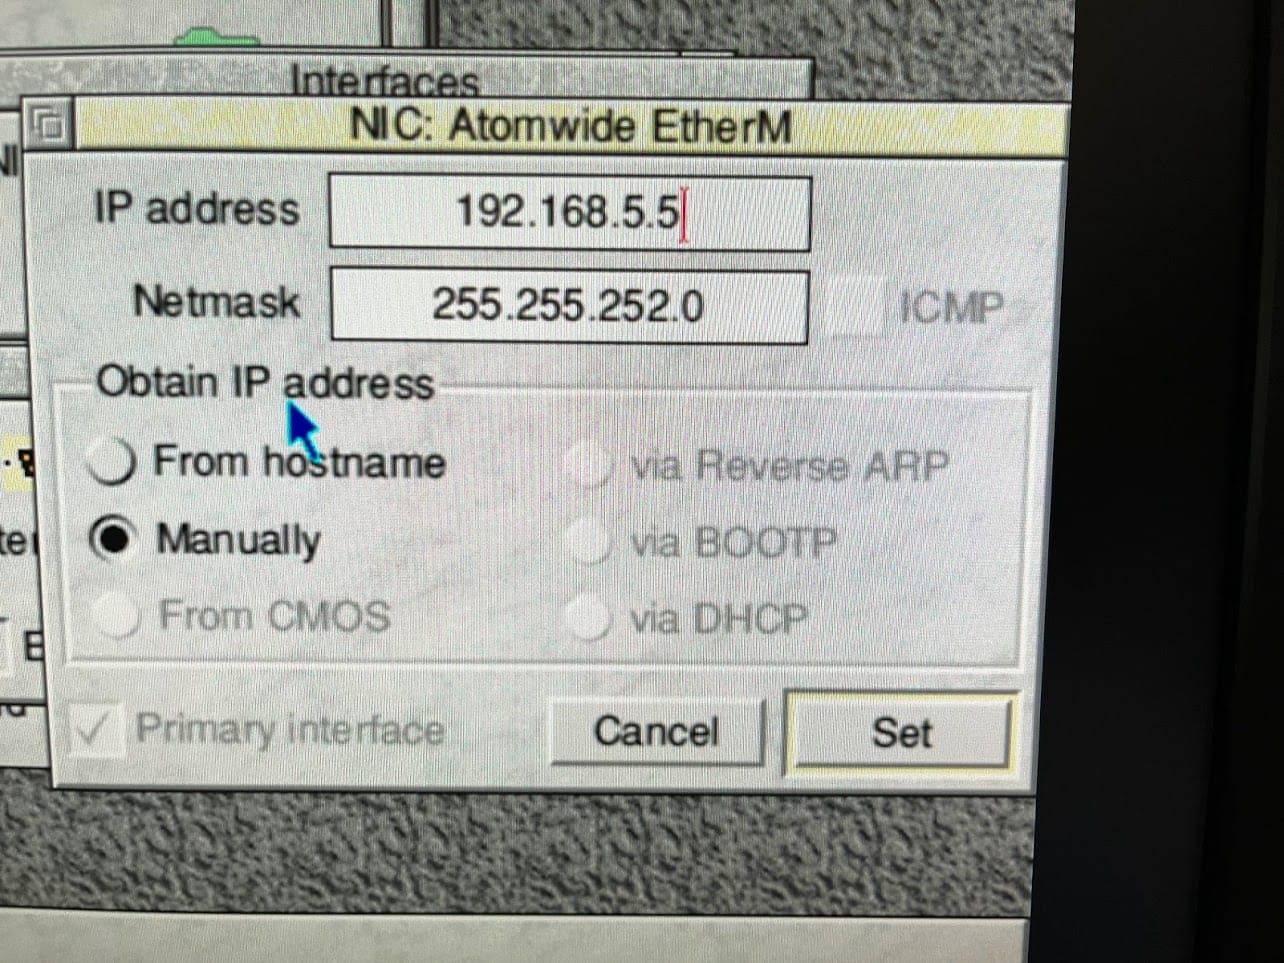
Then accept this and go to the routing menu, here you enter your gateway address.
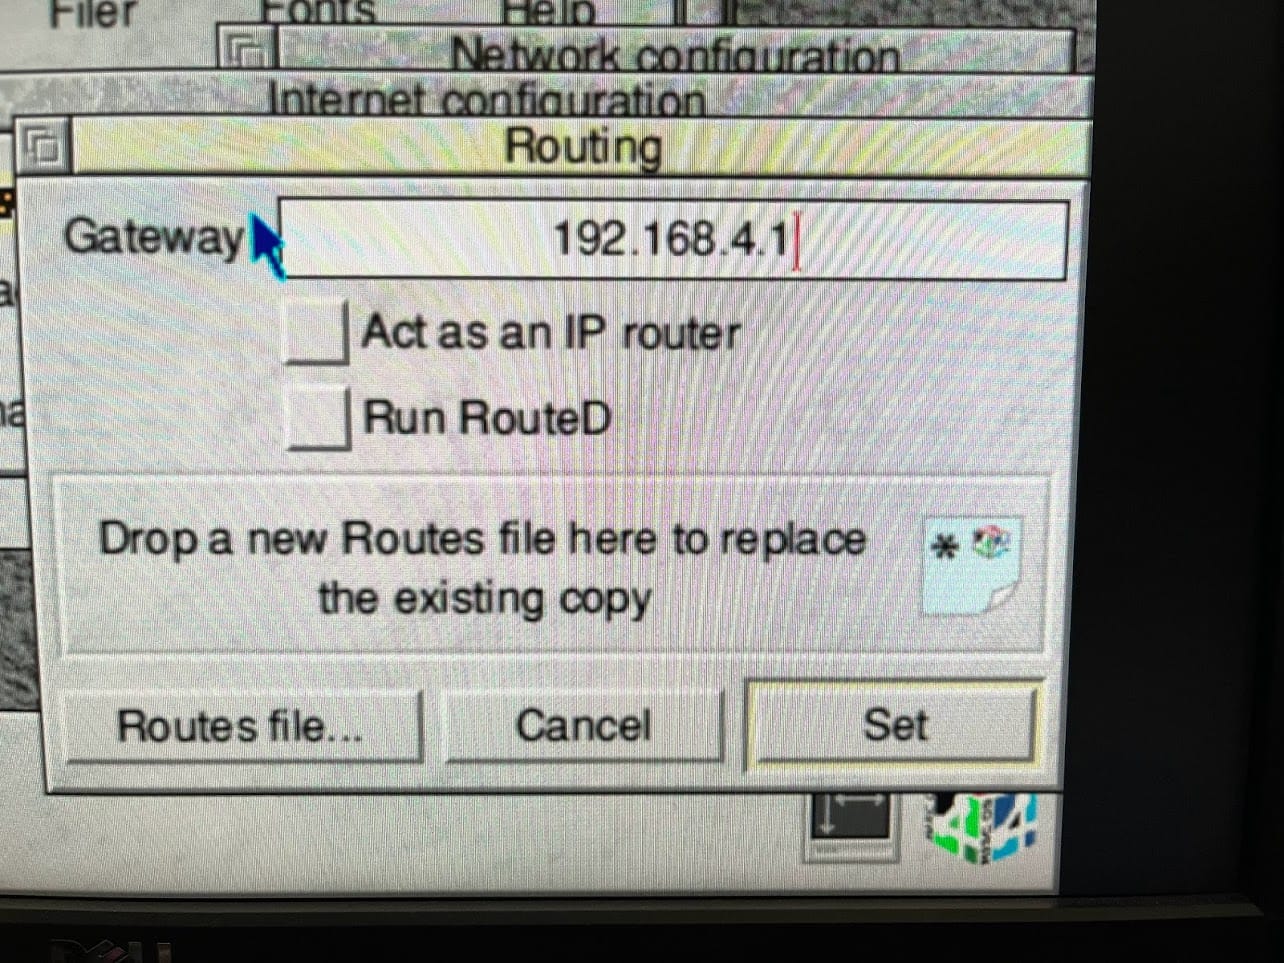
Finally the “Host names” menu is where you insert the DNS settings.
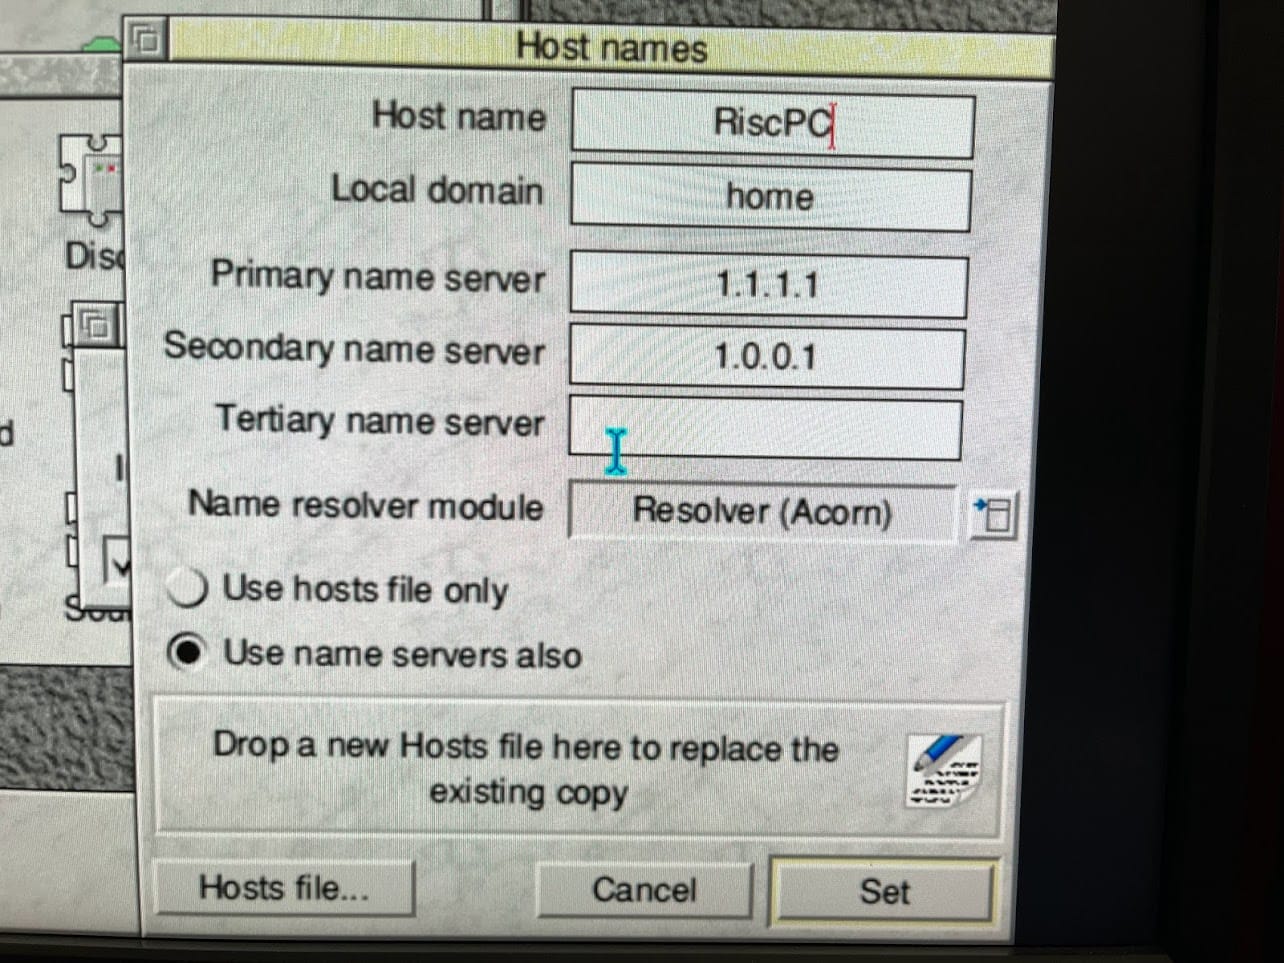
If you want to use networking on !PC with Windows 95, there are a few other things needed. First of all you need to enable the virtual network interface. On my Myson based card the command to do this is the following:
*configure etherm multipleThis will likely be similar on other types of network modules but the “etherm” will likely be different.
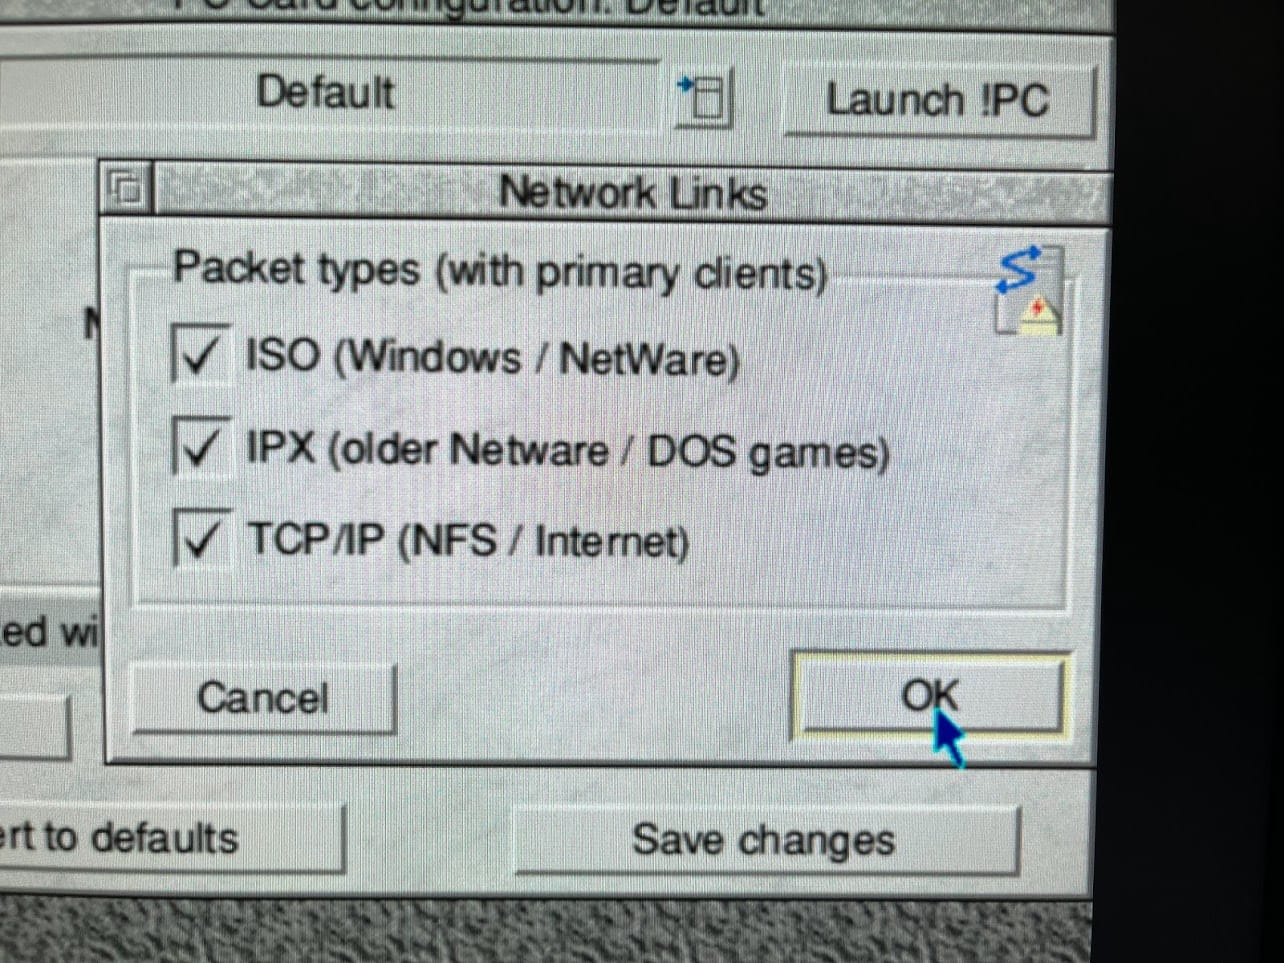
It is a little easier to do the rest with an install the 3.06 version of the PC software, you need merge the “ReleaseNet” module files from this version with the “Release” files. Once installed, in the preferences I just ticked everything to make it work.
In Windows, when you scan for new devices you will get an NE2000 network card to show up. For me this didn’t work properly at first because it didn’t auto-detect the IRQ. I had to manually set this.

Once this was set, I rebooted, added TCP/IP to the network card (that was a thing in Windows 95) and I suddenly had Internet. Unfortunately I can’t show this as I managed to damage my Windows install shortly after. But for a brief moment I had IE4 running, and it was just as horrible as you can imagine 🙂
Hard Drive Controller
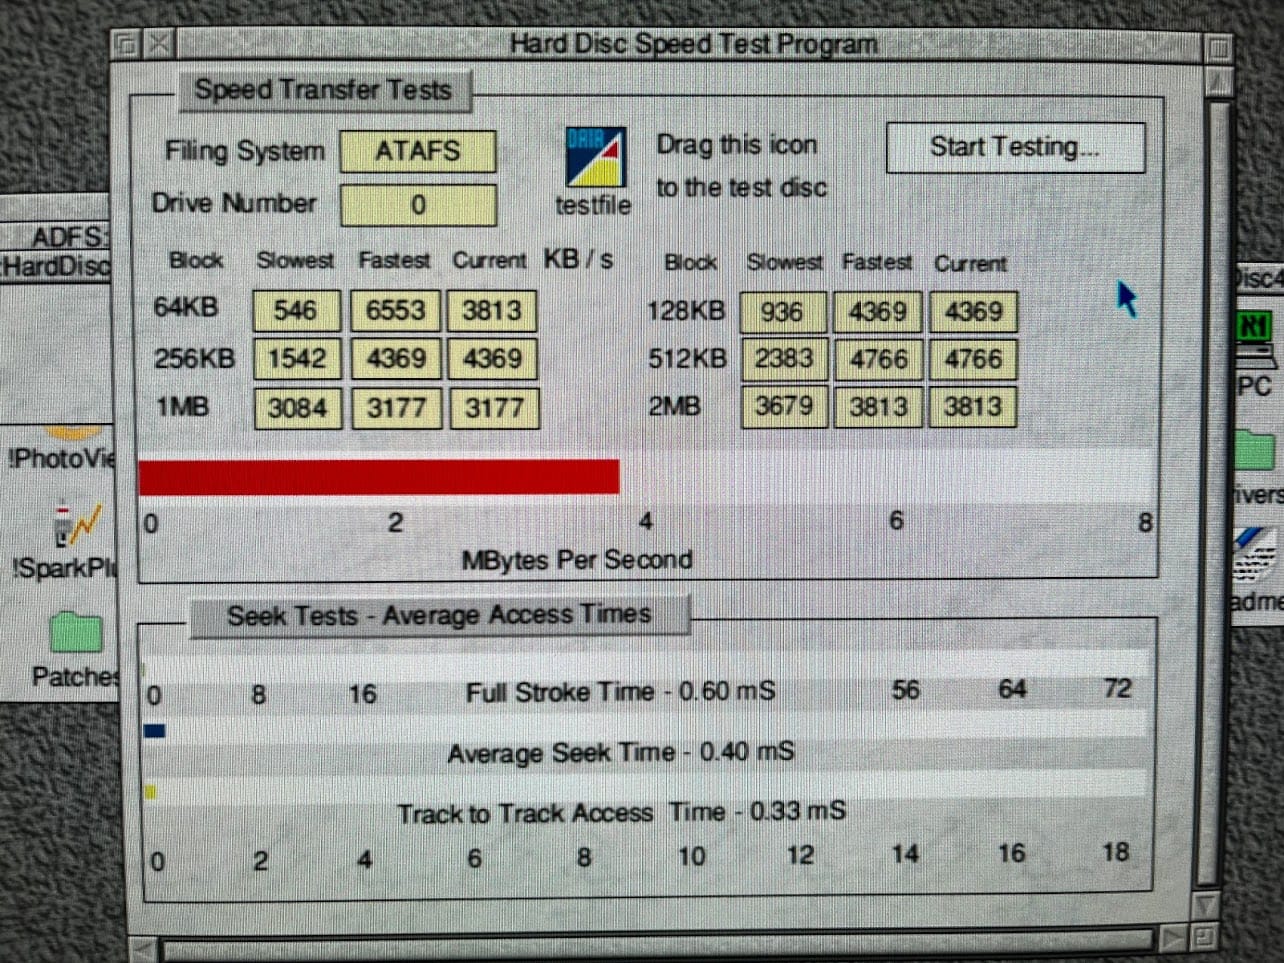
The onboard controller is a little slow, so I figured I should get something a little faster. Once I saw this Yellowstone RapIDE32 board I knew that this was the one for me. Amongst other things it can do 32bit DMA transfers and supports slightly newer IDE standards, so it should be significantly faster.

At first I just hooked my CD drive to this and the first problem was apparent. You can’t do anything with it unless you have the controller software. This was actually quite hard to obtain, but I managed to find a copy of it on an archive of the Yellowstone website.
From here I was able to get the CD drive hooked up to it, and I also formatted another 16GB SD card with another SD->IDE reader to hook up to it.

I’ll need to sort out the cabling and somewhere for that SD card reader to sit, but it functions well for now. As for speed, the ADFS is the SD card on the internal IDE and the ATAFS is connected to the Yellowstone. They both use the same interface and model of SD card.

A few more upgrades are on the way, but that is all for now!


Leave a Reply