

I recently acquired a new Archimedes for my collection, the A5000. It was bought mostly working, but needs a little work to get it running again. Here is my journey.
About the A5000
The A5000 was released in late 1991 and is a desktop-style computer based on the Archimedes architecture. It has a 25MHz ARM3 CPU inside it (some came with a 33MHz one) which probably makes it the fastest RISC OS Archimedes model outside of the RiscPC range (which includes the A7000).
This is the one I acquired.
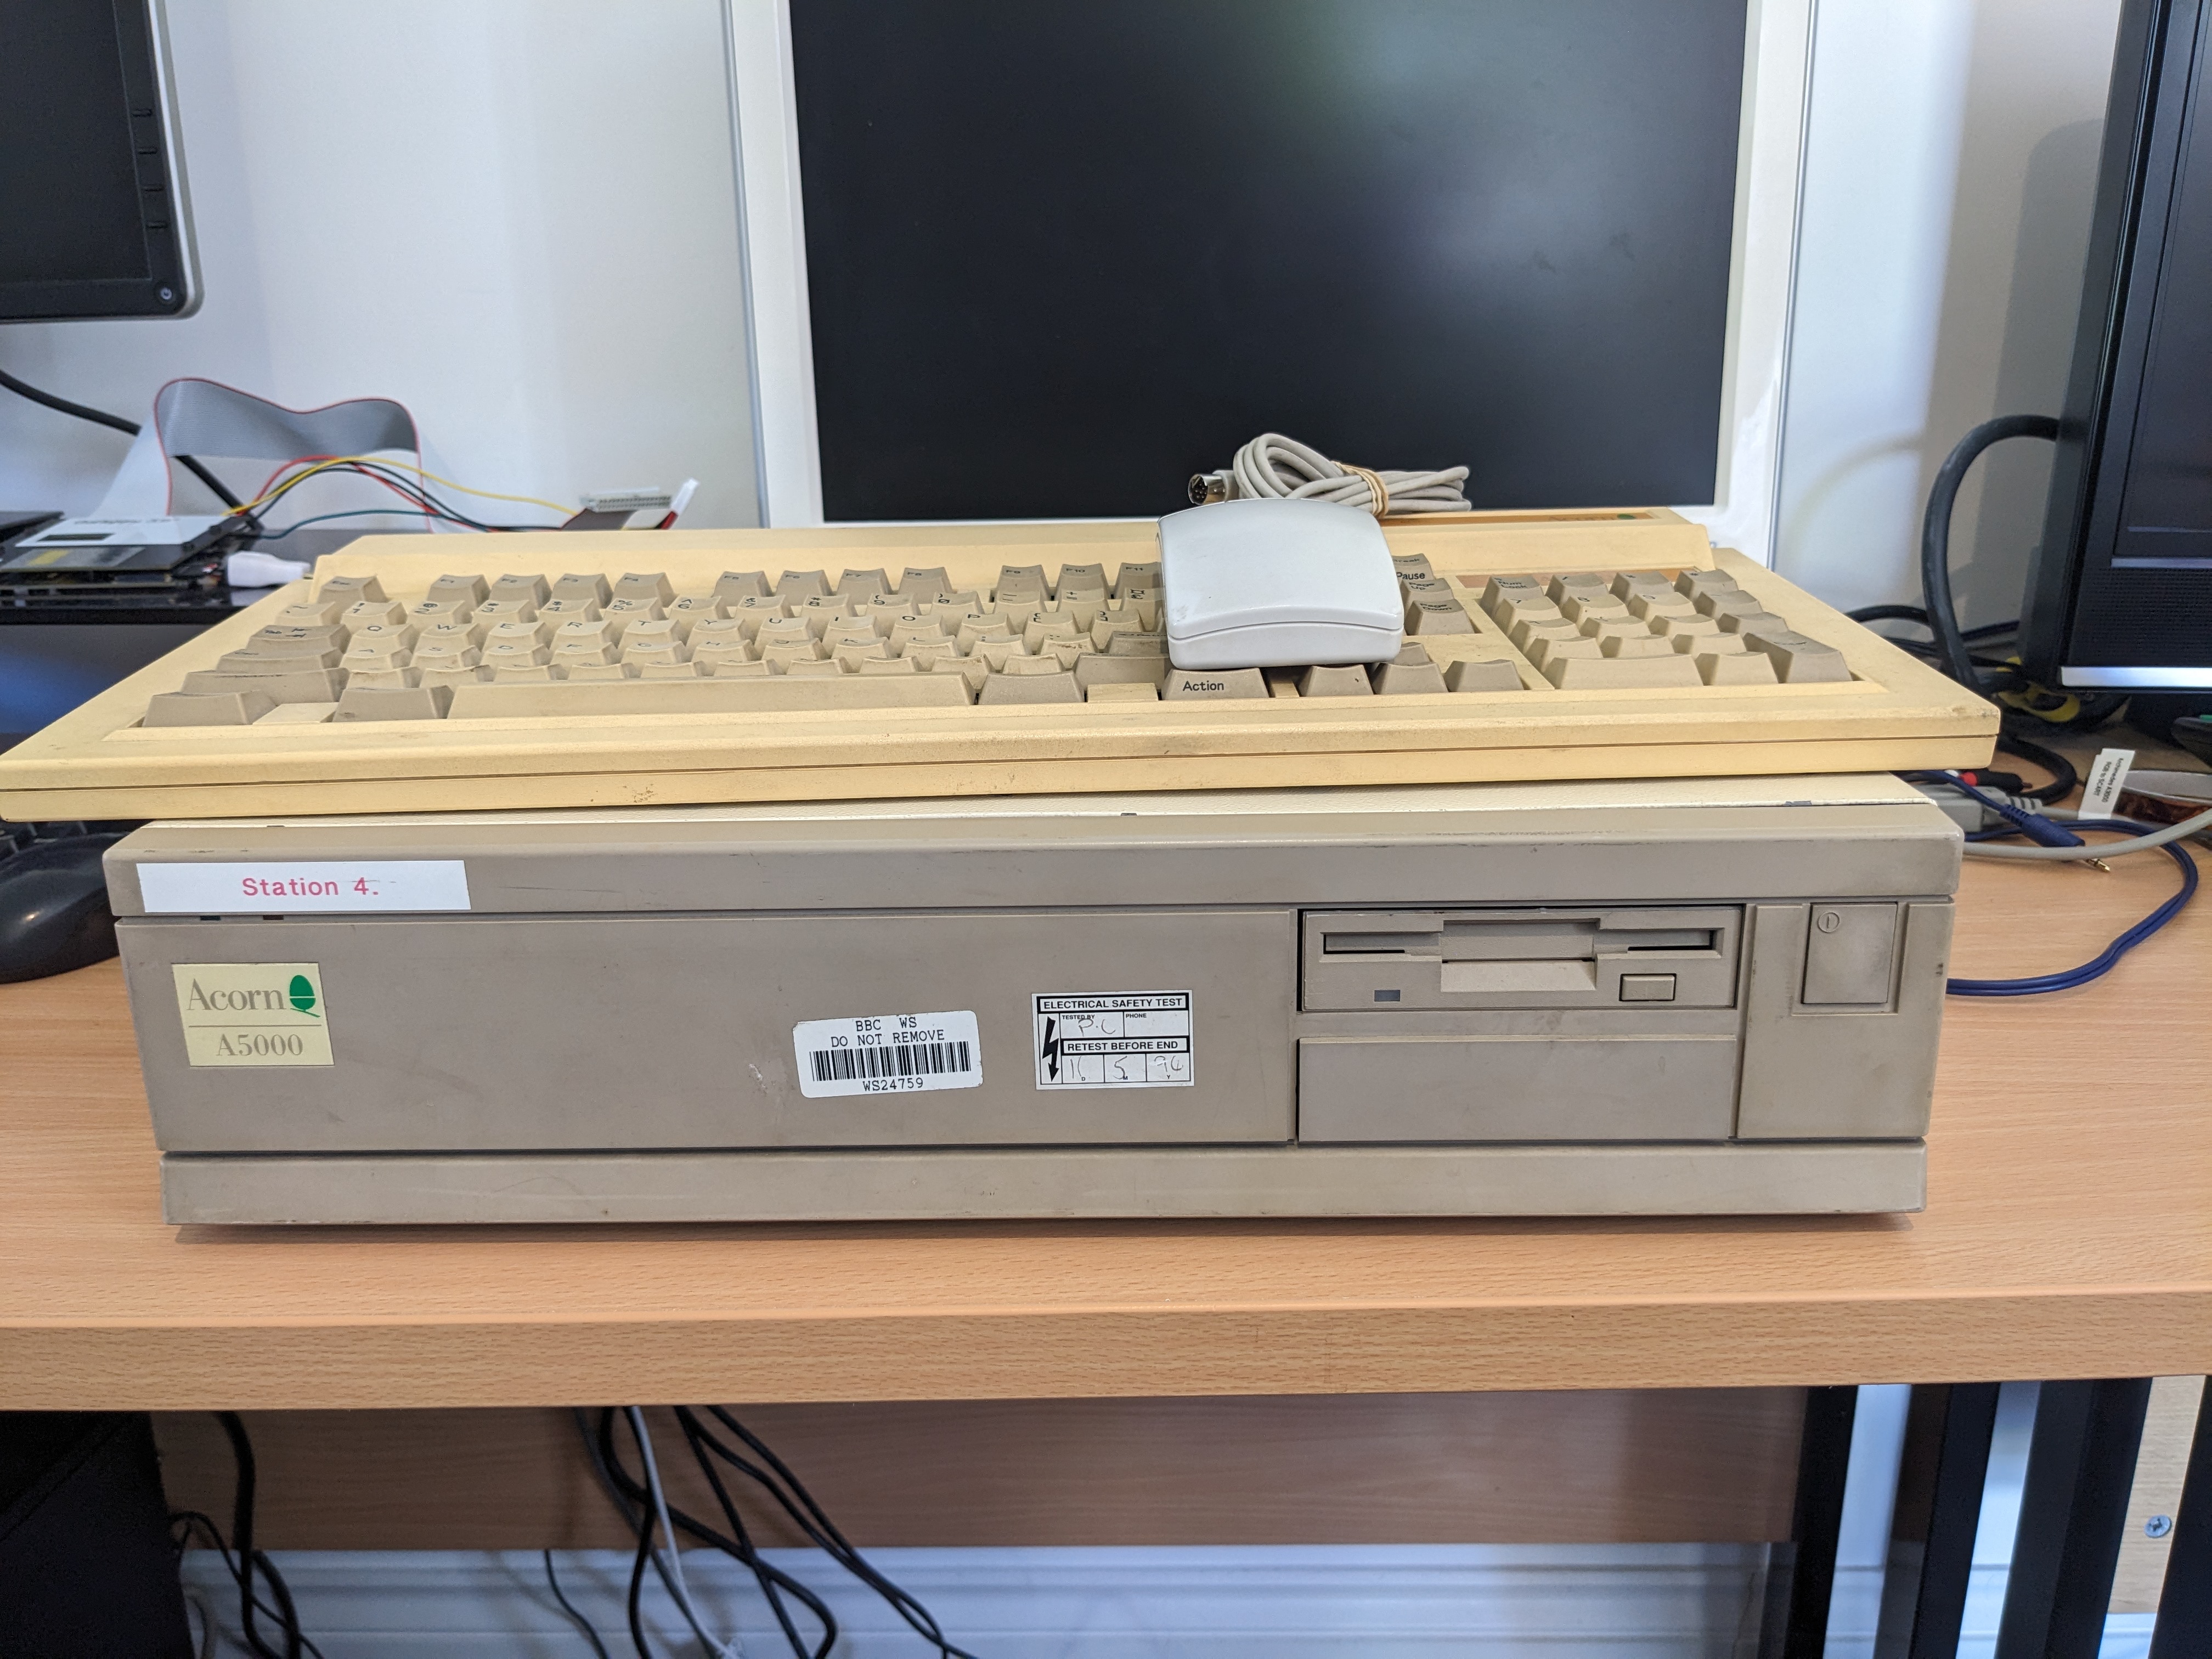
It definitely needs a bit of a cleanup and it has a “BBC WS” tag on it, which I assume means BBC World Service. There is a large gap at the rear where there was likely a double-size podule. This would make sense for a machine operated by the BBC as this would likely have been something like a Genlock. This is a photo from a little later on.

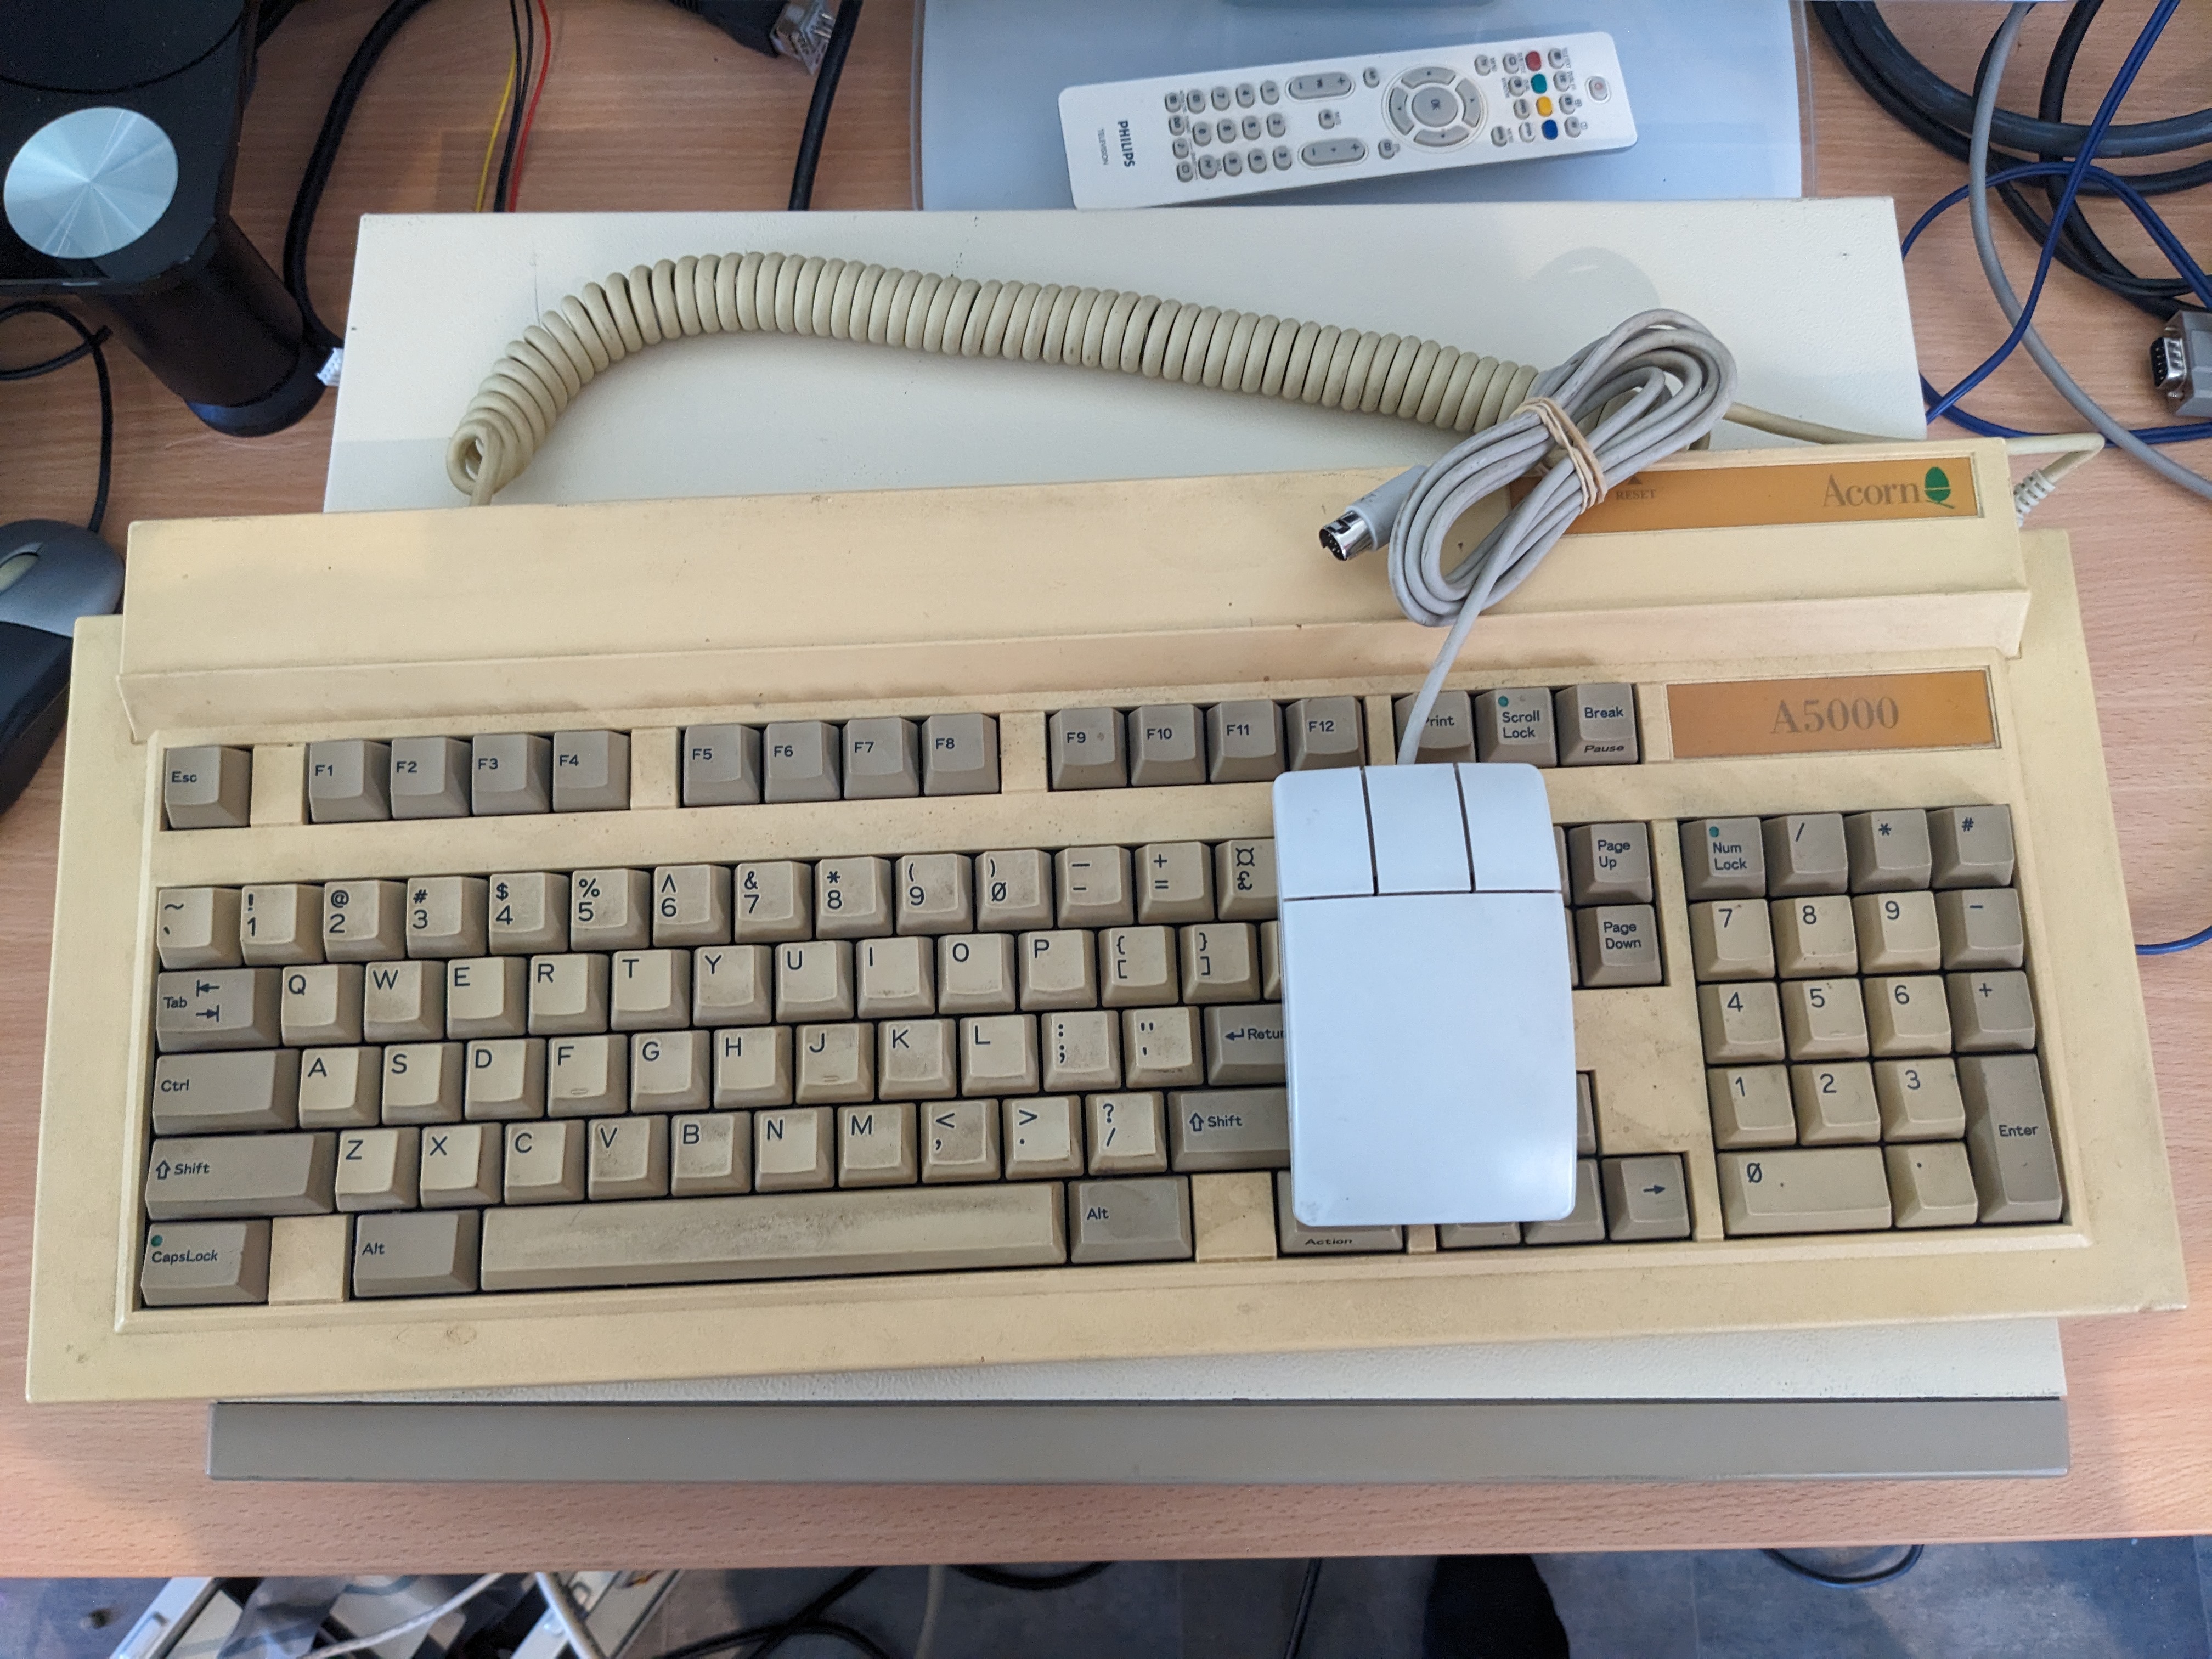
The keyboard is somewhat unique to the Archimedes desktop range. Although it uses a PS/2 style connector, it has a custom protocol. The mouse is a standard Archimedes one which plugs into the keyboard. The keyboard also has a reset button for the machine at the rear of it.
Opening Up
Removing the lid is a matter of undoing six screws on the bottom and then sliding the lid backwards until it comes off. Inside a quite nice layout is revealed.
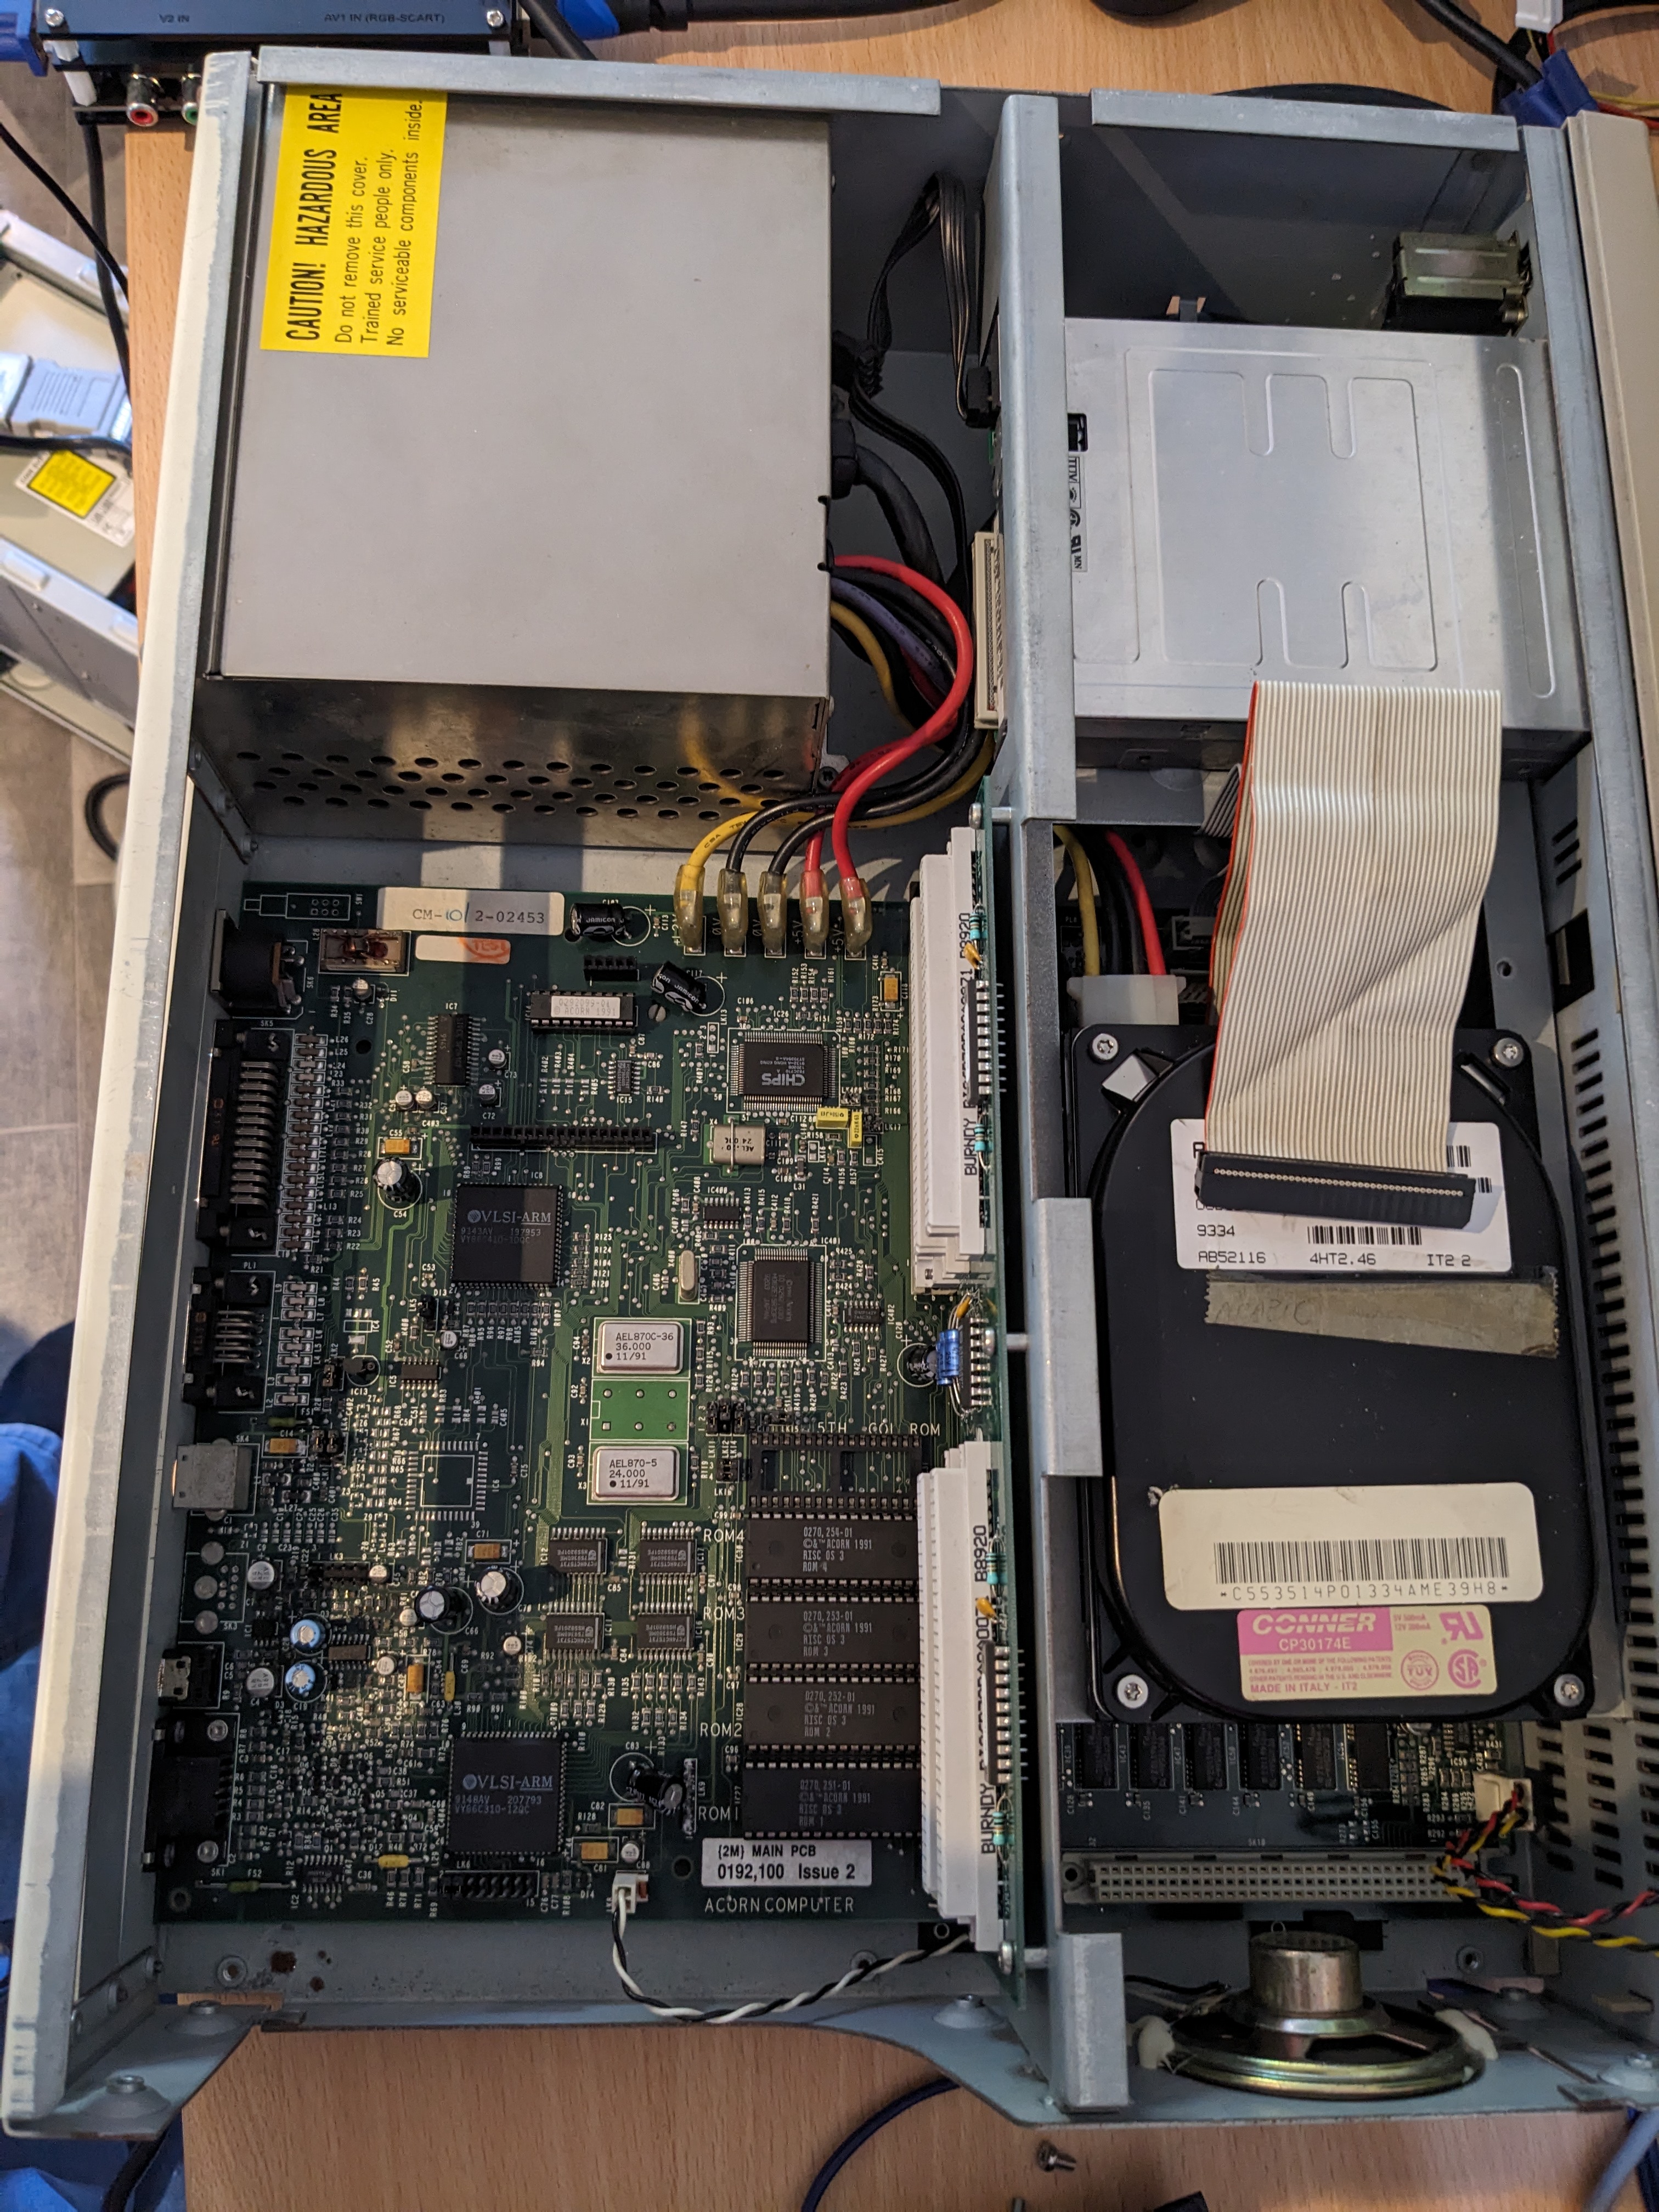
The hard drive data cable was not connected and the floppy drive was connected to the secondary floppy drive port instead of the primary. I’m assuming the previous owner tried to diagnose it this way and didn’t know quite what they were doing.
The drive bays and backplane sockets are on unit that pulls up a little and then unhoocks from both sides.
Initial Testing
When powering it up there is a diagnostics flashing sequence on the floppy drive prior to booting up, which is to be expected with a dead / missing battery. This can also tell us if something else is wrong. Using the POST error calculator here we can figure out the current state from the flashes.
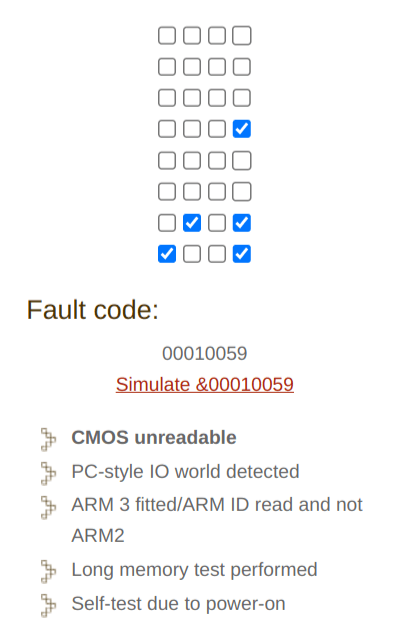
This I think all looks OK. I tried doing the standard CMOS reset sequence (holding Del on power-on) and I got to this:

I believe that is an indication that the CMOS is still in a bad state. Time to pull out the motheboard and check out the area. To remove the motherboard it is a matter of undoing two screws for the backplane and the entire motherboard slides out. I was then able to take a look at the battery area.
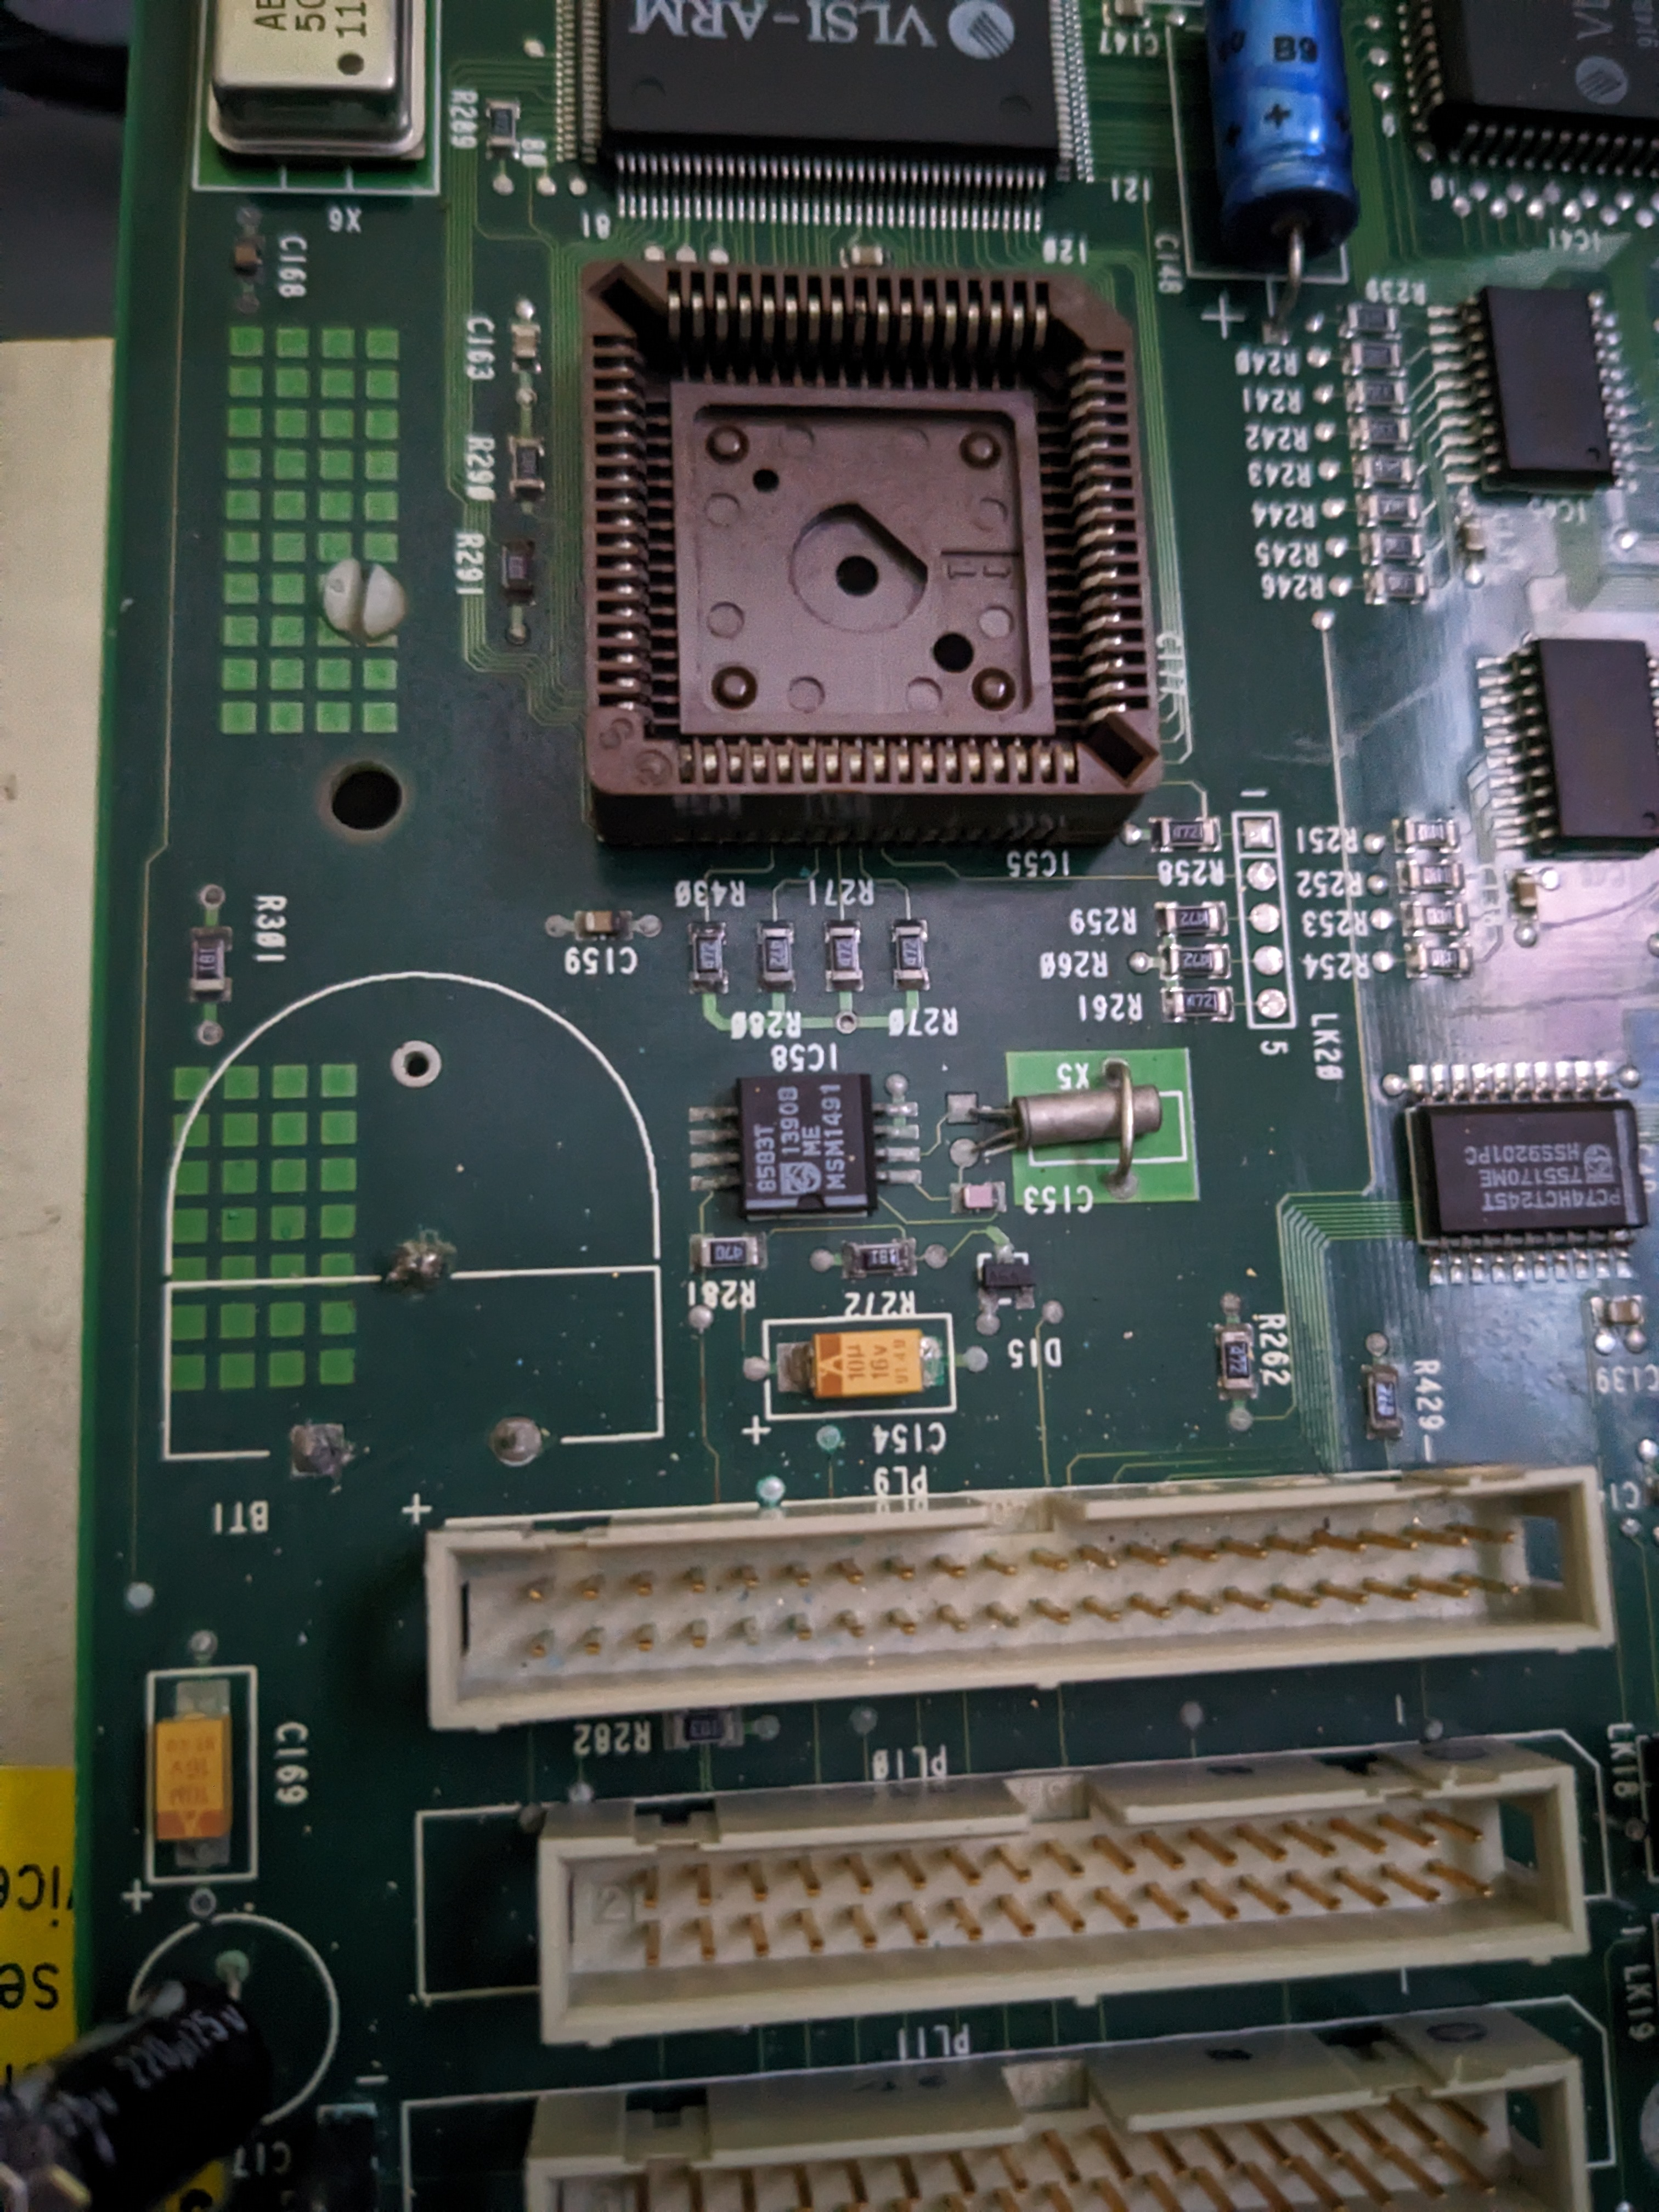
The battery has been snipped and it looks like the area hasn’t been badly damaged, but I probed around anyway to be sure. C154 was measuring no capacitance when removed, so I replaced it with an equivalent electrolytic. I also wired in a AAA battery socket to the battery area so that a battery can be used.
Second Attempt
I attempted to power up again and got a little further.


Wow! It boots! Let’s try a disk.
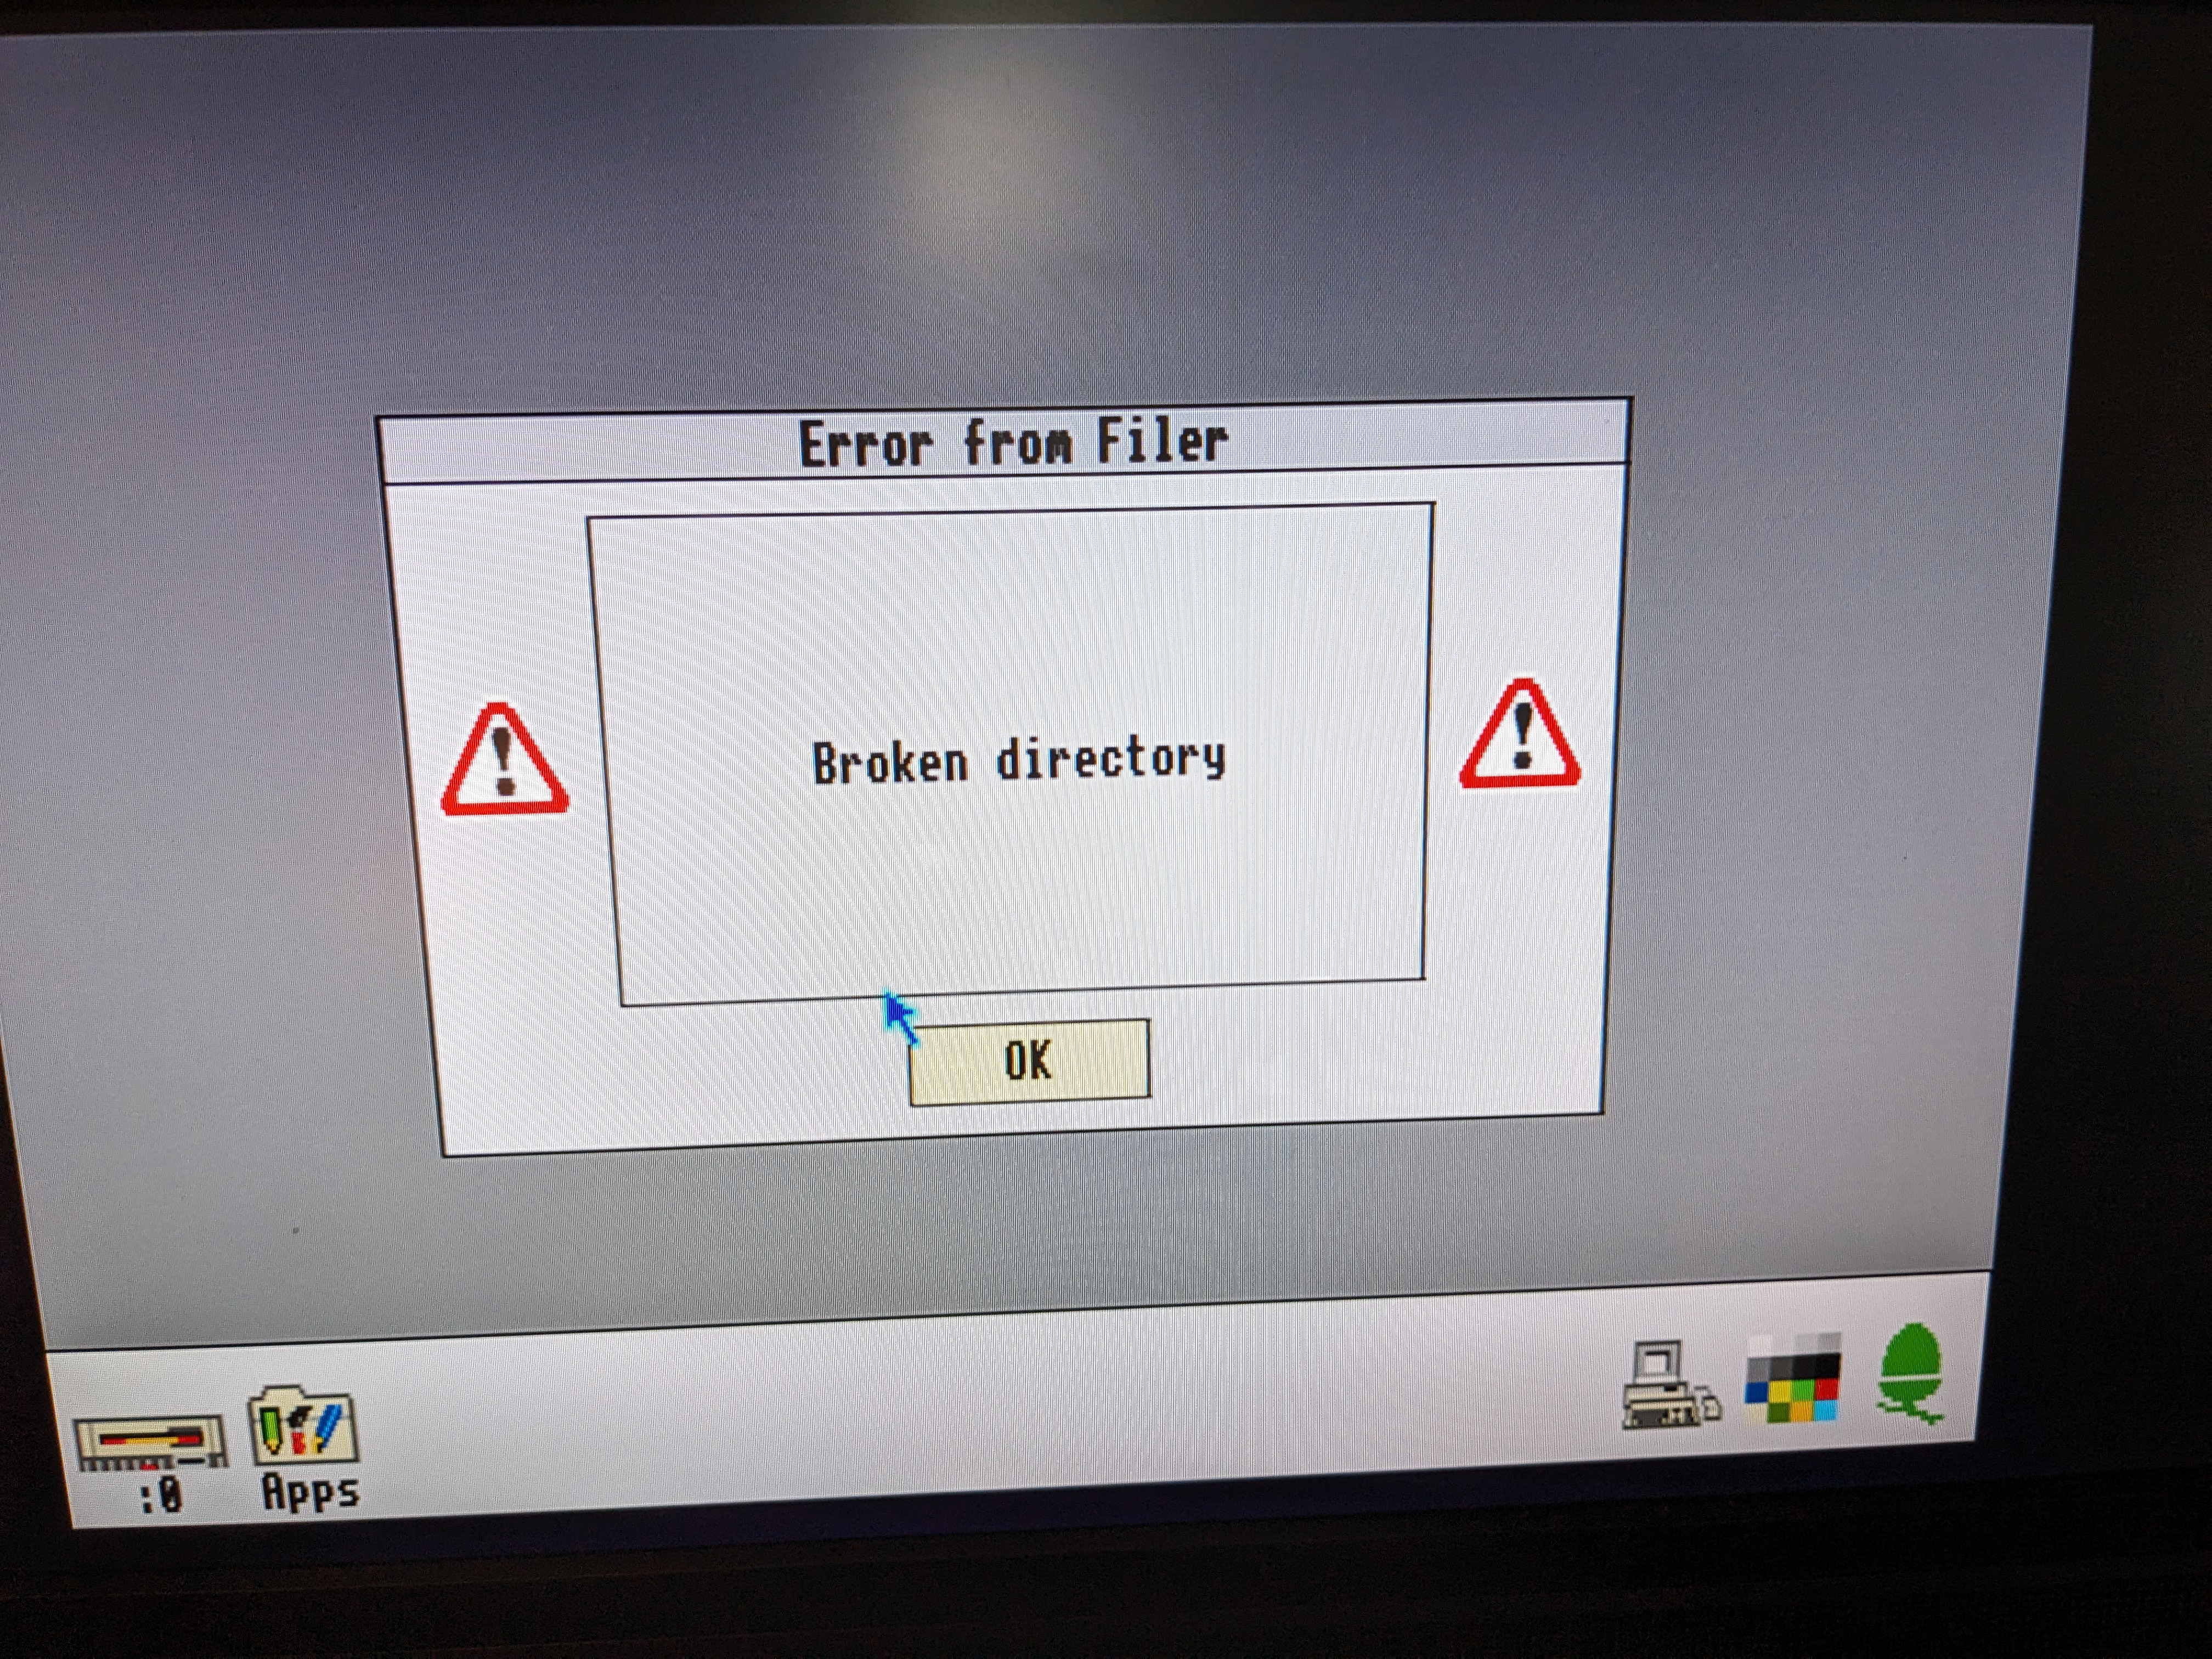
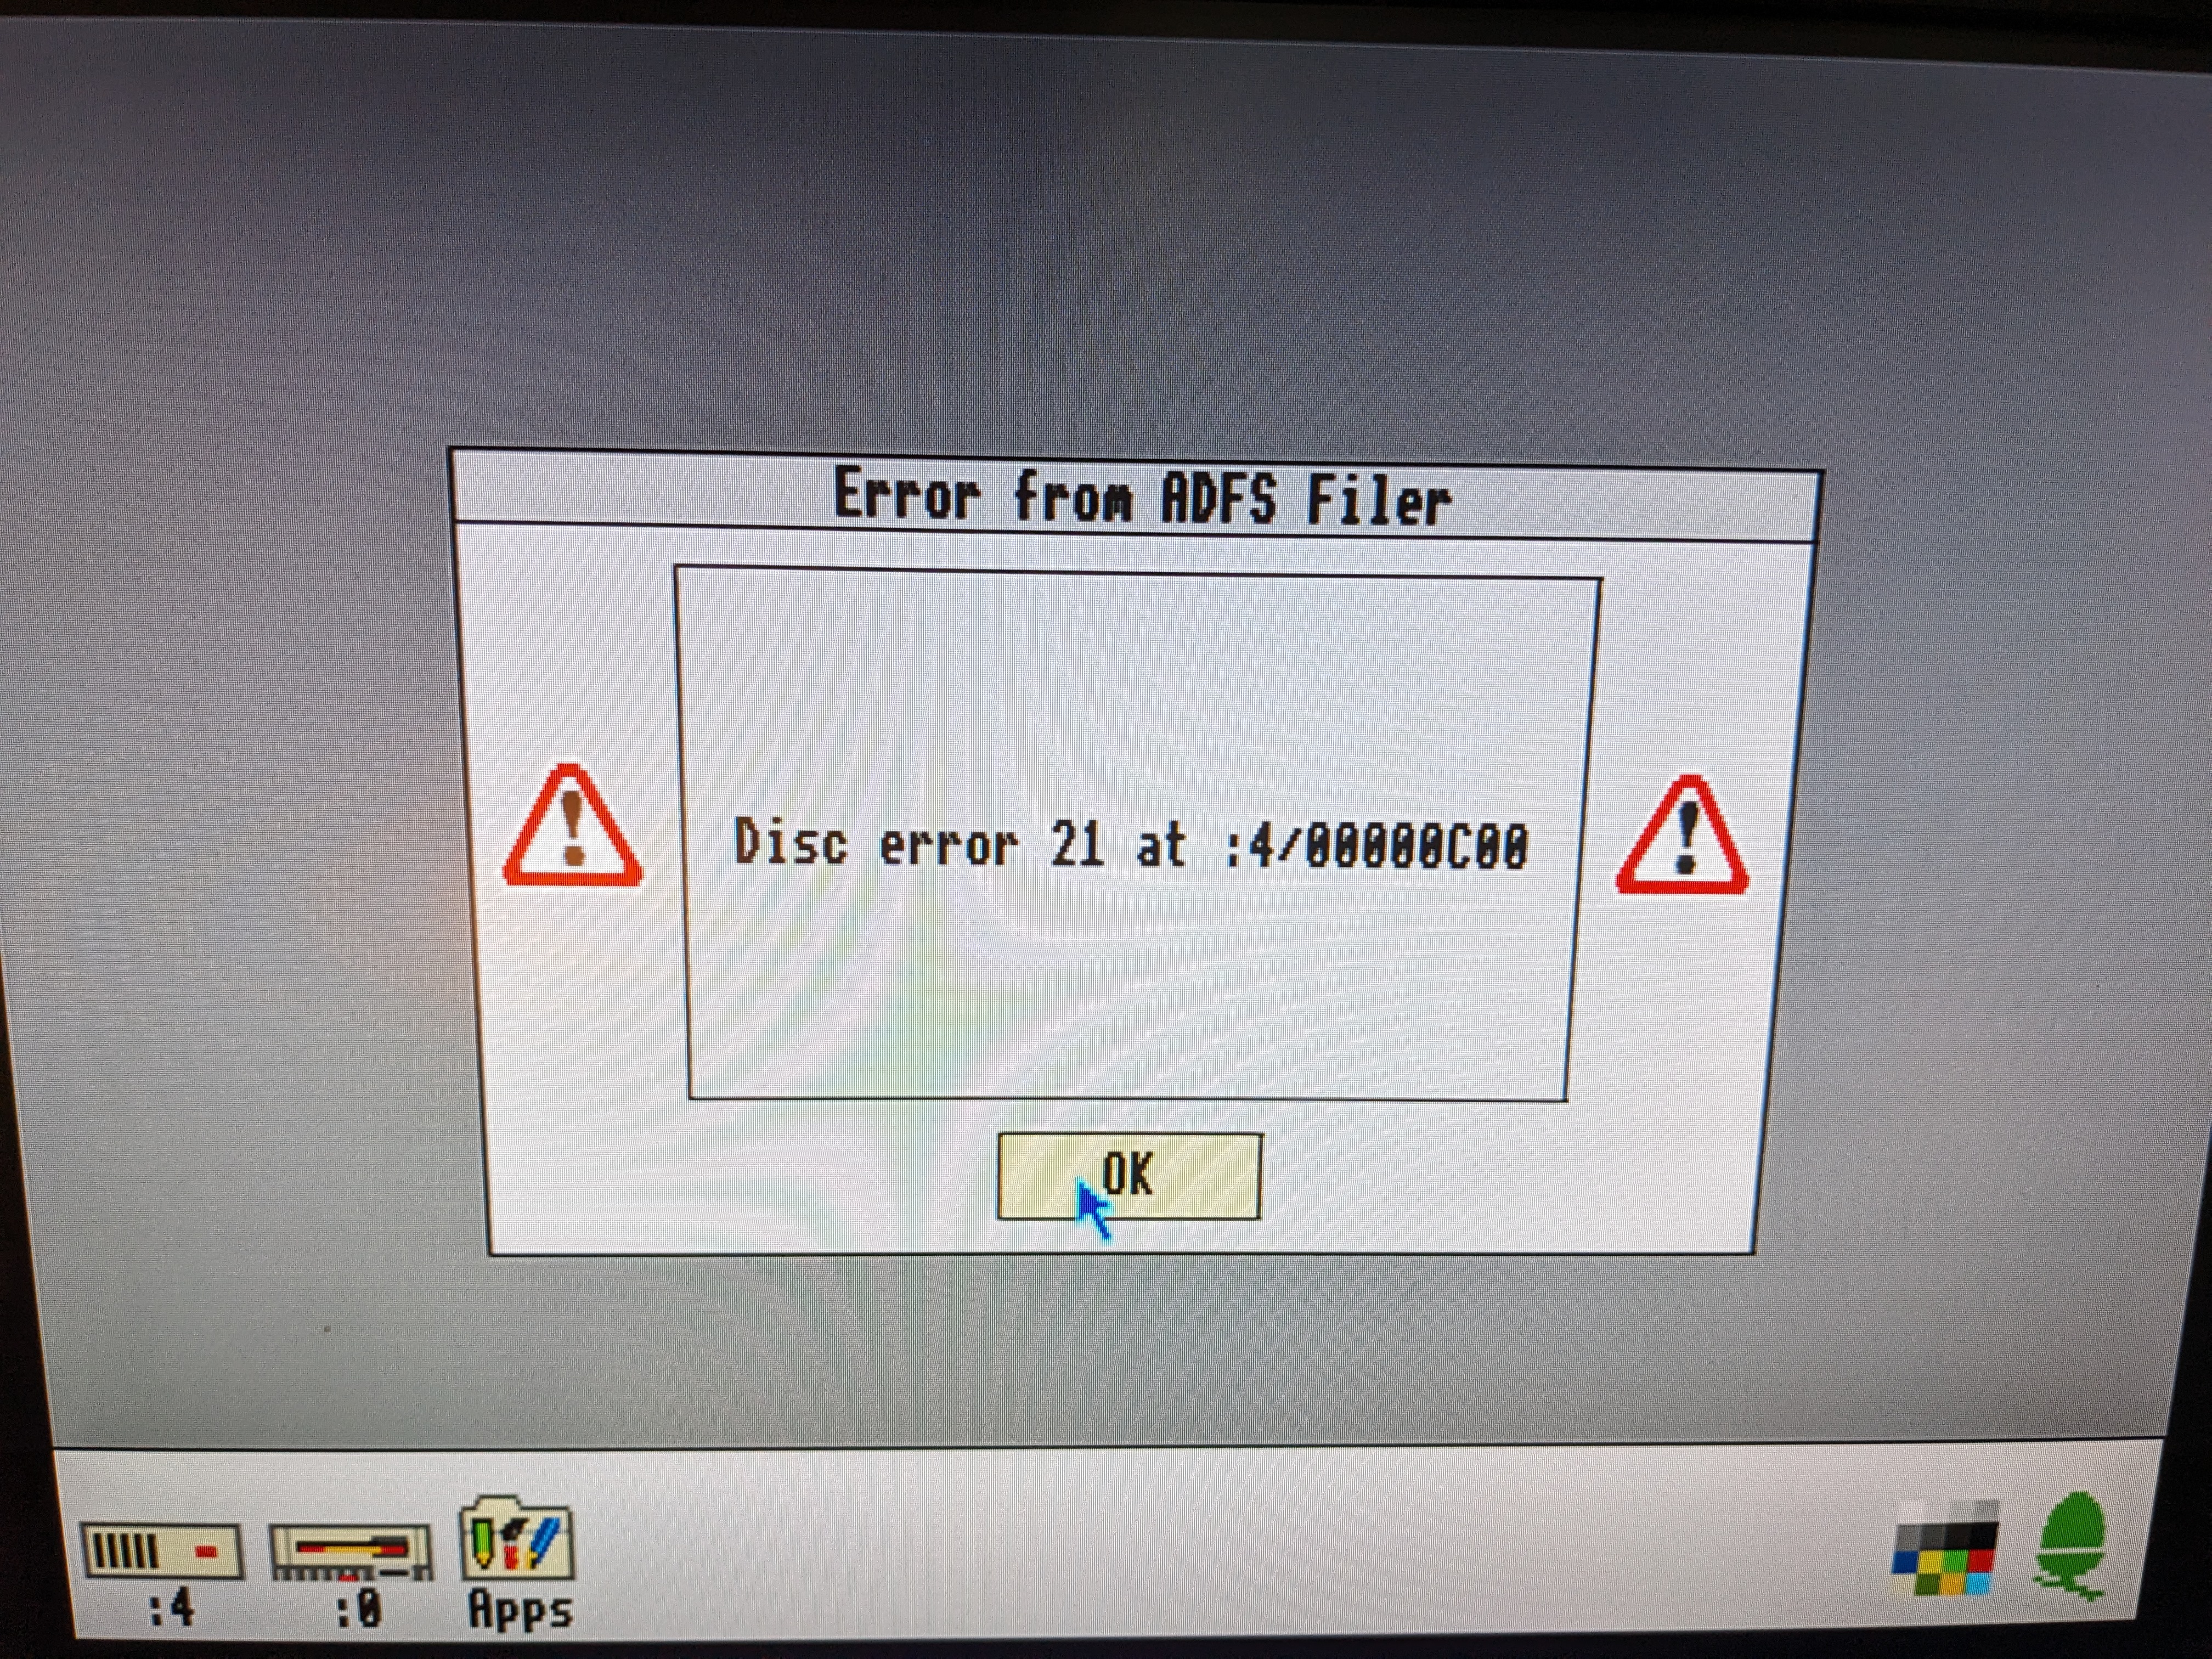
Hmm… that is an indication that the disk can’t be read correctly. I plugged it into my Greaseweazle to check if the drive is OK and it was able to read the disk without any issue. The cable was also fine, which means that there may be more problems on the motherboard.
I attempted the IDE drive as well. Looks like there might be a problem there too.
Probing the floppy drive ports I managed to find one pin (the SIDE pin) was not connected correctly. Maybe the battery did more damage than I thought.
Time to remove a floppy connector and the IDE connector.

OK, I think I can see a problem. There are several broken traces here that will need fixing. I also need a new IDE socket as the old one is pretty corroded underneath.
Next Time
This corrosion is going to need cleaning up and the damaged traces are going to need patching. I can then see if the hard drive works. There are some other things I want to do as well:
- Physically clean the machine
- Upgrade the ROM to 3.11. The 3.0 ROM that came with this early model A5000 is known to be very buggy
- Upgrade the RAM to 4MB
- Switch the hard drive for a CF card
- Obtain a plate to cover the hole in the rear
This machine will be more work than expected, but there is a light at the end of the tunnel.
Leave a Reply