

With the battery gone, it is time to test the PSU, boards and drives for this RiscPC. Got fingers and everything else crossed? Here goes!
Drives
There were two hard drives in this RiscPC, a boot drive and a second drive connected to an IDE Podule. I decided to test these on my working RiscPC to see if I could read them. First off the second drive.

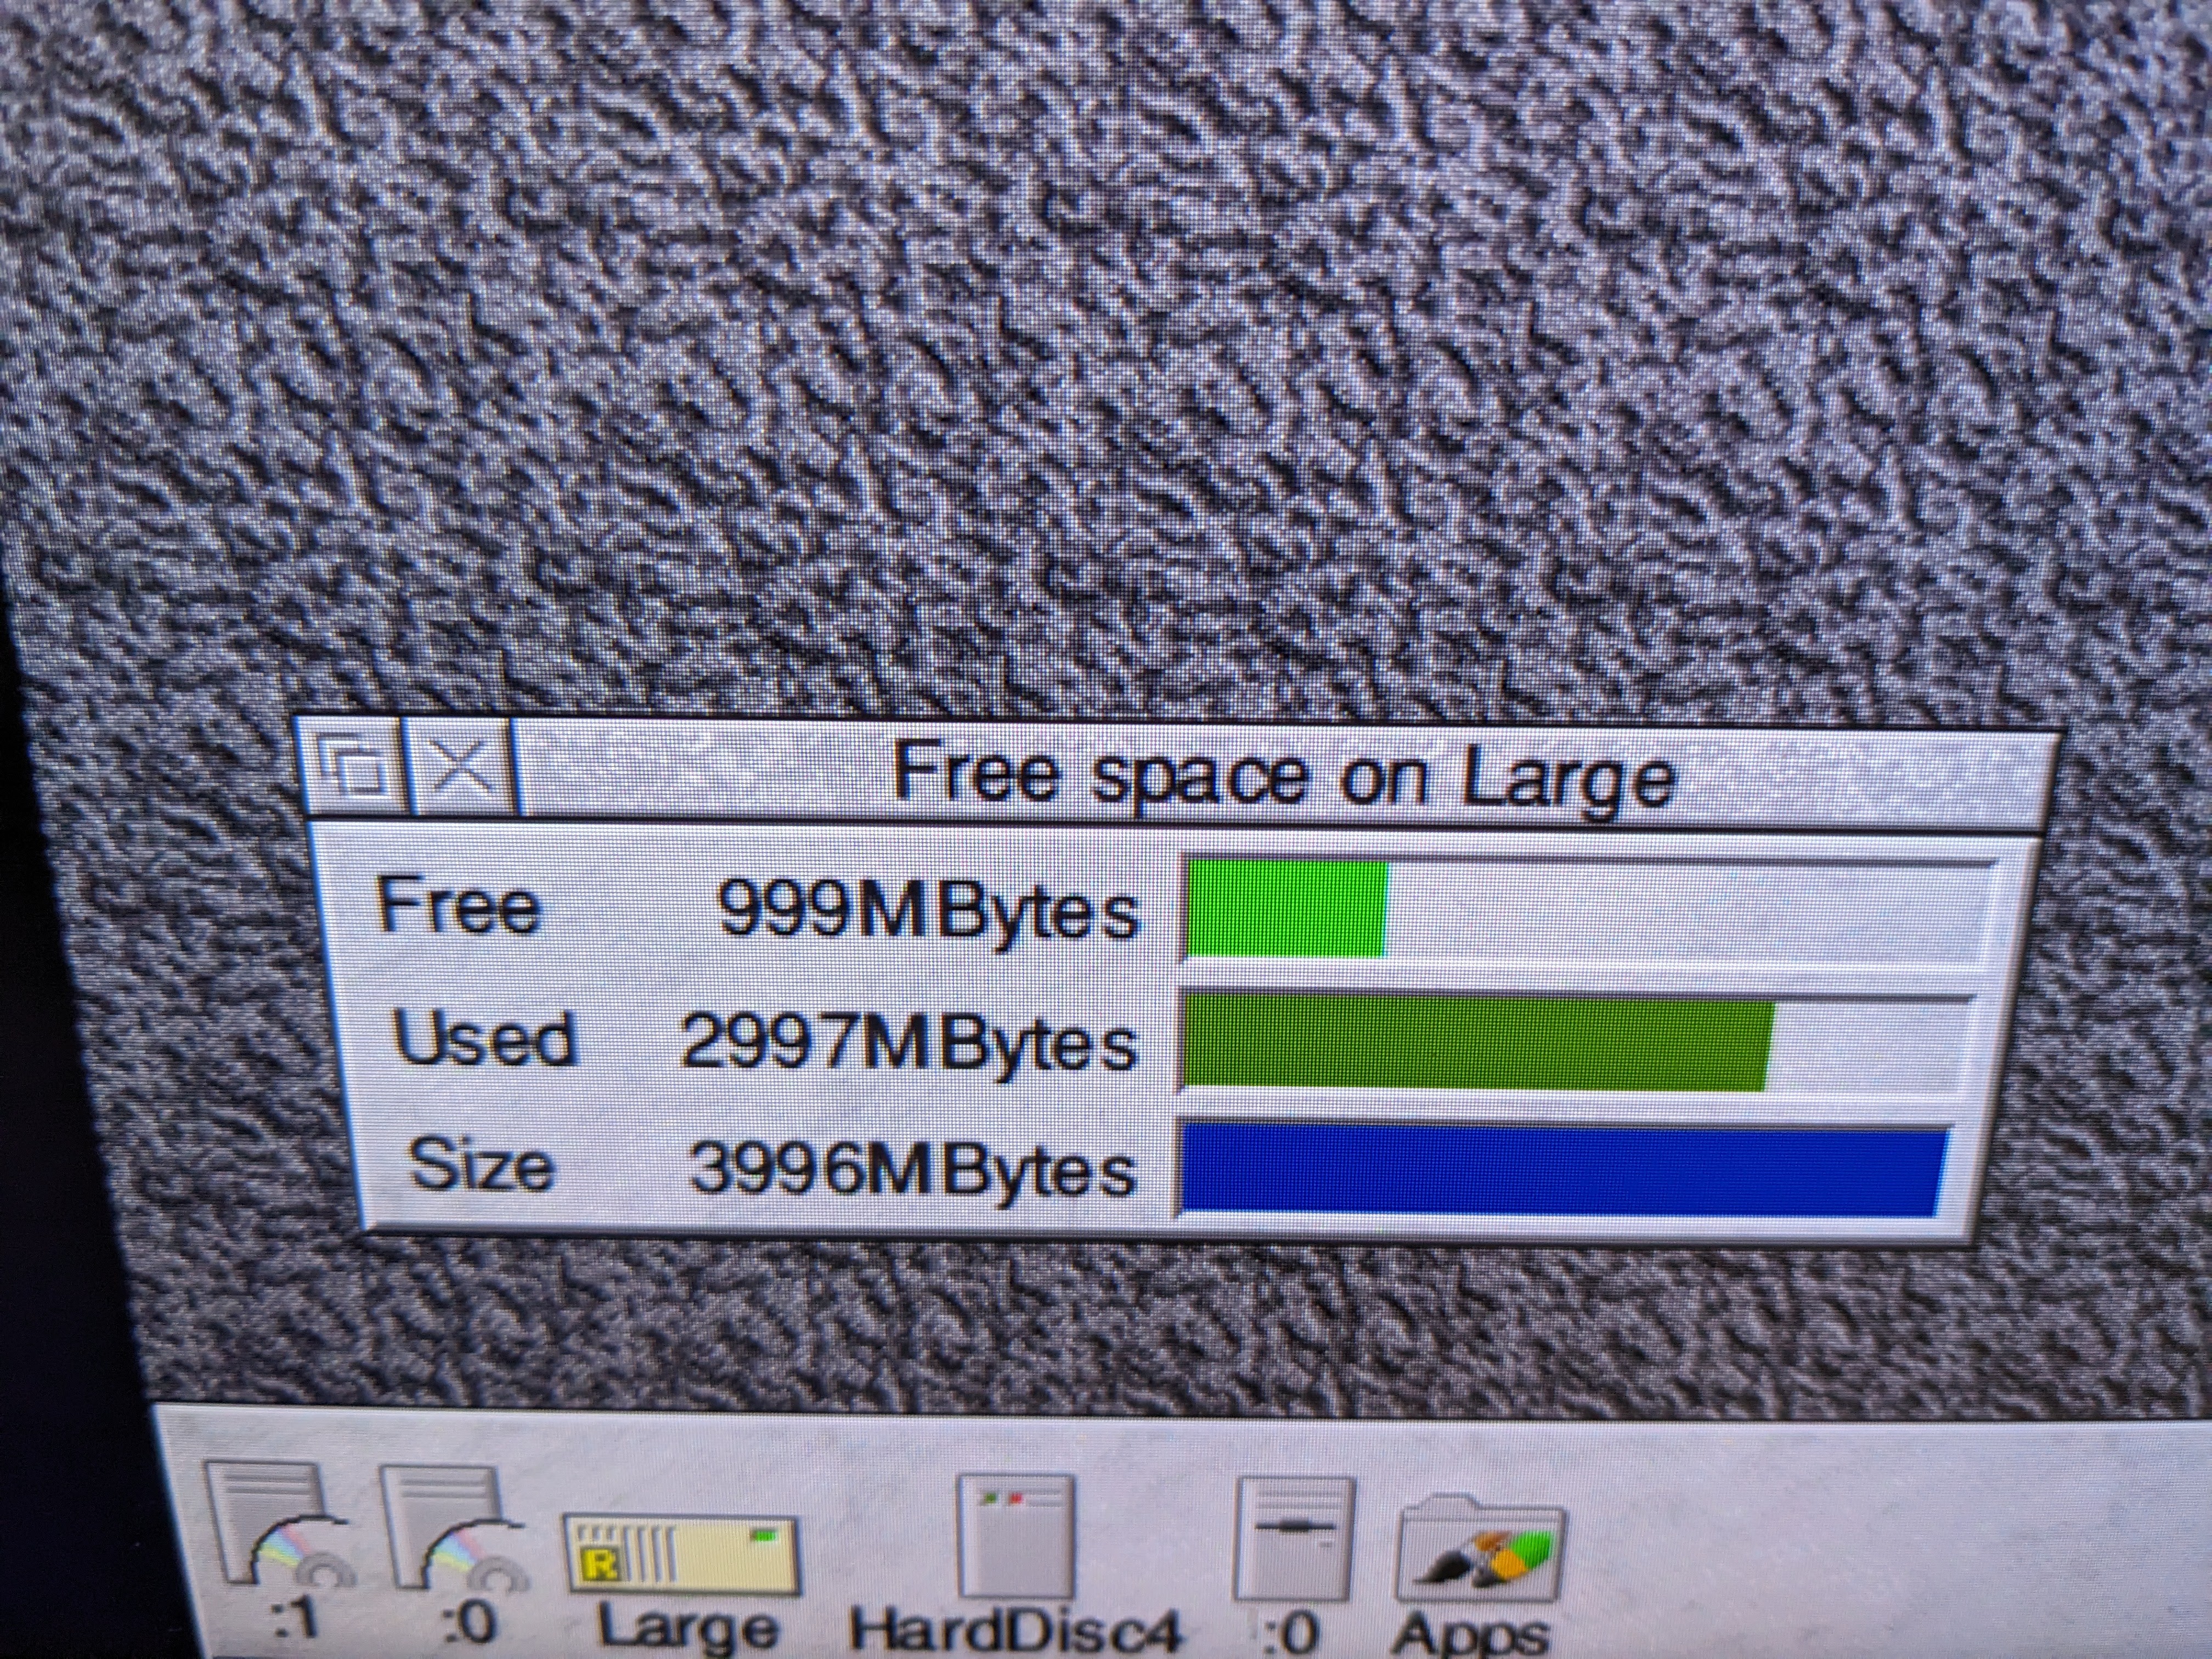


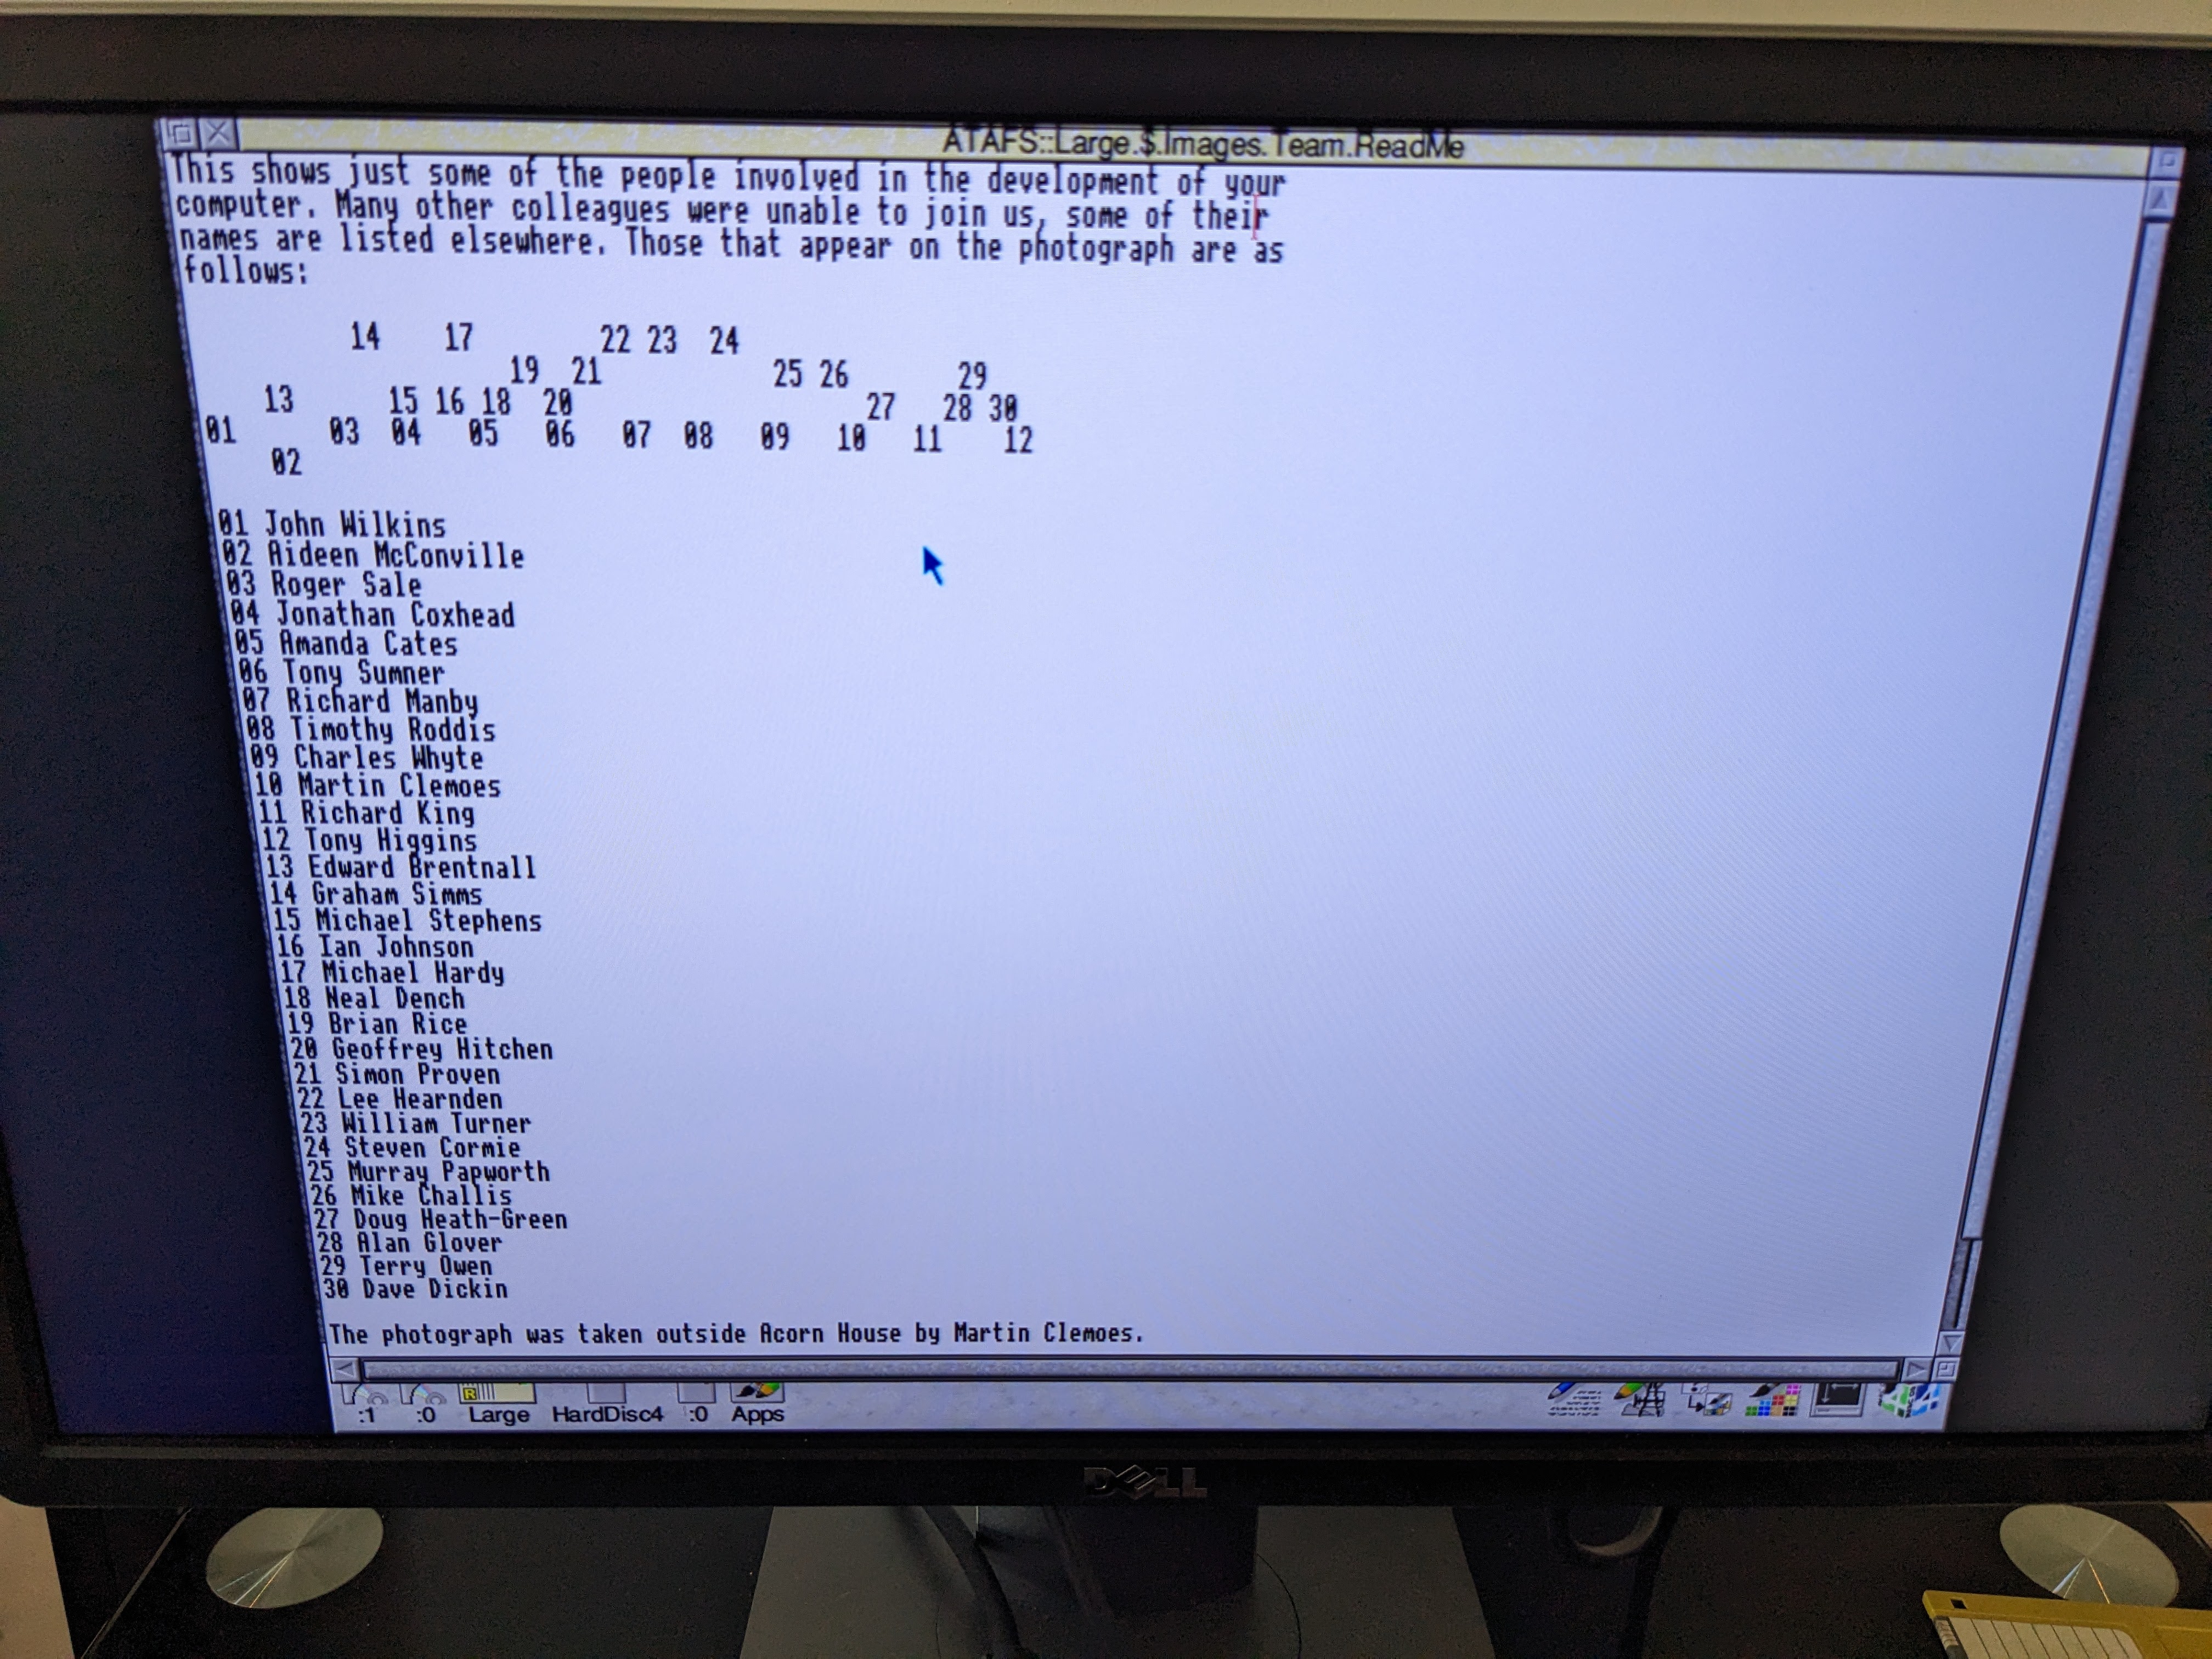
I wasn’t sure how large this drive was, but I now know it is 4GB. It appears to have the user’s applications and documents. Including some CVs and some bank letters, I haven’t figured out which application reads them yet, but they are all there. It also has the Acorn Development Team joint photo along with a collection of stock photos. I’m guessing this was part of a RISC OS CD that came with the machine originally.
This drive seems good, so let’s try the boot drive.
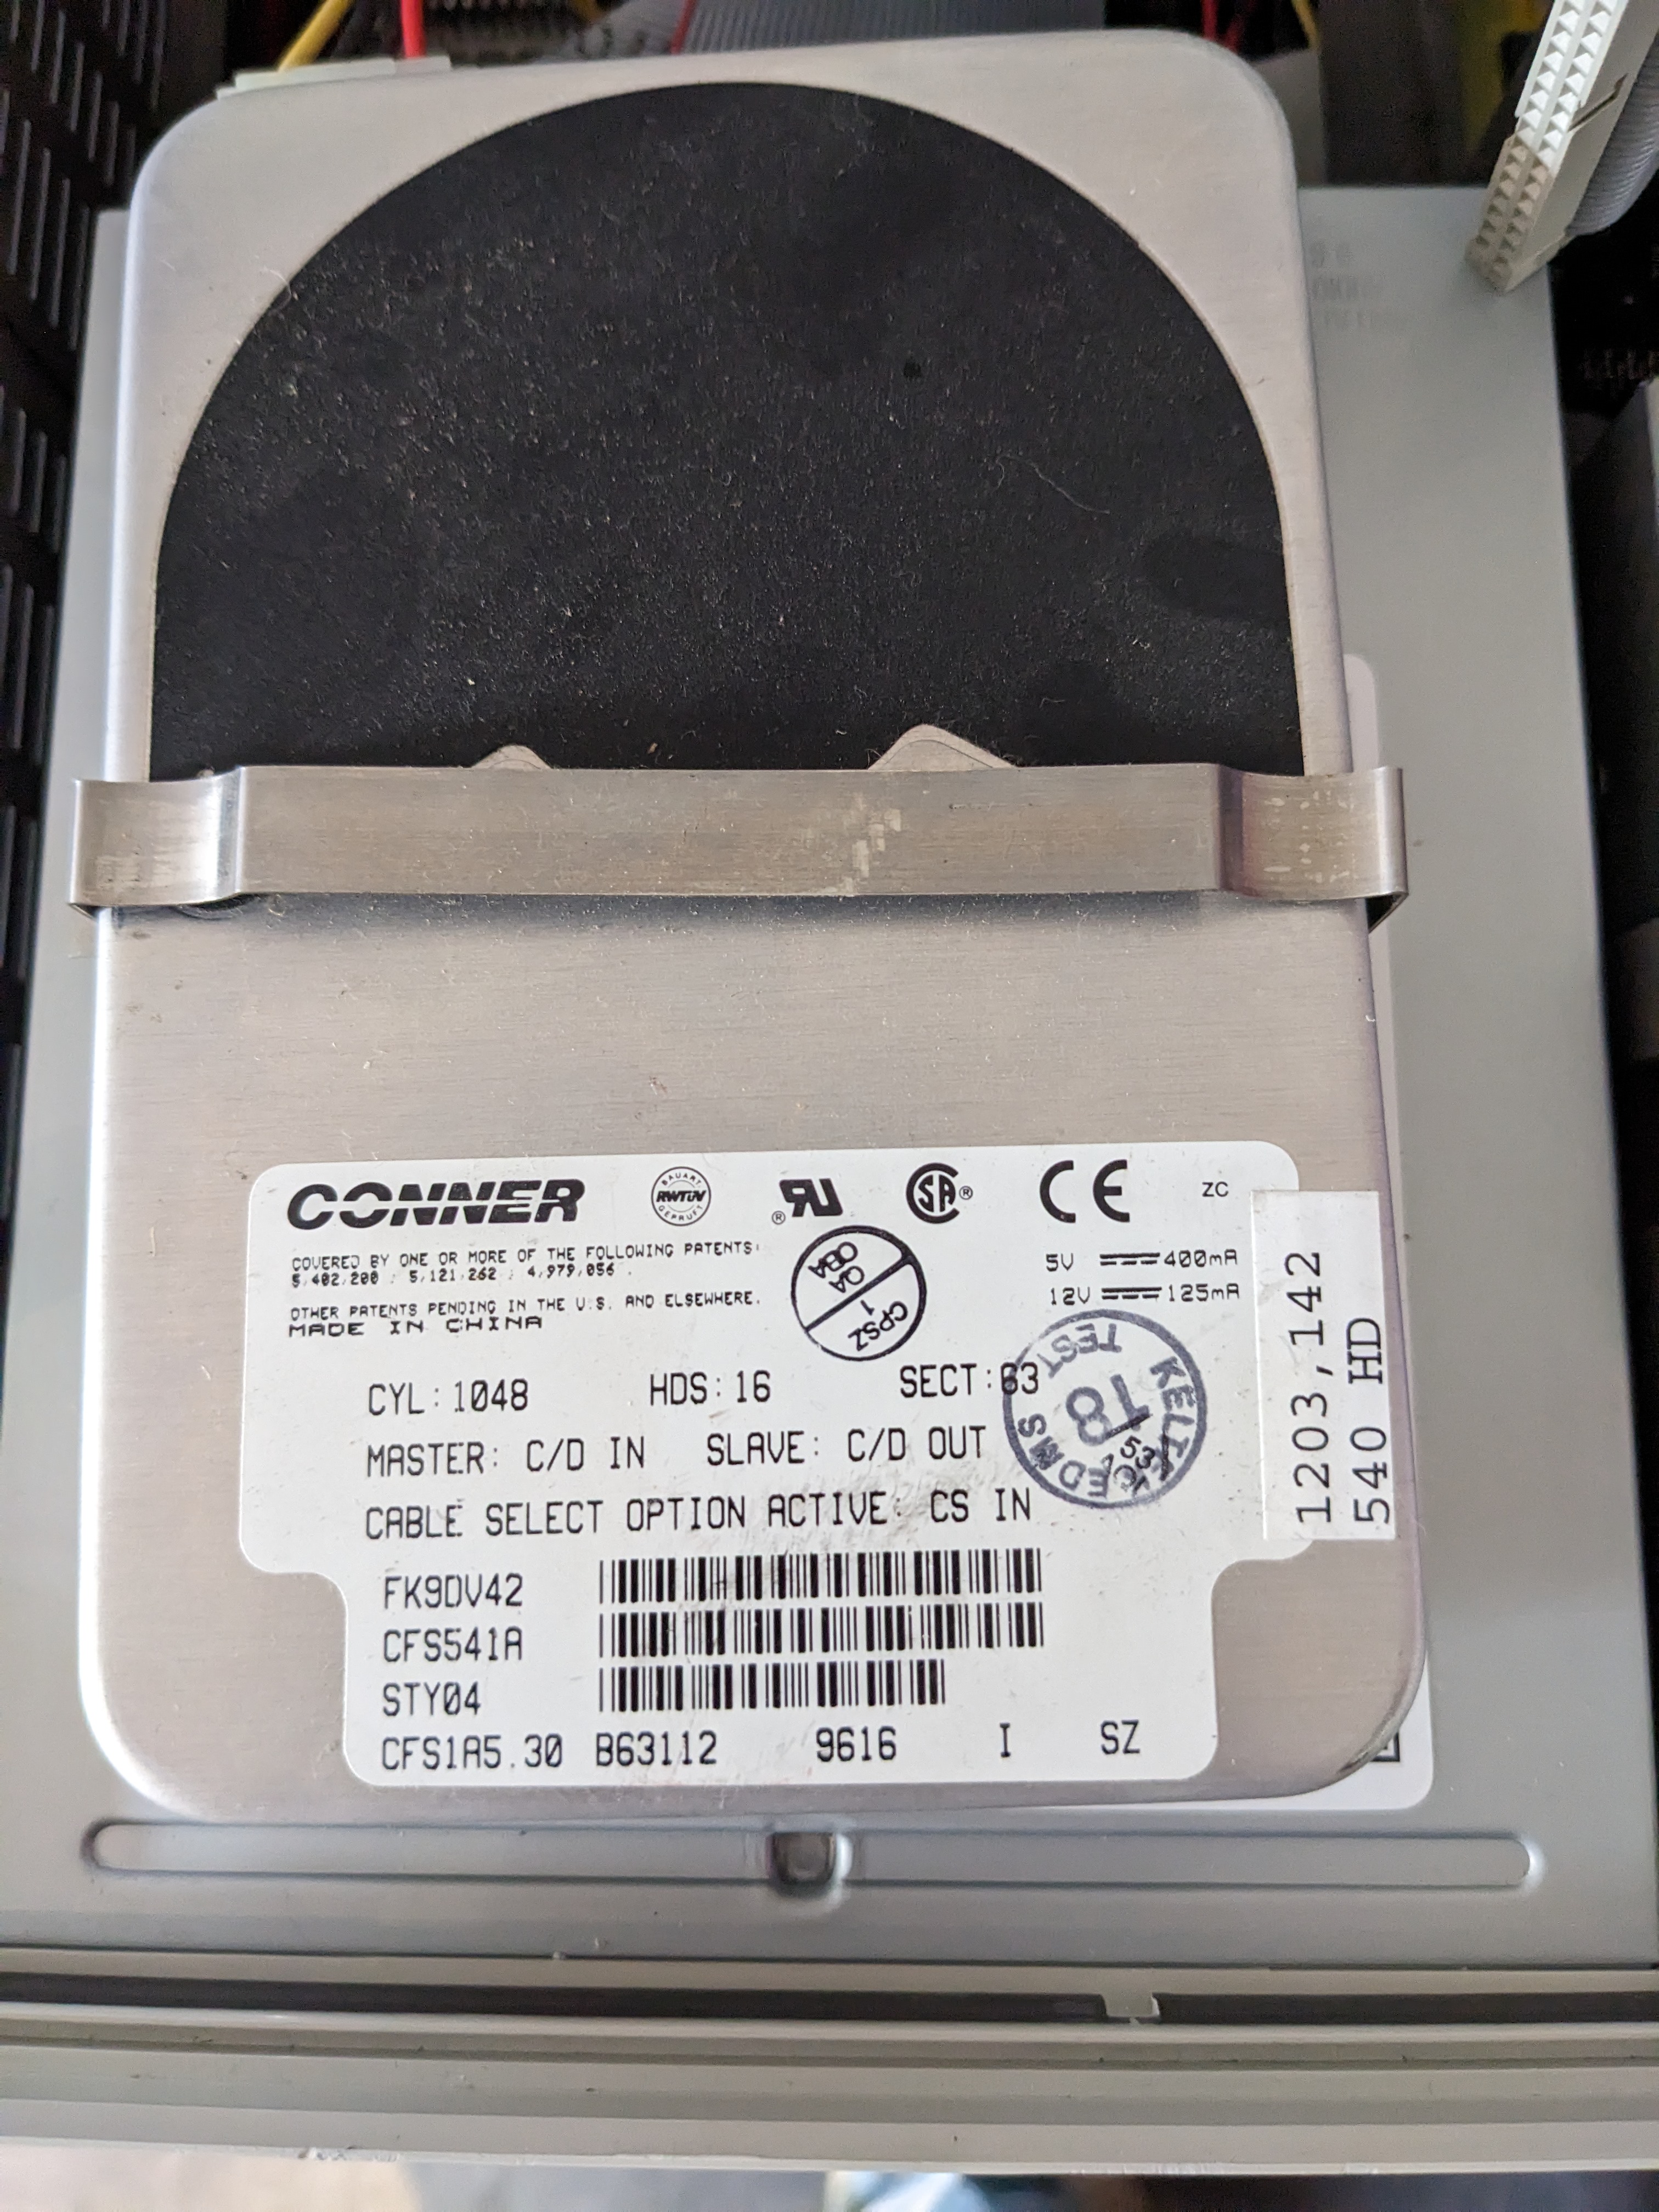
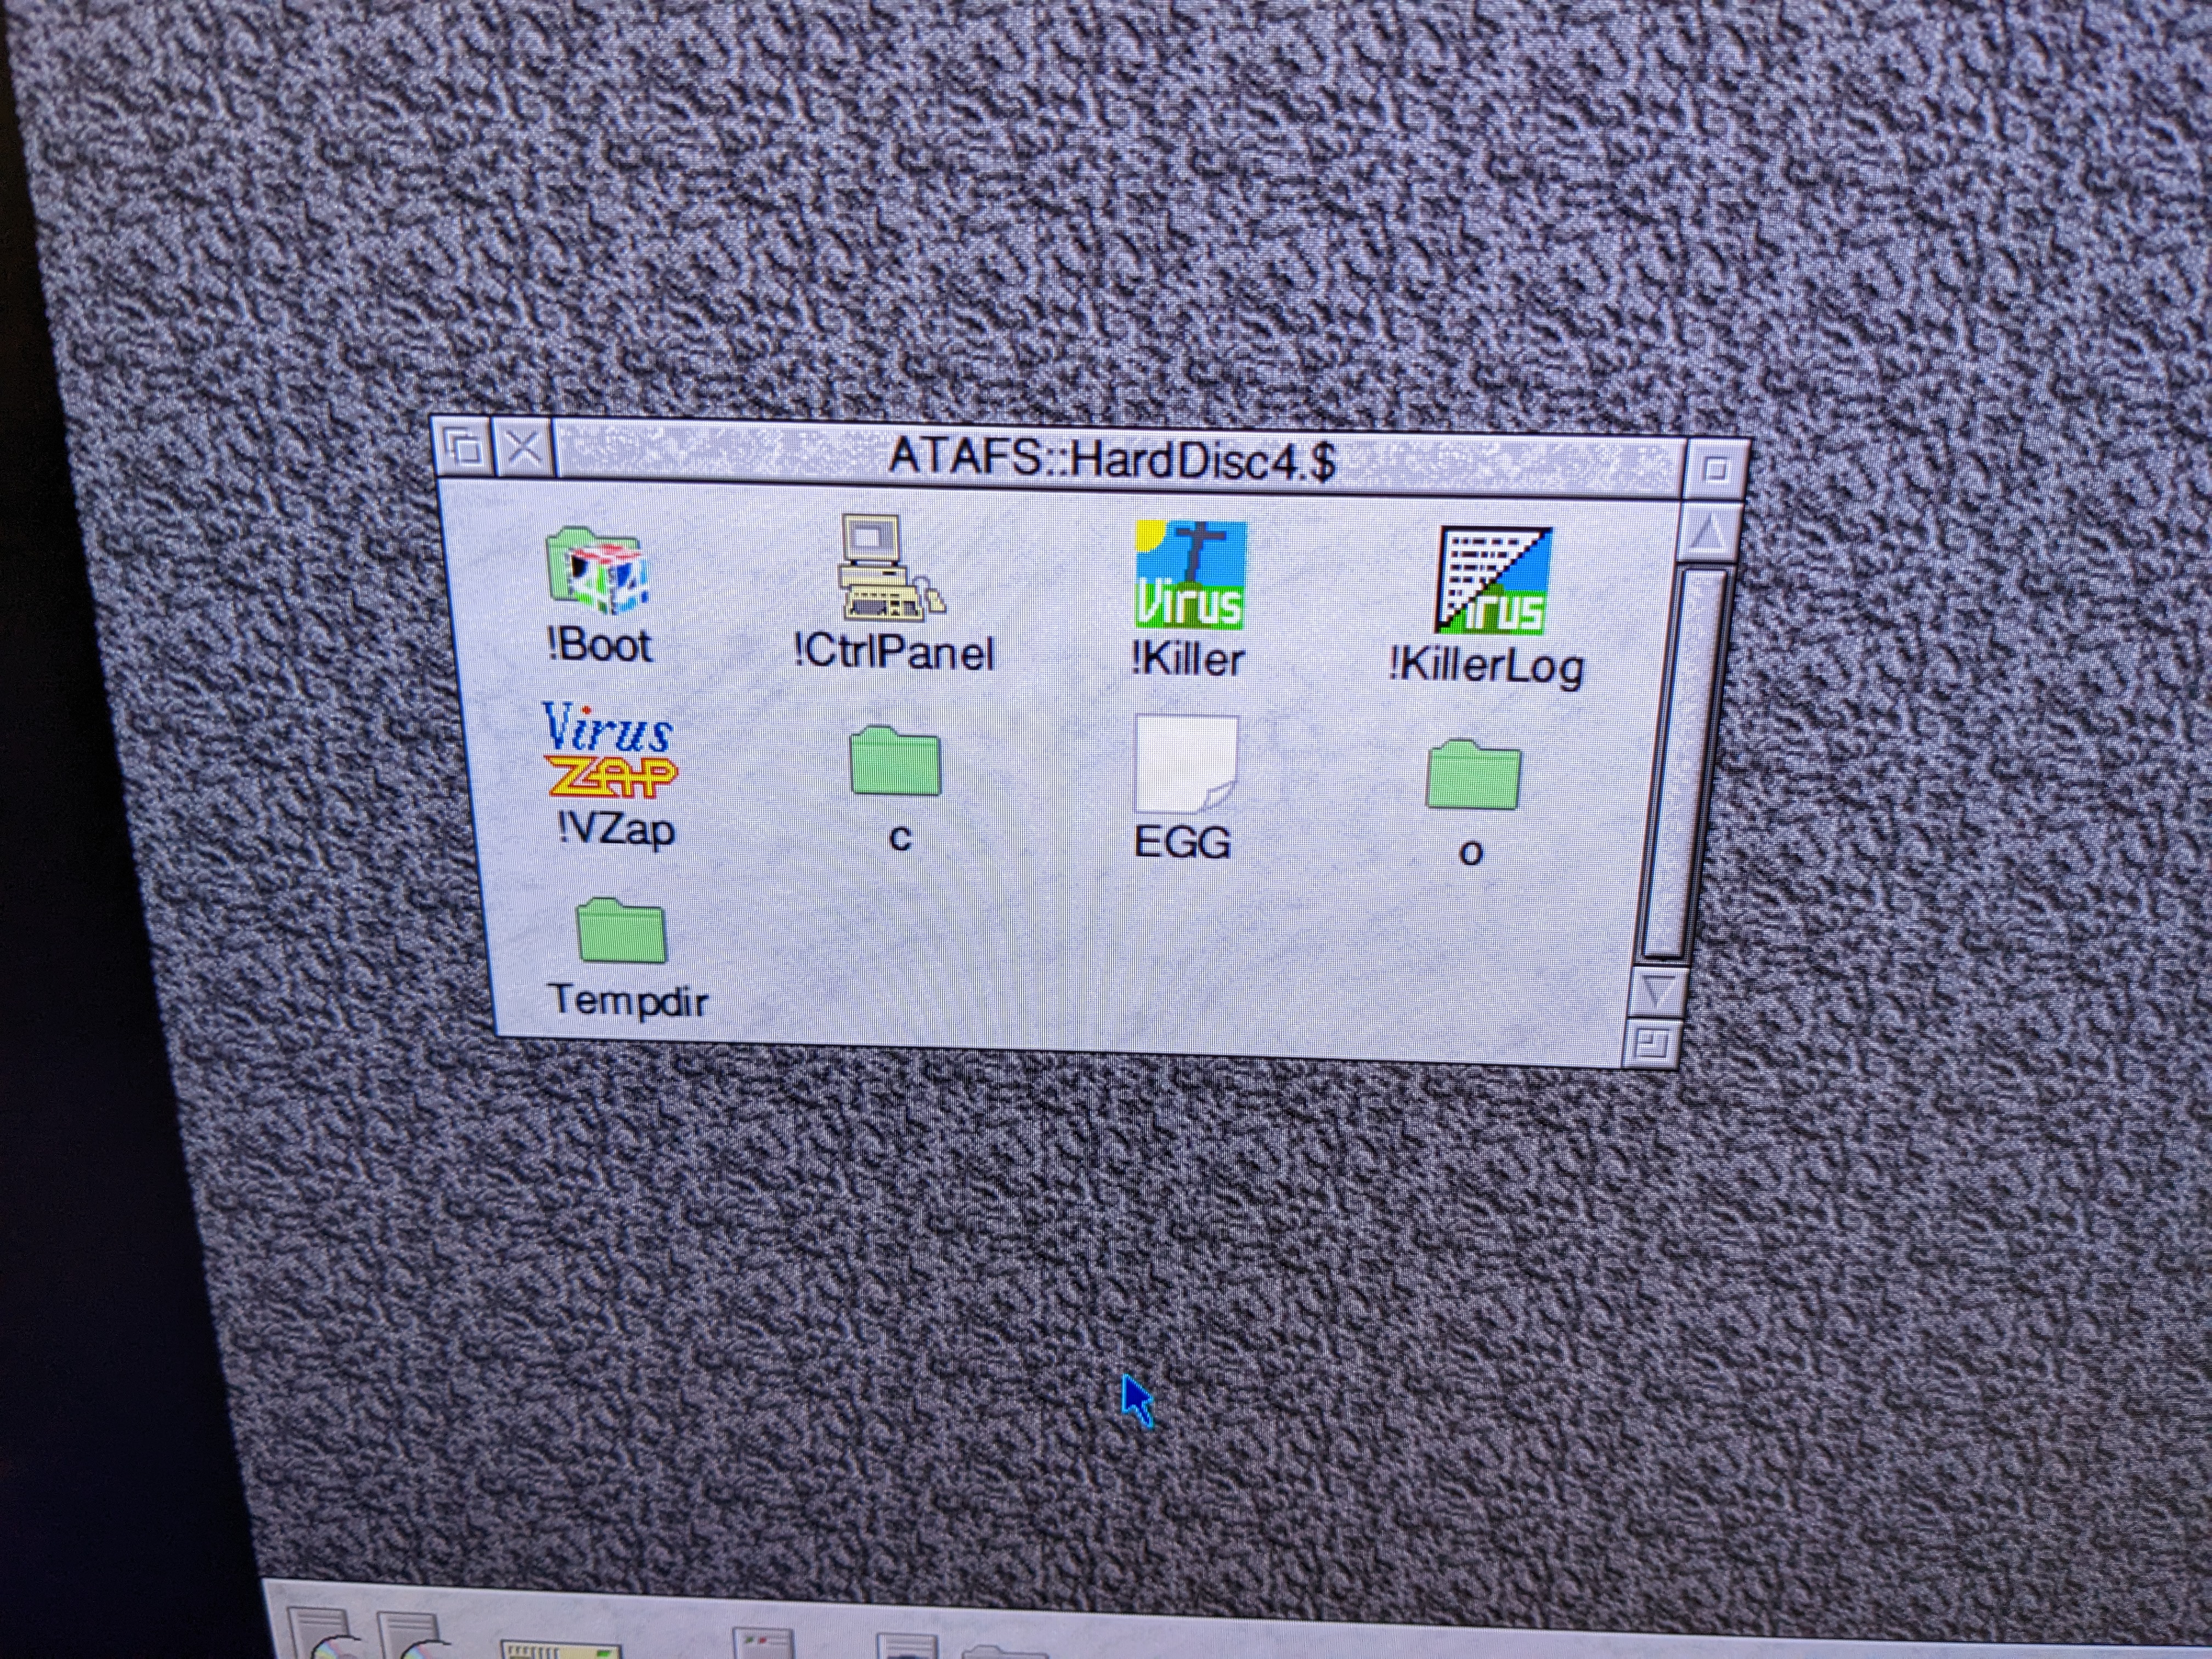
Again, this drive appears to work fine too. It appears to basically have an anti-virus and the output of some C code. Pretty much everything is on the second drive.
PSU
When I picked up the PSU to work on it I noticed that it was rattling a little. That’s not good. When I opened it up these fell out.

Well, that is the missing rolling door spring! The bits of plastic are teeth that hold the various slices and lid of the computer’s casing together. There are lots of these broken off already. I’m assuming these all went in via the fan when this machine was tossed around during shipping.
The PSU was quite dusty inside, so I blew it out the worst of it using CompuCleaner and gave the capacitors an inspection of obvious failure.
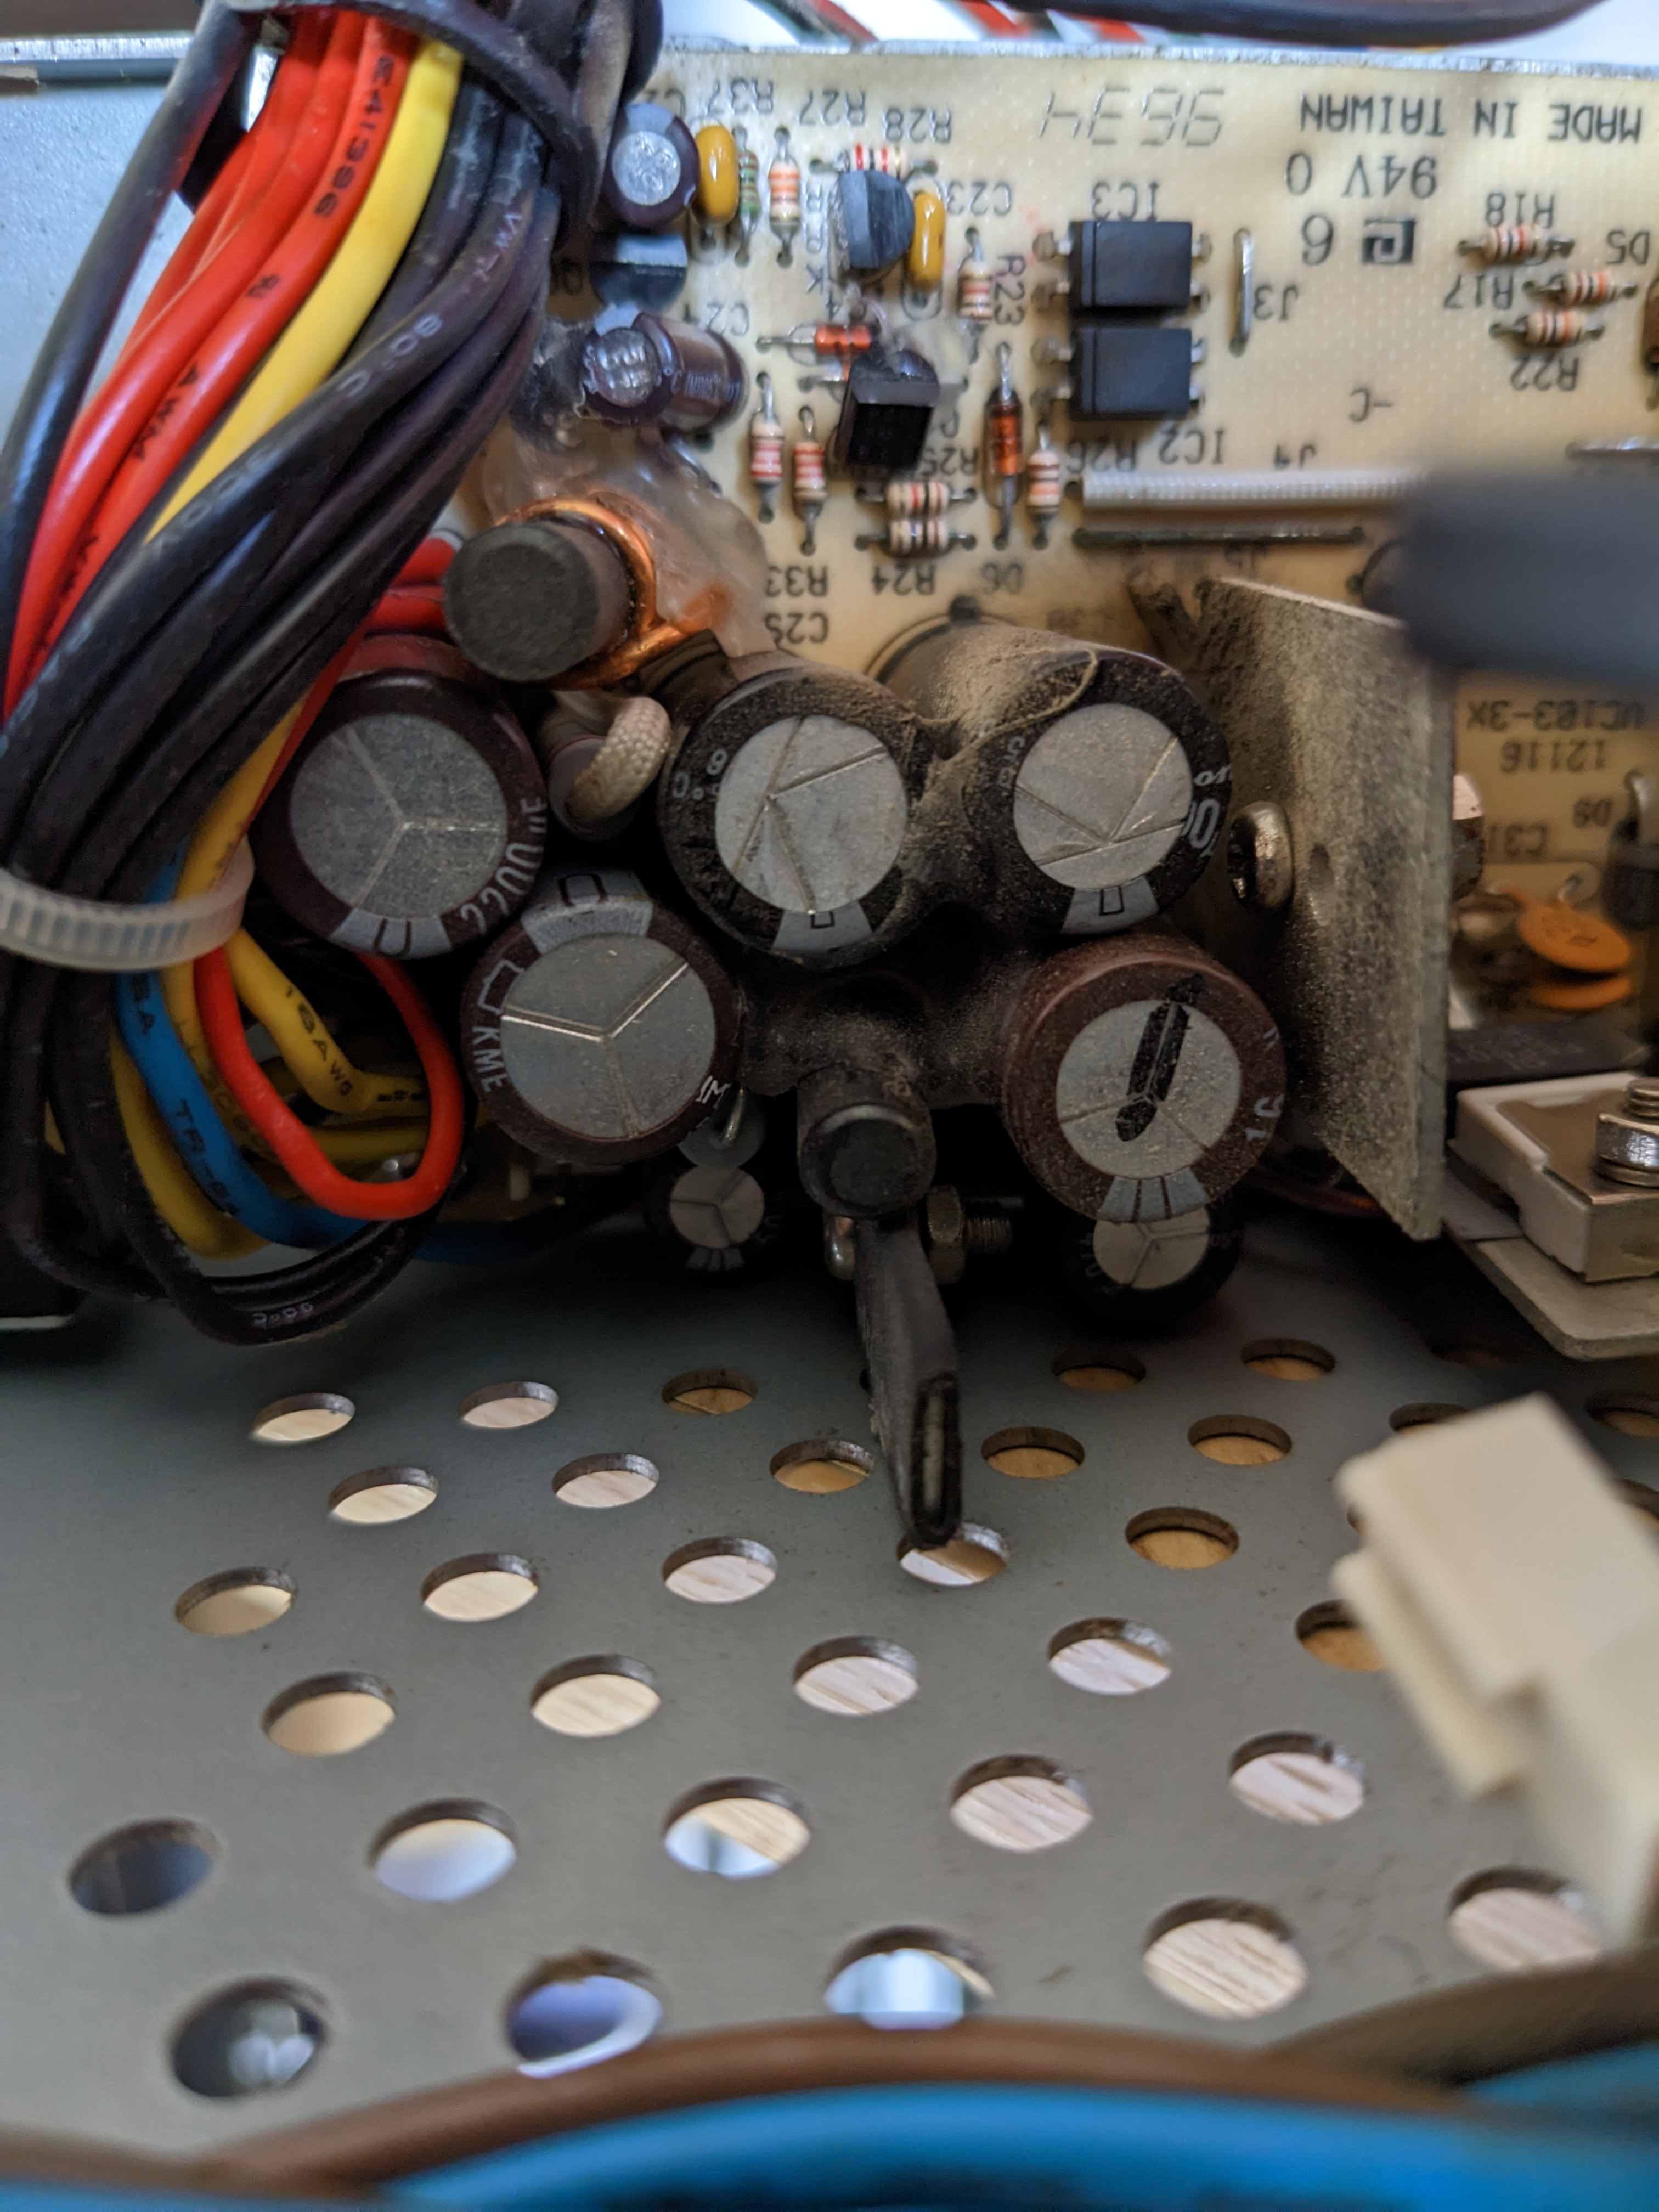
No obvious problems there, it does still look a little dusty, but before I started I couldn’t even see the capacitors under the blanket of dust. What is left would likely need a little physical abrasion to remove.
I then reassembled the PSU and put together a test for it. For this I connected two multimeters to read the 12v and 5v lines and then hooked up the boot drive for load. It isn’t the end of the world if this drive fails, I have a spare from my first RiscPC which is not in use.

This desk is a bit of a mess right now due to many other things being tested for other blog posts, so please ignore that. The 5v and 12v are both within range. The PSU fan is a little noisy, sounds like a bearing is on the way out, so I’ll likely replace that later.
Motherboard
We have a good PSU and drives. How about the motherboard? To test this I put the motherboard together with the RAM and CPU card. I powered this up with a keyboard connected and held the DEL key to reset the NVRAM settings as these would be corrupted without a battery.

Moment of truth…

Success! The left side is cut off due to the monitor needing calibrating for this sync, it does it on my other RiscPC too, I’m not concerned about this. I could have let the drive search time out and boot the GUI, but this is good enough for now. The RAM count is also correct, despite it looking odd. I’ll show you why.
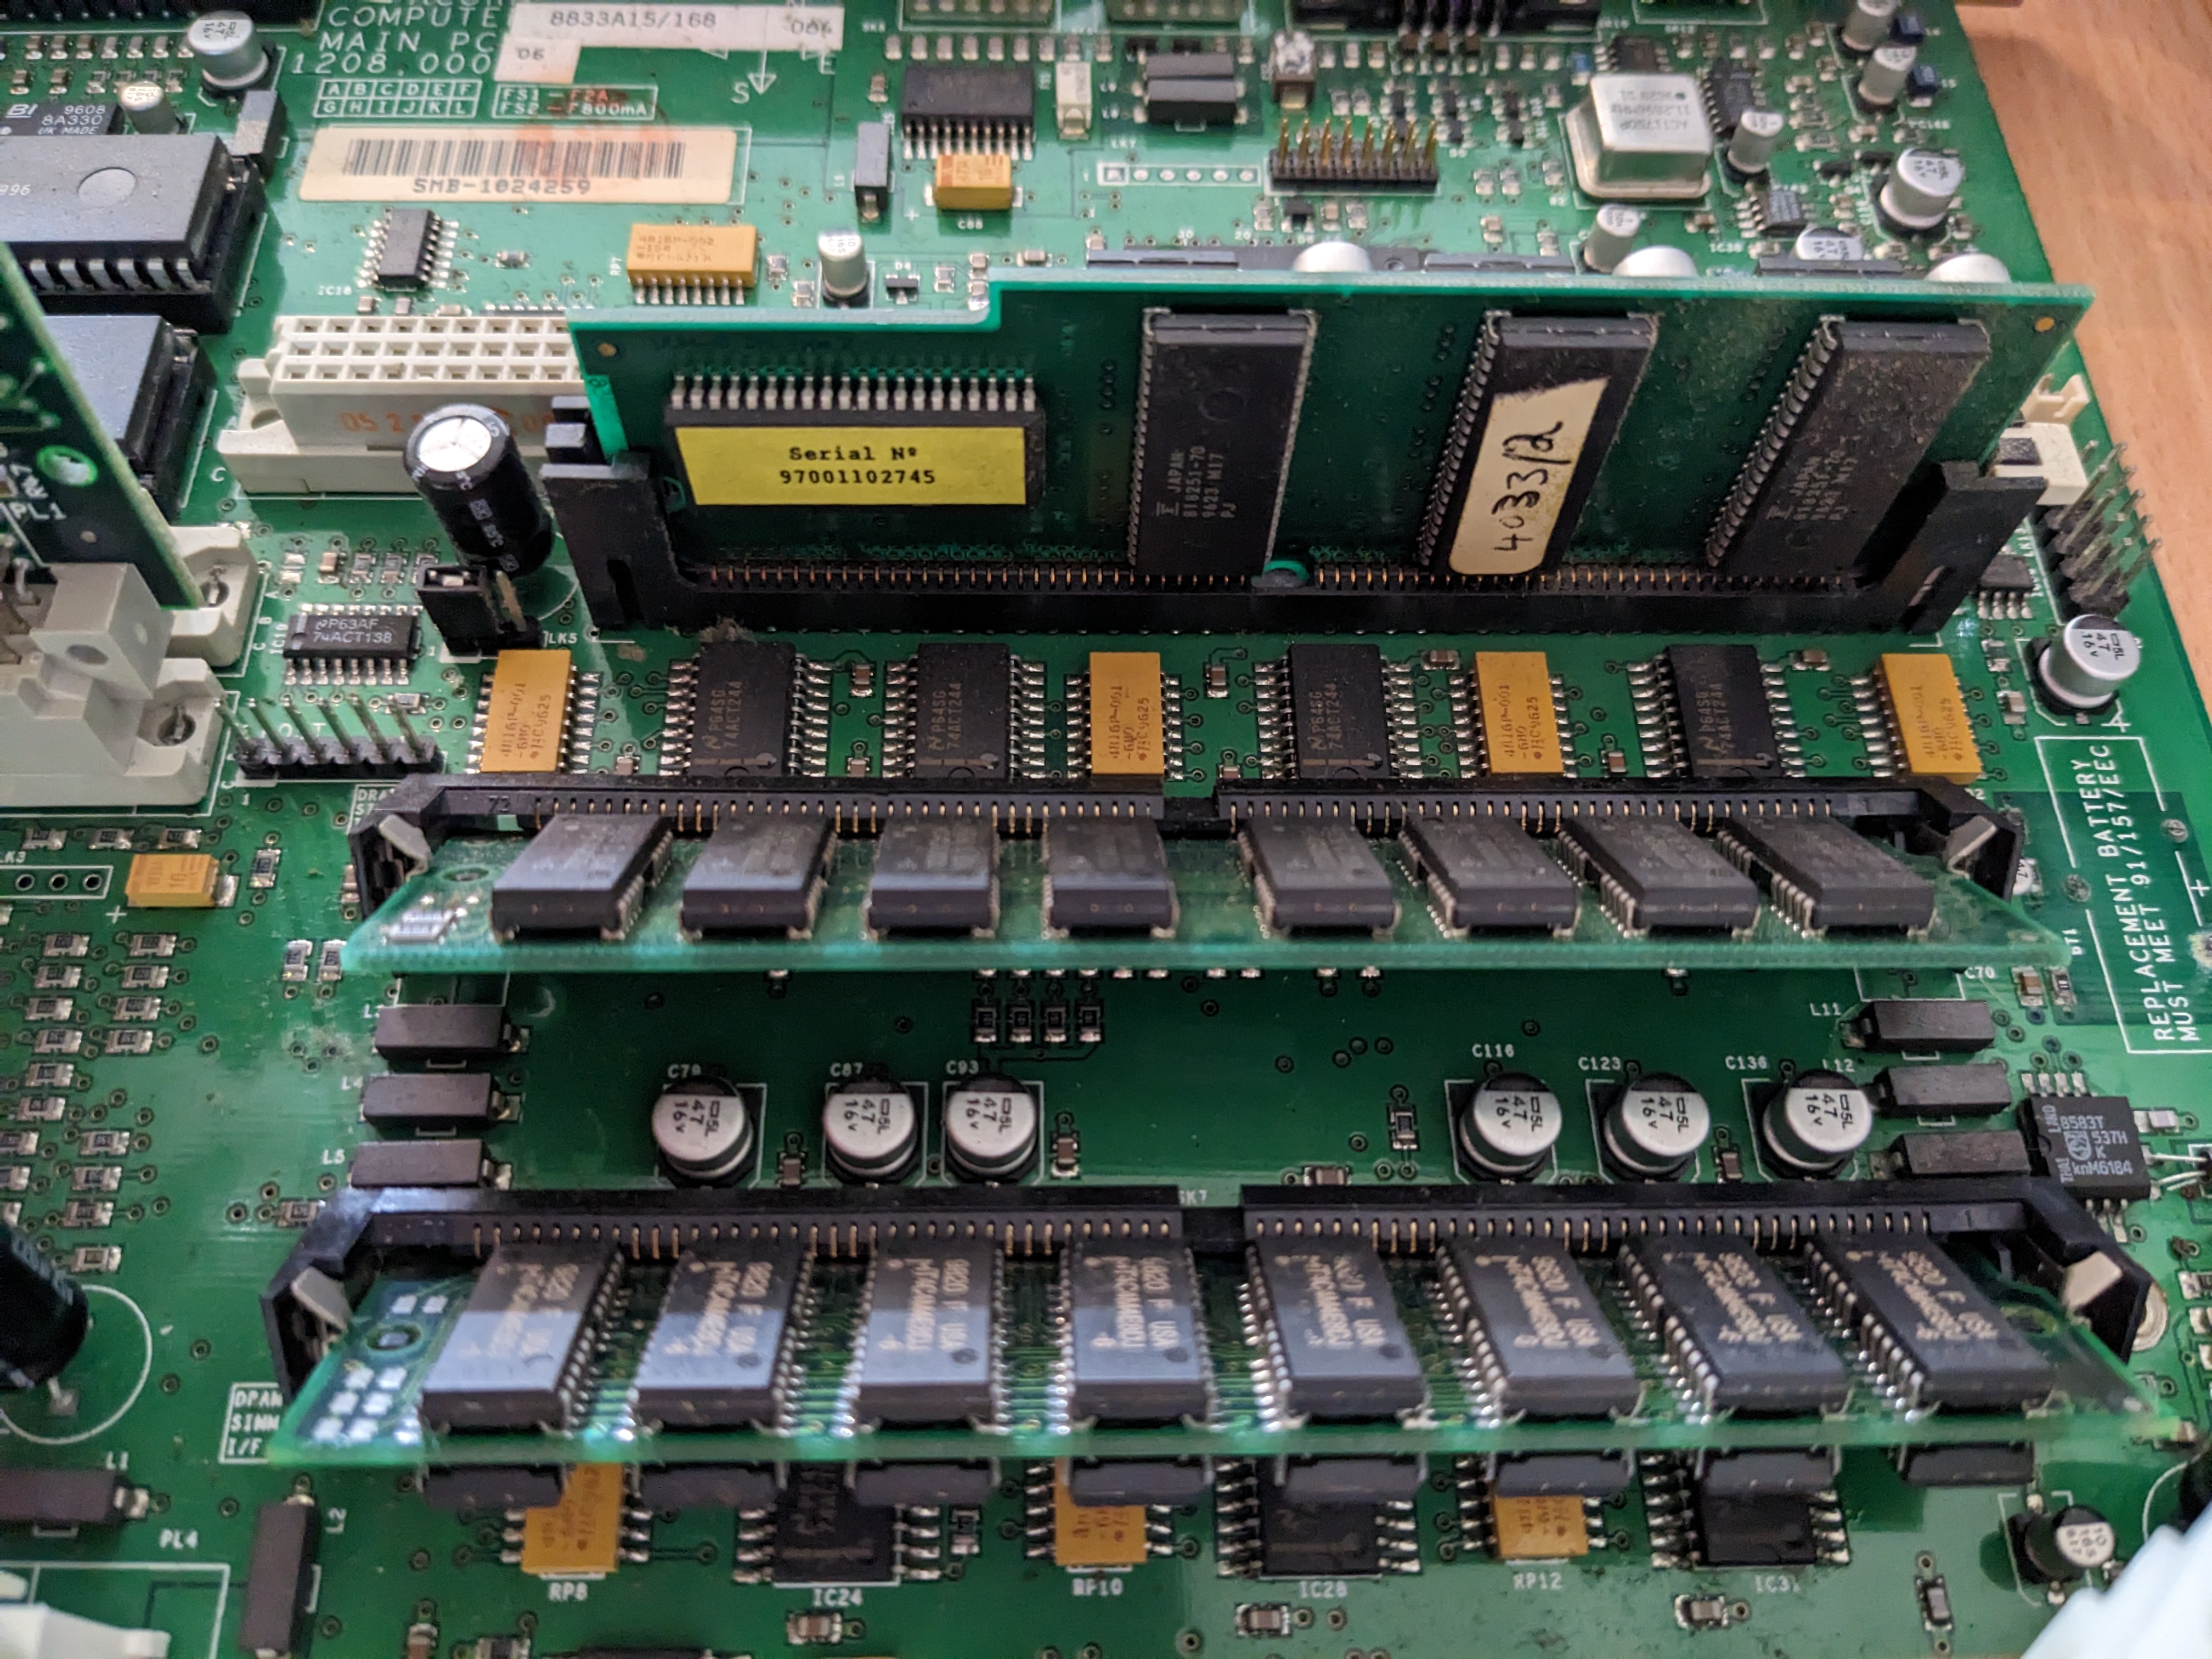
You can see three memory boards here, from top to bottom:
- 2MB video RAM
- A SIMM containing 8x MT4C4001 (512KB chips), 4MB
- A SIMM containing 16x MT4C4M4E8DJ (2MB chips), 32MB
Adding this up, we get 38MB.
Next steps
Now it is another case of figuring out which problems to solve first. We still have:
- Battery area needs testing and new battery fitted
- Repair the backplane card
- Repair all the damage to the casing, if possible
- Replace the PSU fan
- Repair the floppy drive fascia or replace the drive
- Repair / replace the power button
A long way to go, but I’m very happy to get this far. We know at least that this machine will function as a whole.
Leave a Reply