

Lately, I’ve been very busy, but haven’t had many interesting things to blog about happen. That will change soon, but today I thought I would cover a repair that came in for an A3640 CPU card.
The job
I was tasked with the following things:
- Recap an Amiga 4000 motherboard
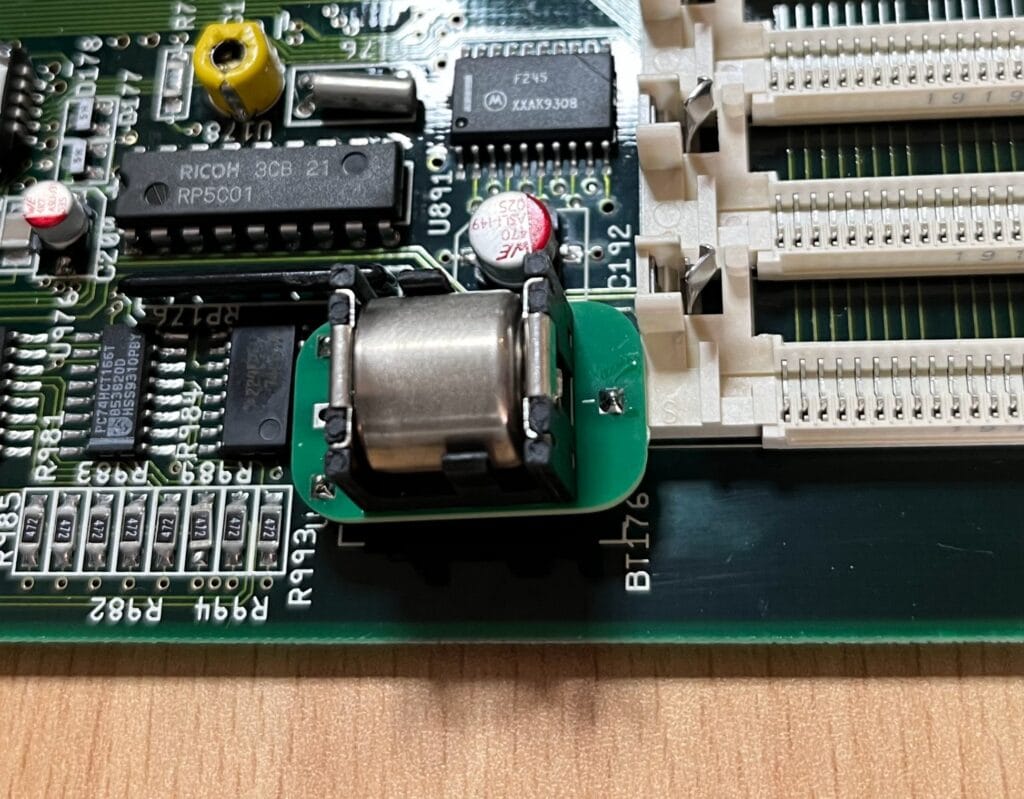
- Install a battery mod on the motherboard
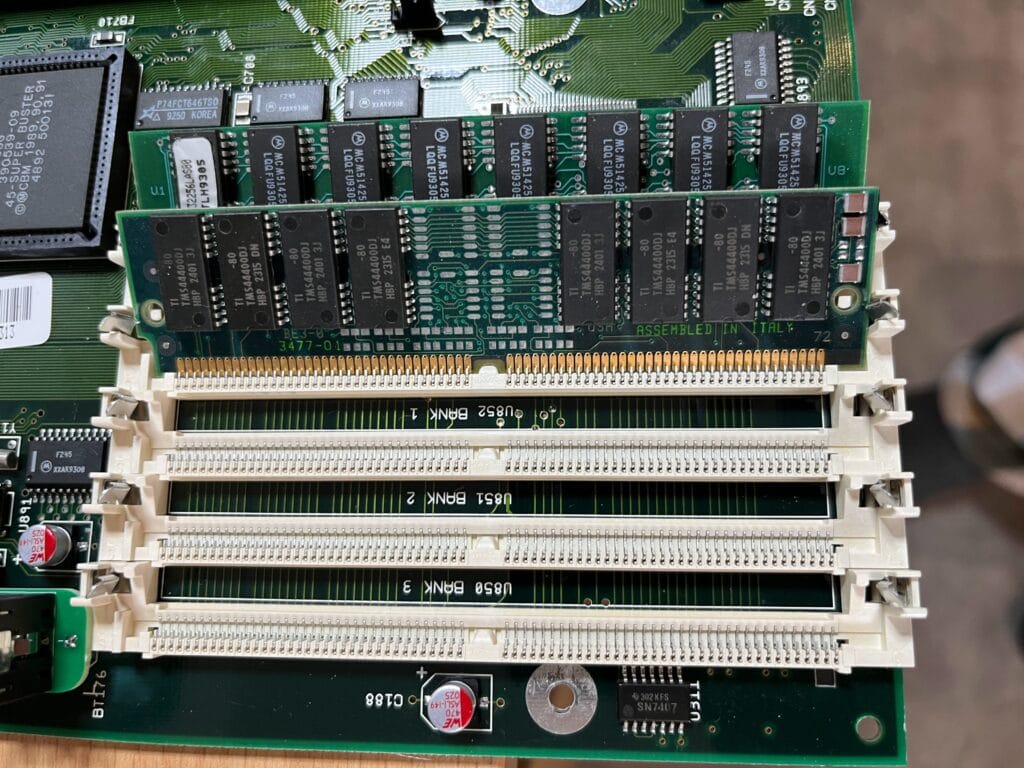
- Replace the SIMM sockets on the motherboard
- Recap two A3640 CPU cards
- Repair one of those cards
The motherboard work was easy for an A4000. There was pretty much no battery damage, and I knew it to be working. The only thing that could be considered interesting here is my new lithium battery mod. I haven’t made it publicly available yet, but it has all sorts of protections in it and is a similar profile to the original battery.
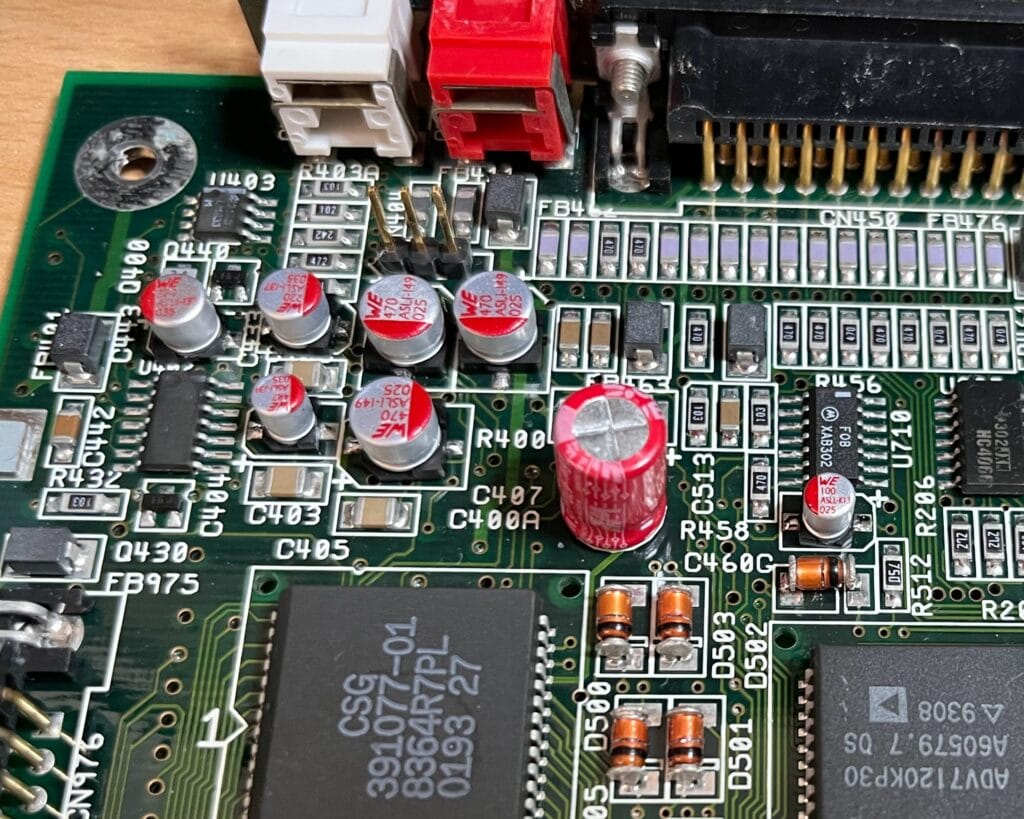
Of course, I mounted the audio capacitors backwards because these were incorrect in the original design. It doesn’t matter too much, however, due to the low voltages on those lines.
The A3640 is where things get a little interesting.
A3640 Repair
If you have never seen one before, the A3640 CPU card is a basic 68040 CPU card for Amiga 3000 and 4000 series computers. I say “basic” here because it does not have onboard Fast RAM, which would make it a much faster CPU card. The design has a lot of logic onboard, and quite a few things could go wrong.
The first thing to note is many A3640 CPU cards have some of the capacitors mounted backwards. This makes them extremely prone to leakage. If you ever come across one, they are C105, C106 and C107. The silkscreen markings for the capacitors are backwards too, but you can identify the orientation by testing the pads against GND.
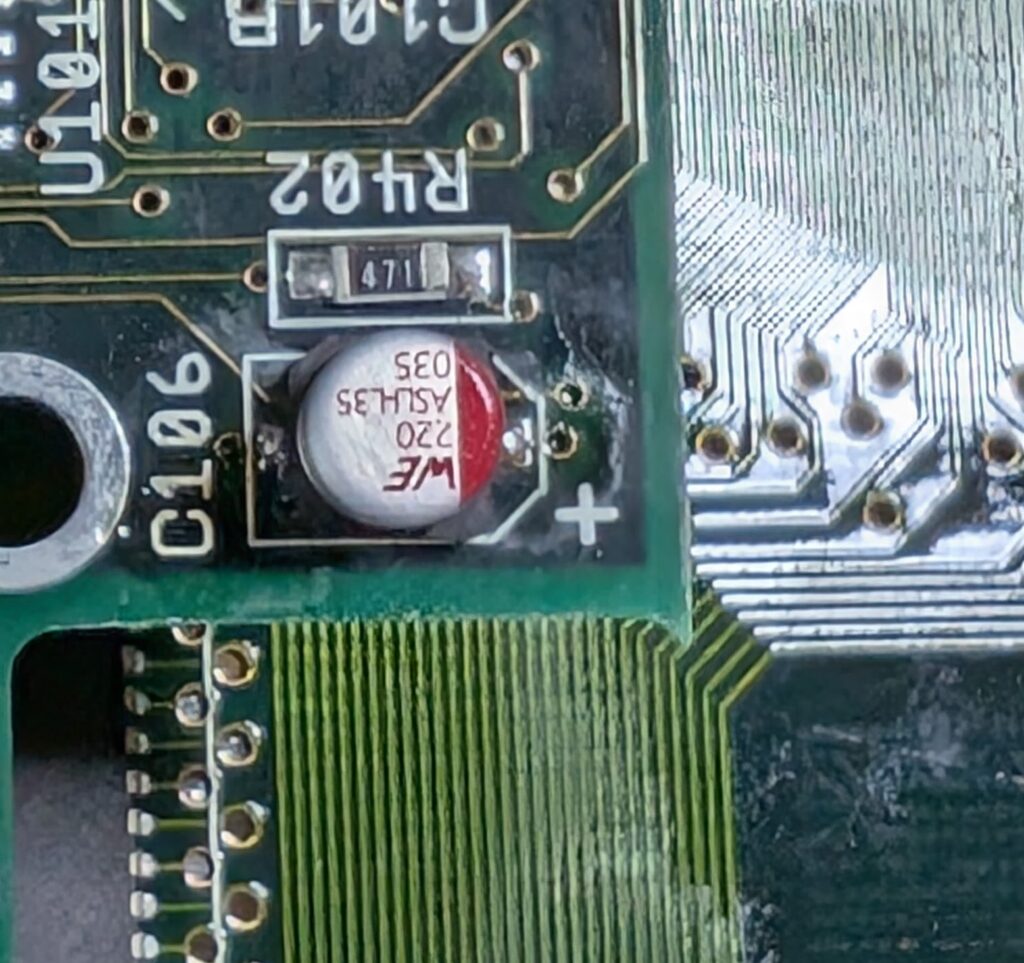
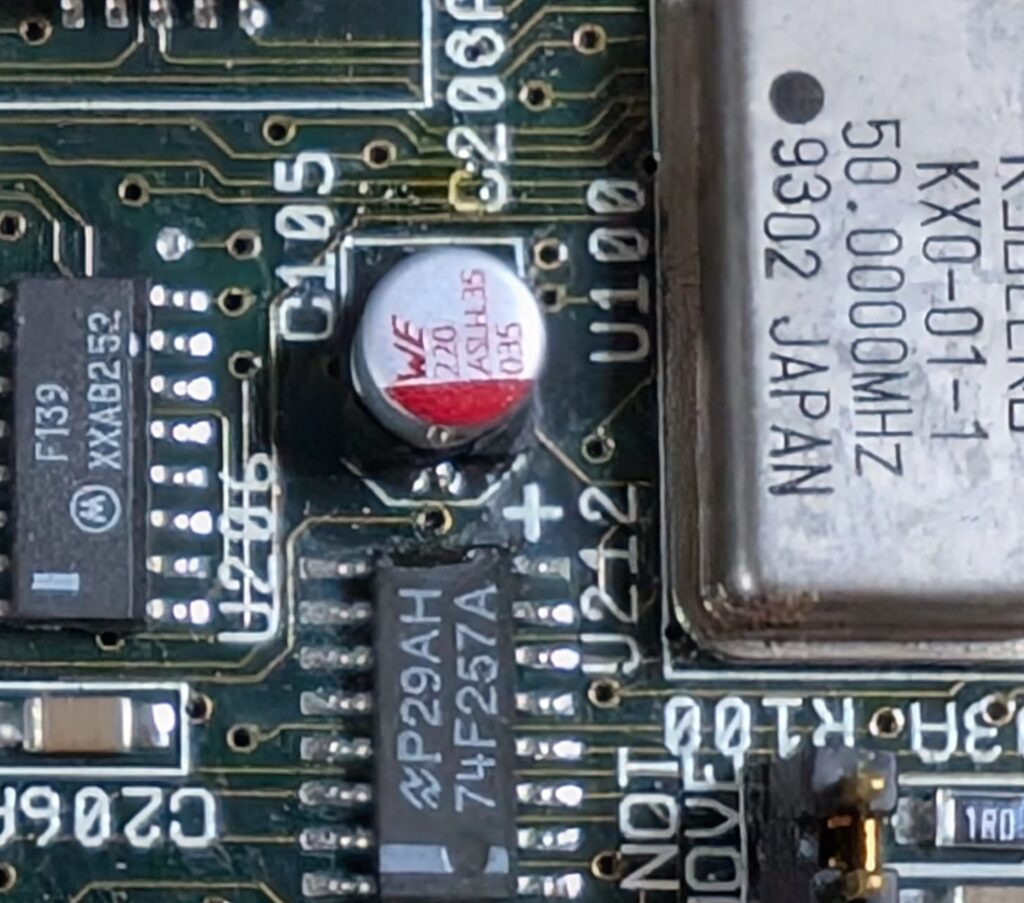
These photos were from the good CPU card before it was ultrasonic cleaned. Both the CPU cards needed this fix.
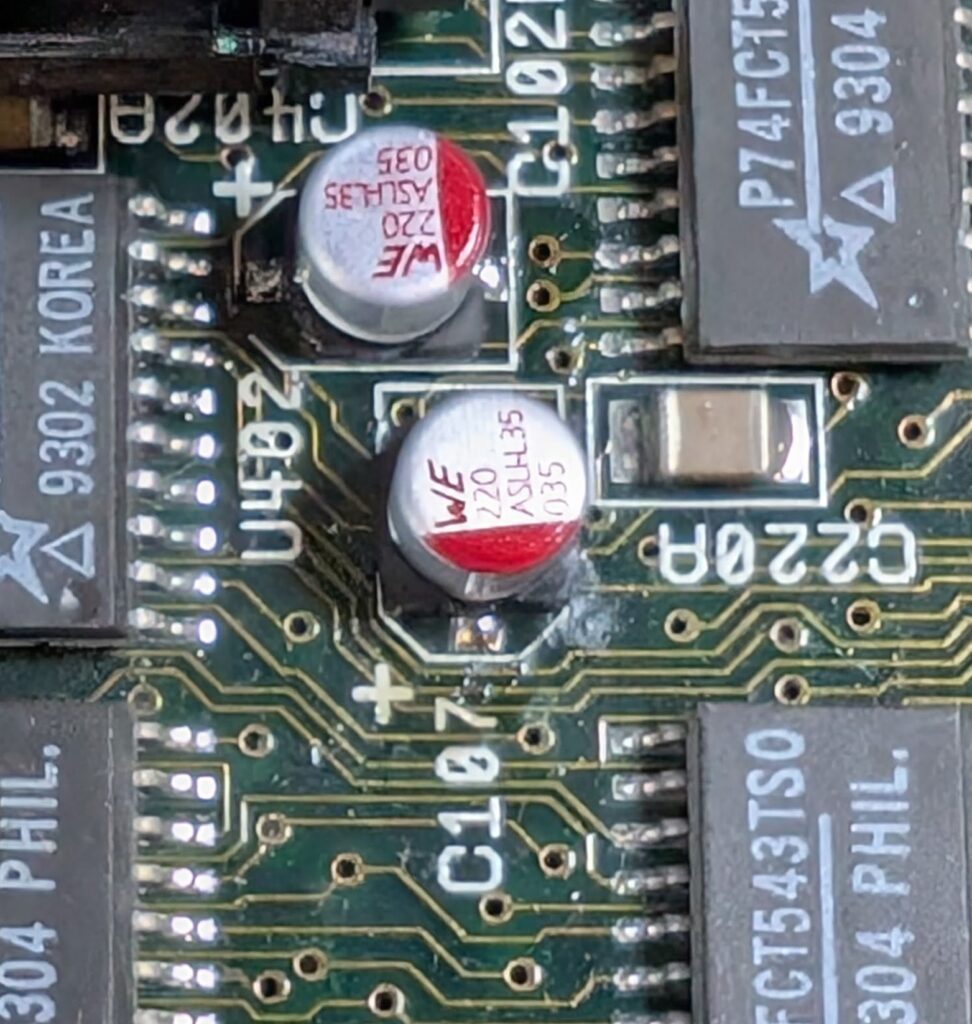
Now, for the bad CPU card, I wish I had taken photos along the way, but I’ll start with the end results and work backwards to how I got there. Again, this photo is before ultrasonic cleaning.

With C105-C107 orientated backwards, there is a high probability that these will leak and cause damage to the CPU card. That is in addition to the fact that these kind of SMD capacitors typically leak over 30 odd years. This corrodes the board and can cause damage.
John “Chucky” Hertell has repaired many more of these than me, and has created photos of the CPU cards with no chips onboard, to make it easier to trace faults. He has also created a handy spreadsheet of where traces start and terminate so that you can use a multimeter to buzz out issues. This is all available on his A3640 repair page.
Now, I knew that C107 and C102 had the worst leakage on this board (the smell when desoldering them gave that away). I figured U220 was a good place to start, particularly because around half the pins map nicely to U214 nearby. I very quickly found that pin 20 on U220 had a dead connection. So, a patch wire was added, going directly to pin 20 on U214.
I tested the board again, but it was still dead, something else was missing.
I tested the pins of U402 next, starting from pin 10 and working back to pin 1 to start with. The reason I worked this way around is because pin 10 was closest to the capacitors. U402 is also a good candidate because some of the traces go under the capacitors. Sure enough, I immediately found a problem. The AS line.
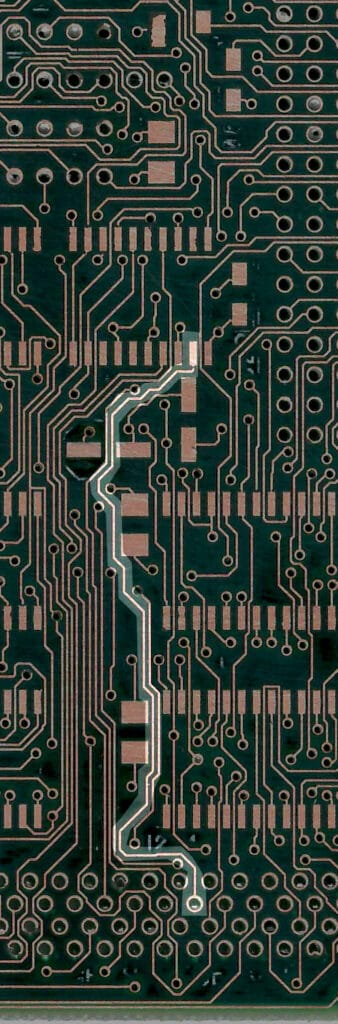
I’ve crudely highlighted the trace here, but it goes from U402, right by one capacitor, through another capacitor and down to the AS pin on the card connector. Unfortunately, it meant a long patch wire, but I patched this up too.
I then tested again, and…

We have a working CPU card! I’m glad it wasn’t too much work because this is the kind of thing you could spend hours diagnosing.
These CPU cards will go through the ultrasonic and back to their very happy owner!
Leave a Reply