

At the end of my previous blog post, I had things mostly working. But I need to make the temporary repair more permanent and rebuild the machine. Here goes!
True Colour
The replacement 4066 IC has arrived. I therefore removed the original one along with the patch I made to work around the bad chip.

I then plugged it to make sure that we still had a nice colour image. Things are already looking much better!

Reassembly
Now it is time to put everything back together. I started by putting the motherboard back in the metal shield it came in and putting that inside the bottom part of the new case. My CD32 came with no screws, so I needed to use some short 3mm self-taping screws for this.

Next the top half went on. This required some longer 3mm self-tapping screws.
Final Testing?
I plugged everything in, switched it on, put in a disc, and it made a noise as if the disc were slipping in the drive. The machine struggled to read anything from the disc. I found that applying pressure to the lid caused it to work, and it seems I’m not the only one that has found this. The Angry Video Game Nerd made a CD32 video where he worked around this using a paint can.
It turns out that the mechanism works by having the CD sit on the bottom spindle and a magnetic top spindle then sits on top of the disc, holding it to the bottom one. If the two do not meet correctly, the disc will be free to essentially slip on the bottom spindle.
After doing some research, it appears that one of the common causes is the rubber springs that push the drive up lose their strength over time. I made a temporary fix for this using White Tac to push those springs up a bit.

This worked, but at this point I went ahead and just replaced the whole drive mechanism. I had considered using spring washers in place of the White Tac as a more permanent fix. But it was still a bit too much of a hack for my liking. This one is already missing the metal guard over the lens area anyway.
It means the only original parts of my CD32 will be the motherboard and front panel board, but it also means it will be more mechanically sound.
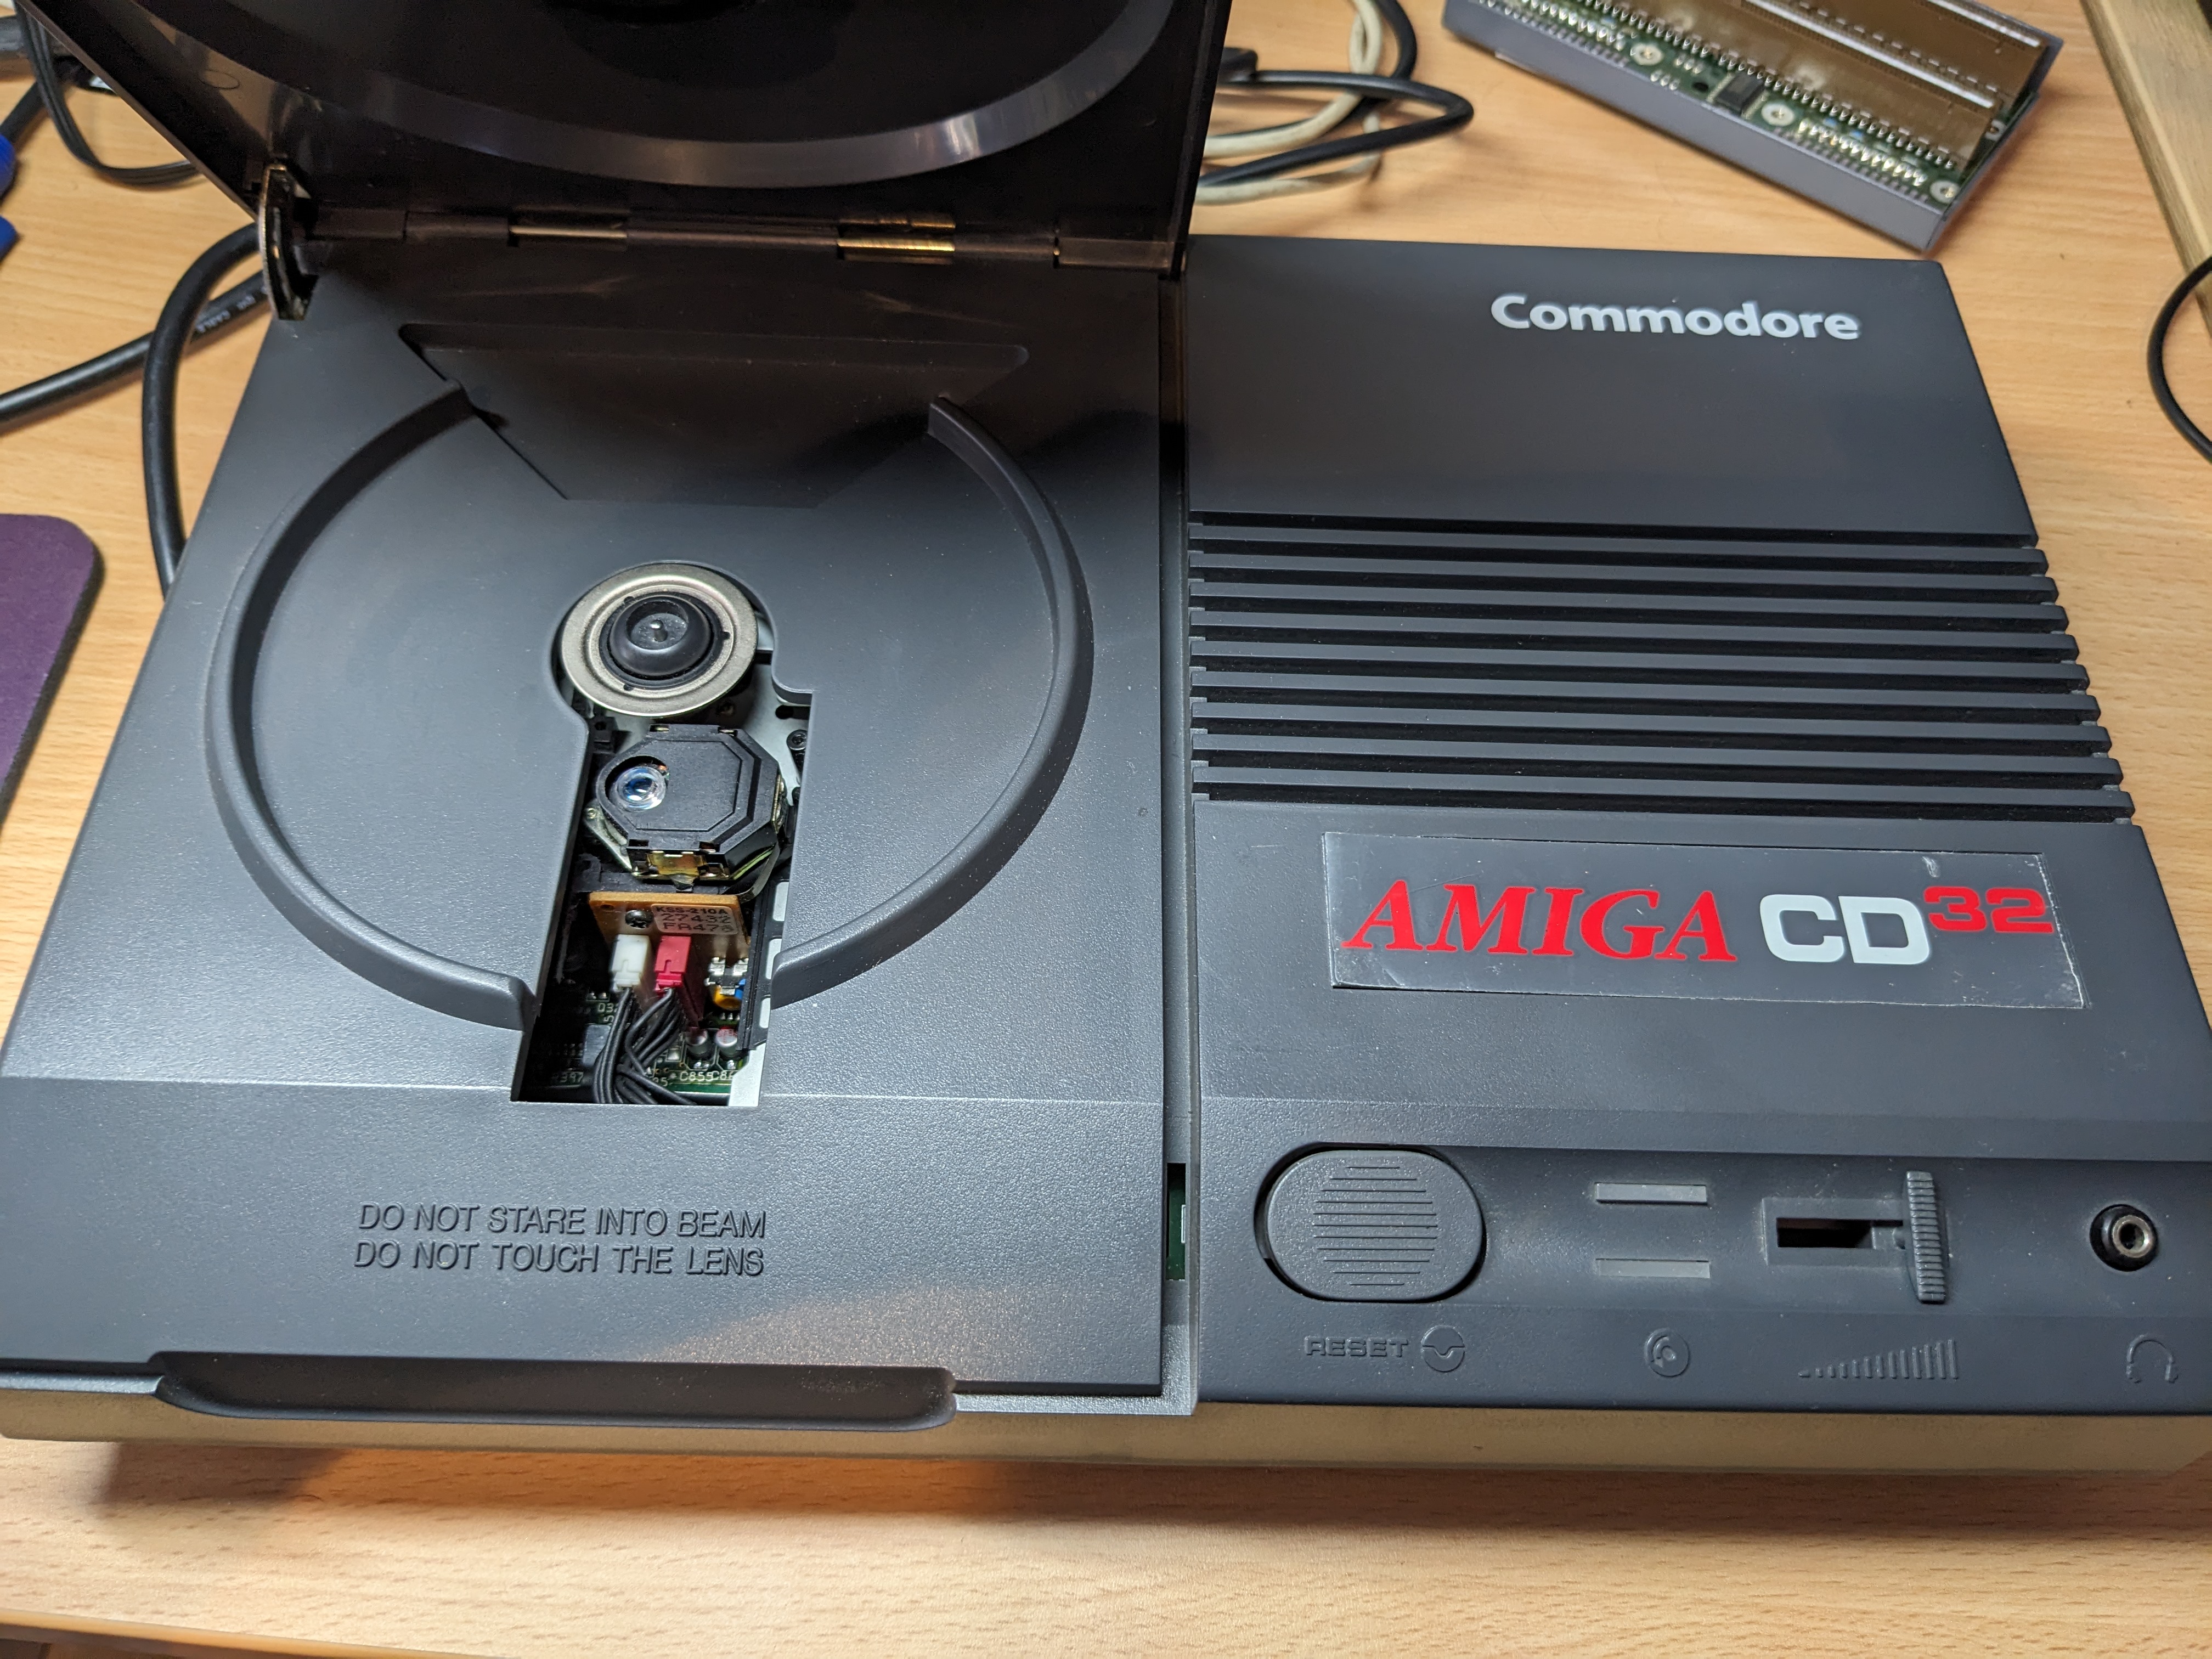
CD Drive Replacement
I was working away in Helsinki for a week and when I got back, the replacement drive had arrived. I popped it in and we now at least have a drive with a metal cover over the lens area.

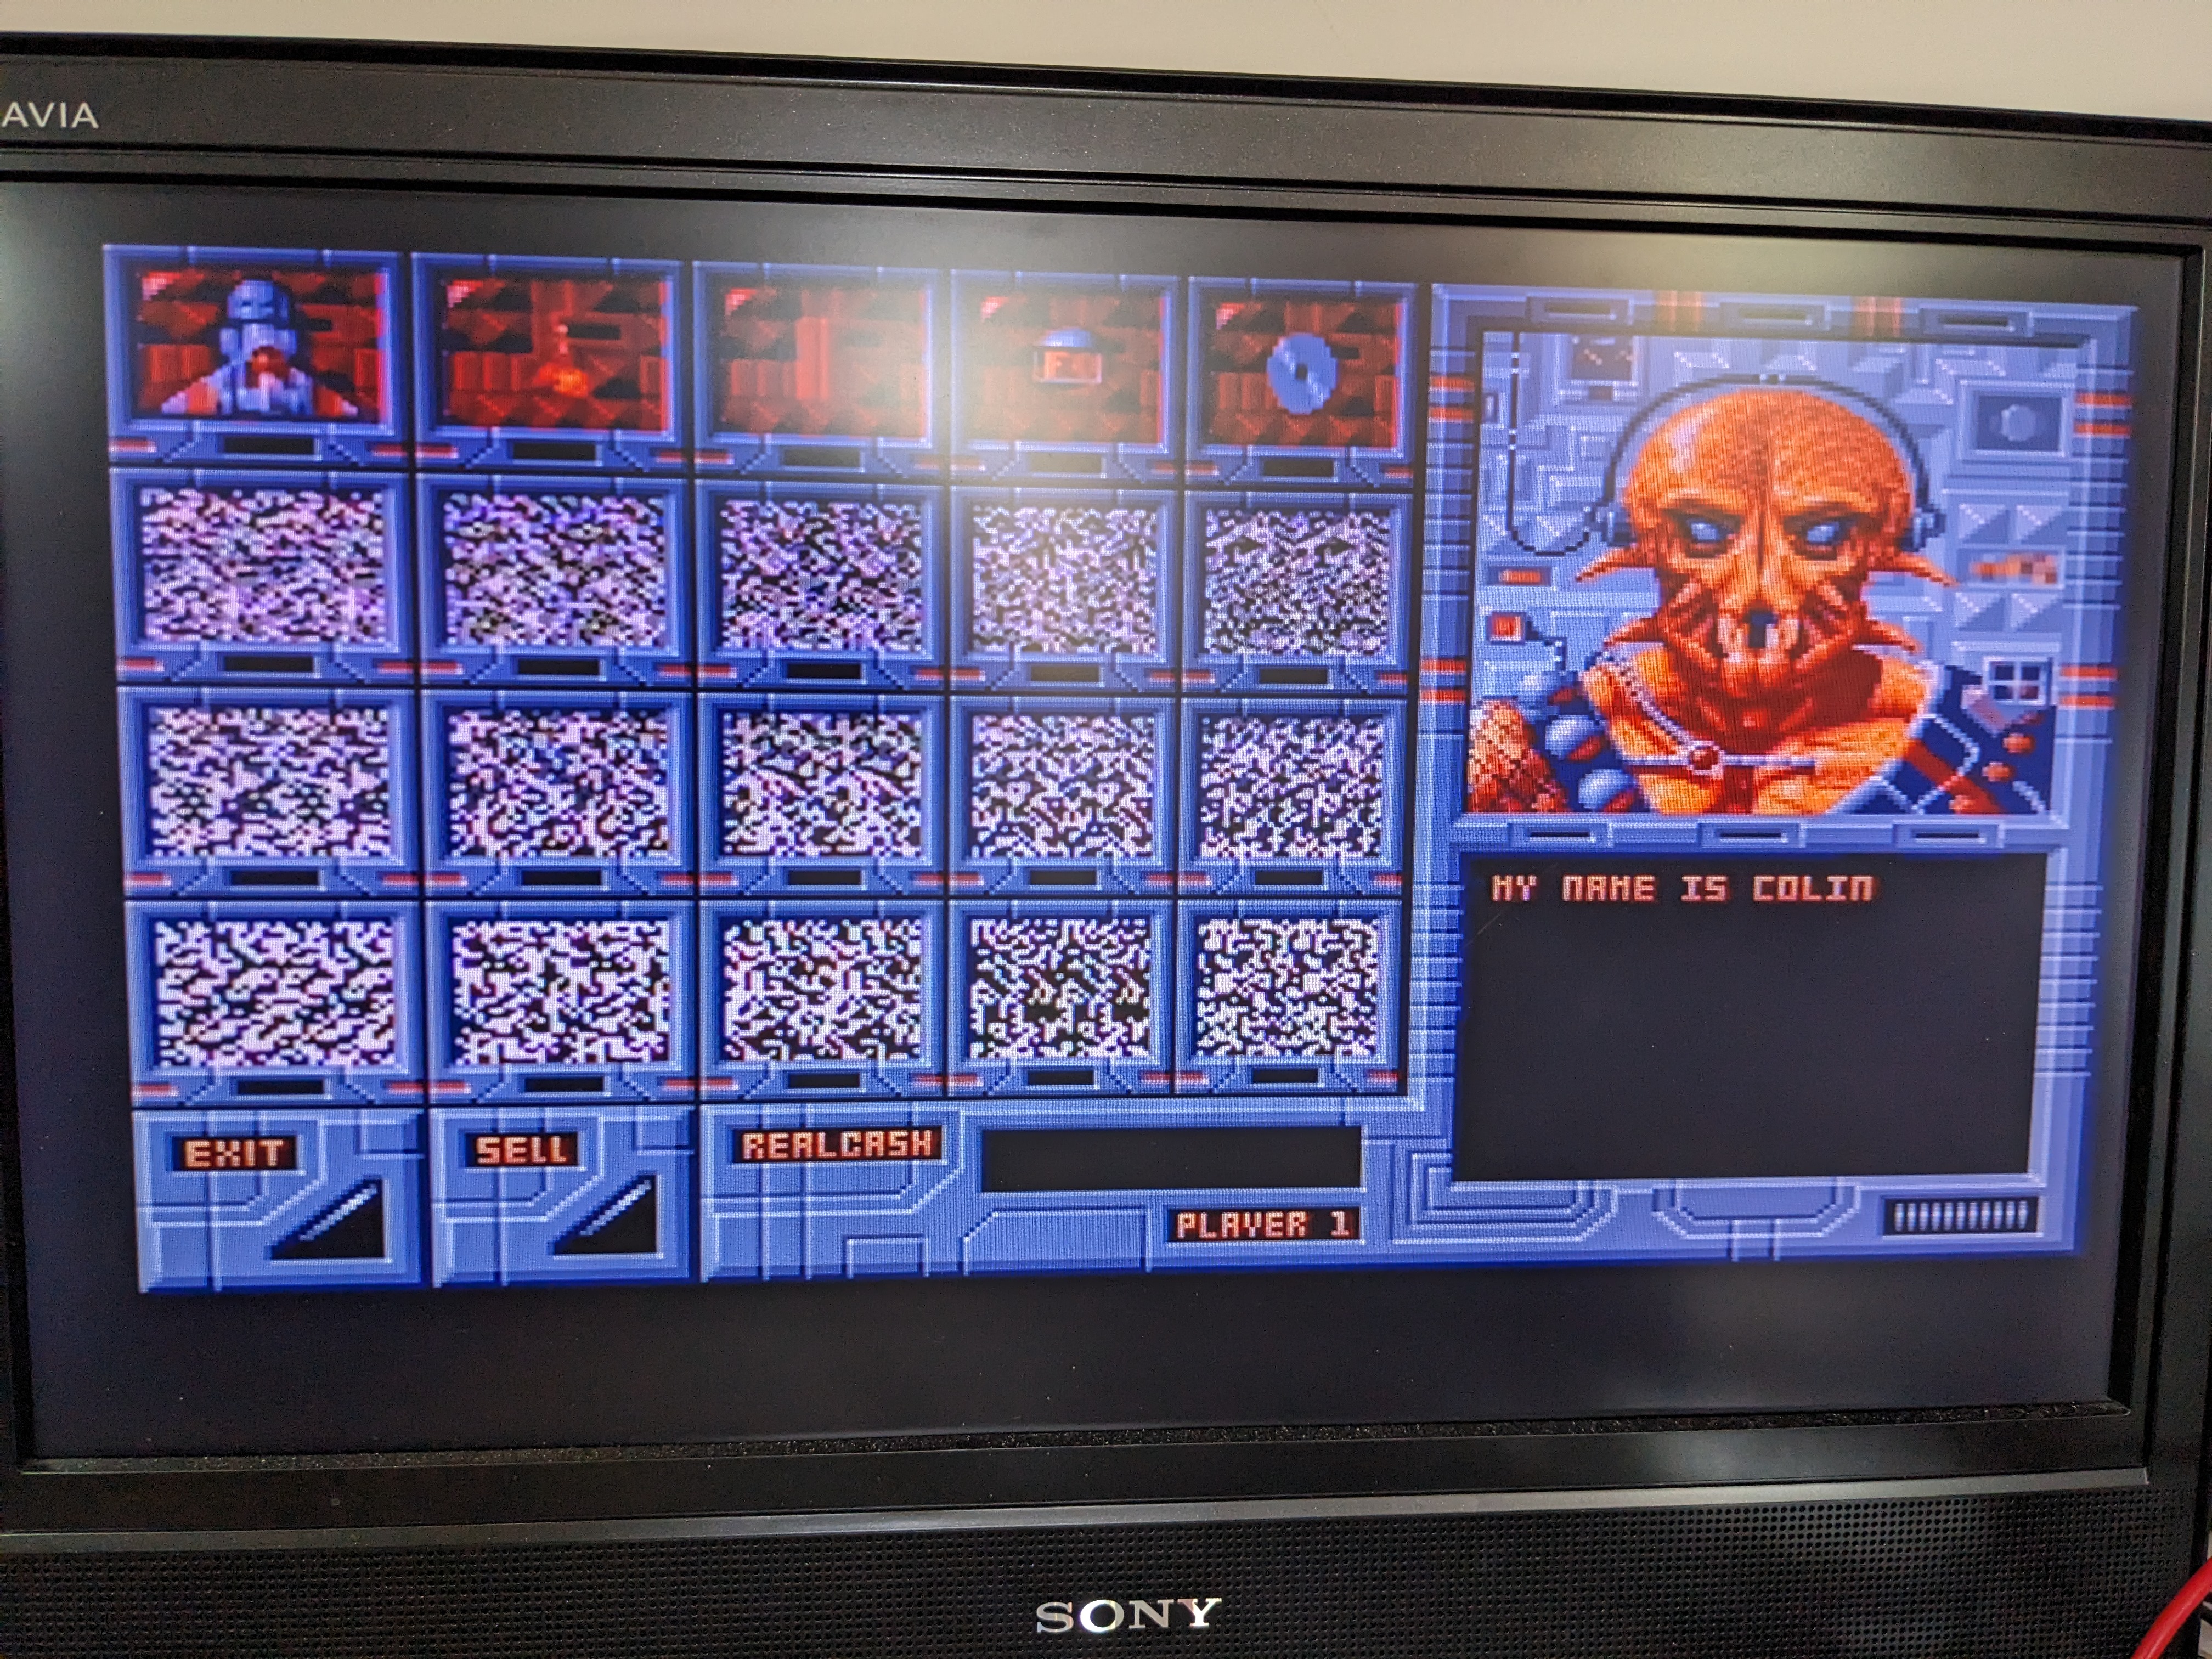
With a quick test, I found it loaded games fine. In fact, it was much more reliable than the previous drive, as Colin can attest to. My Xenon II disc would not get this far on the old drive.
There is a downside though, discs were making an annoying slipping noise again. There is something else wrong here…
Flipping the Lid
The lid appeared to not quite be closing straight, and I couldn’t initially see why. I first thought that maybe the plastic casing had skewed slightly, then I looked at the hinge. It seemed to be a little out of place, and when I touched it, it seemed a bit wobbly. I figured it shouldn’t be like this. The metal hinge is attached to the lid via a small screw, and sure enough, this screw was very loose.
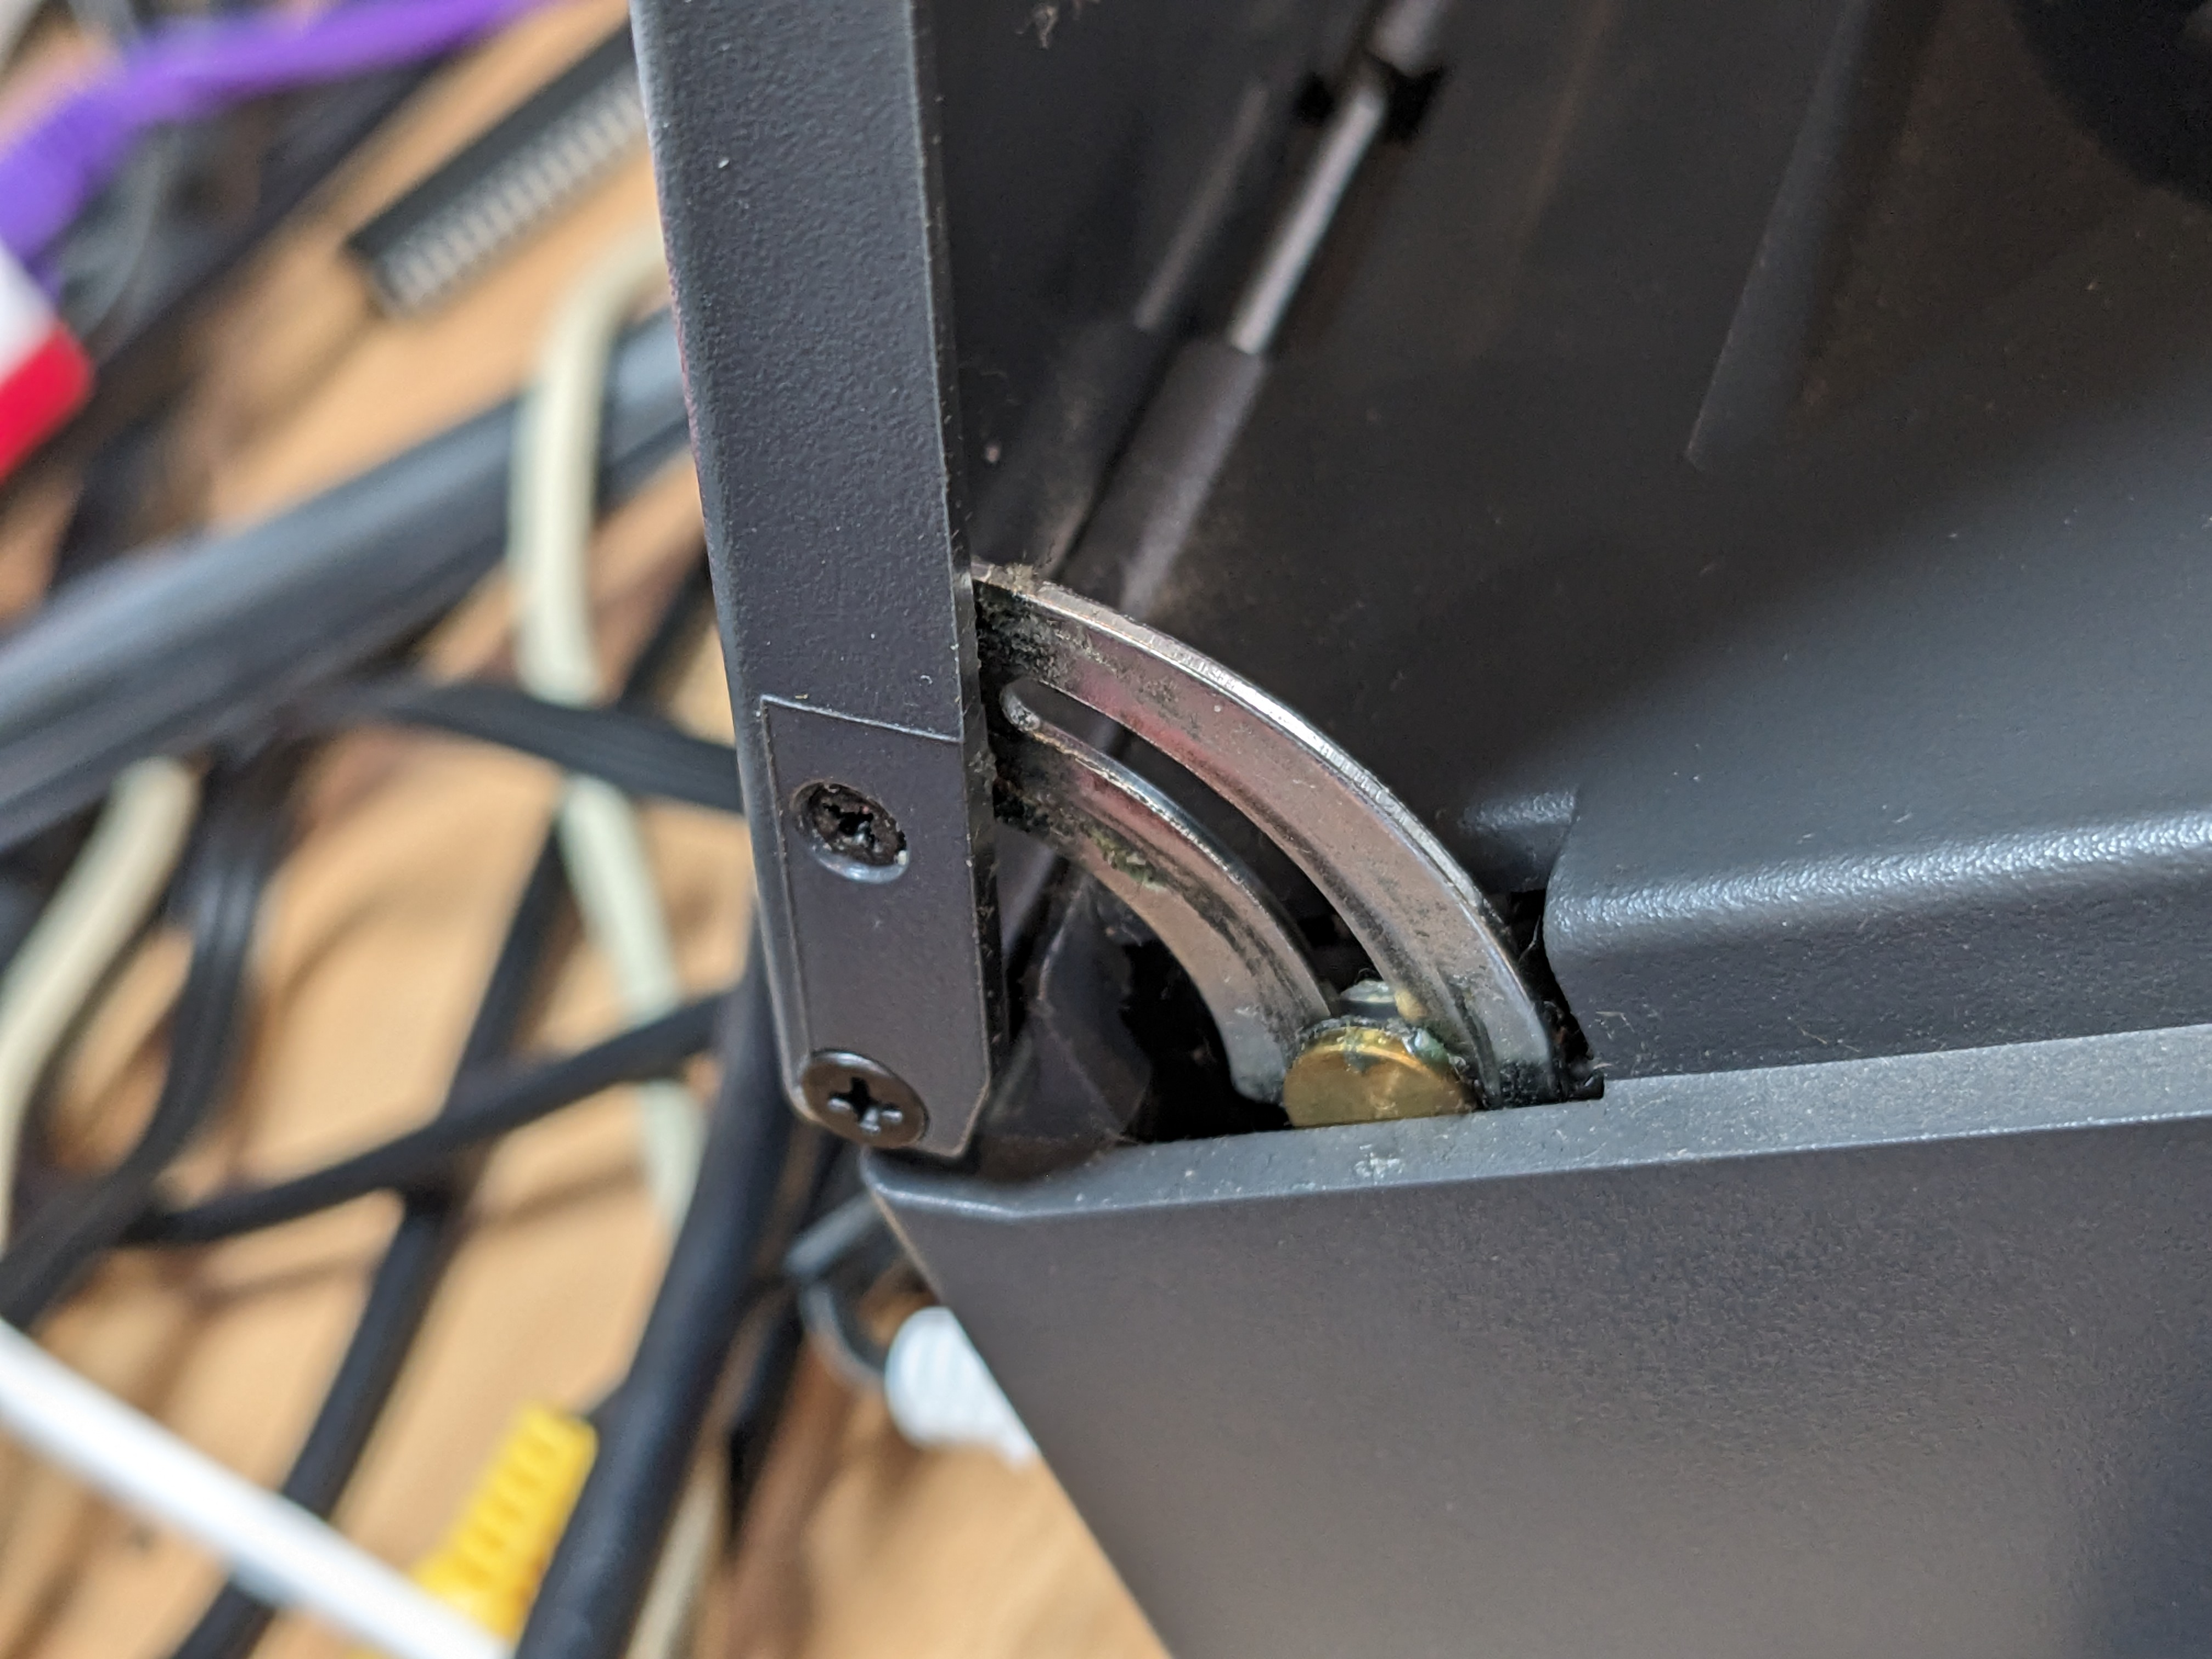
With a quick tightening of this, the noise went away. The drive was completely silent and every disc I tried worked perfectly.
SX32 Lite?
For a final modification, I decided to add a rear expansion module sold by Analogic that adds ports to your CD32. It didn’t have any labelling, so I labelled it up. I figured out what the ports were because I later found out that it is the rear port section for an SX32 accelerator.

All I can say is “do not buy this”! It does add the standard Amiga RGB out and 15kHz VGA. But the rest of the ports won’t work. These rely on chips that are in the SX32 accelerator board to provide the signals. I did not know this at the time I purchased it, and it isn’t advertised as such by Analogic. I mostly wanted this board for the floppy drive port, but it looks like I’ll either need to use something else, or design a board to add the support (unlikely to be soon). So, I’ll be removing this from my CD32 for now and sticking to the S-Video output.
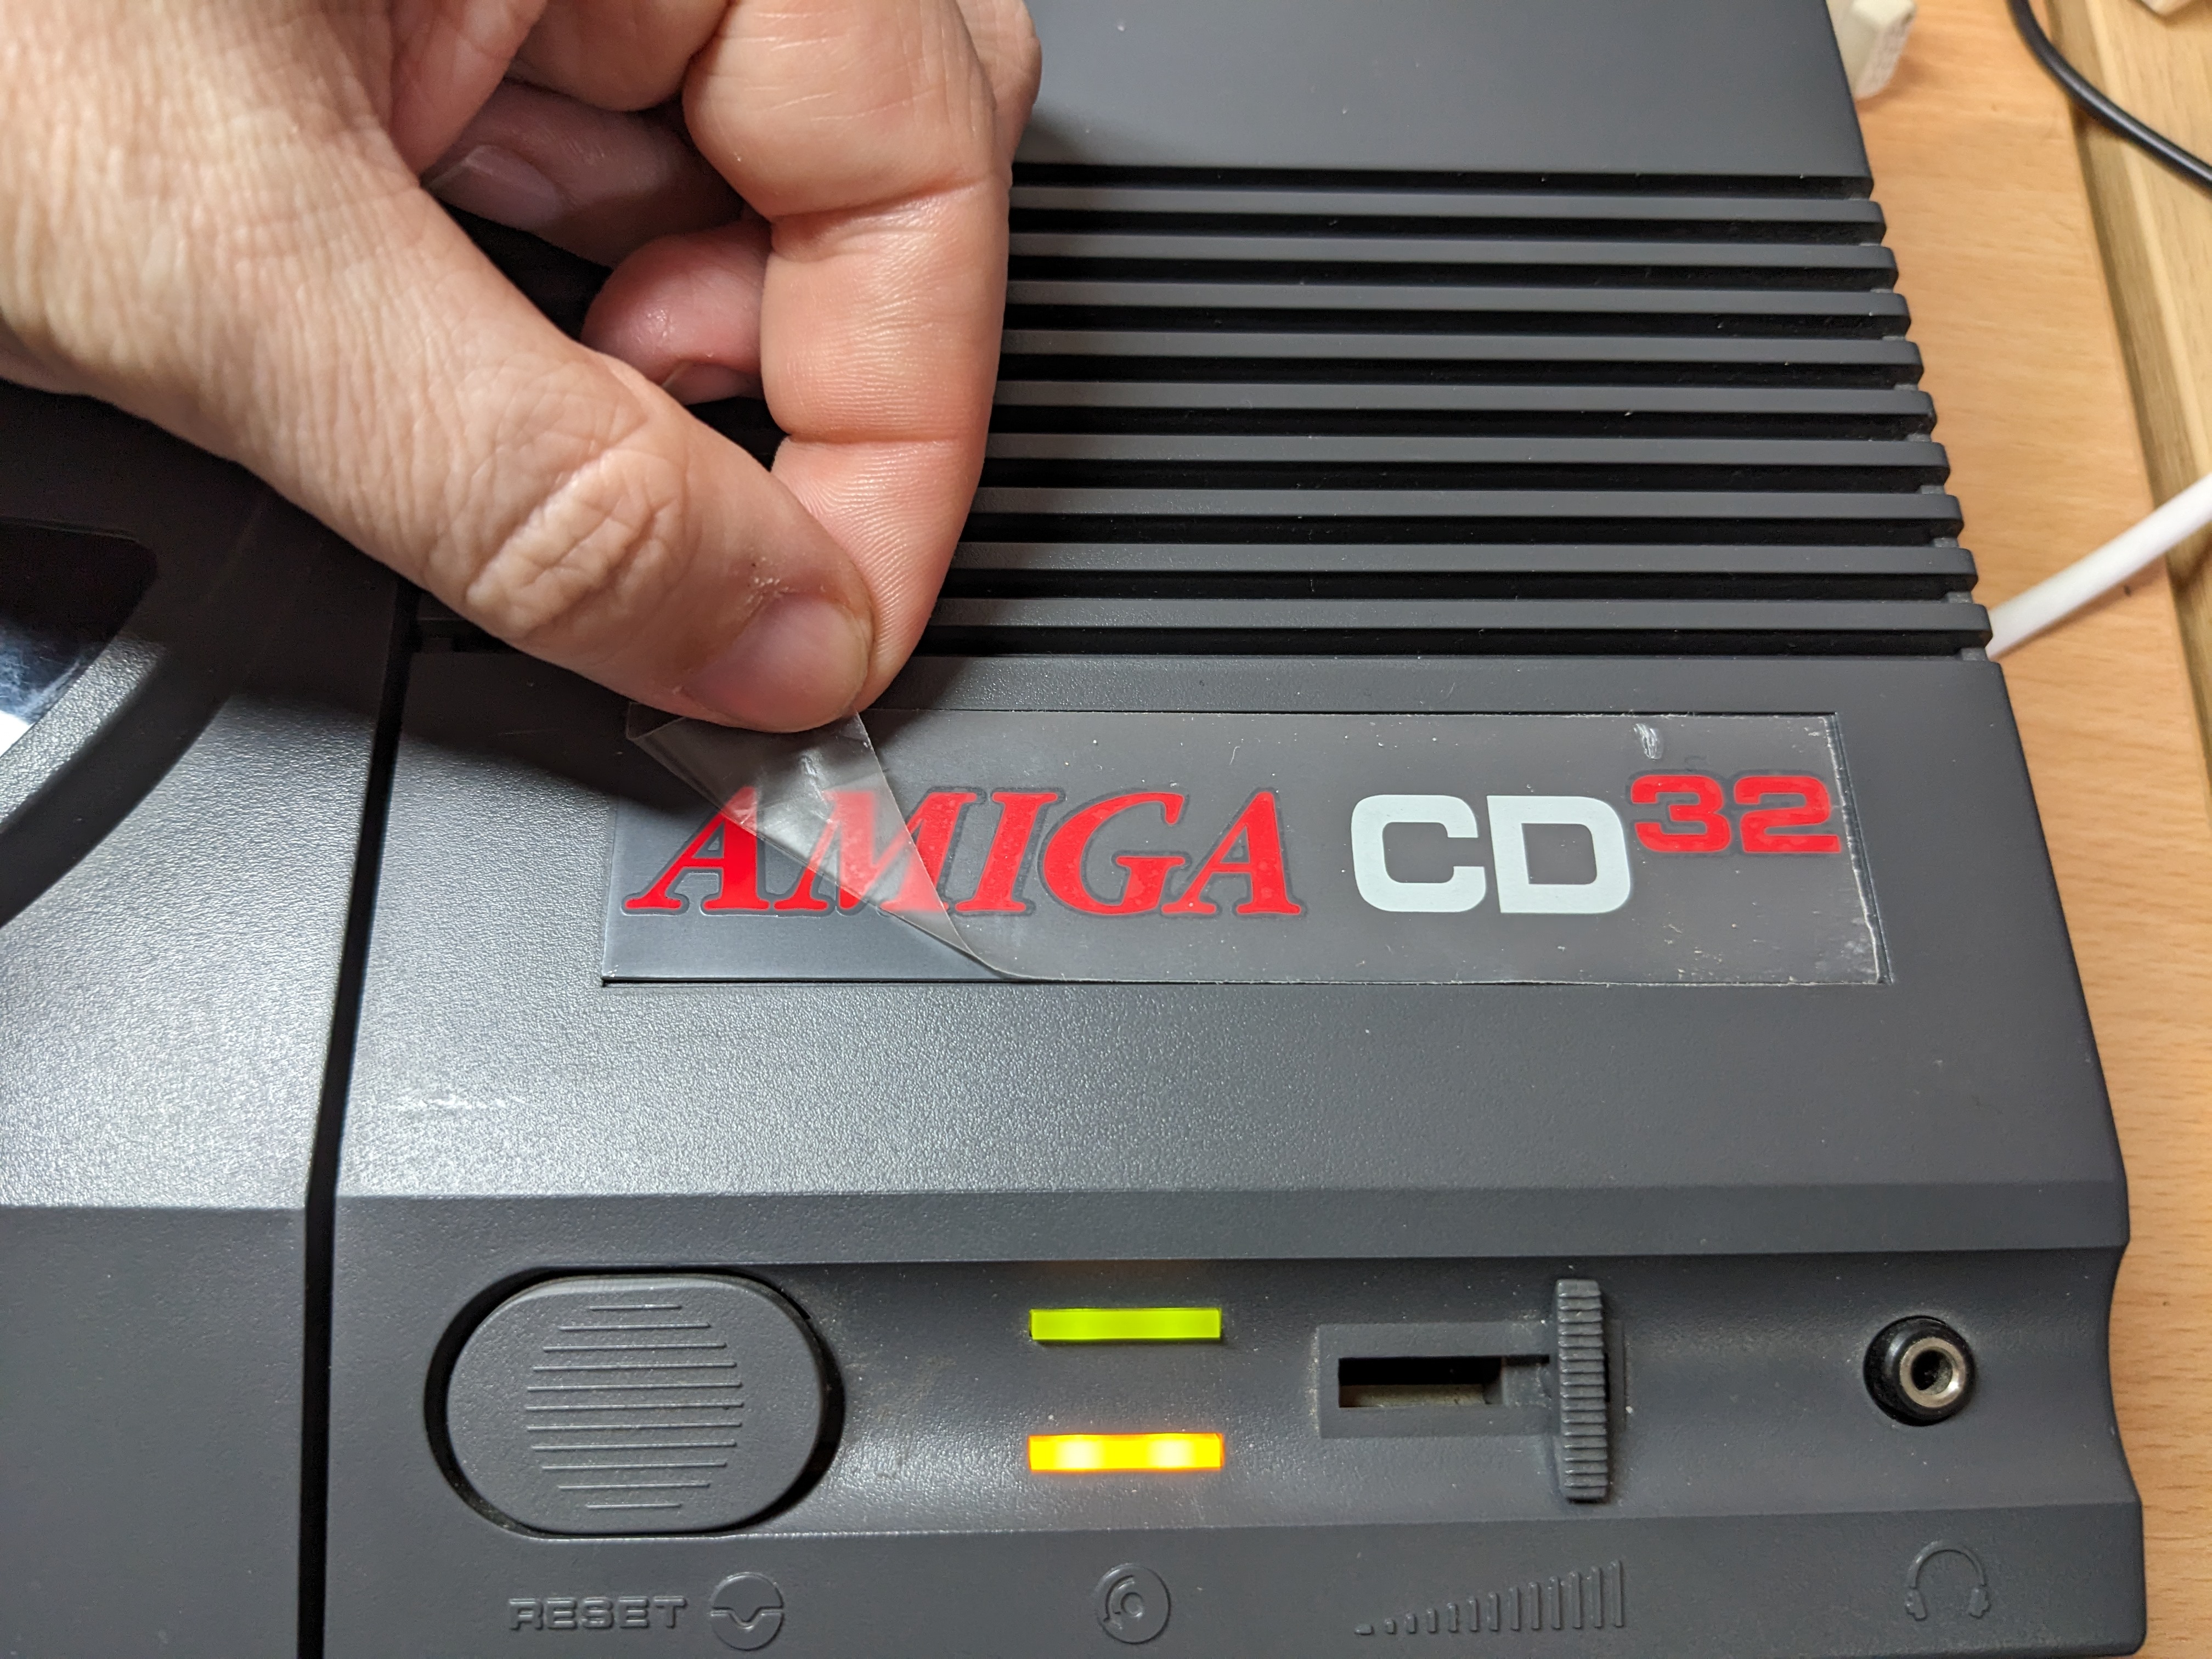
Total Satisfaction
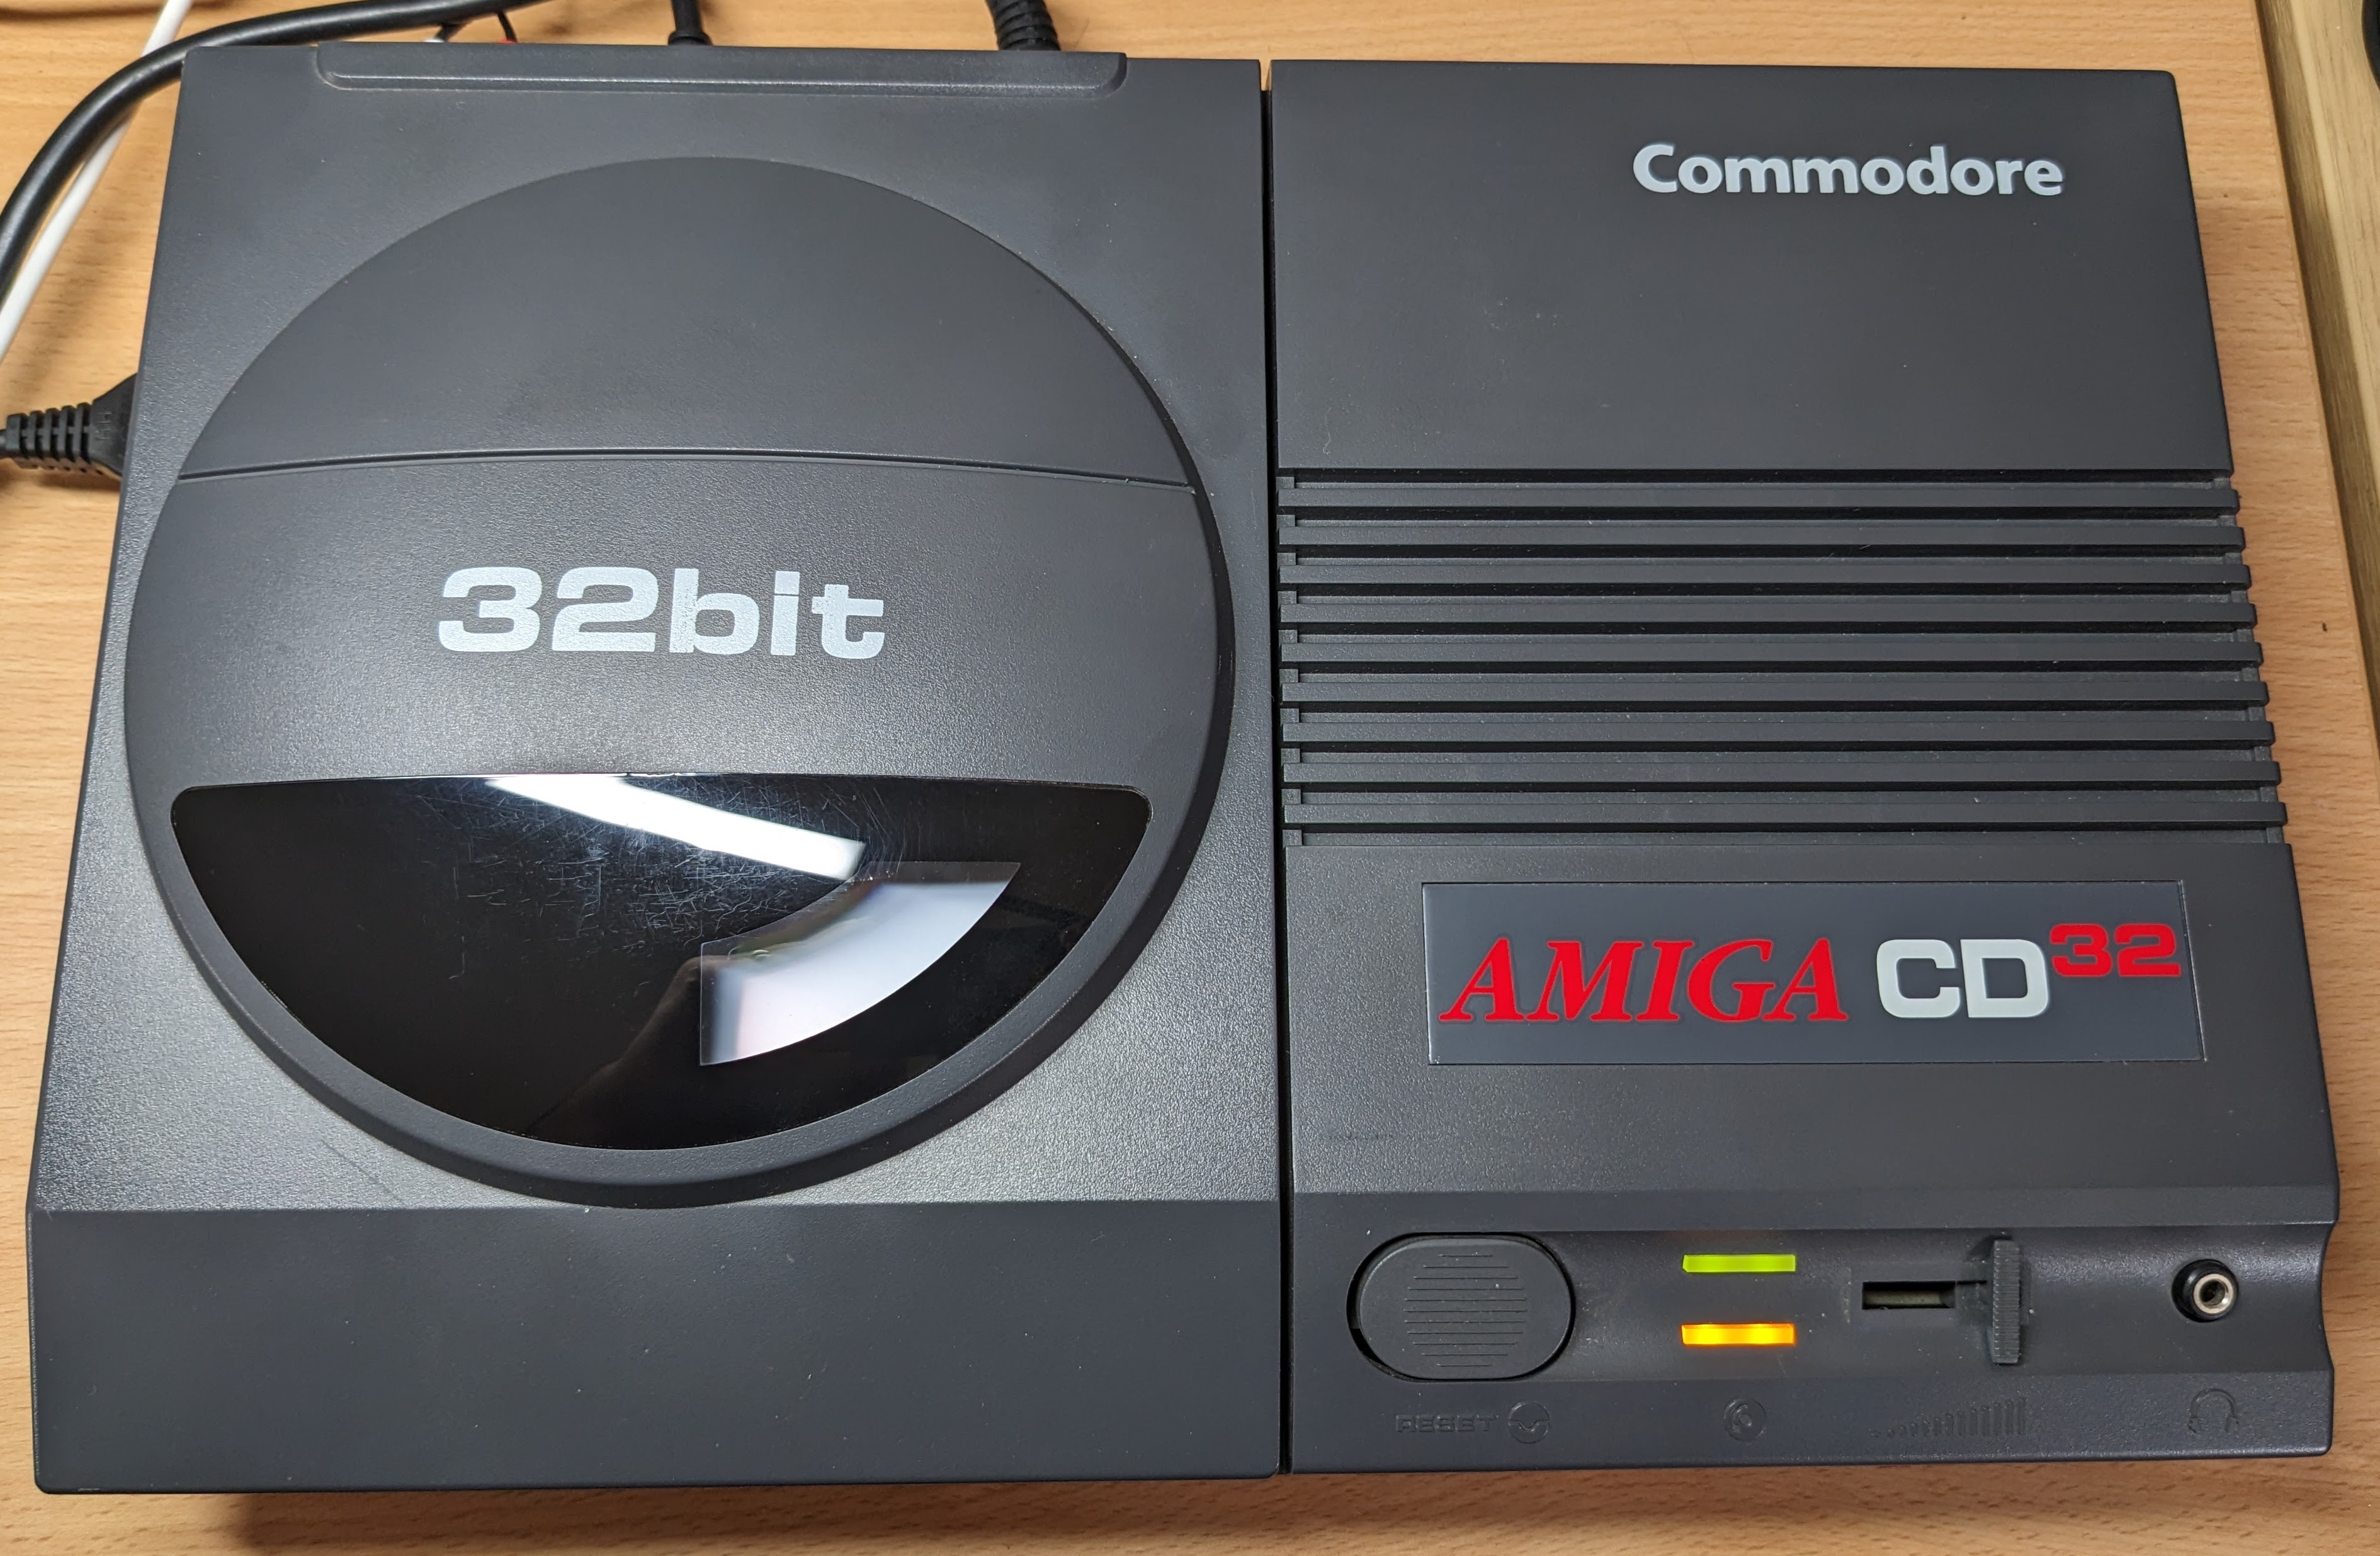
The new top section of the CD32 still had the plastic film coating over the label. This means, of course, I had to slowly peel it off. Revealing the logo in great condition.
Project Complete?
The machine is now complete and in fully working. I’m considering an upgrade such as a TF330 accelerator in the future. But for now I’ll play with the CDTV and CD32 games as originally intended.

Leave a Reply