I have found the Gotek drive a really useful tool to store floppy images so that I do not have to rely on 30 year old floppy disks. The mildly annoying thing I’ve had with it is the display and controls are tucked away in the hole for the floppy drive.
I wanted a way of having the display external and have a rotary encoder to select the image like I have on my other Gotek drive. This post is about what I found and how it is installed.
It seemed there were two possible solutions to my problem. The first was a pretty looking circuit board that looks like a floppy disk and sticks out of your Amiga with the OLED and buttons mounted on it. It is manufactured by KMTech. But there were issues with this:
- It had no rotary encoder and the buttons were oddly positioned
- I’d have to scrap the 3D printed mount that I’m currently using and somehow stick everything to the top lid
- At the moment it only comes in PCB form and required SMD components that I didn’t have handy
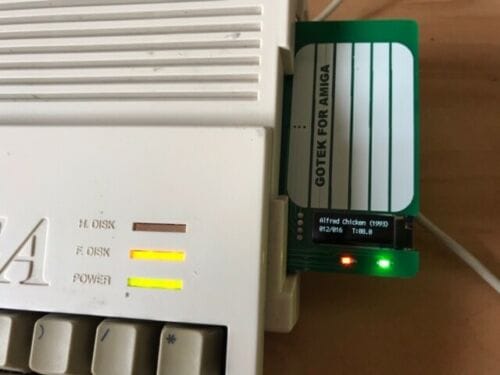
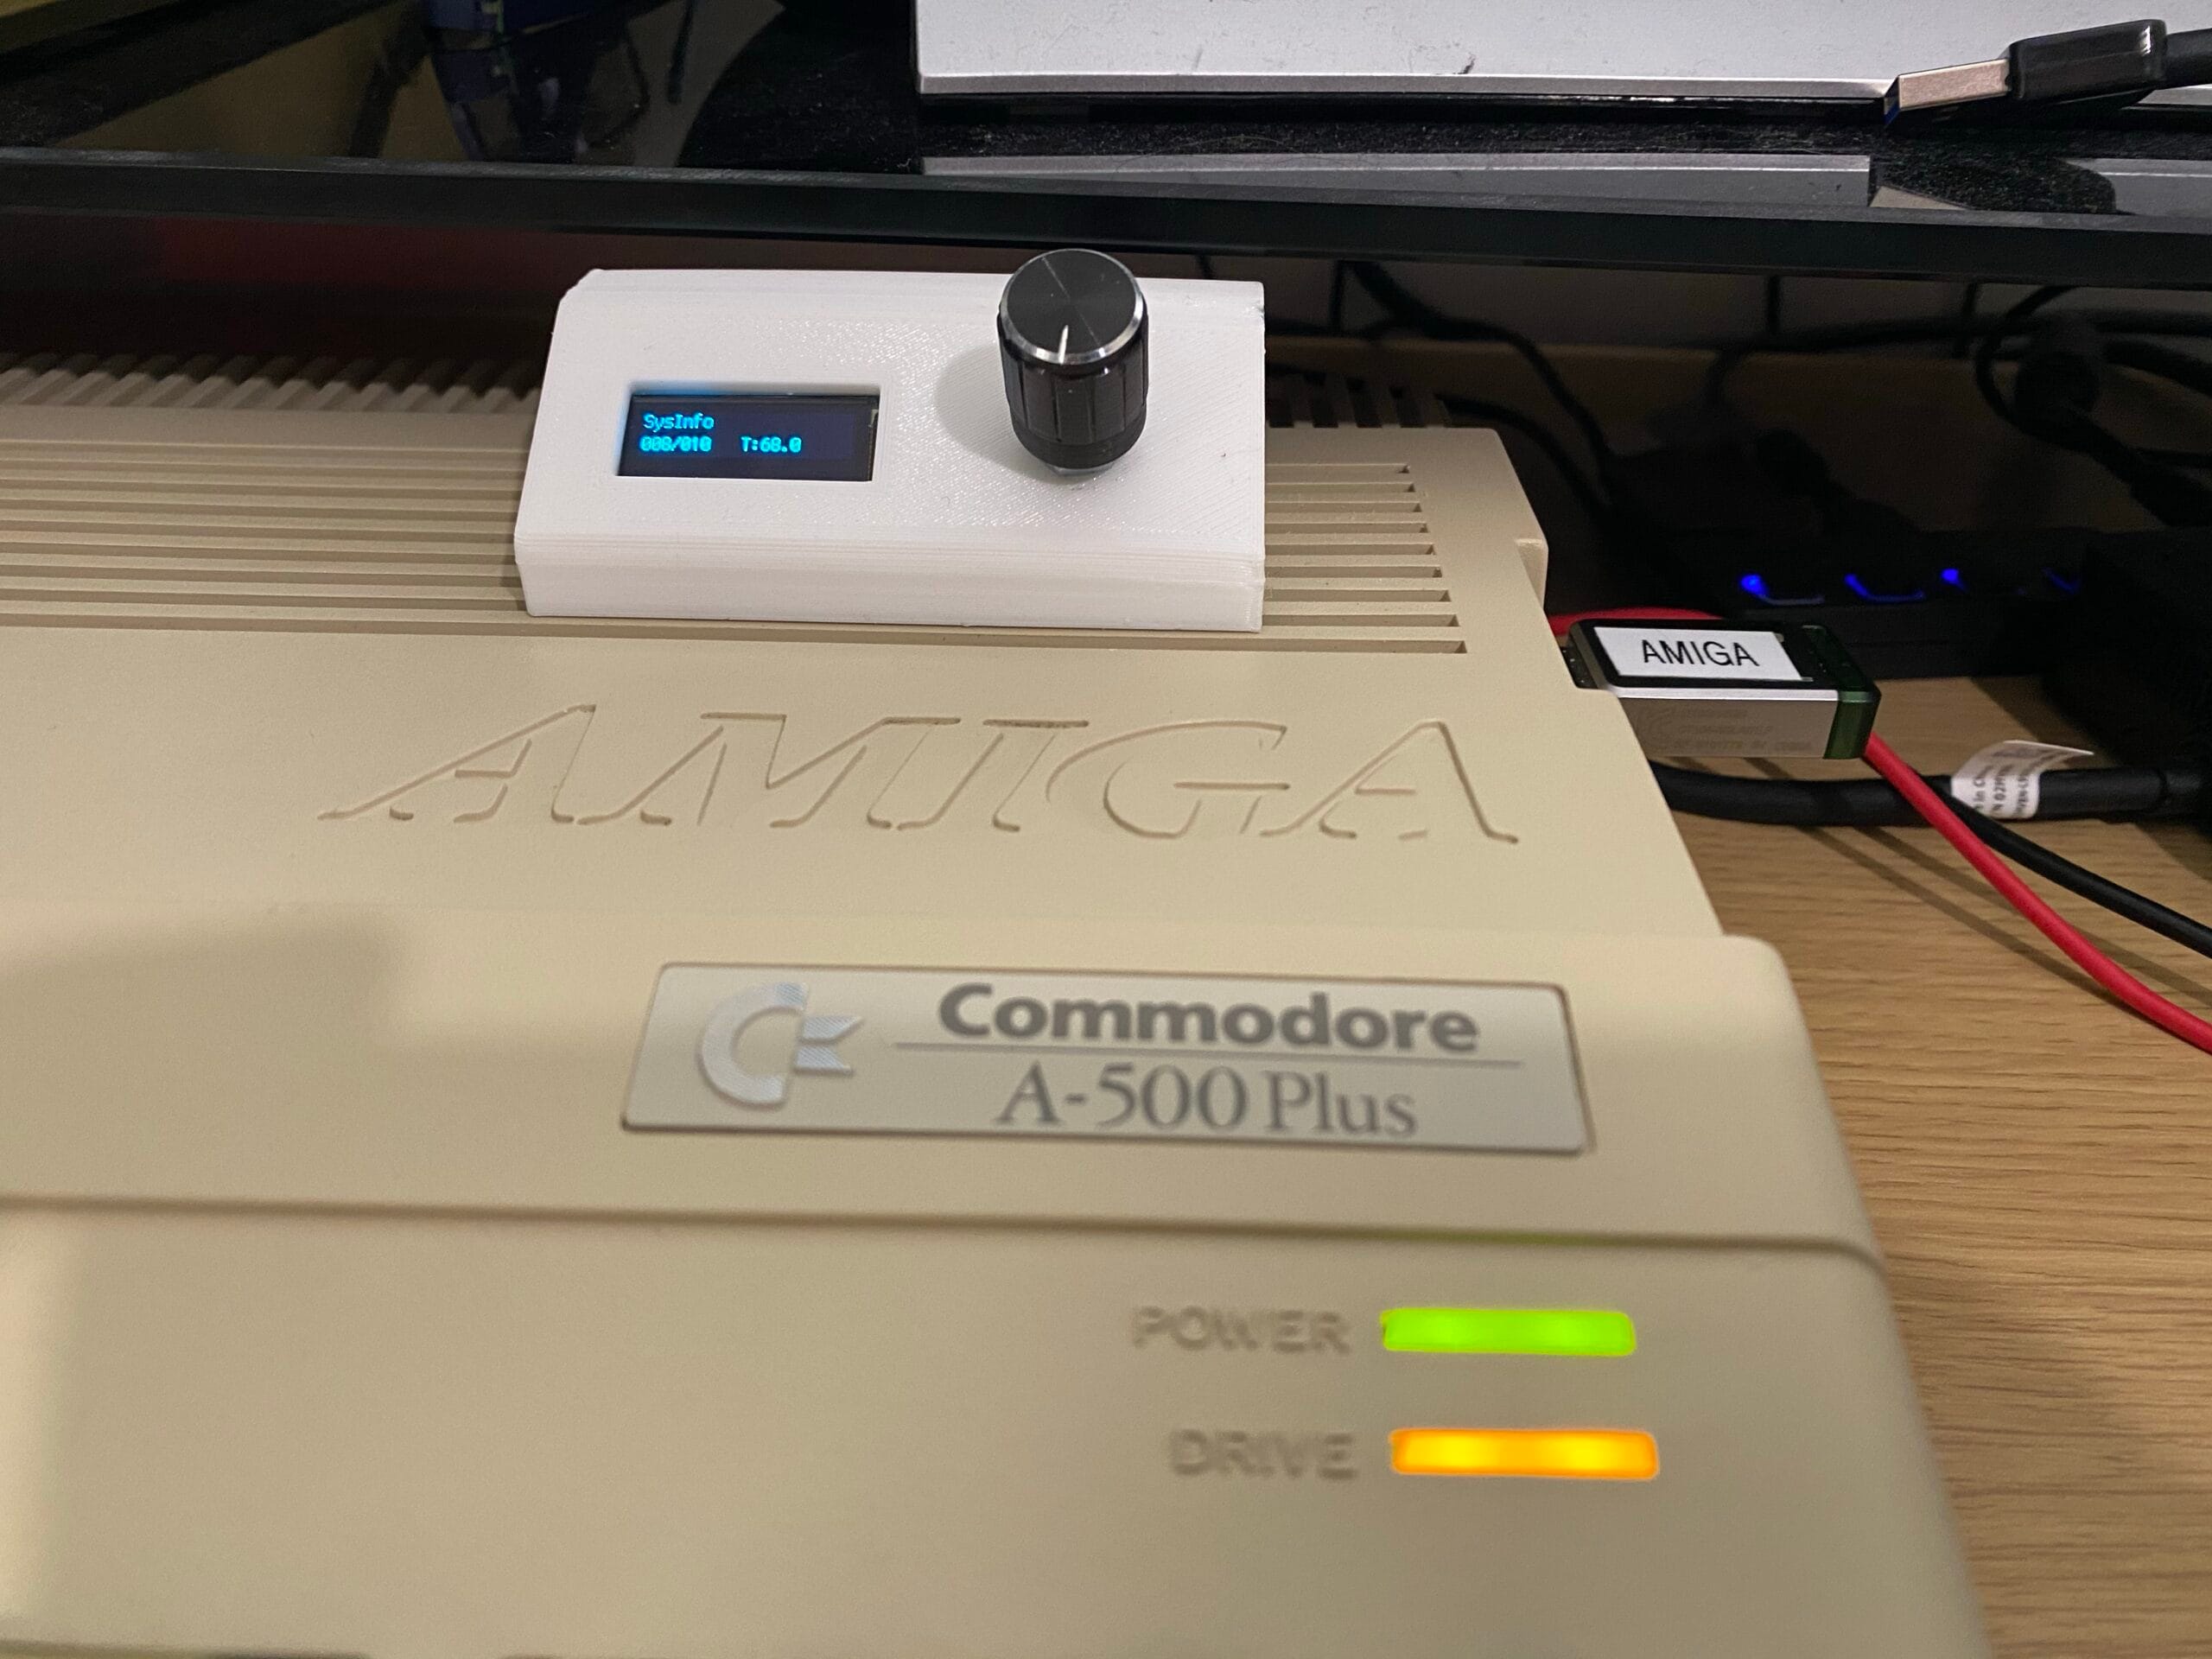
So the solution I went with was a 3D printed box that clips onto the Amiga vent and includes an OLED display and rotary encoder. This kit was sold by Amiga-OneStop_Haven. Unfortunately it came with no instructions so I had to figure a few things out.
Modifications to the Gotek
The rotary encoder requires cables going to 2 pins that are just soldered-up holes on a stock Gotek. Some people wick out the holes and solder the wires directly to the board. I decided to solder some pins to the board so I could remove the module at any time.

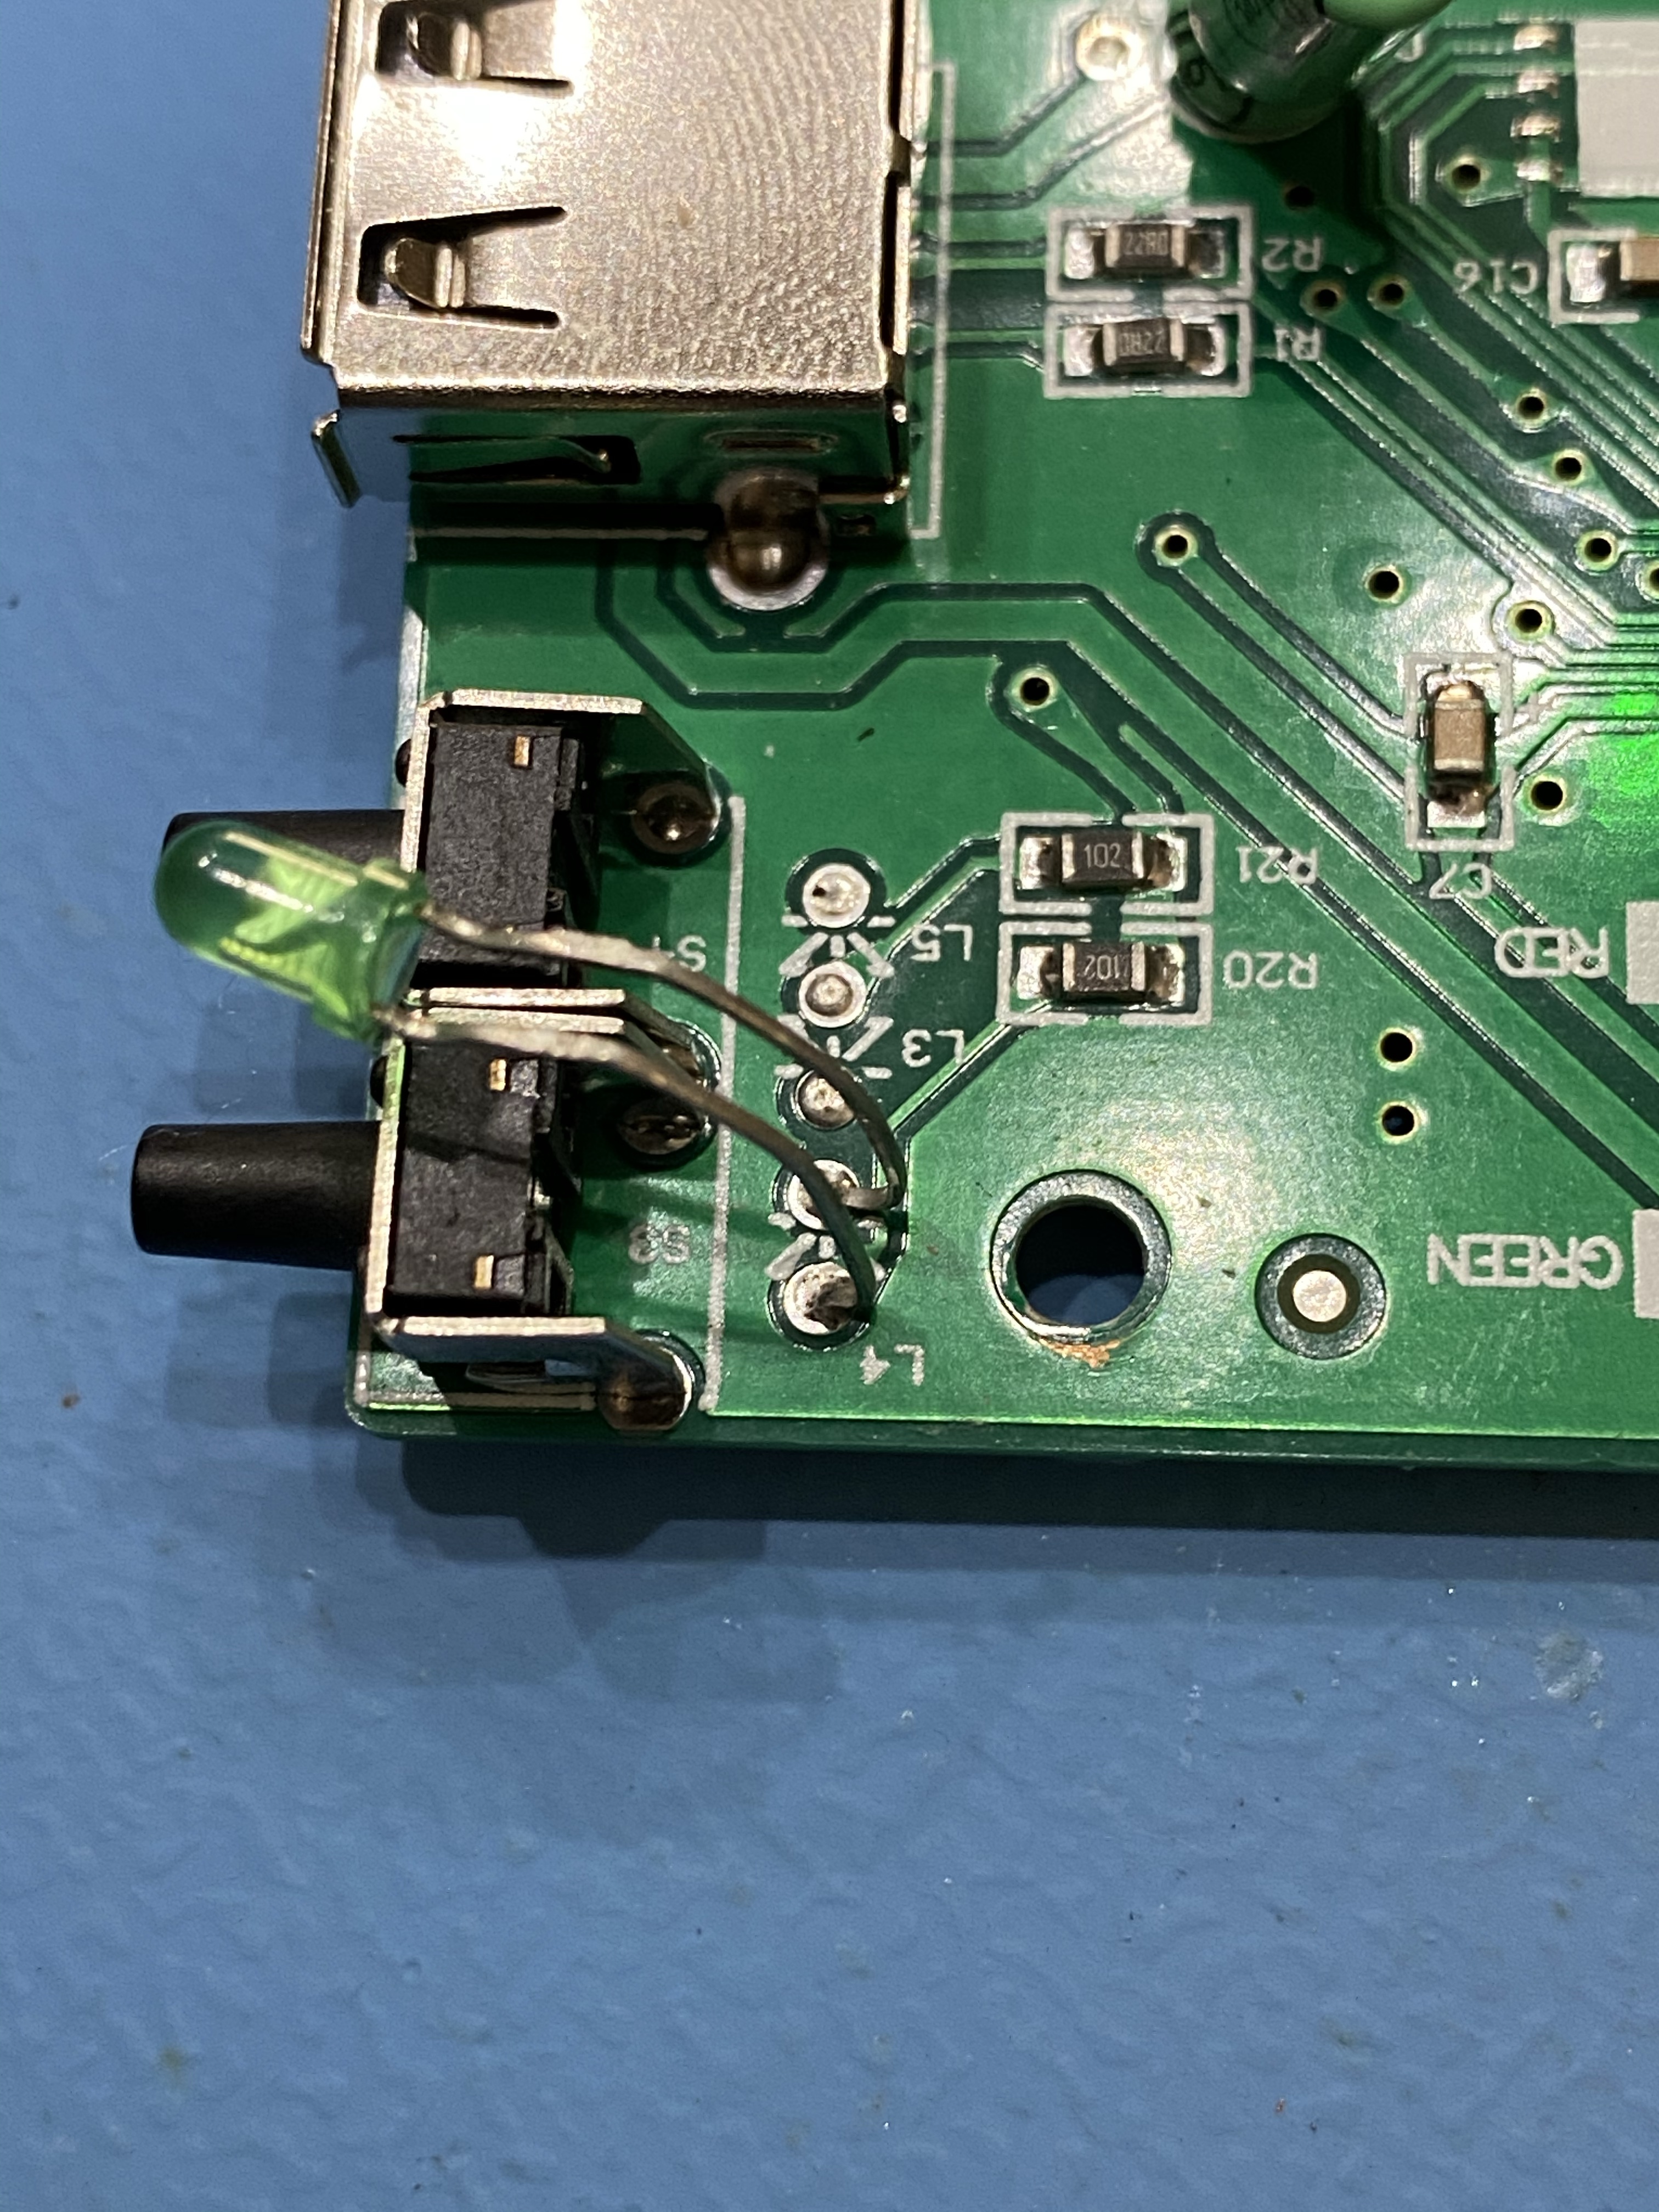
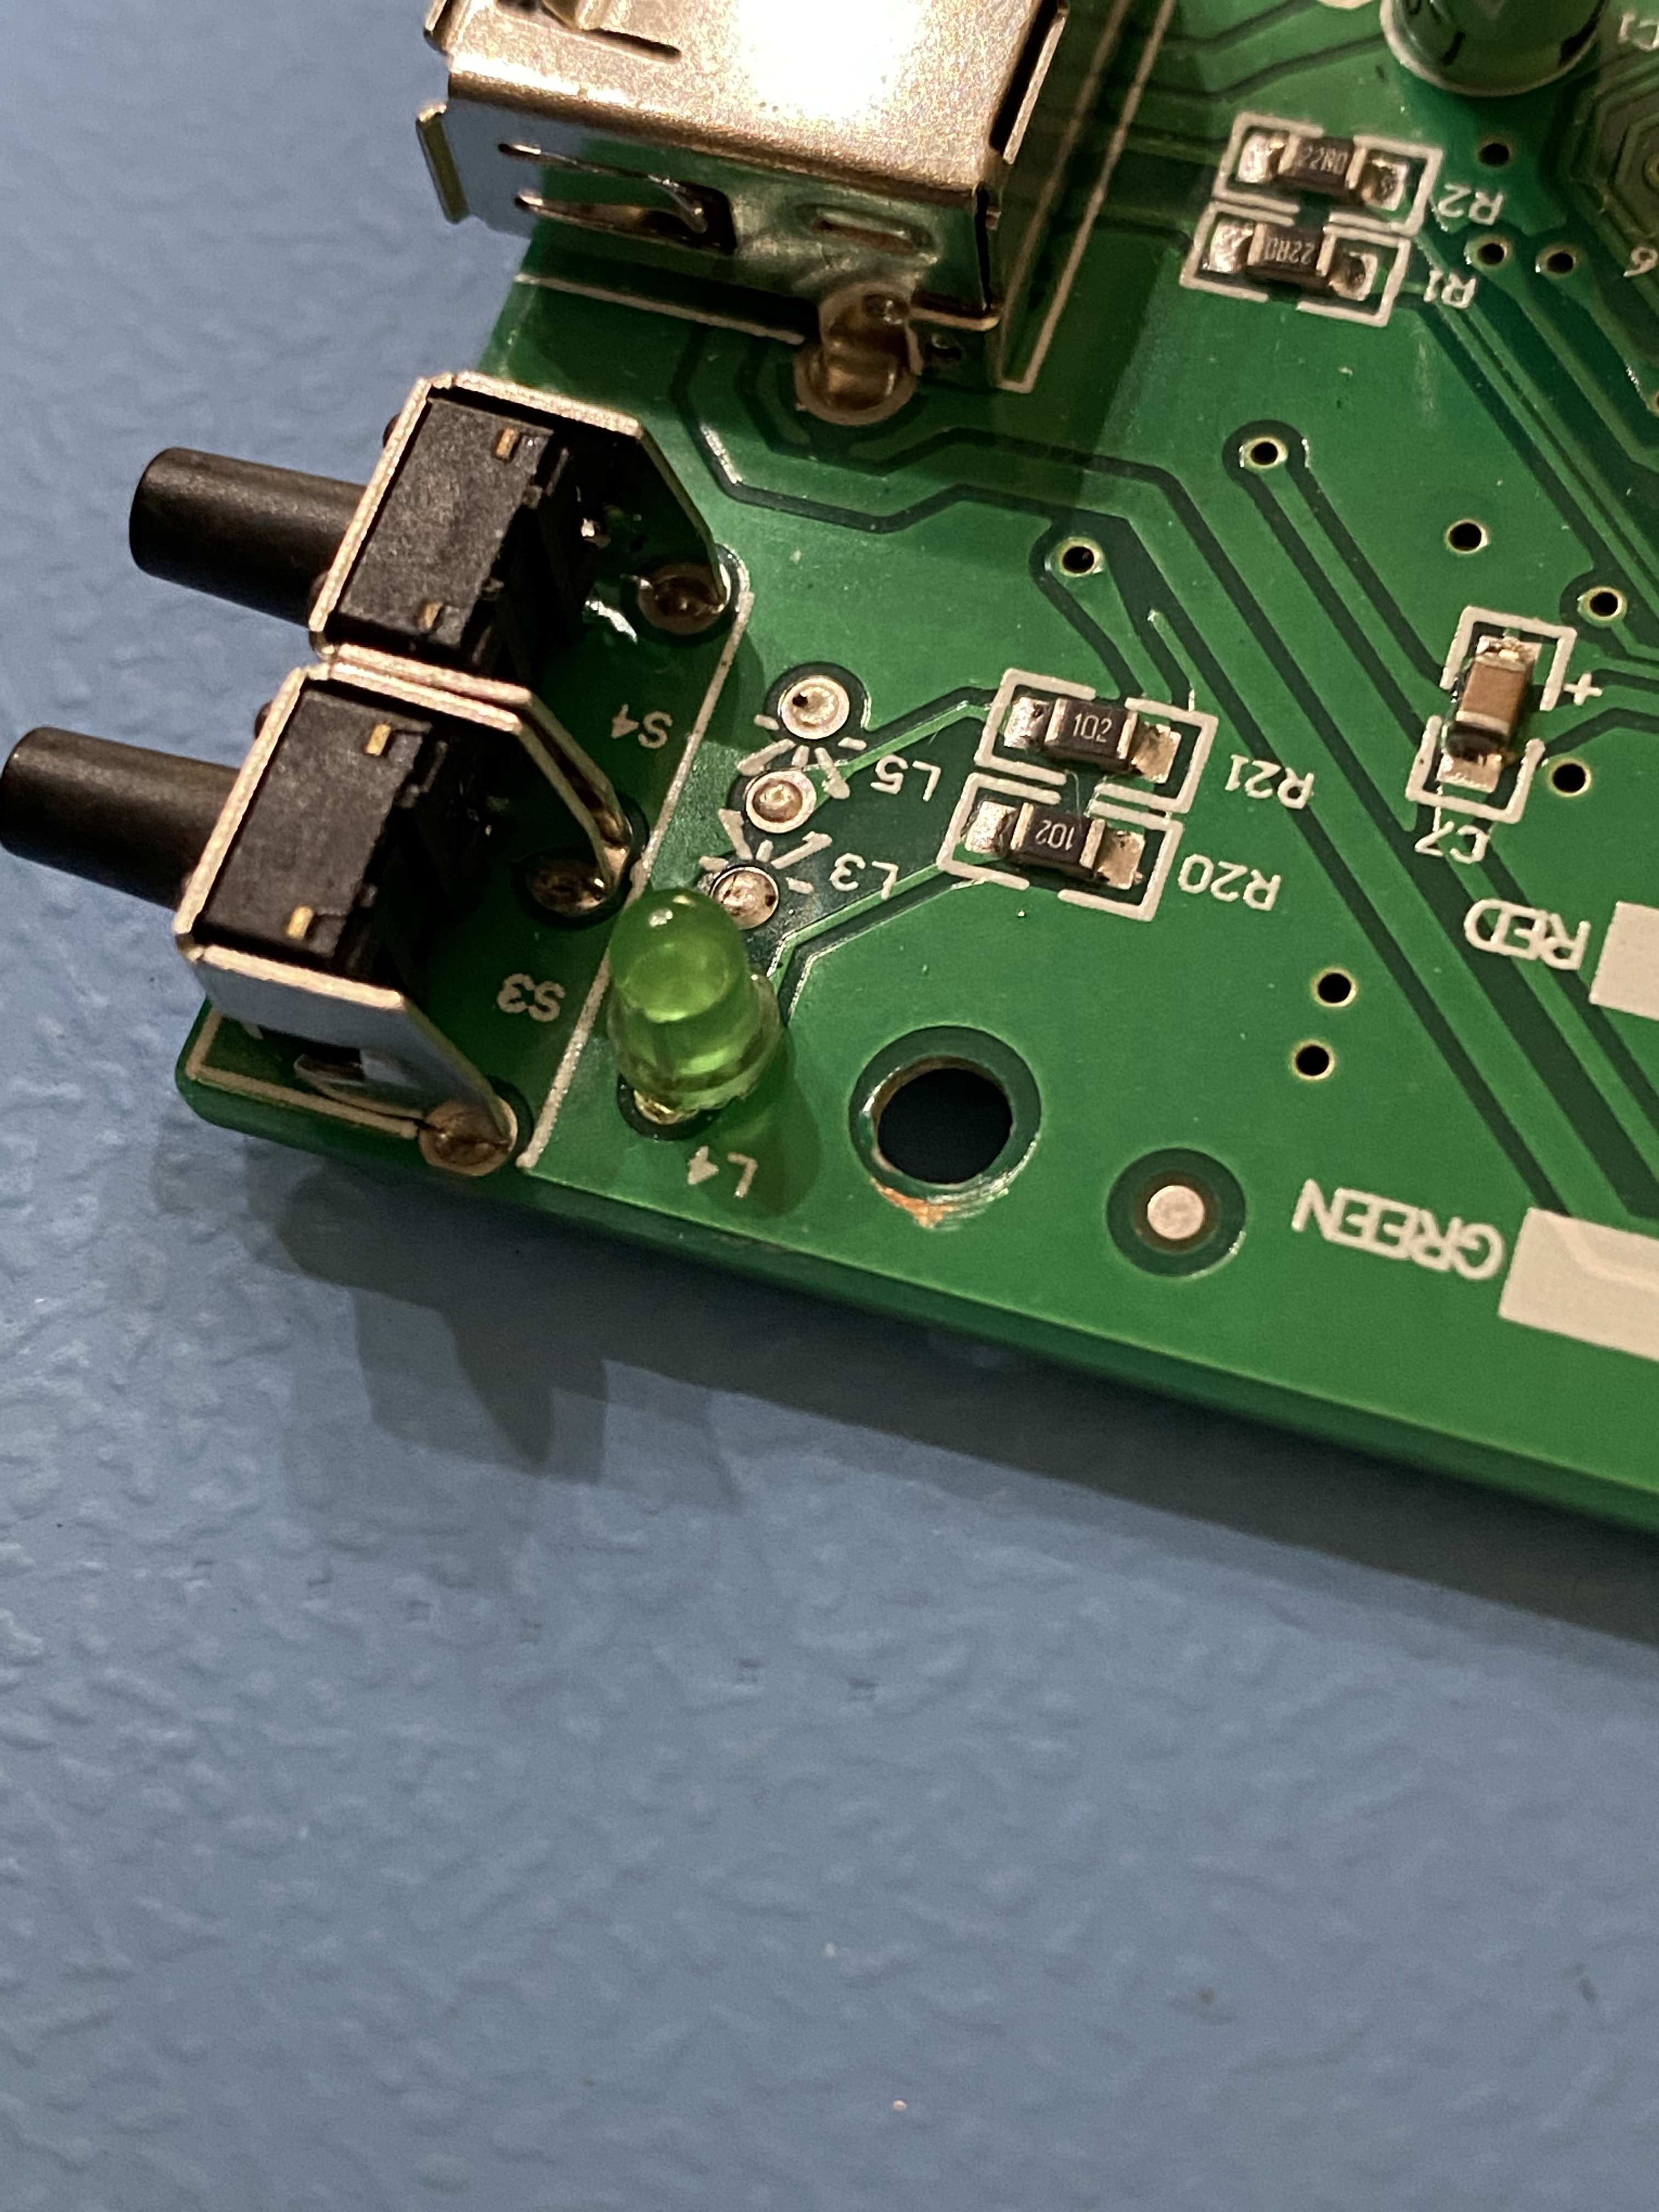
Whilst I was at it, I was really annoyed with the activity LED was mounted. Once this project was complete it would only be there for debugging anyway, so I decided to desolder it, pull it all the way through and solder it right down to board level. This is a before and after.
Now for wiring and testing the unit. There are lots of images out there showing you how to wire a rotary encoder. I found this one most useful because although the colour of the wiring was different and there was no +3.3v wire, it was close to how mine was wired.
As for the OLED, again the colours were a little different but there loads of references on Google on how to wire it, plus I had another Gotek to use as reference so there wasn’t really an issue.
At first when I fired it up it all seemed to work, but the rotary encoder was working backwards. When this happens you have two options:
- Edit FF.CFG on your USB stick and set the “twobutton-action” to “rotary,reverse”
- Switch the wires for Clock and DT (where the new pins I soldered are) because you got them backwards
I of course just switched the wires over and am thankful I didn’t directly solder them in place.
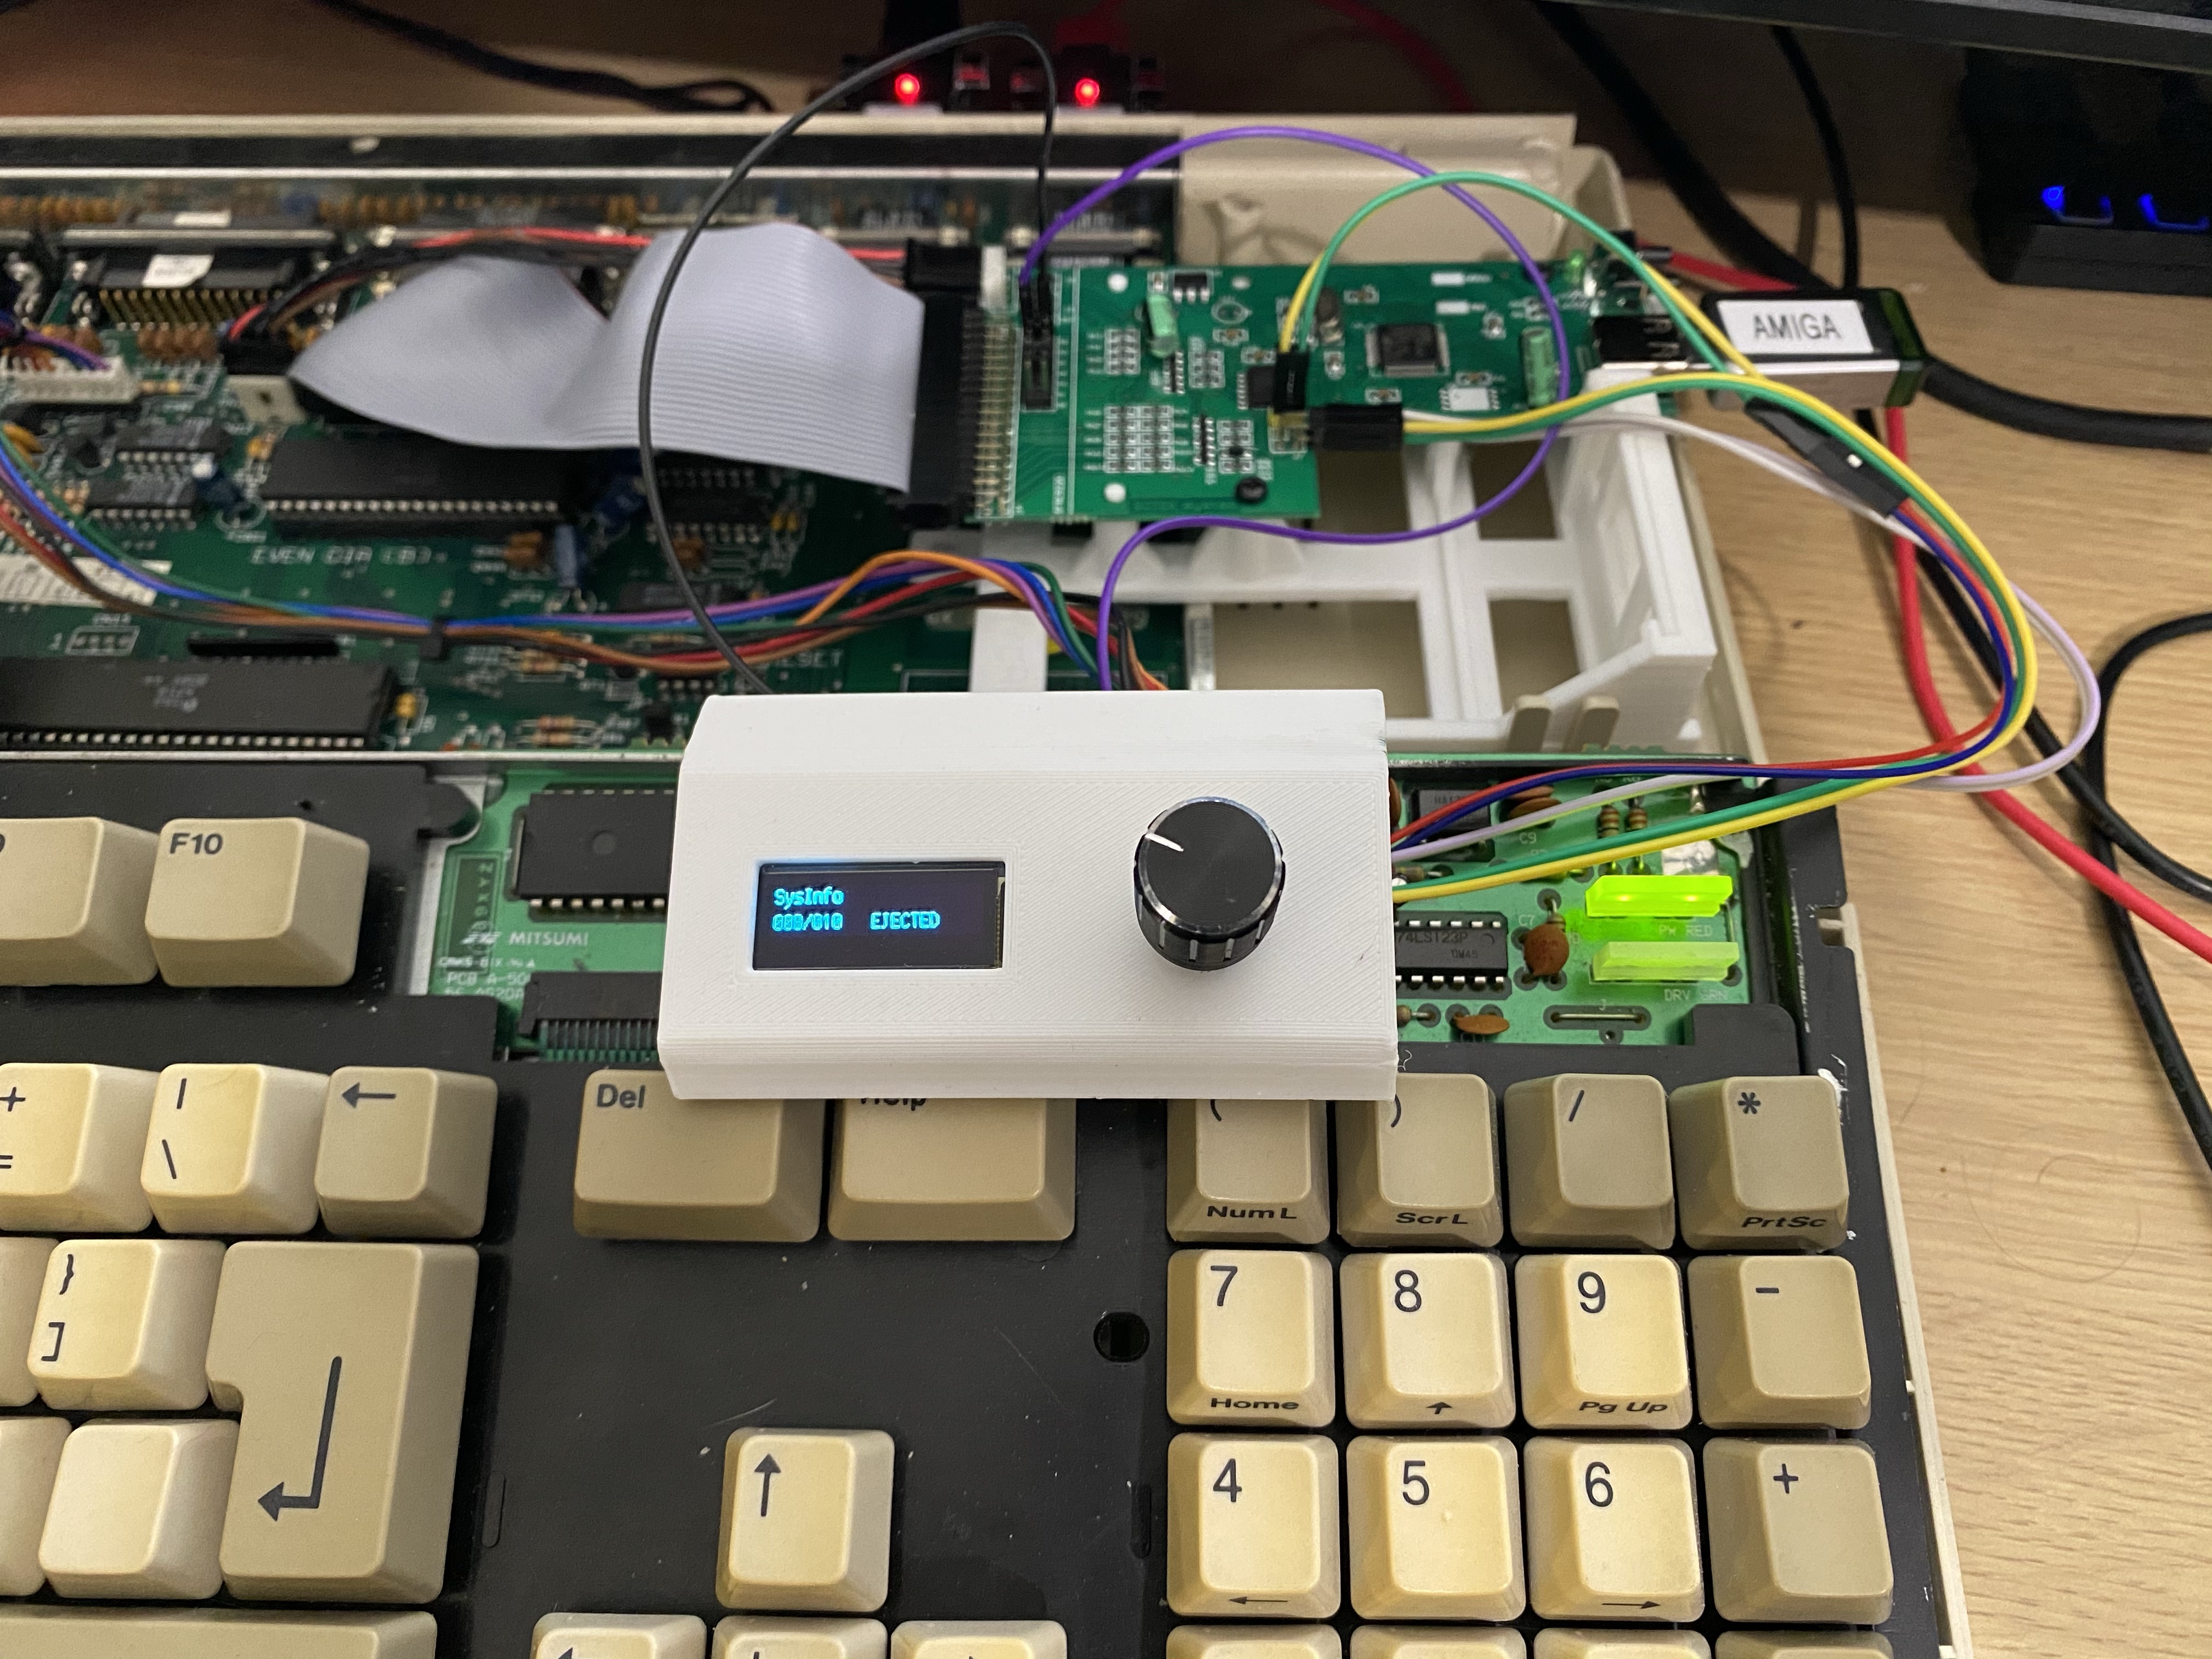
Mounting the Box
I’ve seen examples of people having the wires stick out the side of the box and in through the floppy drive hole. I’ve also seen people drill bigger holes into the top of the Amiga for the wires. I find the former ugly and I make a point of none of my modifications damaging the original Amiga casing.
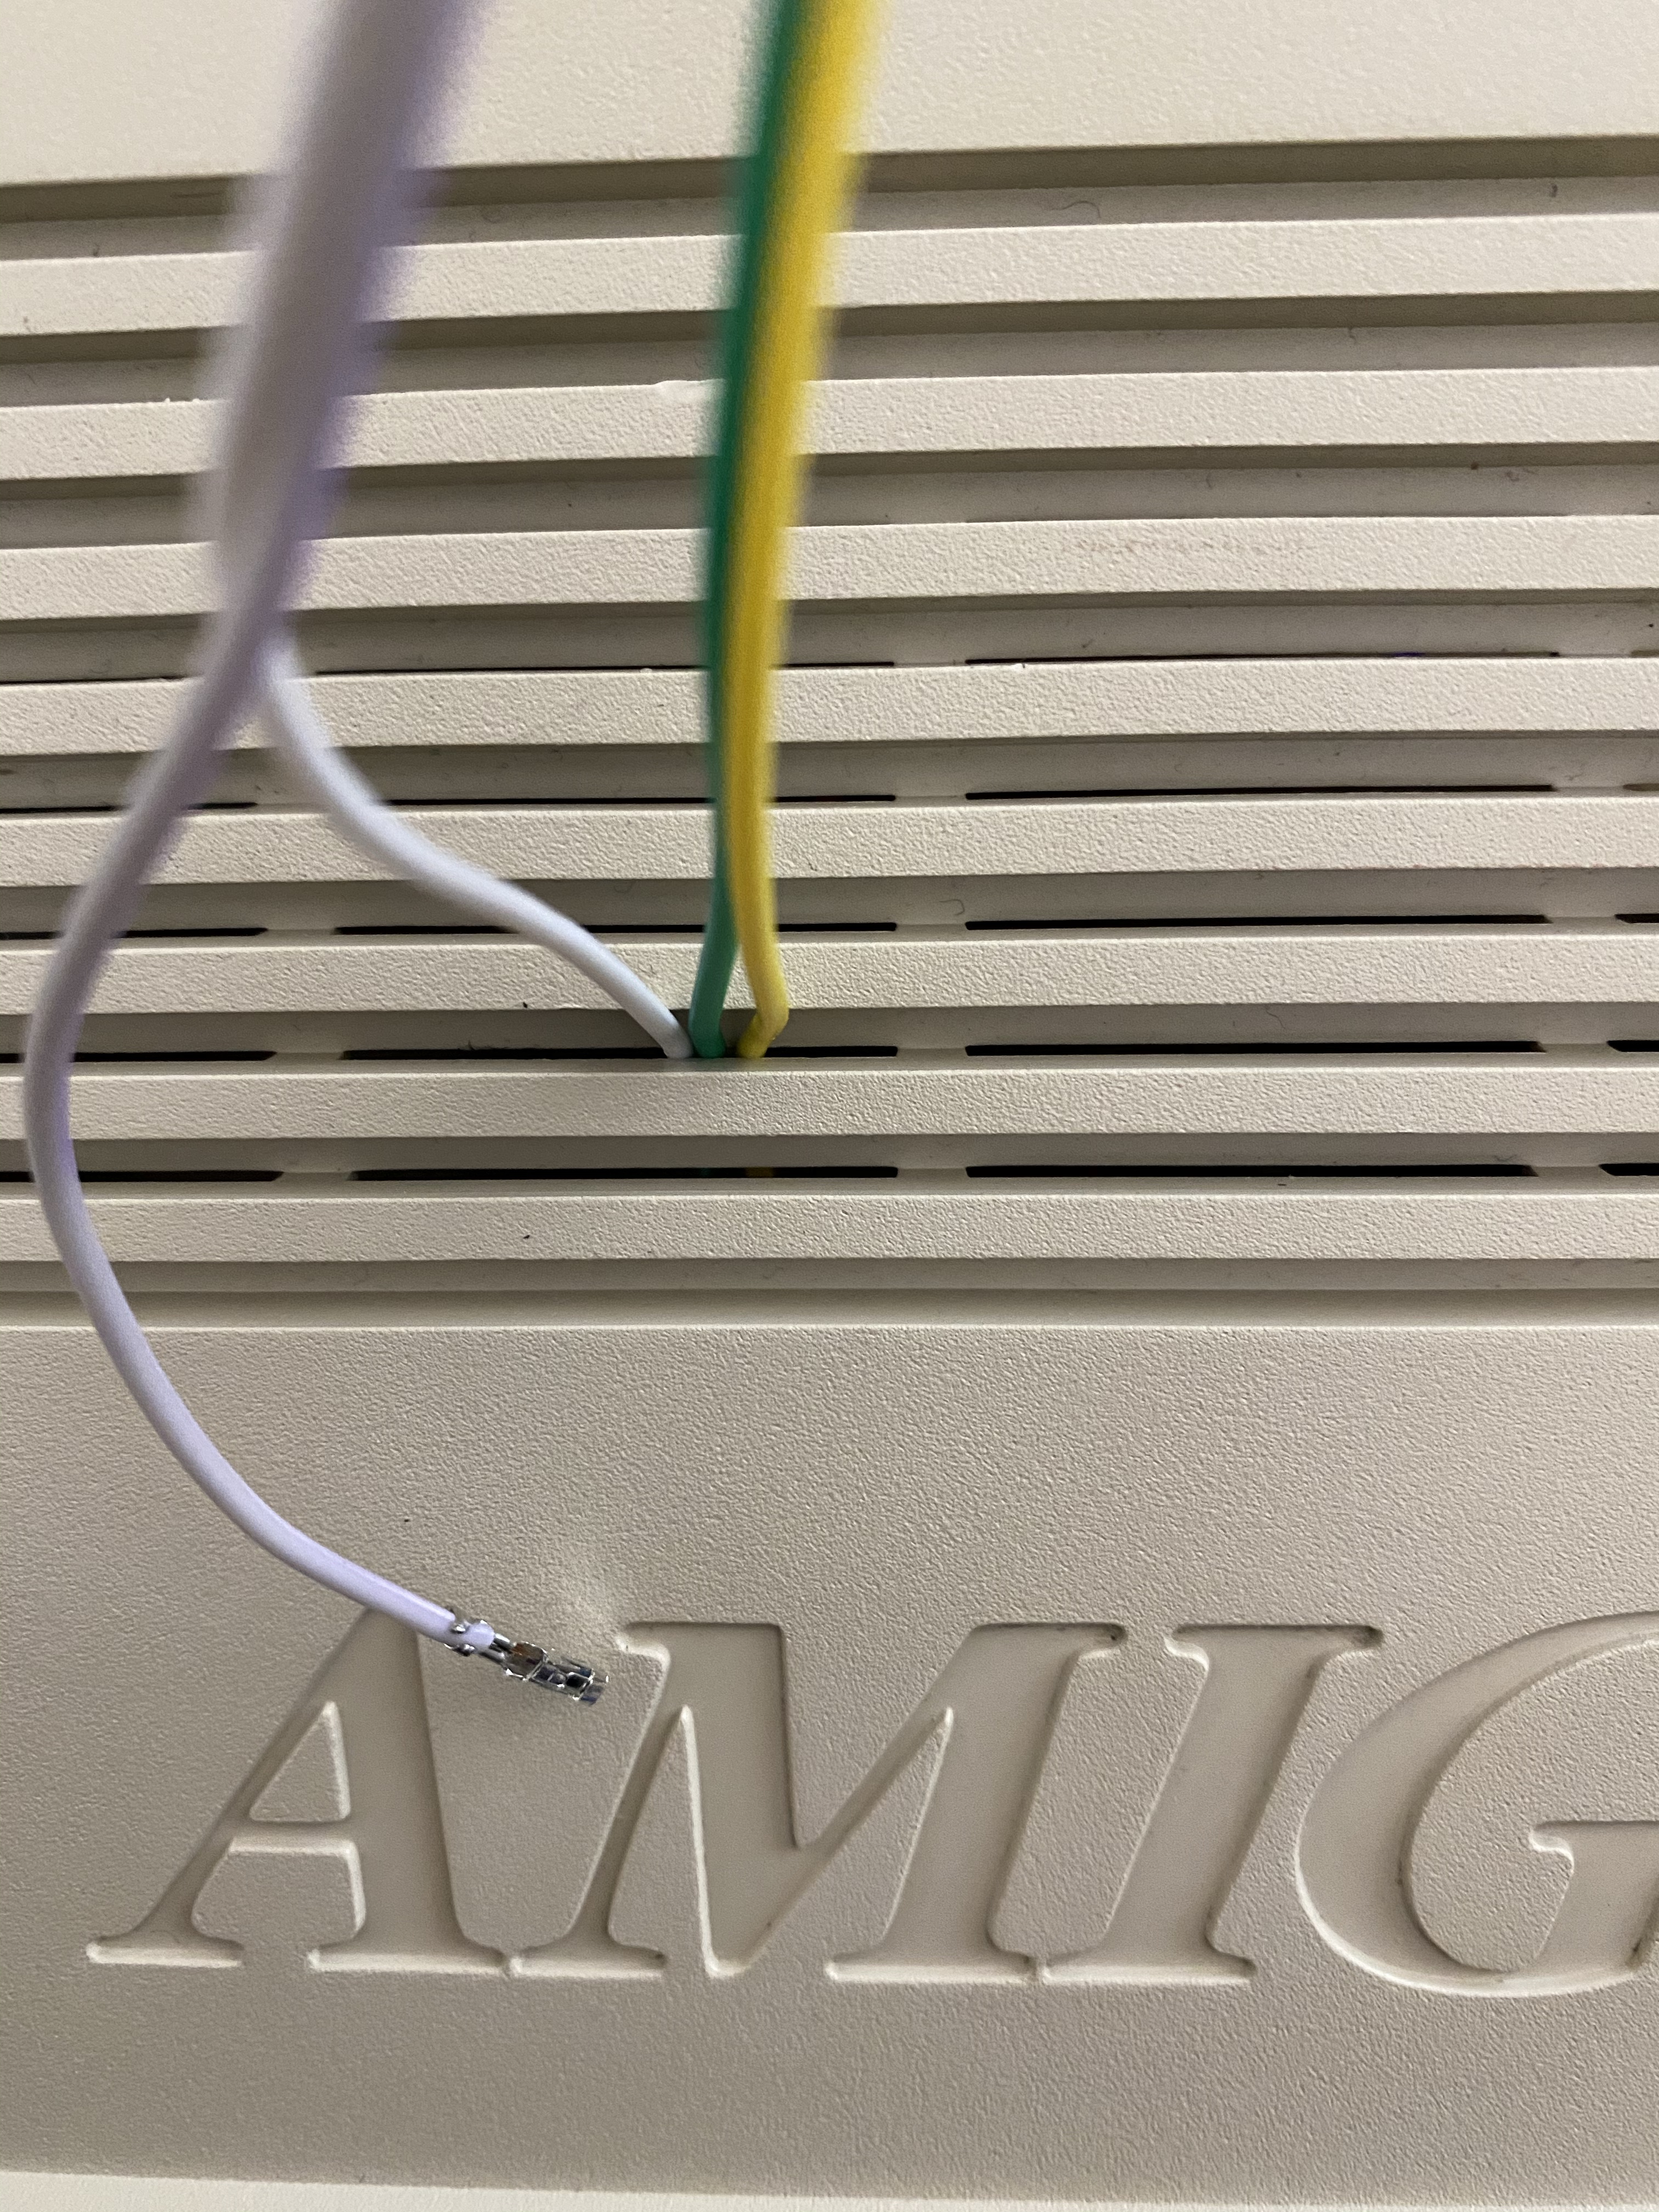
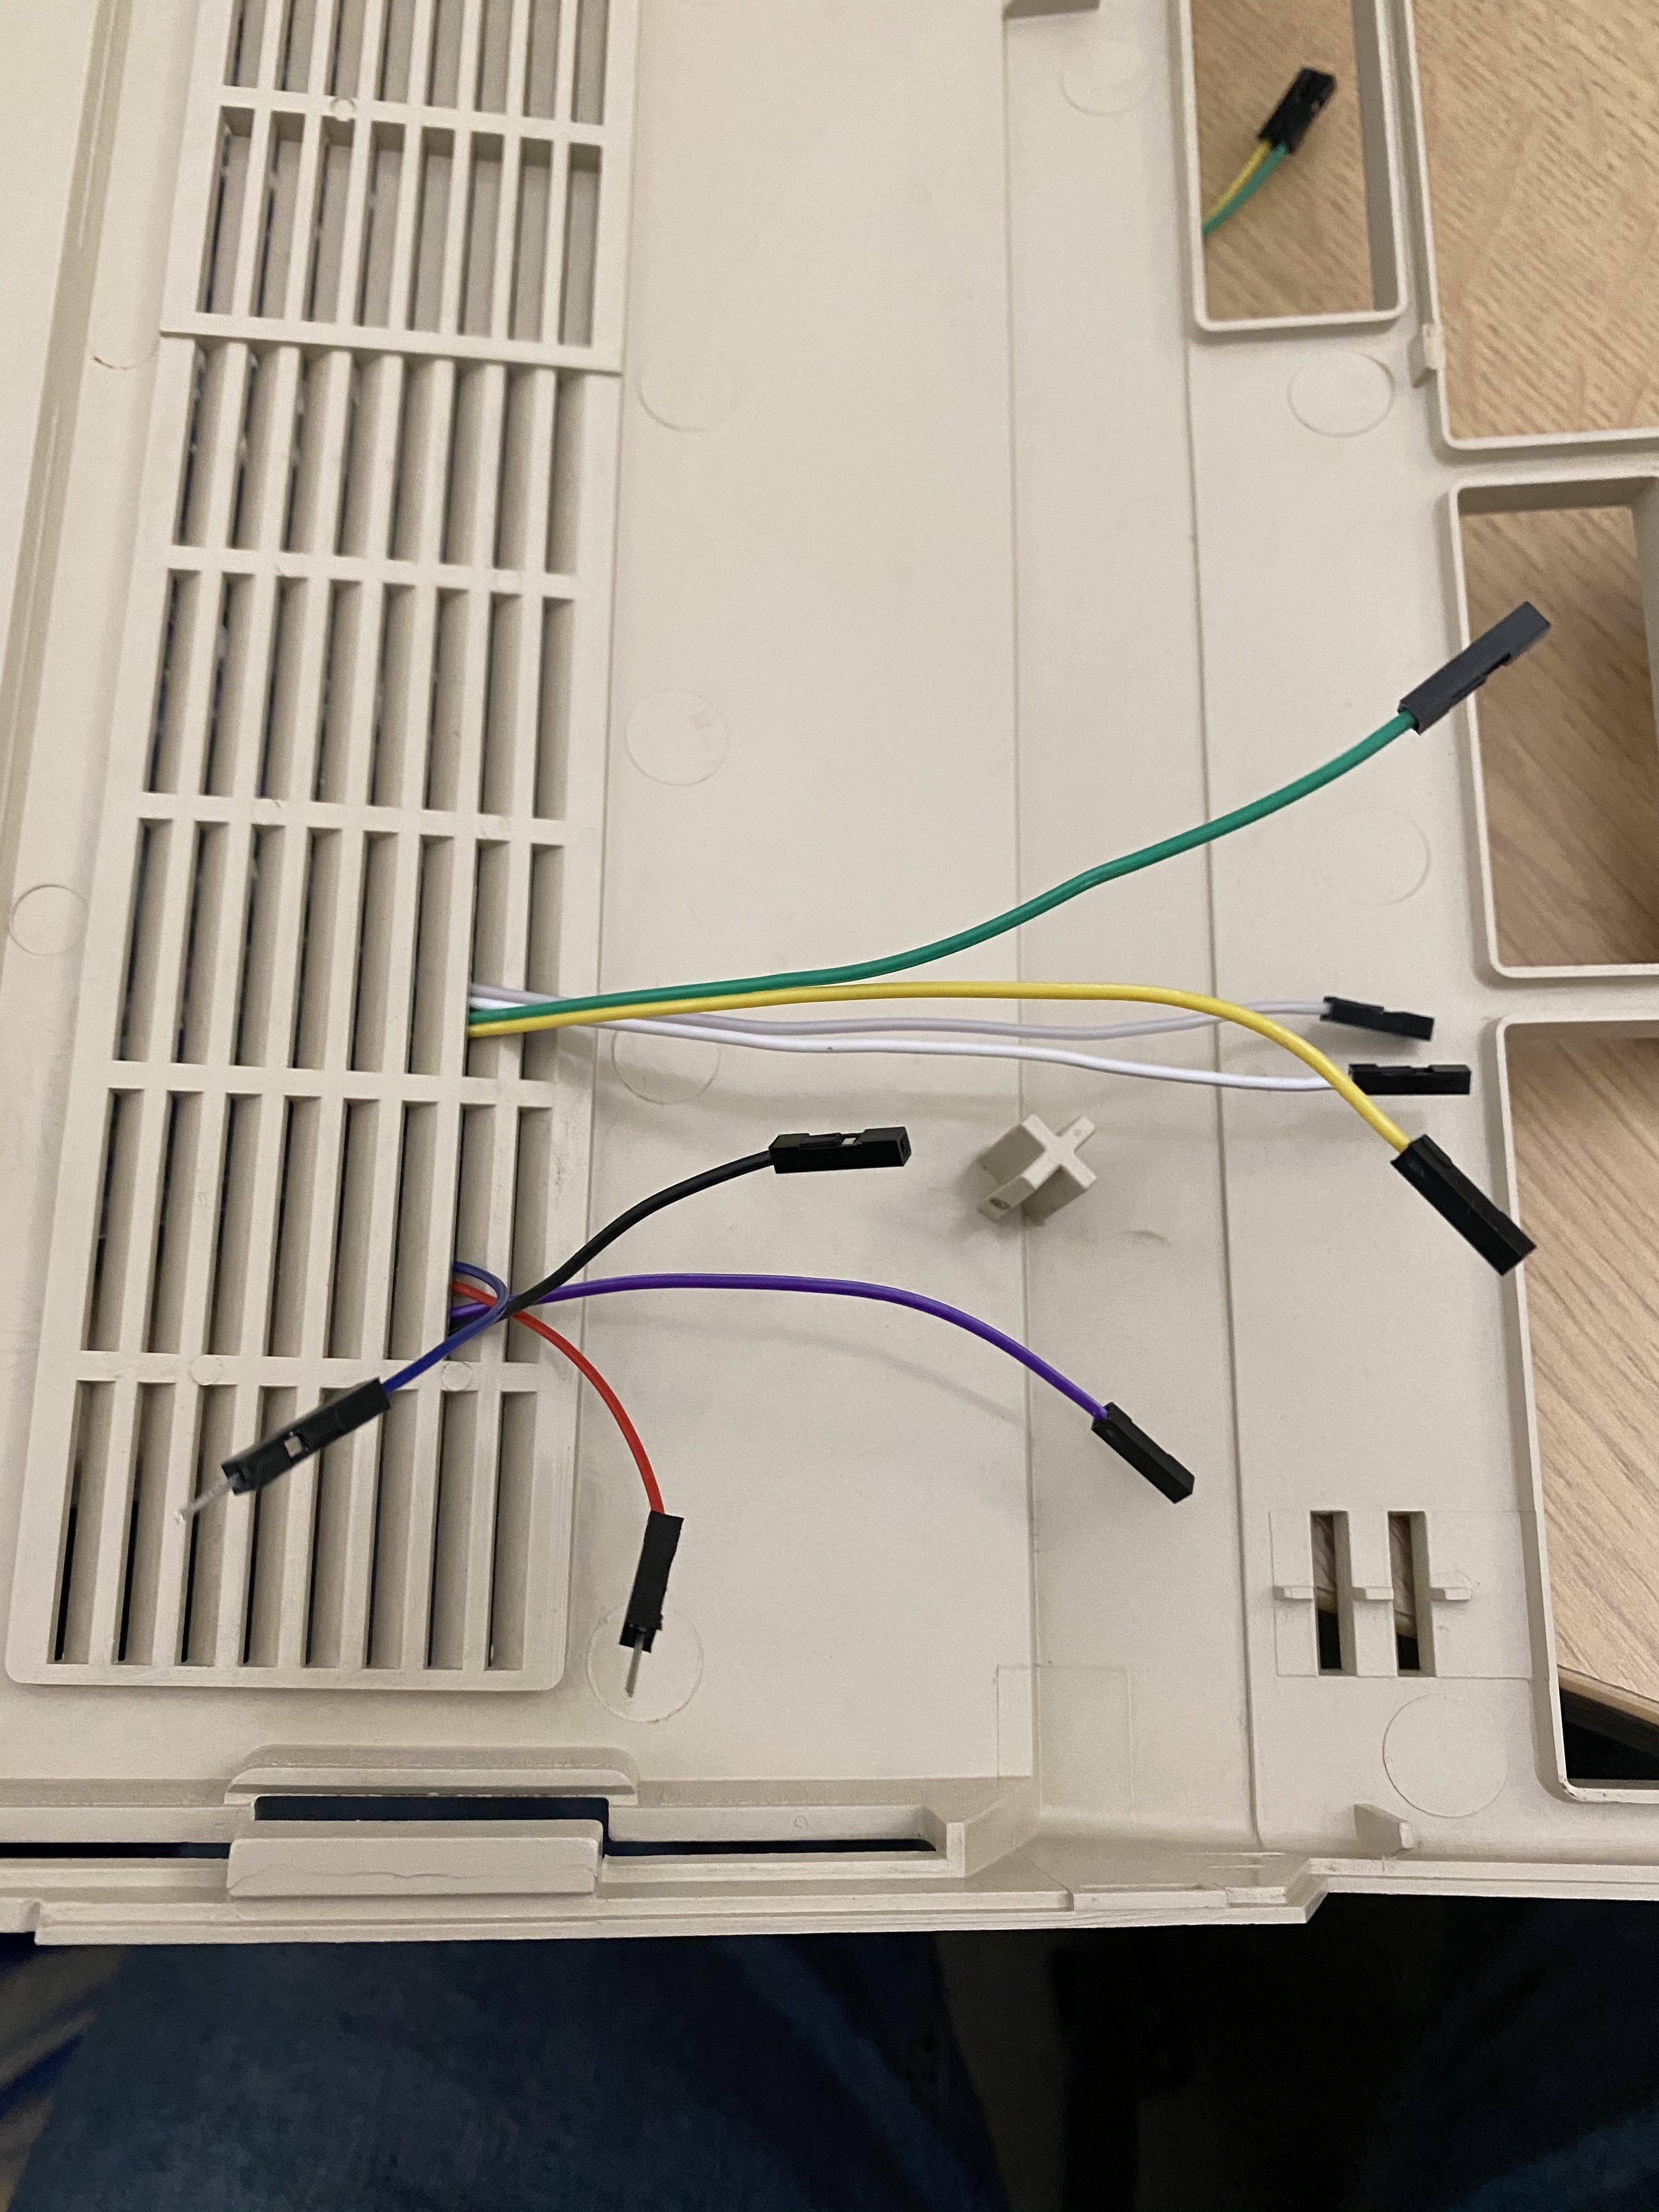
Instead I used an angled pick from a pick set I bought from Amazon to unhook the plastic shell from the wires and poke them through the vent in the Amiga. They went through relatively easy with a bit of gentle persuasion. No damage to the Amiga itself.
Now to clip it on… When I received to Gotek mount I had an issue where the 3D print hadn’t been cleared up, so I had to file a little bit of it around the fake eject button so the case would close properly. I also had to cut threads into the holes where screws go. There were similar imperfections with the box 3D print, I had to file a tiny amount of plastic from the legs so that it would clip in properly as a couple were slightly too wide.
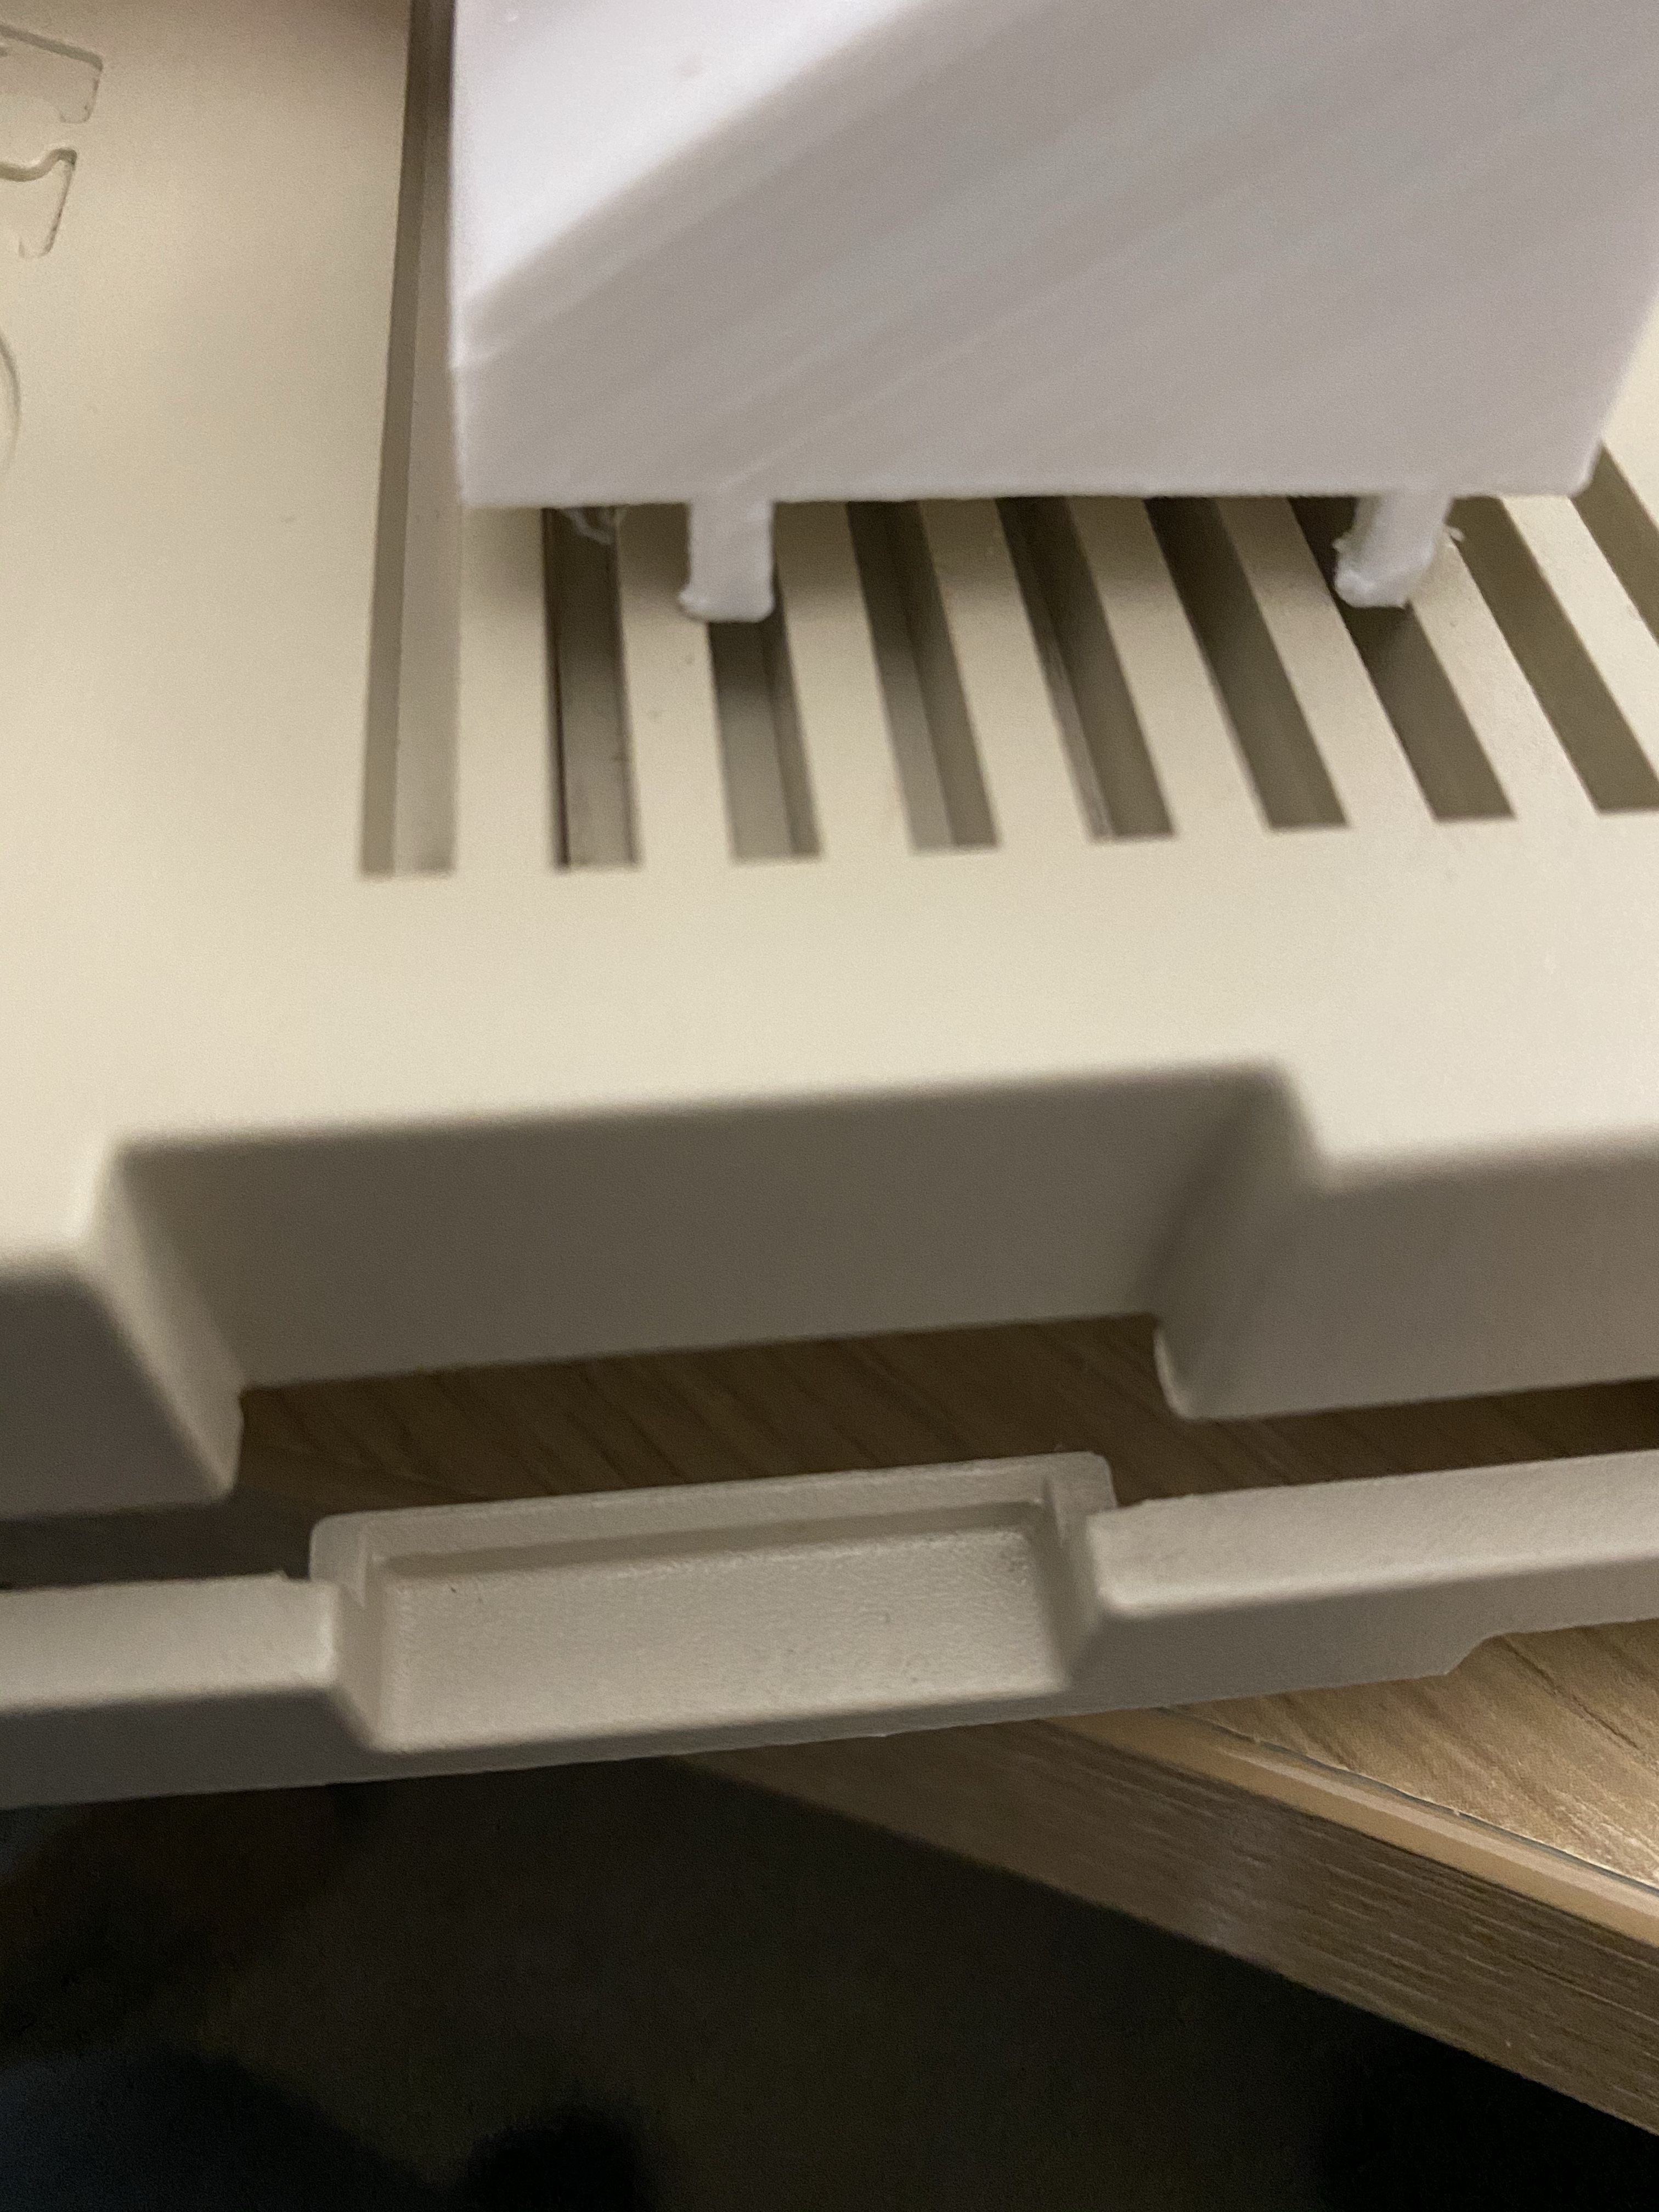
Once this was done the done I clipped it onto the case. This requires a little pressure, but not enough that I thought I was damaging anything. I then proceeded to re-wire it as before and turn it on. It all worked as before and I now have much more control over the drive.
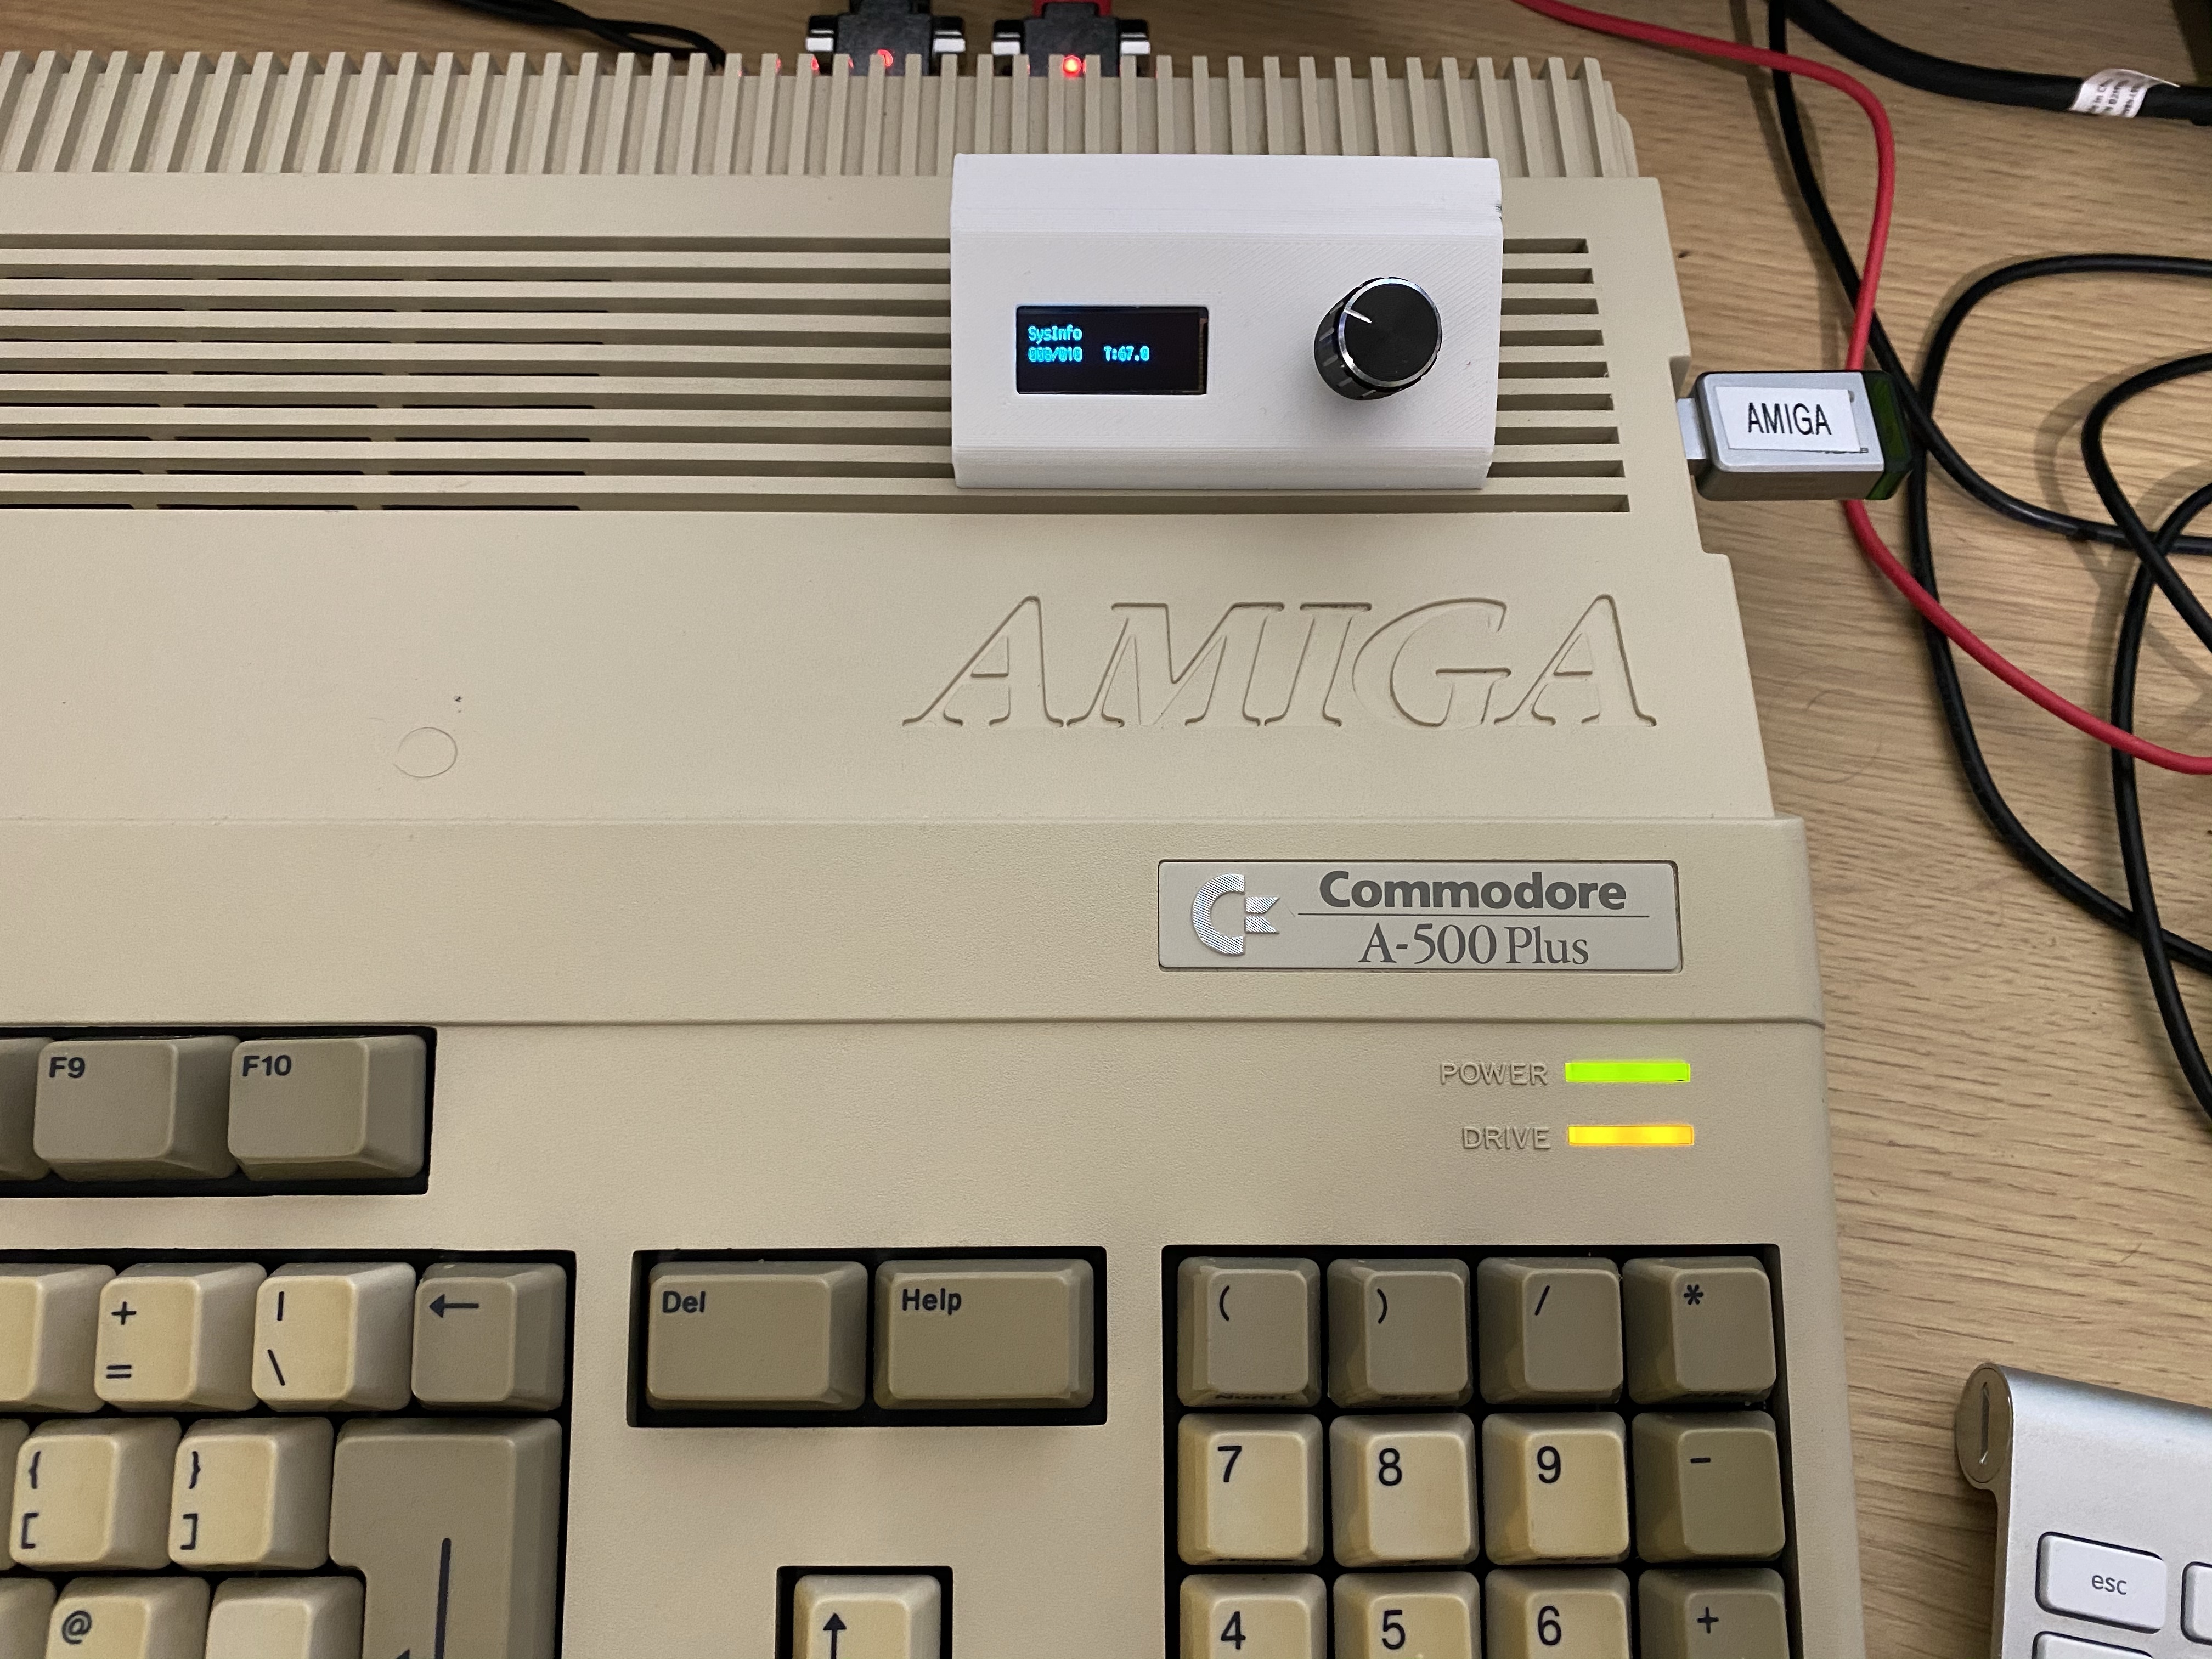
I have tweaked the FF.CFG file on the USB stick a little to disable the autoselect options and to boot ejected so that the SD card hard drive boots first. I’ve also removed the legacy mode boot menu which allows you to select a limited number of images as it is much easier to select anything on the drive with the rotary encoder and display.

Leave a Reply