

In my previous post about the repair of my Australian C64 I got as far as diagnosing that I needed a new CIA chip. The CIA chip has arrived so I thought I would try it out and see how far I get.
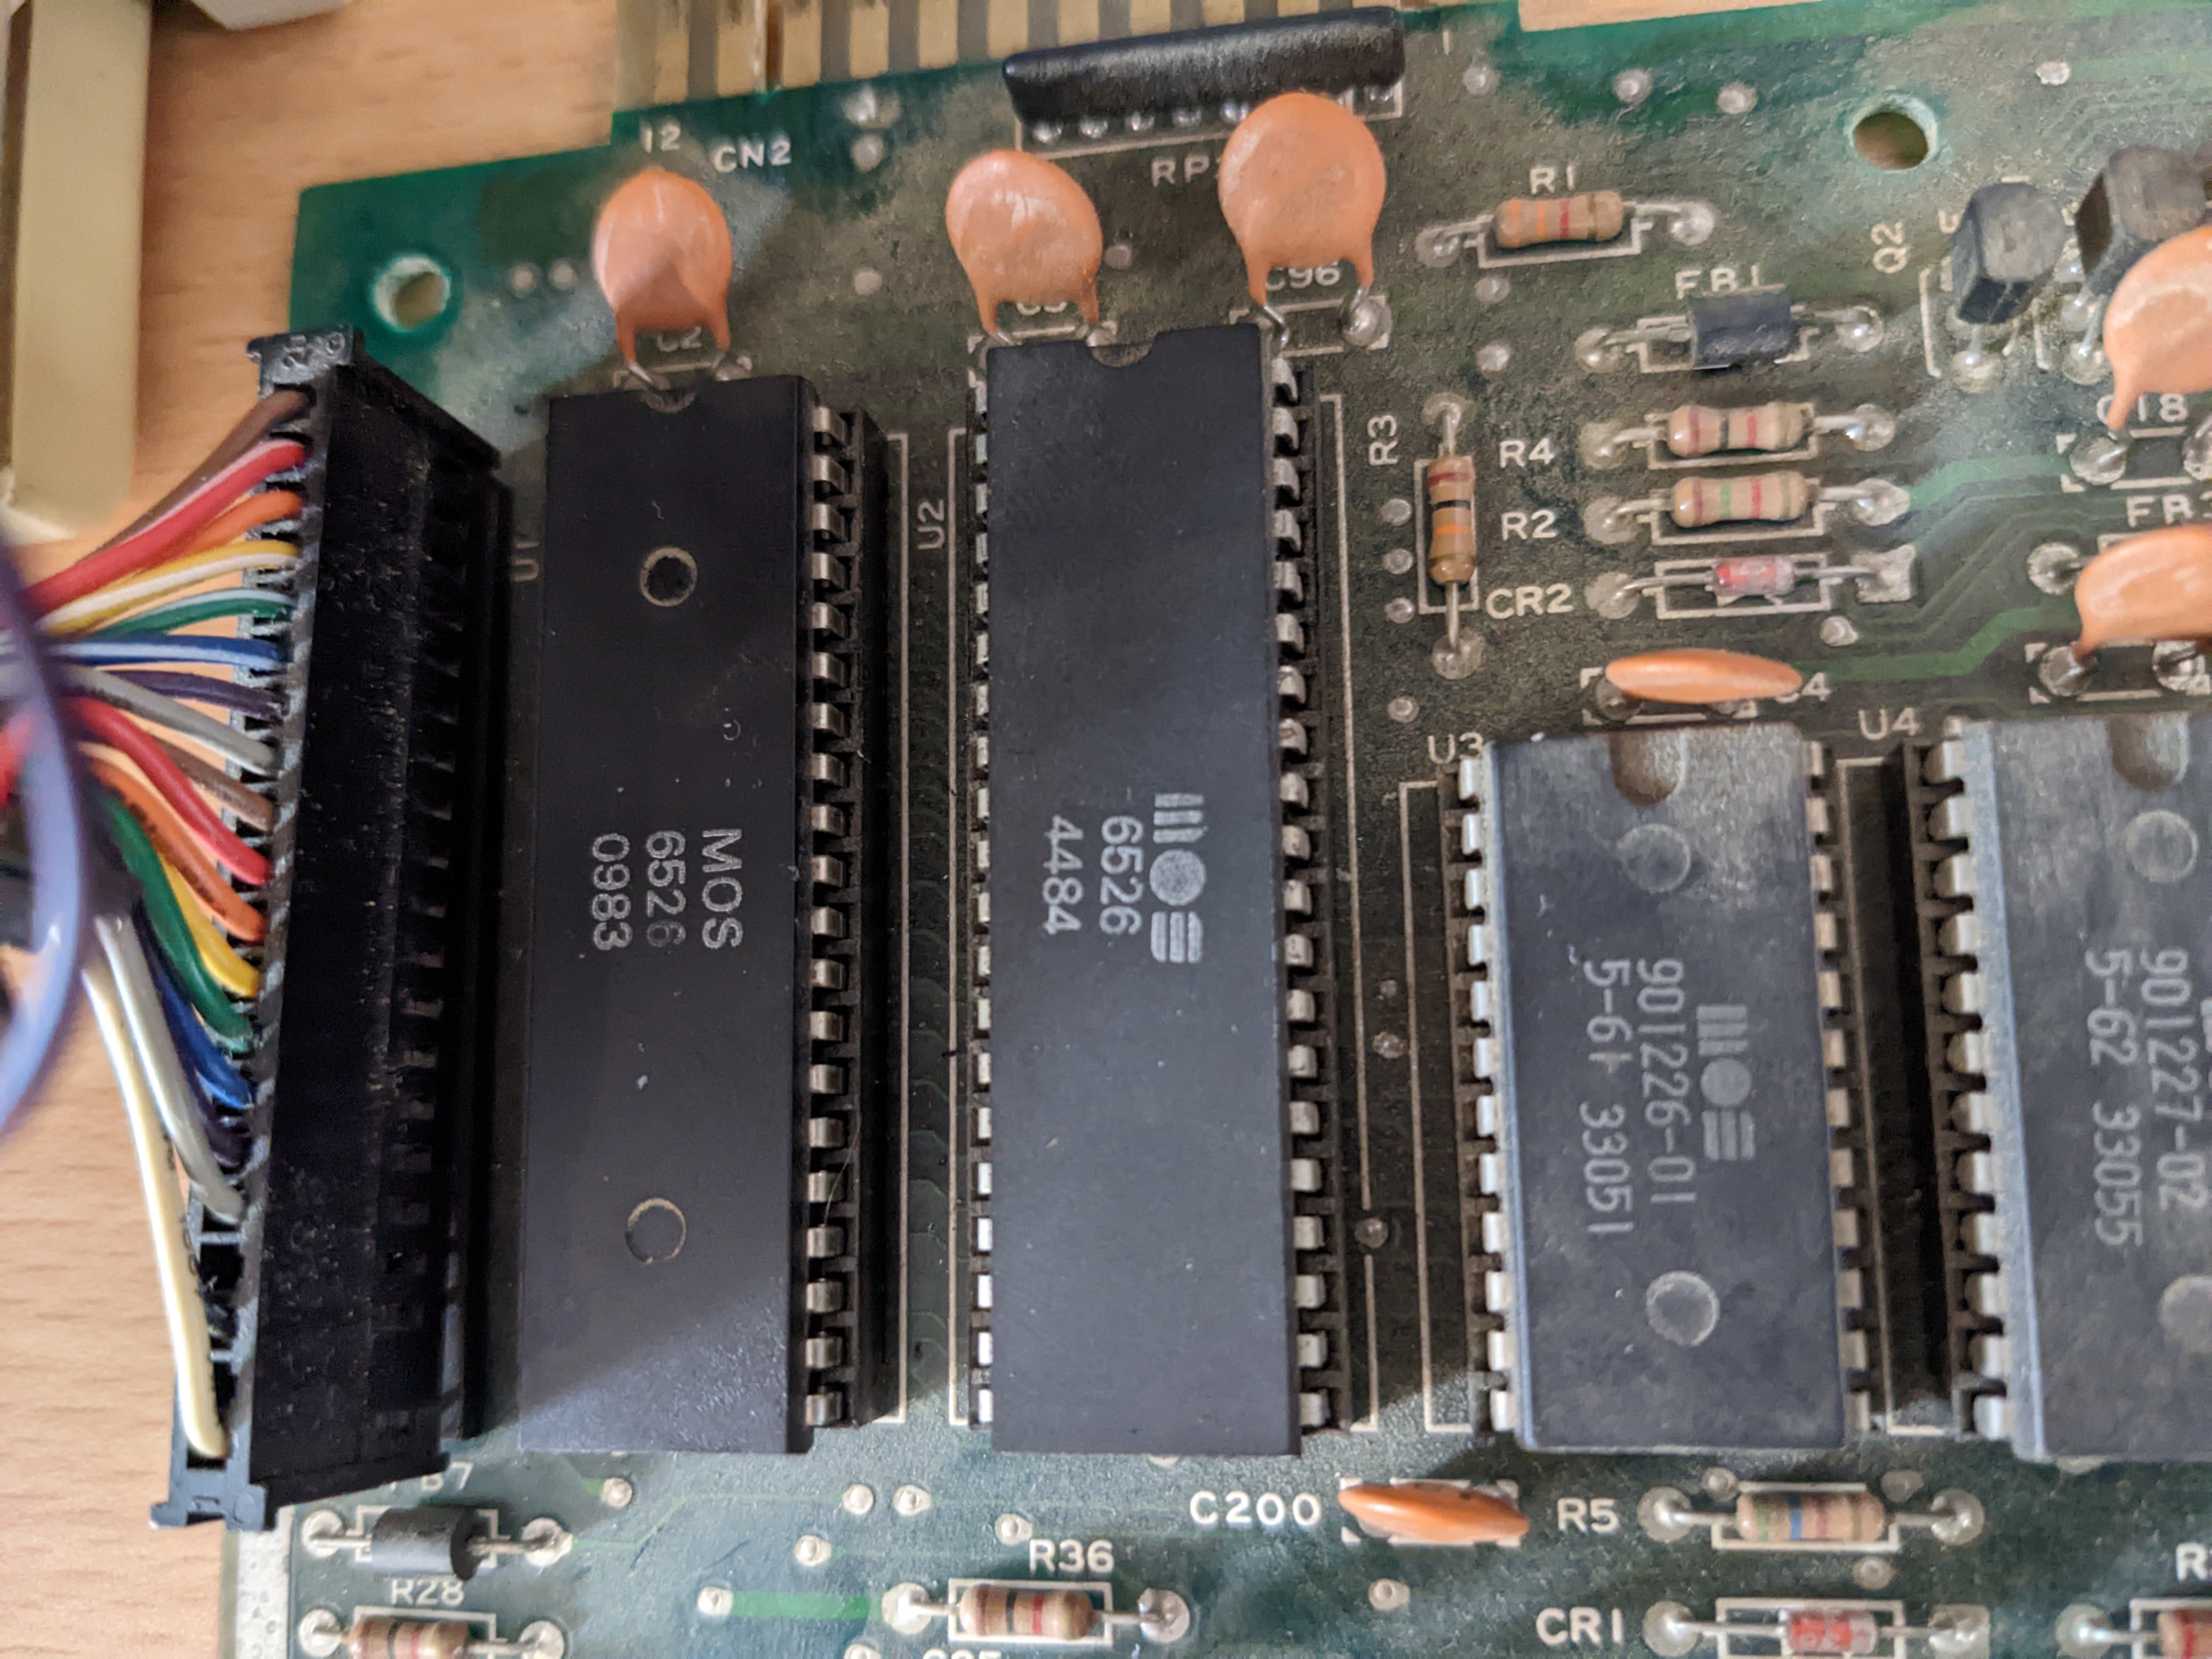
The CIA chip arrived and I popped it straight into the socket where the dead one originally was (the U2 socket).
I have also reconnected the keyboard so we can actually test this thing for real…
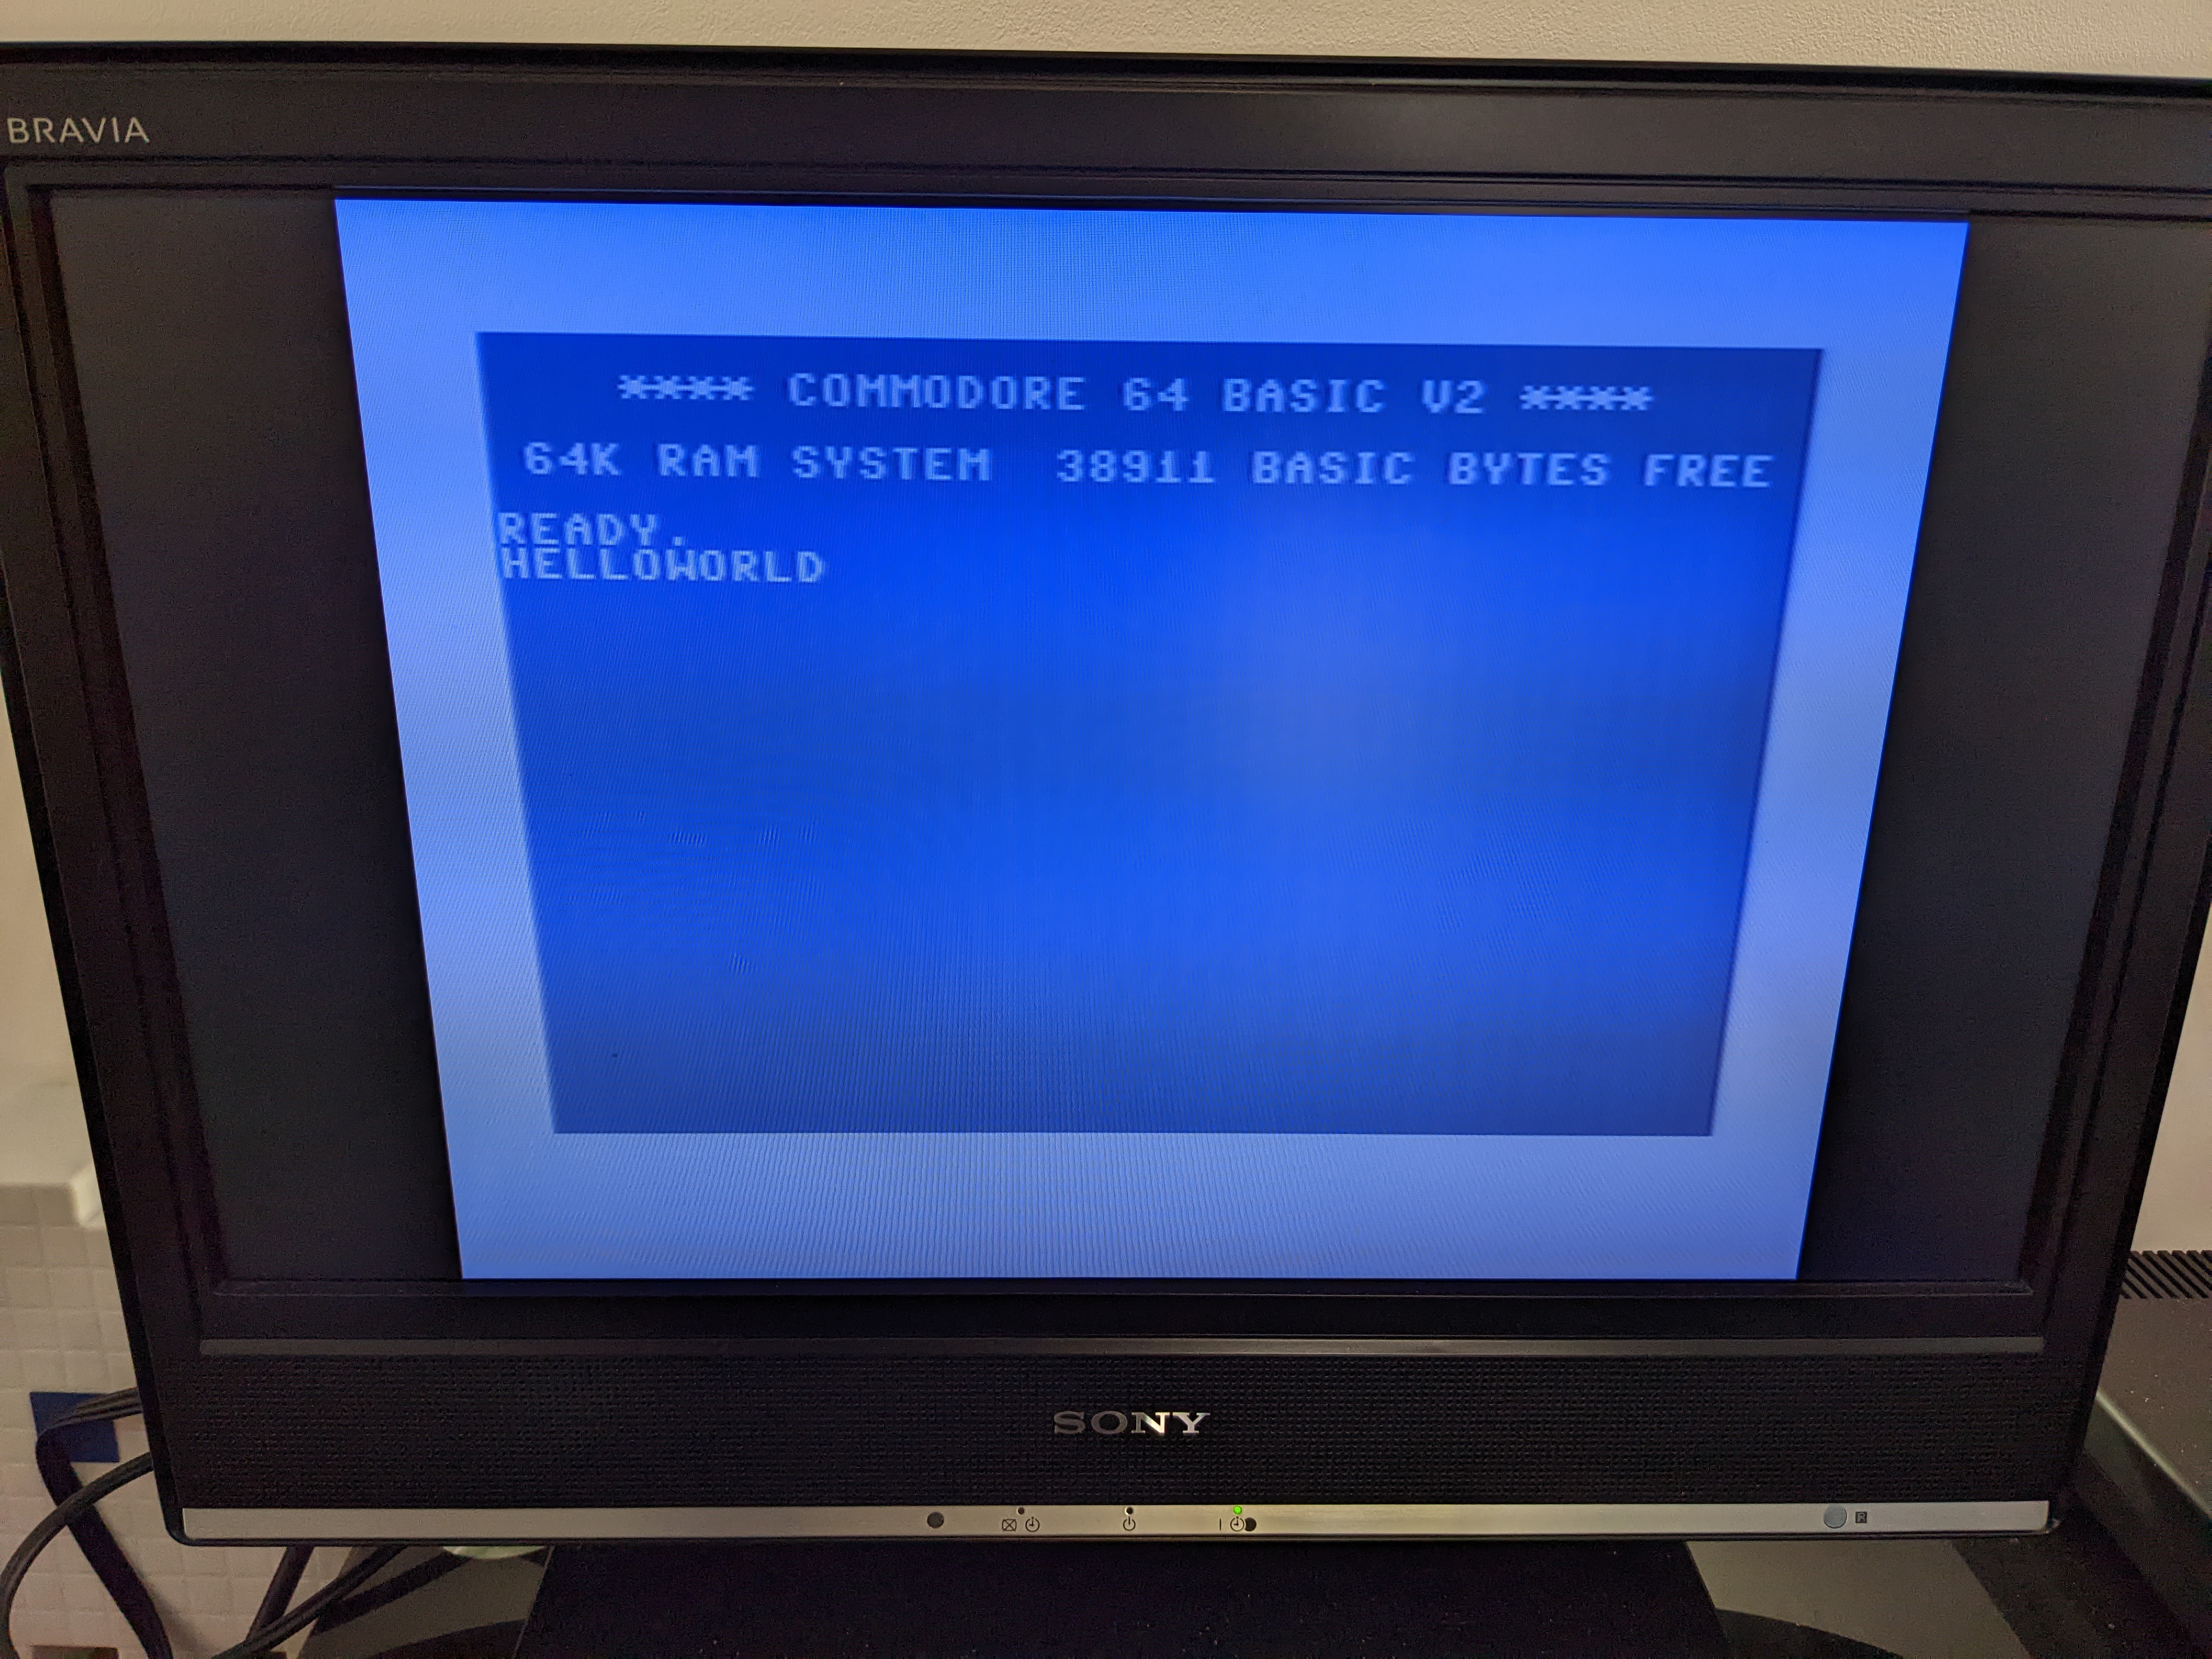
Some of the keys are a bit iffy (such as the space key) and the “RETURN” key doesn’t work at all. But it is progress over what we had before. Time to disassemble the keyboard.
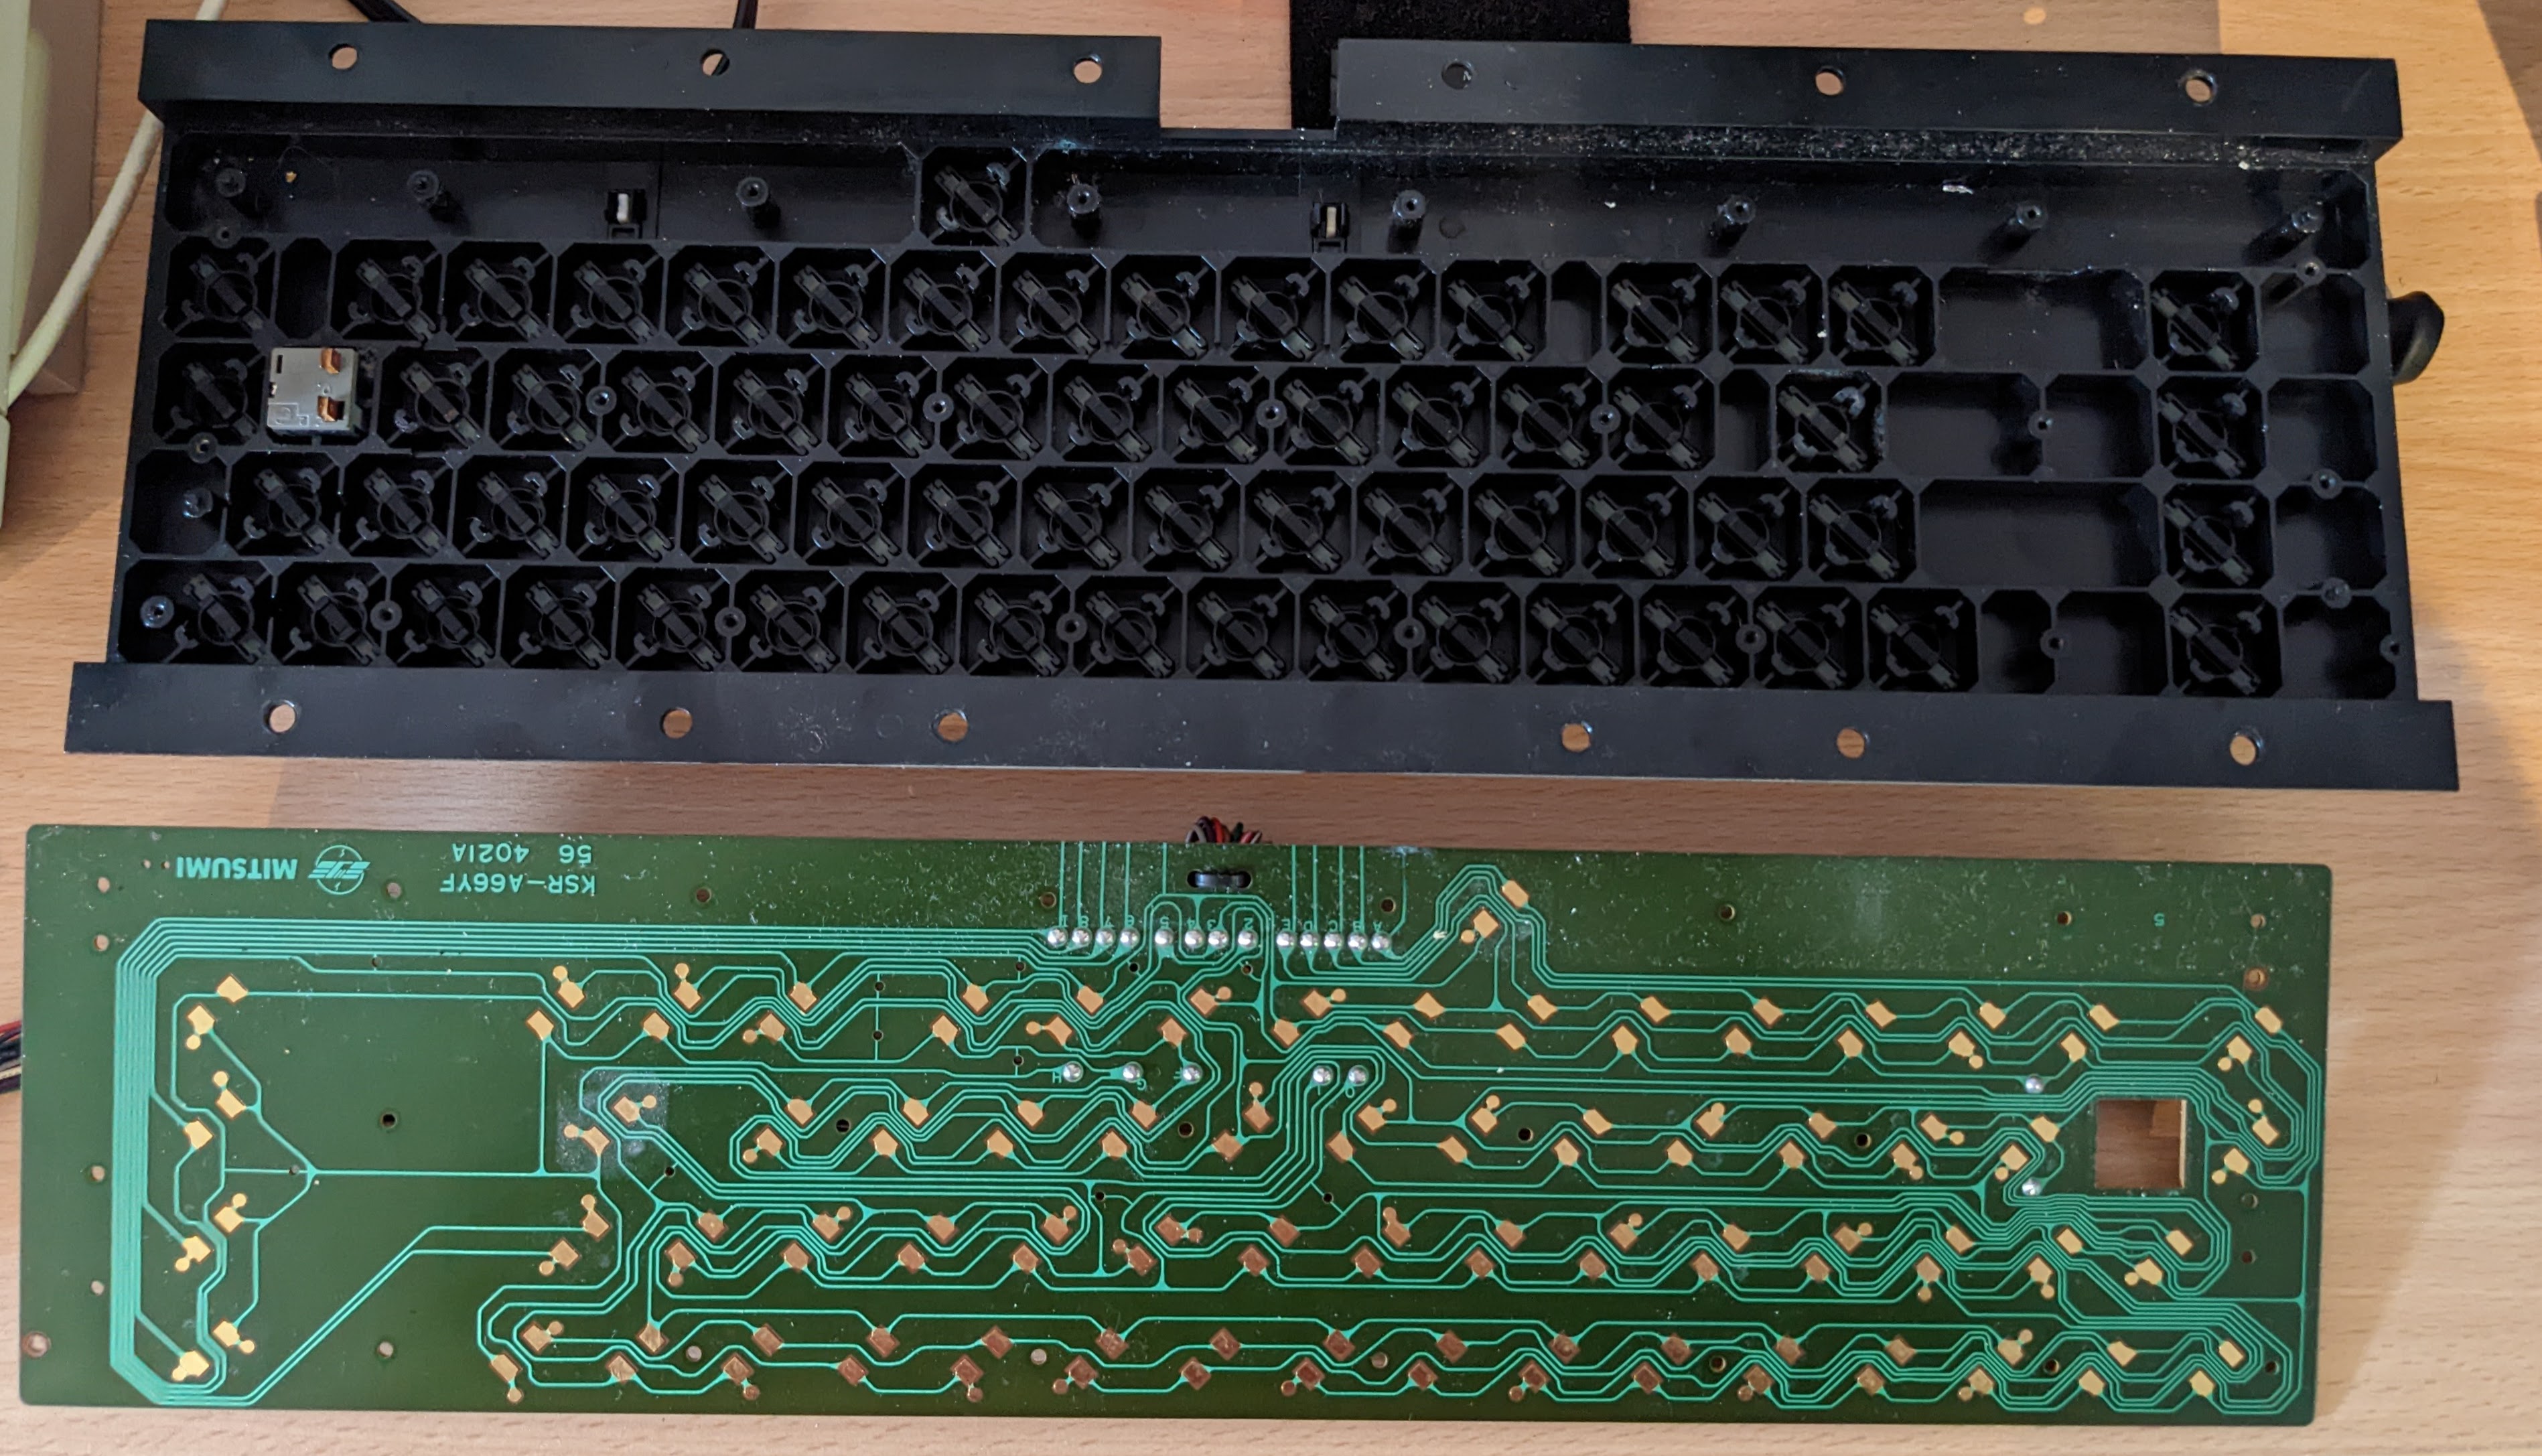
Anyone who has worked on Amigas will be familiar with this, unscrewing dozens of tiny screw to remove the membrane. The C64 is a little different though, the membrane is a hard PCB one (thank deity, unlikely to need replacing), and the “SHIFT LOCK” key is a physical mechanical locking key that goes through the keyboard PCB and solders underneath. This means that to remove the PCB we need to desolder that key.

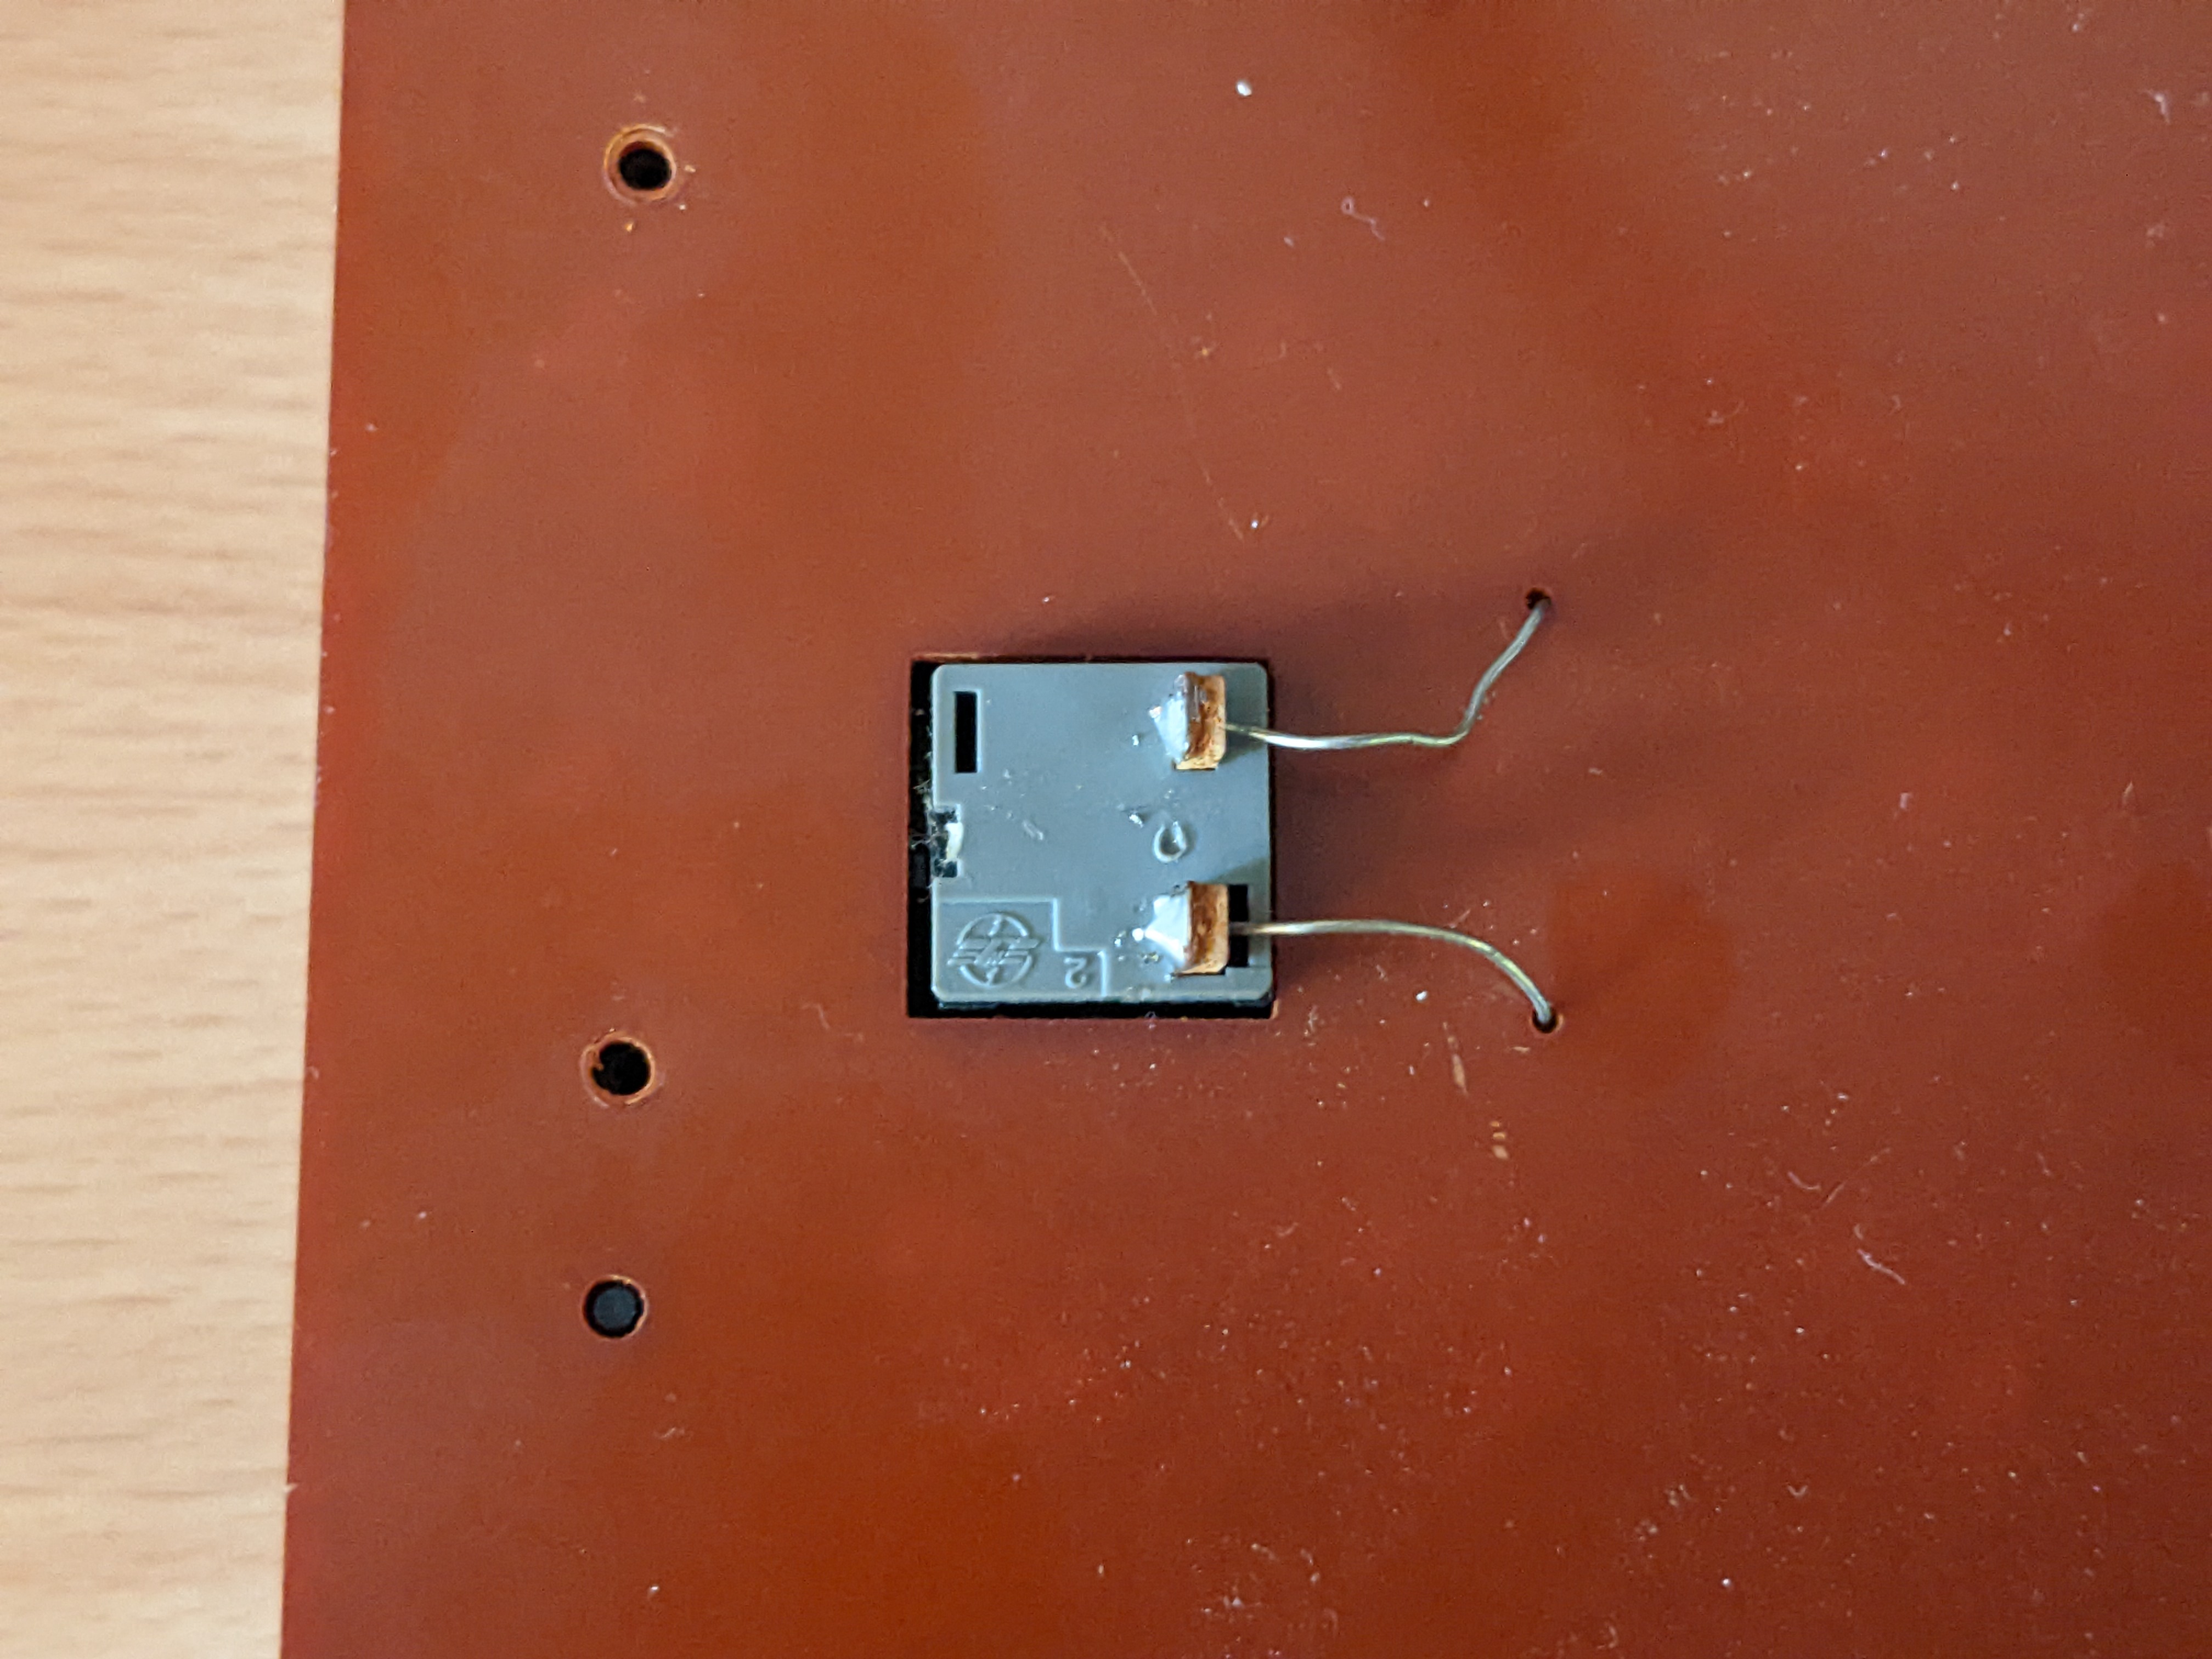
Once the screws are undone and the desoldering gun has been put to use the PCB easily came off. Yep! I can see why the “RETURN” key didn’t work…
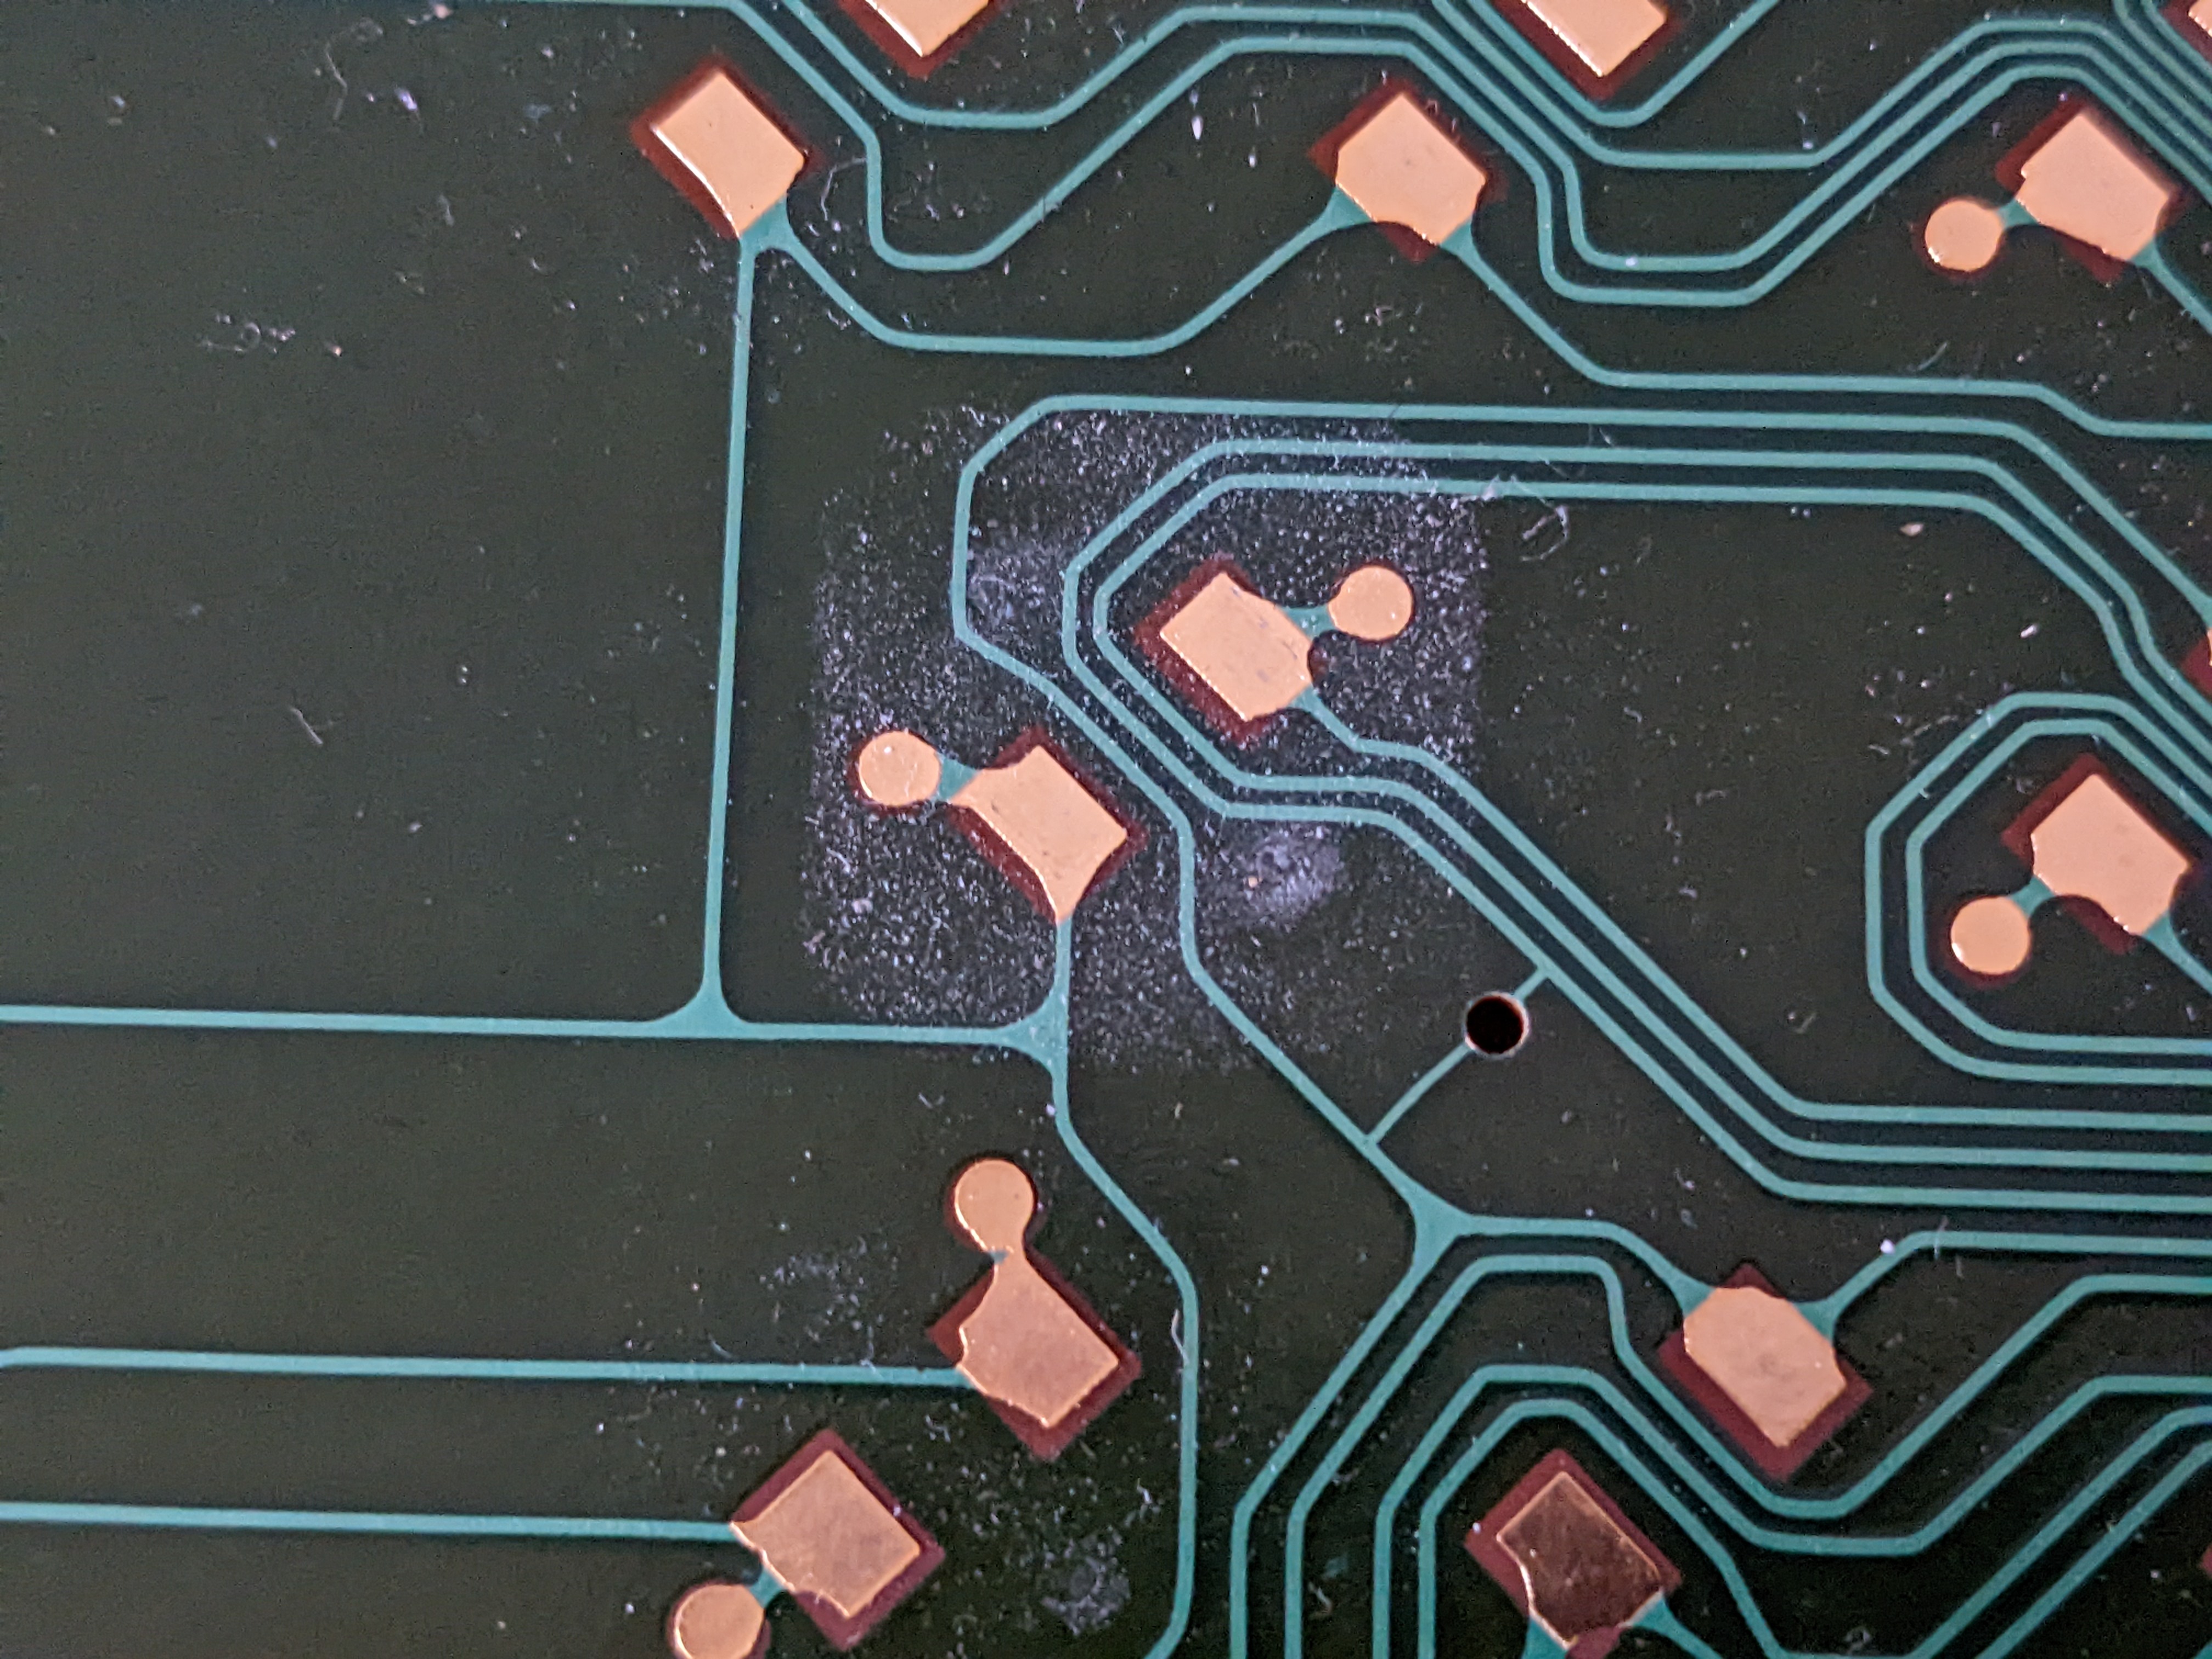
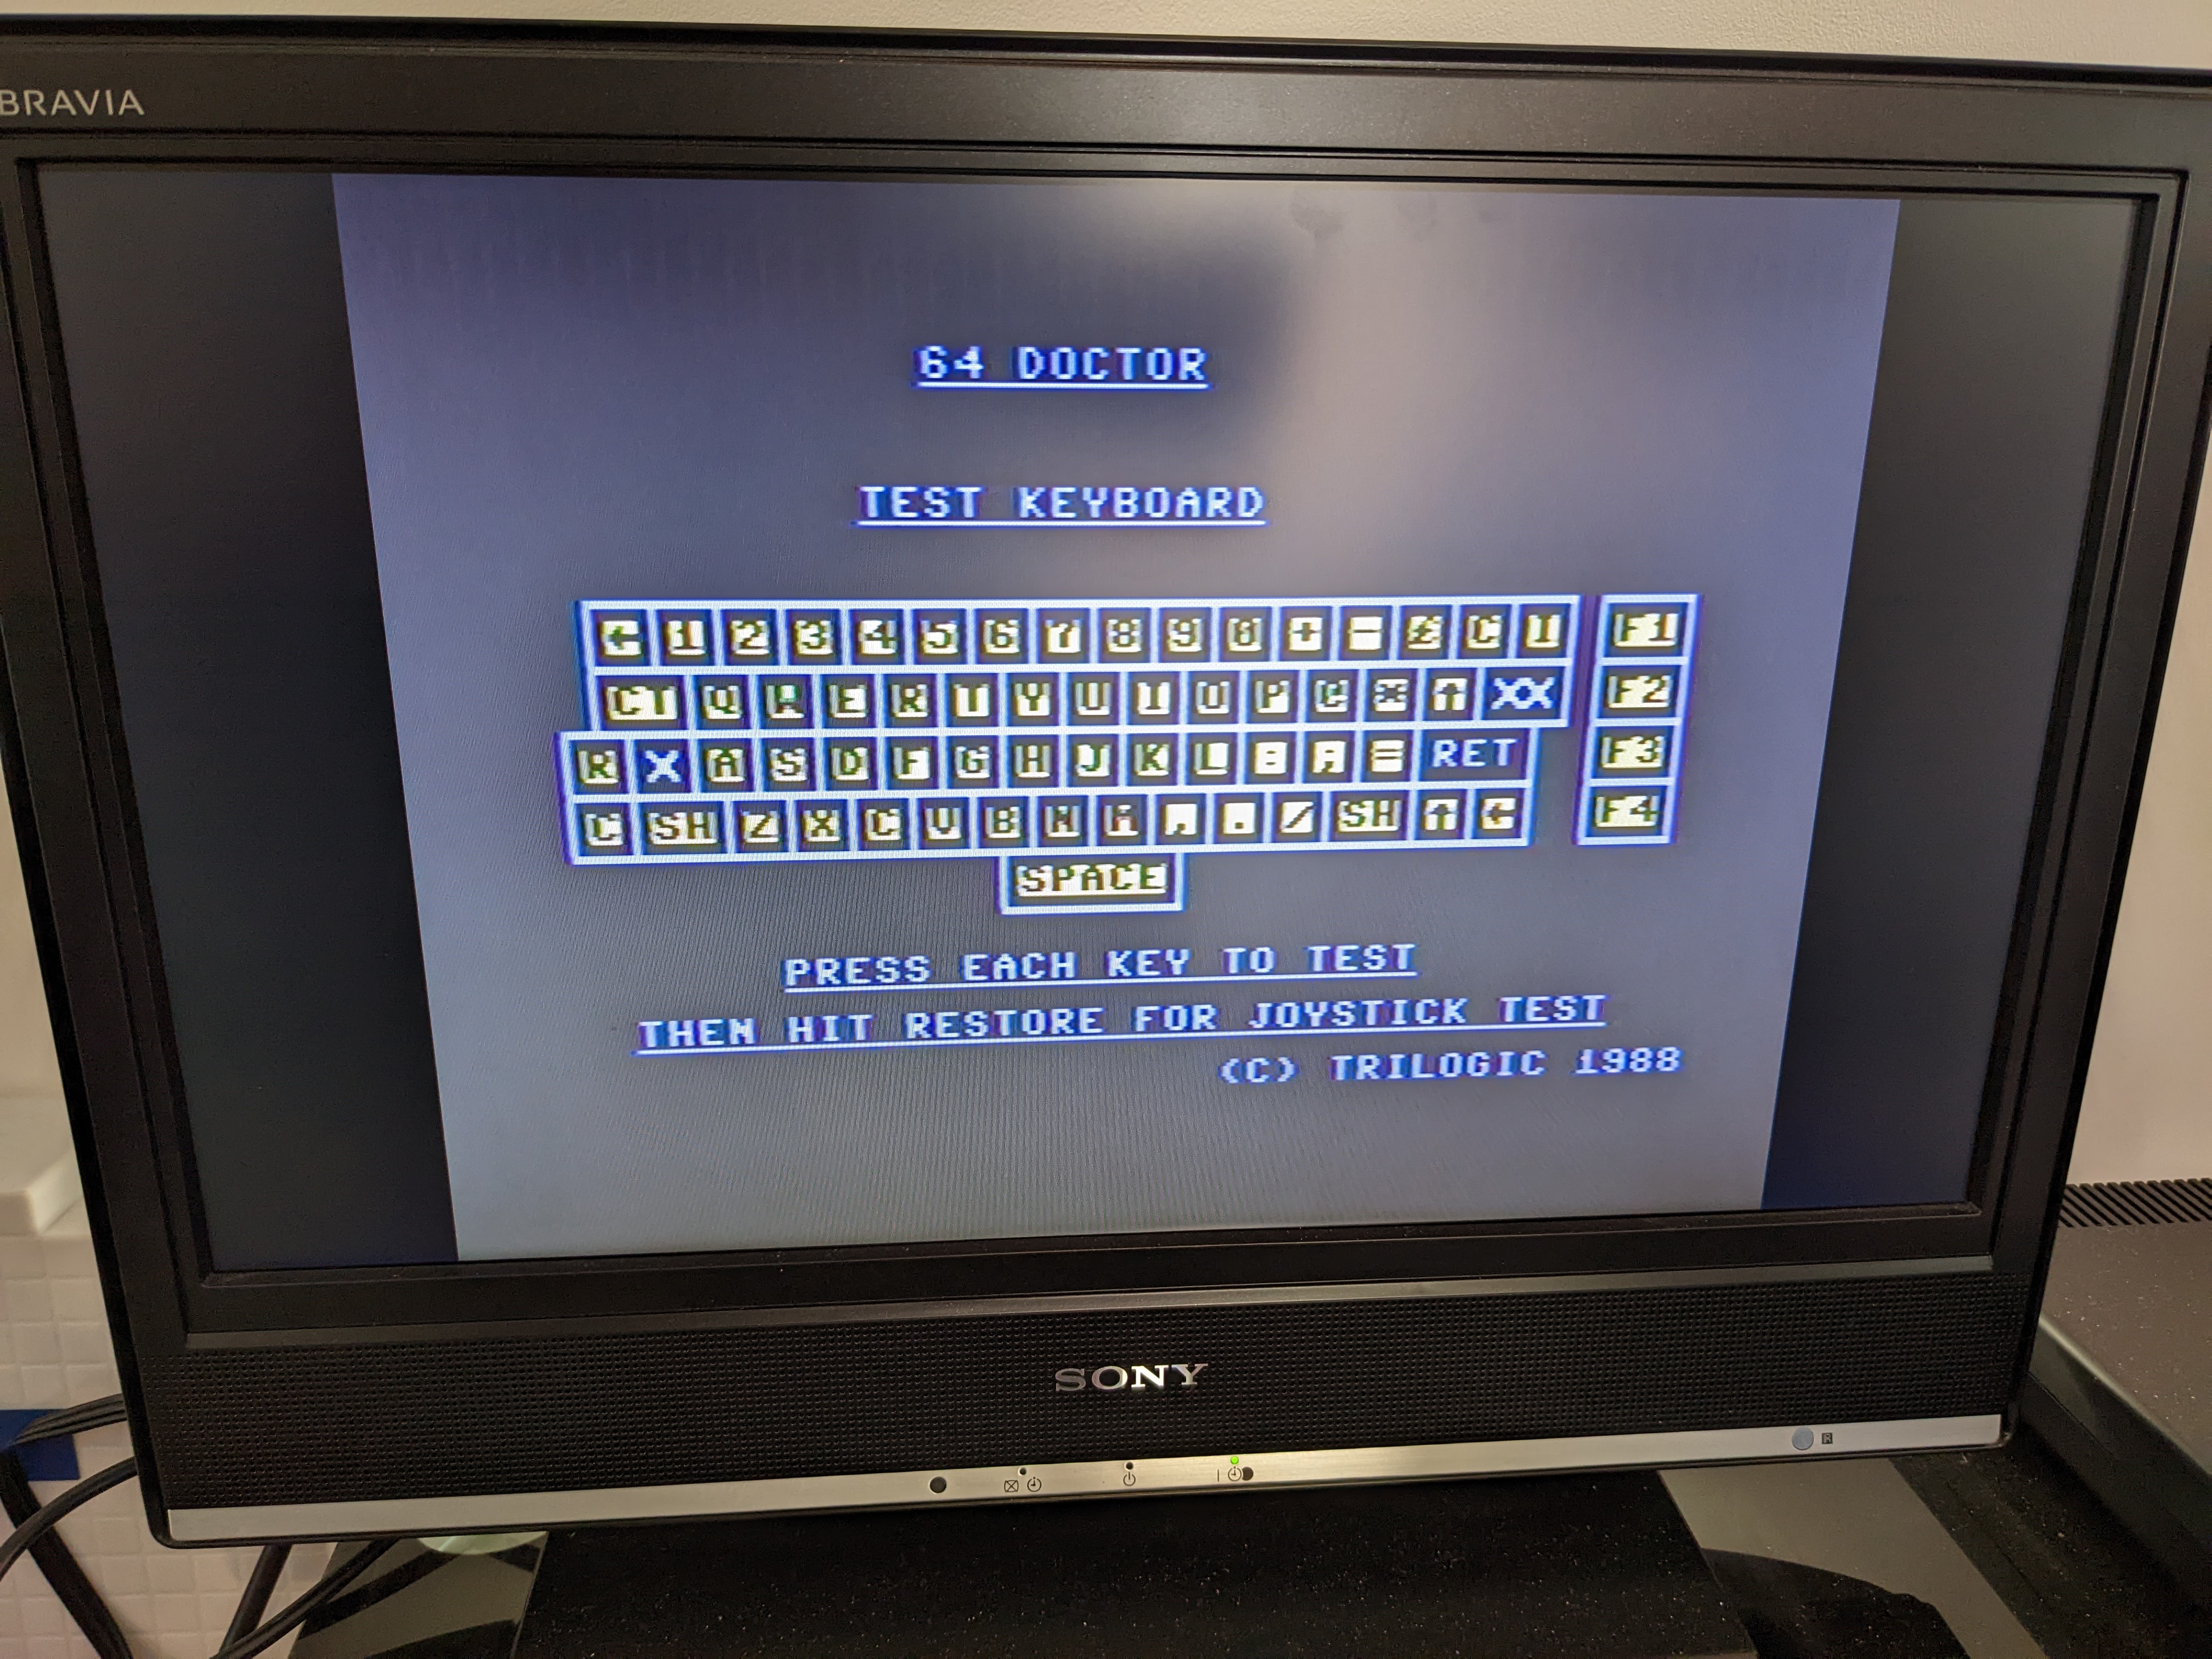
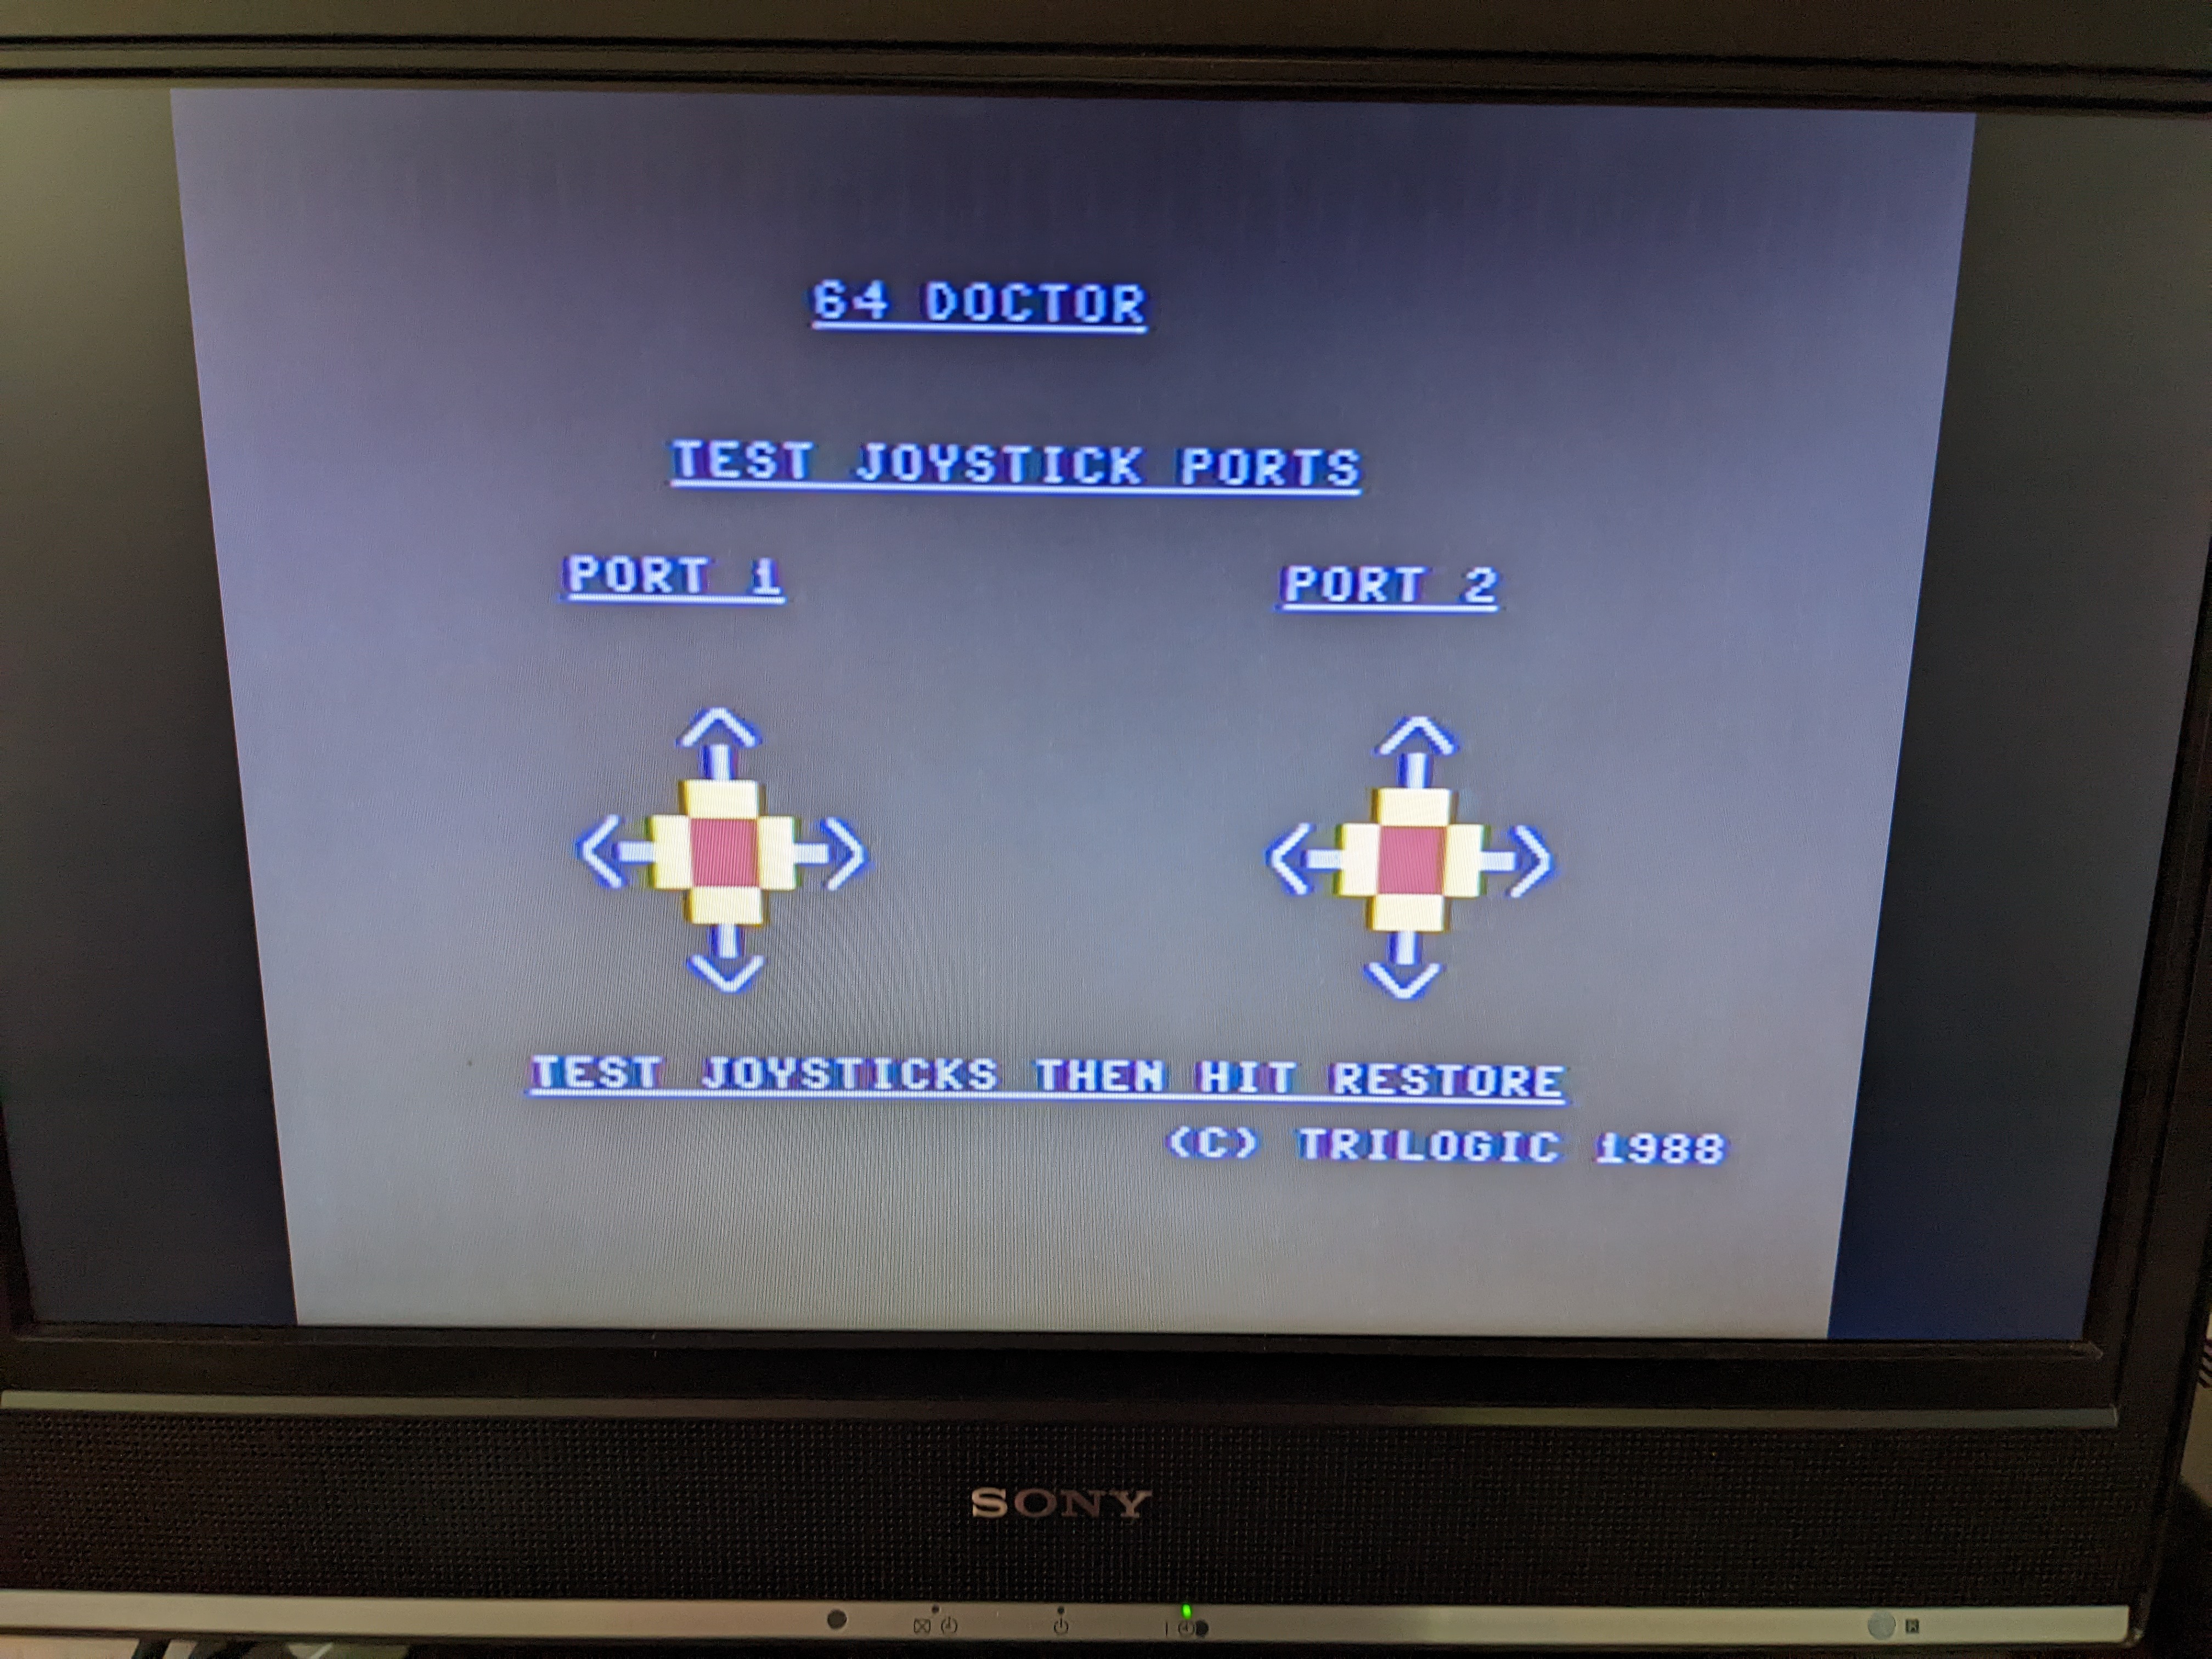
I cleaned up the PCB with IPA and gently cleaned the carbon / rubber pads that make the contacts. Temporarily screwing some of the screws back in to test and we get a better result, I also tested the joystick ports for good measure.
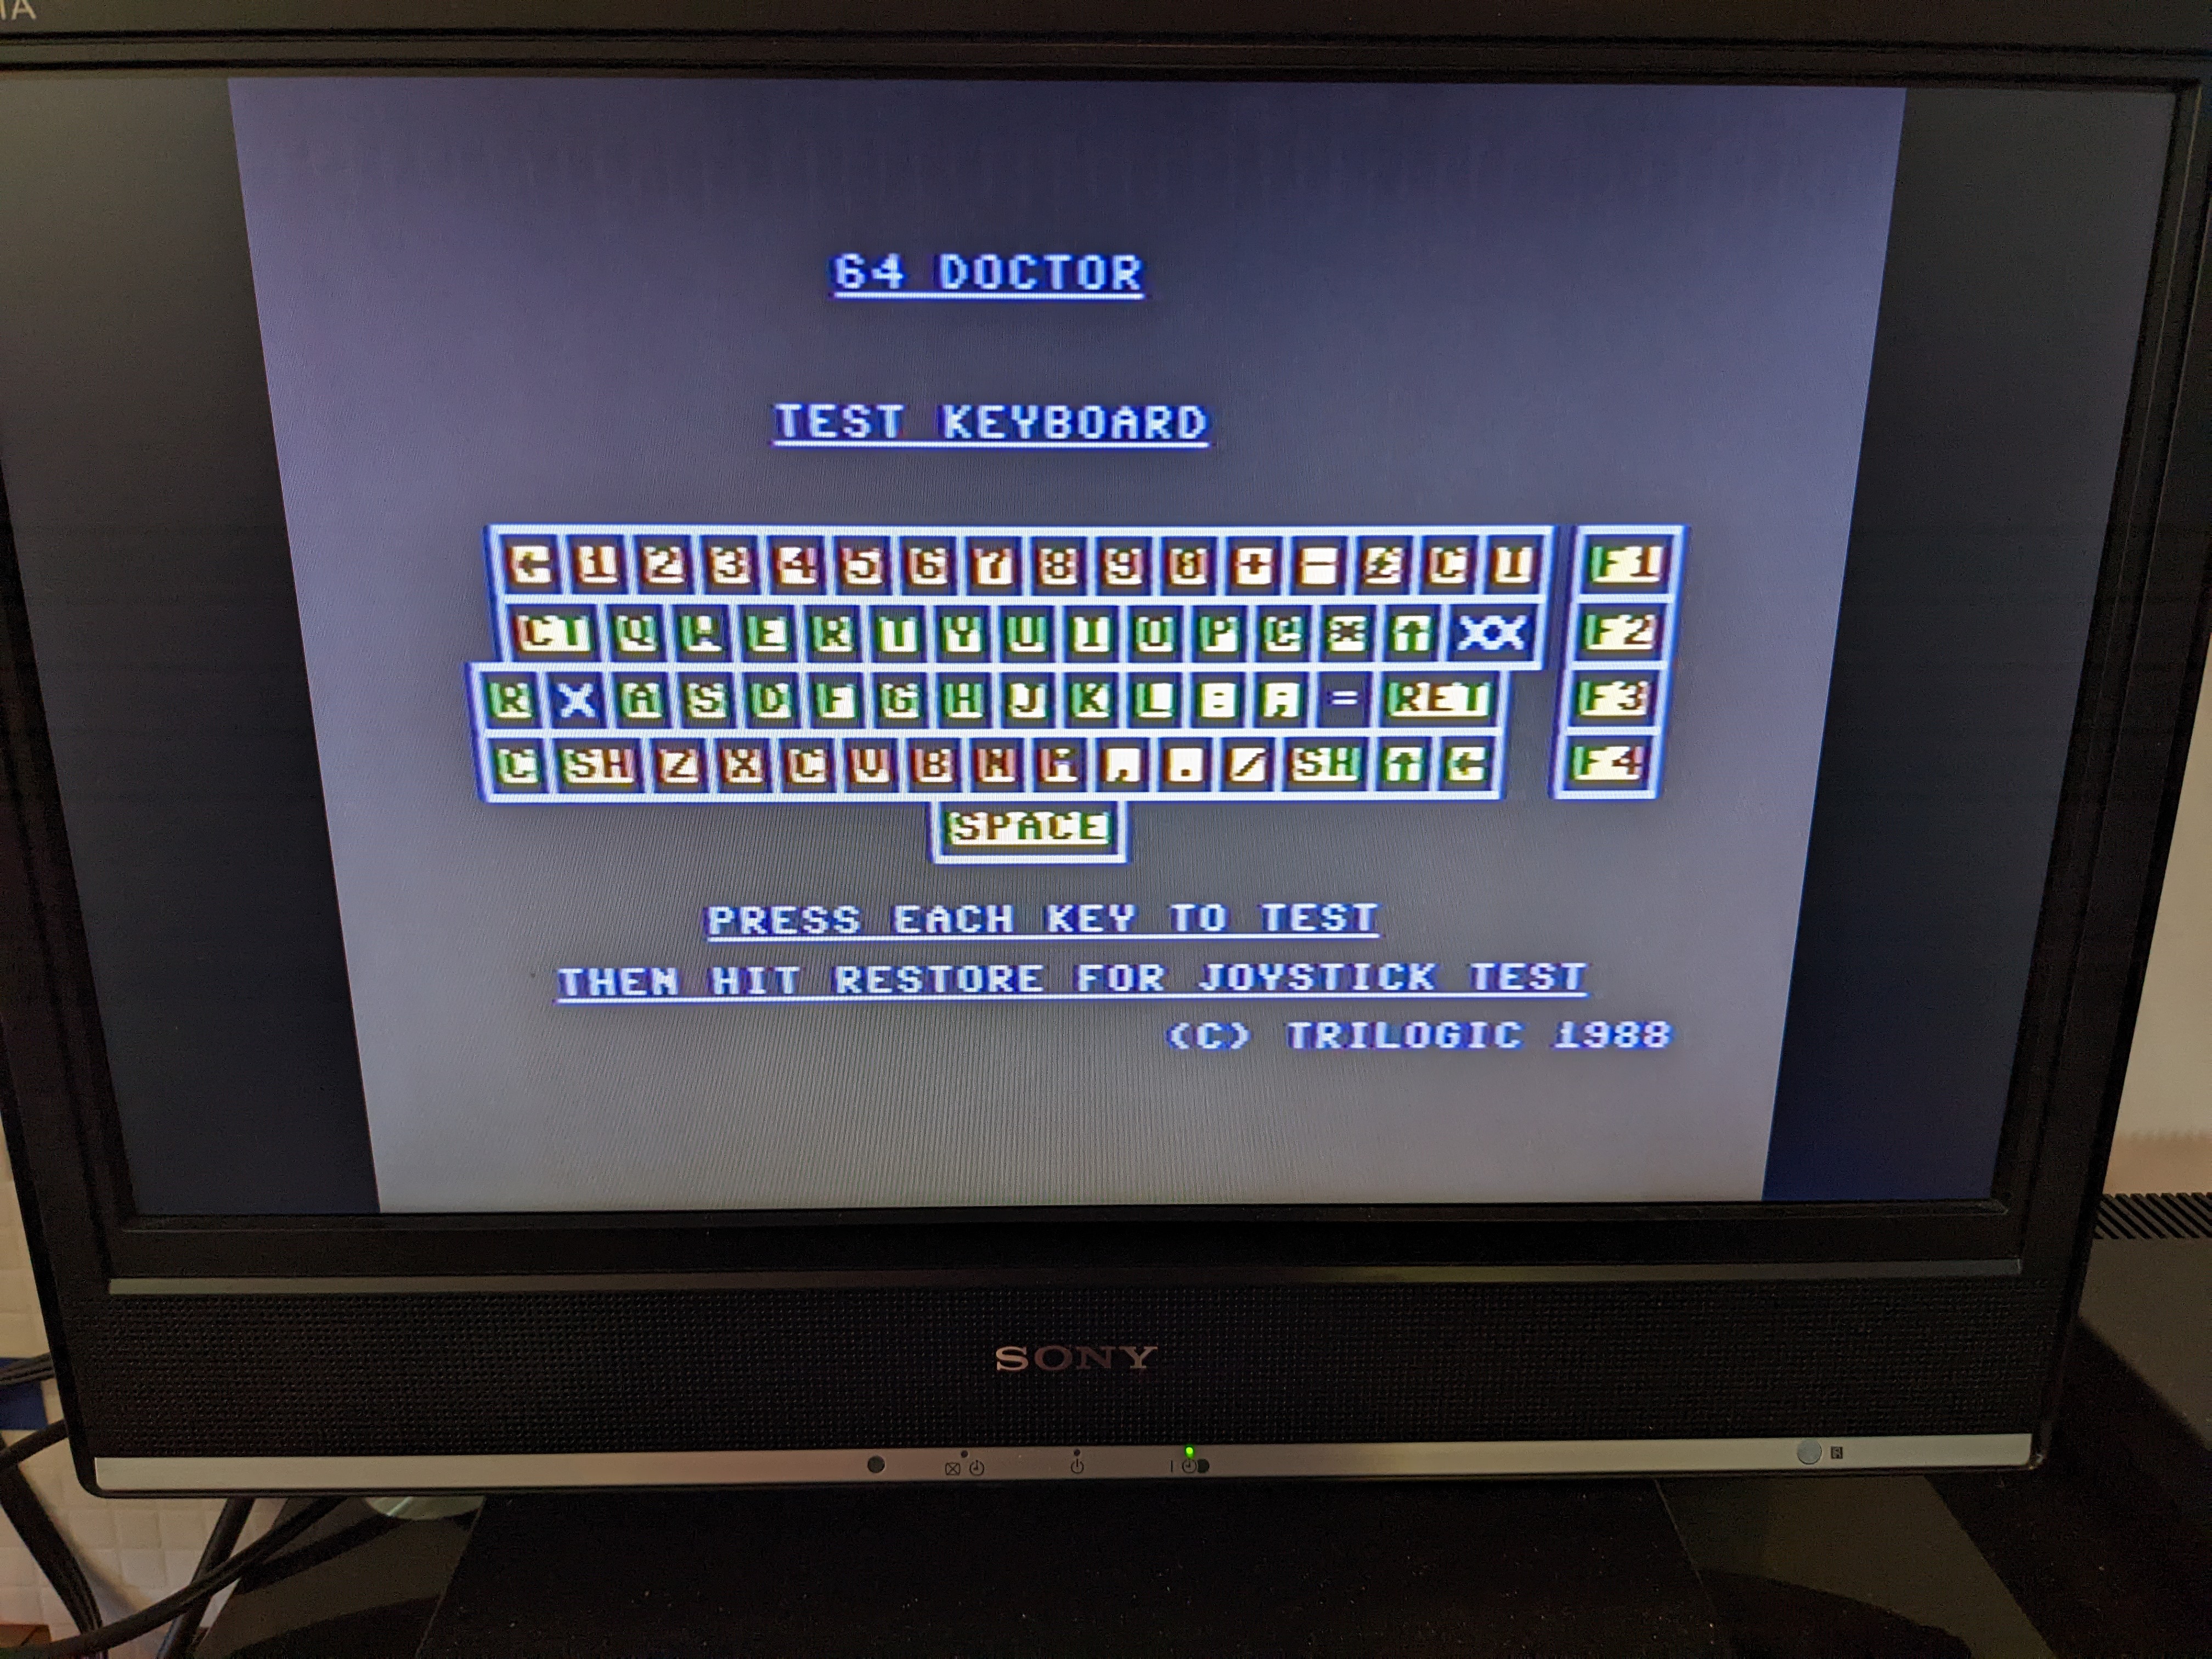
Looking back I appear to have missed the “=” key this time, but it does work.
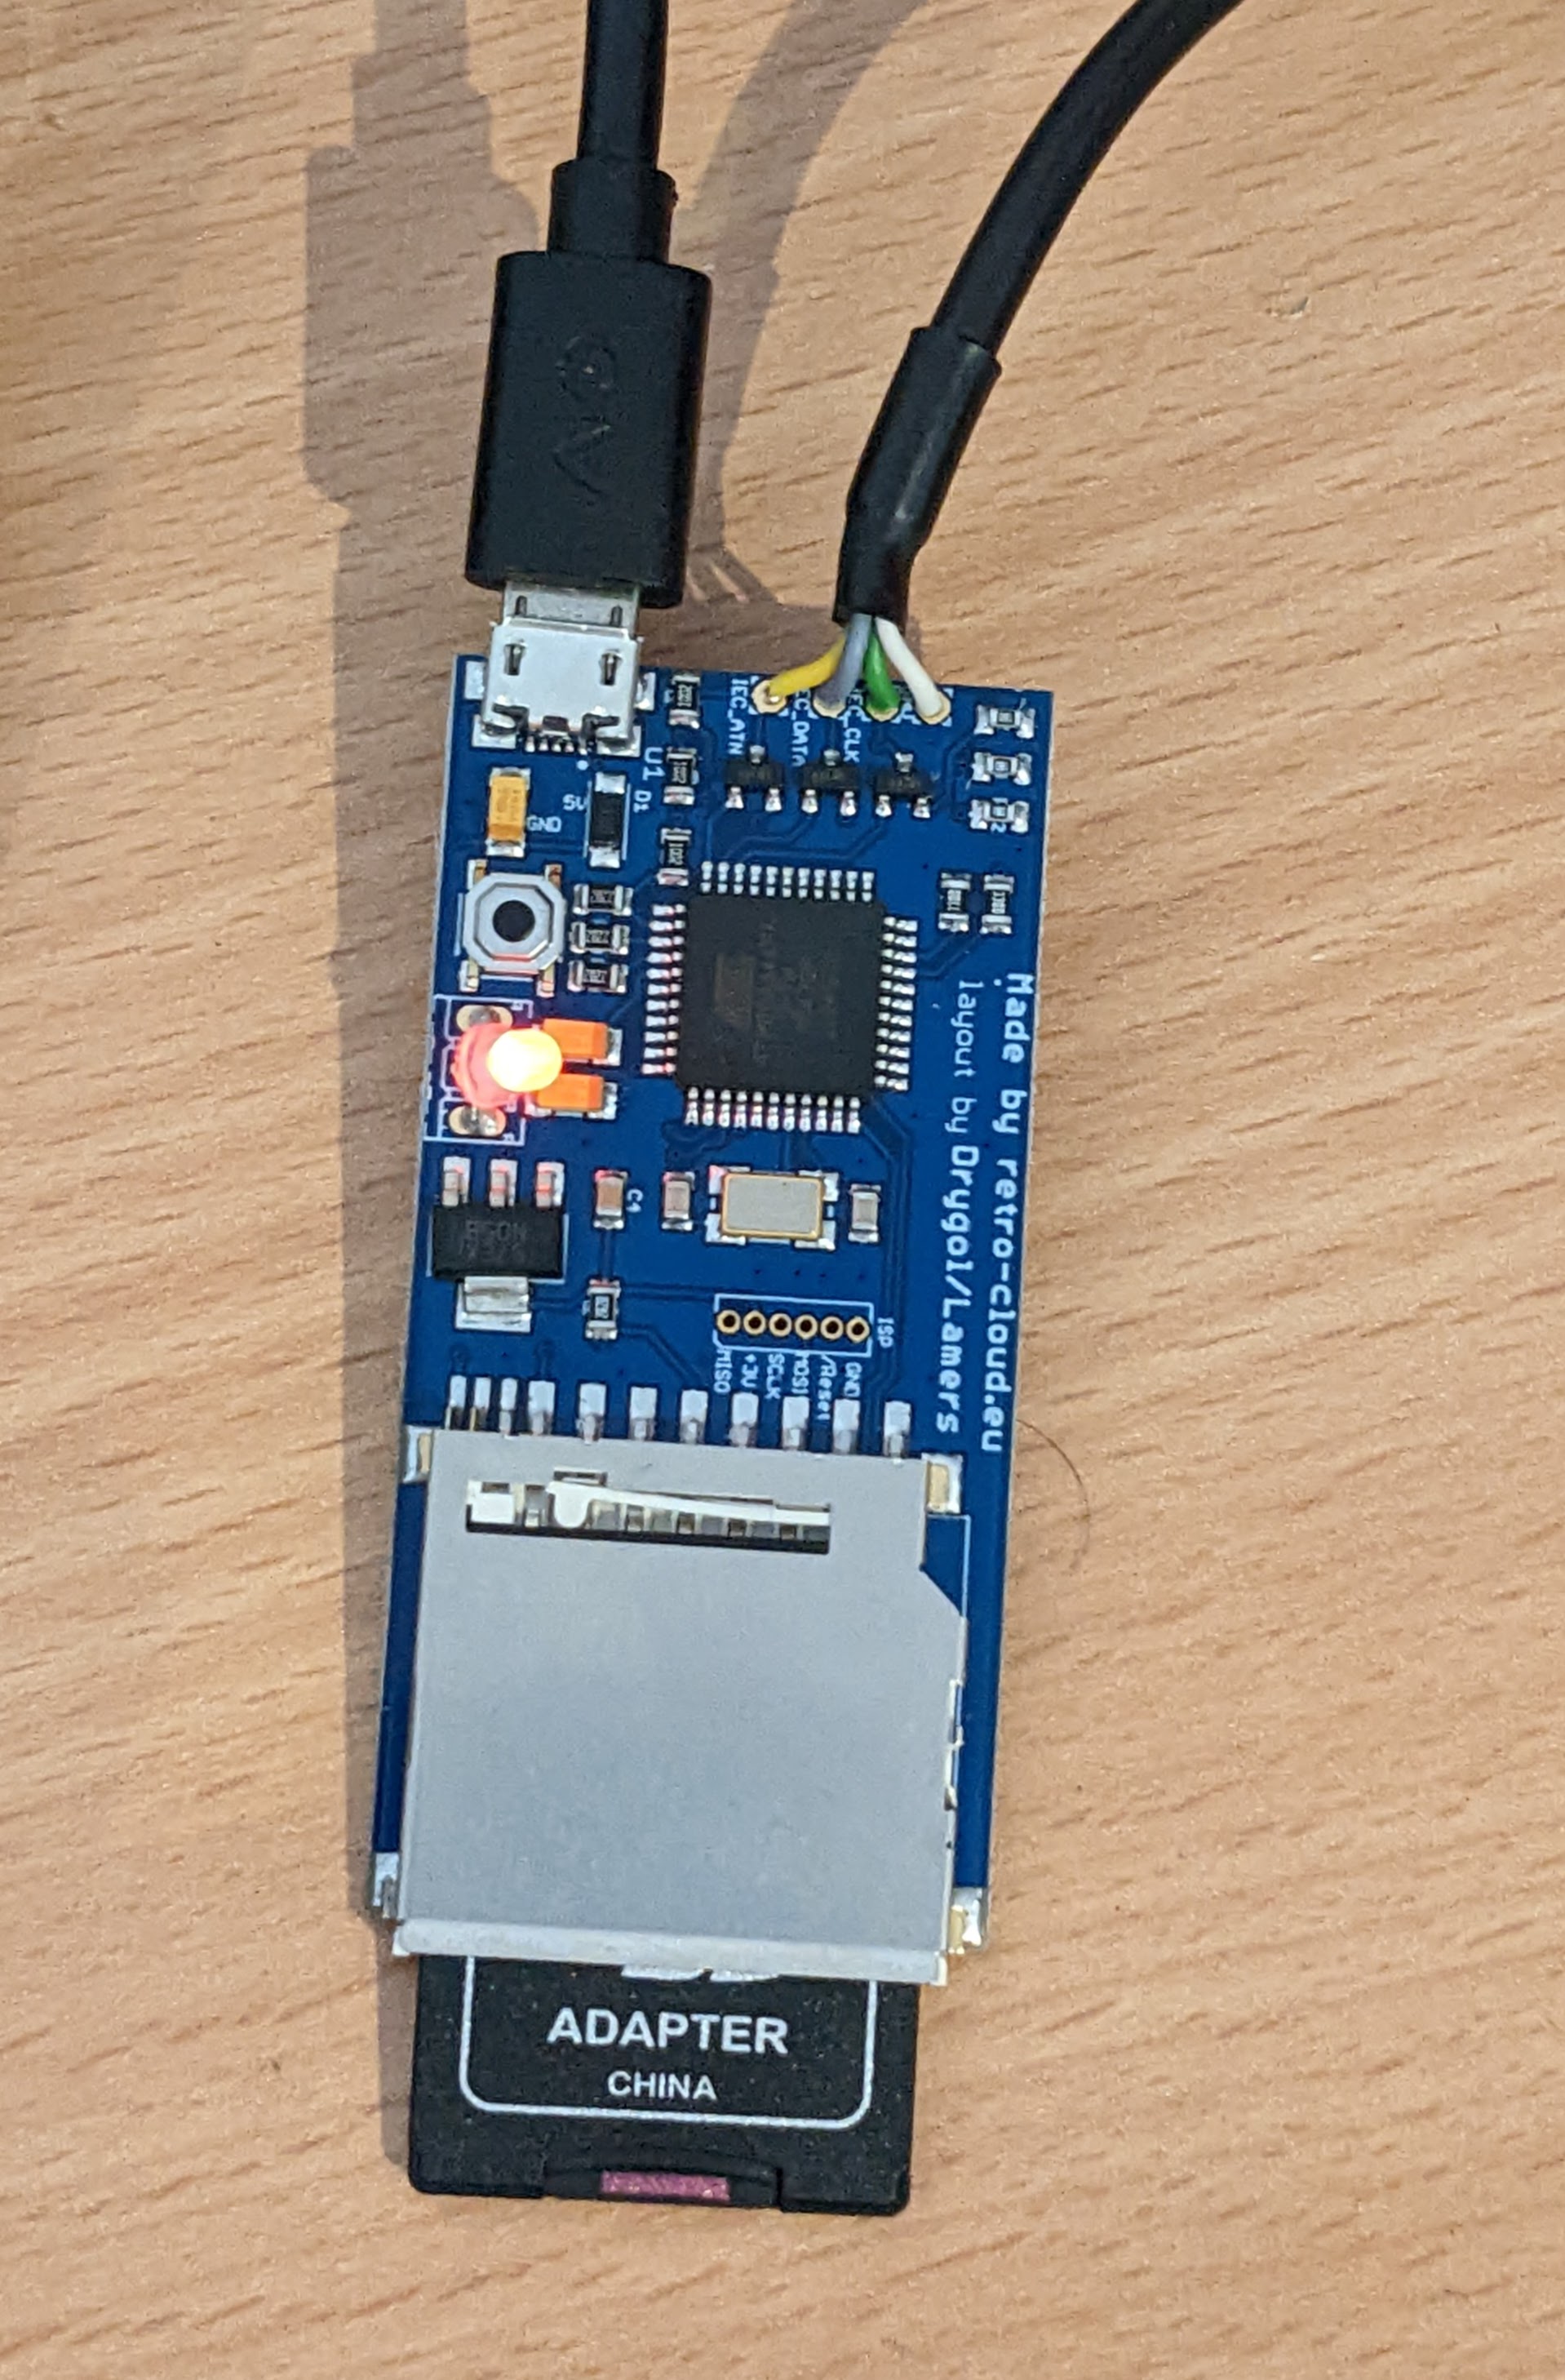
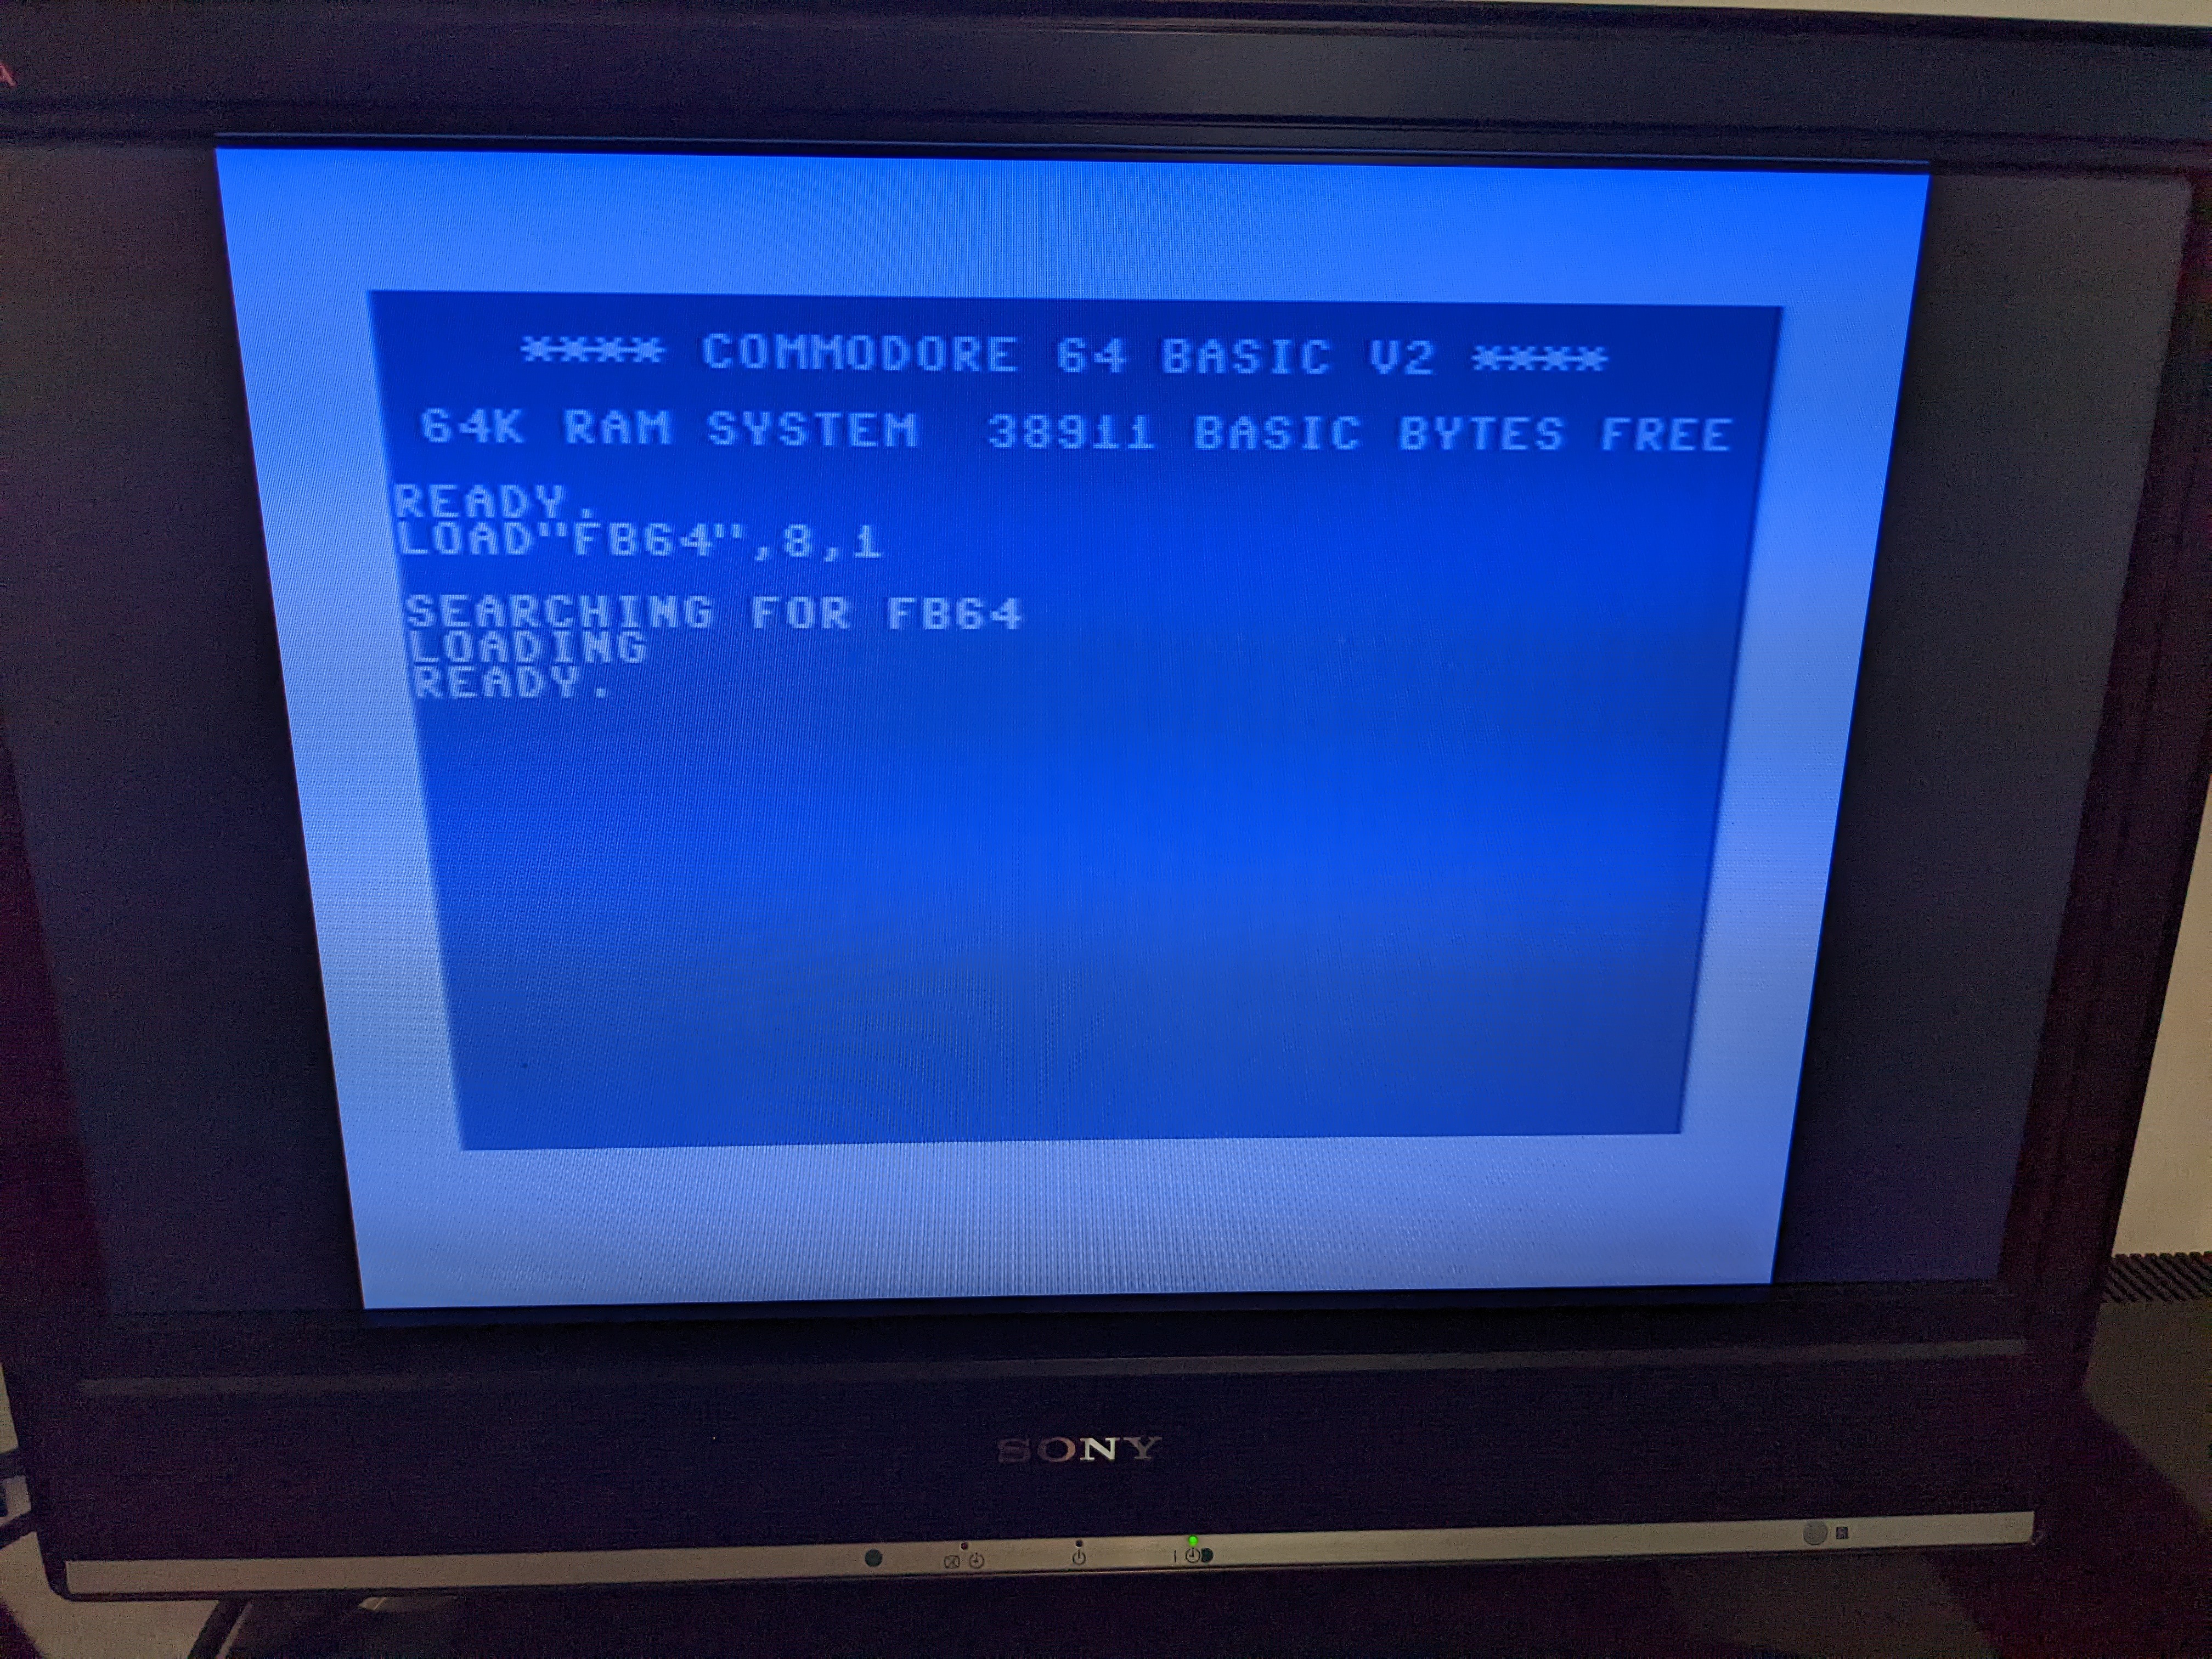
Finally for this phase, lets see if I can load a game. I have an SD2IEC for this and I copied Boulder Dash to it.
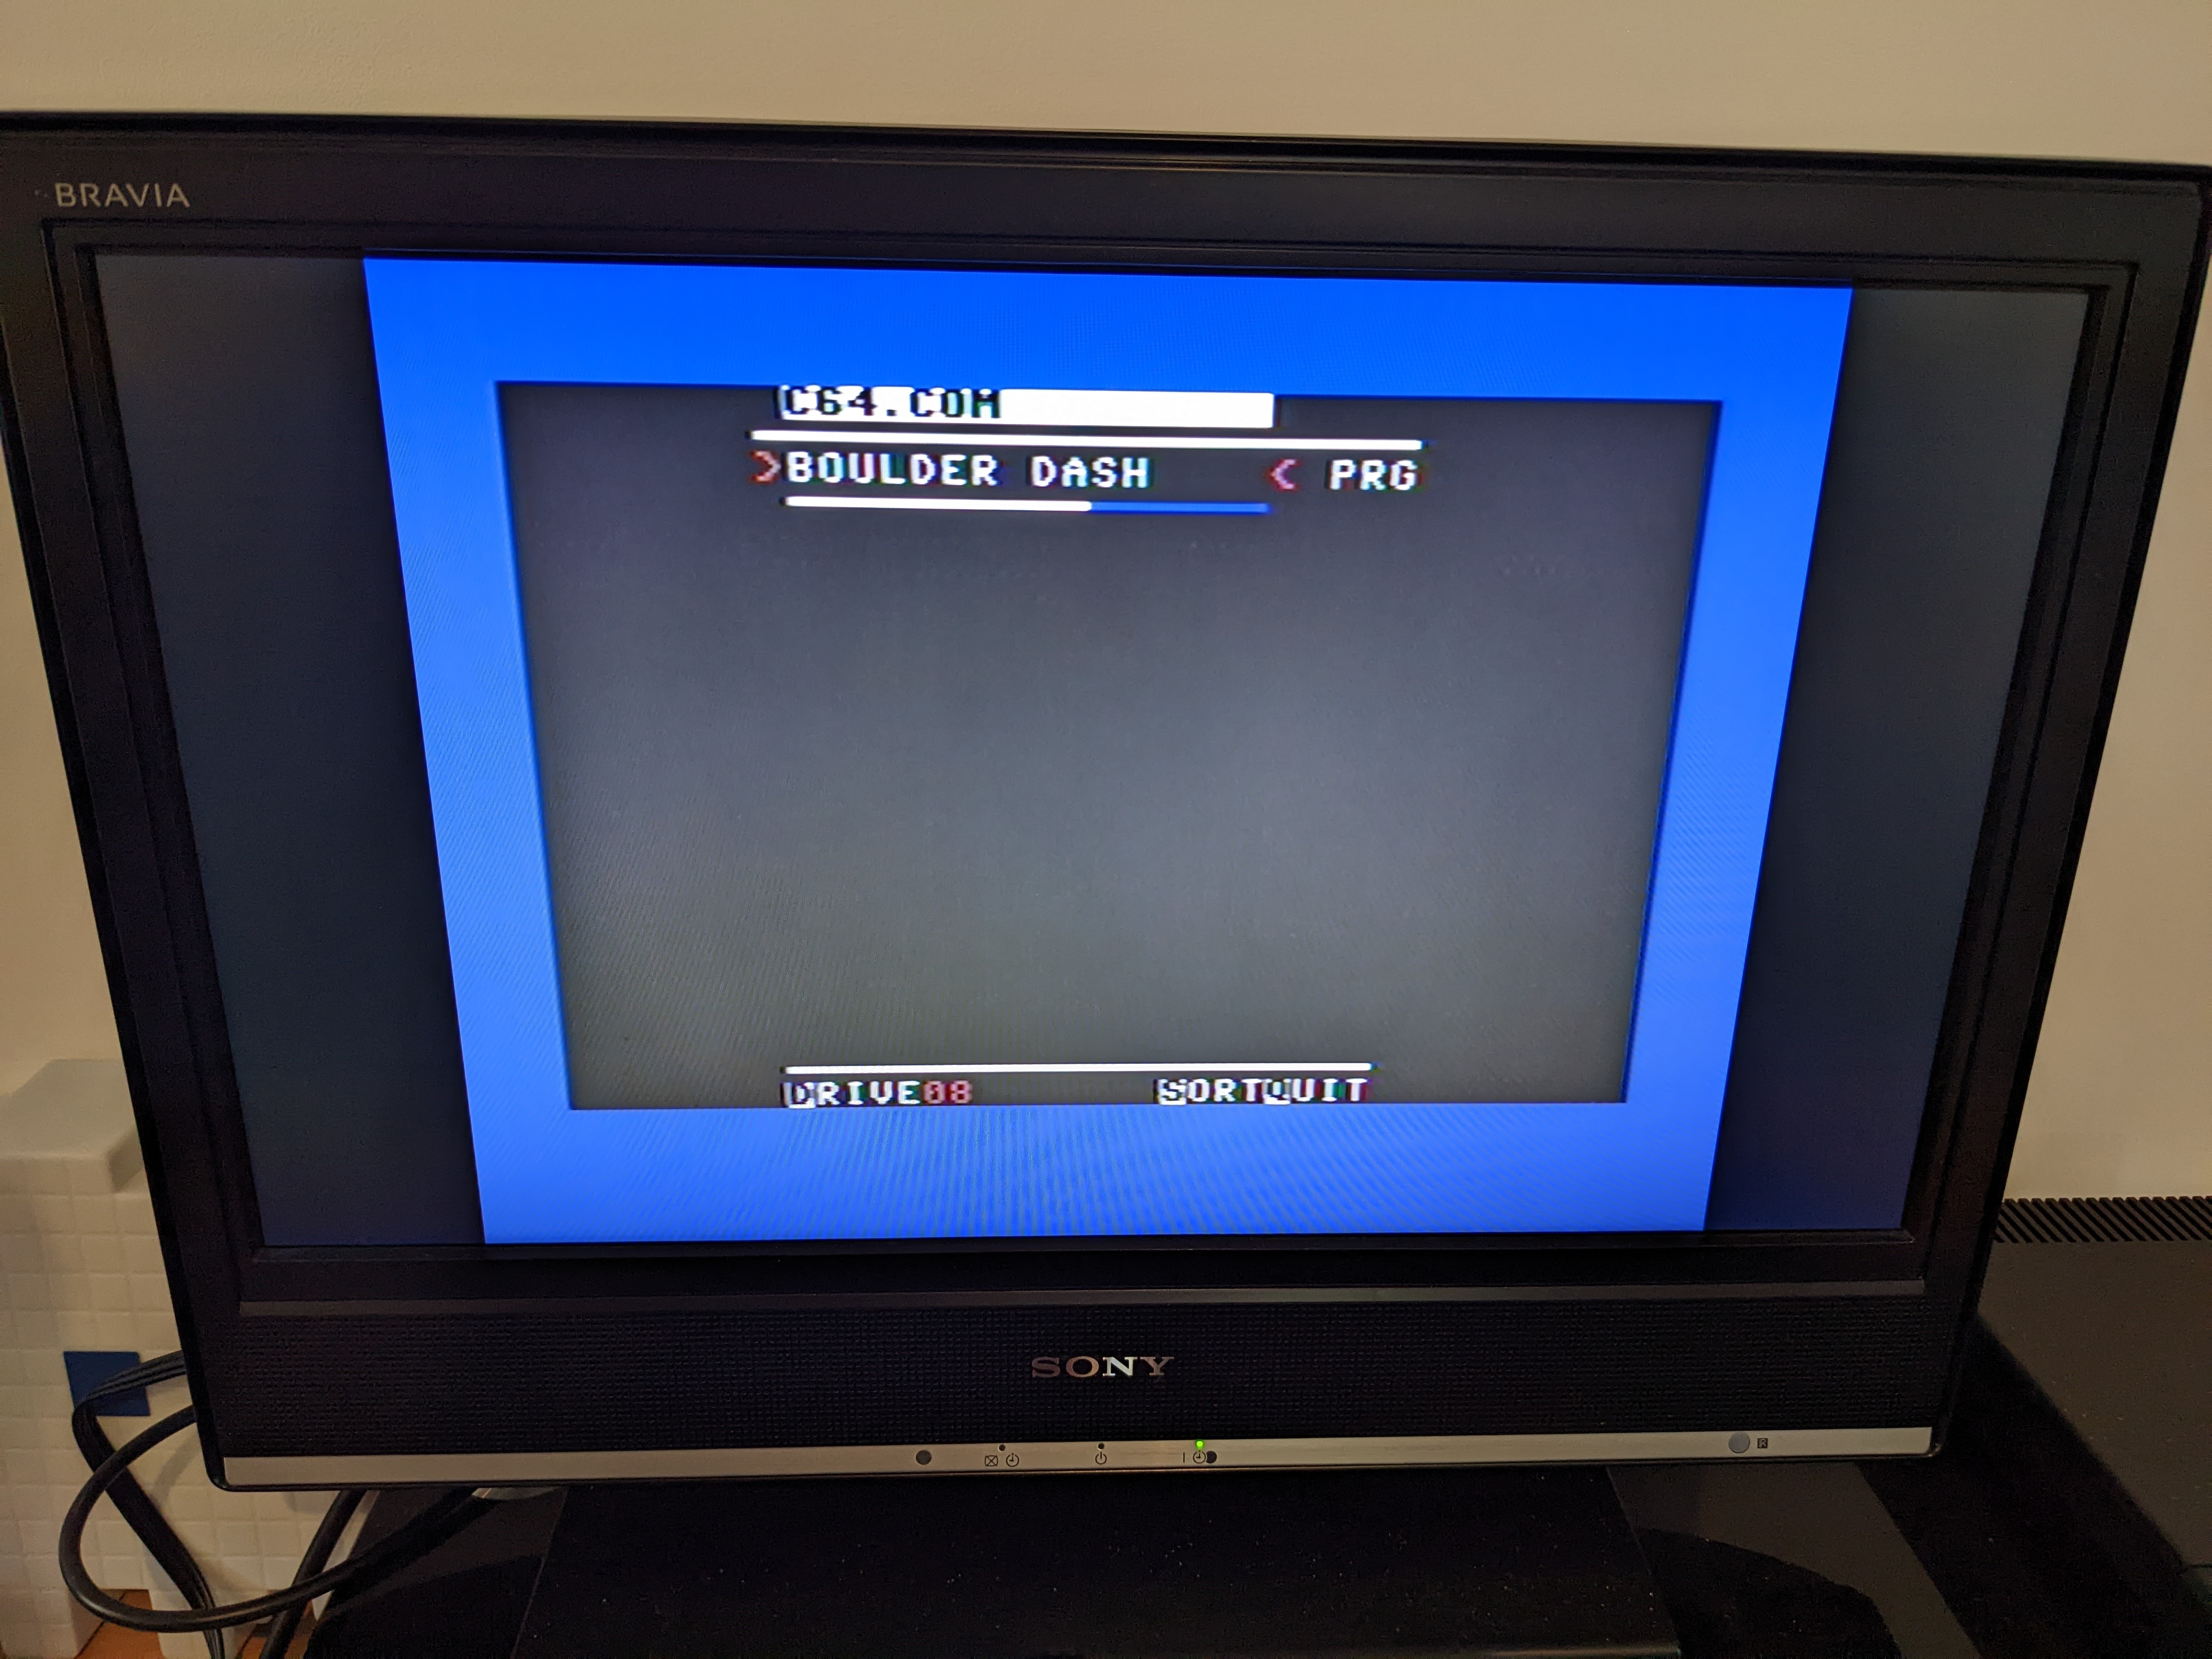
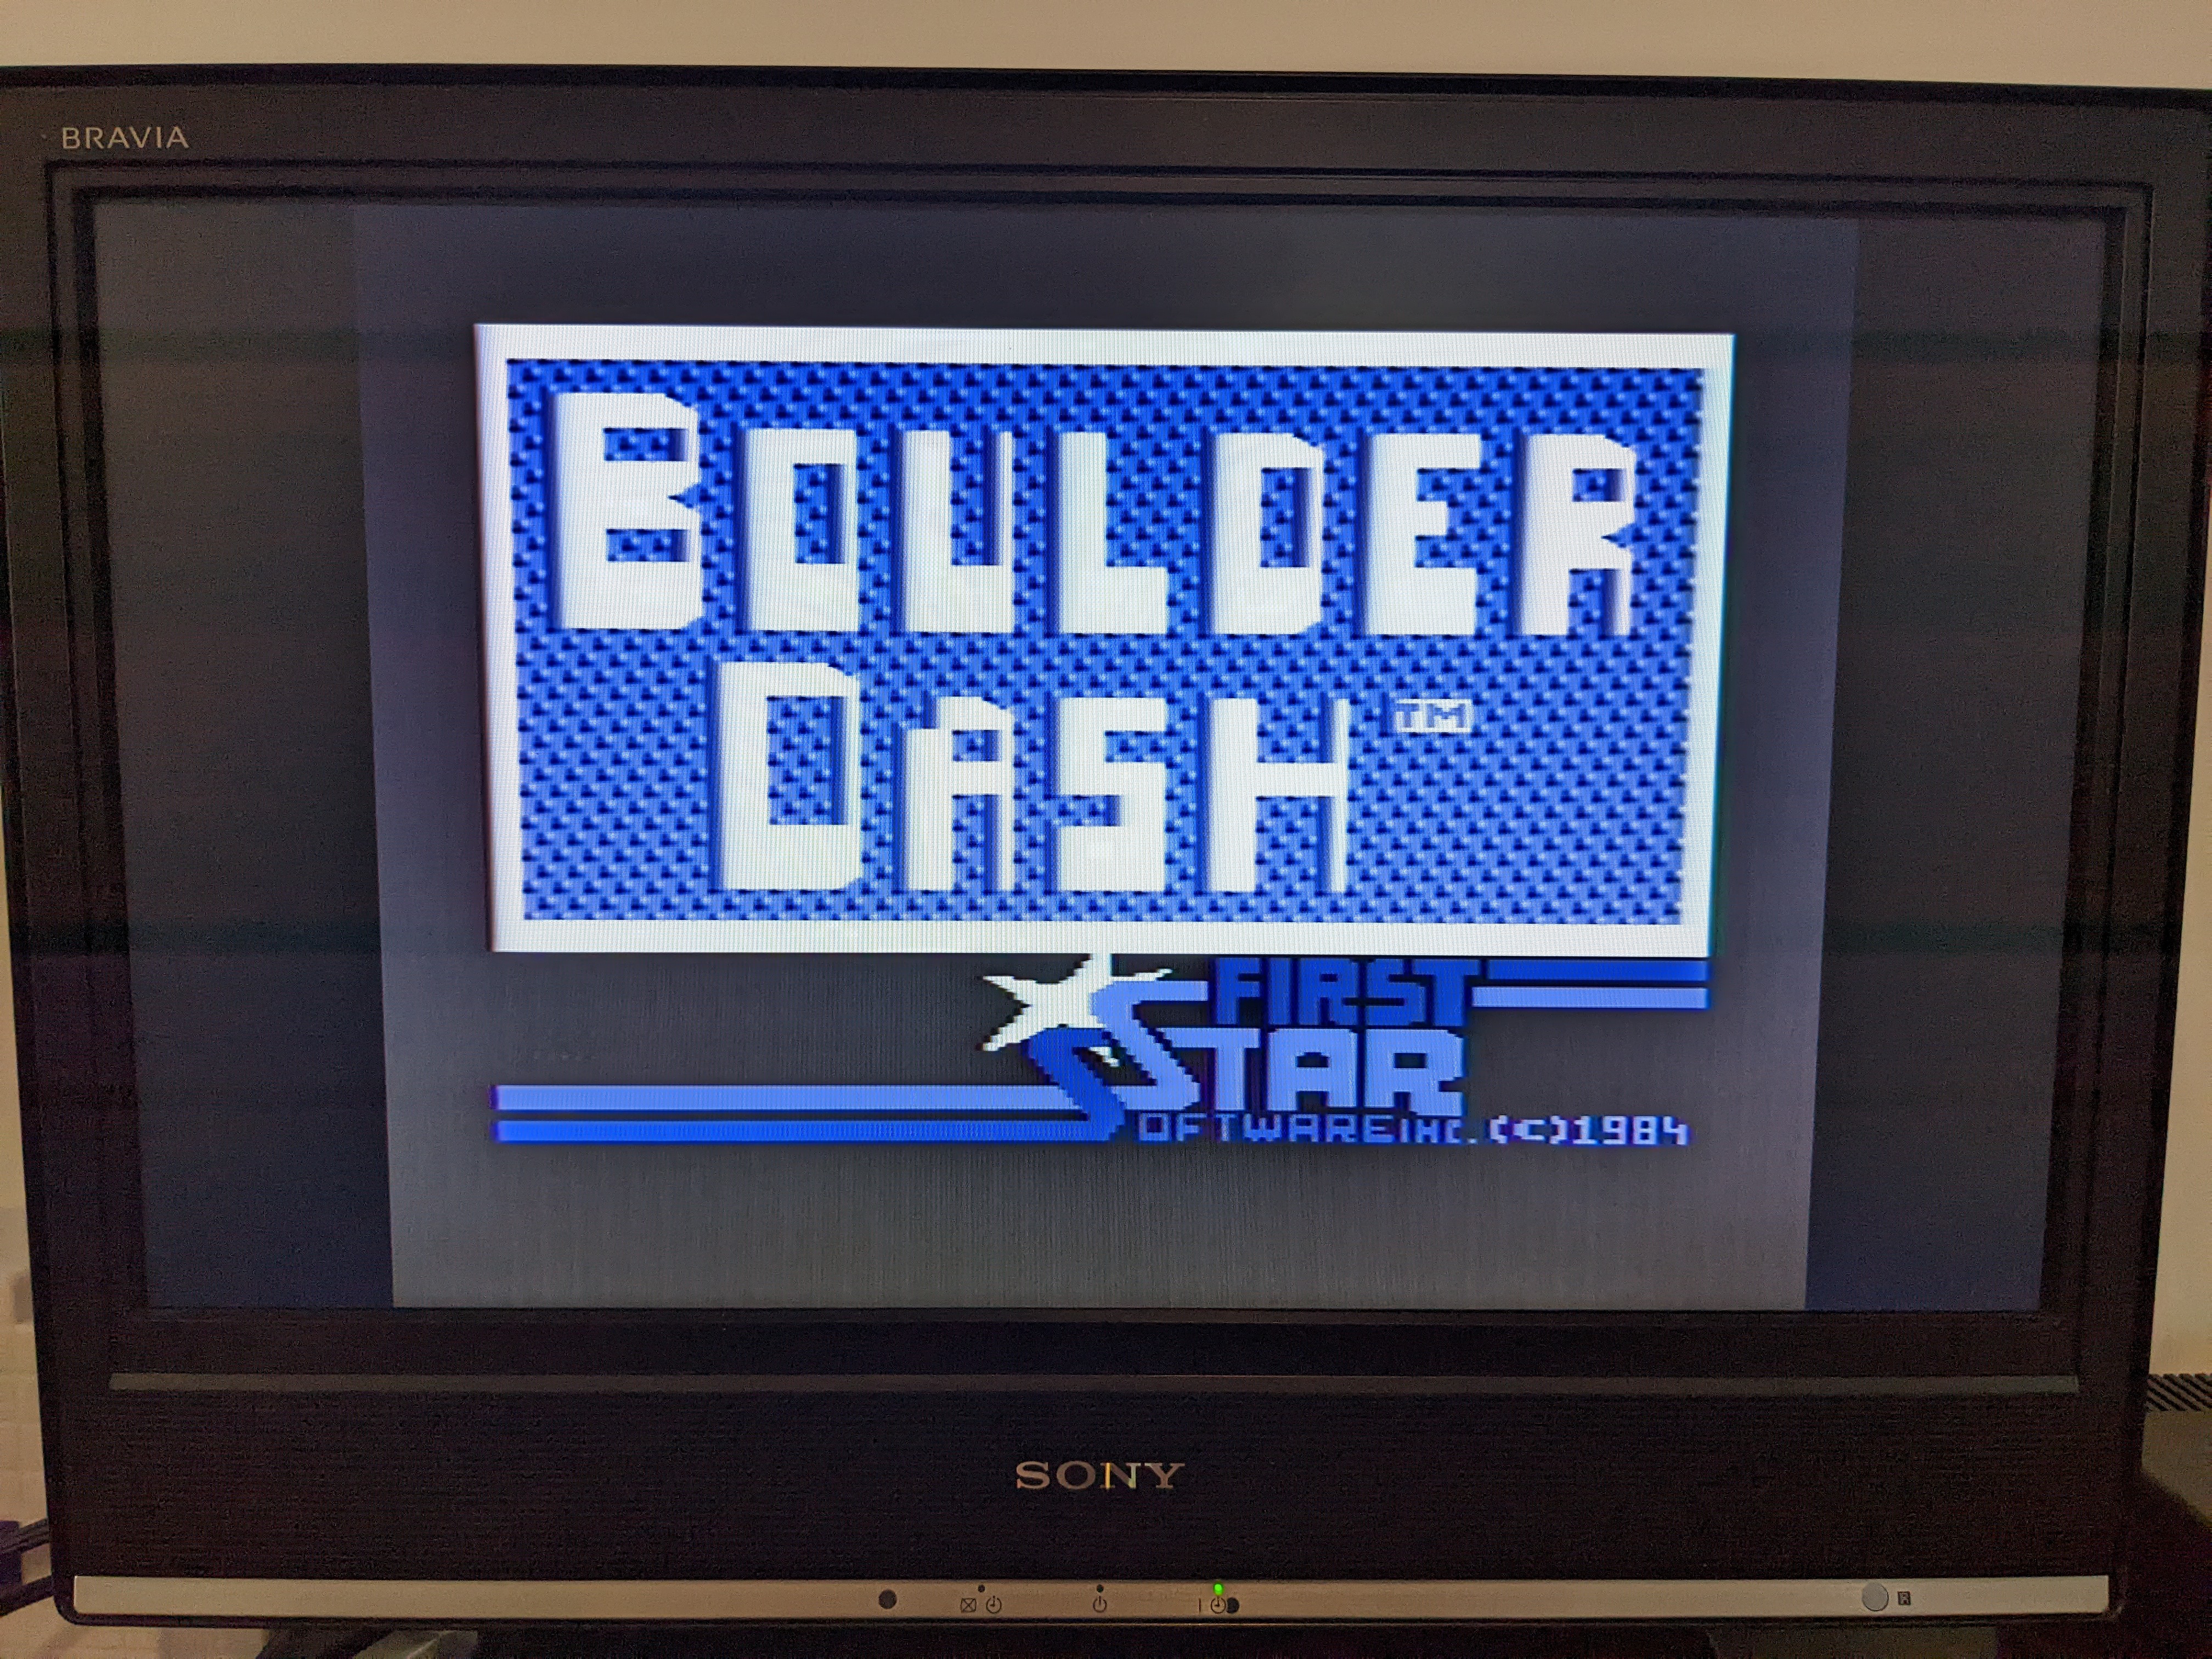
I think I’m calling that a win! Unless I hit any more problems I think it is time to properly clean this machine up, maybe brighten it a bit and put it back together!
Leave a Reply