The Amiga 2000 can be seen as a sister computer to the Amiga 500. It is very similar in design, shares a lot of parts, but comes in a case similar to a desktop PC and can be expanded using several card slots.
A friend of mine had a few machines that required work doing to them. Amongst them is an Amiga 2000 rev 4 which has had severe battery damage. This post lists the steps I took towards diagnosing and repairing the board.
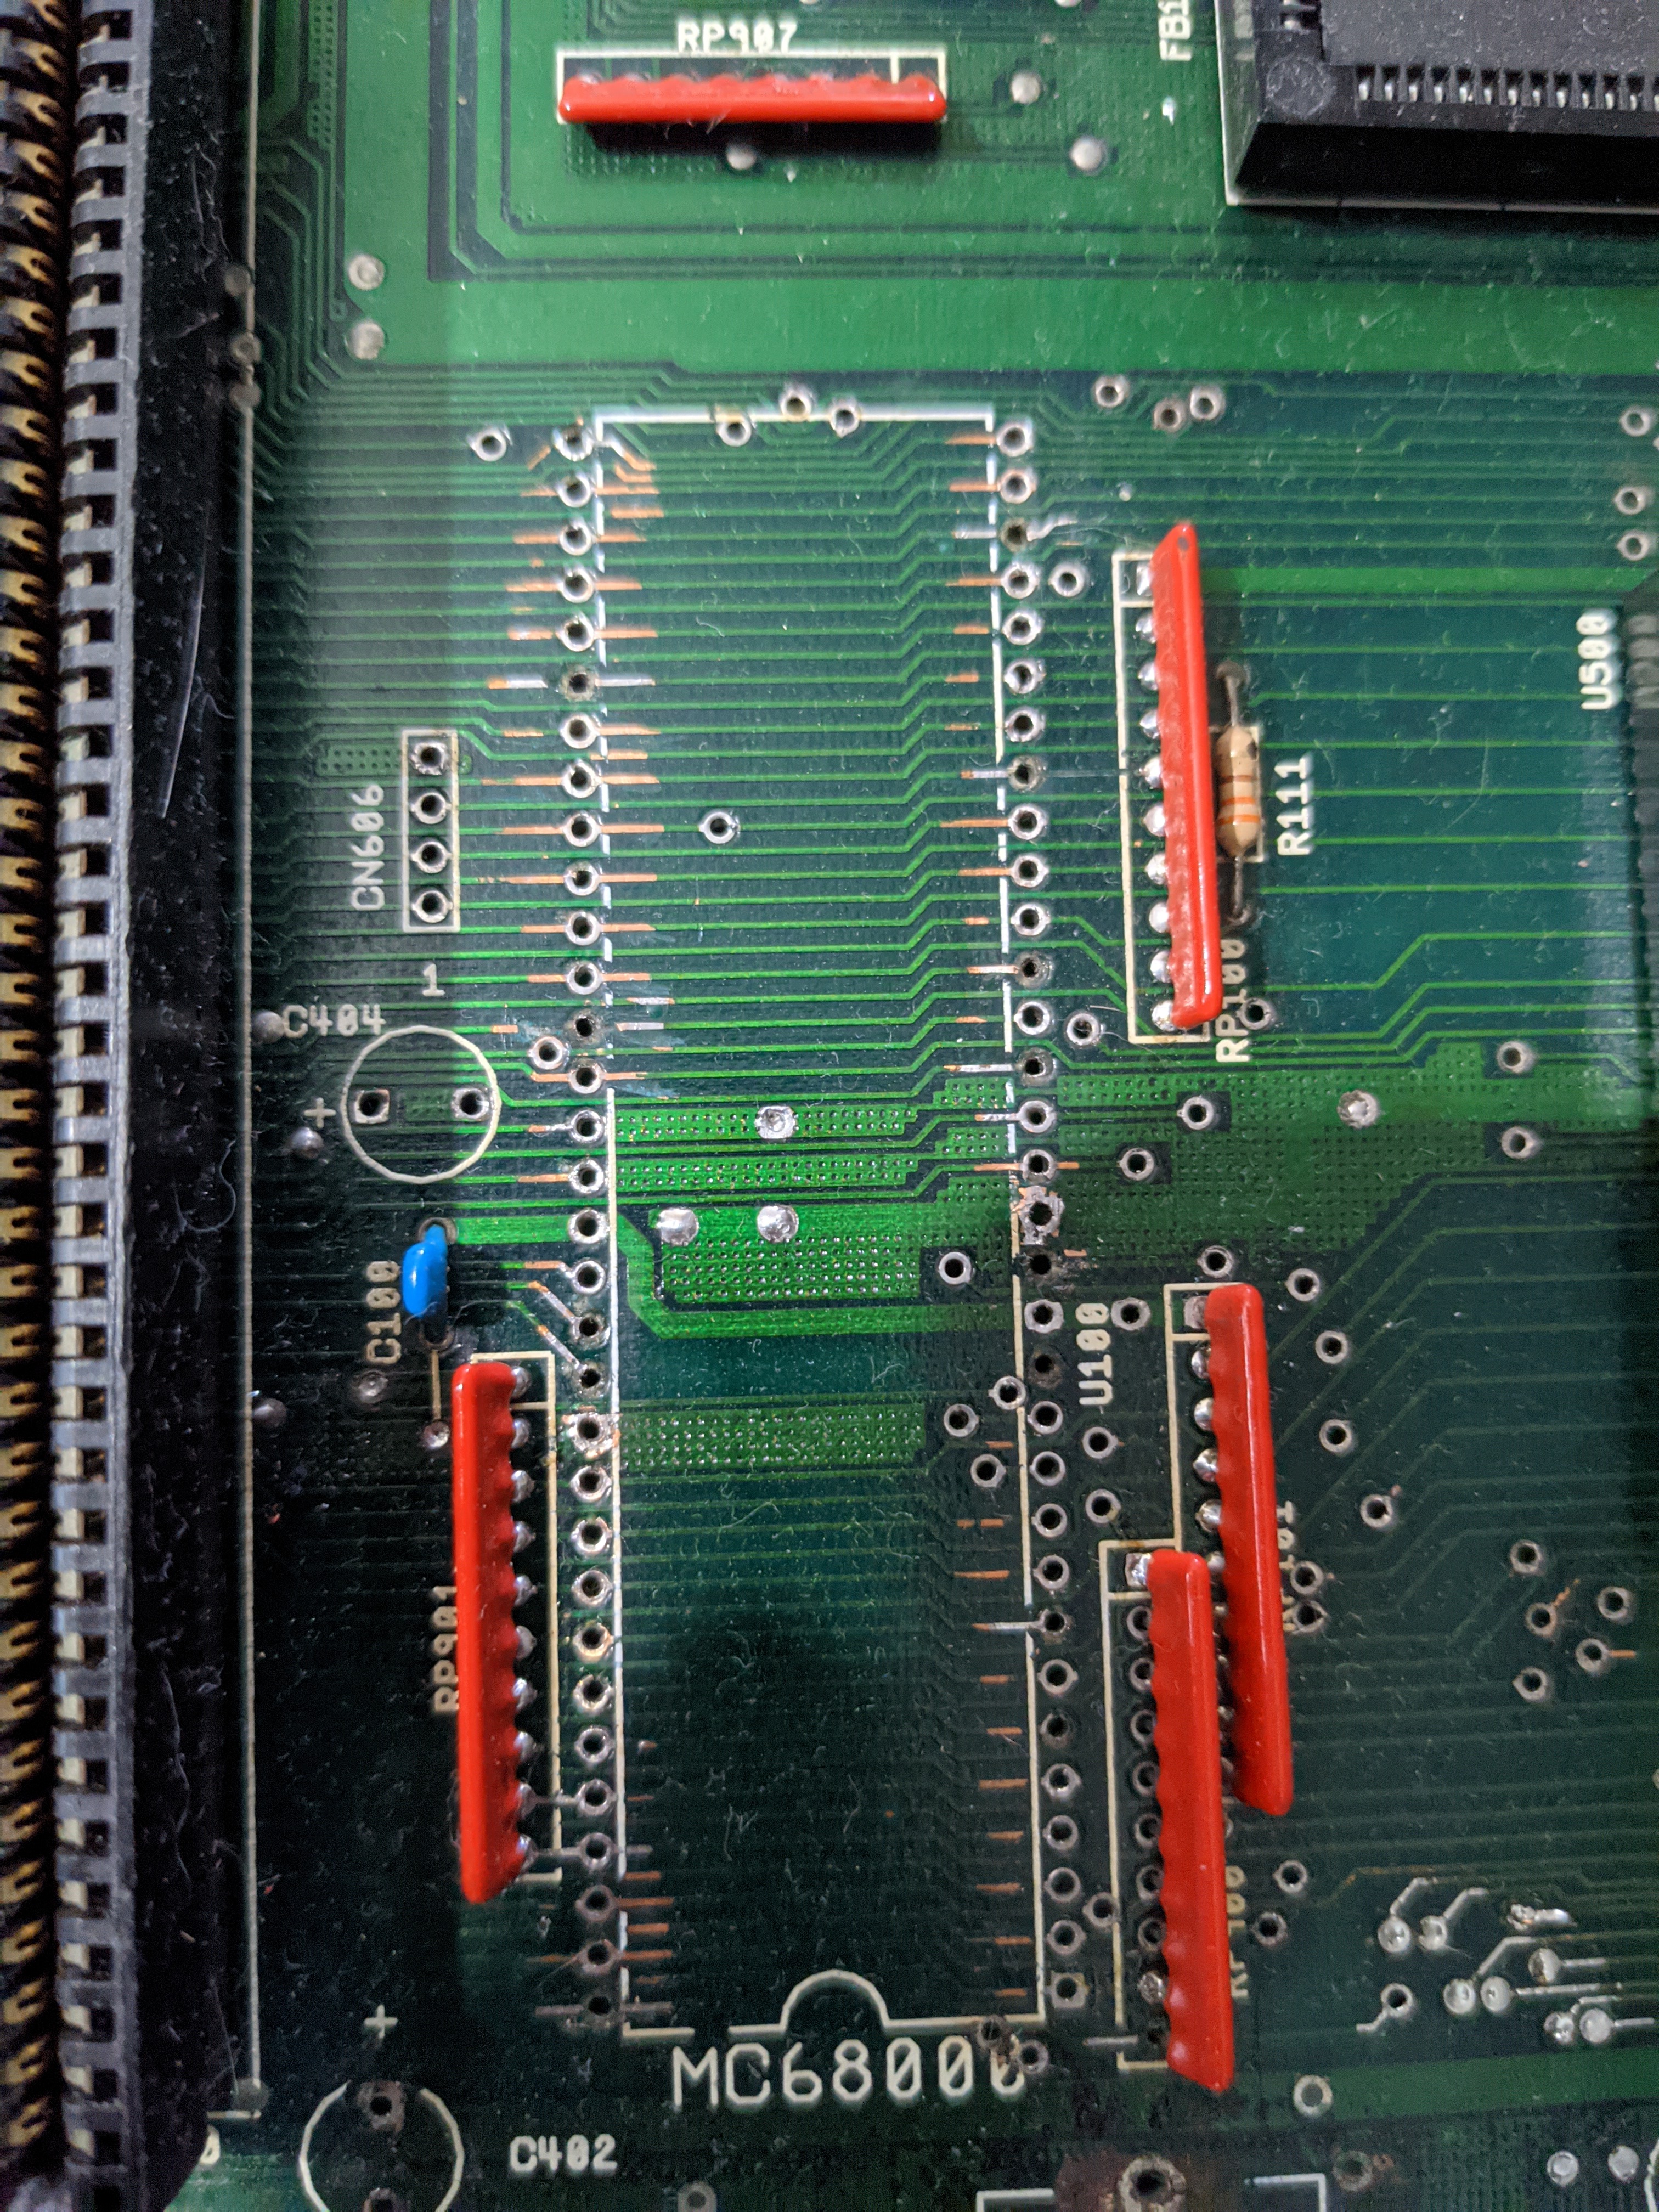
As with many machines from the period, the motherboard had been damaged by a leaking battery that is supposed to keep the Real Time Clock (RTC) running when the machine is powered down. In this case someone had already started working on the board and had cleaned up the corrosion. They had also removed the damaged CPU socket and a few other components.

You can see that some of the pads were completely broken, some of which were causing traces that go through the CPU to also be broken. I decided to tackle this in phases, first of all bridging the where the missing pads were breaking the traces. For all the repairs I used some thin wire wrapping wire.

Now that this was done I needed to make sure that missing pads or pads that were not connected to traces were connected through the holes. I also tested all the vias for the CPU to make sure that top and bottom were still connected where there were pads.
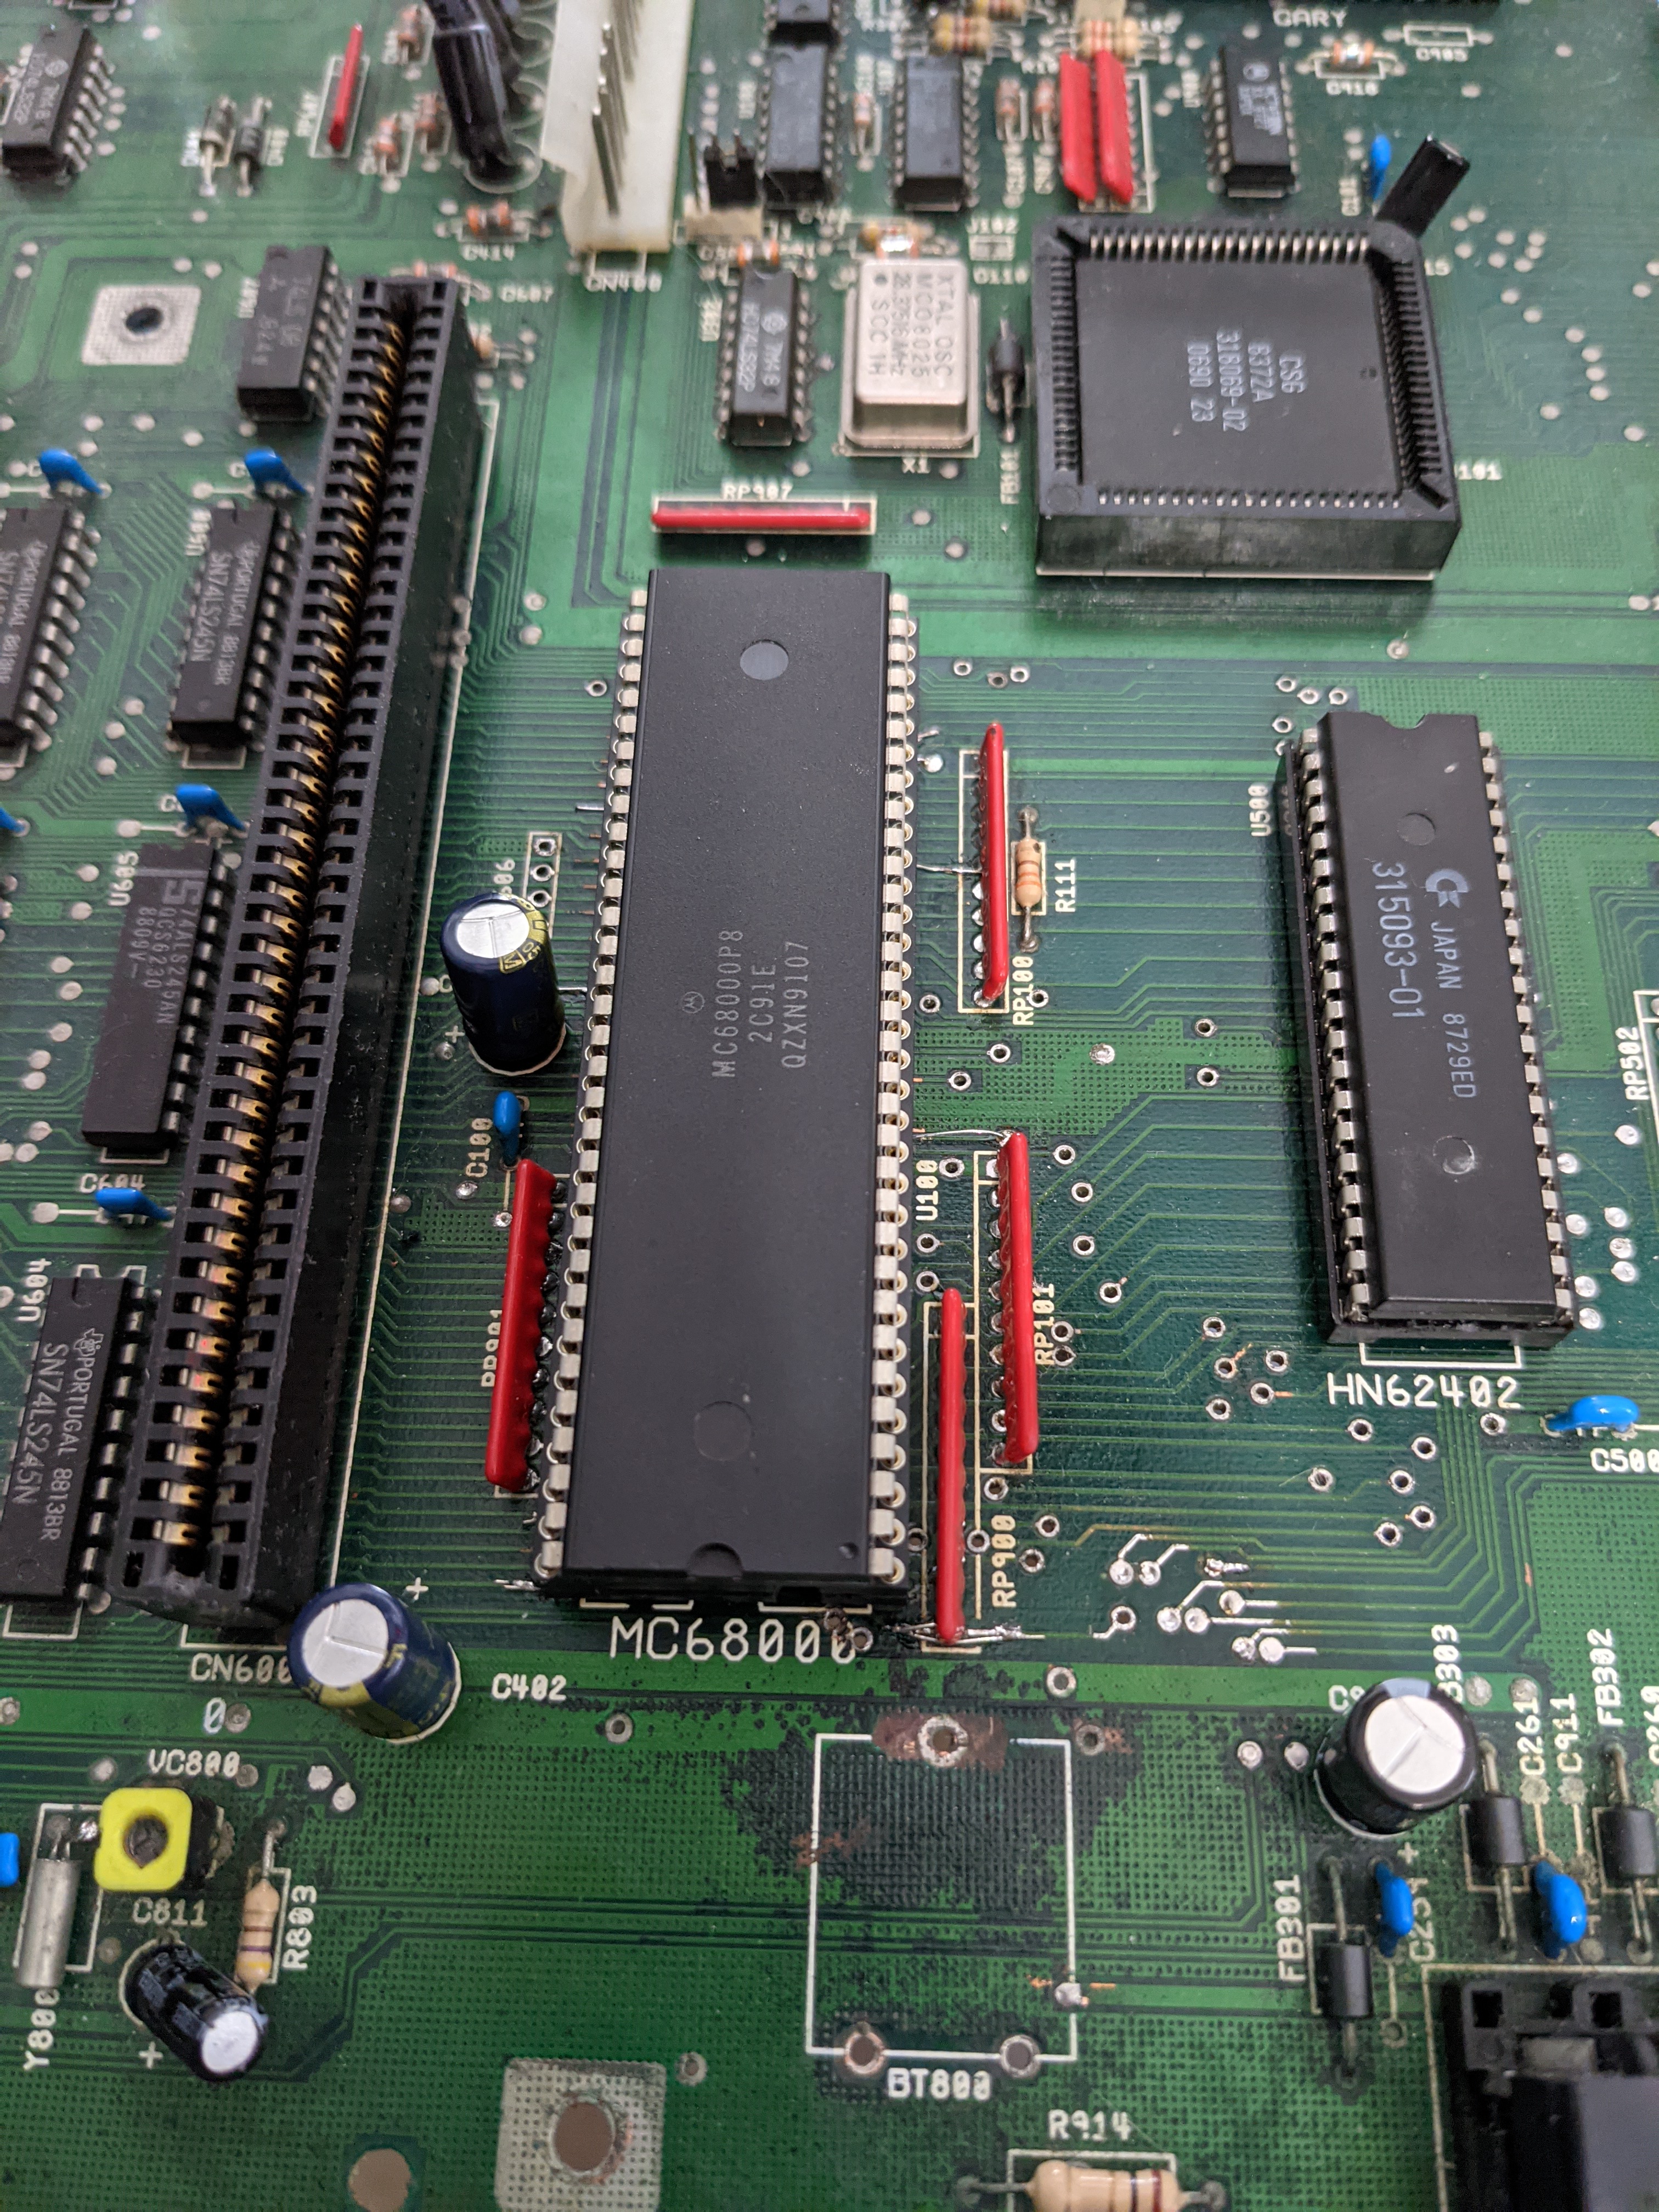
I tested everything against the CPU slot which has pretty much all the same connections as the CPU socket. I then finally fitted the CPU socket and the missing capacitors. I actually ended up using two sockets stacked as the socket did not fit perfectly flush with the repair wires in place which made seating the CPU difficult.

At this point I tried powering it on and it didn’t work, after some buzzing around the board with a multimeter I found a few data and control lines were not connected up to things to the right of the CPU. So a few additional repairs were needed on the bottom of the motherboard.

At this point I tested again and…

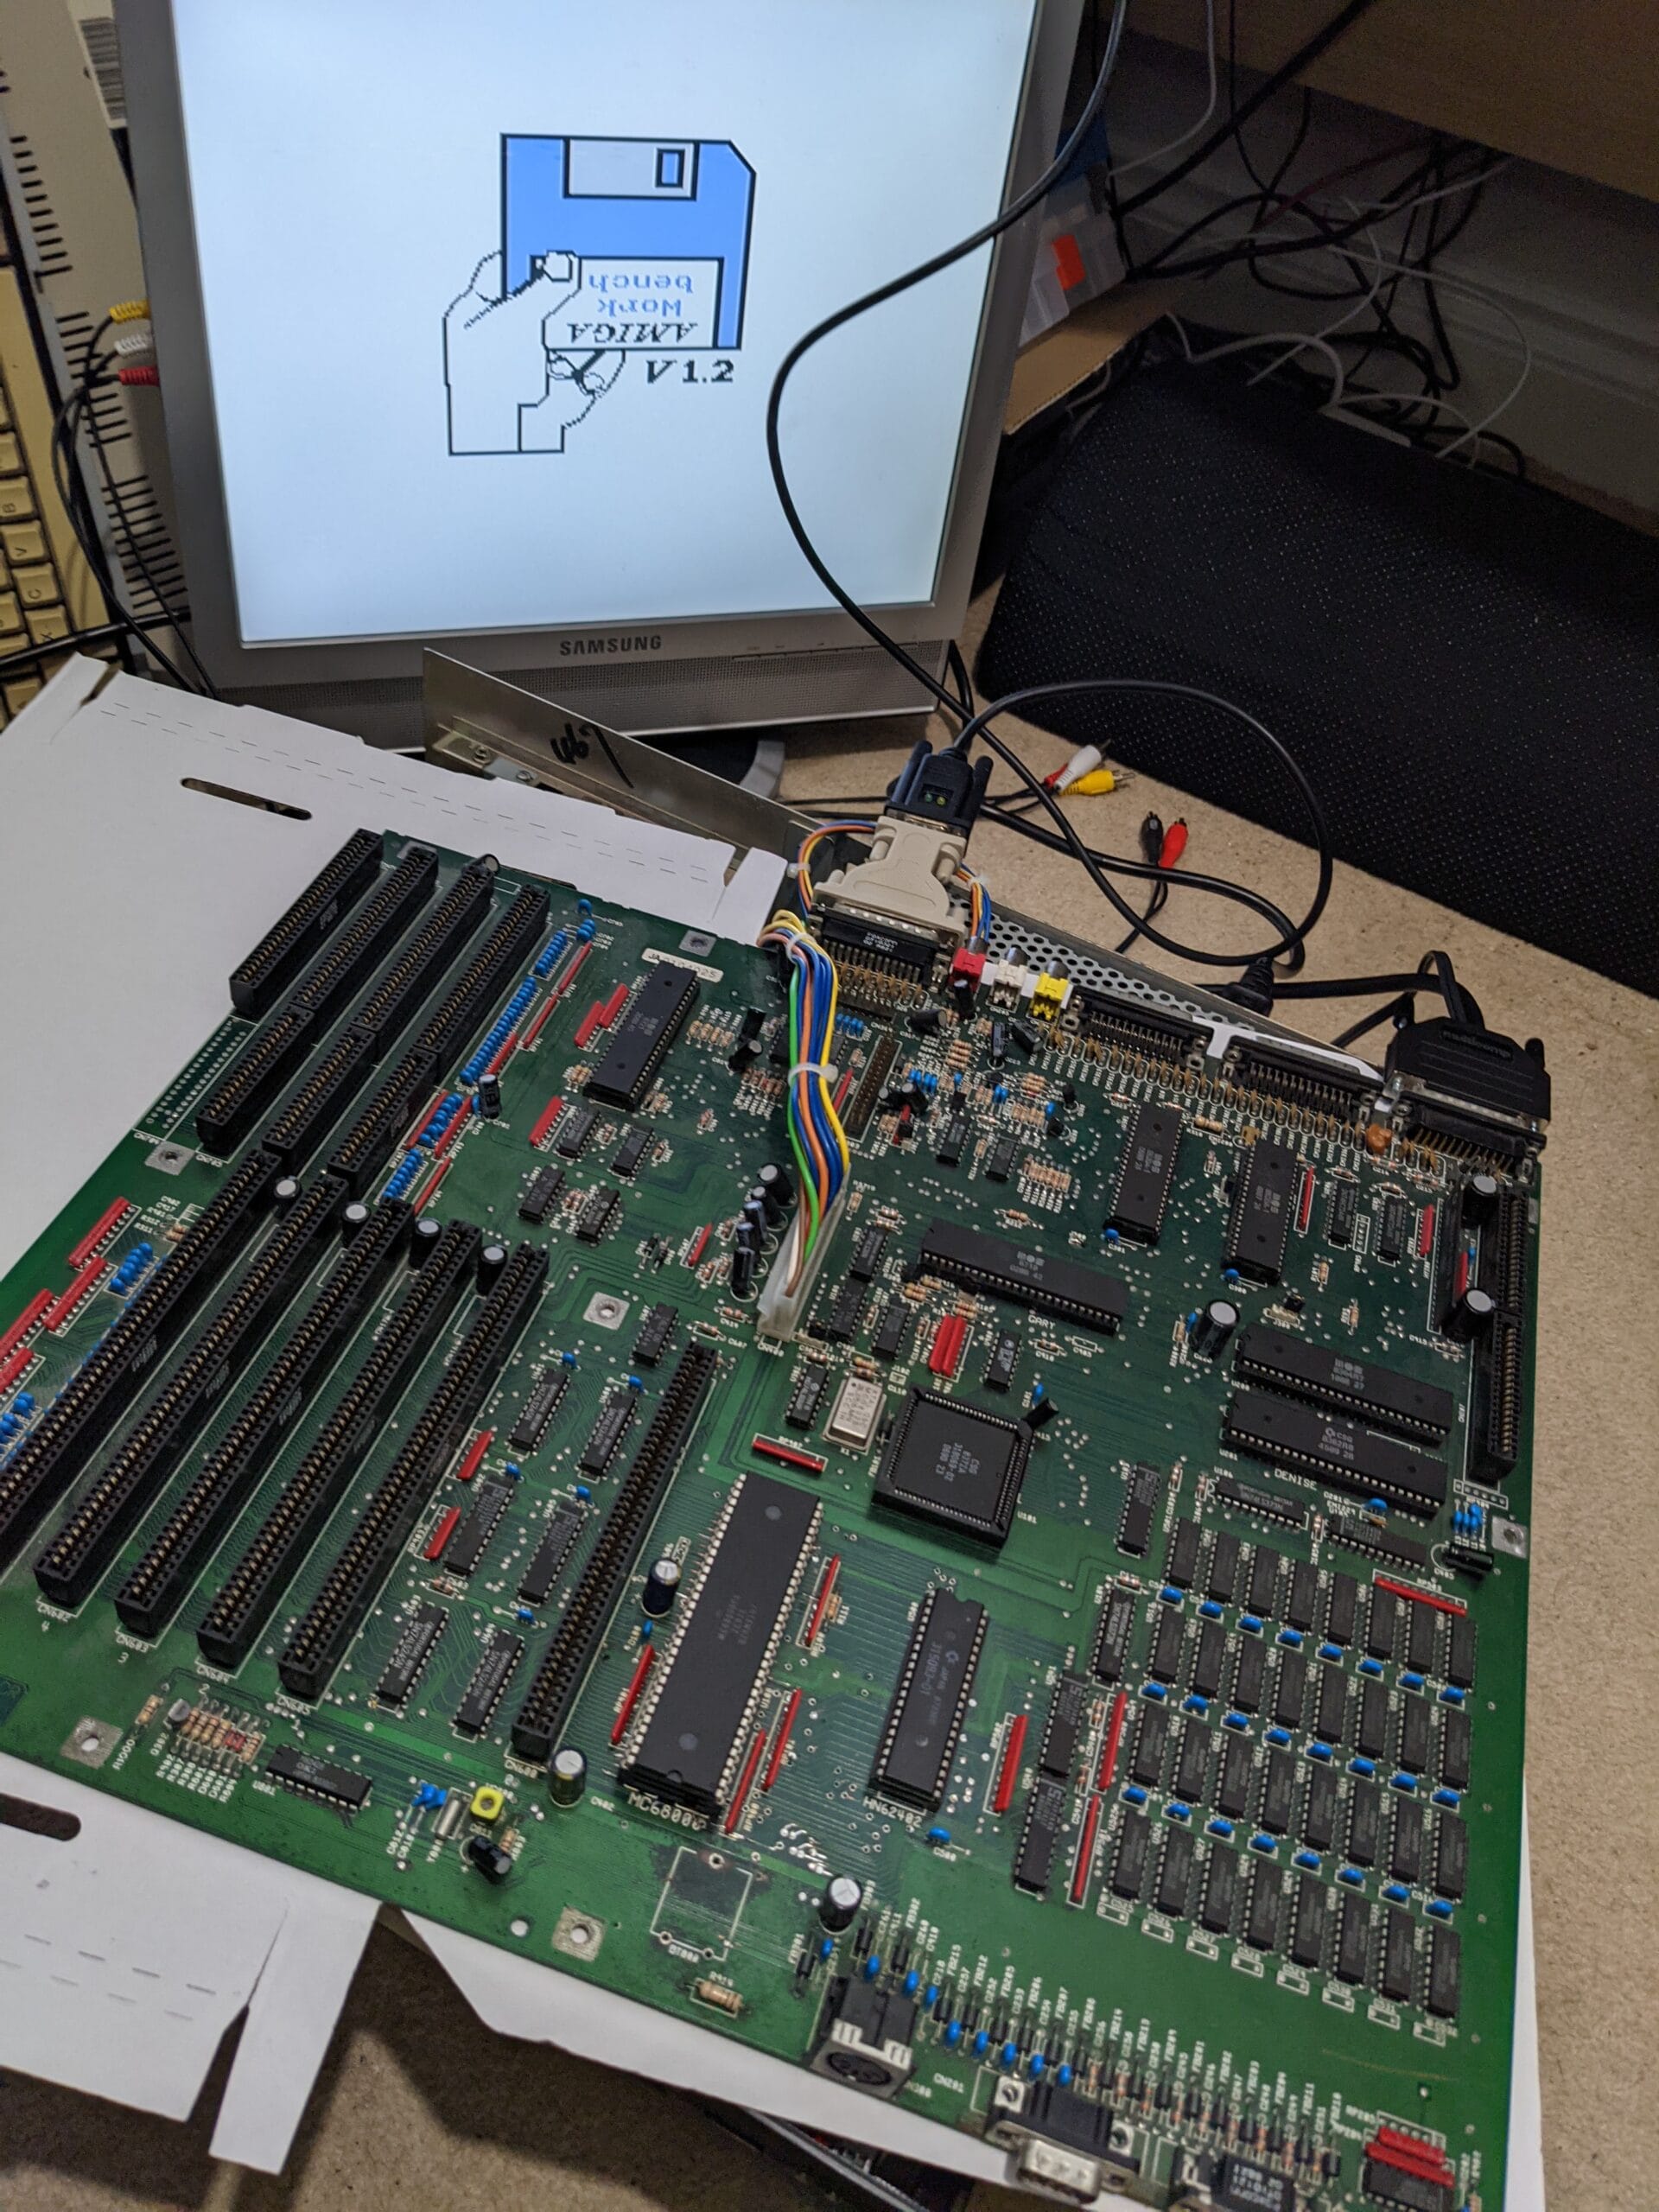
Success! The familiar Kickstart boot screen. I then tested with Amiga Test Kit and all the RAM, ports and chips were working as expected.
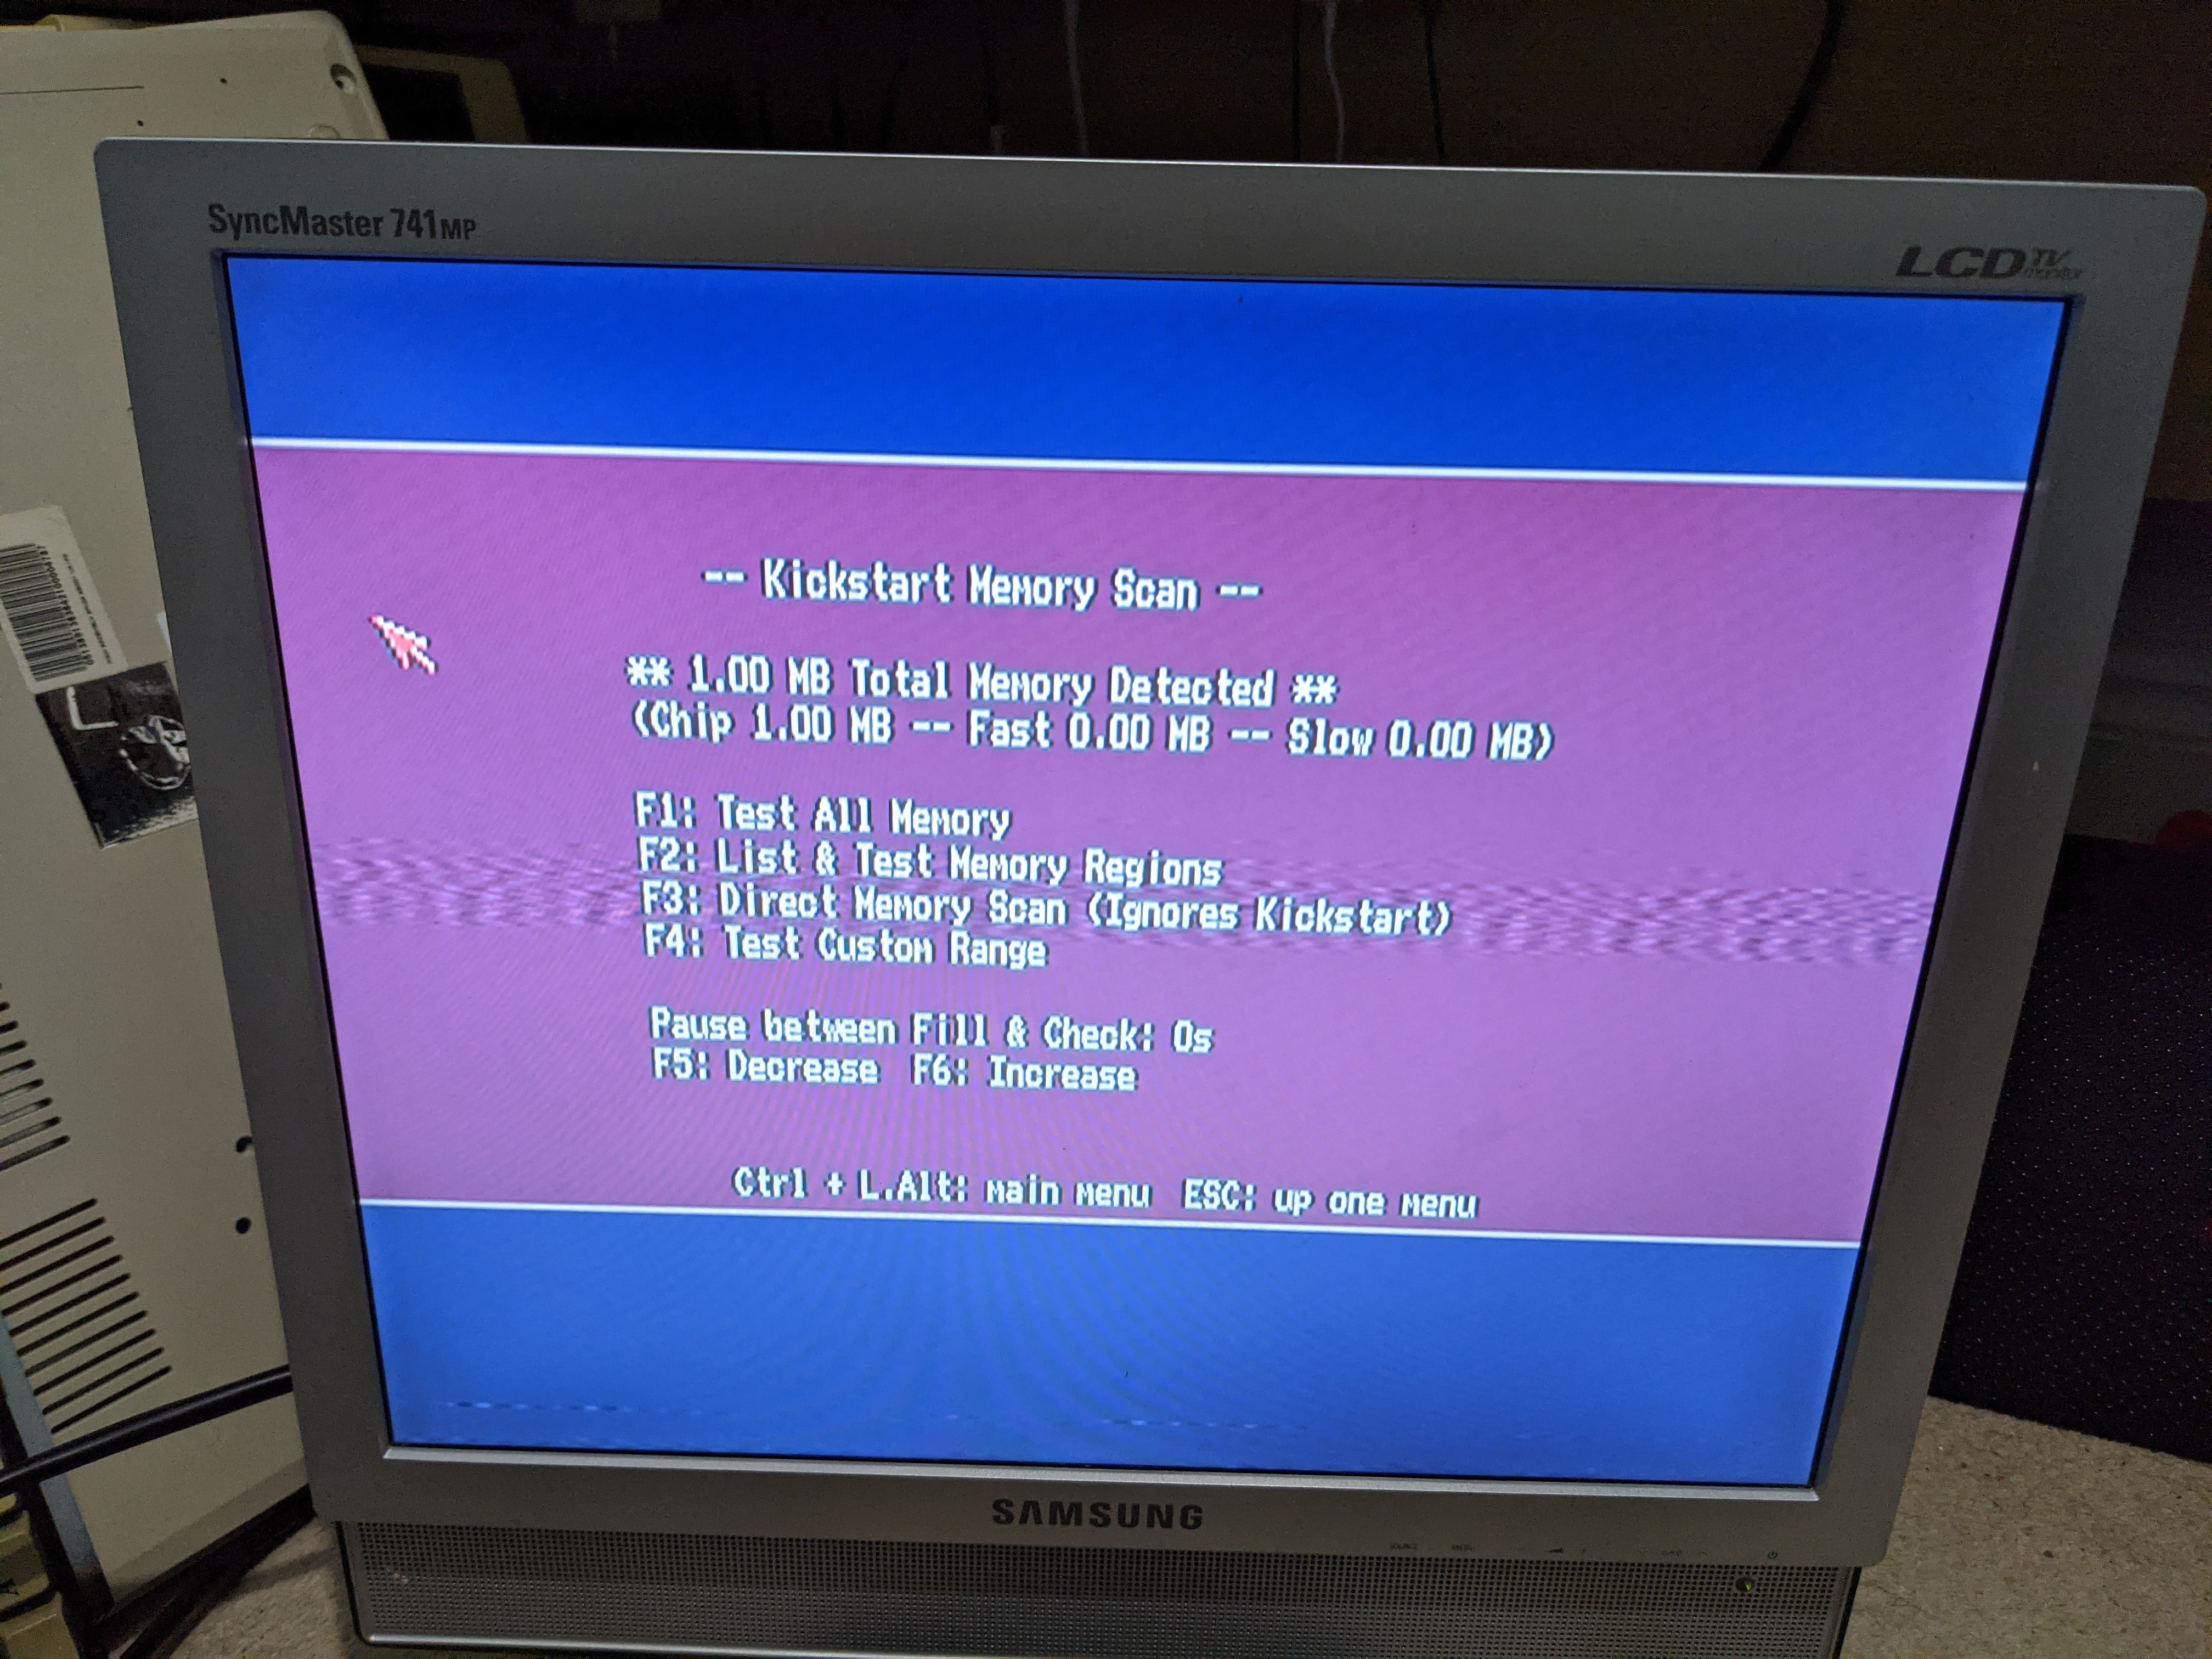
I will be fitting a new coin cell battery to this machine when they turn up in the post. In the mean time I was asked to modify it slightly so that it supported 1MB Chip memory instead of 0.5MB Chip and 0.5MB Slow memory. To do this I needed to change the position of J101 so that positions 2&3 were bridged. Normally you would cut the bridge for J500 and J102 with a razor blade, but on this rev. 4 the J102 was already cut and J500 was a solder bridge so wicking this away solved that. We now had 1MB Chip RAM.

With that my work today on this machine is done!


Leave a Reply