
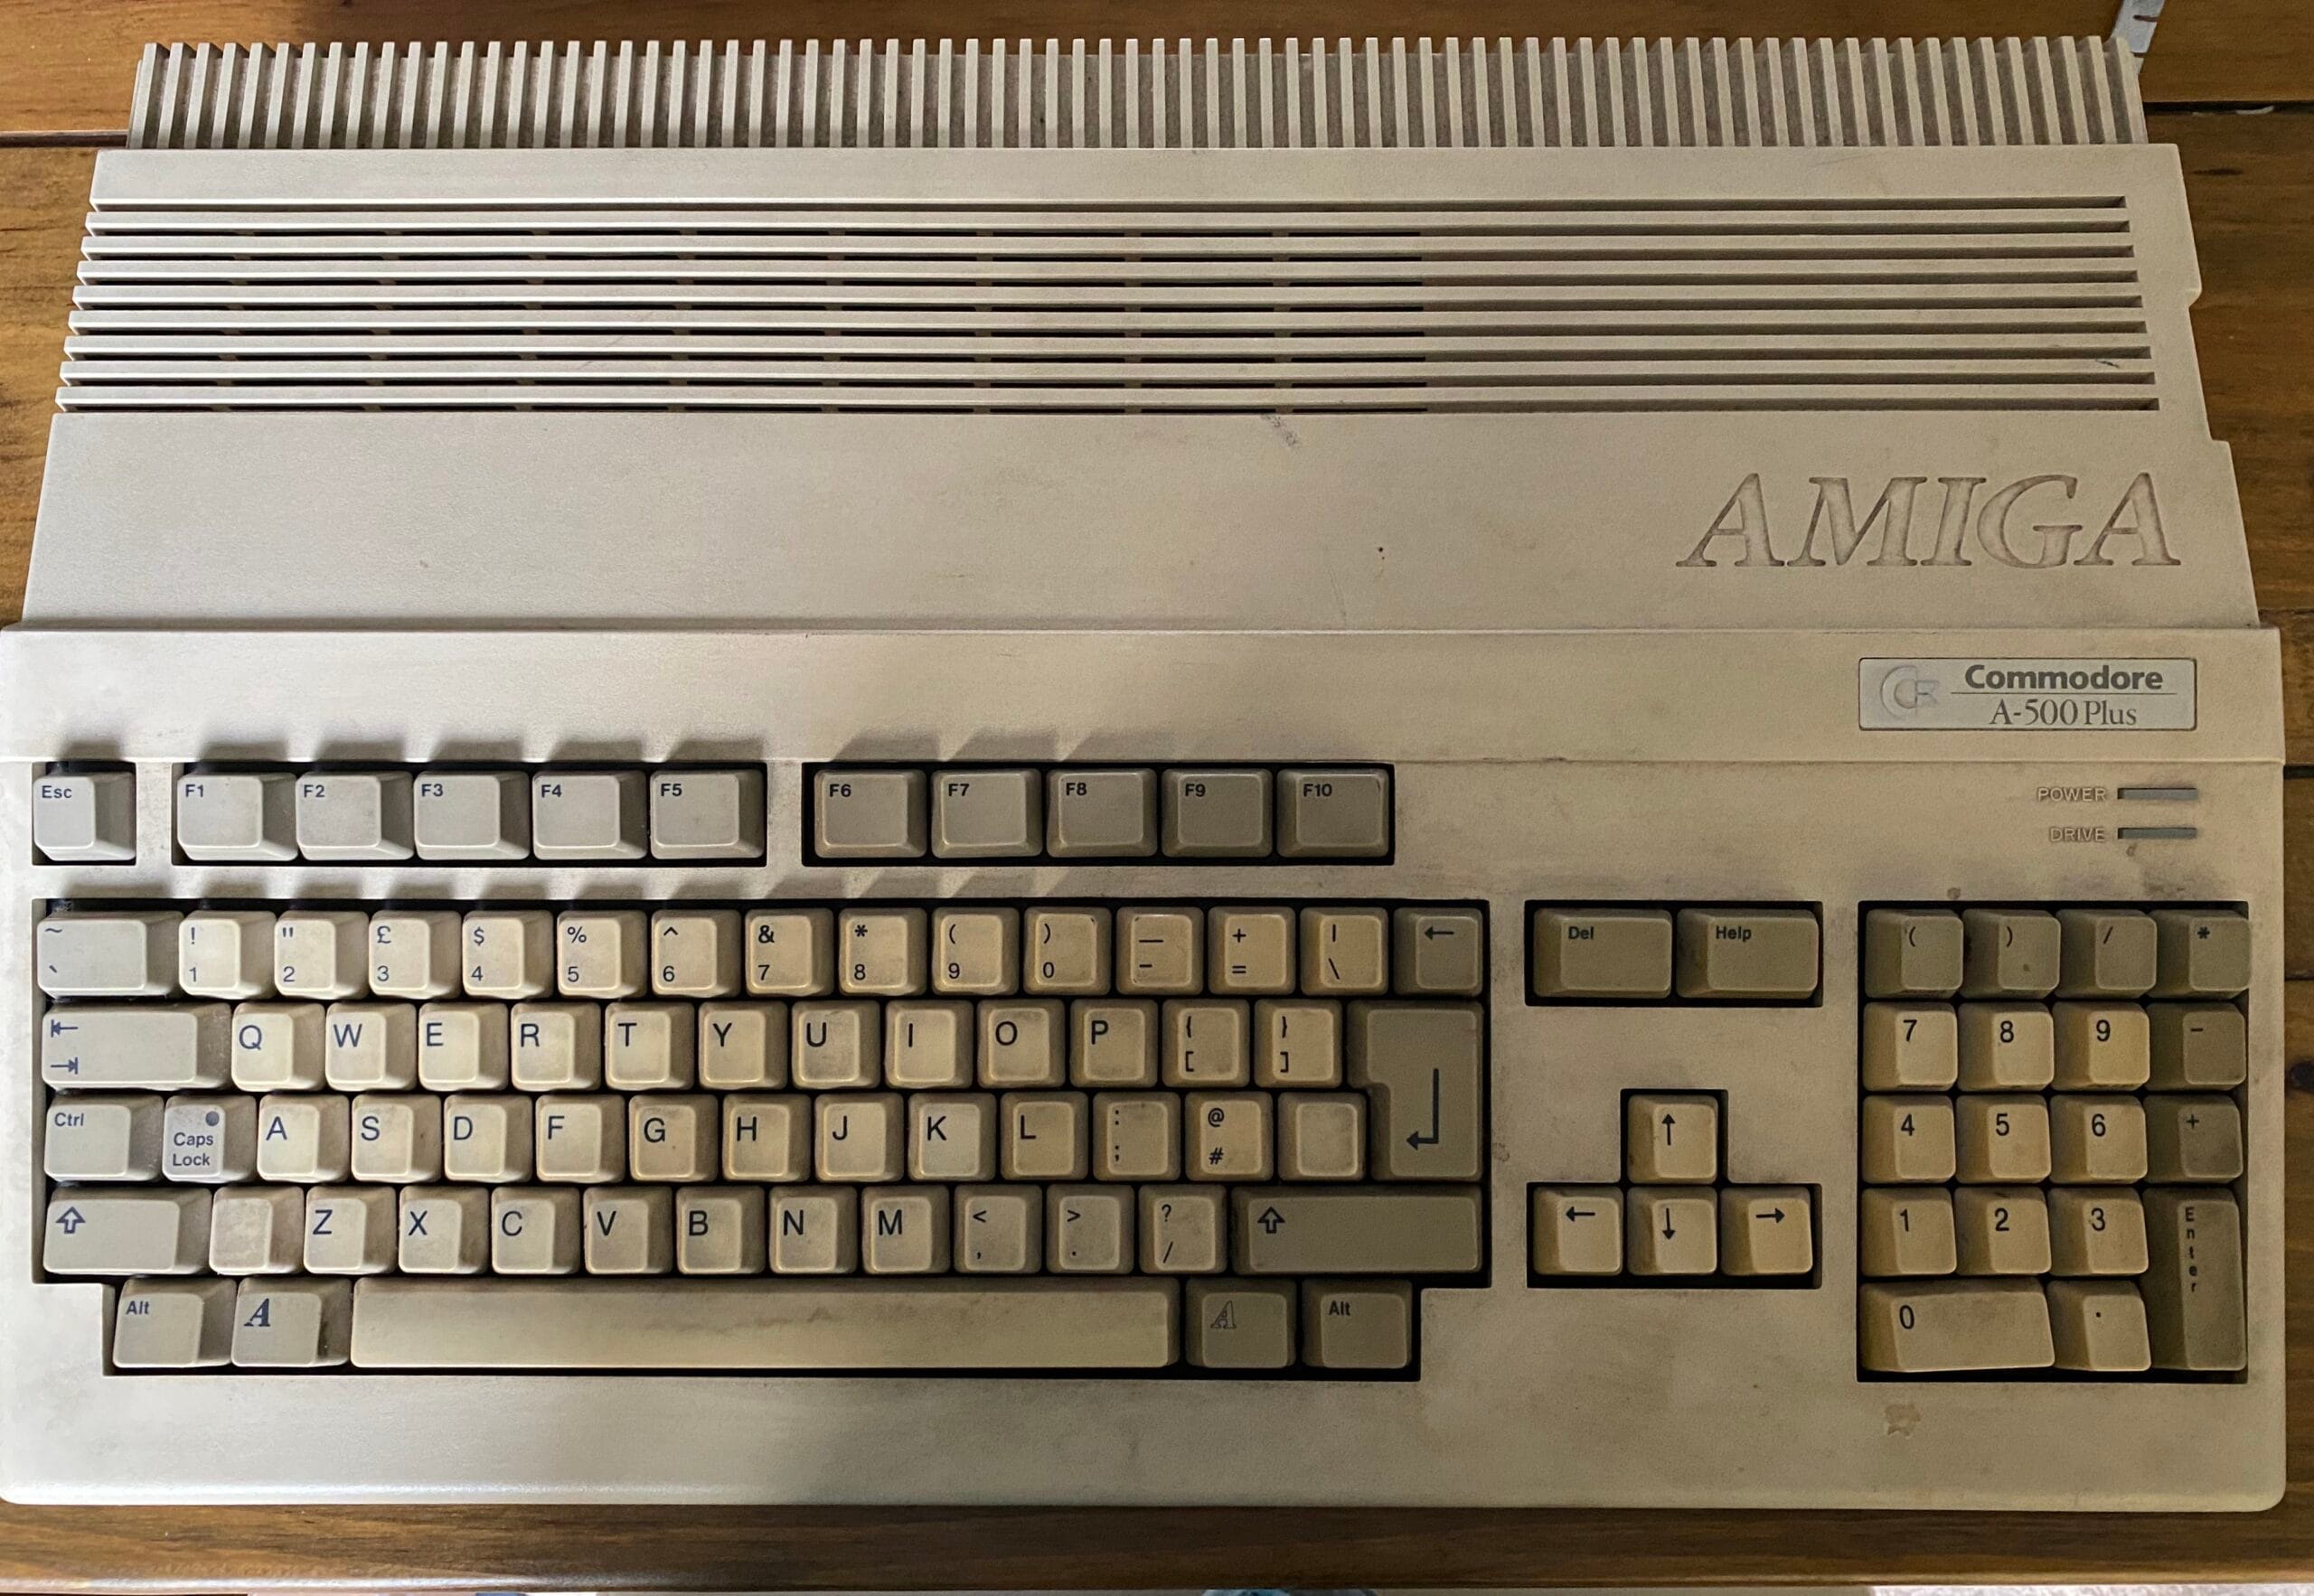
We left part 2 of this series with several problems still to solve. Progress has been made so here is another report!
The swapped out floppy drive was starting to get read errors. So, I disassembled it, cleaned the heads with isopropyl alcohol, regressed the head worm drive with some lithium grease and that started working perfectly.
The belt for the external floppy drive arrived and has been fitted. But that also has read errors and likely needs a clean. But that is for another blog post.
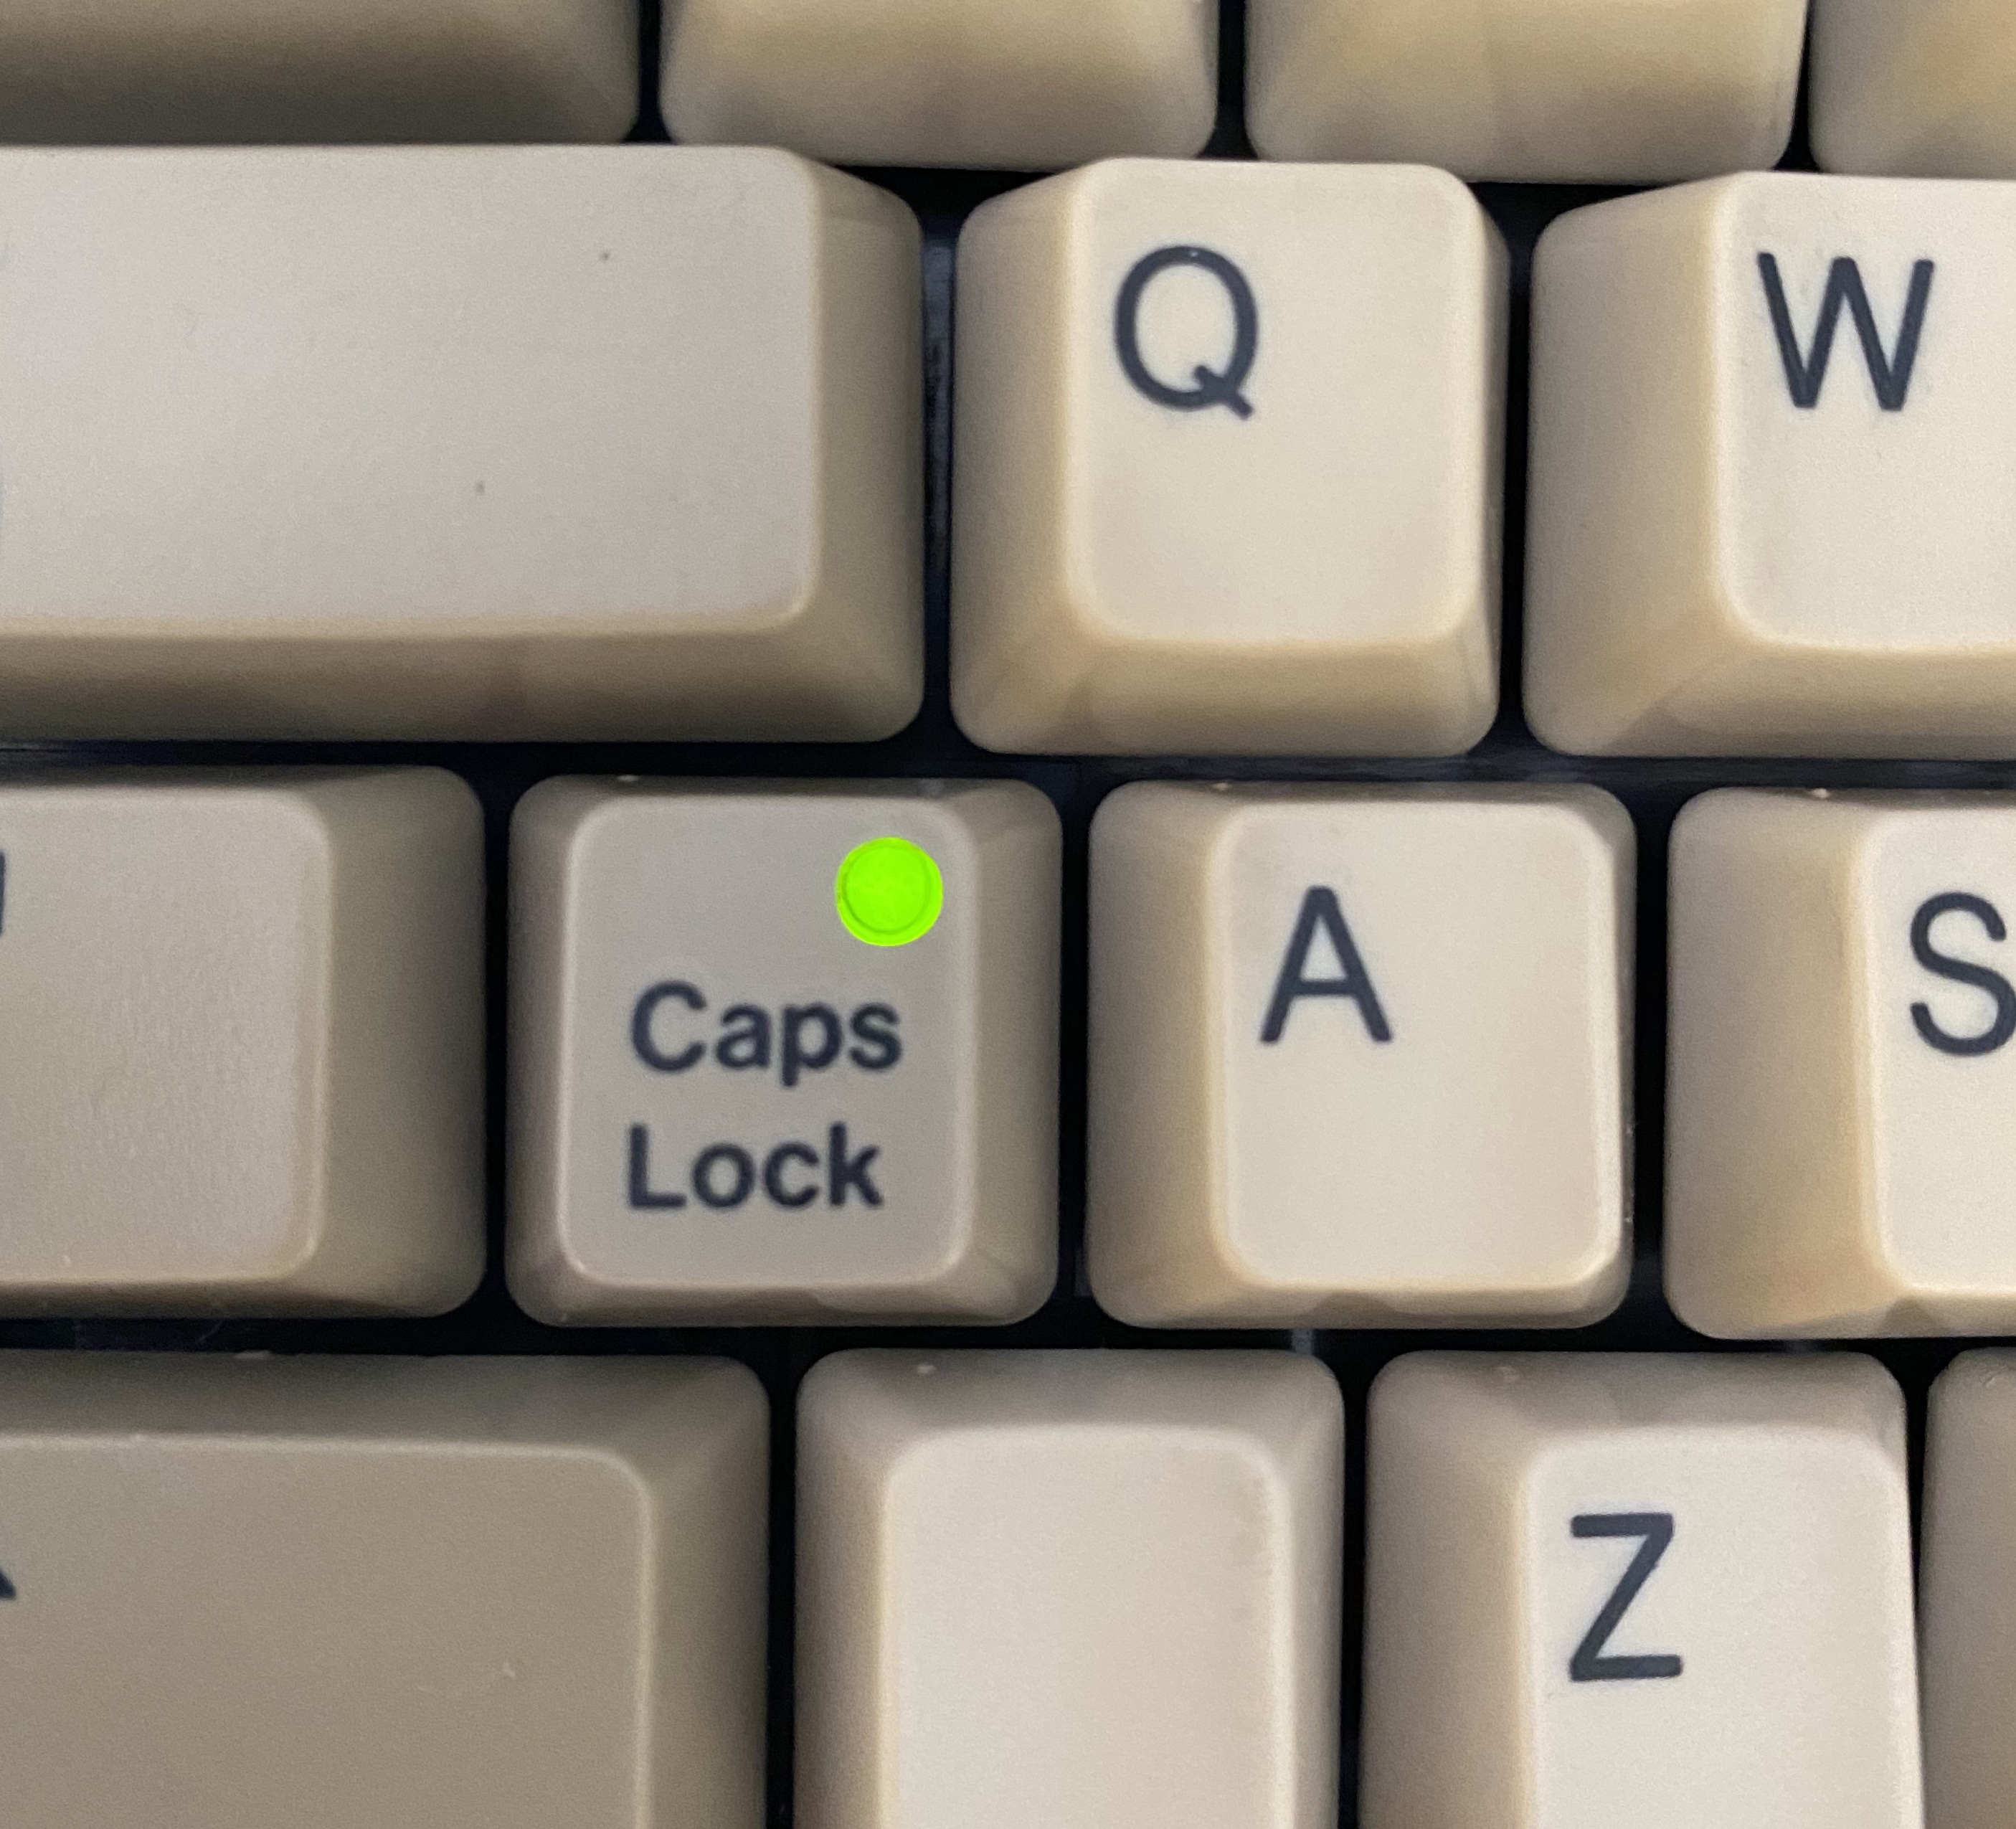
In the previous post I mentioned that the Caps Lock LED wasn’t working. I took the keyboard apart (30 screws!) tested the LED and it was fine. I then put it back together again, probed the keyboard controller and noticed that the correct voltage was going into the keyboard membrane. Damn!
30 screws undone again later I found which pad wasn’t connected to the ribbon cable. I found a bit of dirt on the trace in the corner and under that I found this breakage:

That would do it! I used an MG Chemicals carbon conductive pen to repair the break. Probed it to make sure it would work and reassembled the whole thing. I plugged the keyboard back it, turned it on and success!
We are good to go. That was the last internal repair needed so I closed the machine up.
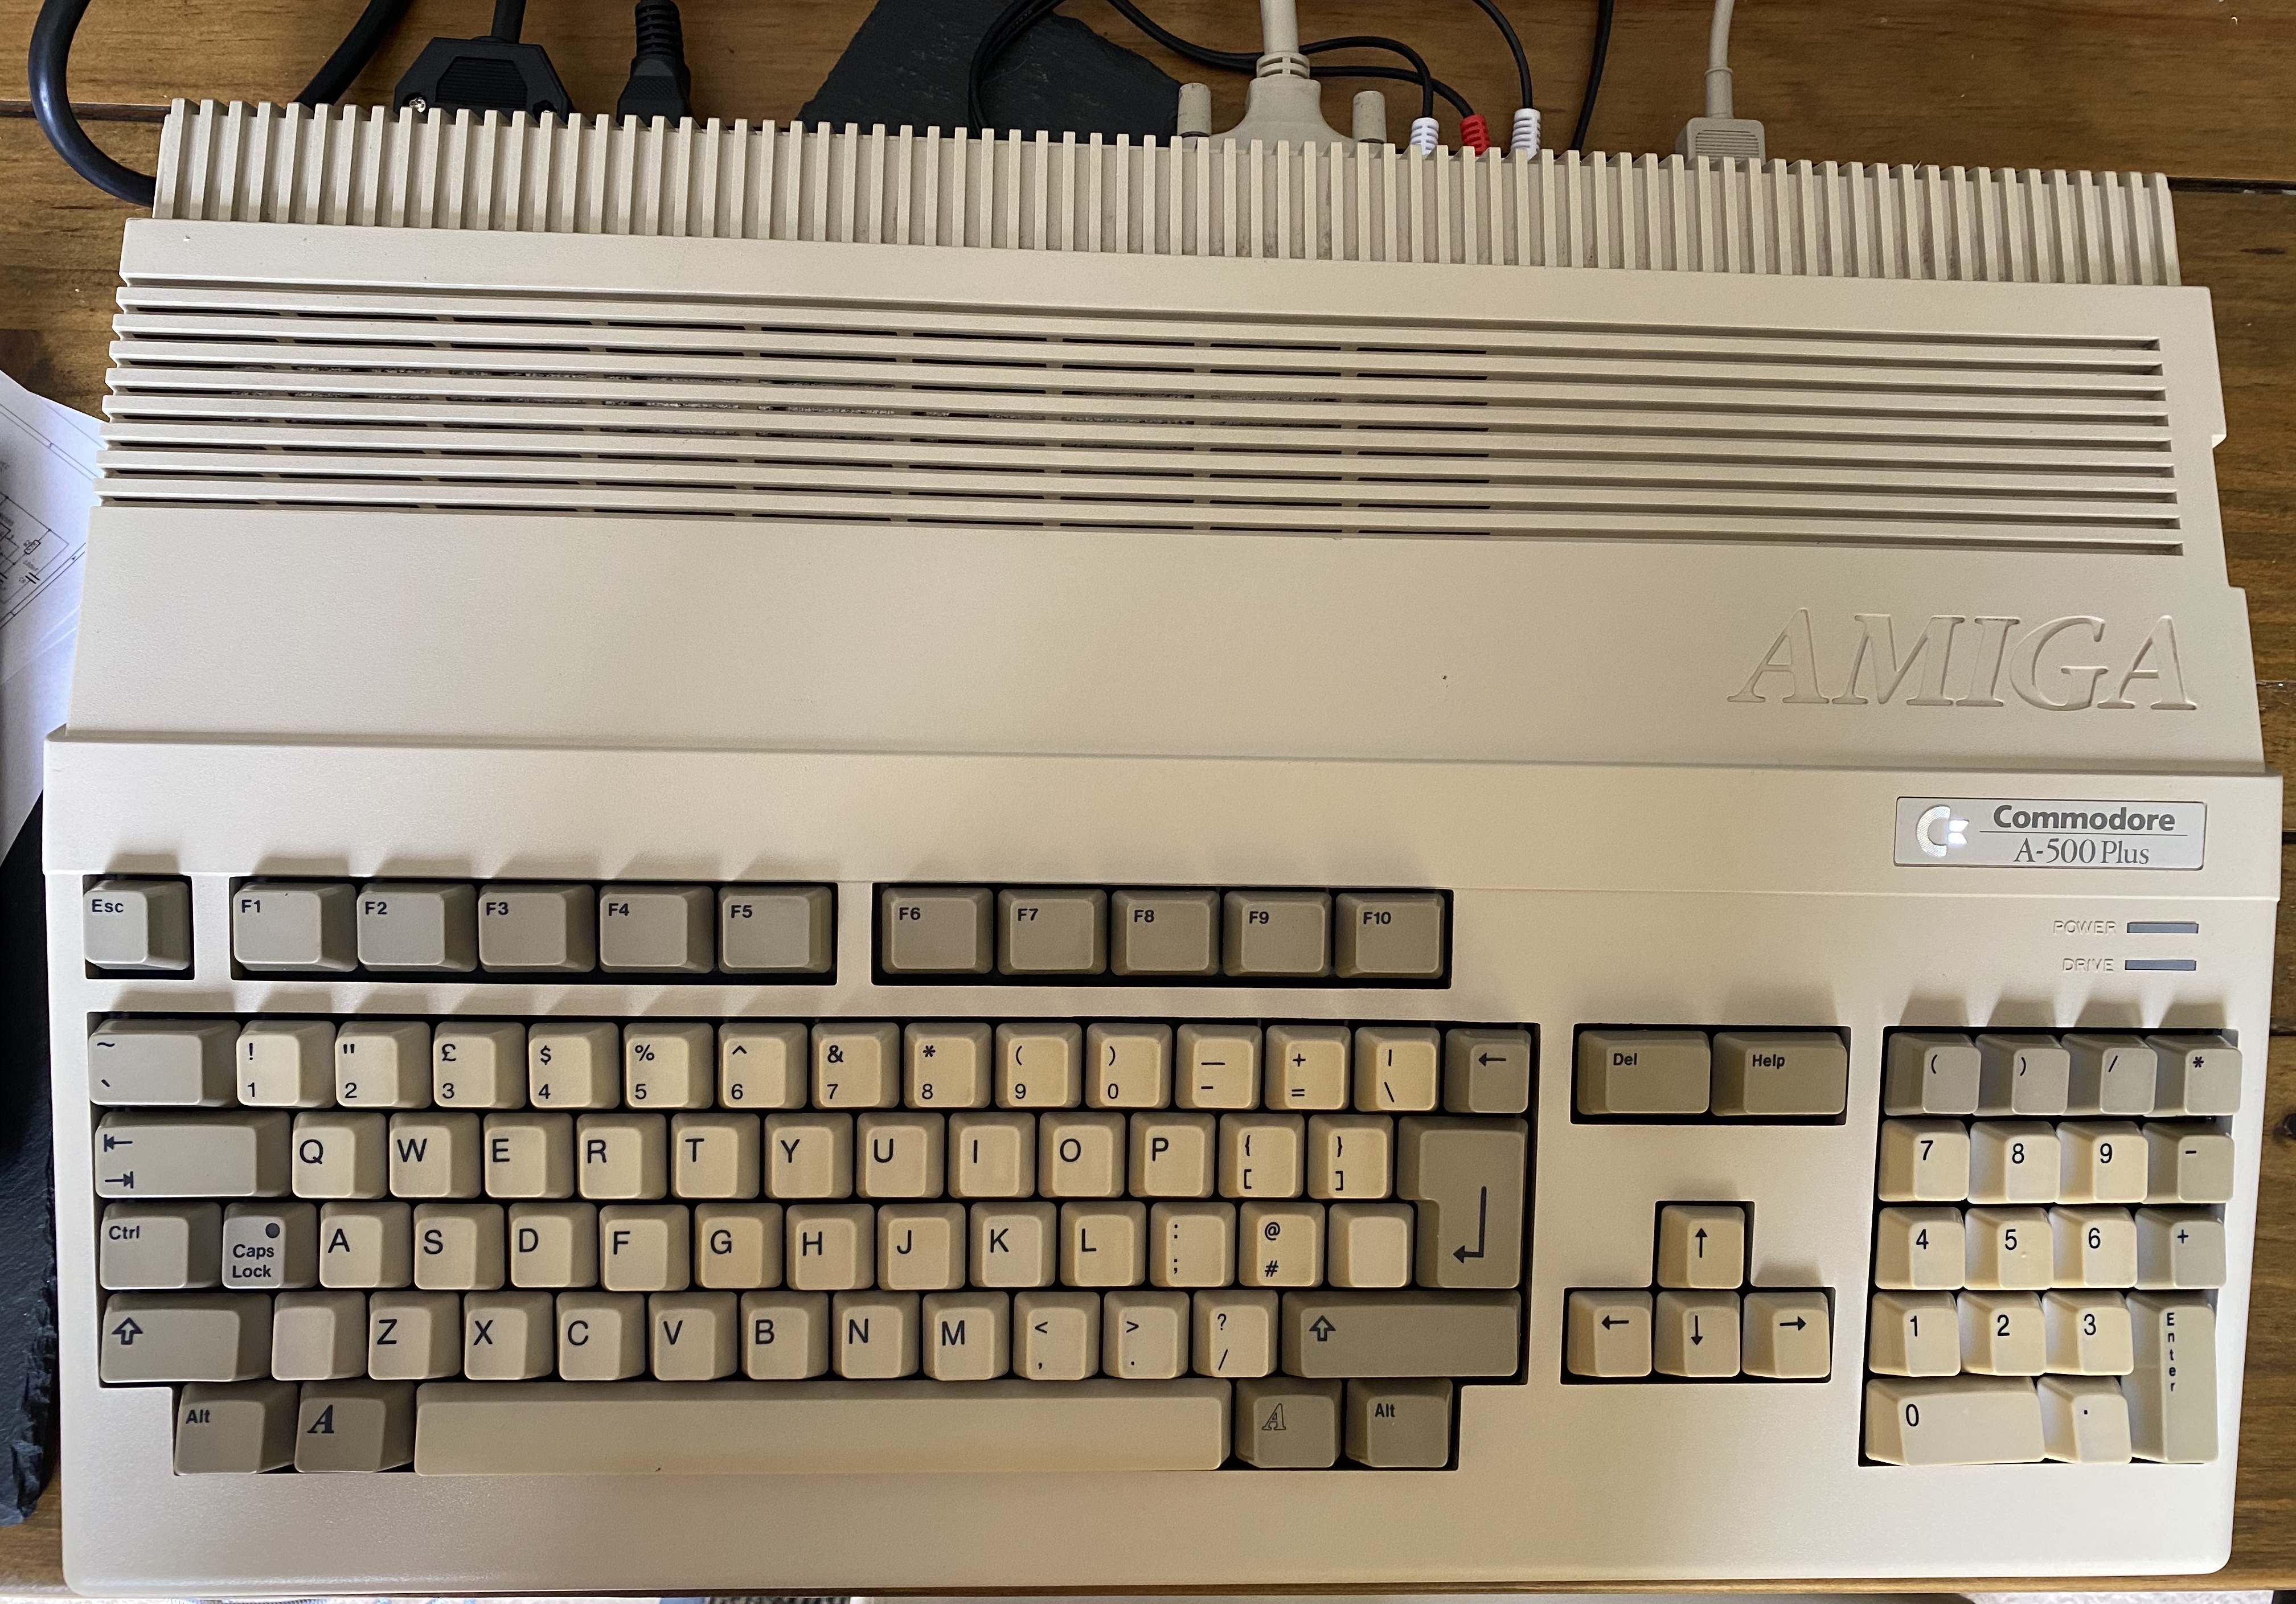
Time to turn it on to actually use it!

The test disk I had to hand was a Christmas Lemmings one. So I booted that and had a quick play.
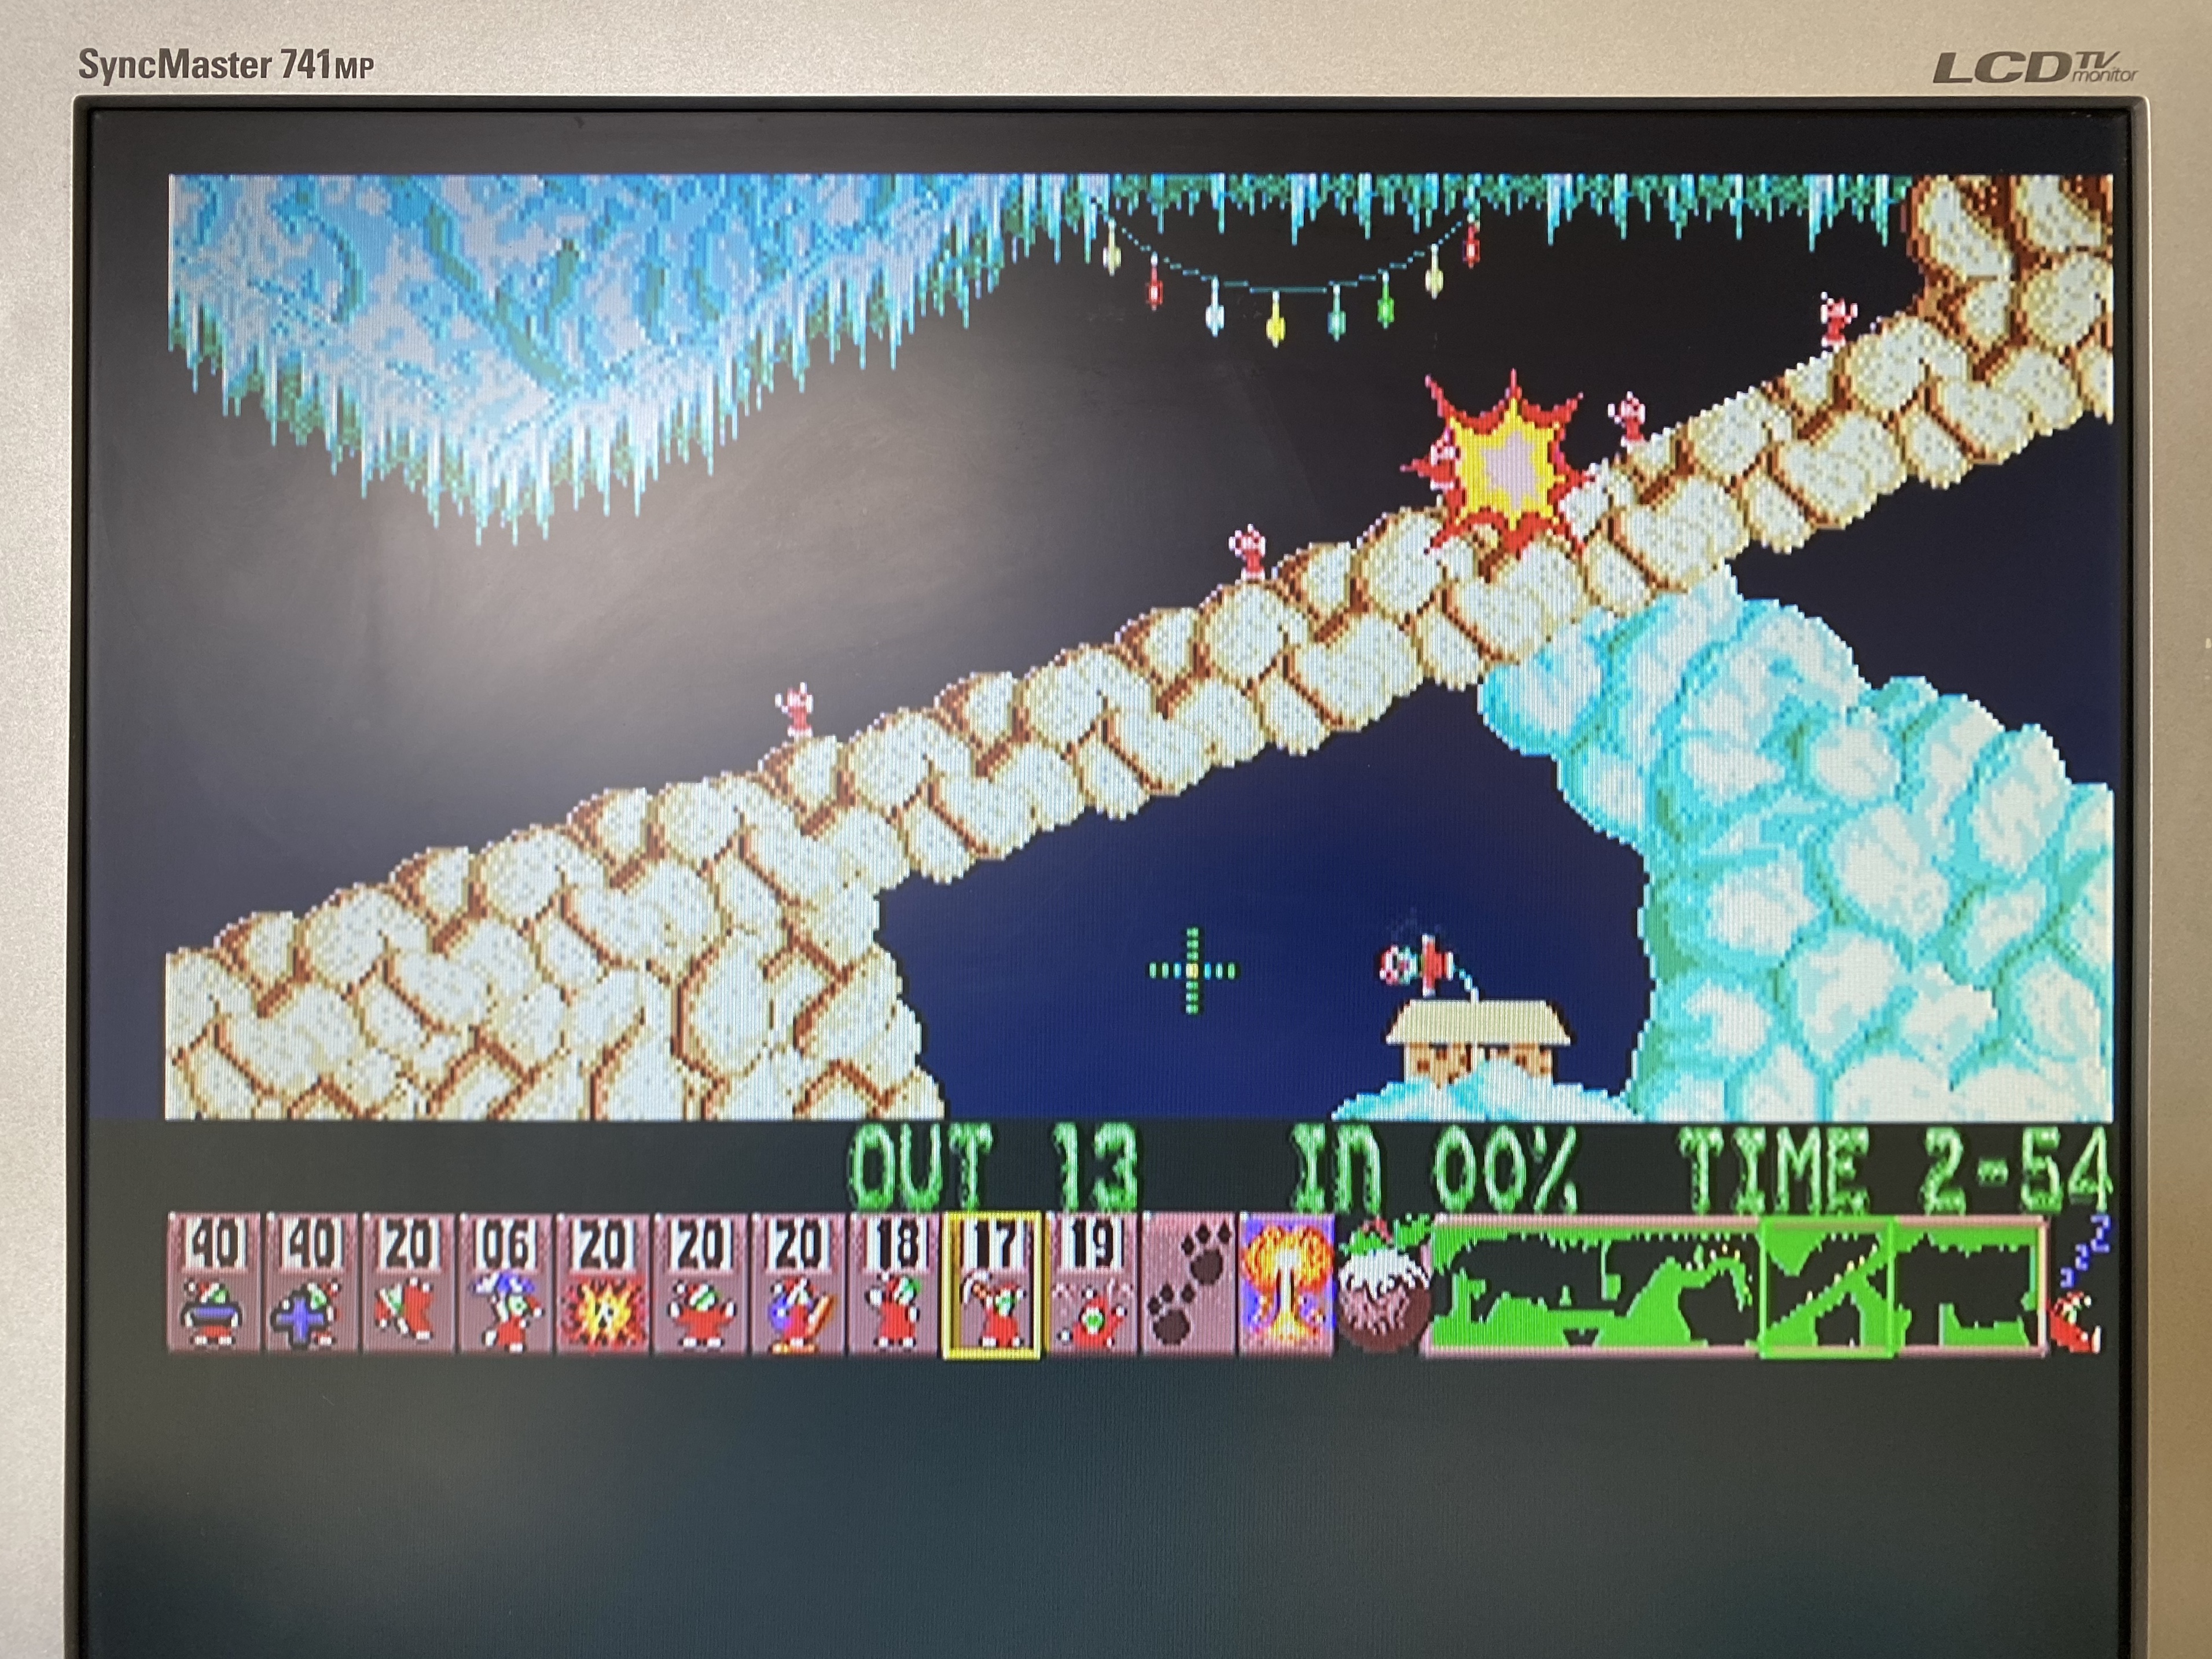
It is harder than I remember!
So, this machine internally is all good. It still needs some new feet (on their way) and the external drive still needs a bit of work. But I’m very happy with it.
Leave a Reply