At the end of my keyboard PC blog post I mentioned that I really wanted a Schneider Euro PC. Finally, a couple of weeks ago, a Euro PC in a sorry state popped up on eBay at a reasonable price. So, I went ahead and bought it. Knowing it was a bit of gamble whether or not I could restore it, I went for it anyway. As it truly is a great part of history.
About the Euro PC
Schneider was well known in the 80s for being a reseller of Amstrad hardware to the German market. The CPC, the PCW and the 1512/1640 were all sold under the Schneider brand. Eventually they broke away from the Amstrad contract so that they could create their own hardware. Their first machine was the Euro PC.
I’ve heard rumours that this was developed with input from Commodore, but I can’t verify this as yet. What I can say is that it was released in 1988, and is a very compact early PC, even smaller than an Amiga. It has an 8088 CPU, 512KB of RAM and CGA/MDA graphics onboard. It even has a DD 3.5″ floppy drive built-in.
I believe it was quite popular in Germany, but I don’t think they sold too well in the UK.
One thing that makes this machine quite unique at the time is it is jumperless. You can do things such as adjust the clock speed of the machine in the BIOS (and I think via the keyboard too).
My Euro PC
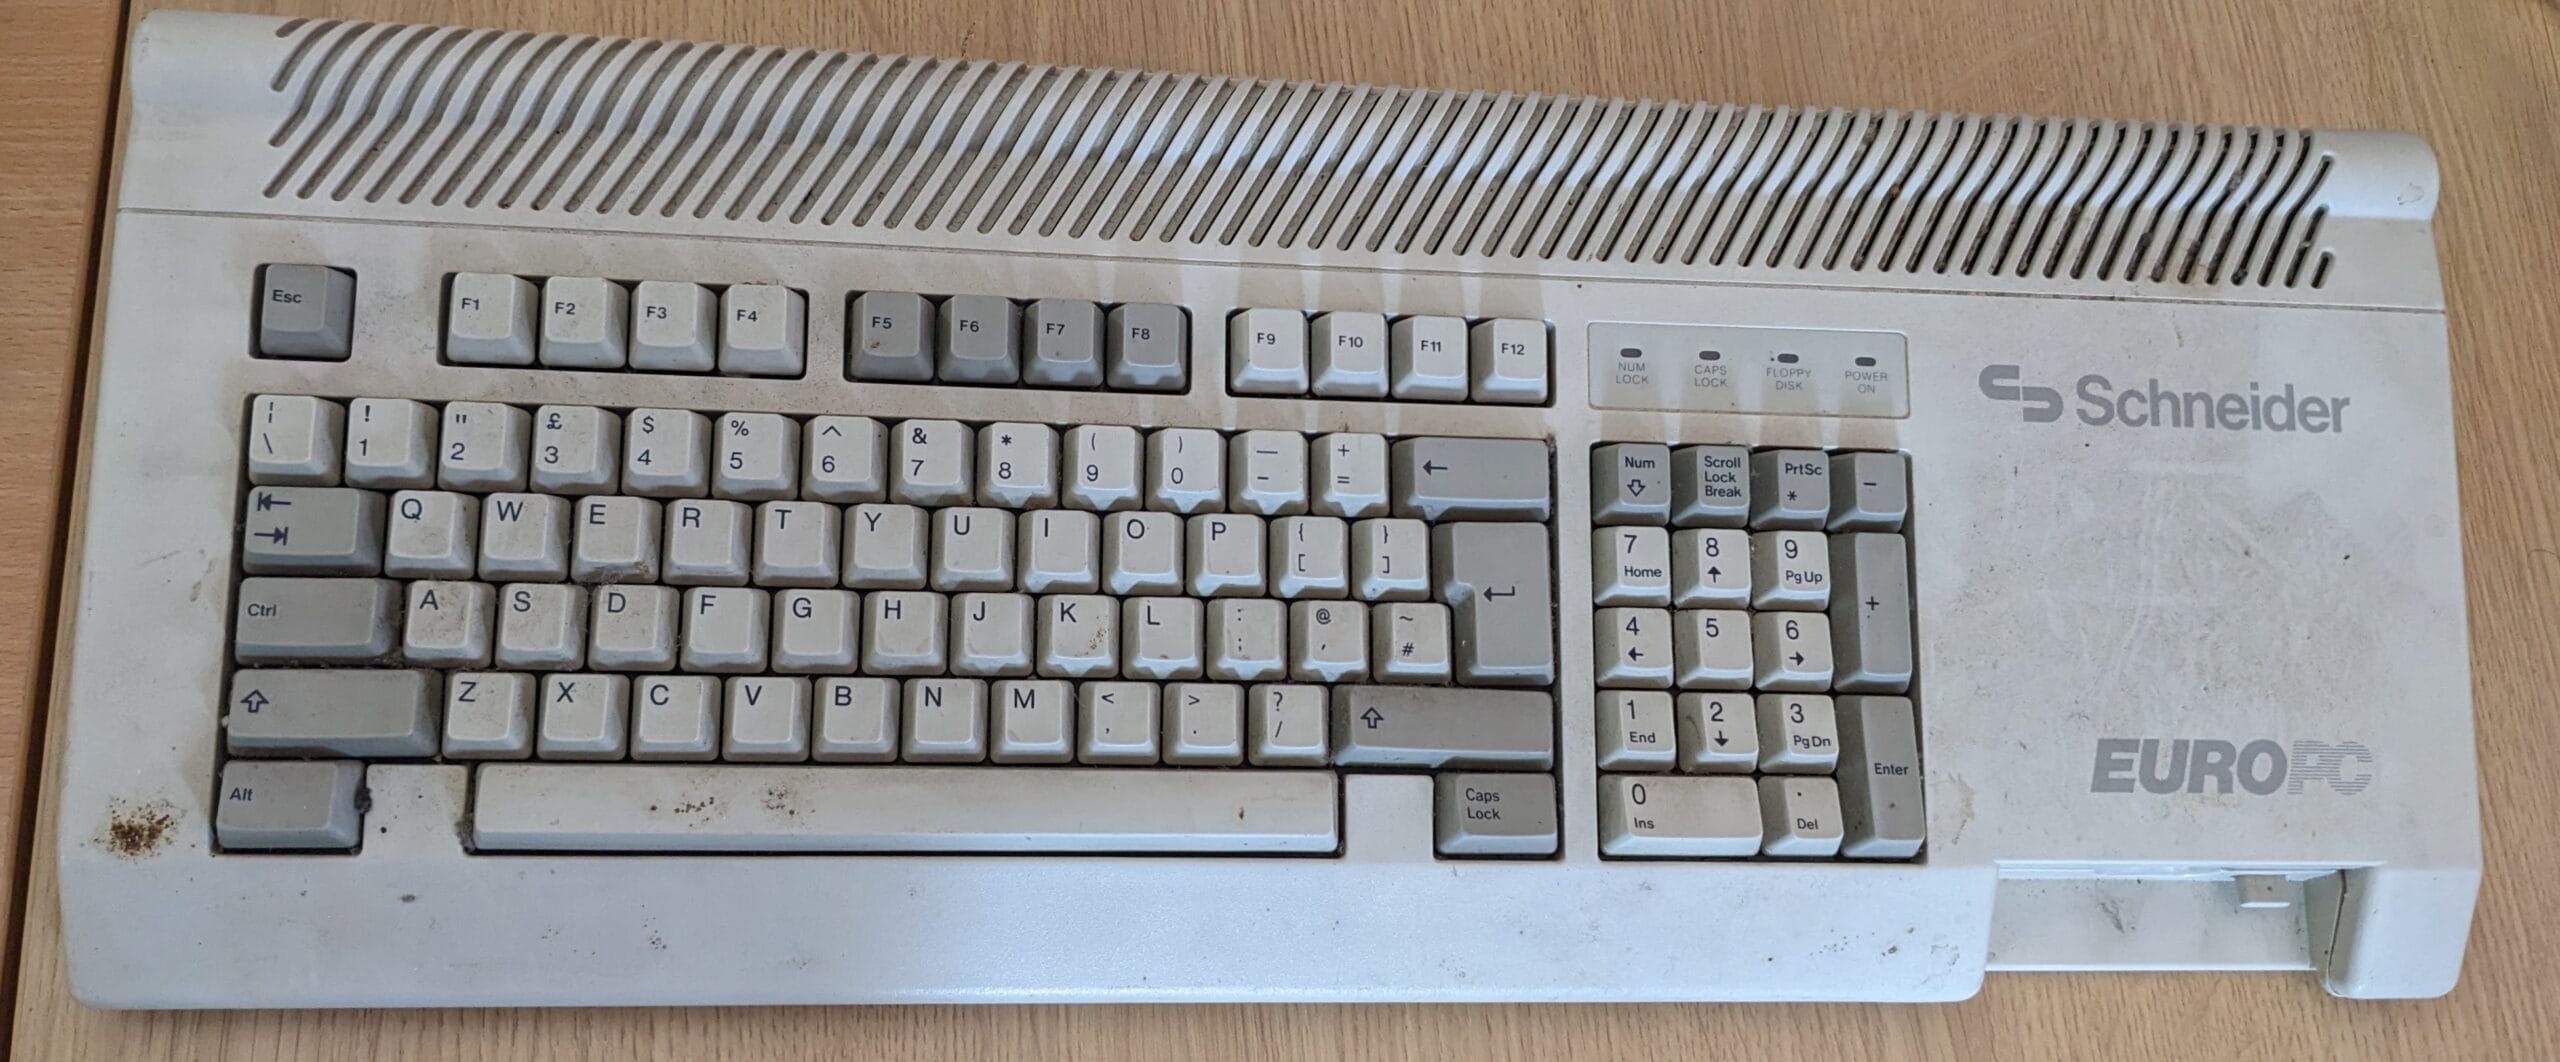
The machine I acquired is a nice white colour, but… it needs some restoration.

It is dirty and even covered in dead bugs. The plastics are going to need some cleaning. For now I used my CompuCleaner to blow off the bugs and loose dust/dirt.
In the floppy drive was something I was hoping it would have, the DOS 3.3 boot disk. No idea if this disk works yet, but it will be something to try at a later date.

Opening Up
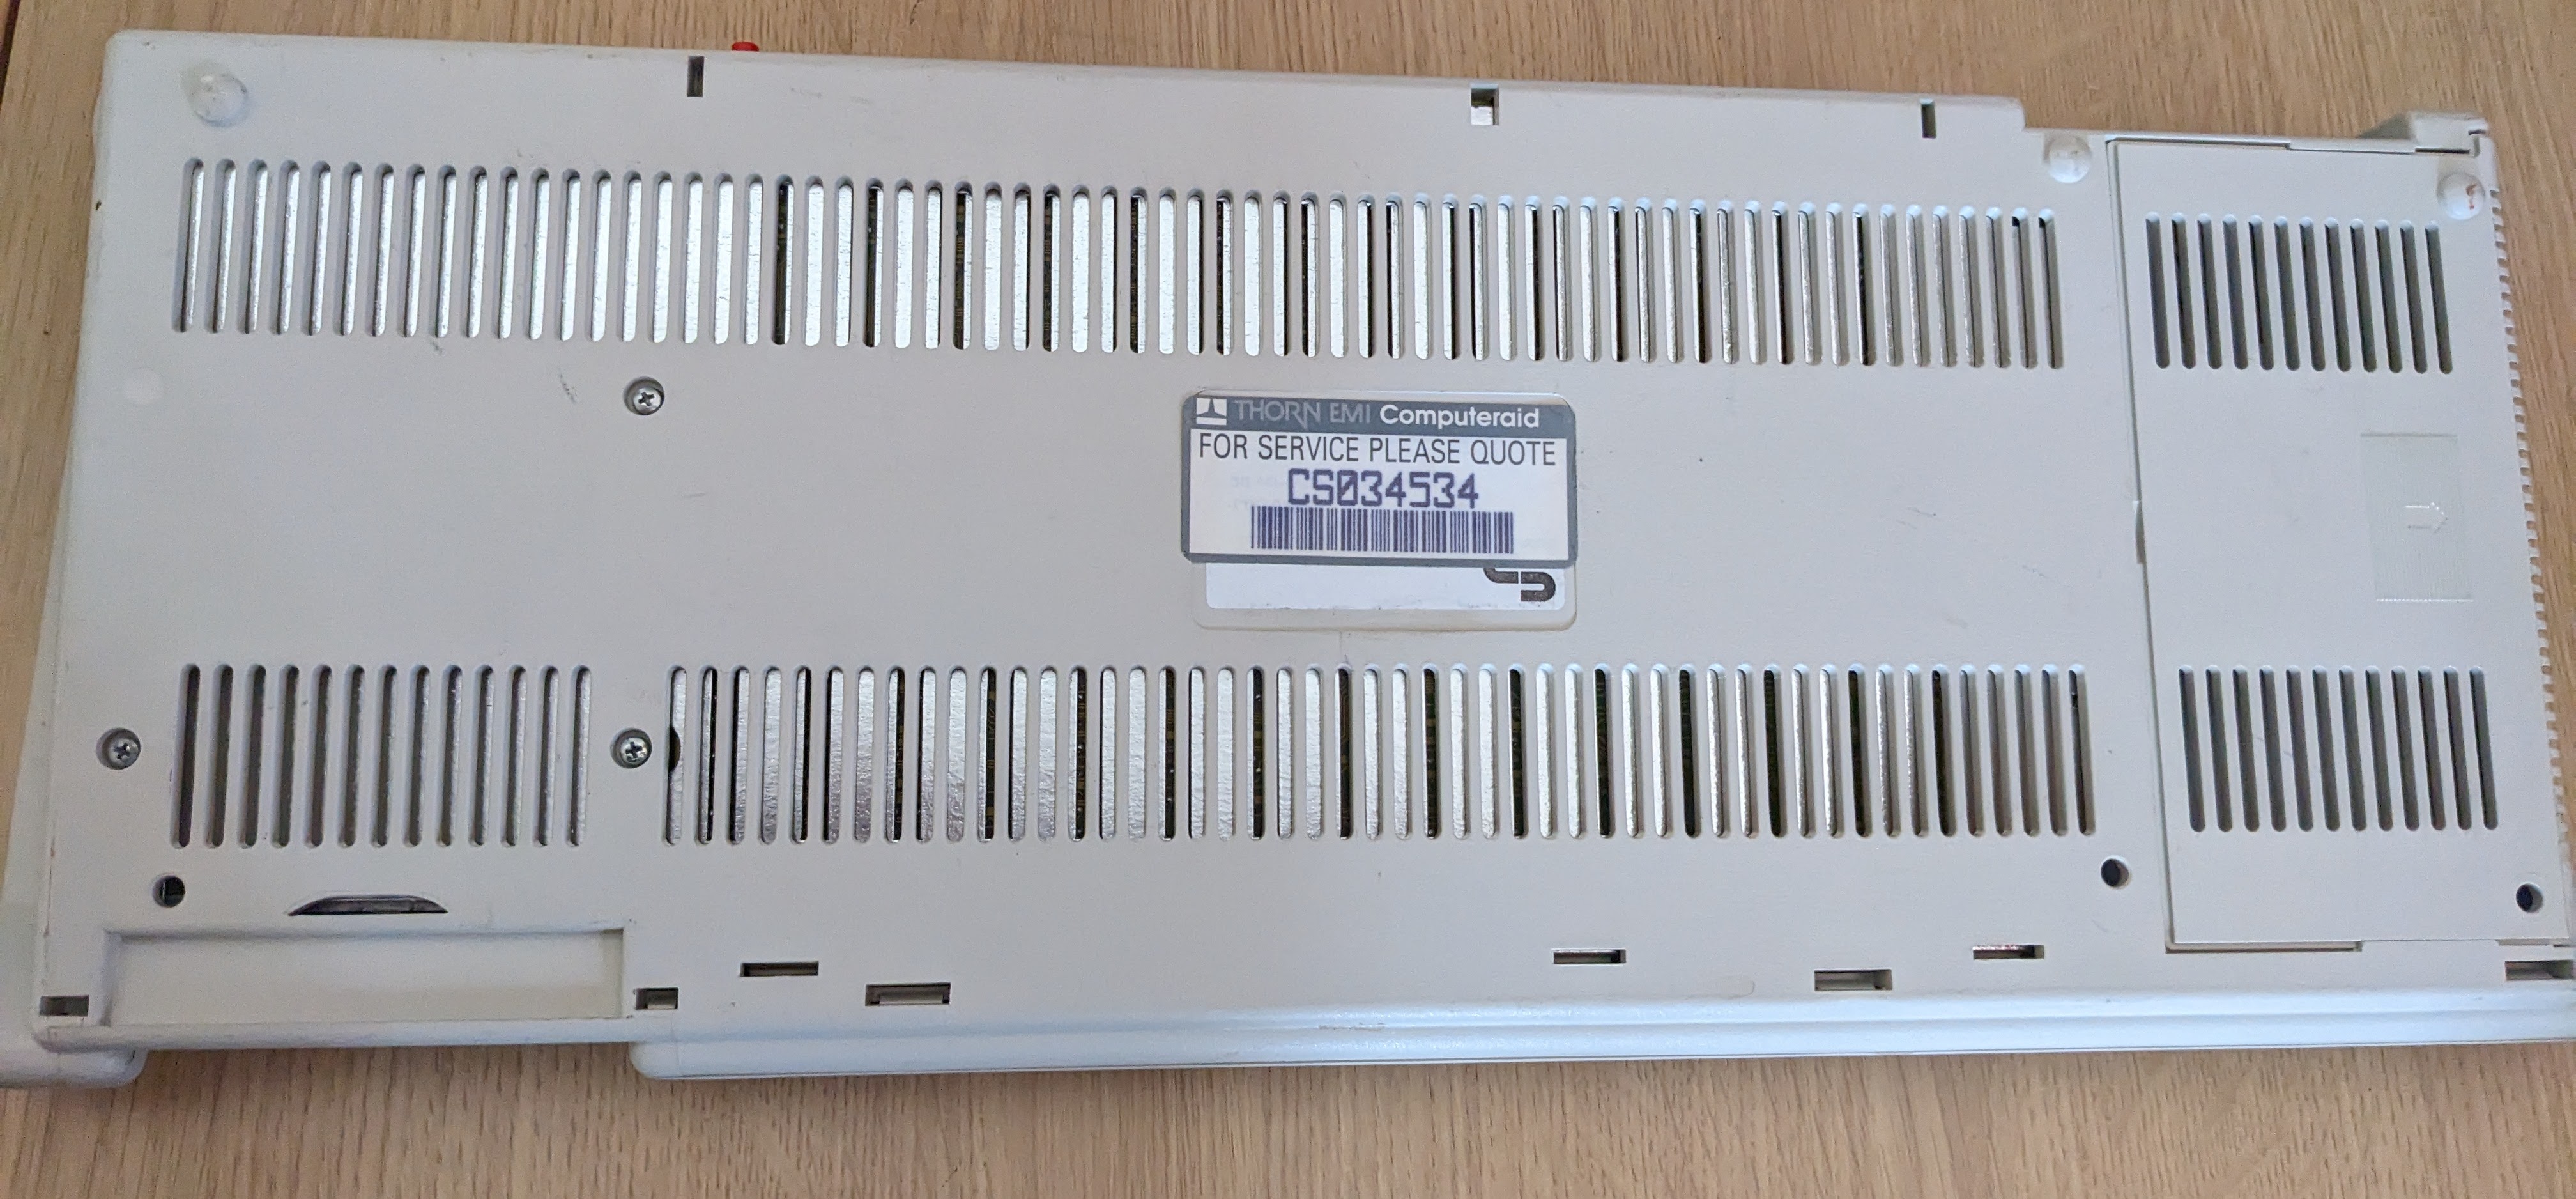
The case was much harder to open than expected. It is clipped together at the front and back, there are also three screws holding the floppy drive in place and a panel that can be removed to access the single ISA slot for the machine.

Once inside the keyboard mounted to a metal frame is revealed, this can be removed and the keyboard ribbon cable disconnected. You’ll also notice the floppy drive ribbon is a little small. It connects to the floppy drive and a rear port on the machine. Whilst the signals are standard, the pinout is unique. So, if I want to connect a GoFloppy drive as the second drive, I’ll need to make a cable.

Varta!
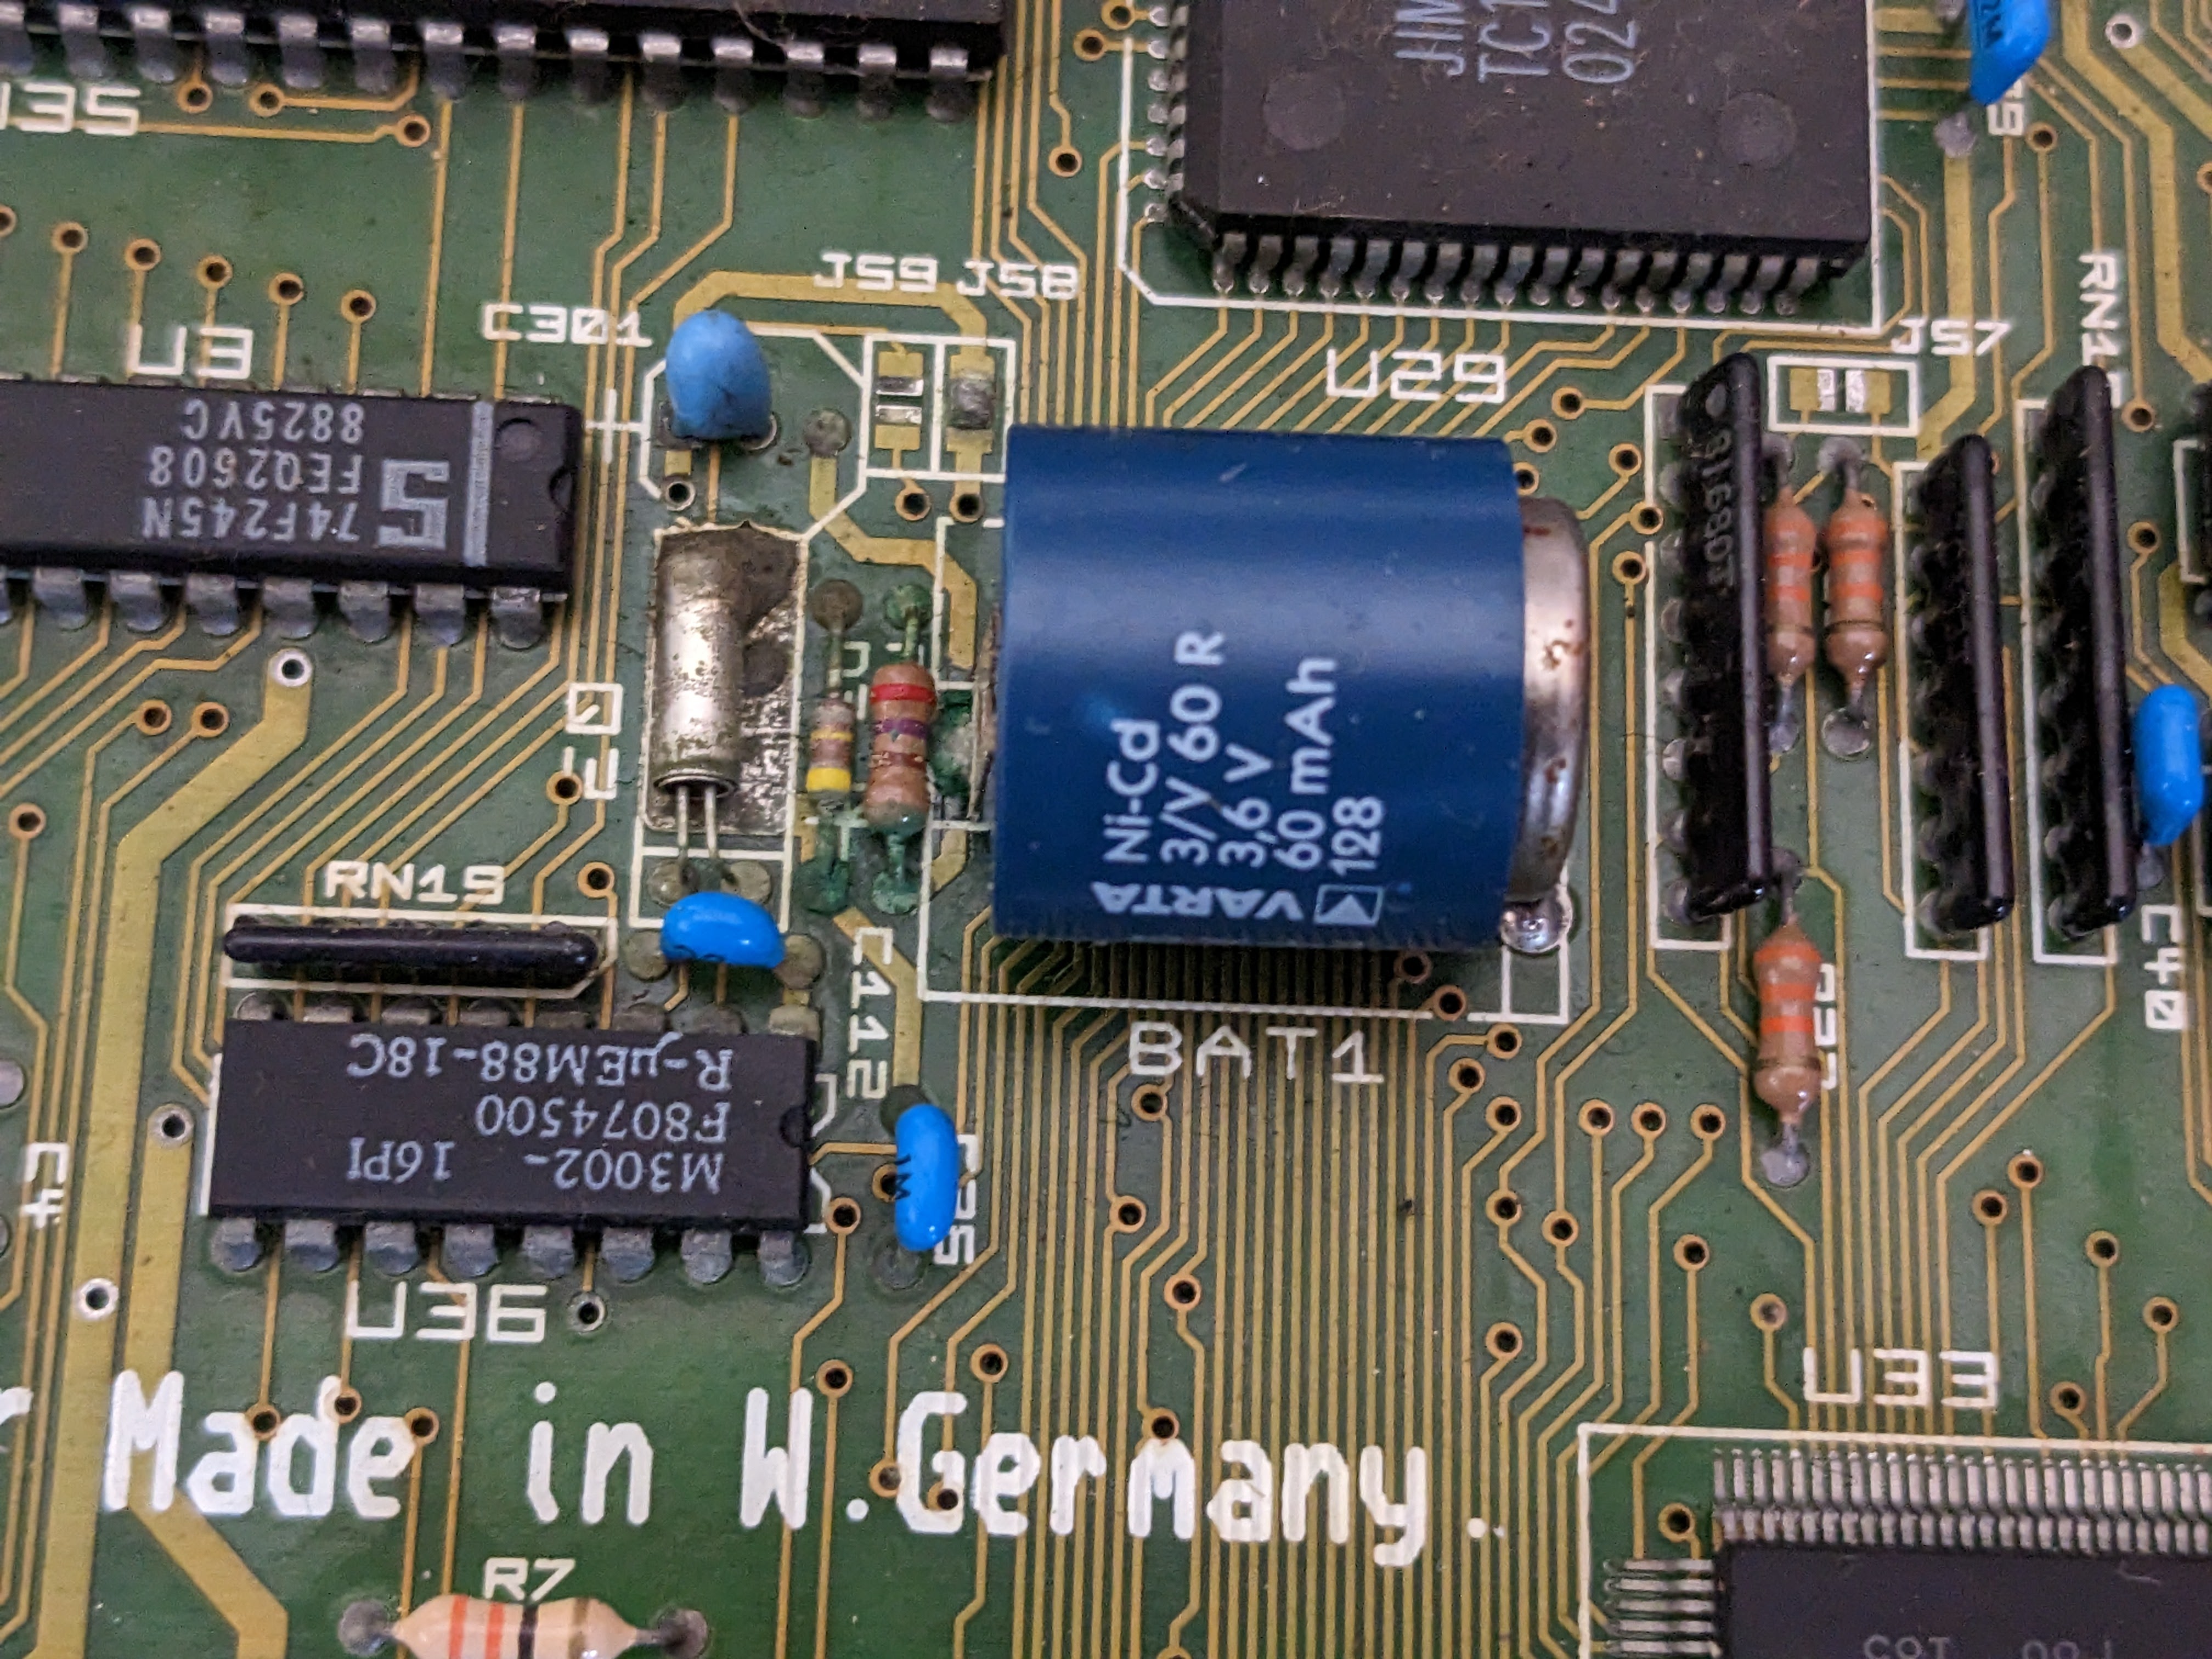
Underneath the keyboard we find the motherboard, along with Varta, destroyer of worlds (or at least computers).

Luckily the damage doesn’t appear to be too bad on the surface. I cut the battery away for now and cleaned things up a little bit to test the components. All the traces and components in that area appear to test OK.

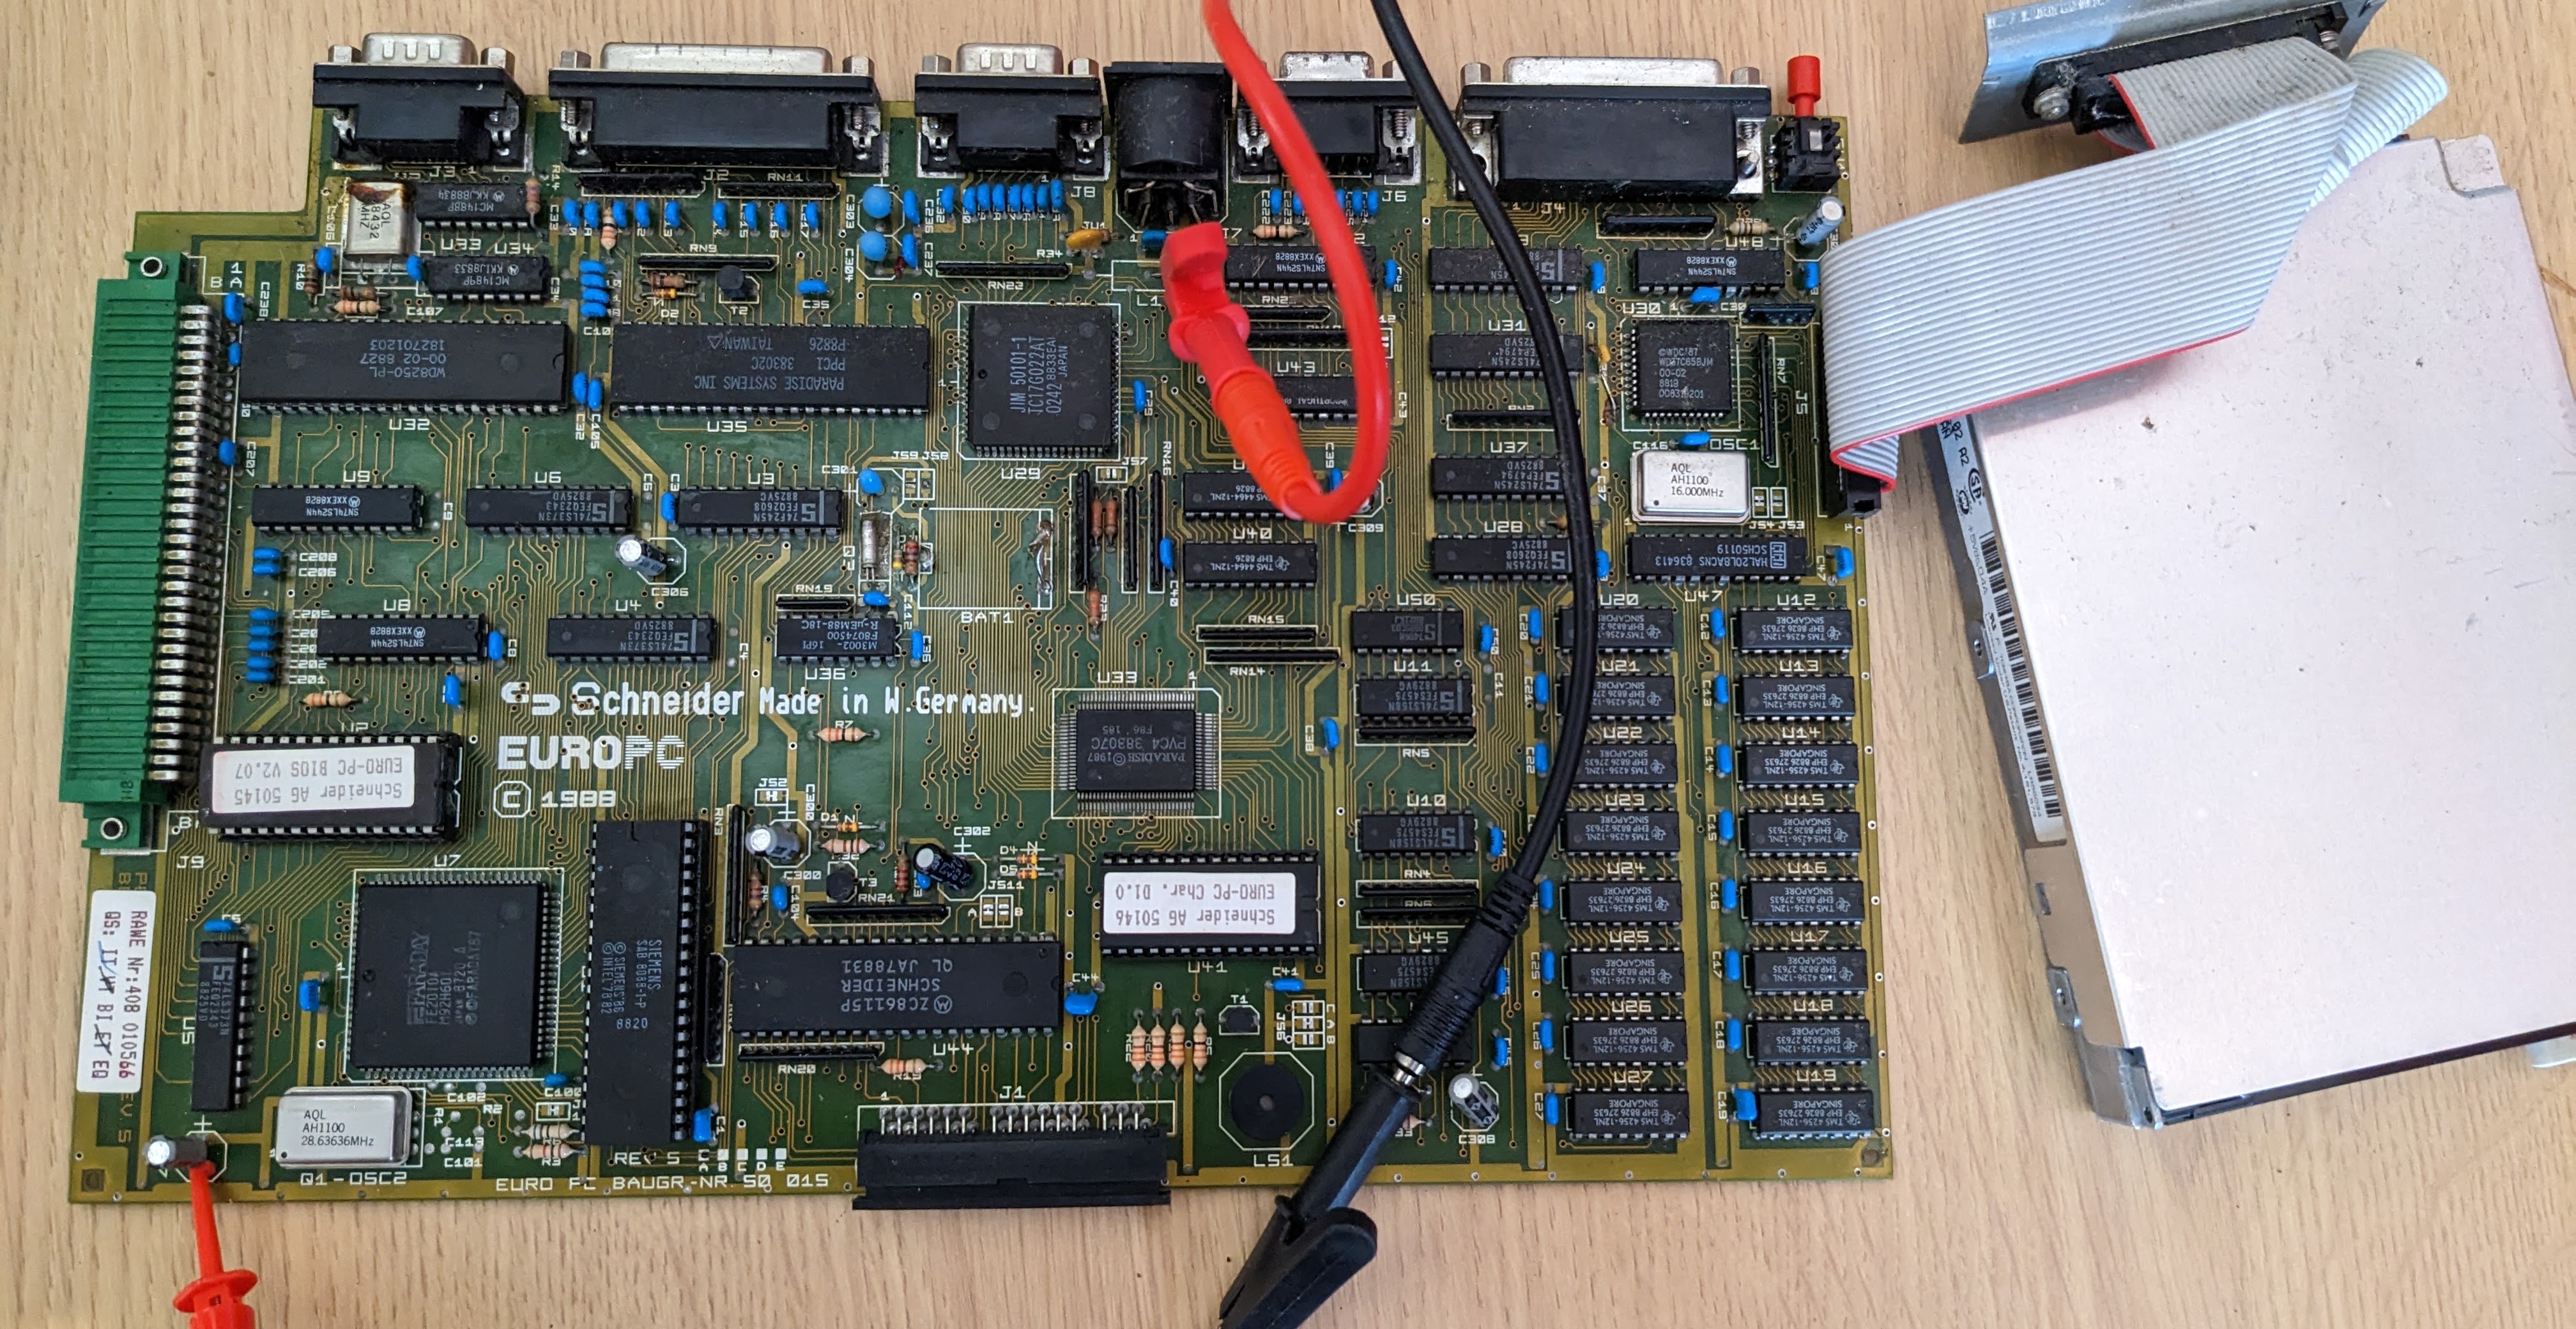
I have made a backup of the BIOS and character EPROMs just in case. The file below contains the data if they are useful for repairing your own machine, the BIOS is a 27256 EROM and the character ROM is a 2764.
Powering Up
I don’t have anything capable of CGA output, but I thought I would try and power the machine anyway. It did come with a PSU, but I don’t trust that at the moment, I went with a more-trusted bench PSU instead. I found a good link wire to attach the +5v to and hooked ground to the negative side of a larger decoupling capacitor.

Powering this on gave me lots of BIOS beeps, which I guess is to be expected. I don’t know what they mean yet, but the fact it is doing that sounds promising to me. Next up I need to get a CGA converter so I can see if it is even going to be possible to restore this machine further.


Leave a Reply