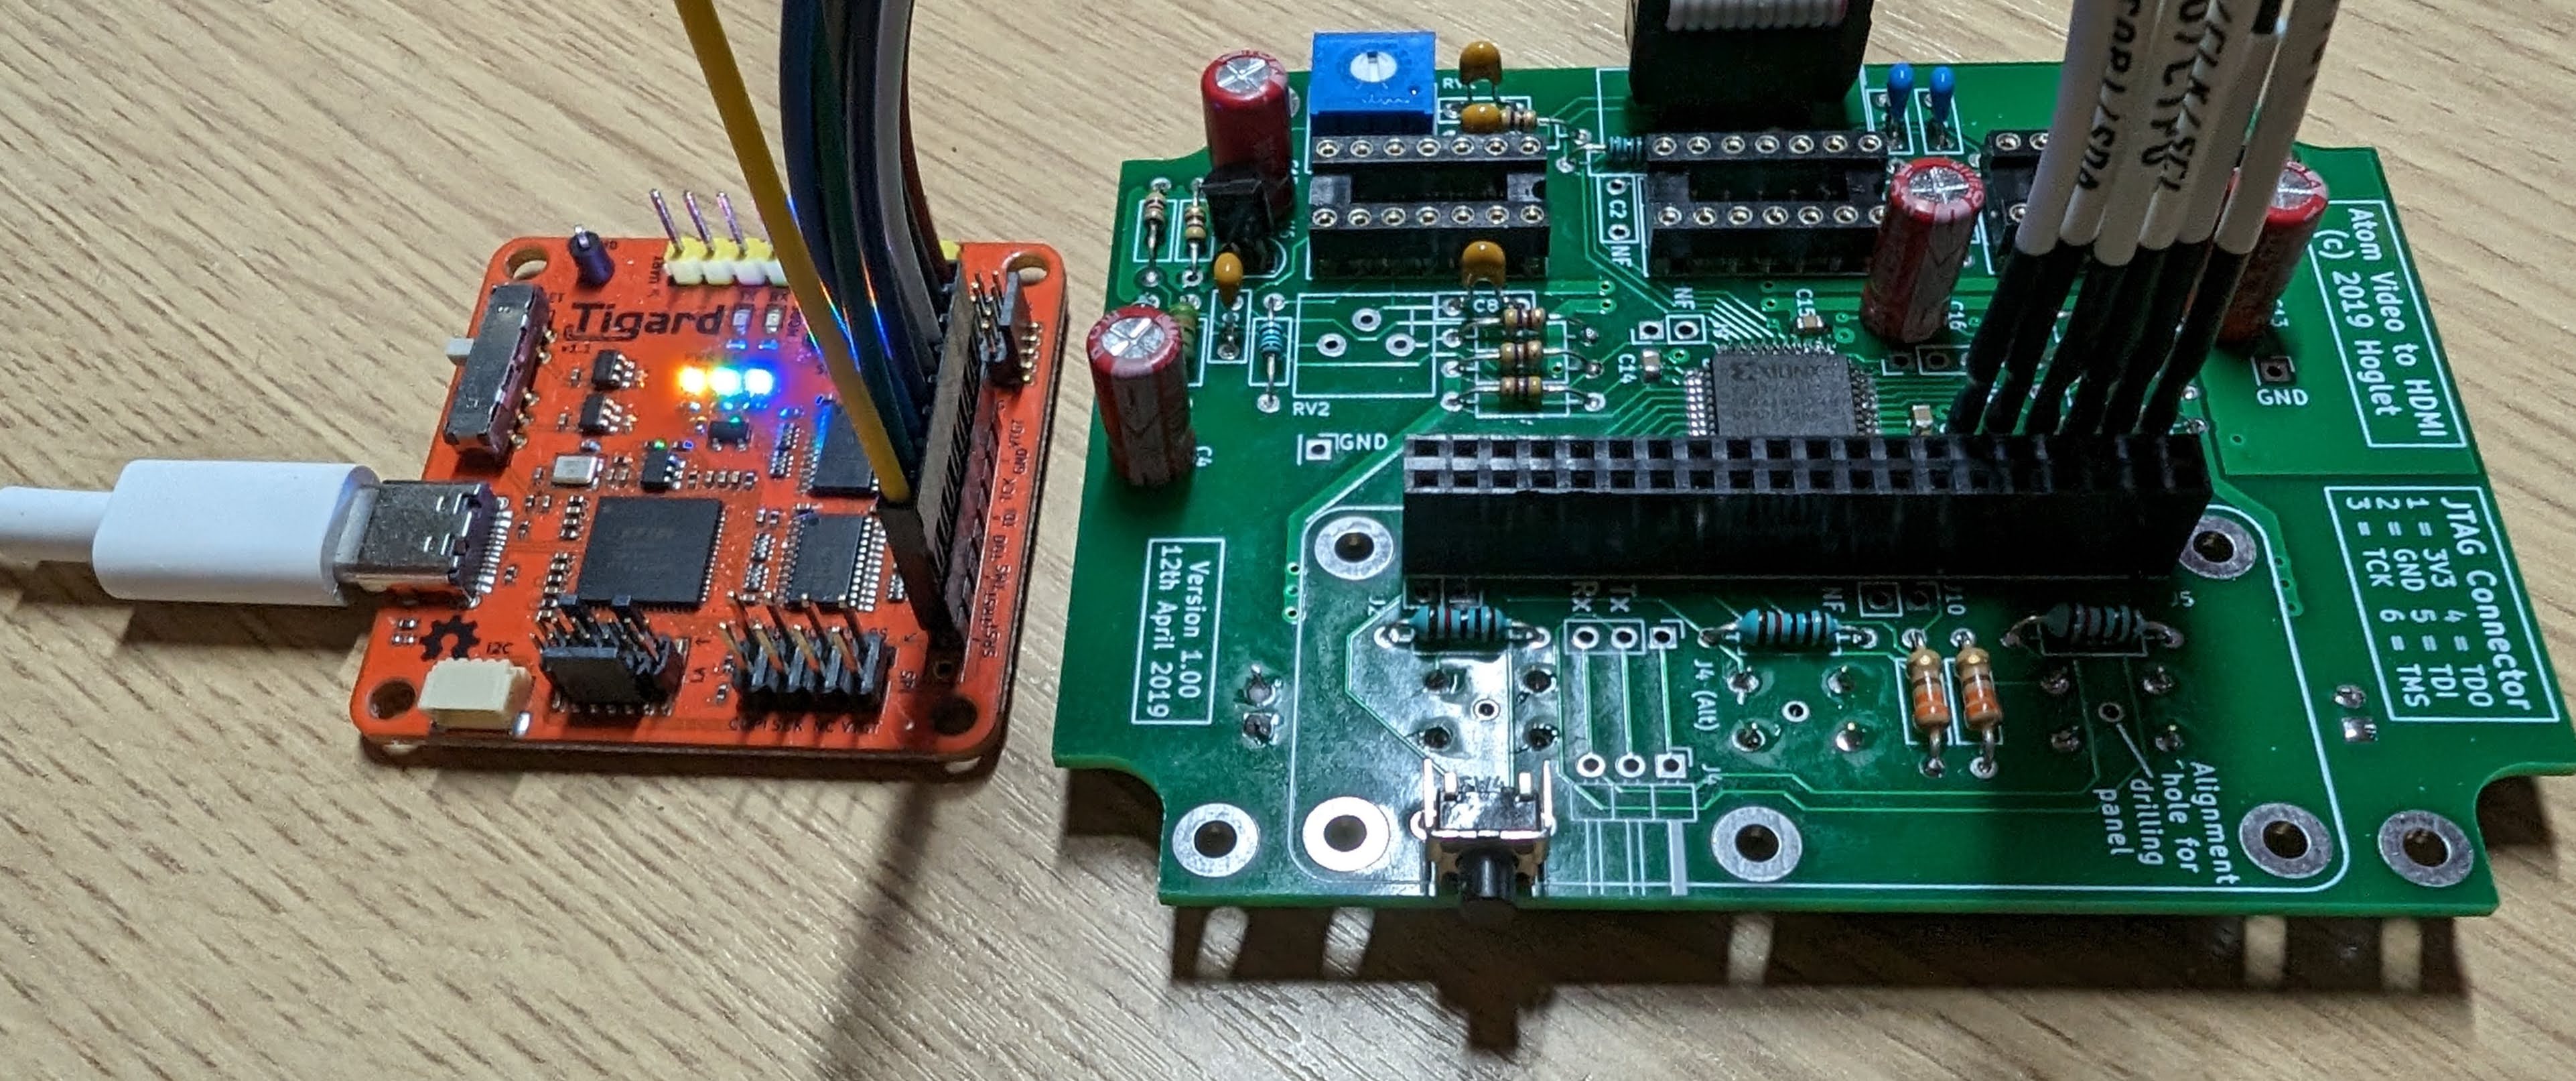
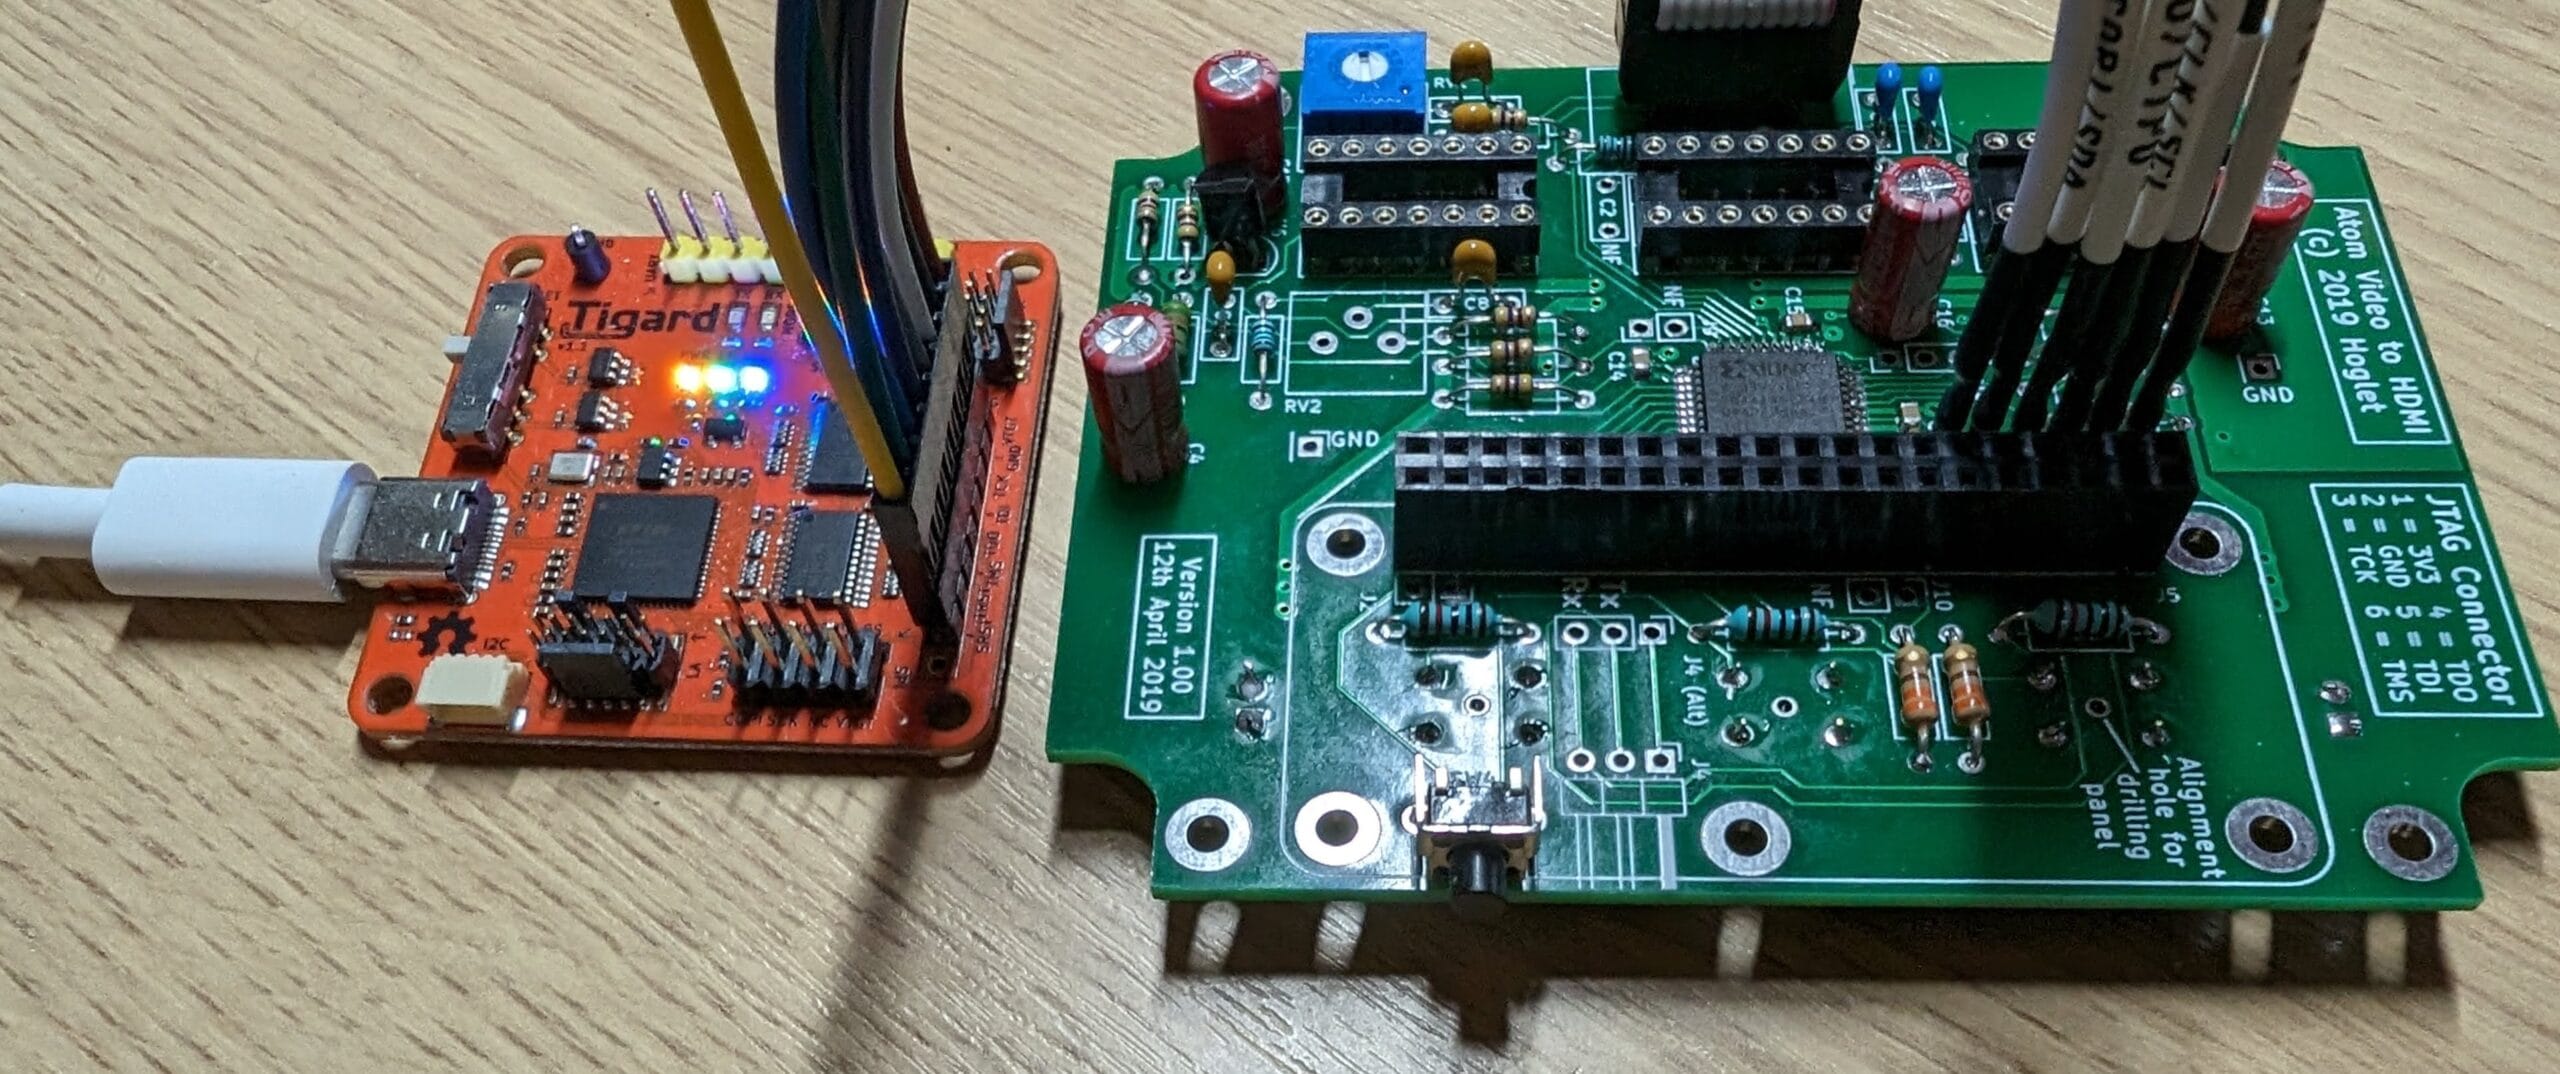
This is a blog post mostly for my reference, as I forget how to do this every time I need to. Tigard is a great little device which exposes an FTDI and gives lots of ports and power options to connect it. I occasionally need to use it for programming Xilinx XC9572XL and similar ICs. This is how to do it with an open source toolchain.
Installation
First of all we need to get xc3sprog and install it. On Fedora I do this using:
sudo dnf install libusb-compat-0.1-devel libftdi-devel
git clone https://github.com/matrix-io/xc3sprog
mkdir xc3sprog/build
cd xc3sprog/build
cmake .. -DUSE_WIRINGPI=OFF -DLIBFTDI_INCLUDE_DIR=/usr/include/libftdi1 -DLIBFTDI_LIBRARIES=/usr/lib64/libftdi1.so.2
make
sudo make install
Specifying the FTDI paths is necessary because CMake will try and use pkgconf to find it, and Fedora’s FTDI development package does not include support for it. You will get warnings on the CMake due to this, but it should complete.
Wiring up
The Tigard makes this nice and simple by having labelled wires for every part of the JTAG. Make sure the voltage is set correctly or VTGT is used if the target device is self-powered.

Programming
The key here is to find the right cable setting. The FTDI is the second device on the Tigard. xc3sprog for the most part tries to identify the cable by name. So the libftdi option won’t actually work because the USB identified name doesn’t match. But if we look at the list of supported cables we can see one for FTDI’s USB ID (0x4030:0x6010) which doesn’t need a name identity.
bbv2                ftdi    1500000   0x0403:0x6010::1:0x00:0x10:0x00:0x0
bbv2_2              ftdi    1500000   0x0403:0x6010::2
The bbv2 is actually the Bug Blaster v2, which uses the same FTDI chip and the _2 is for the second channel in the FTDI, which is exactly what we need. We can test this by listing the JTAG chain using xc3sprog -c bbv2_2 -j:
XC3SPROG (c) 2004-2011 xc3sprog project $Rev: 774 $ OS: Linux
Free software: If you contribute nothing, expect nothing!
Feedback on success/failure/enhancement requests:
	http://sourceforge.net/mail/?group_id=170565
Check Sourceforge for updates:
	http://sourceforge.net/projects/xc3sprog/develop

Using Libftdi,
JTAG loc.:   0  IDCODE: 0x59604093  Desc:                       XC9572XL Rev: E  IR length:  8
So, I can program this board by using the following -p0 means use JTAG chain position 0:
xc3sprog -c bbv2_2 -v -p0 AtomRGBtoHDMI.jed
Which gives us the familiar output:
XC3SPROG (c) 2004-2011 xc3sprog project $Rev: 774 $ OS: Linux
Free software: If you contribute nothing, expect nothing!
Feedback on success/failure/enhancement requests:
	http://sourceforge.net/mail/?group_id=170565
Check Sourceforge for updates:
	http://sourceforge.net/projects/xc3sprog/develop

Using built-in device list
Using built-in cable list
Cable bbv2_2 type ftdi VID 0x0403 PID 0x6010 dbus data 00 enable 0b cbus data 00 data 00
Using Libftdi, Using JTAG frequency   1.500 MHz from undivided clock
JTAG chainpos: 0 Device IDCODE = 0x59604093	Desc: XC9572XL
Device is blank
Programming Sector 107.
Programming  time 10904.4 ms
Verify Sector 107
Success! Verify time 191.4 ms
USB transactions: Write 1954 read 1734 retries 0
That is it, your Xilinx CPLD is now programmed and verified!


Leave a Reply