When I last left this blog series, the first of Stoo Cambridge’s A4000s had gone to its new owner. It will be back for new SIMM and joystick sockets, but now it is time to take a look at the second A4000 I dubbed “Jops”.
Jops refresher
Jops is a 68EC030 based Amiga 4000, the memory area didn’t seem as damaged as Jools, and I was pretty confident it shouldn’t be too difficult to fix.


Whilst there is some corrosion there, it looks a lot lighter. Hanfium showed that the Fast RAM area is responding correctly, which means no broken joints to U891. Just A2 broken to the Chip RAM SIMM socket.
Further inspection
Today I took the motherboard out of the case so that I could give it a closer inspection. What I found made my heart sink a bit.
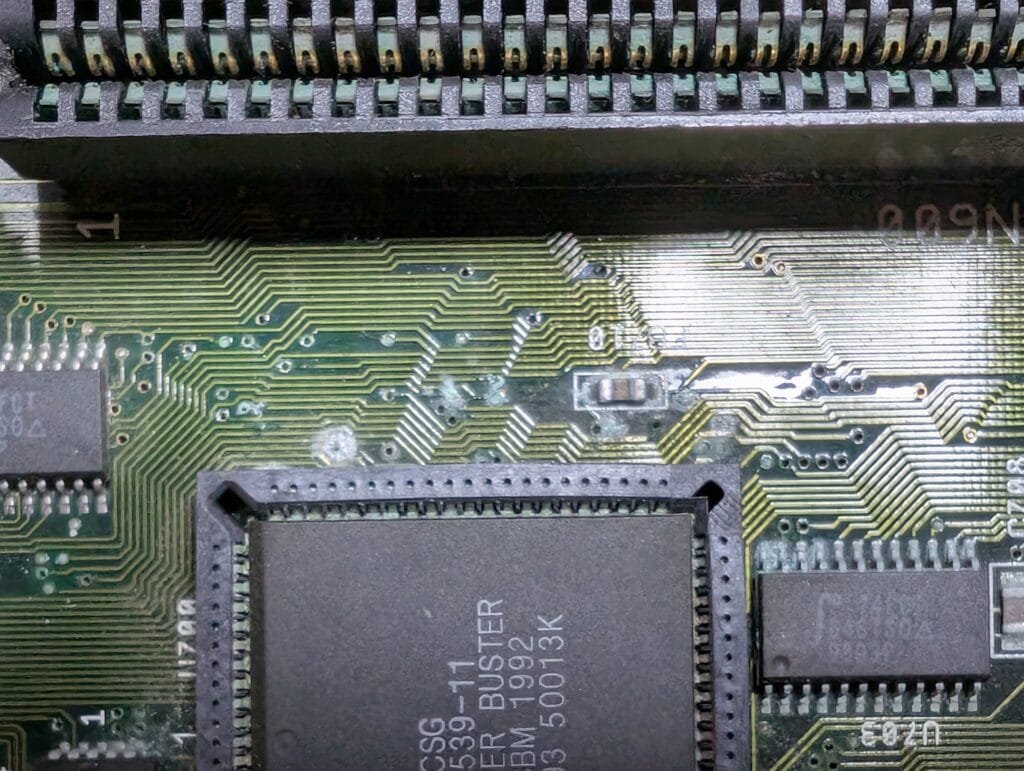
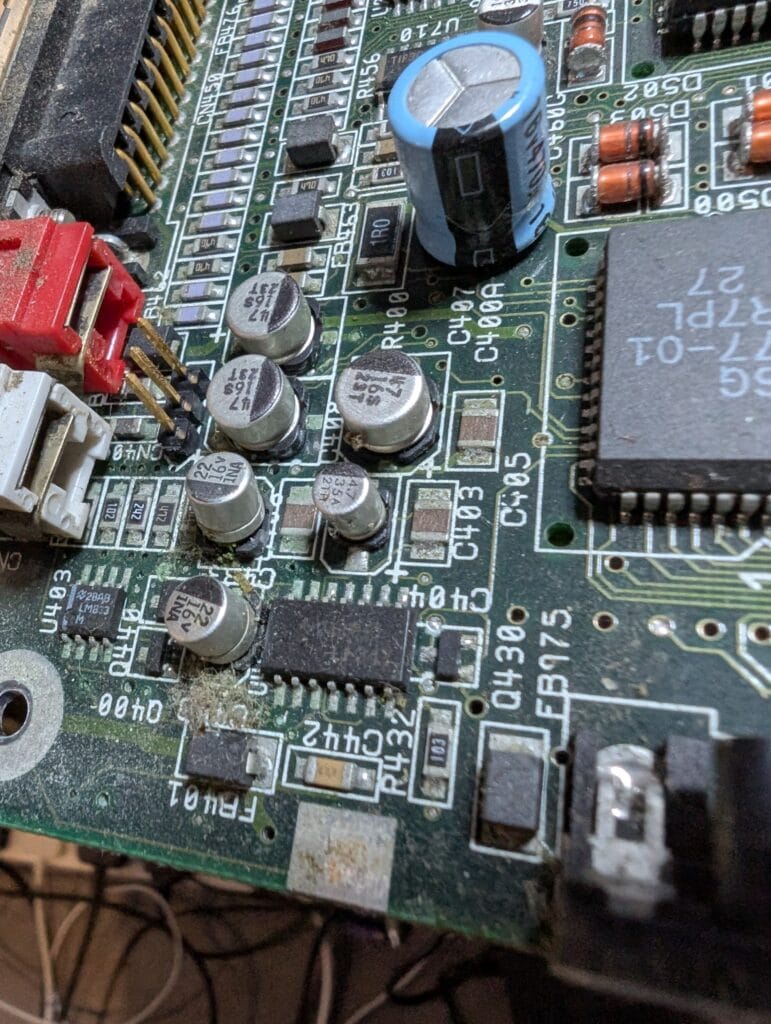
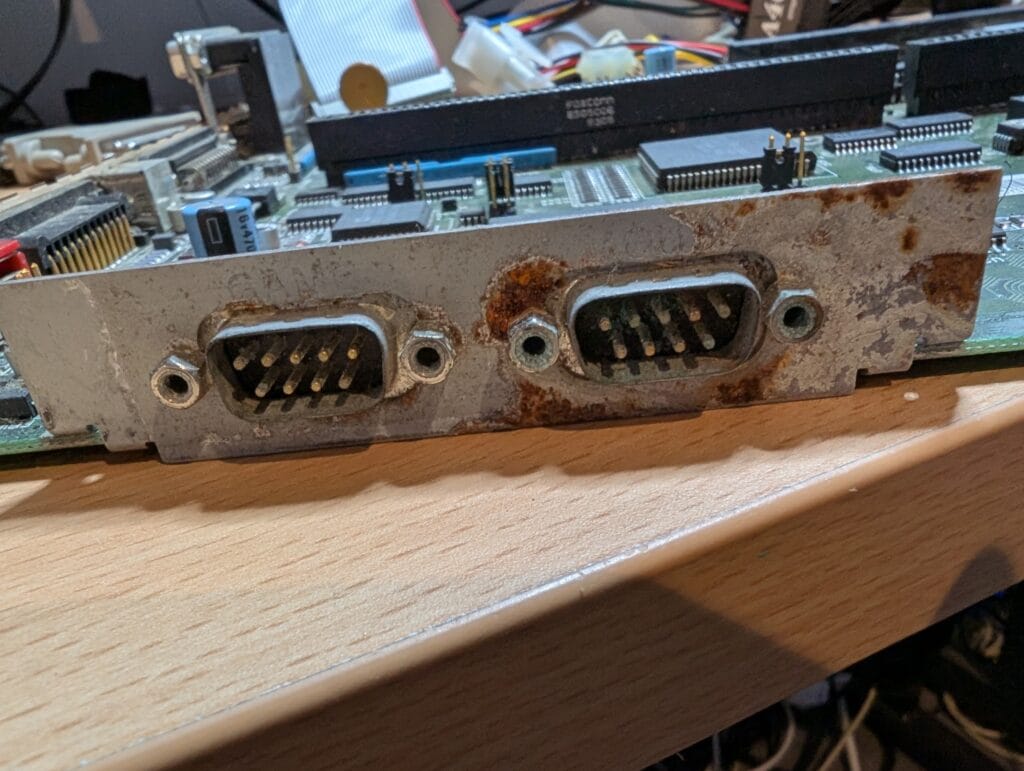
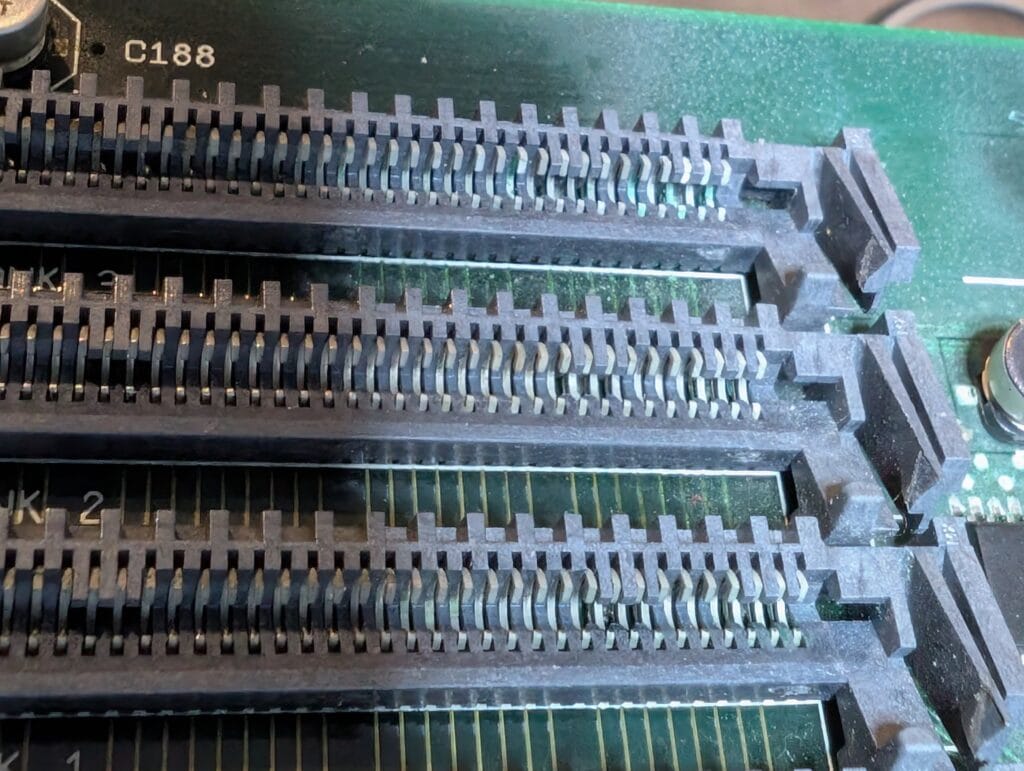
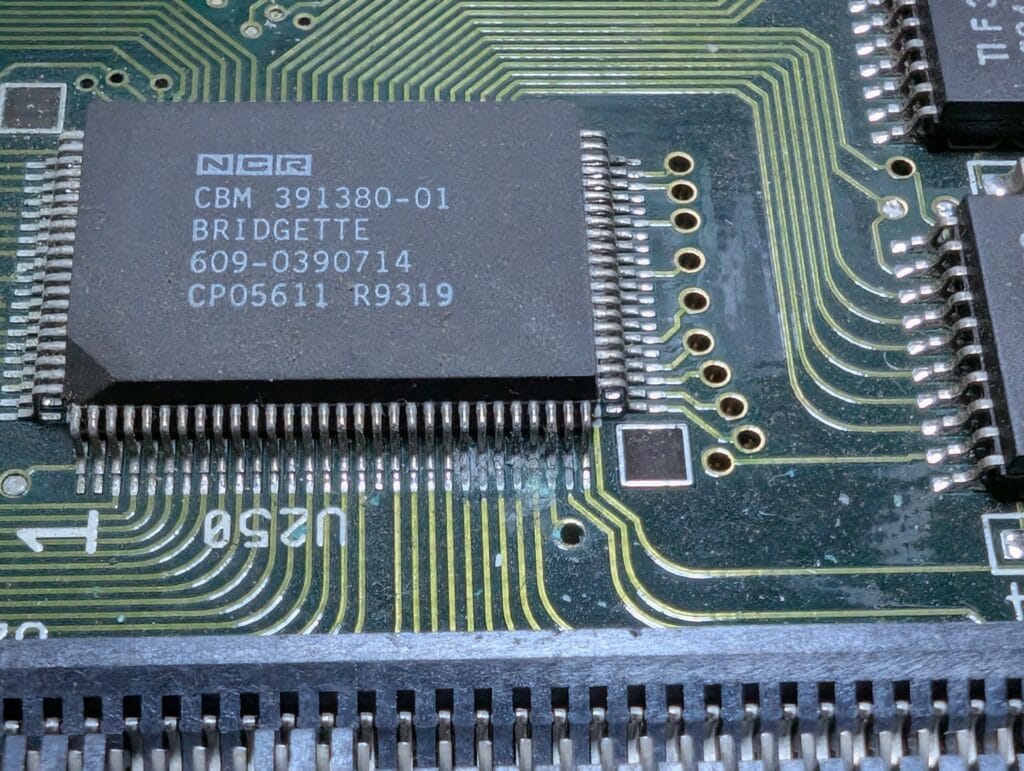

Corrosion in many places that I didn’t spot in the case. Mostly worryingly, Alice and Buster have a lot of corrosion on them. I’m guessing this was due to moisture ingress. Some of the capacitors have managed to almost burst off the board too.
RAM repair
Finding the bad RAM trace was quite easy, the trace in blue on the top of the board below is what had broken, I patched it with a wire under the board.
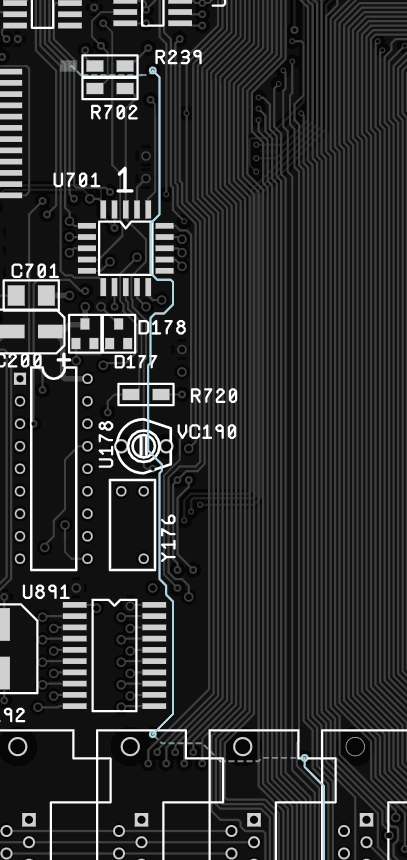
Maybe, just maybe, this will be enough to get it to boot.
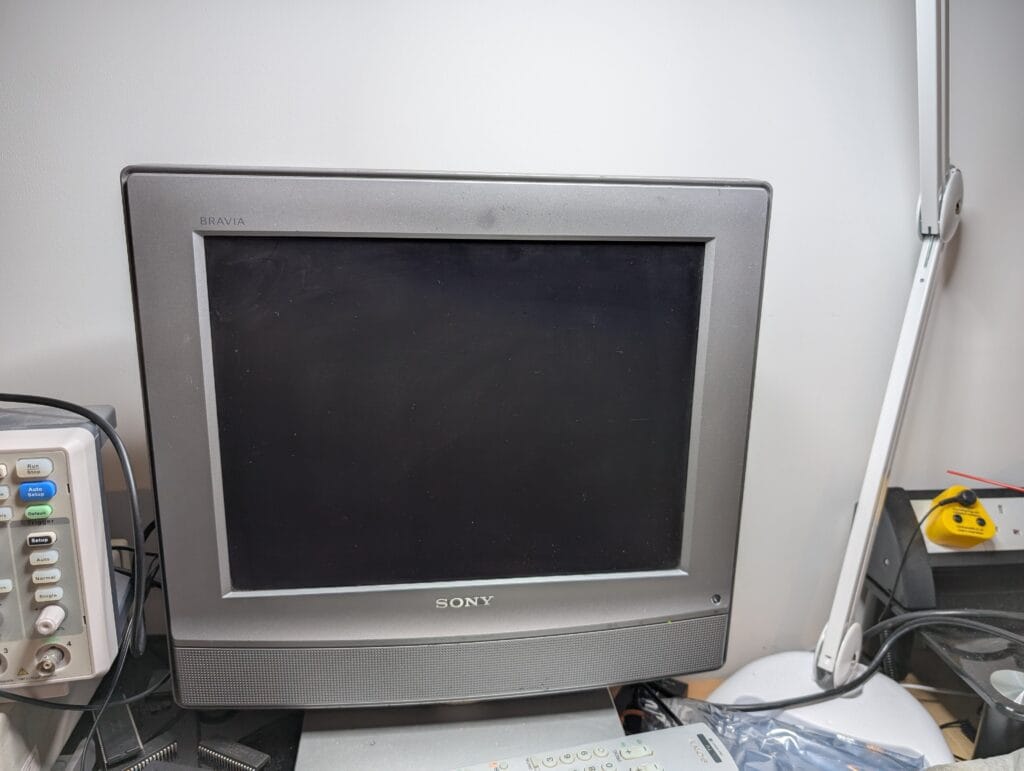
Nope, no such luck. Black screen, although it is an image output at least.
I popped in DiagROM, which again produced a black screen. I hooked up the serial output and this is what I saw.
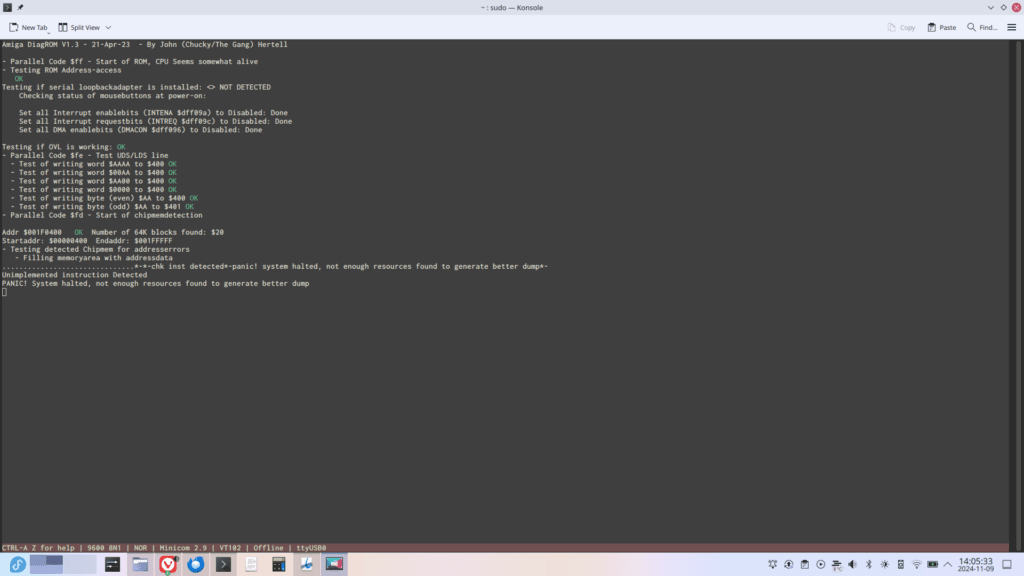
I thought this was promising, but to cut a long story short, this is the only time I got it to actually do anything on boot today. Reset signals are clear, which is good, but there is a definite problem.
Corrosion cleanup
I figured I would pop out Buster to see how bad things were.
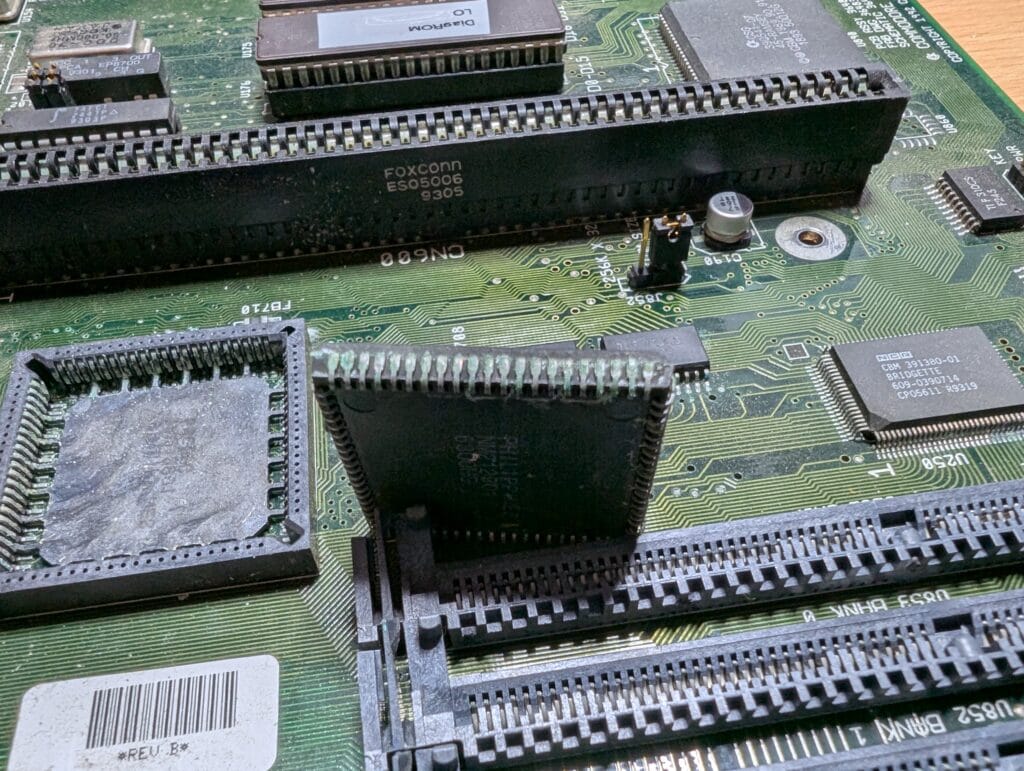
OK… The chip is covered in corrosion, as is the socket. To the extent that I’m not 100% if this chip will ever work, and the socket is definitely going to need replacing. I desoldered the socket at this point and cleaned up where it was. There doesn’t appear to be any damage to the motherboard.
As I had started something, I figured I should remove Alice too. Once removed I cleaned up where it was and cleaned the corrosion off the chip itself.
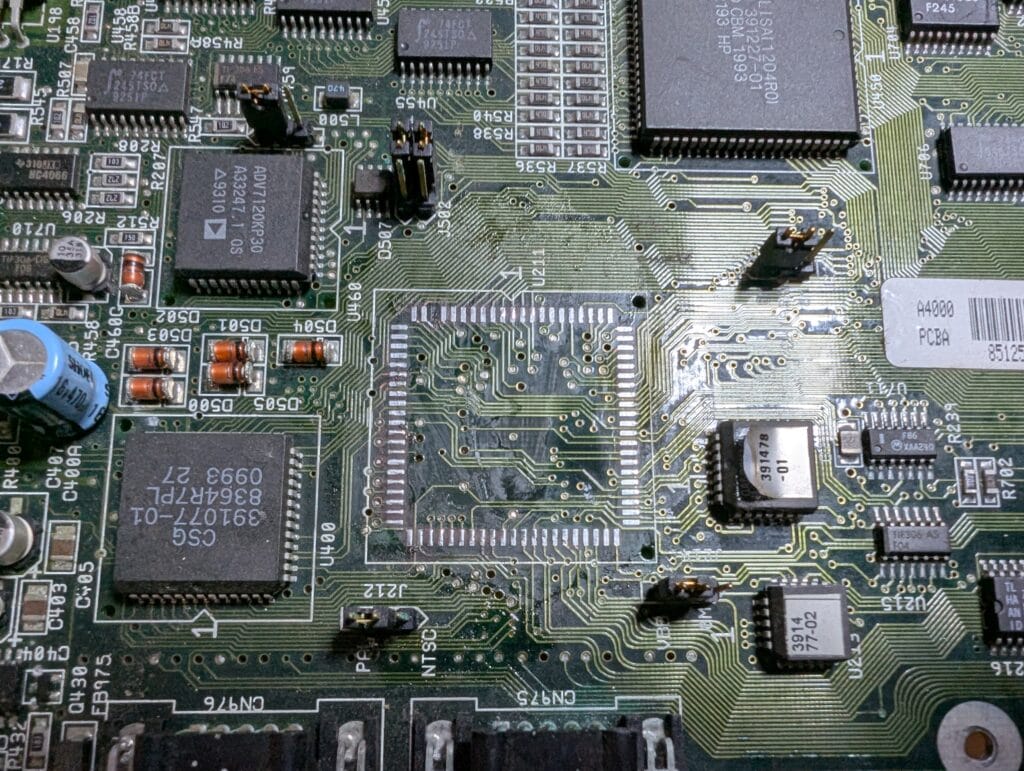
Unfortunately, one pad got destroyed in the process. But I can patch the board to repair that.
I tested Alice on a socketed Amiga 1200, and it appears to work fine (after some abrasive cleaning of the pins).
Next steps
This board is going to need quite an overhaul. I think these are the next immediate steps:
- Add new sockets for Buster and Alice
- Replace SIMM sockets with new ones
- Remove U891 and test it, either resolder or replace
- Clean-up any remaining corrosion in critical areas
My hope is at this point I’ll be able to run DiagROM. I should be able to do this without Buster installed, but Alice is a requirement. Then, once we have the machine booting:
- Recap
- Replace joystick ports
- Replace corroded daughterboard slot (it might be possible to clean it instead)
- Replace any other secondary thing damaged by corrosion
I also might have a spare full 68030 in stock, if I do, I’ll swap it out.
This machine definitely won’t be a quick fix, and I haven’t even tested the power supply or looked into fixing the broken floppy drive on it yet.


Leave a Reply