

I thought part 2 was the end of my restoration journey for Tobias the Valiant Turtle. But there is more that has happened since. So, let’s get to it.
Controller Cover
The controller was great, but I decided it needed a casing, I happened to have a spool of green PLA available, so I designed and printed a green case for it. I had to move the IR and indicator LEDs to make it work (and I made the indicator LED green). But I really like the effect. I printed some black buttons to go with it. At some point I should label the buttons.

Juddery Motion
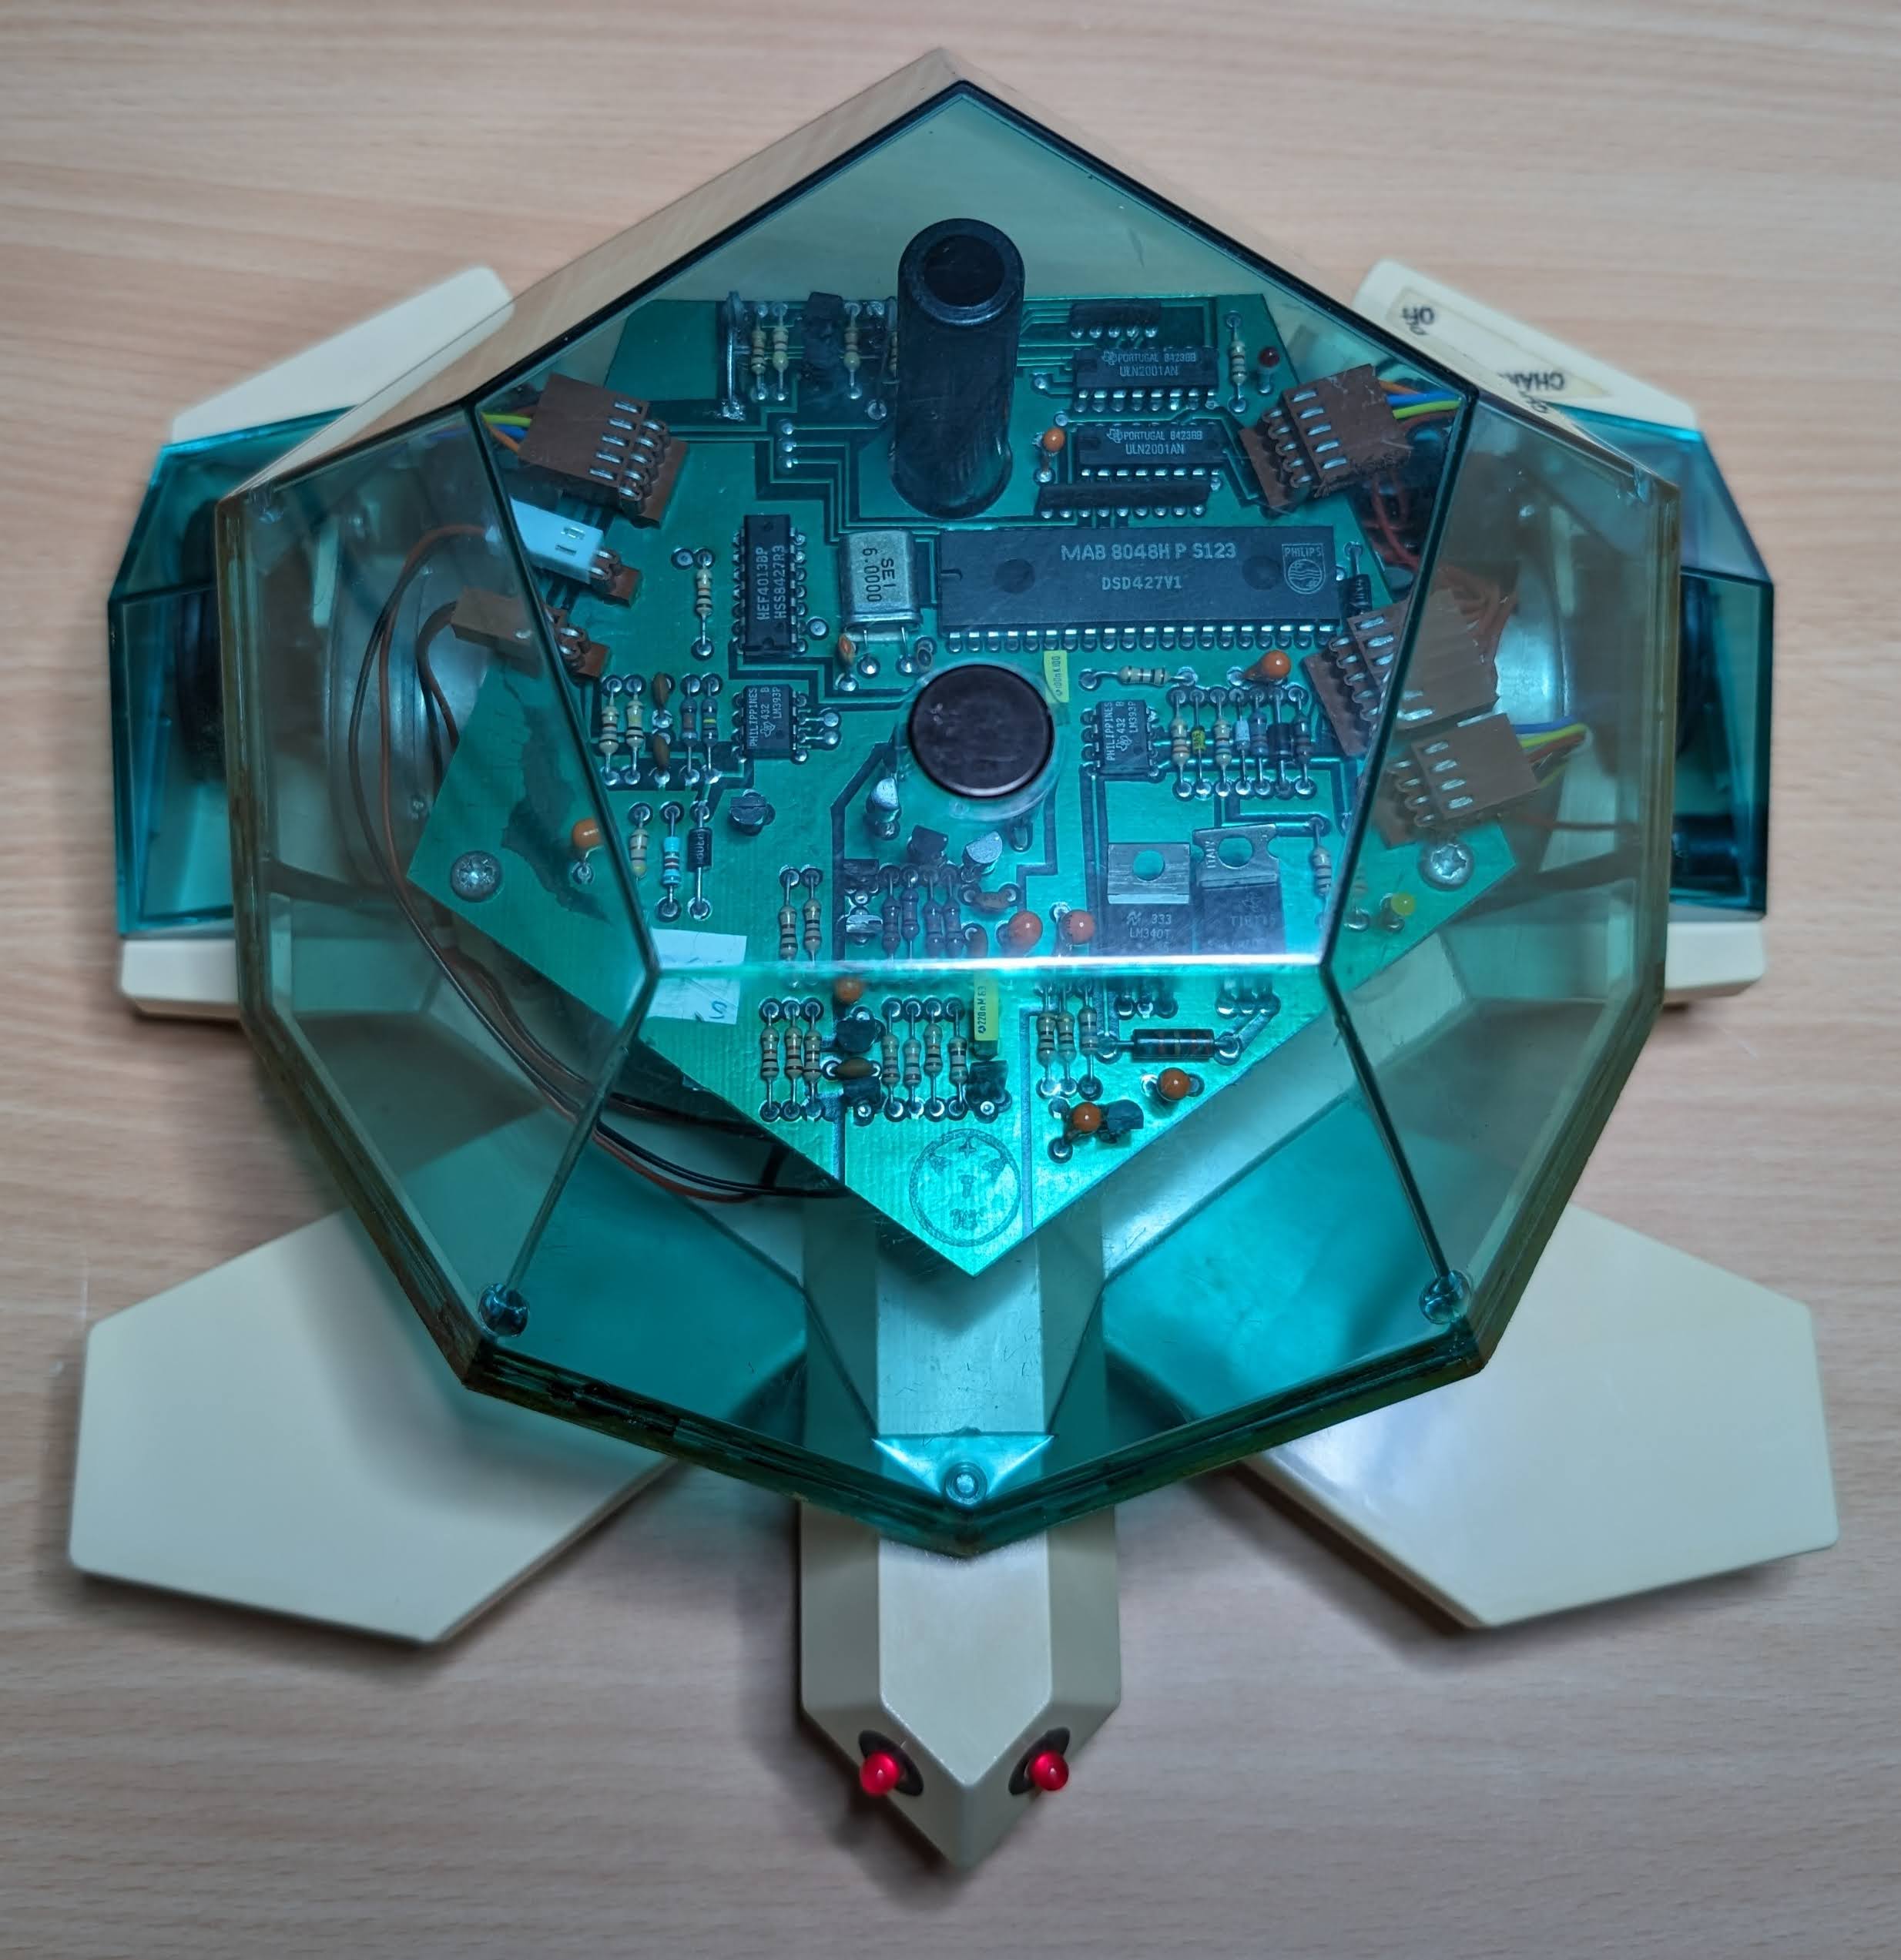
I noticed that when using the controller, the forward motion would jitter a couple of times a second, like it was missing a command. The communication indicator LED on the turtle was also flickering when this happened. After a lot of probing with an oscilloscope of both the communicator and the turtle, I found that the timings for the IR pulses sent were ever so slightly off, we are talking a couple of microseconds.
I emailed Paul, who created the controller, asking if he could tweak the timings for me. To my surprise, he sent me the source code to fix myself! After a round of tweaks I fixed the timing issue and the turtle now moves as smooth as butter. Anyone else who needs the firmware update can find it here.
Calibration
I got the computer to draw a square on some A3 paper using the turtle, to see how well the movement is calibrated. I found that using marker paper stopped the pen bleed issue I was having.
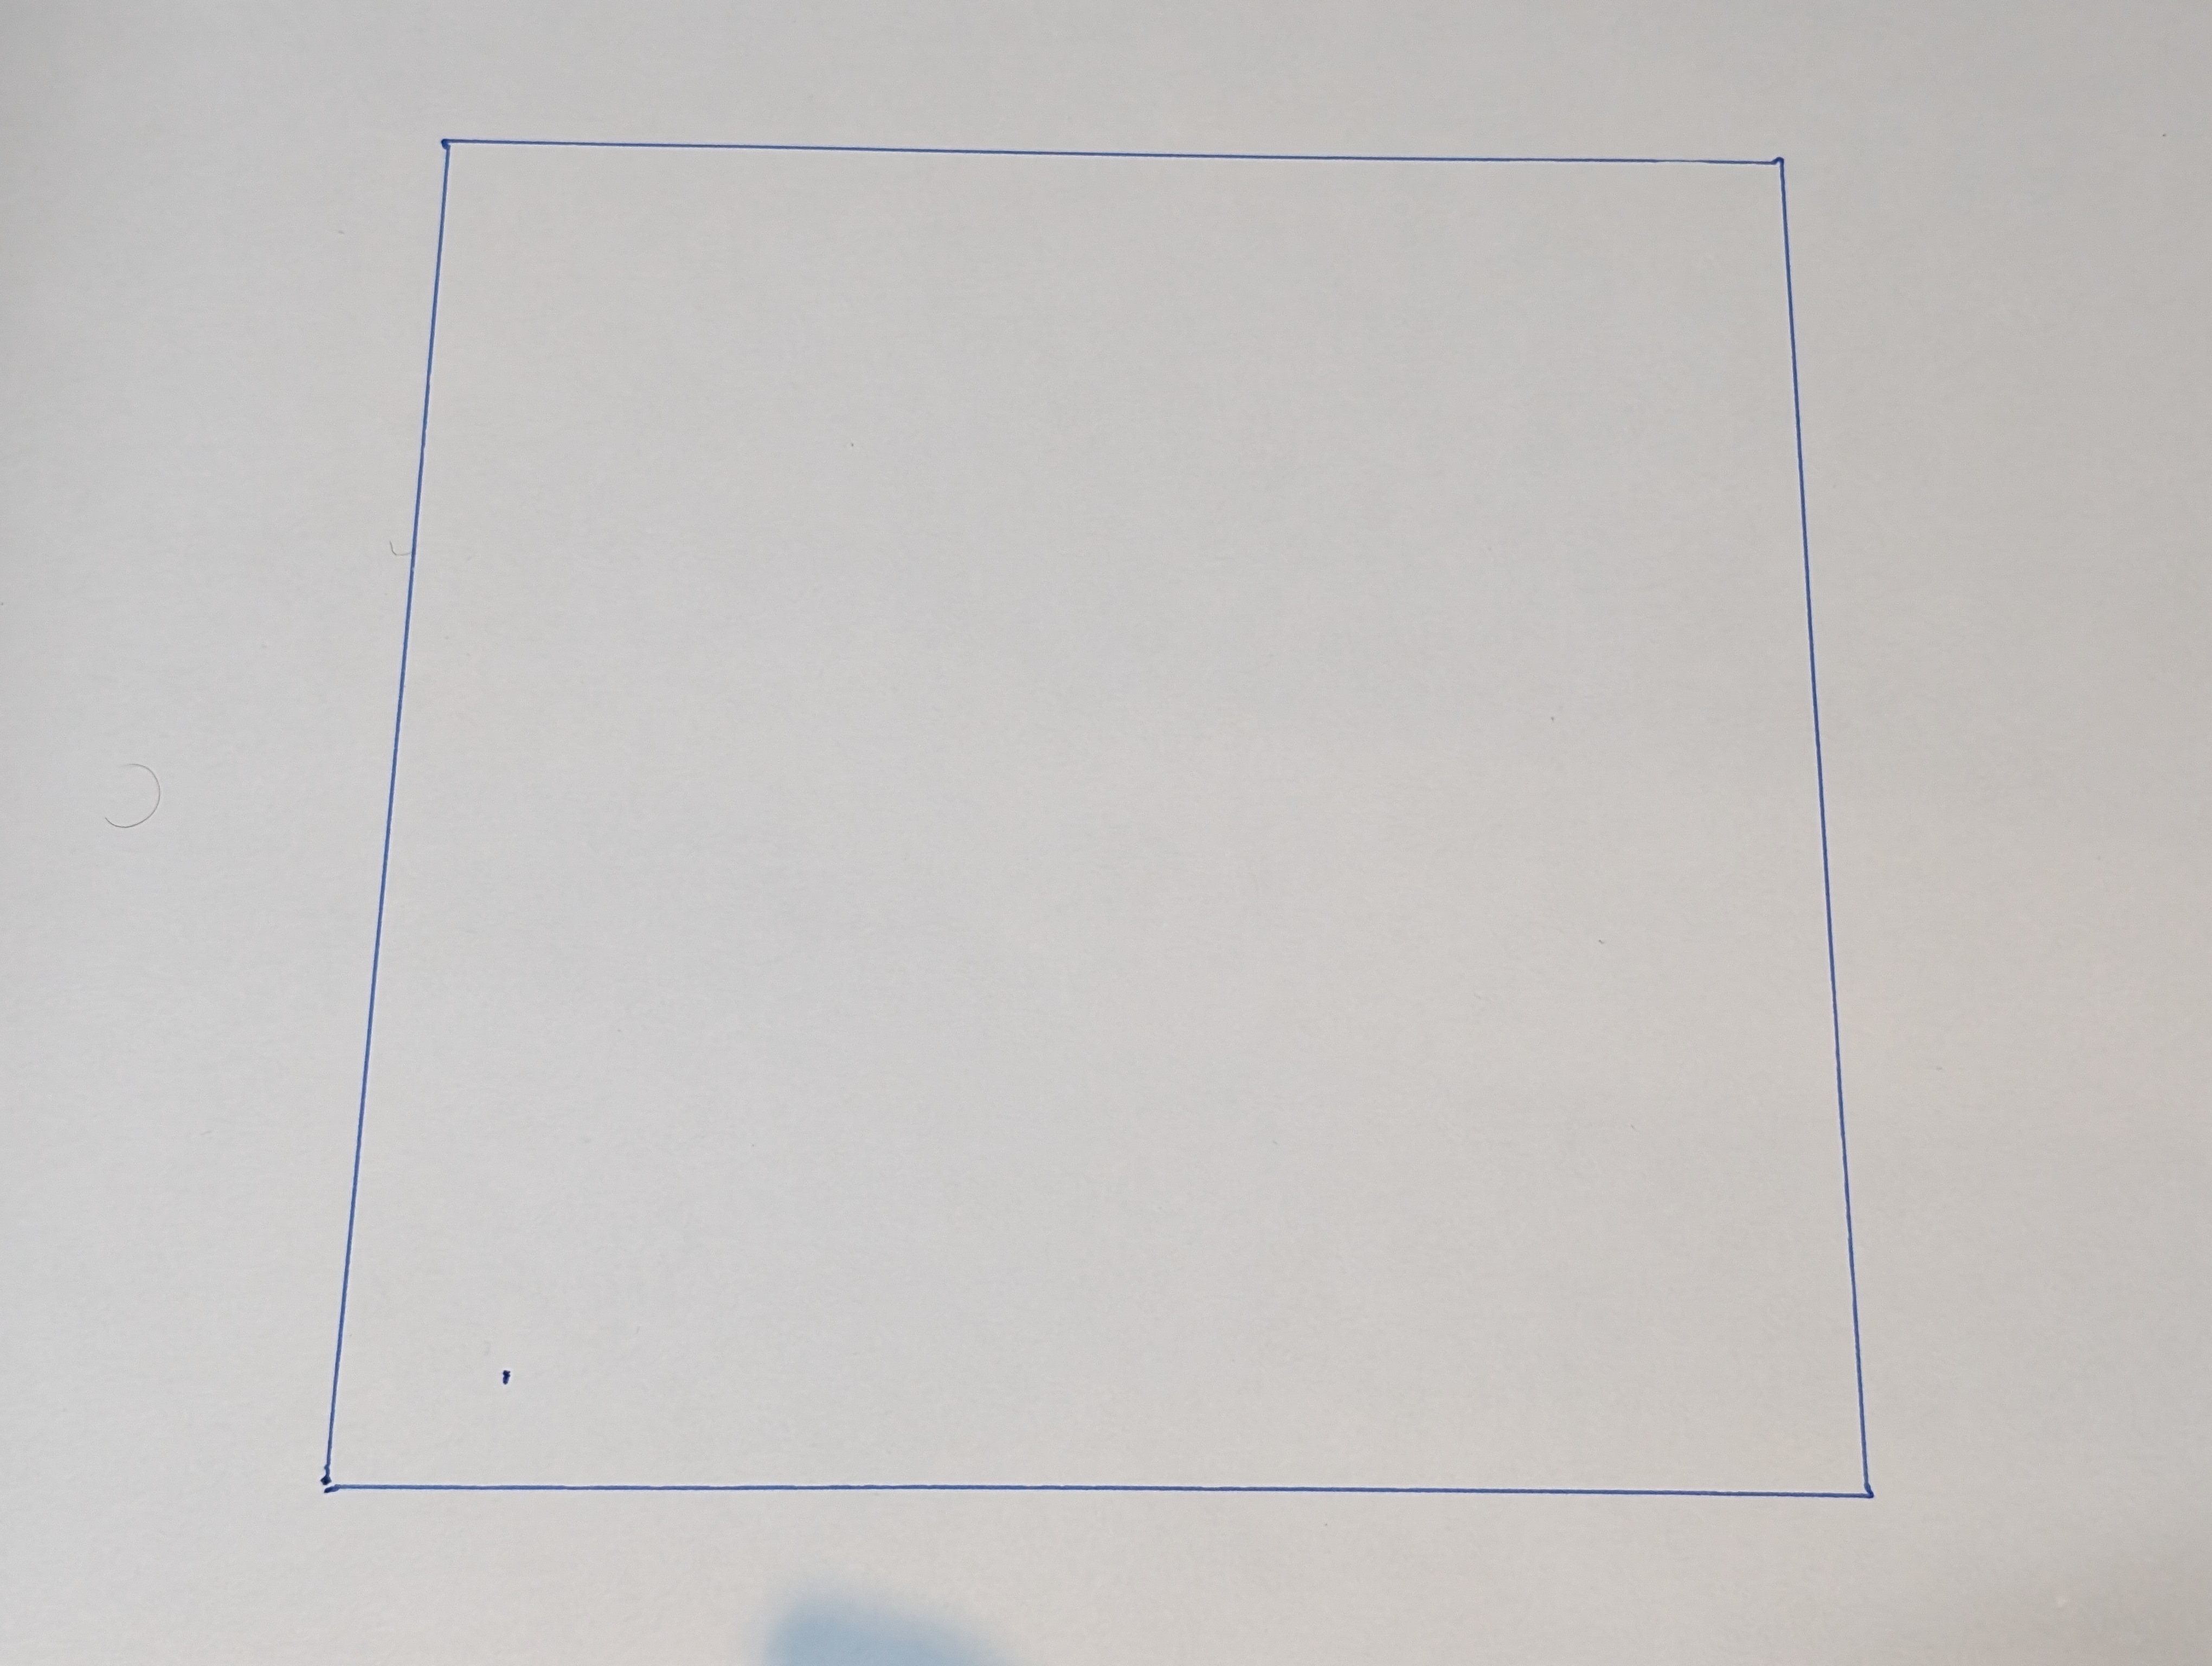
Things are looking pretty good, but the join at the end is slightly out. Valiant’s website still (for now) has the information on how to calibrate the wheels of the turtle. I did a few minor tweaks, it started to get better, and then…
Pen Motor Failure
The pen drive motor stopped moving up and down. It was a noisy mechanism, so I assumed the motor was not in great shape anyway, but motion stopped completely. I removed it and hooked it up to a bench power supply to test. It took about 4W of power just to start the motor, and it was very noisy once it started. I’m guessing the bearings in it have seized or something like that. The turtle has thermistors in place to avoid the motor drawing too much power and judging by the potential across them, they were definitely cutting in.
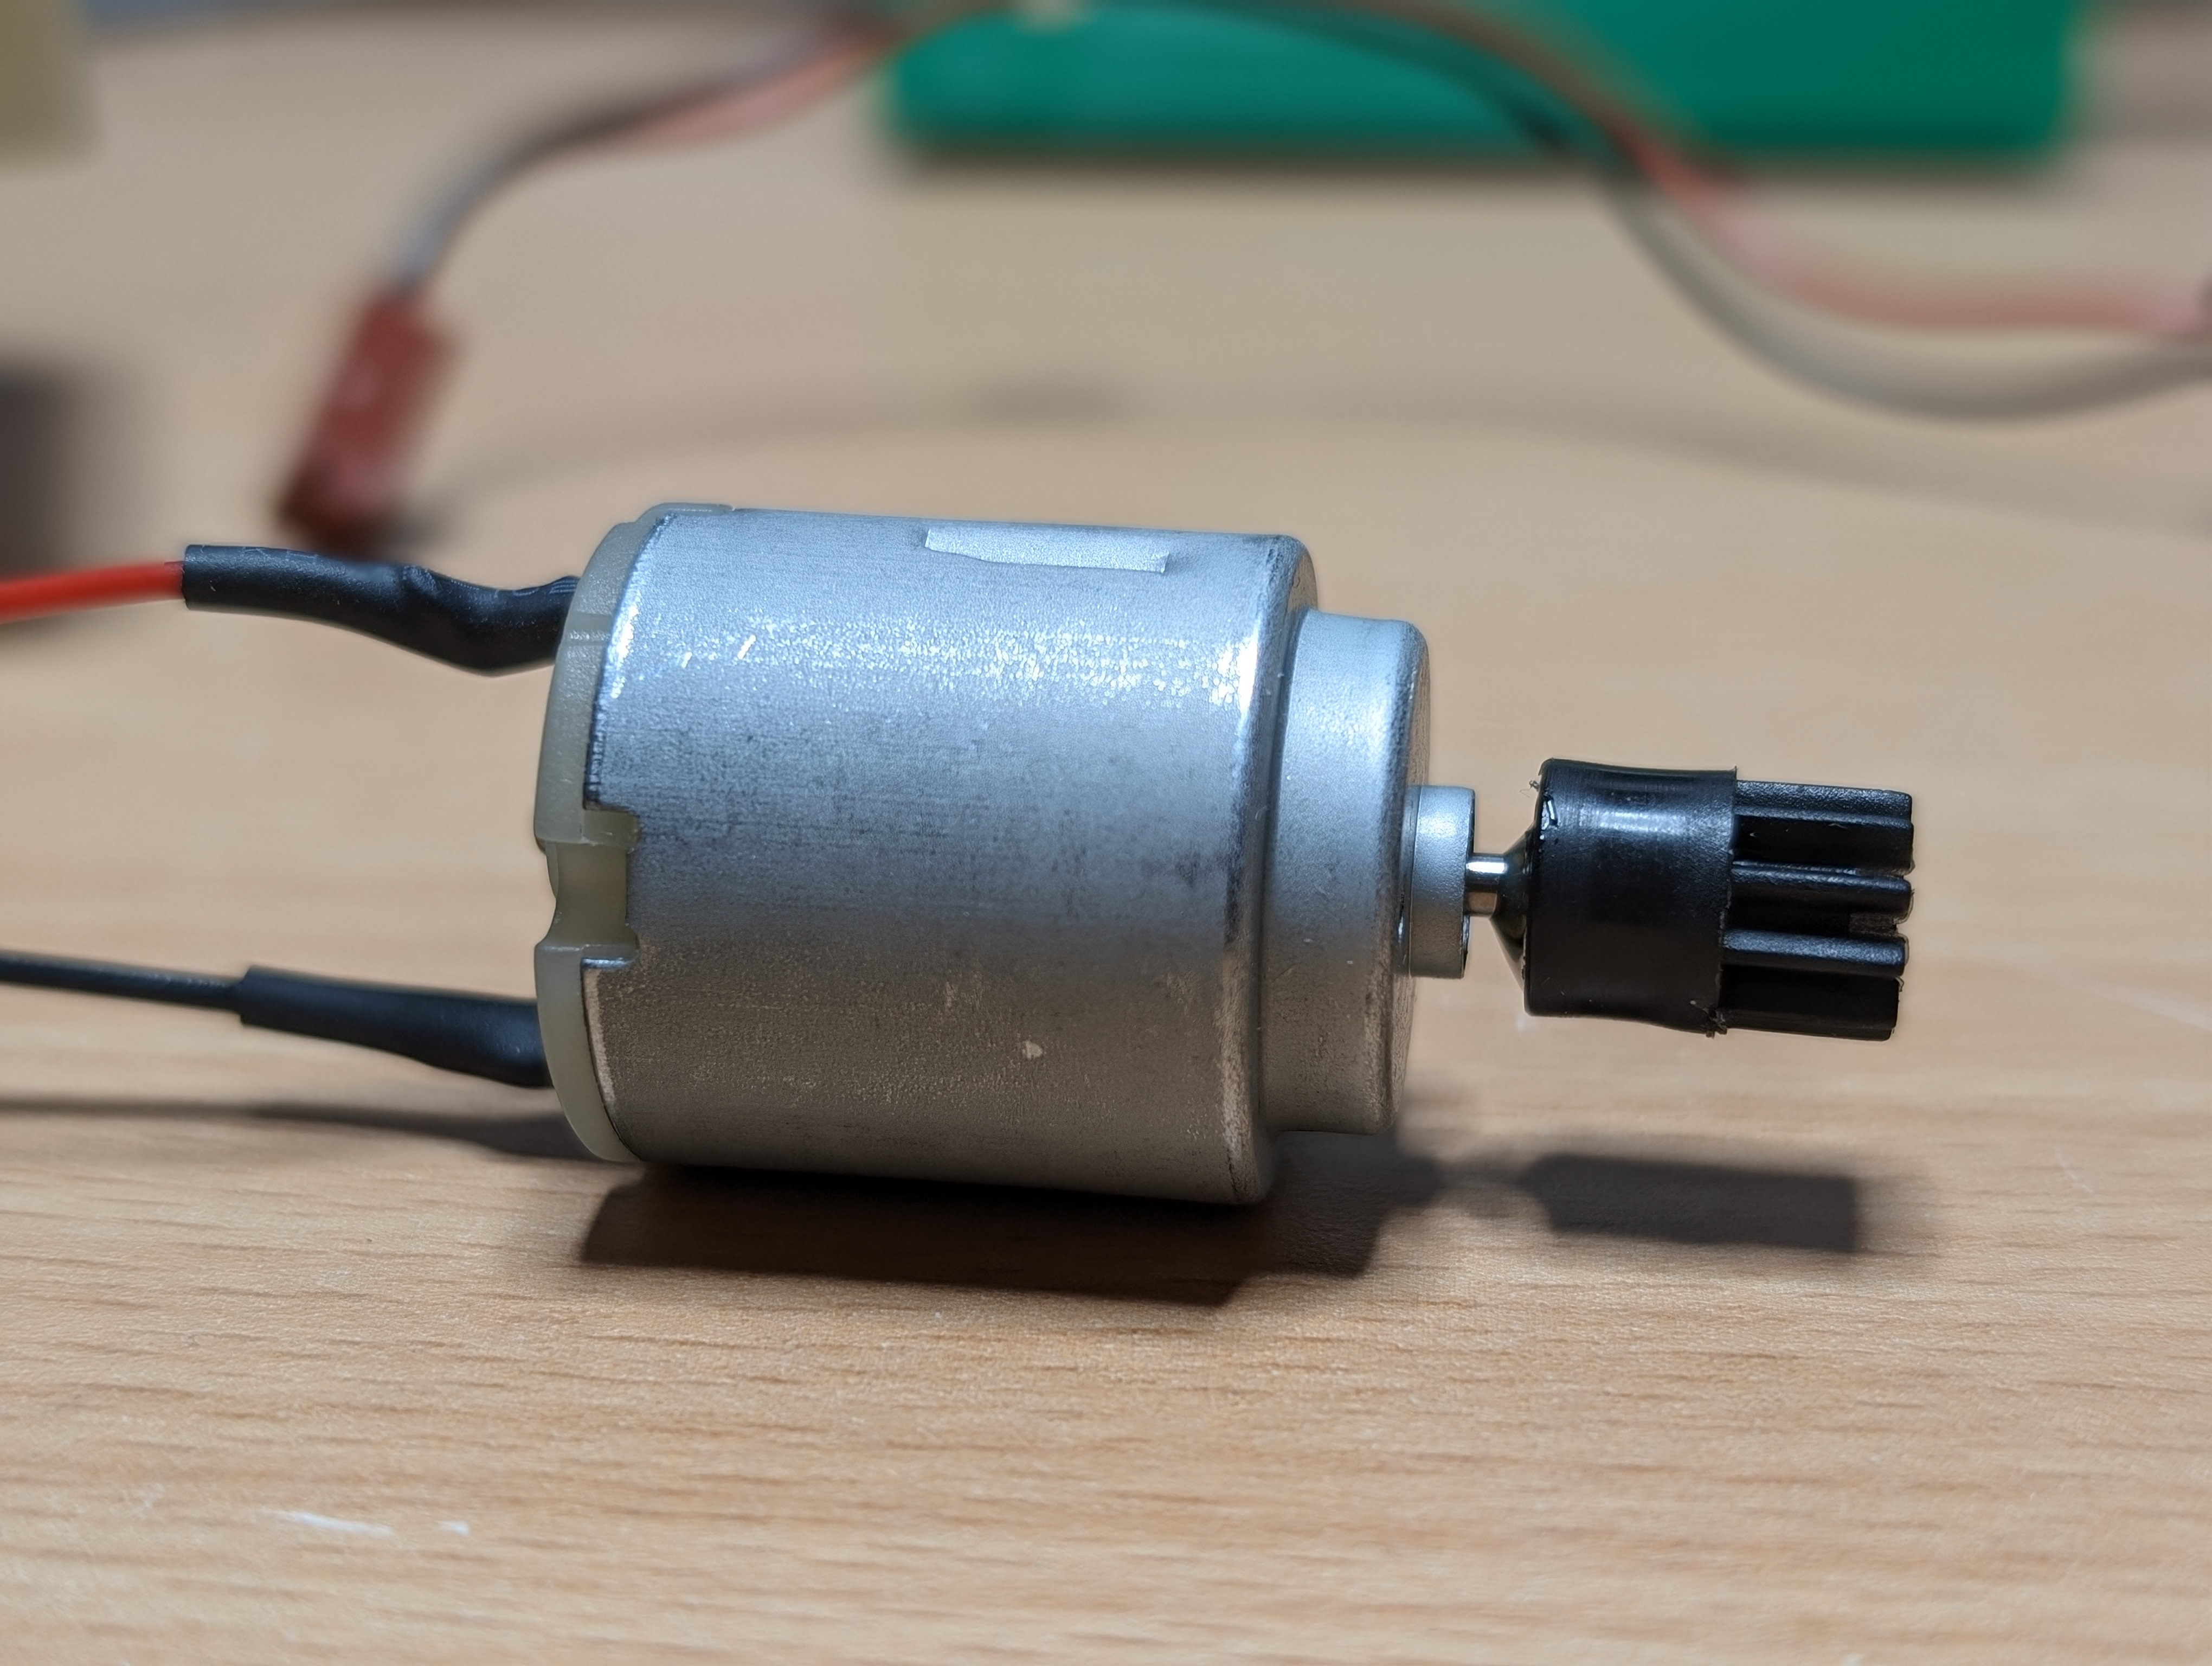
The motor is actually specified in the service manual as a RE-140-18100. I found that CPC were selling a motor with the exact same specifications under their PRO ELEC brand for 59p. I bought this and wired it one. Once I removed the gear spindle you can see how similar the two are (old bottom, new top). I also bought some spare thermistors, just in case they no longer functioned correctly.

This new motor was spinning with the pen commands at least. So, I glued the gear spindle onto it.
Did it work when put back in? See for yourself! The turtle’s firmware executes a pen up command when turned on.
I took the opportunity to clean up his shell a little. Looking quite good now.
Calibrating Again!
After a lot of attempts at adjusting the wheel screws, making it worse and then finally sorting it. I had the wheels as calibrated as I’m going to get it.
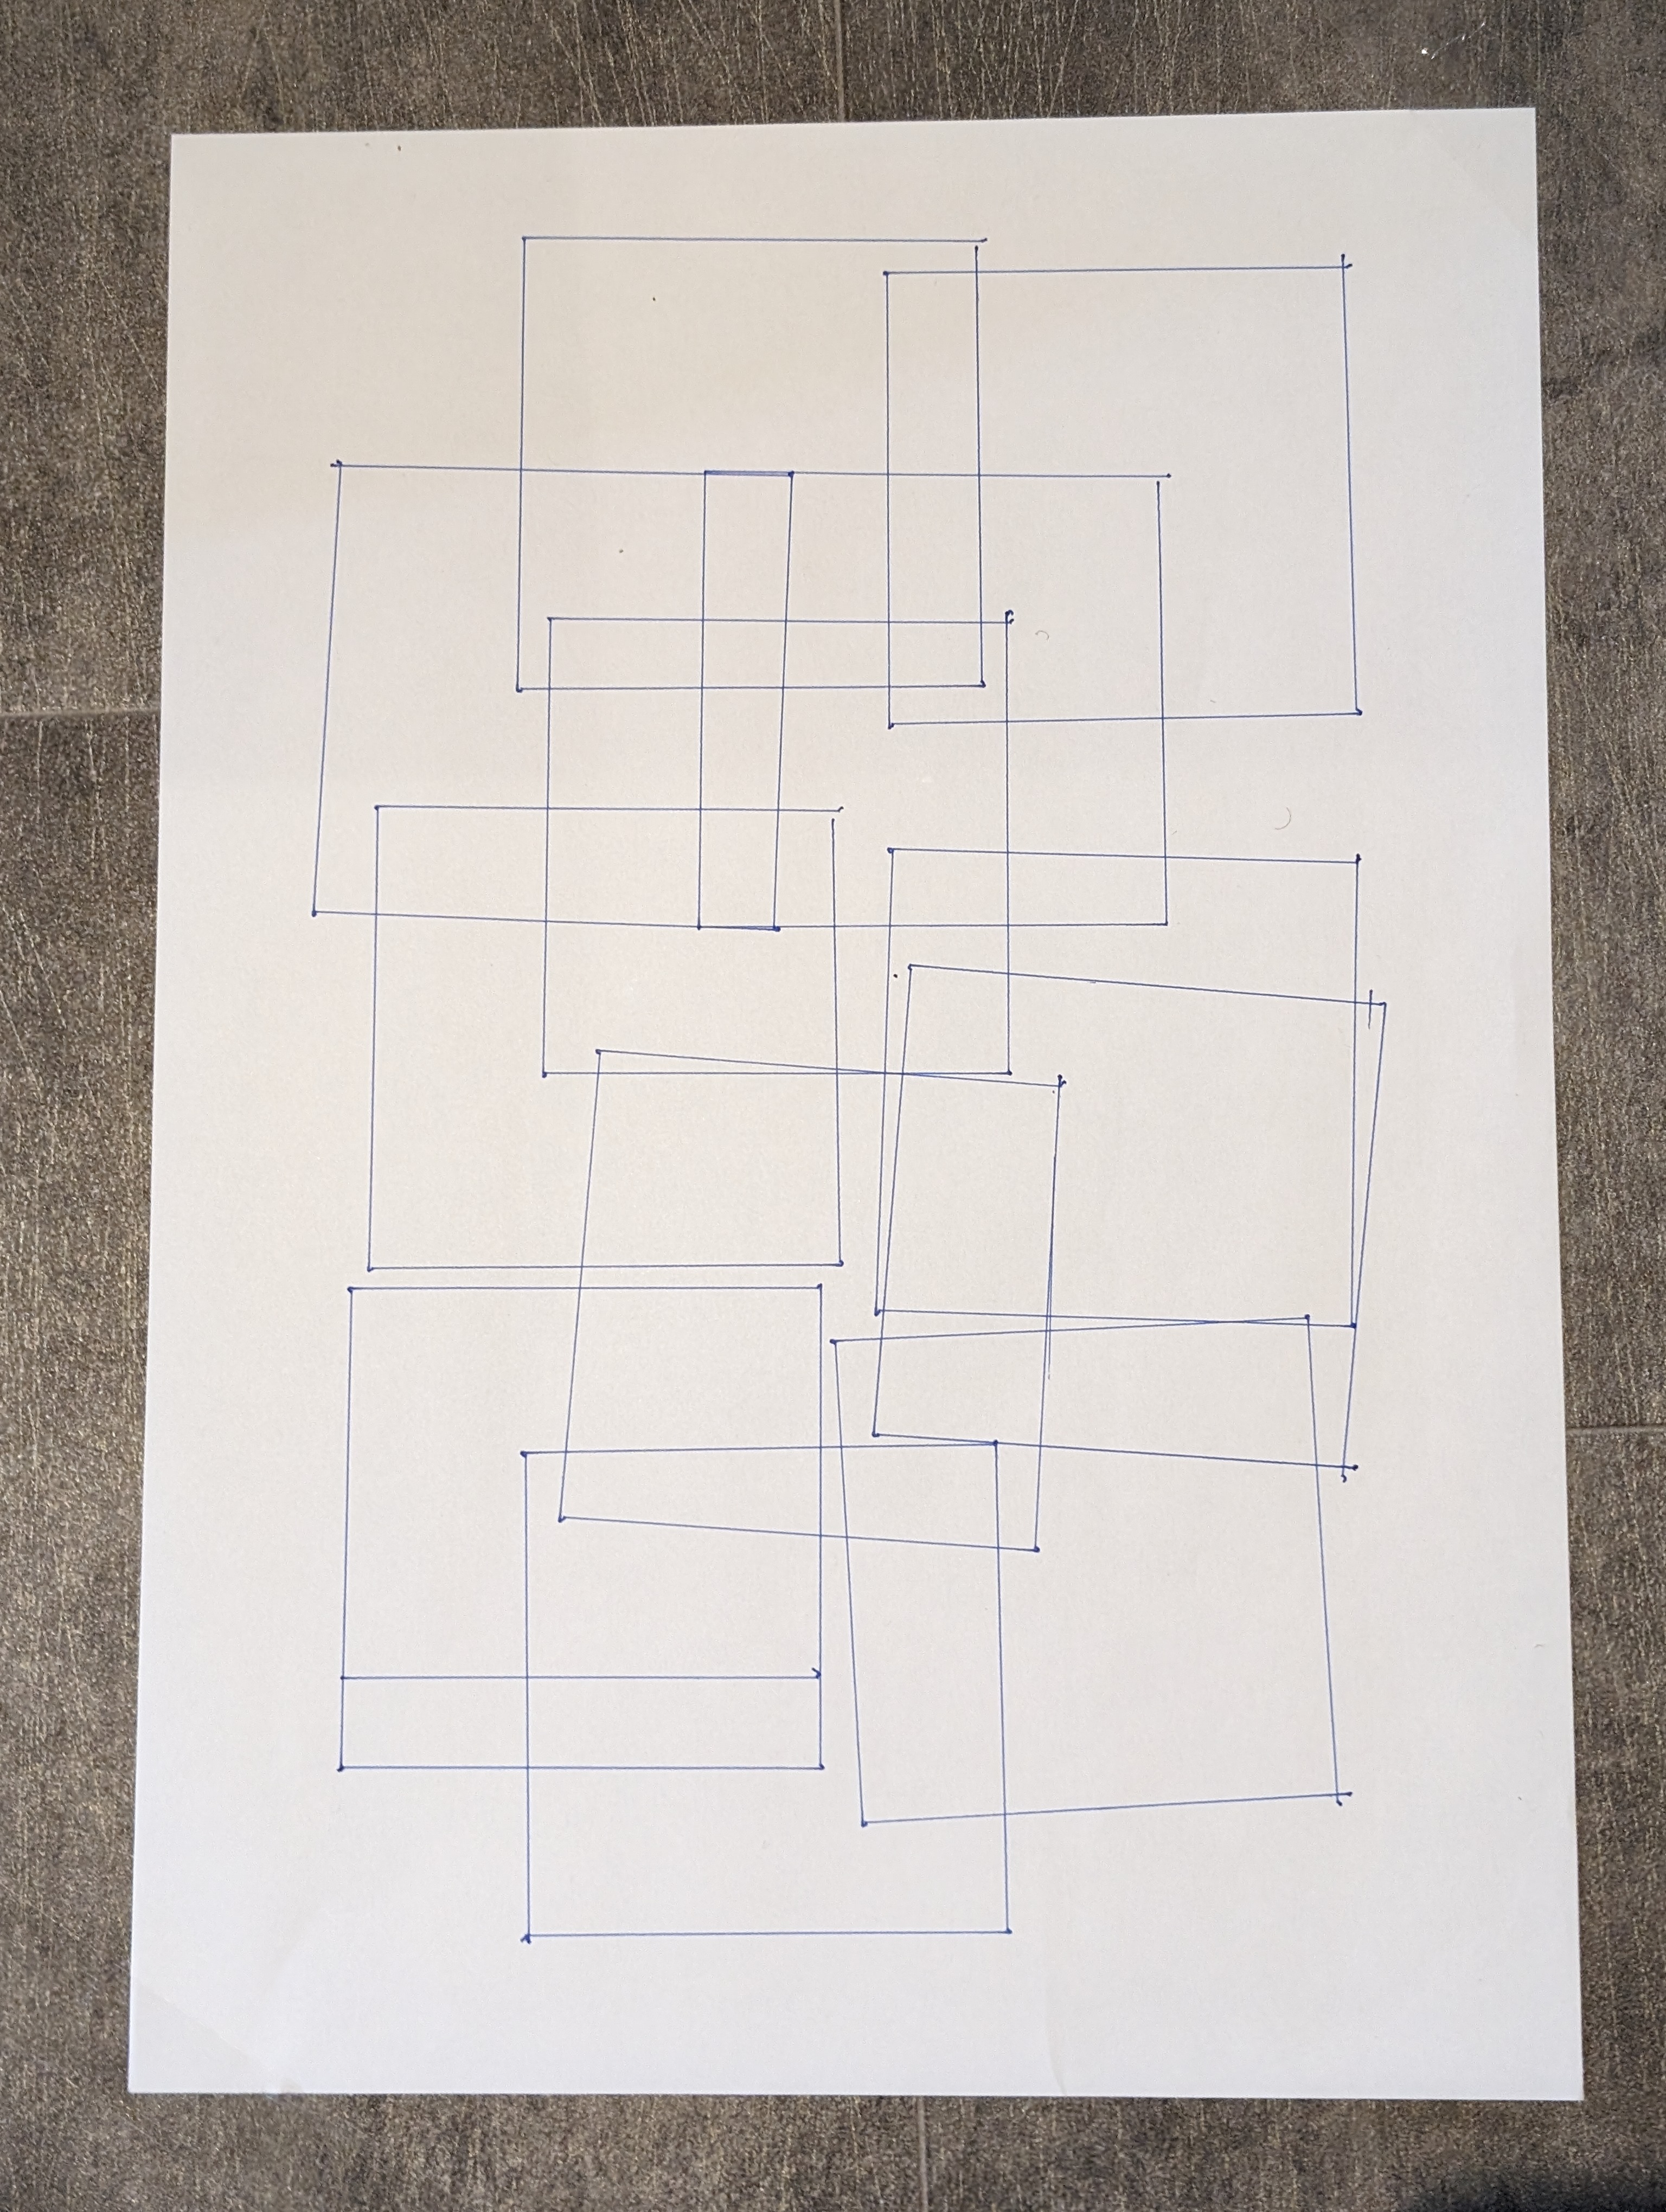
There is a bit of give in the corners, but I think that is because the pen is not being held very tightly, possibly also some give in the rubber wheels.But, for a 40 year old device, I think it is holding up quite well anyway.
Video time
Now that I have Tobias working properly, I can finally shoot the video I had intended about using him with Logo. I’m also writing a piece on him for Pixel Addict Magazine, so keep an eye out for that in future issues.
Leave a Reply