
There has been some very exciting accelerator projects recently. Of course the TerribleFire and Vampire accelerators are incredibly popular but there are some new kids on the block such as Buffee (the Vampire slayer) and PiStorm. I recently obtained a PiStorm and this is how I set it up.
PiStorm is a community project which consists of a board which connects a Raspberry Pi 3A+ to the 68000 CPU socket of an Amiga, along with the software to emulate the 68000 range of CPUs. The community are a really smart, friendly and engaging bunch of people. They can be found on Discord and even organise “group buys” so that it is very cheap for anyone who wants to purchase one.
I was added to a recent group buy and received my PiStorm with the pins and headers to solder on.

It was a quick job to solder on the pins at the bottom and the header. I used slightly different pins for the bottom to the ones supplied as the ones I typically use are about 1/3rd longer.

Then the Pi 3A+ sits on top.

Next up is the software install. The PiStorm README has some instructions on how to set things up using an HDMI cable and keyboard connected to the Pi. But I did things a little differently. Here is how I did it (using Linux, this should work on macOS too):
- Download Raspbian Lite from: https://www.raspberrypi.org/software/operating-systems/
- Restore the Raspbian image onto an SD card
- Mount the boot partition from the SD card
- Run “touch ssh”, this will create a blank file called SSH which will enable SSH connections
- Create a file called wpa_supplicant.conf with the following contents (alter for your WiFi settings):
ctrl_interface=DIR=/var/run/wpa_supplicant GROUP=netdev
network={
    ssid="YOUR_SSID"
    psk="YOUR_WIFI_PASSWORD"
    key_mgmt=WPA-PSK
}
- Eject the SD card and put it into the Pi
- Put the PiStorm into the Amiga

- Power on the Amiga (it won’t boot, but the Pi will). The Pi will take a few minutes to boot and resize the FS
- SSH to pi@raspberrypi.local and the password “raspberry”
- Change the hostname using “sudo hostnamectl set-hostname pistorm.local”
- Run the following, it will build the emulator and flash the CPLD:
sudo apt update
sudo apt install git libsdl2-dev openocd
git clone https://github.com/captain-amygdala/pistorm.git
cd pistorm
make
chmod +x nprog_240.sh
sudo ./nprog_240.sh
- Make any changes to default.cfg you want, the defaults are pretty good, but if you have a hard drive image you can copy it over, enable PiSCSI and point to that image. You can also copy a ROM file over and change the kick.rom to point to it if you want to use a different ROM.
- Create a systemd config file in /etc/systemd/system/pistorm.service with the following contents:
[Unit]
Description=PiStorm emulator
After=network.target
StartLimitIntervalSec=0
[Service]
Type=simple
Restart=always
RestartSec=1
User=root
ExecStart=/home/pi/pistorm/emulator
WorkingDirectory=/home/pi/pistorm
[Install]
WantedBy=multi-user.target
- Run “sudo systemctl enable pistorm.service”
- Run “sudo shutdown -h now”
- Power down the Amiga
- Wait a few seconds
- Power up the Amiga
The Amiga powers up, the Pi boots and automatically runs the CPU emulator, at which point the Amiga will boot.
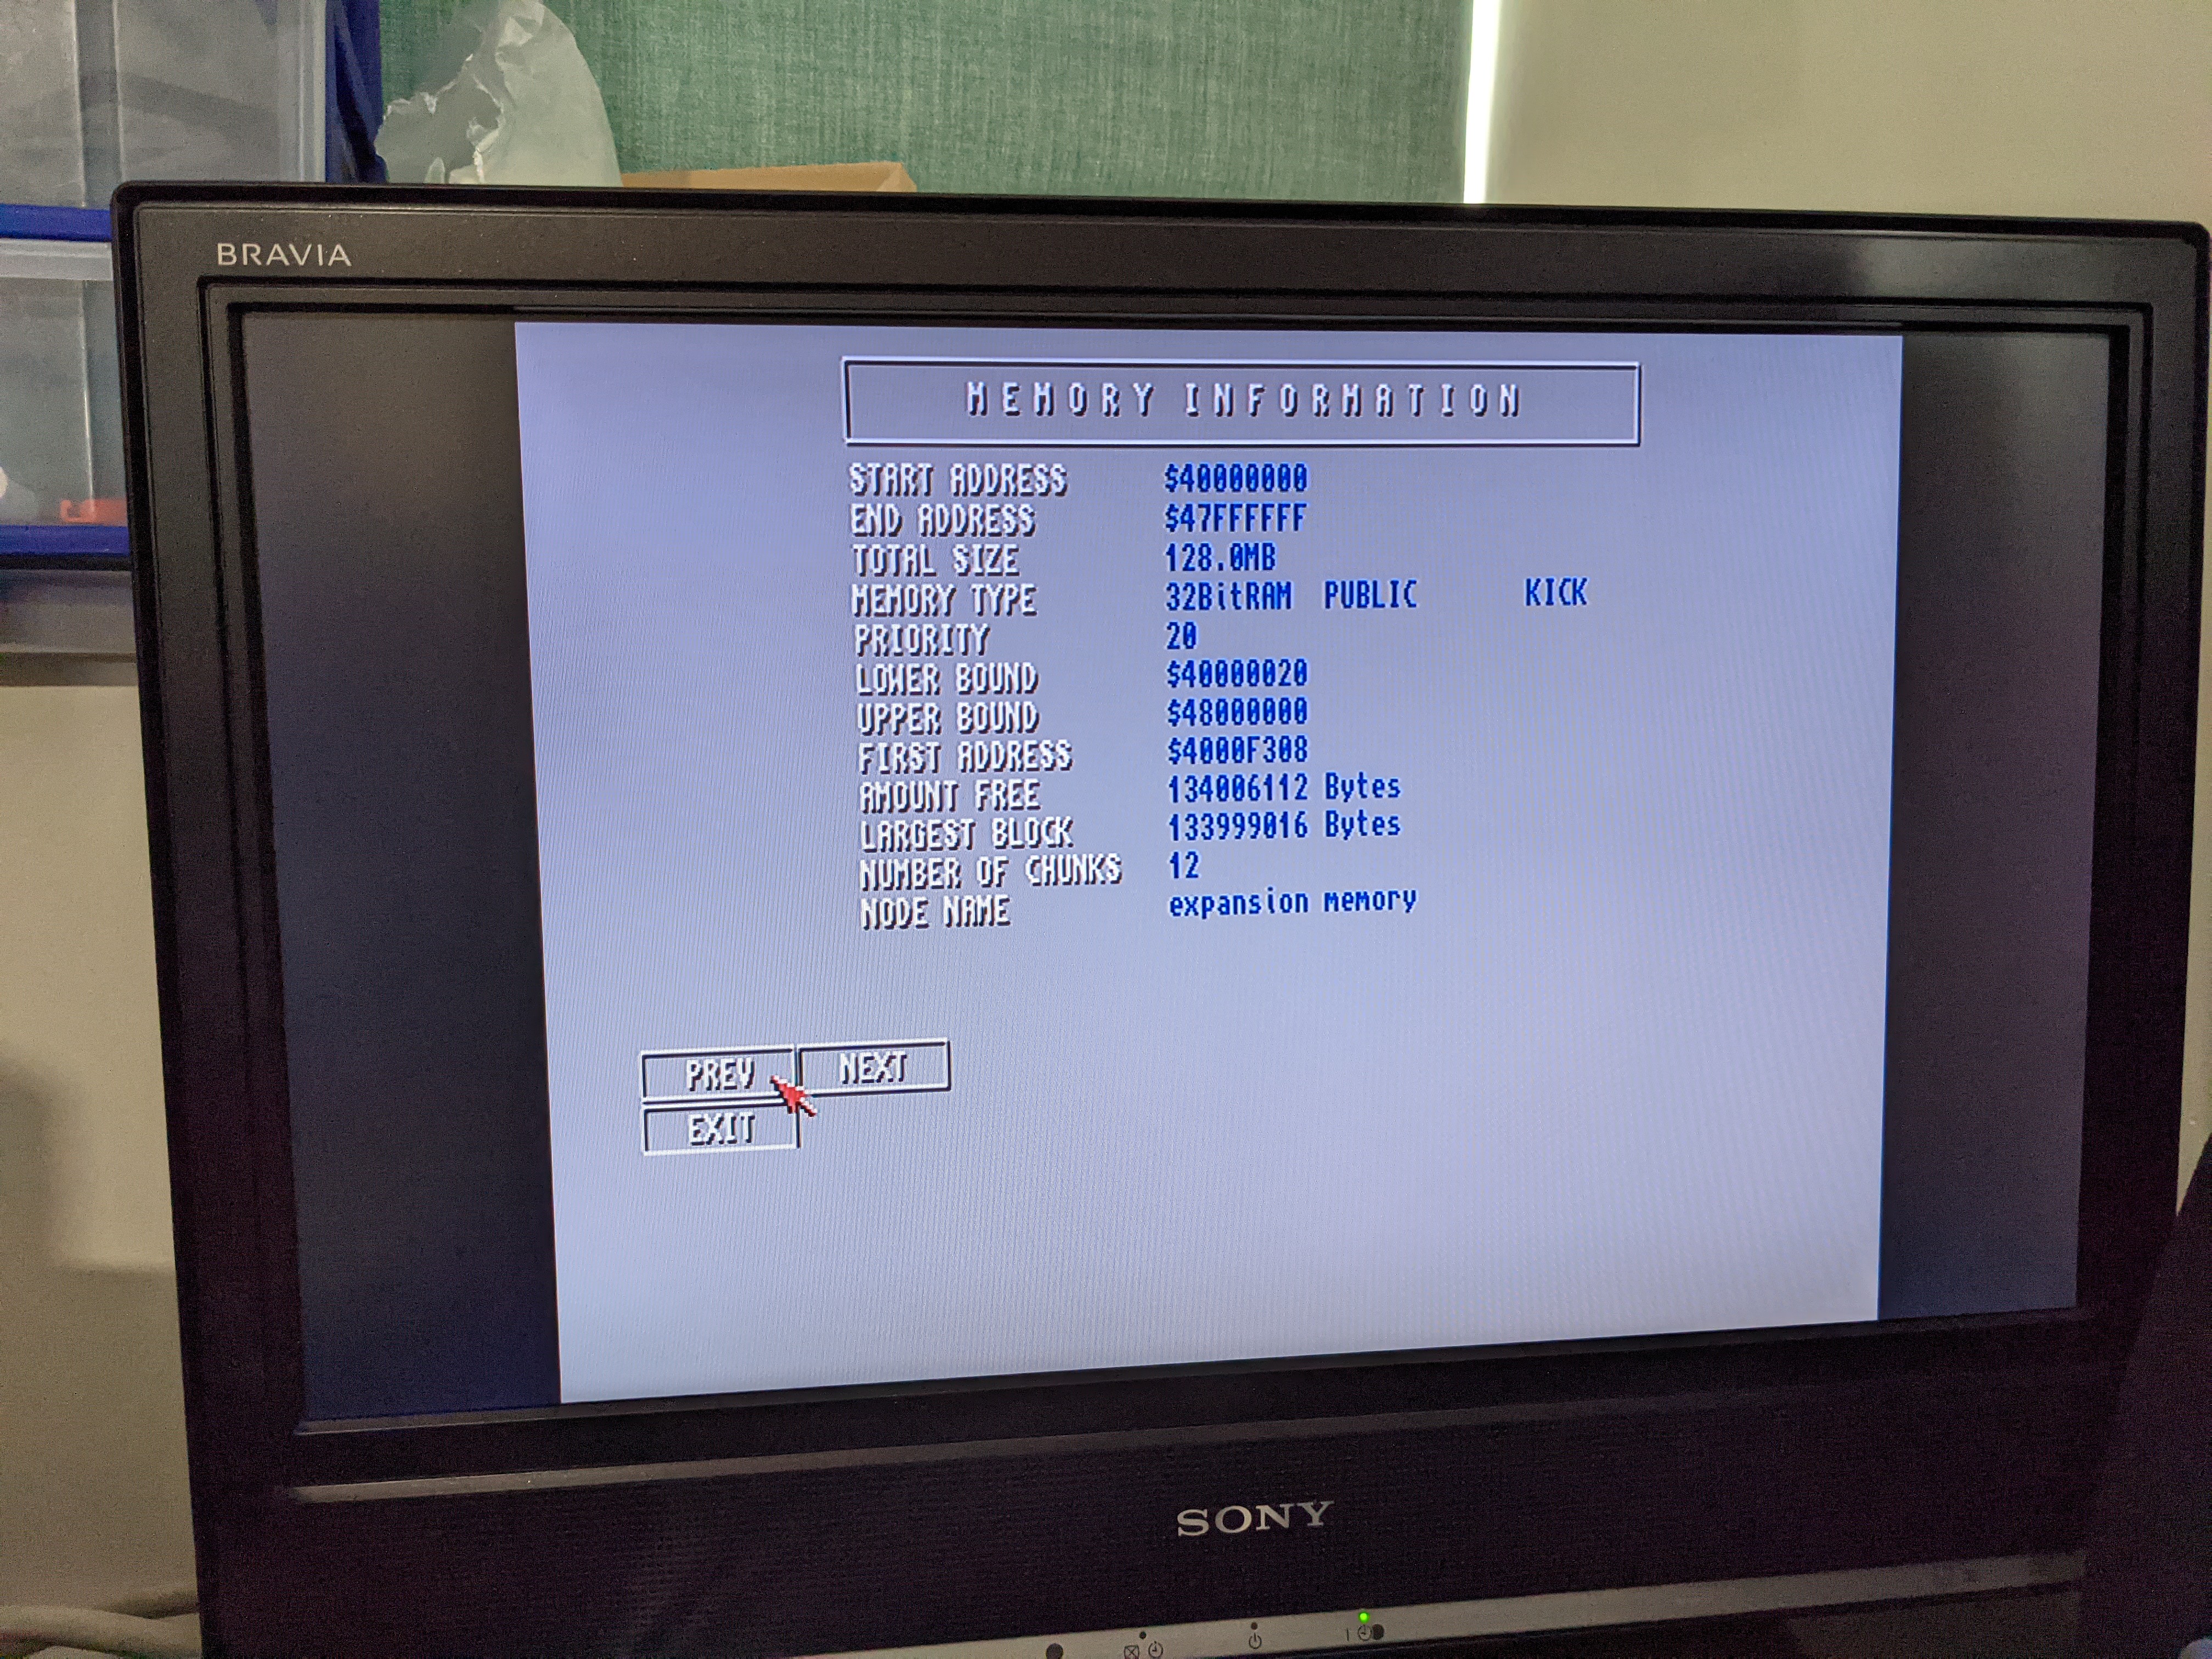
The end result is a nice fast emulated 68020, 128MB of FastRAM and an incredibly fast emulated SCSI drive, the screenshots below are with sysbench and my Amiga 500 Plus hard drive image copied to the card used as a SCSI device.


At the moment C+A+A reboots do not work correctly (edit: this now works great), if you need to reboot you can SSH into the Pi (now using pi@pistorm.local) and do “systemctl restart pistorm.service”.
There are lots of things I haven’t even begun to cover yet, including RTG graphics using the Pi’s HDMI and a bunch of things currently being worked on. This has the potential to be a a massive project with endless options. It is also very useful for debugging what is going through the CPU for other hardware features.
If you are interested in the PiStorm project I highly recommend checking out their Discord chat.
Edit 2021-04-16
There was a bug in the PiStorm software on the day I took the above screenshots which caused a large performance regression. Things are now back to normal, so here is an updated SysInfo:

Leave a Reply