

After my recent restoration work for the Acorn Archimedes A3010 I thought I should try something in that range that is a little beefier. The RiscPC is one of the last machines in the Archimedes range and has some interesting features such as the capability of installing a 486 CPU co-processor to run DOS and Windows software.
Machine Inspection
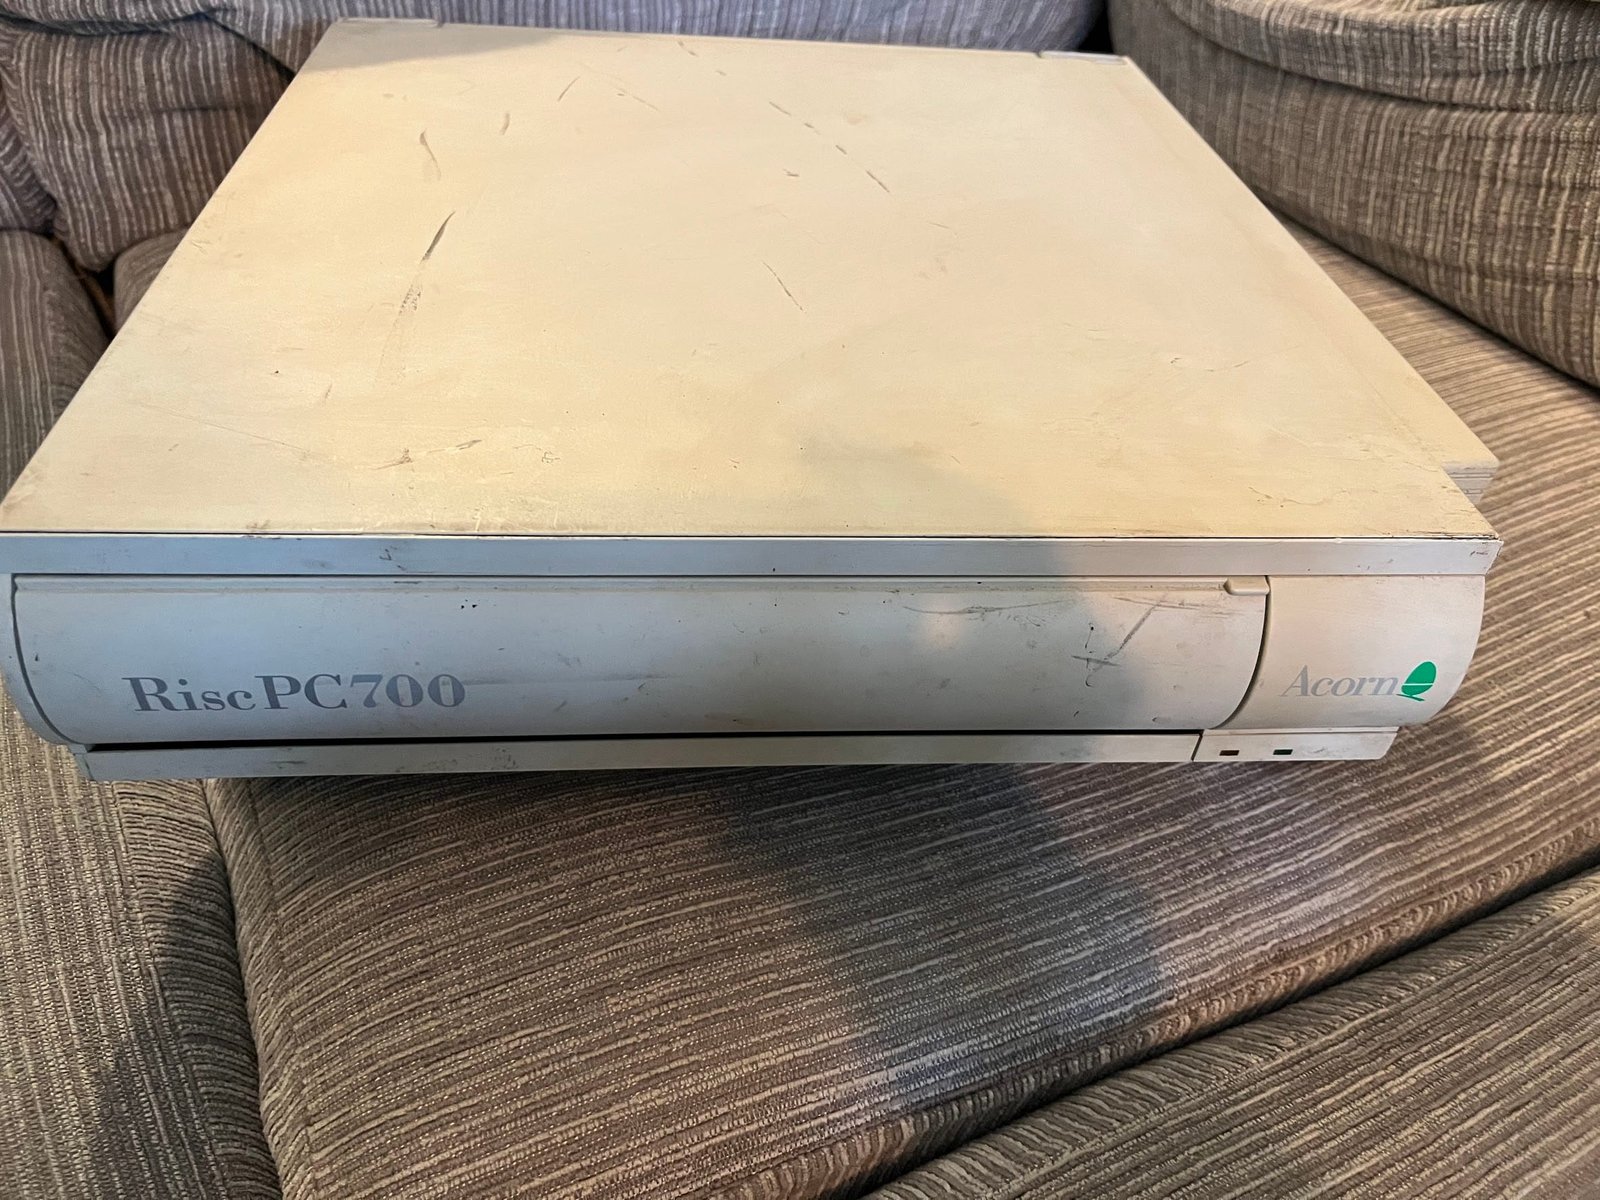
I bought an “untested” RiscPC 700 from eBay, of course this is usually eBay listing code for “it is faulty and I couldn’t fix it”. This is fine, I learn a lot about the machine from restoring it. This is what arrived:
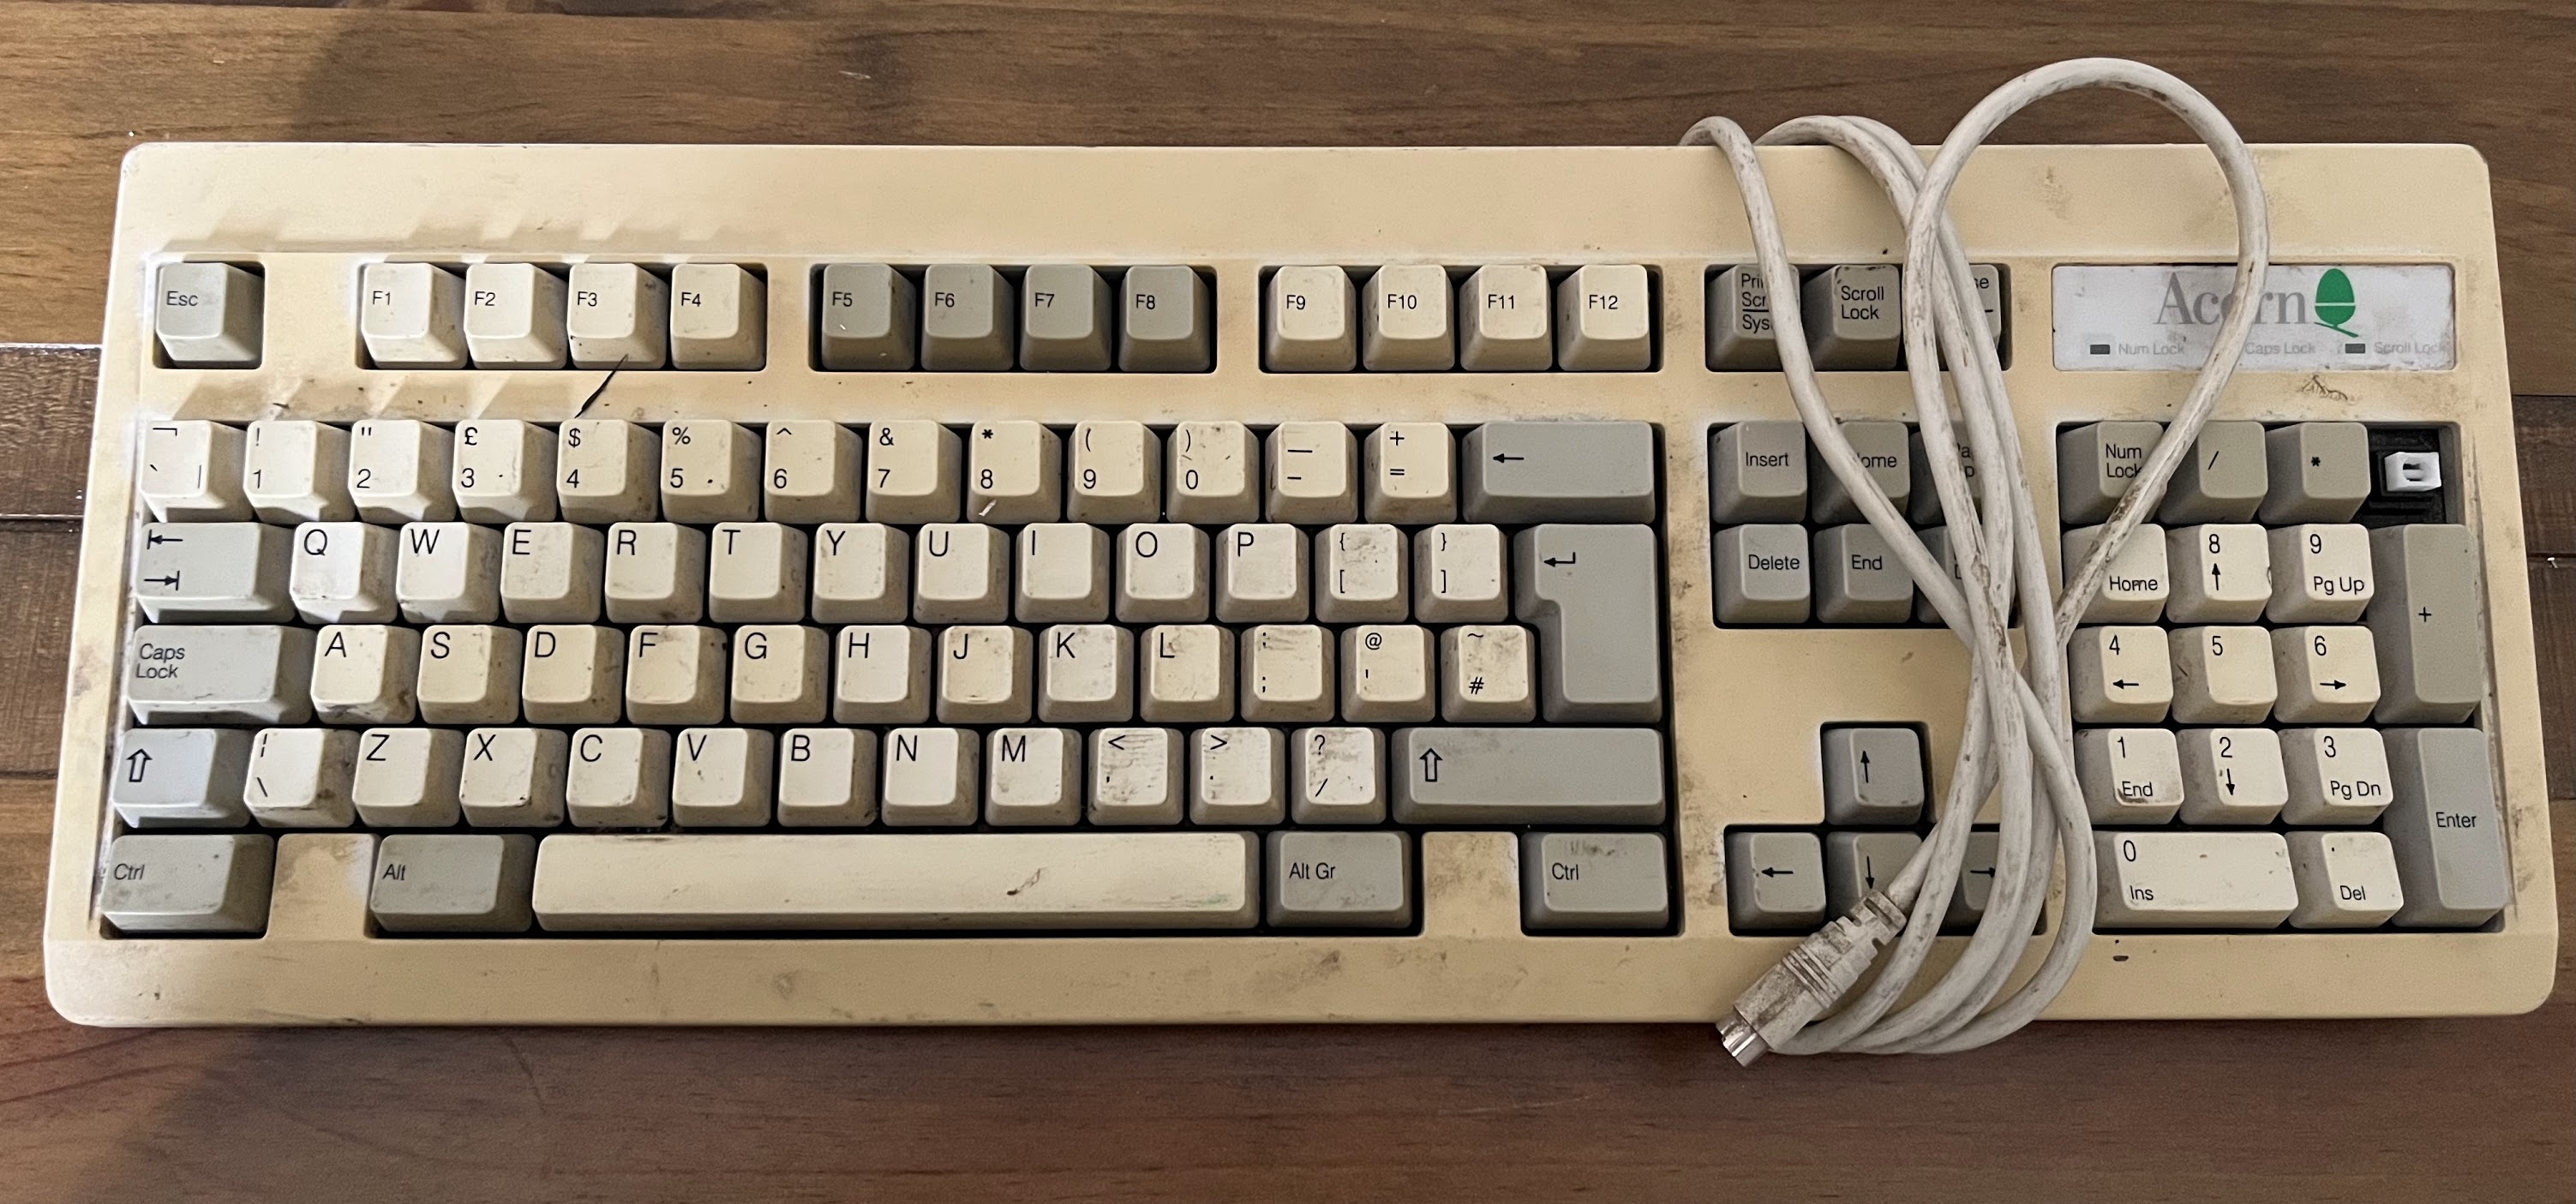

As you can see, it looks like it has been kept in a garage or somewhere similar. The plastics are going to need quite a bit of cleaning and the keyboard is missing a key. I might clean the keyboard up and obtain the missing key, or replace the whole thing. The keyboard is essentially an Acorn branded standard PS/2 keyboard.
As Dave from the EEVBlog would say “Don’t plug it in, take it apart”. I dare not turn it on at this stage without seeing what is inside. RiscPCs have a battery inside them, so I’m expecting some leakage. The machine is incredibly easy to disassemble, the case has two long pegs plastic which you unlock and pull out, then the lid just lifts off.
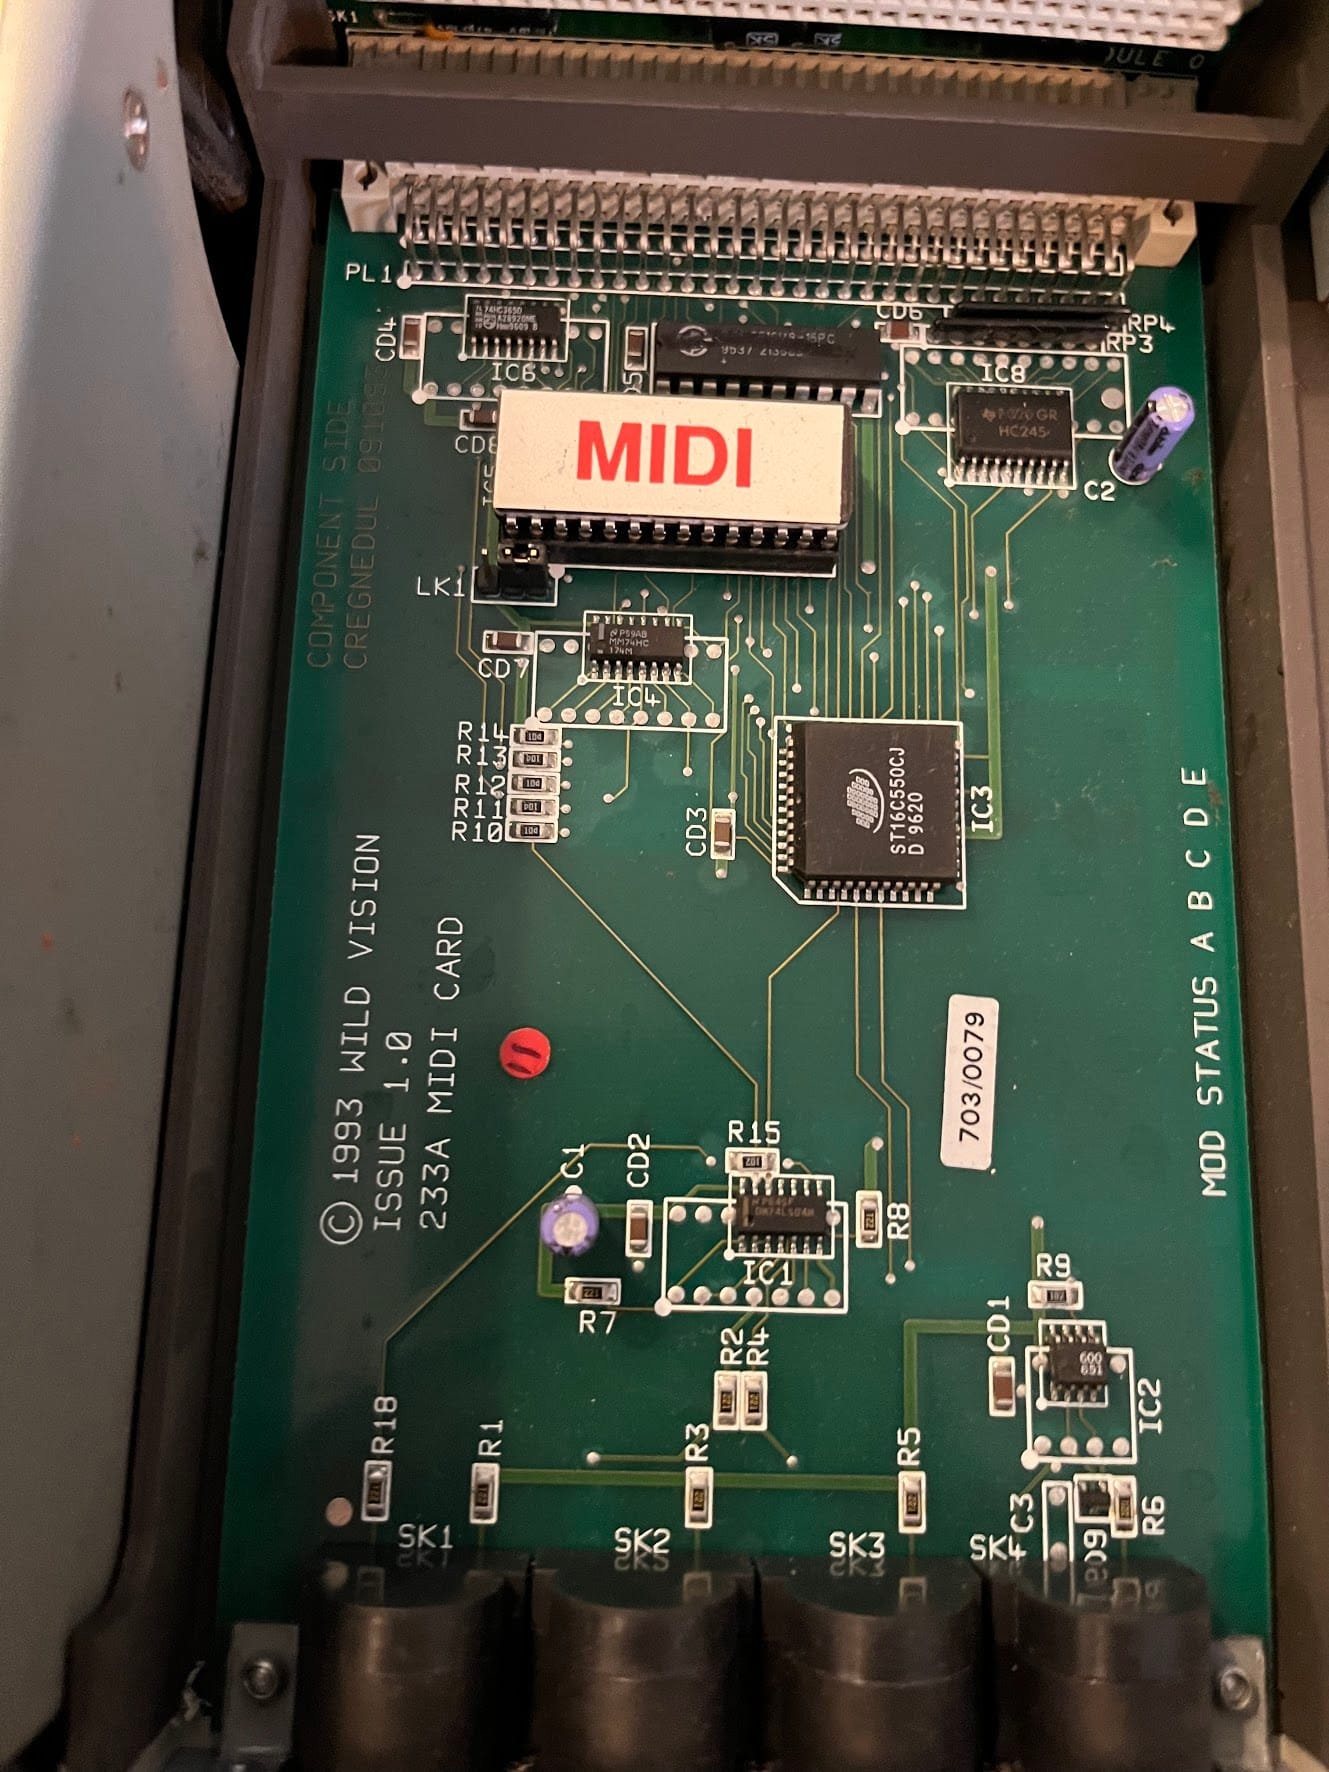
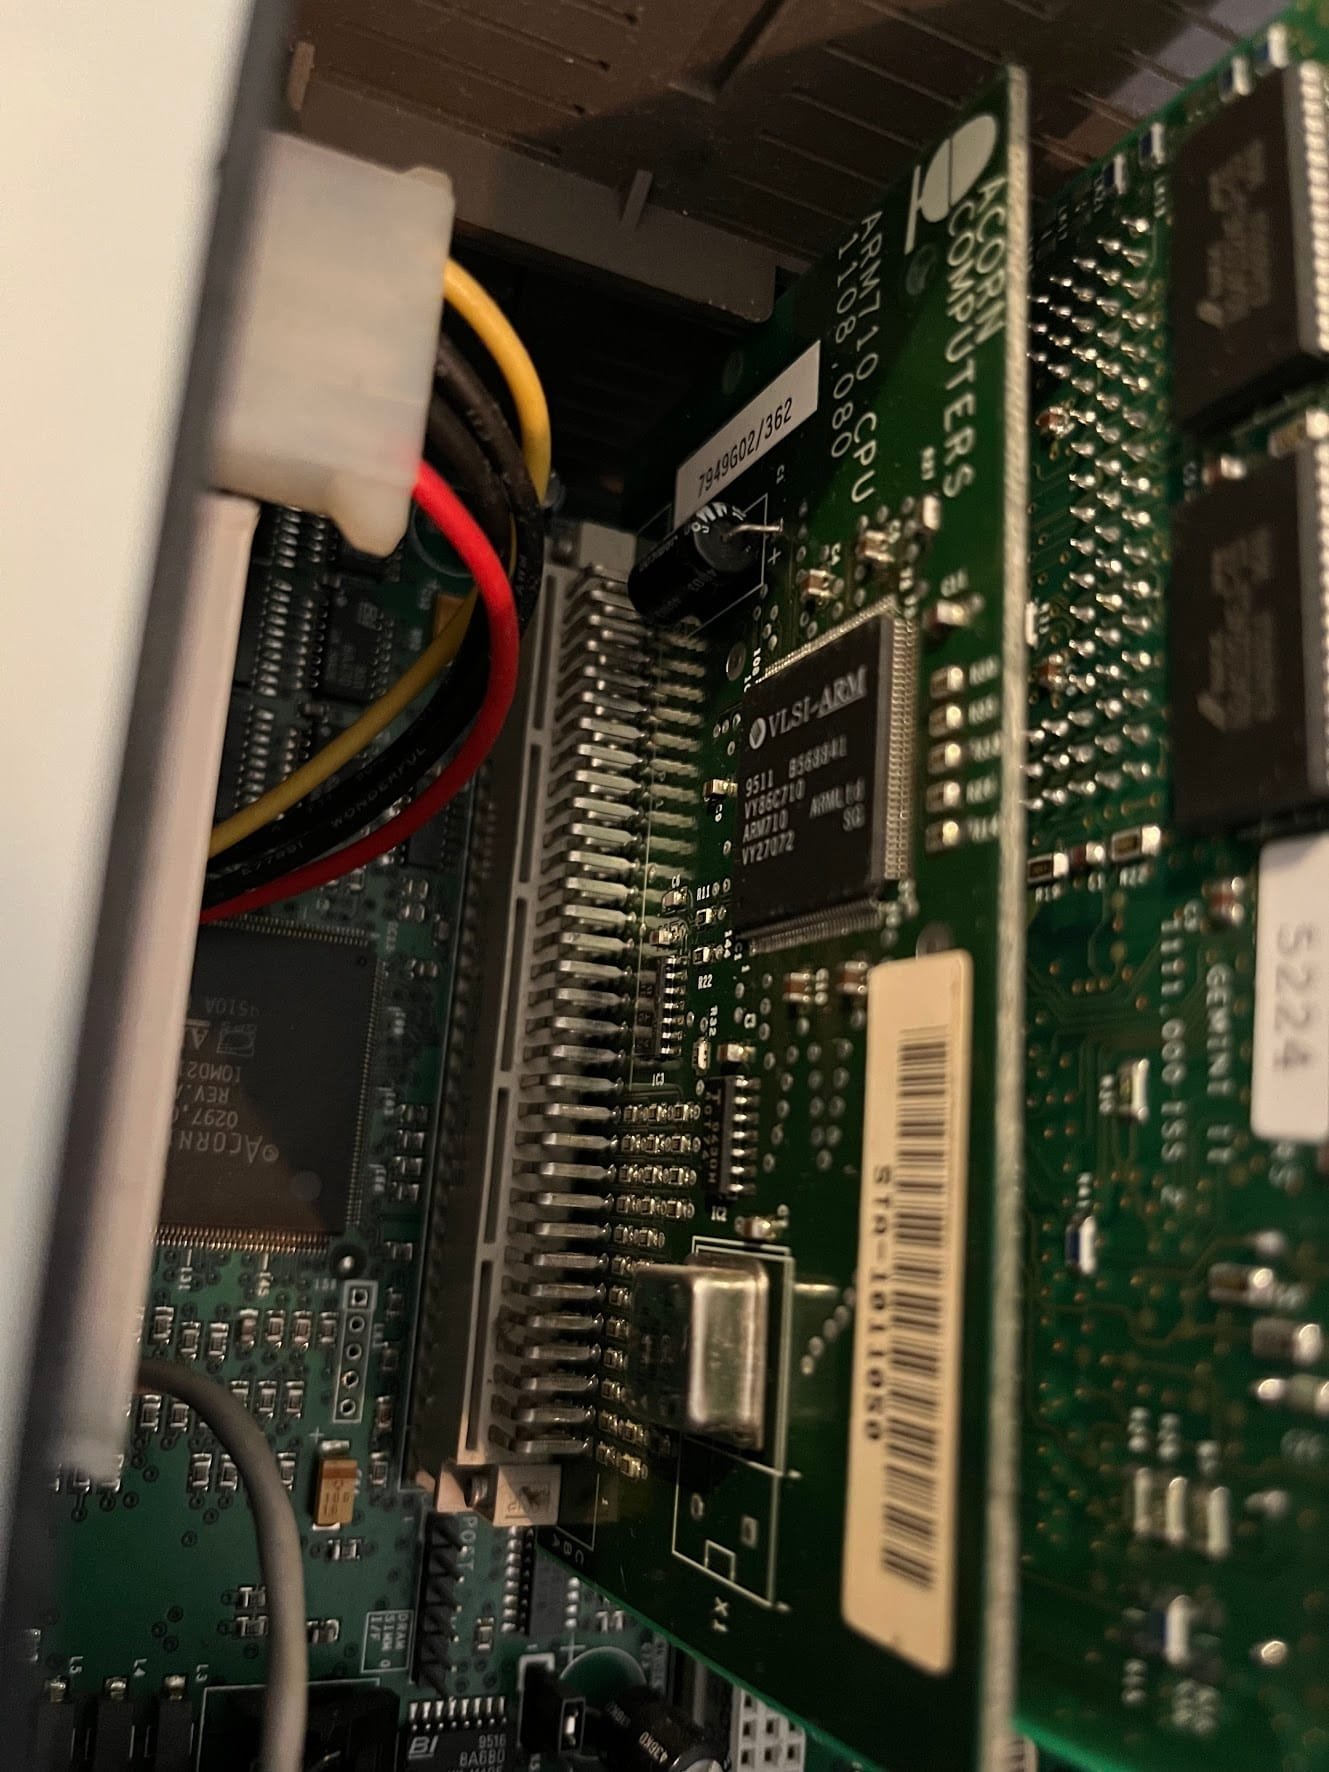
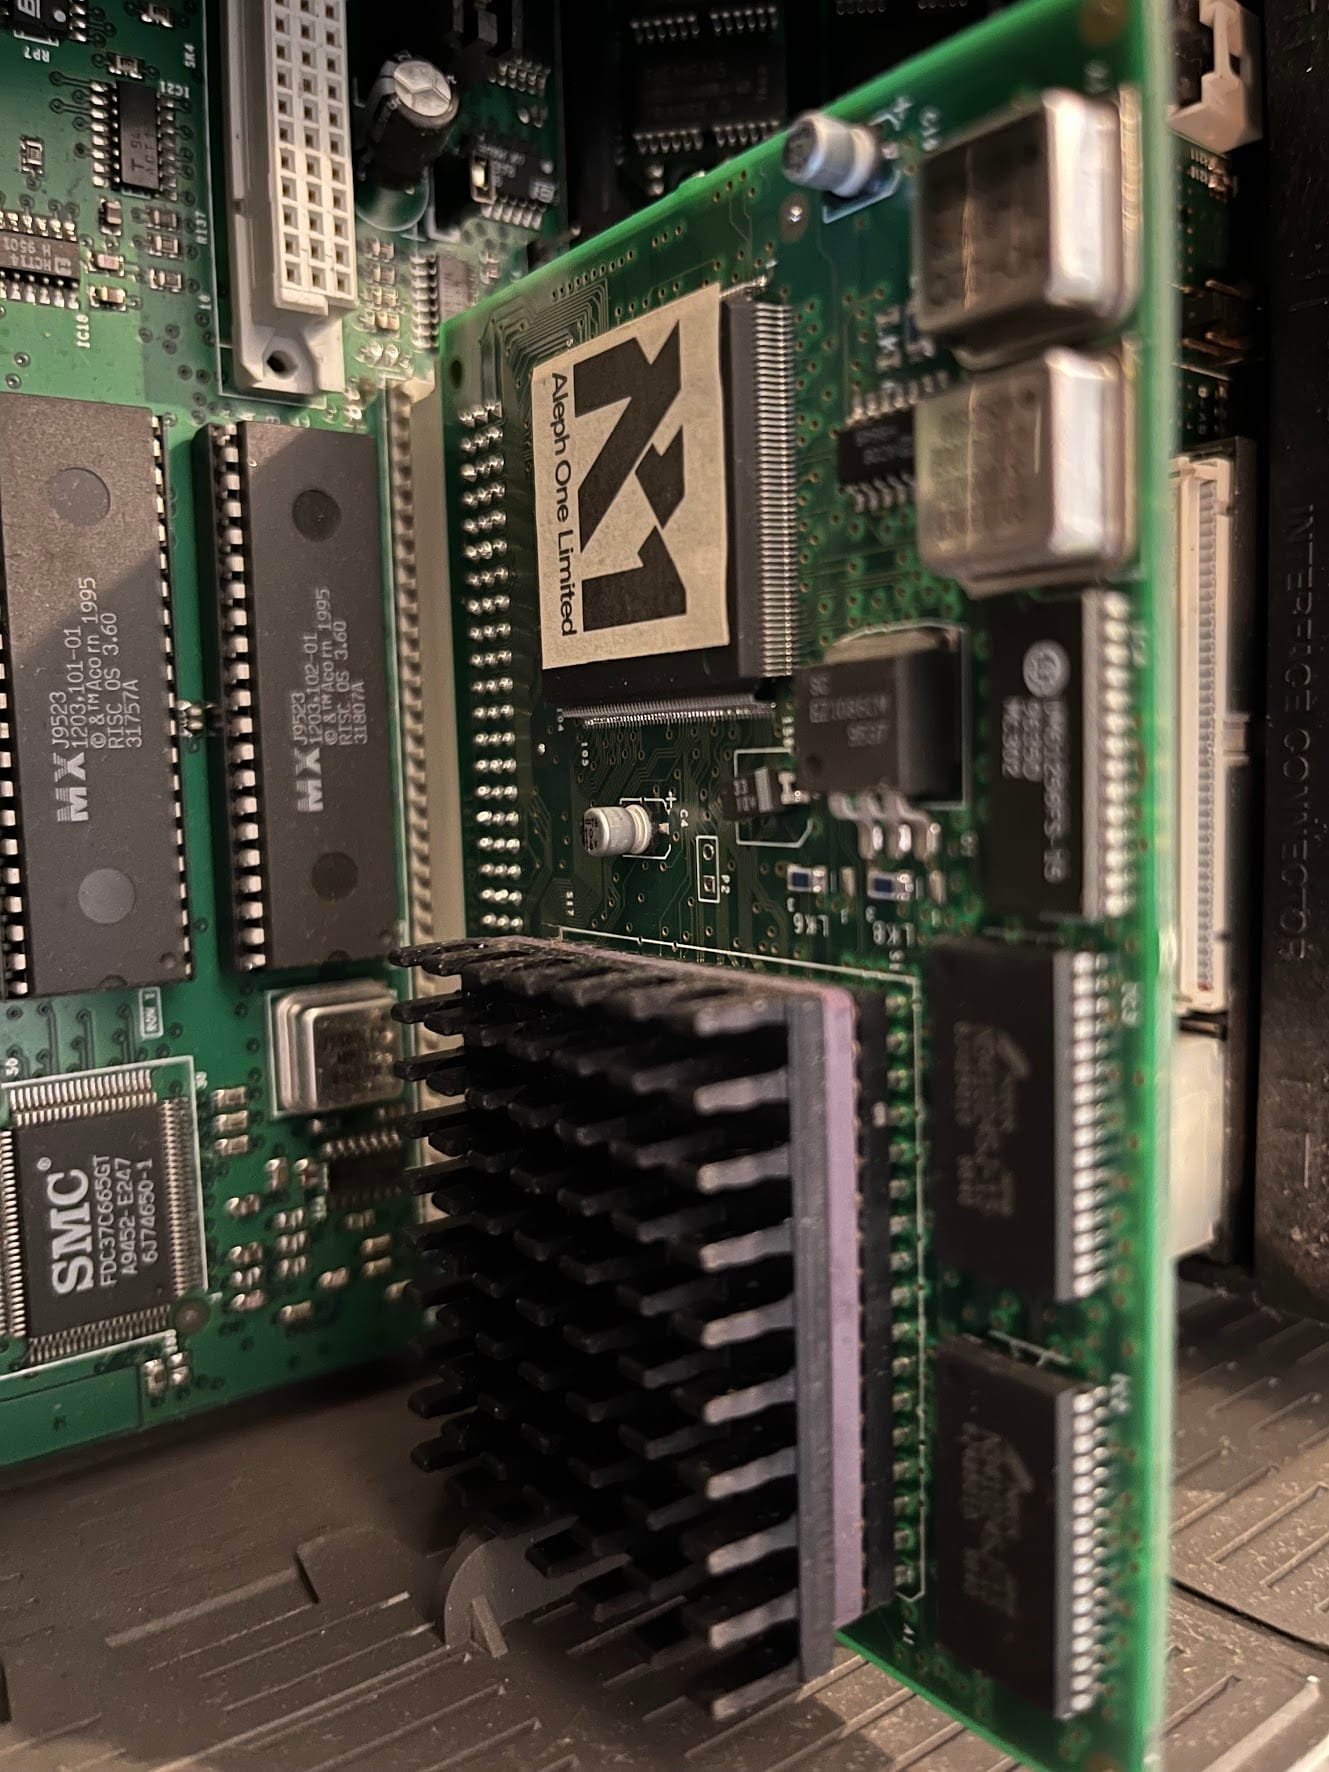
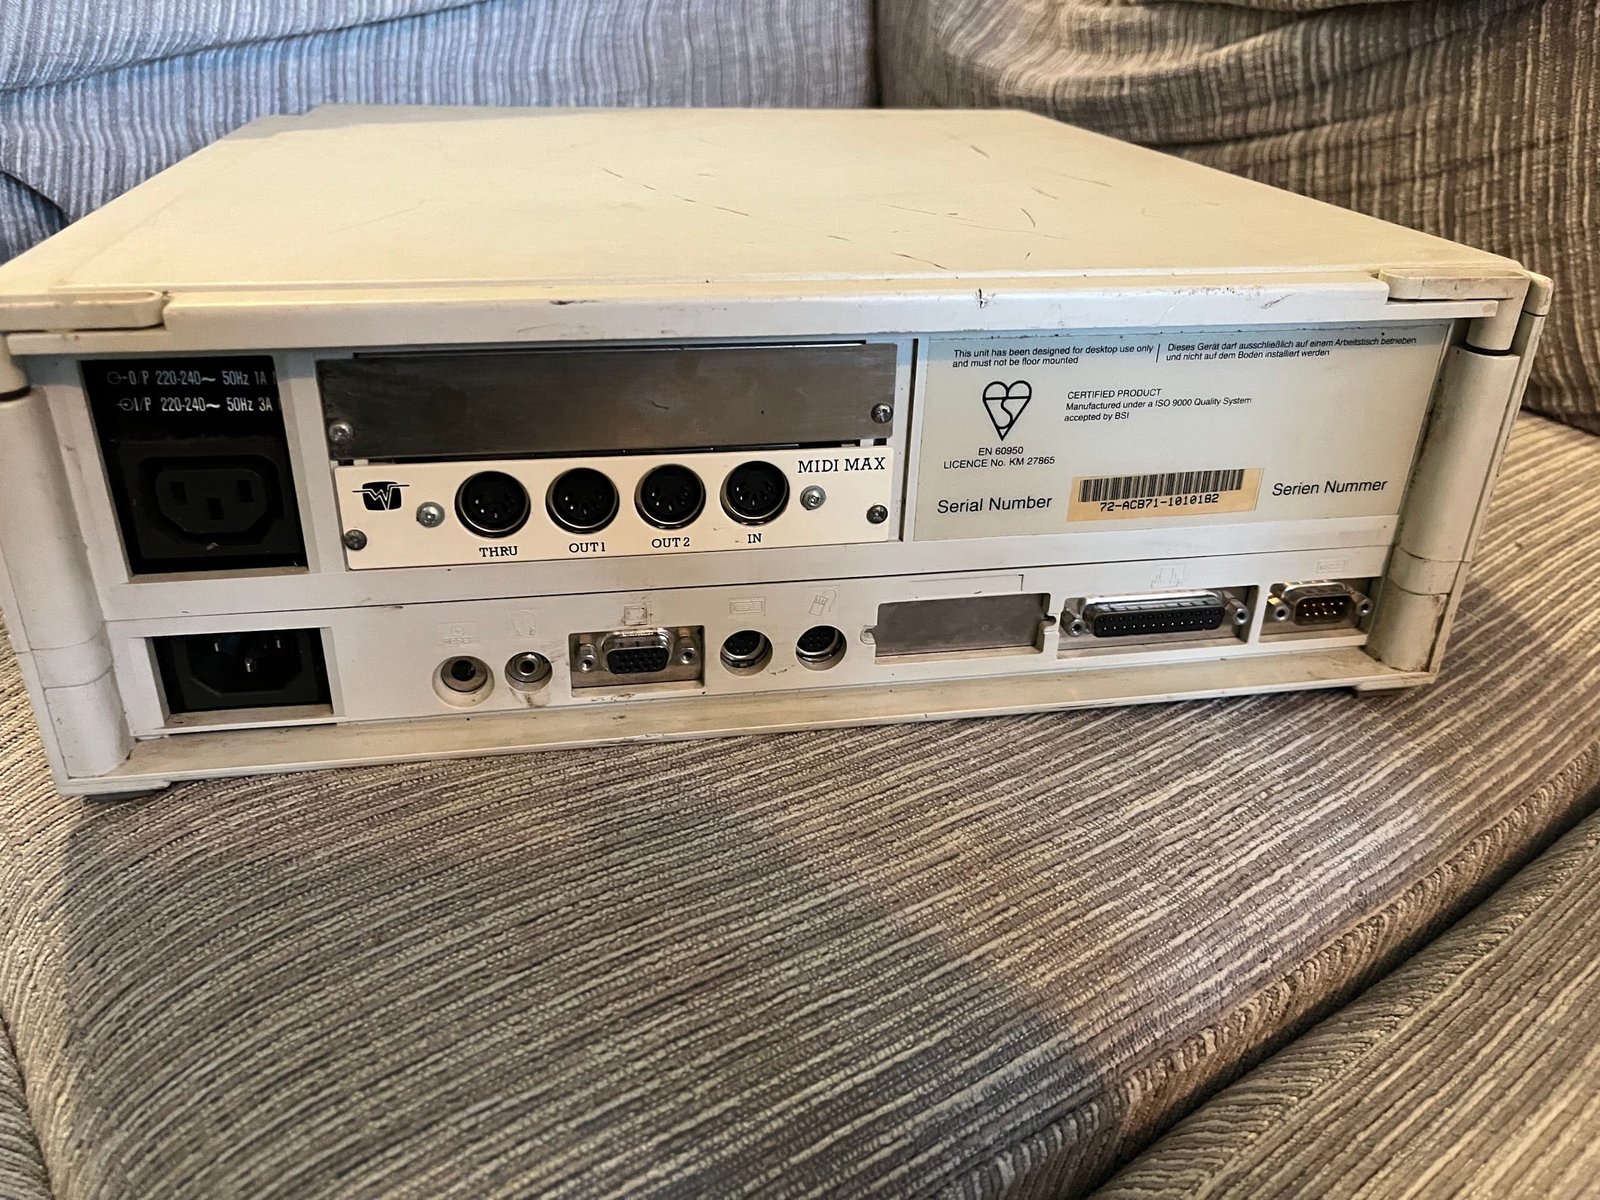
Inside we have a MIDI “Podule”, the ARM 710 CPU card (this was actually rattling around loose inside) and a 486 co-processor card. Due to the heatsink I can’t tell at this stage which 486 it is. It also has RISC OS 3.6 ROMs which is expected for this era. I believe these ROMs should give good compatibility unless I wish to upgrade to a StrongARM processor card, then I would need to use 3.7 as a minimum.
Once those cards are removed and the drive cables unplugged there are two more pegs inside and half the machine lifts off to reveal the full motherboard and hard drive.
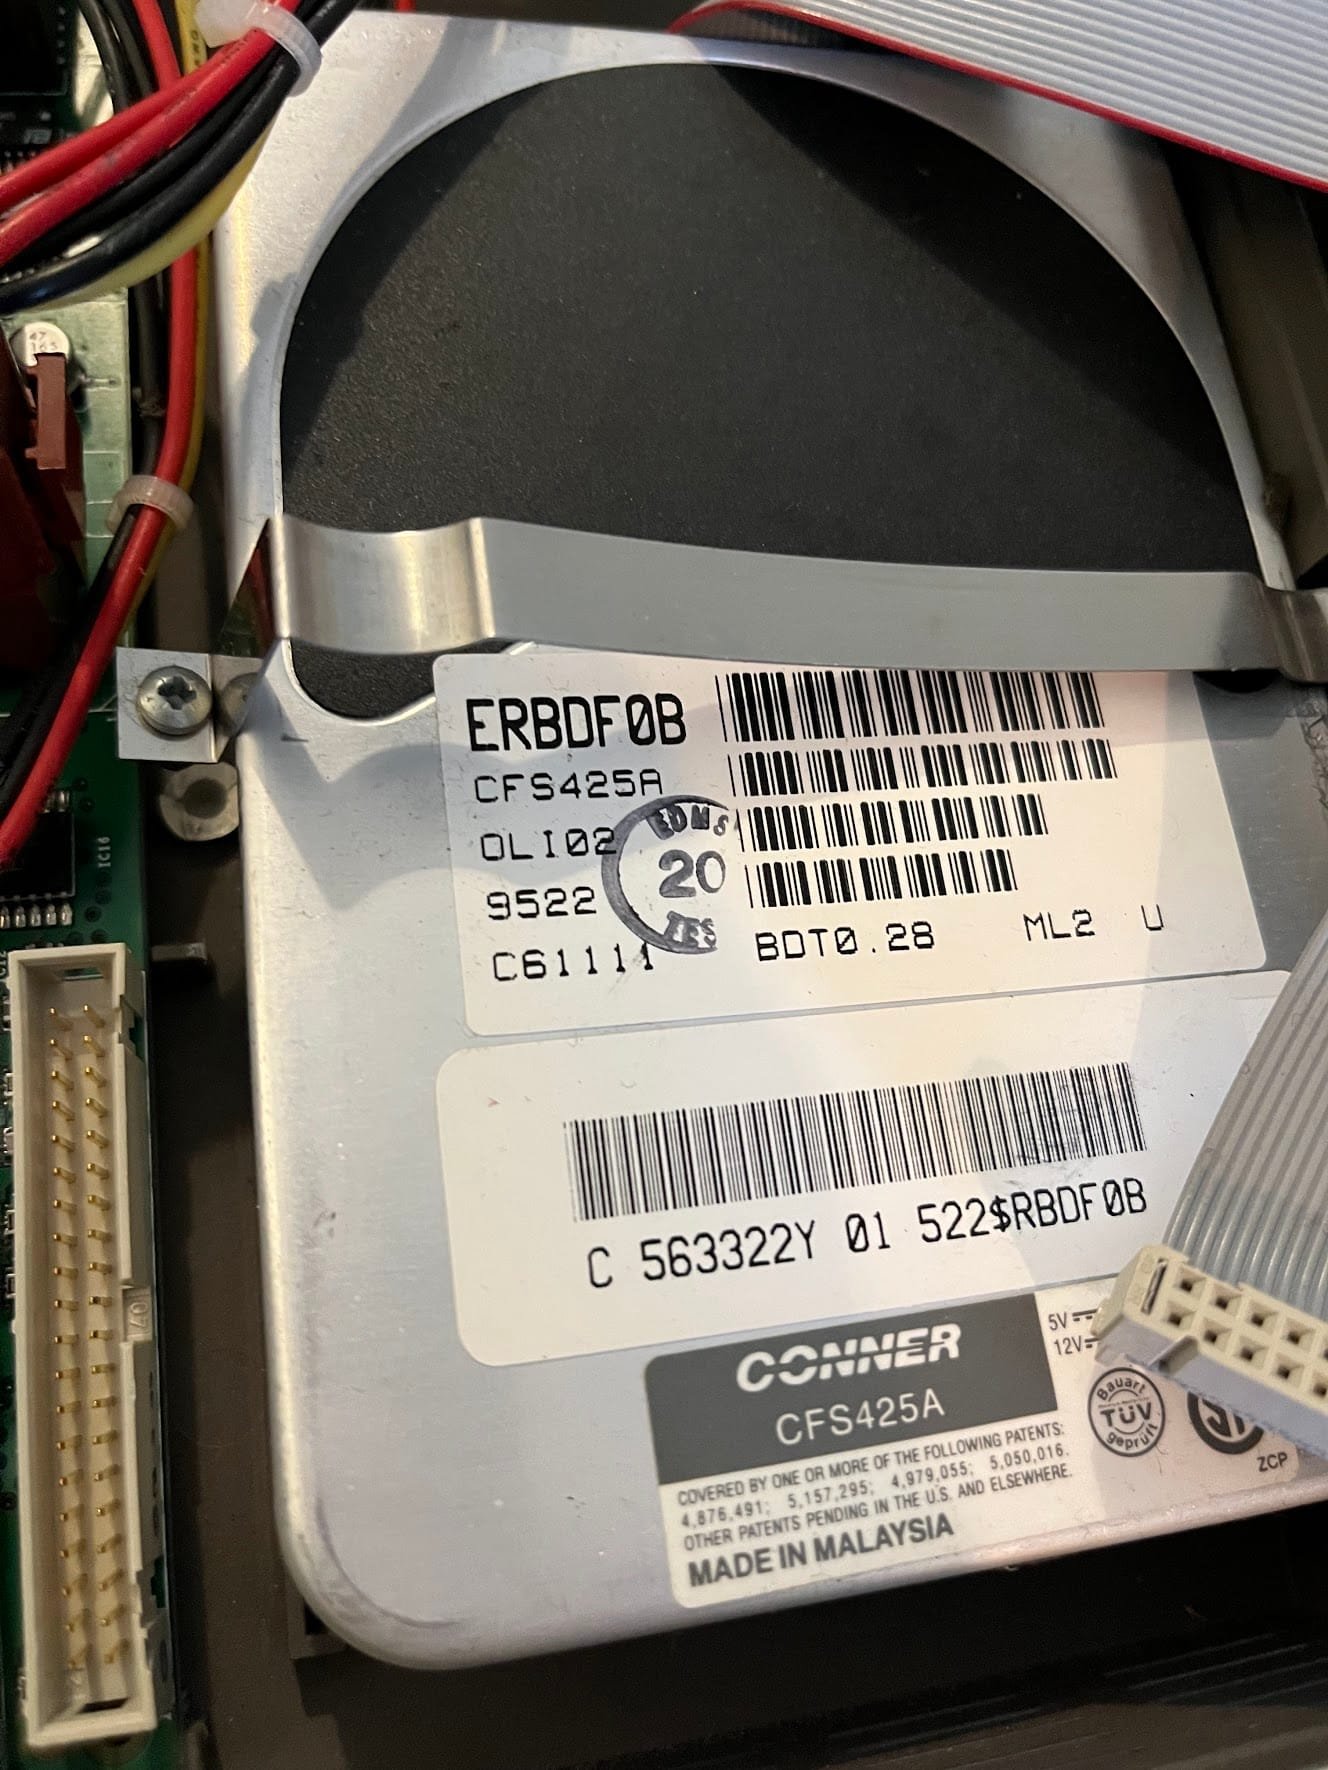
One of the holes for the hard drive bracket is broken, this is unfortunate but I will likely put a CF or SD card inside instead when I’m finished. There are also signs that someone else has disassembled it in the past, the drive cables were disconnected from the motherboard. My guess is someone tried to do a very quick diagnostics / repair to this machine and quickly gave up.
Battery Leakage
As for the motherboard, yes there is leakage.
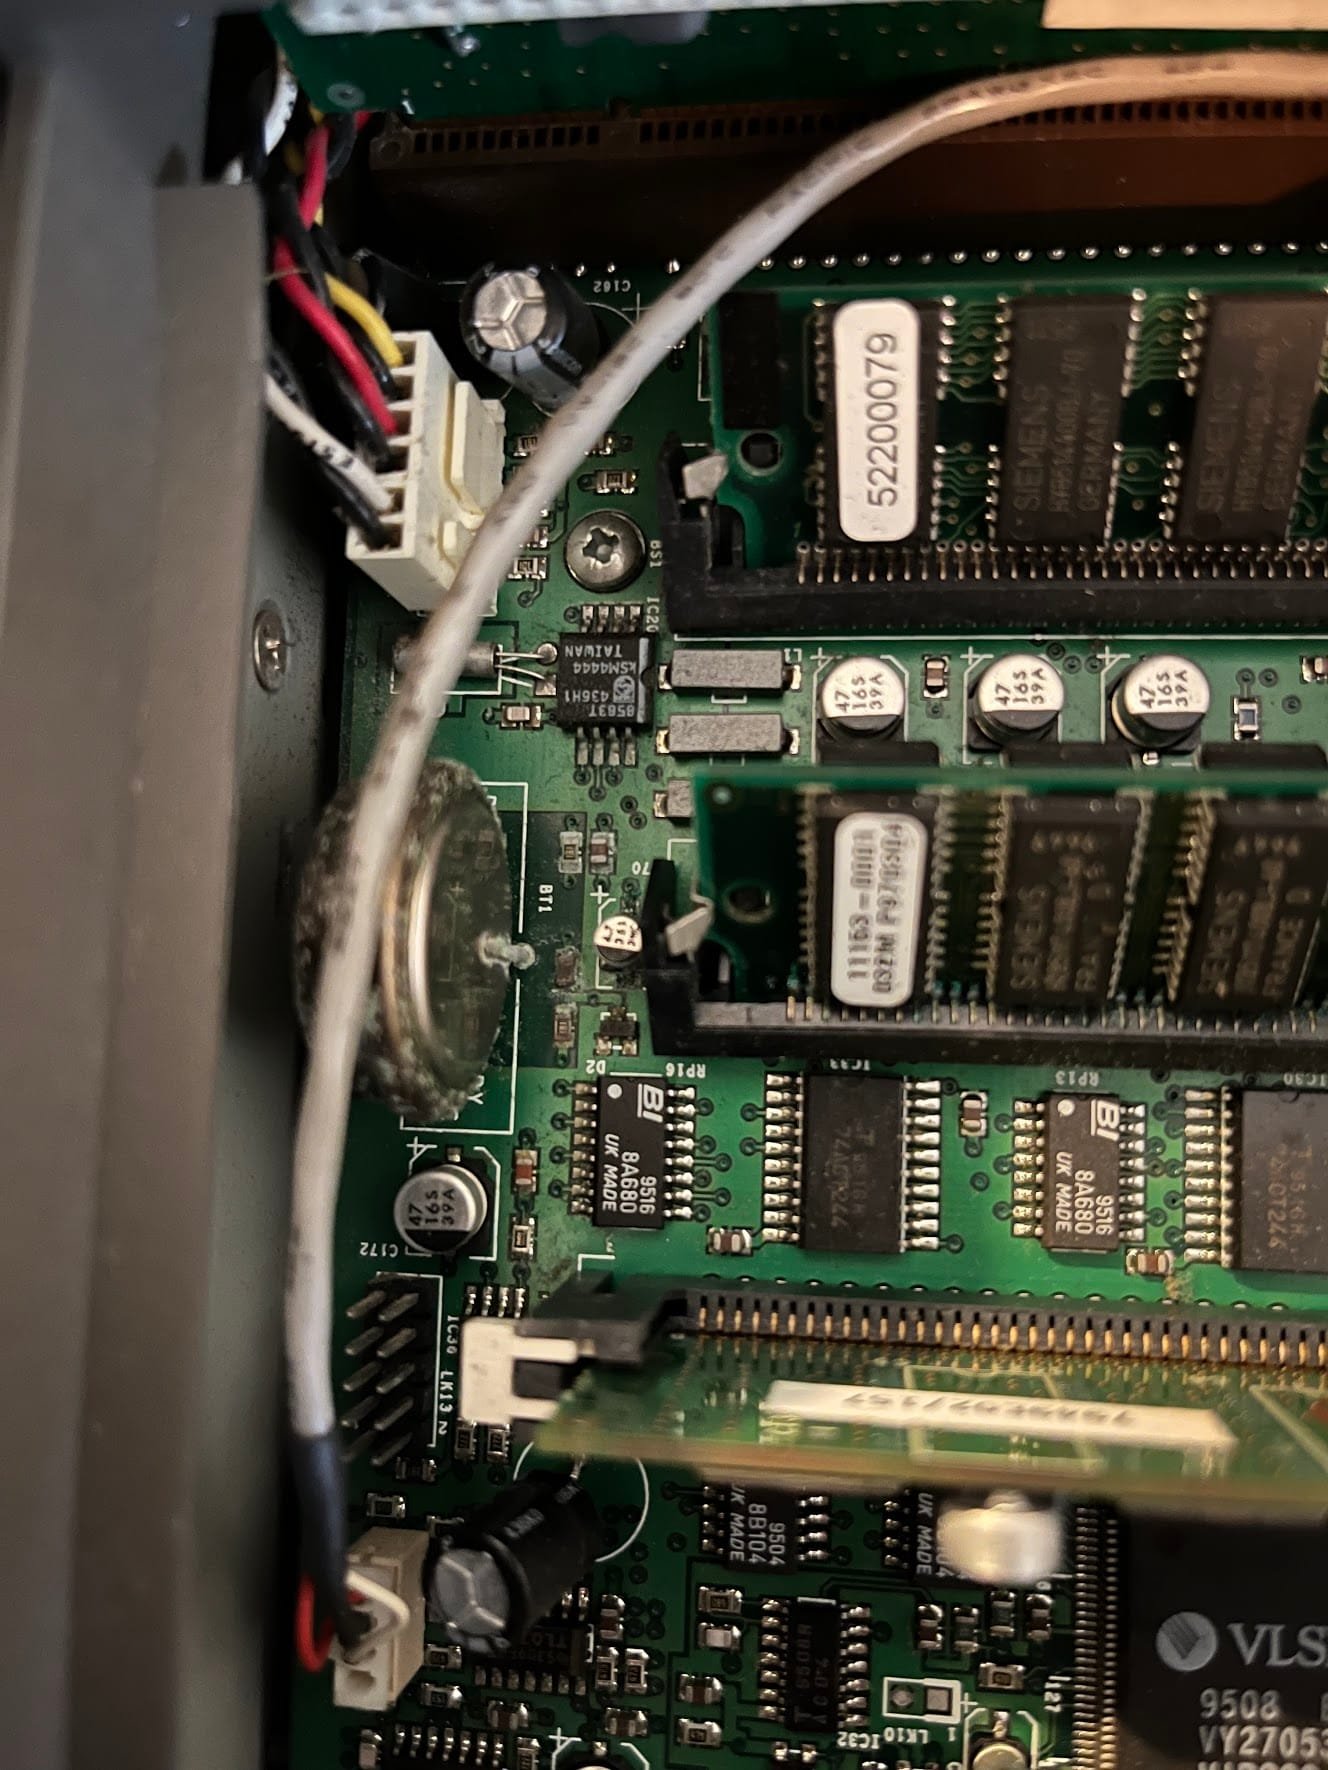
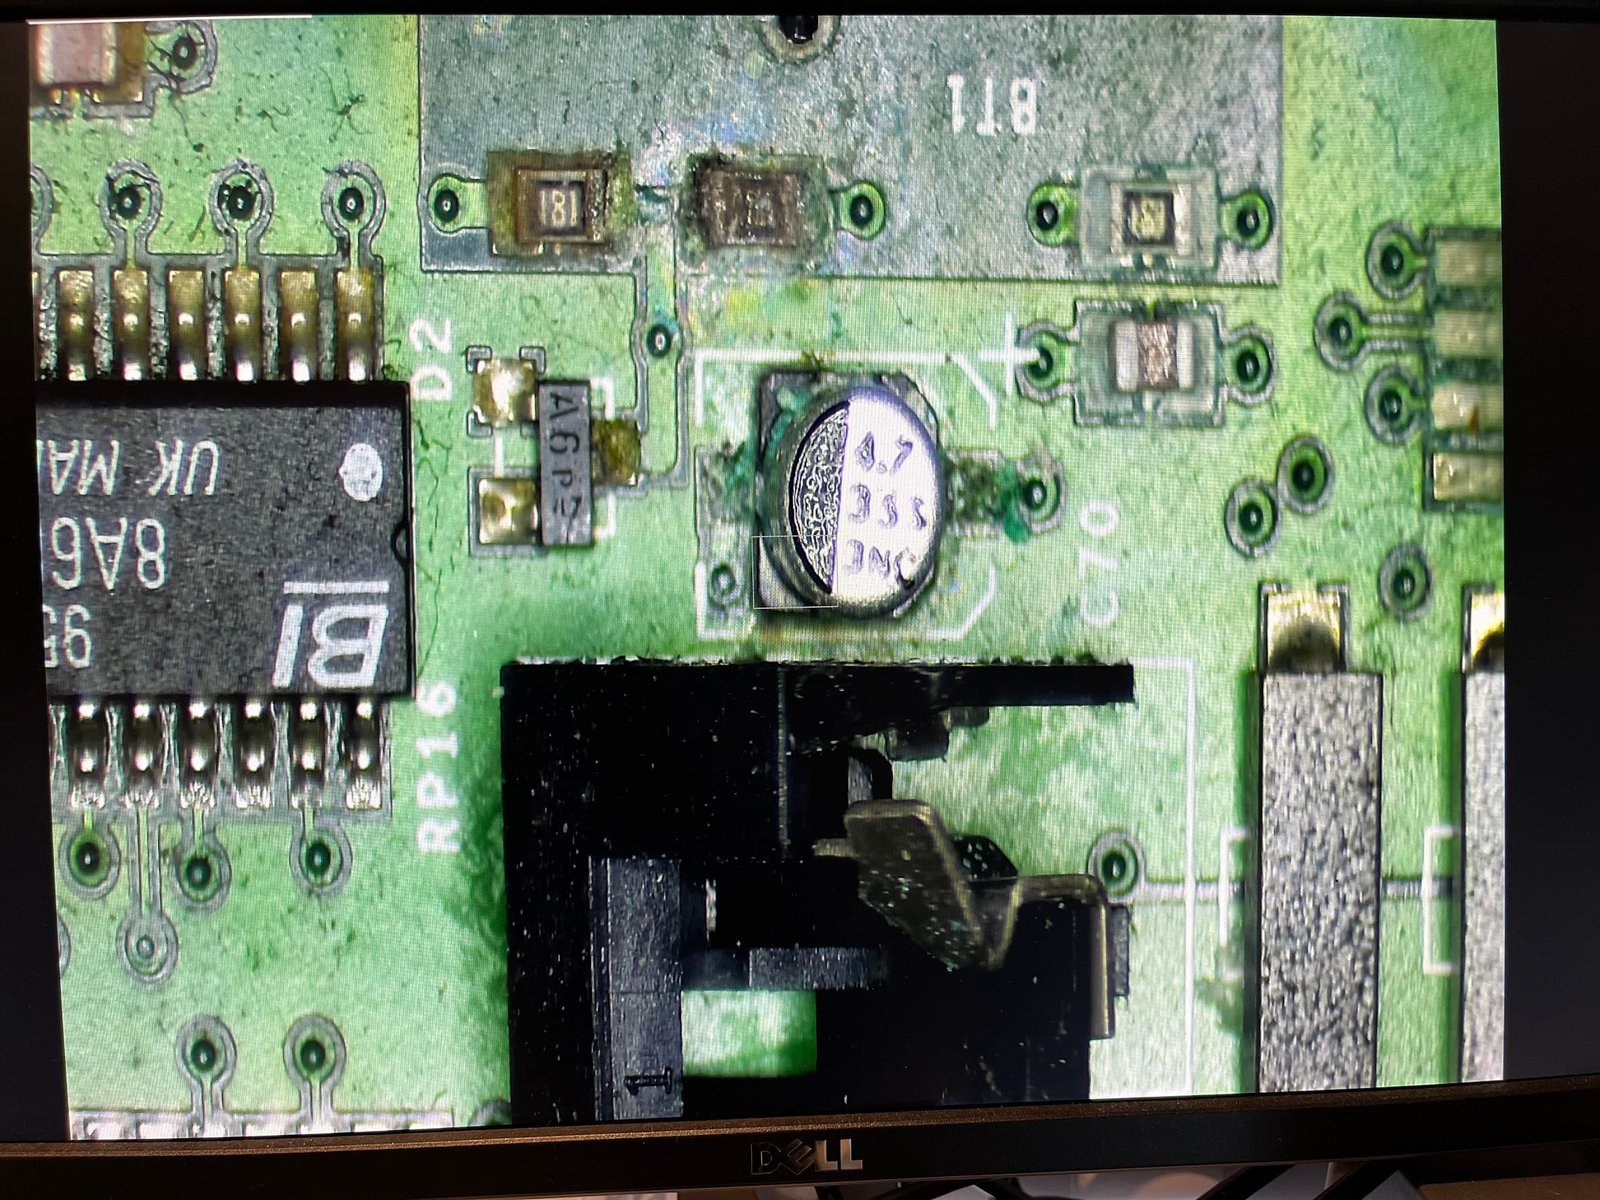
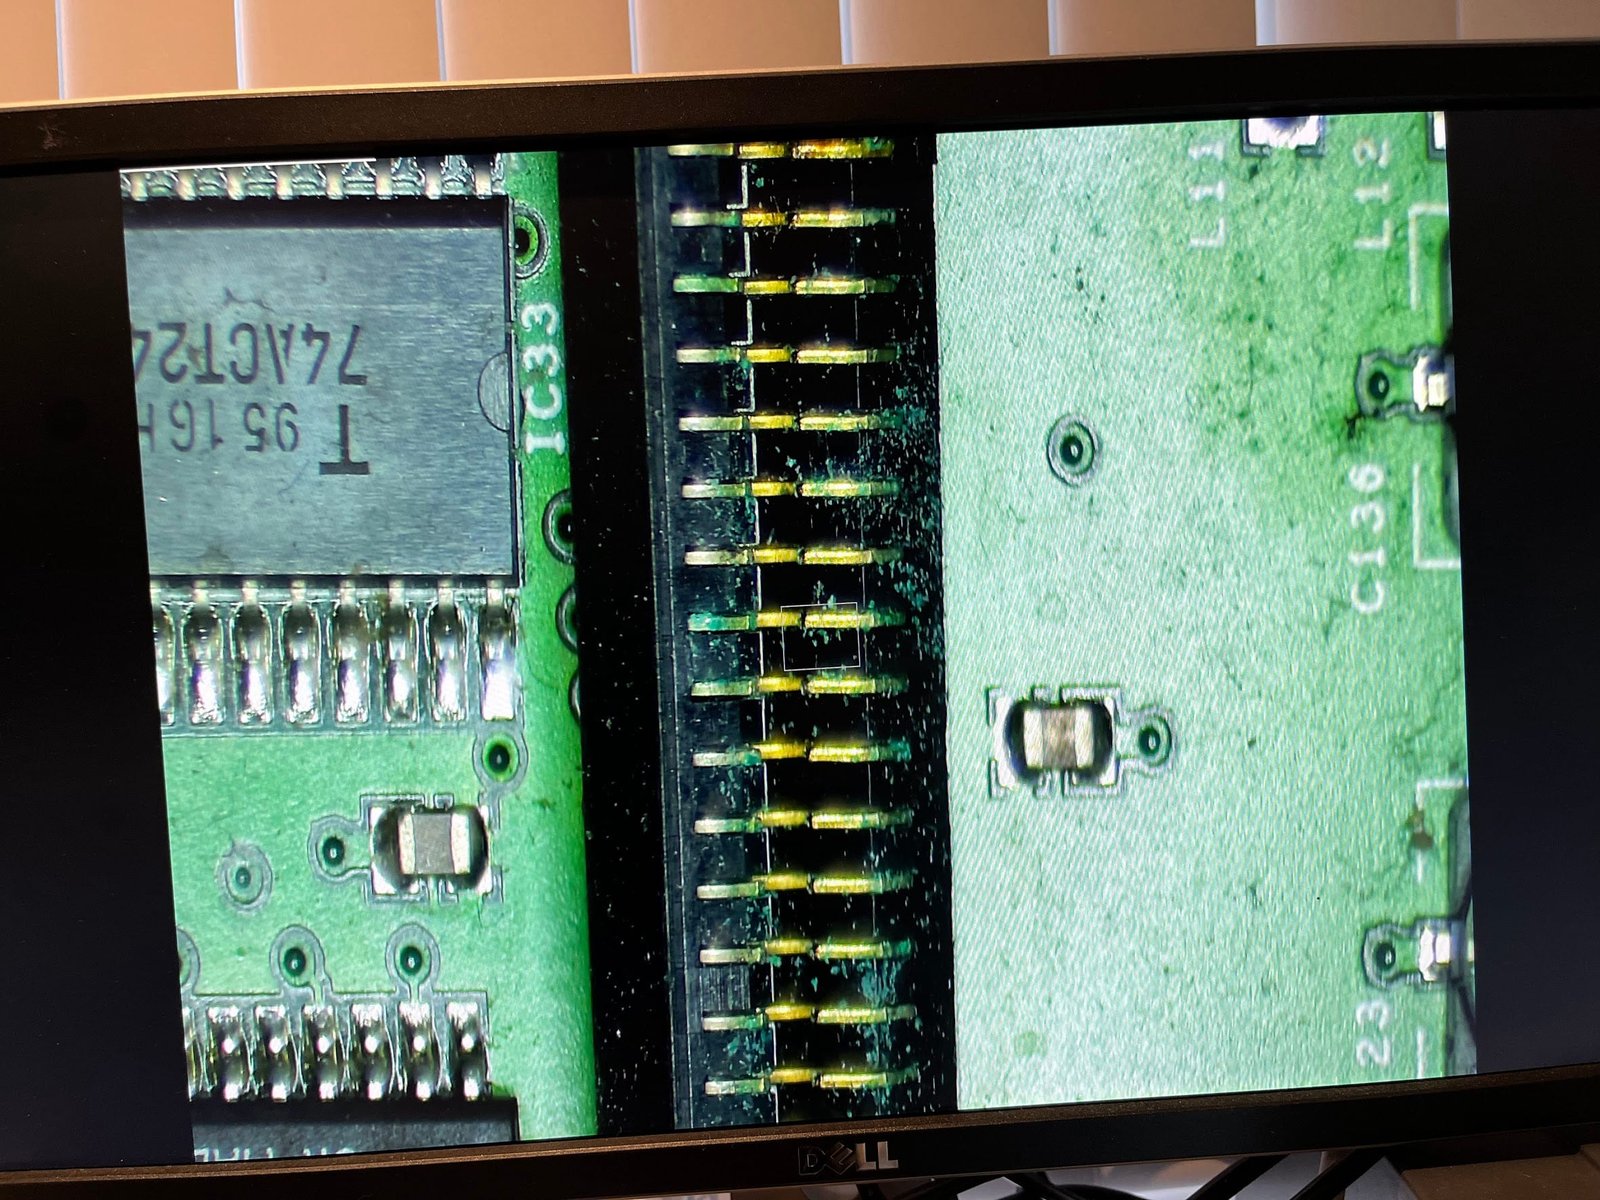
The second two are photos of my microscope screen after I cut the battery off. The passives around the battery have some corrosion around them, these are for the CMOS chip’s power. The more concerning part is one of the SIMM sockets and one of the SIMMs have corrosion over them.
An application of vinegar and a cleanup later and the SIMM socket appears to be fine, but the SIMM itself is not cleaning up as well, I might try and clean it further or replace it. I believe this machine can run with just one SIMM. We’ll find out when I get to testing it.

I was concerned about trying to desolder that SMD electrolytic capacitor, but it turns out there was no need for concern. When I applied the vinegar it fell off. The corrosion must have been the only thing attaching it to the motherboard. For now it isn’t essential, it basically provides power for the transition between mains electricity and battery for the non-volatile settings.
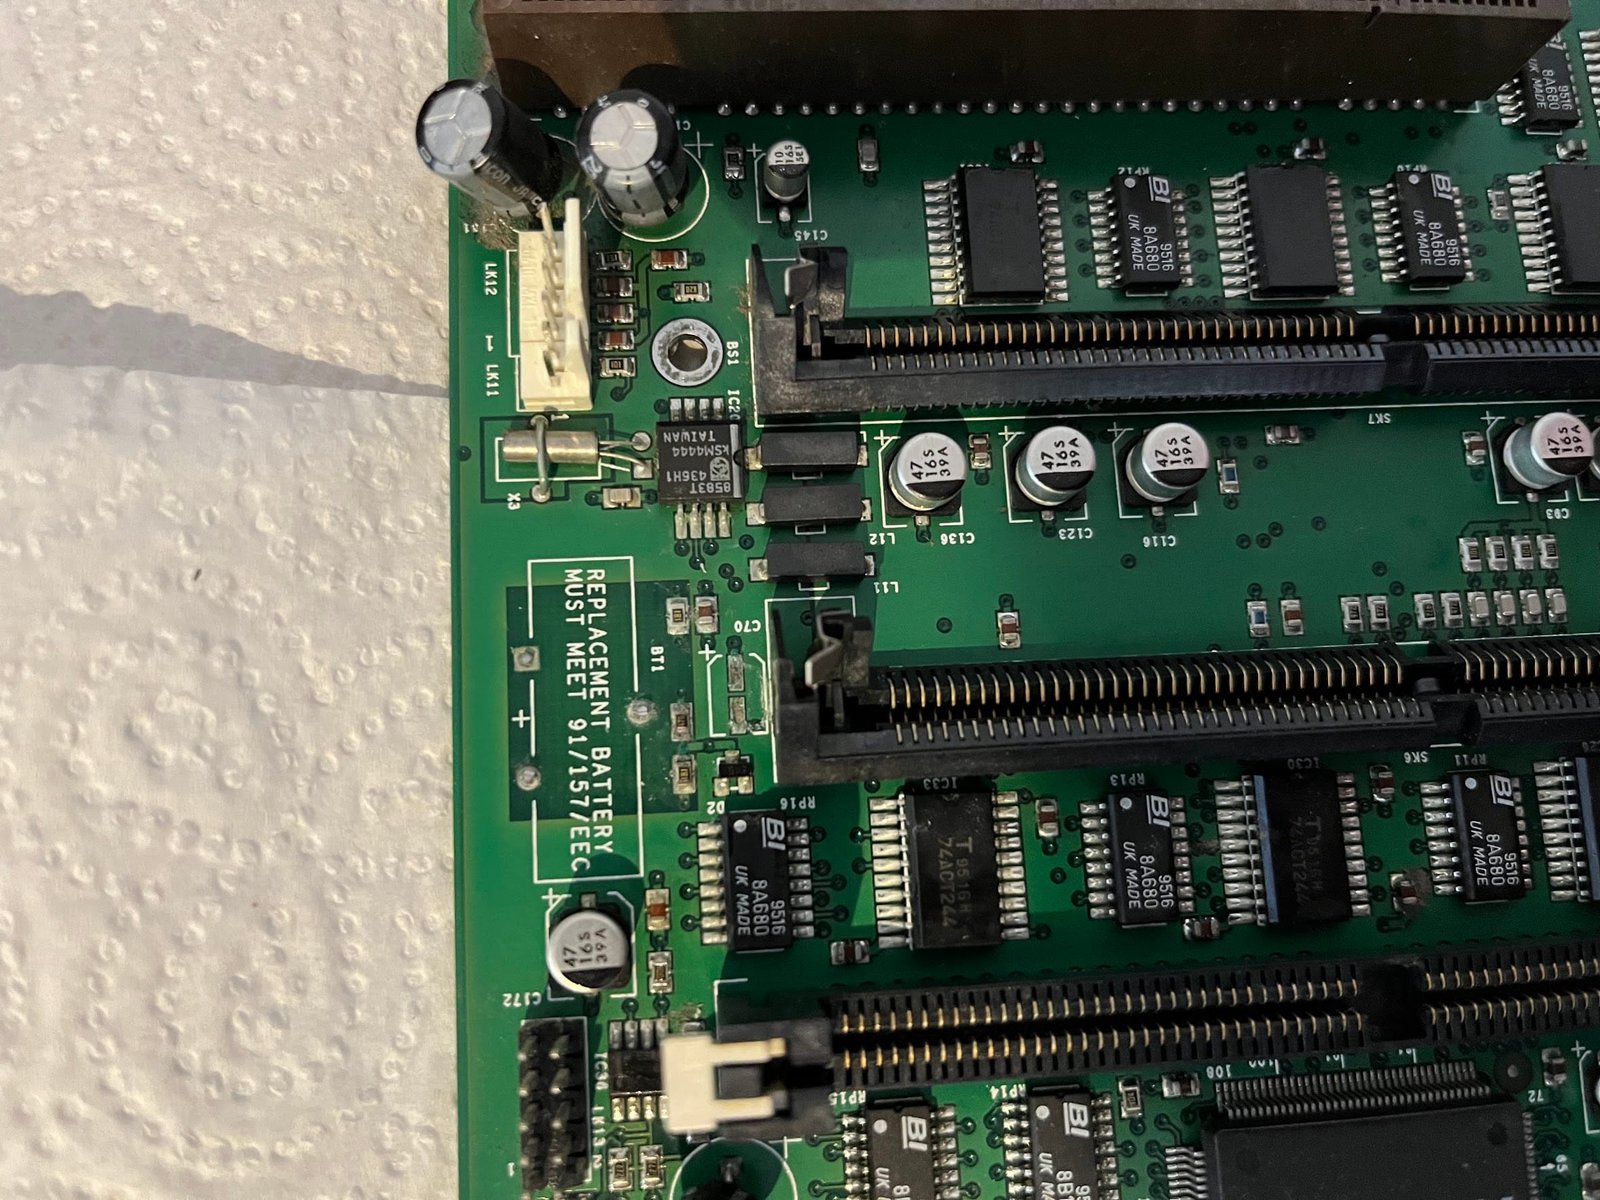
As you can see, the motherboard is already looking a lot better. I’ll probably need to use a fibre pen to clean up a little more.
Next Steps
Next up I want to check the PSU over, check / replace the passives in the battery area. Then we’ll see if this machine can boot!
I can’t get over how easy this thing was to take apart either. So far I’ve remove 4 pegs, 2 screws for the podule and 1 screw for the motherboard. This is a very well designed case. You can even buy modules to fit on top to make the case much larger and give you extra drive / podule capacity.
Leave a Reply