
In my last post I got the RiscPC to a working state, but there was still some work to do so that it can become usable. This has been more work than I anticipated.
Upgrades
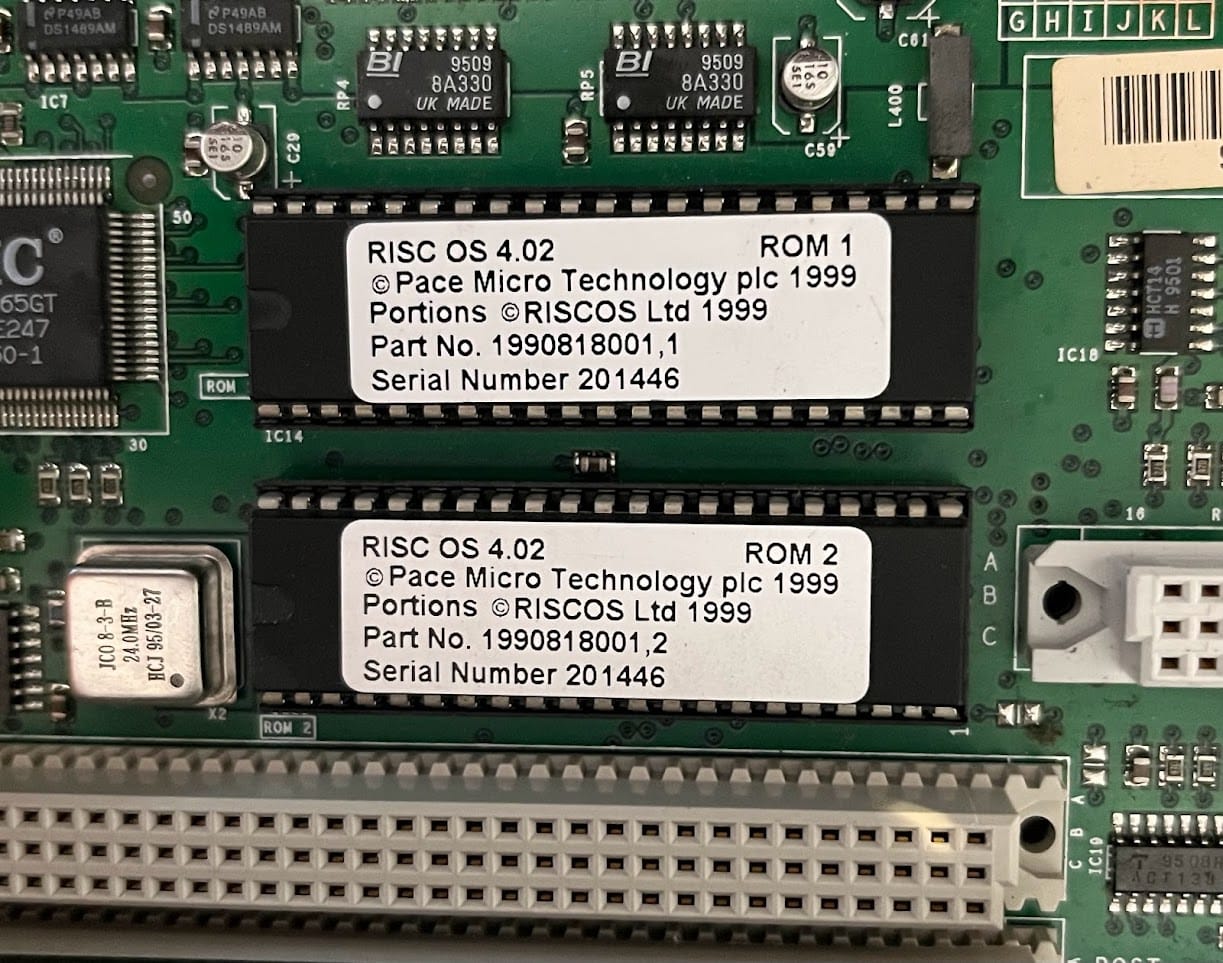
I had decided on a couple of upgrades for this RiscPC. The first is an upgrade to RiscOS 4.02. This version has much better filesystem support, including long file names and larger drives, whilst keeping somewhat compatible with most software.
The upgrade comes in the form of two ROMs and a CD to setup a hard drive.
Next up is the RAM, I found some cheap sticks on eBay that I figured out had 16MB on each side based on the chips. The description didn’t state the size of them. I took a gamble that they might be double sided, unfortunately it didn’t pay off, but a stable 32MB RAM is better than what I had before.

Hard Drive
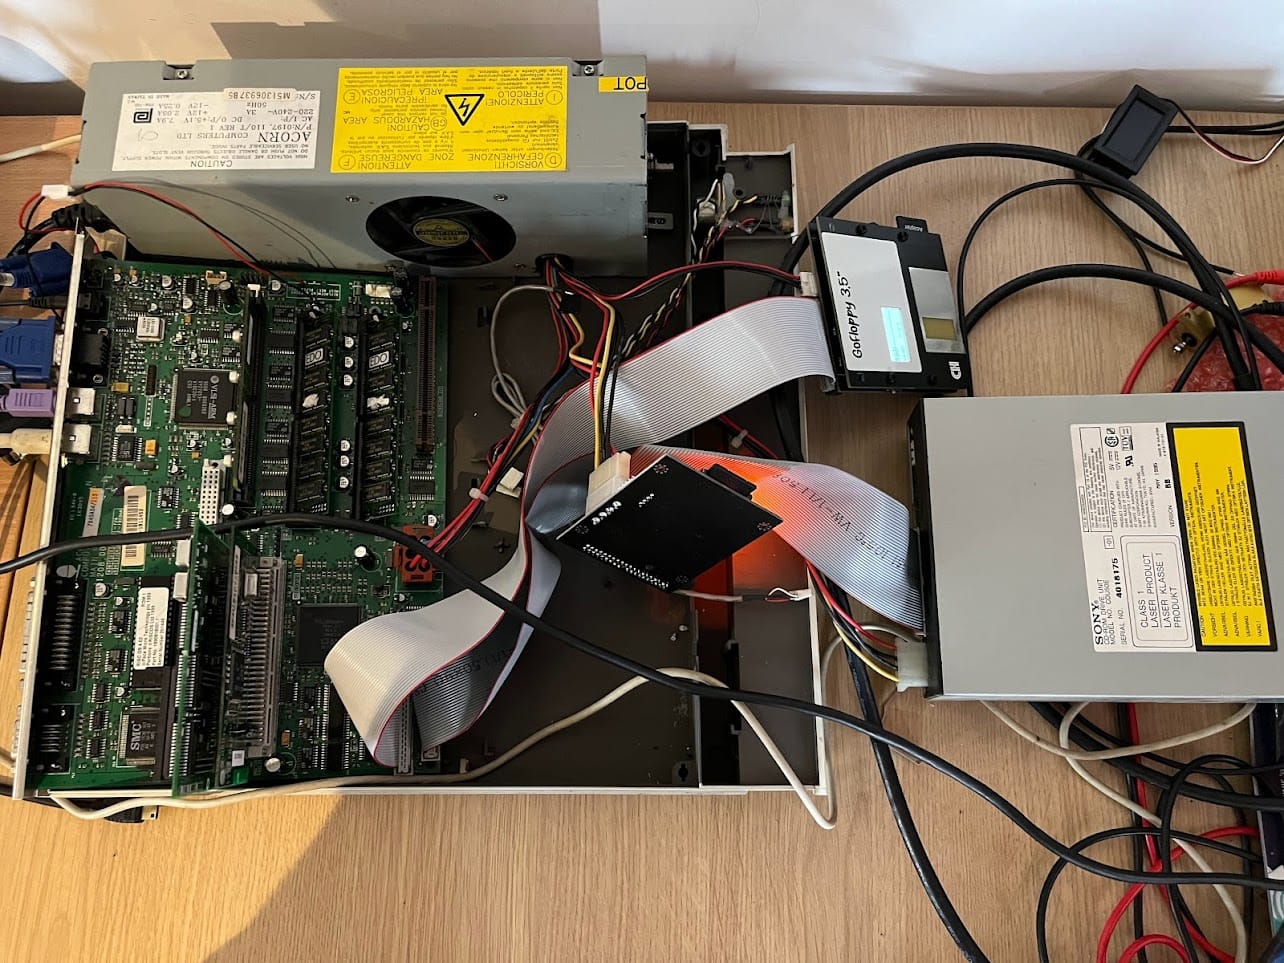
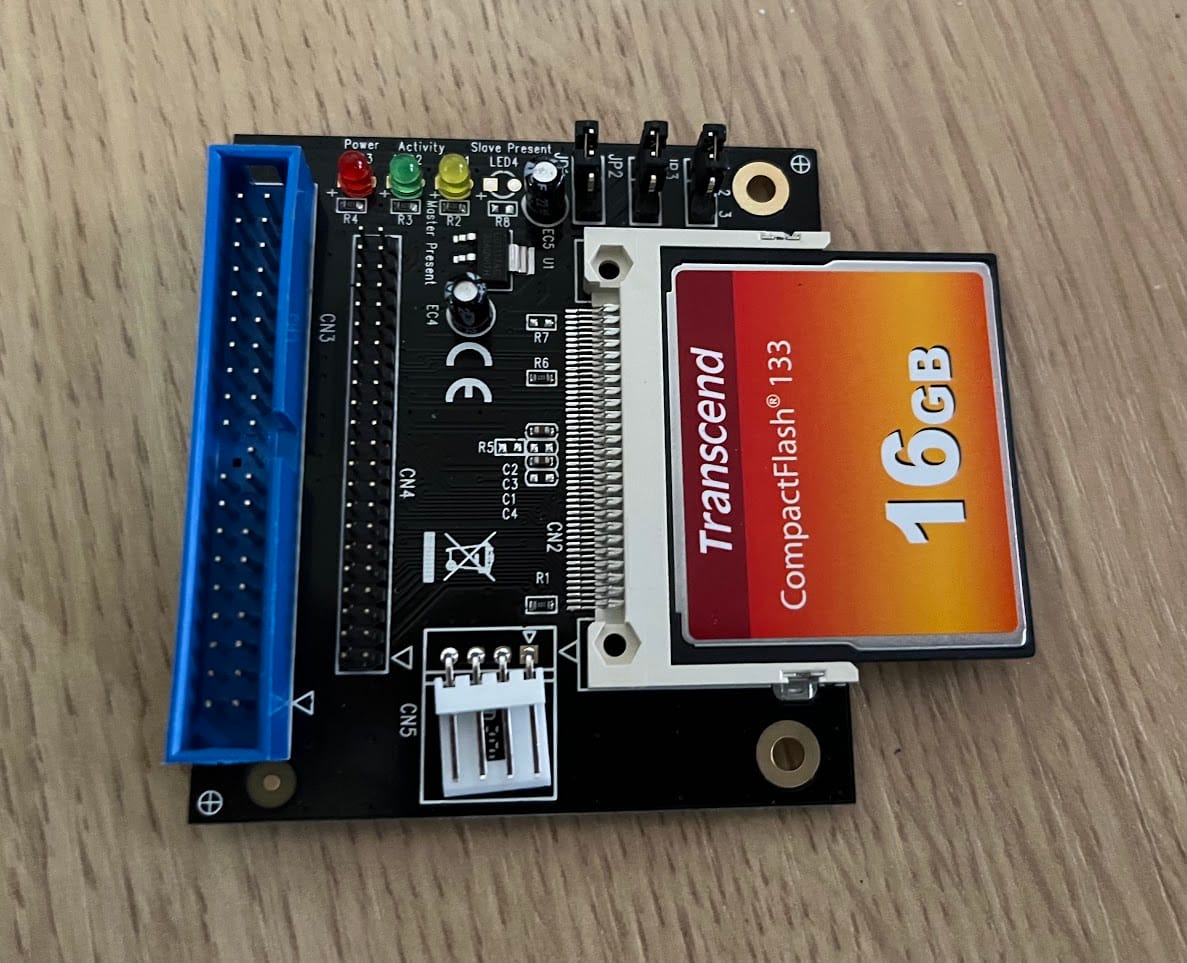
I mentioned in my previous post that I wanted to install a CF card based hard drive into this, eliminating the need for an old spinning-rust IDE drive. I tried for quite a while to get the following to work.
I failed. It turns out that an IDE device needs to support an old PIO mode properly to work. This CF card did not and was giving me different random issues. I even tried formatting on my RiscOS Raspberry Pi and then trying to use the formatted disk on the RiscPC, no joy there either.
So, I discovered that certain SD->IDE devices using the FC130x chips support legacy PIO modes quite well, they are often used for very old PCs in retro computing. I gave this one a try which I knew had the right chip (an FC1307A), it can be found on Amazon.
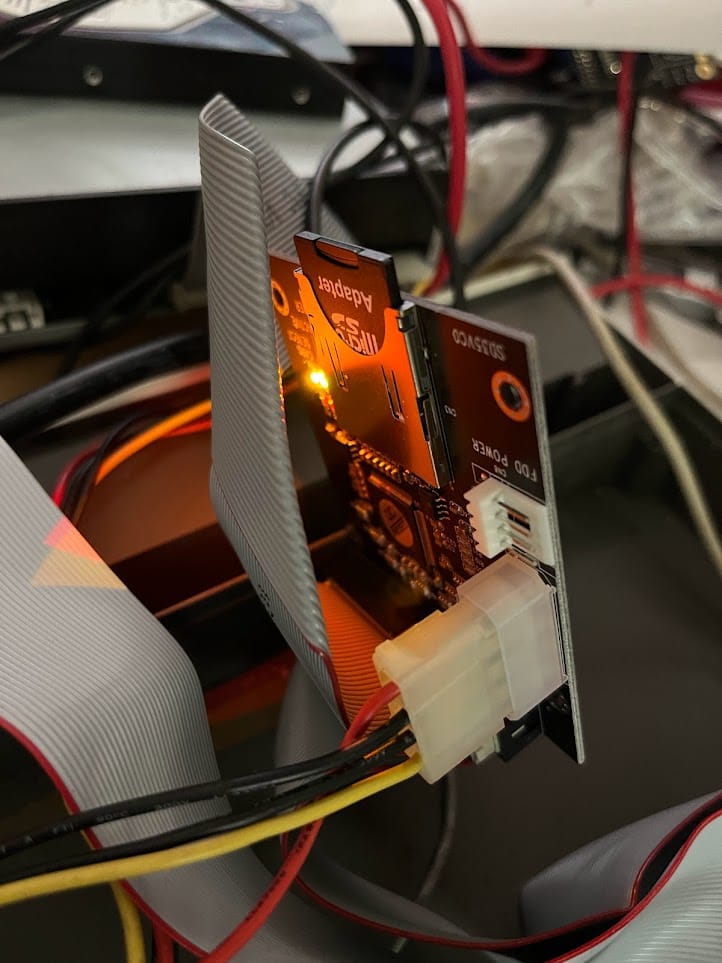
Success! Using the CD that came with the RiscOS ROMs I managed to get this card formatted and the OS installed.
Applications
Now for installing applications and games. This process is a little convoluted for now, at least until I get an Ethernet card. I had to download what I needed from the internet, copy to a USB stick and use the Raspberry Pi with RiscOS to copy the files over to the SD card which was connected via another USB port. The key things were SparkFS which is basically a utility to open ZIP files, and the PC software to use the 586 accelerator.
I have Windows 95 on a CD which I’m copying over to a PC hard drive file and a DOS boot disk in my GoFloppy drive. This is going to take a long time to copy over ready for installation. So I’ll come back to it later.


Other Things
The PSU has been opened up and I’ve used my CompuCleaner to blow all of the dust out of it. I’ve also attached a AAA rechargeable battery to the connector I soldered on previously. The NVRAM is now remembering settings over longer periods of time. I also have a replacement for the missing key on the keyboard, it isn’t a great colour match and I’ll show this when I get to cleaning up the casing.
I’ve also ordered a couple more parts to try out inside it. I do plan to recap the motherboard and cards, as well as upgrade the video RAM board so that it has 2MB on it. This will likely be a little further down the line. For now I’ll play with the software a little.
Leave a Reply