
A couple of months ago I released a product called the GoFloppy Drive. It is the result of a long development process and I’m quite happy with the result. I typically design things that I would use myself, in the hope that it will also help others.
What is GoFloppy?

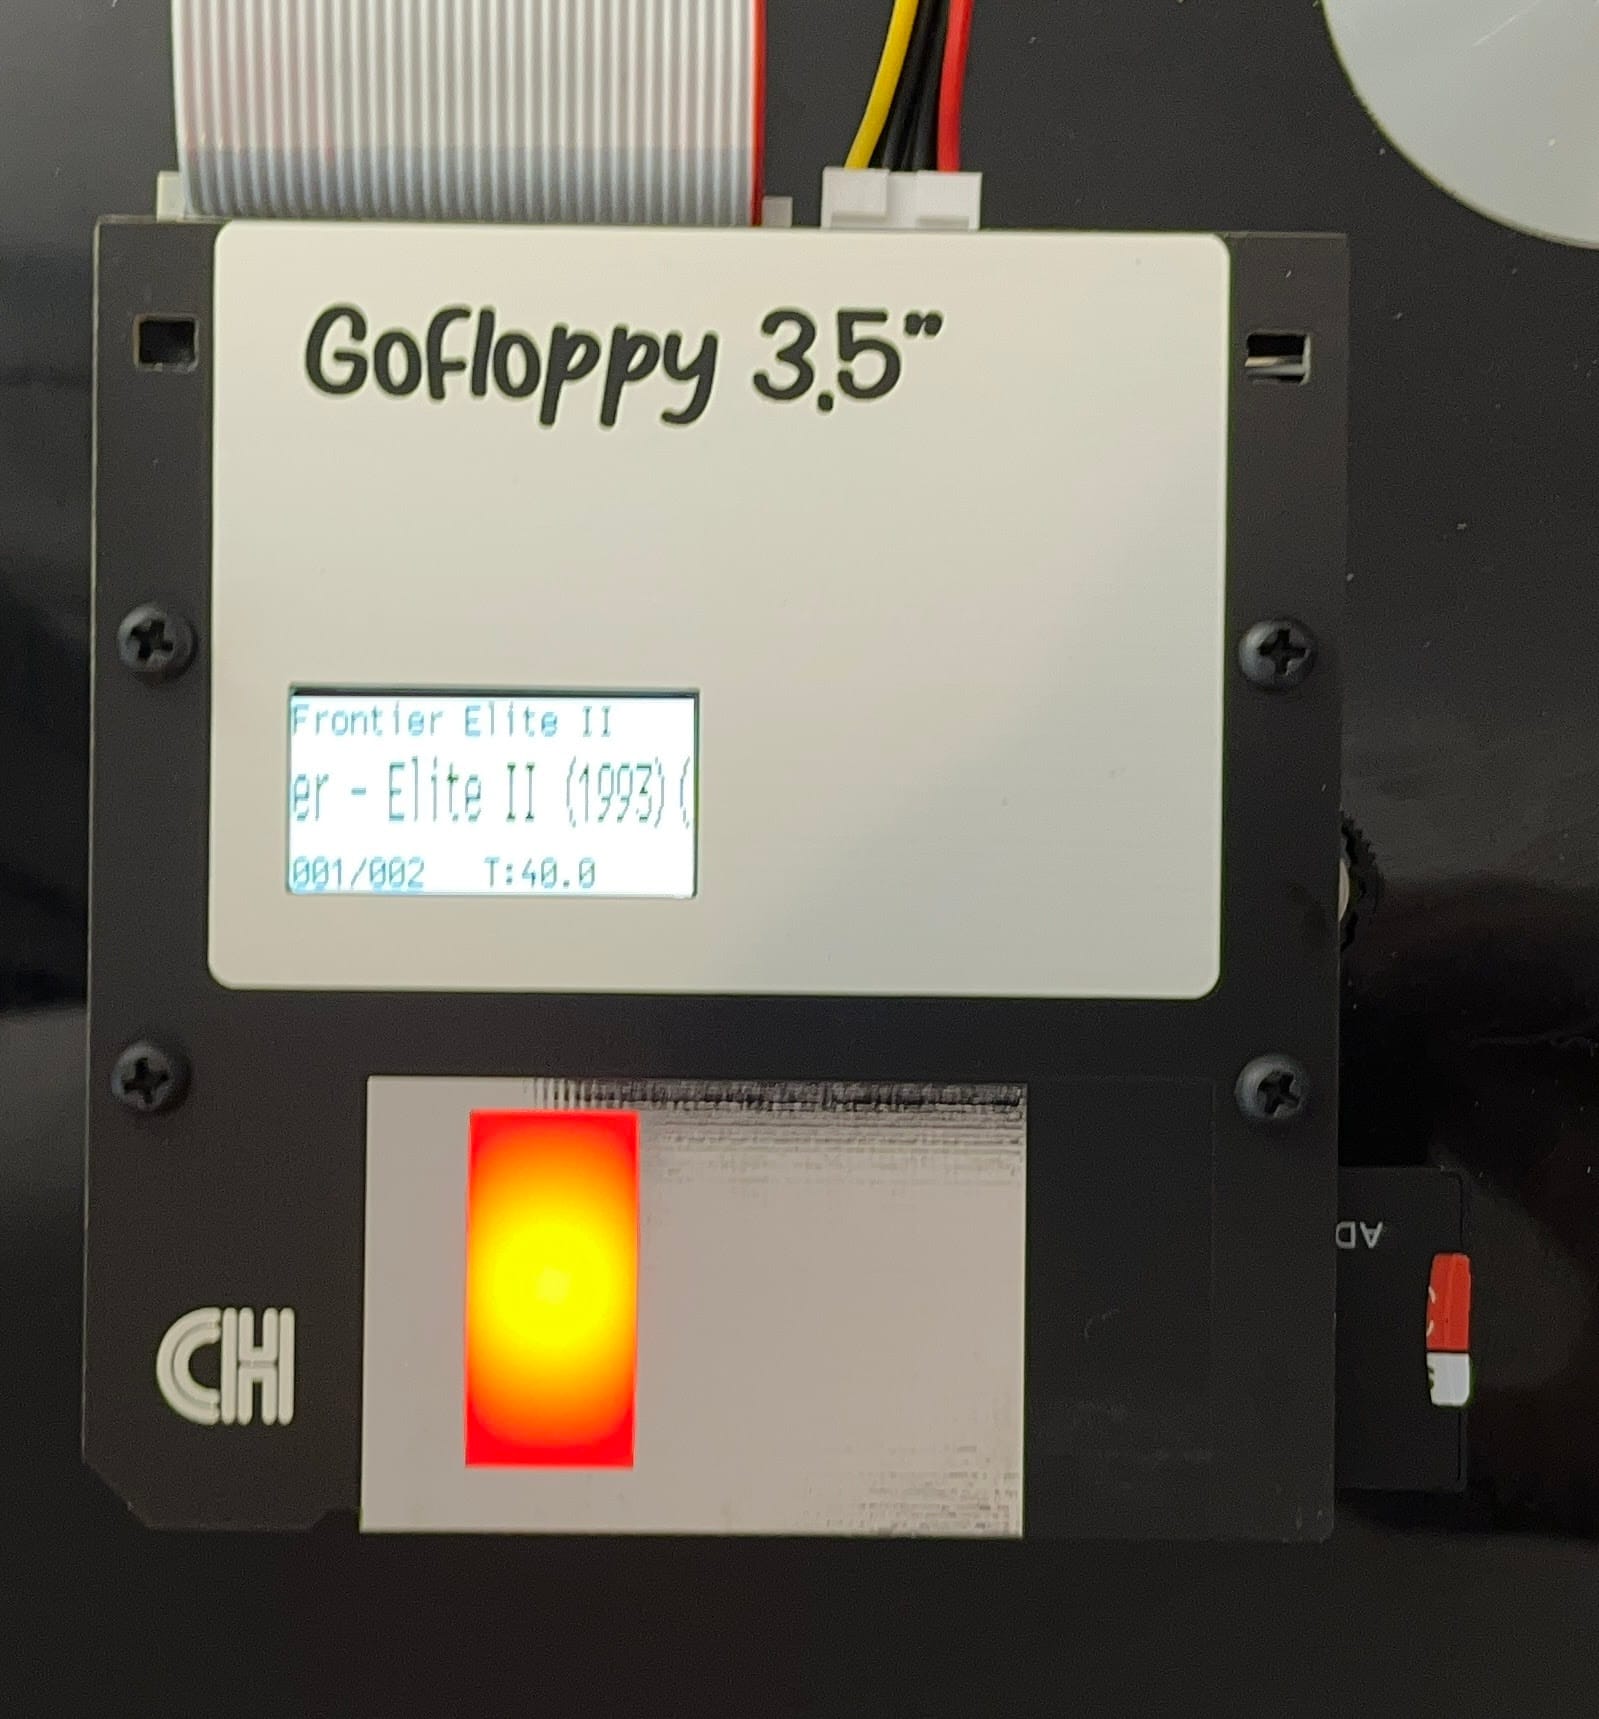
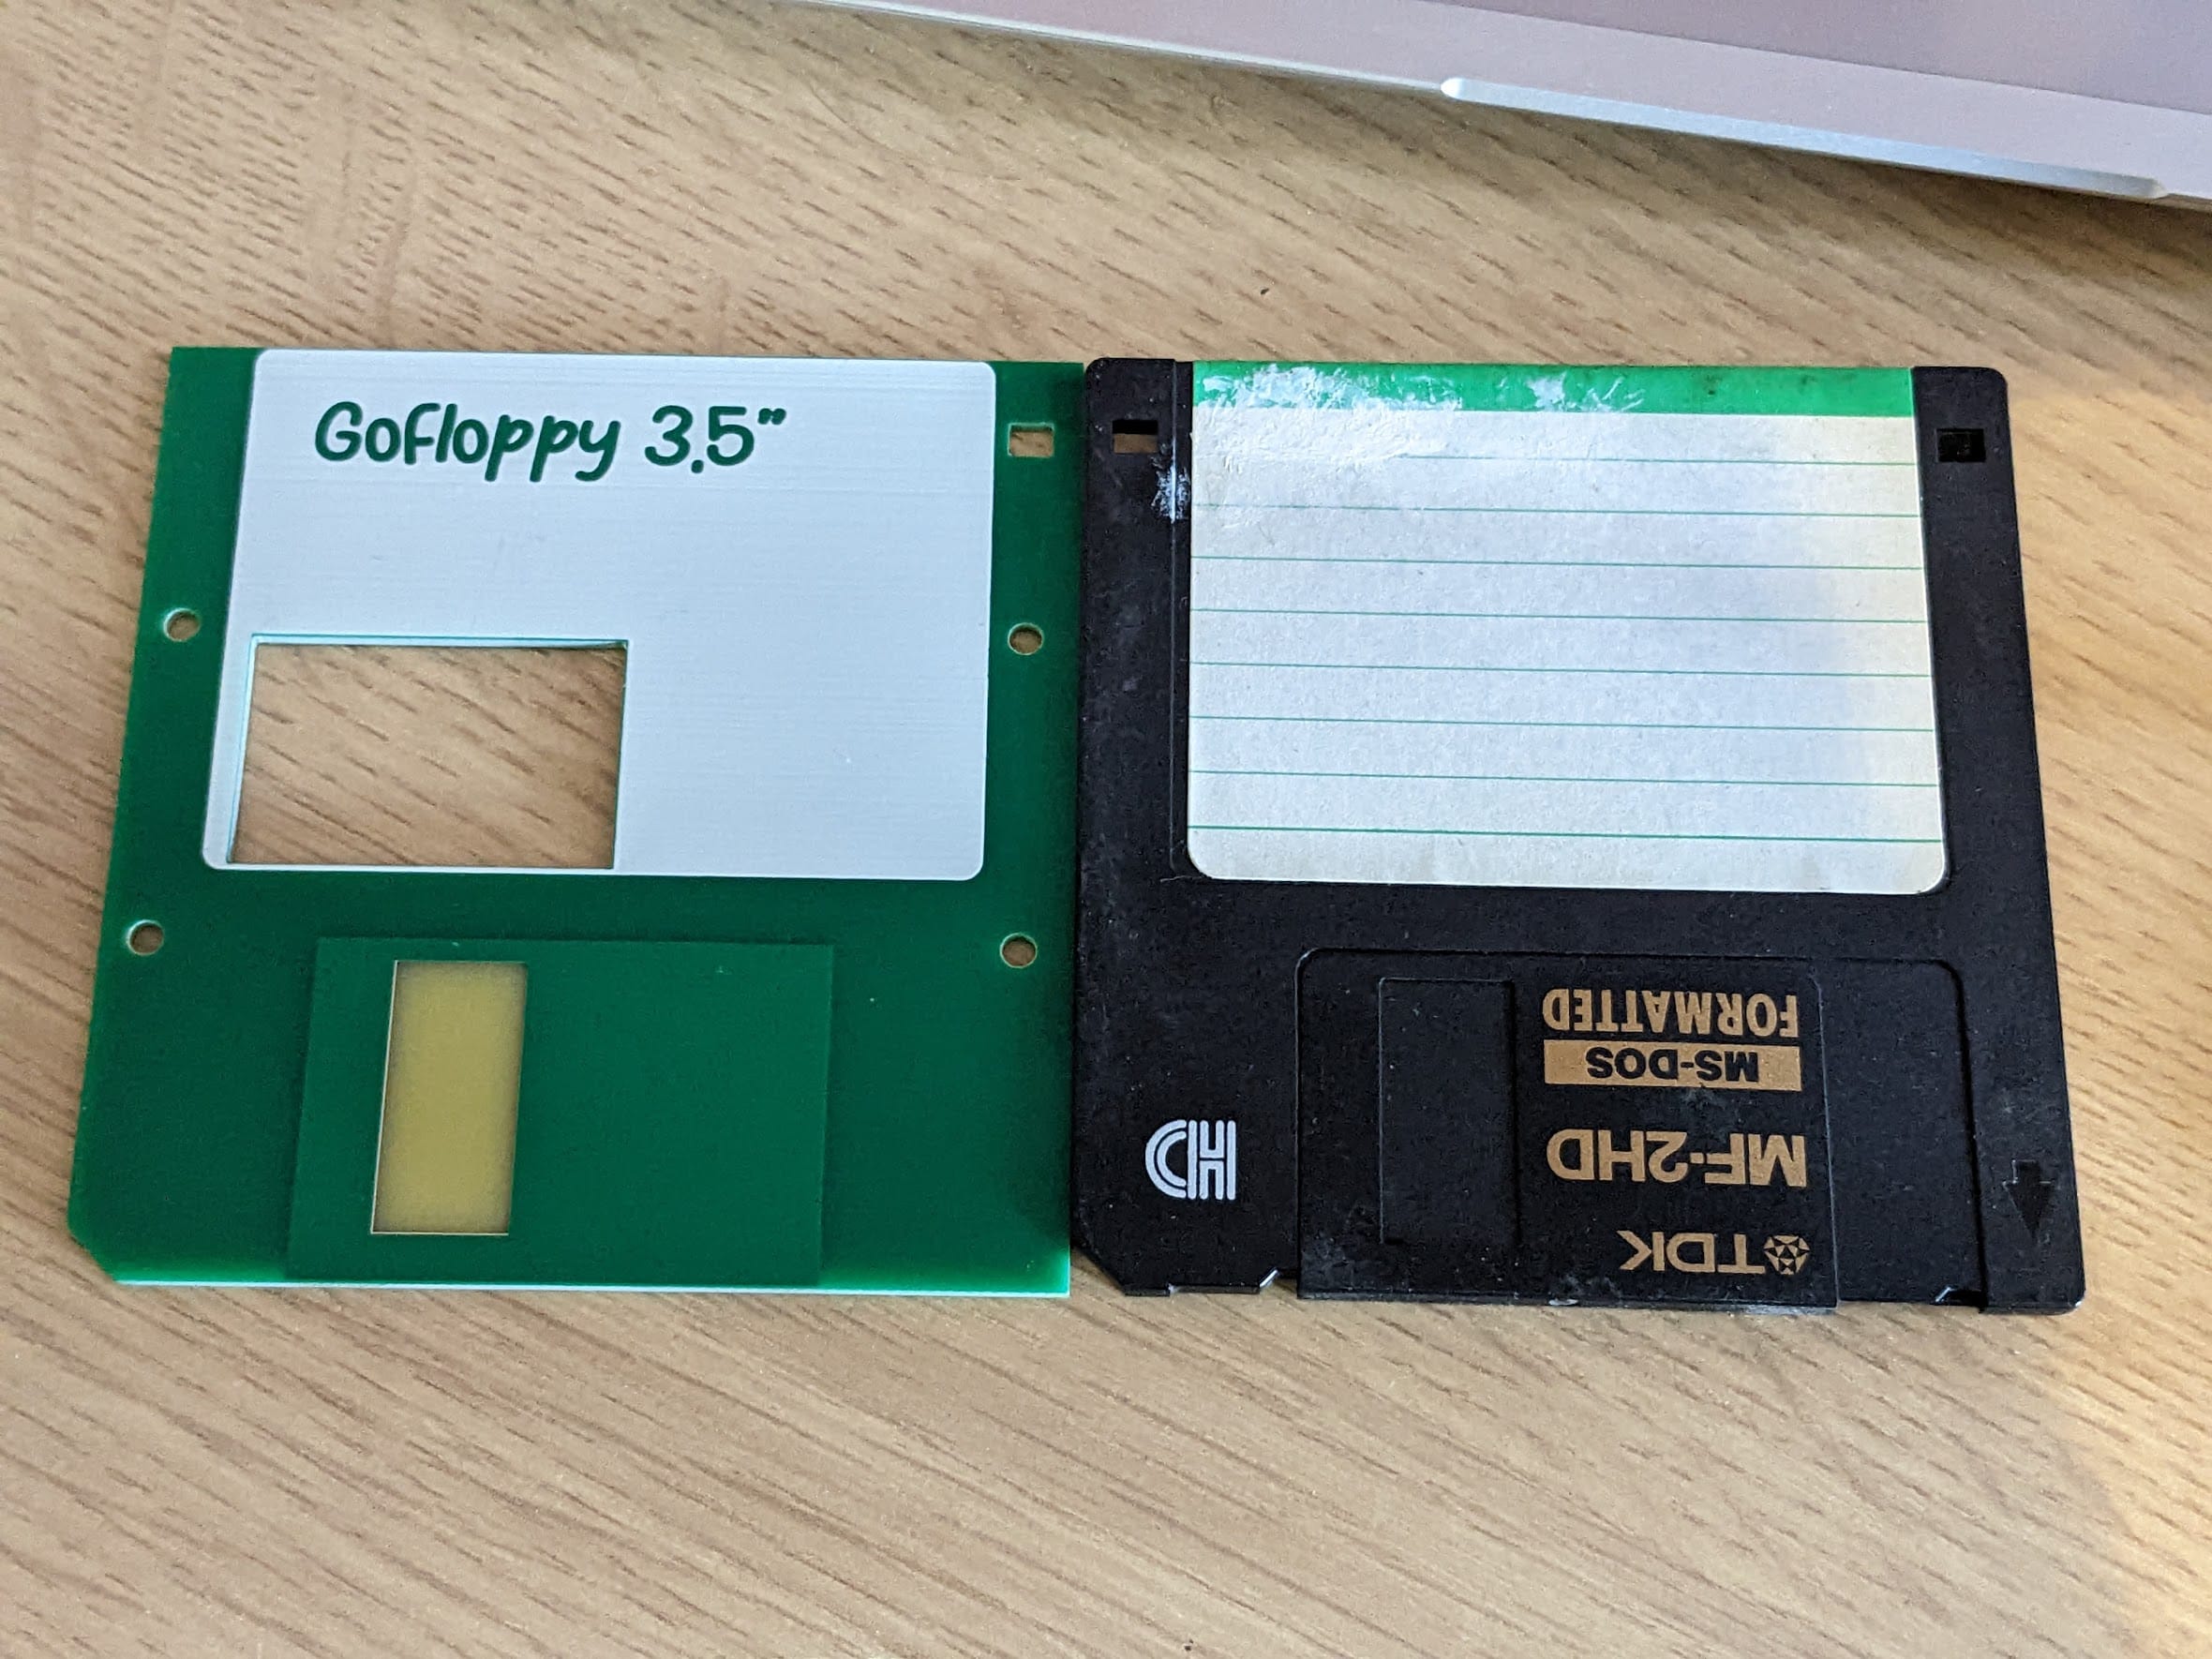
On the outside, it is two PCBs sandwiched together to look like a 3.5″ floppy disk, it is also exactly the same size (apart from thickness) as a floppy disk. I spent many hours measuring every part of a disk and applying it to a PCB layout, even the tactile parts of the disk such as the direction arrow are replicated.
Internally the GoFloppy drive is a floppy drive emulator similar to the “Gotek” commonly used in retro hardware. It even uses exactly the same FlashFloppy firmware that is typically found in Gotek drives. But when reverse-engineering the Gotek I made quite a few changes to improve things and went through a few prototypes until I was happy.
A small demonstration of one running can be seen below. This one is connected to an Amiga 500 motherboard, but they can connect to any computer that supports floppy drives on 34pin cables. It has been tested on Amigas, Acorn Archimedes, Acorn RiscPC, BBC Micro and Atari Falcon amongst other machines.
Under the Hood
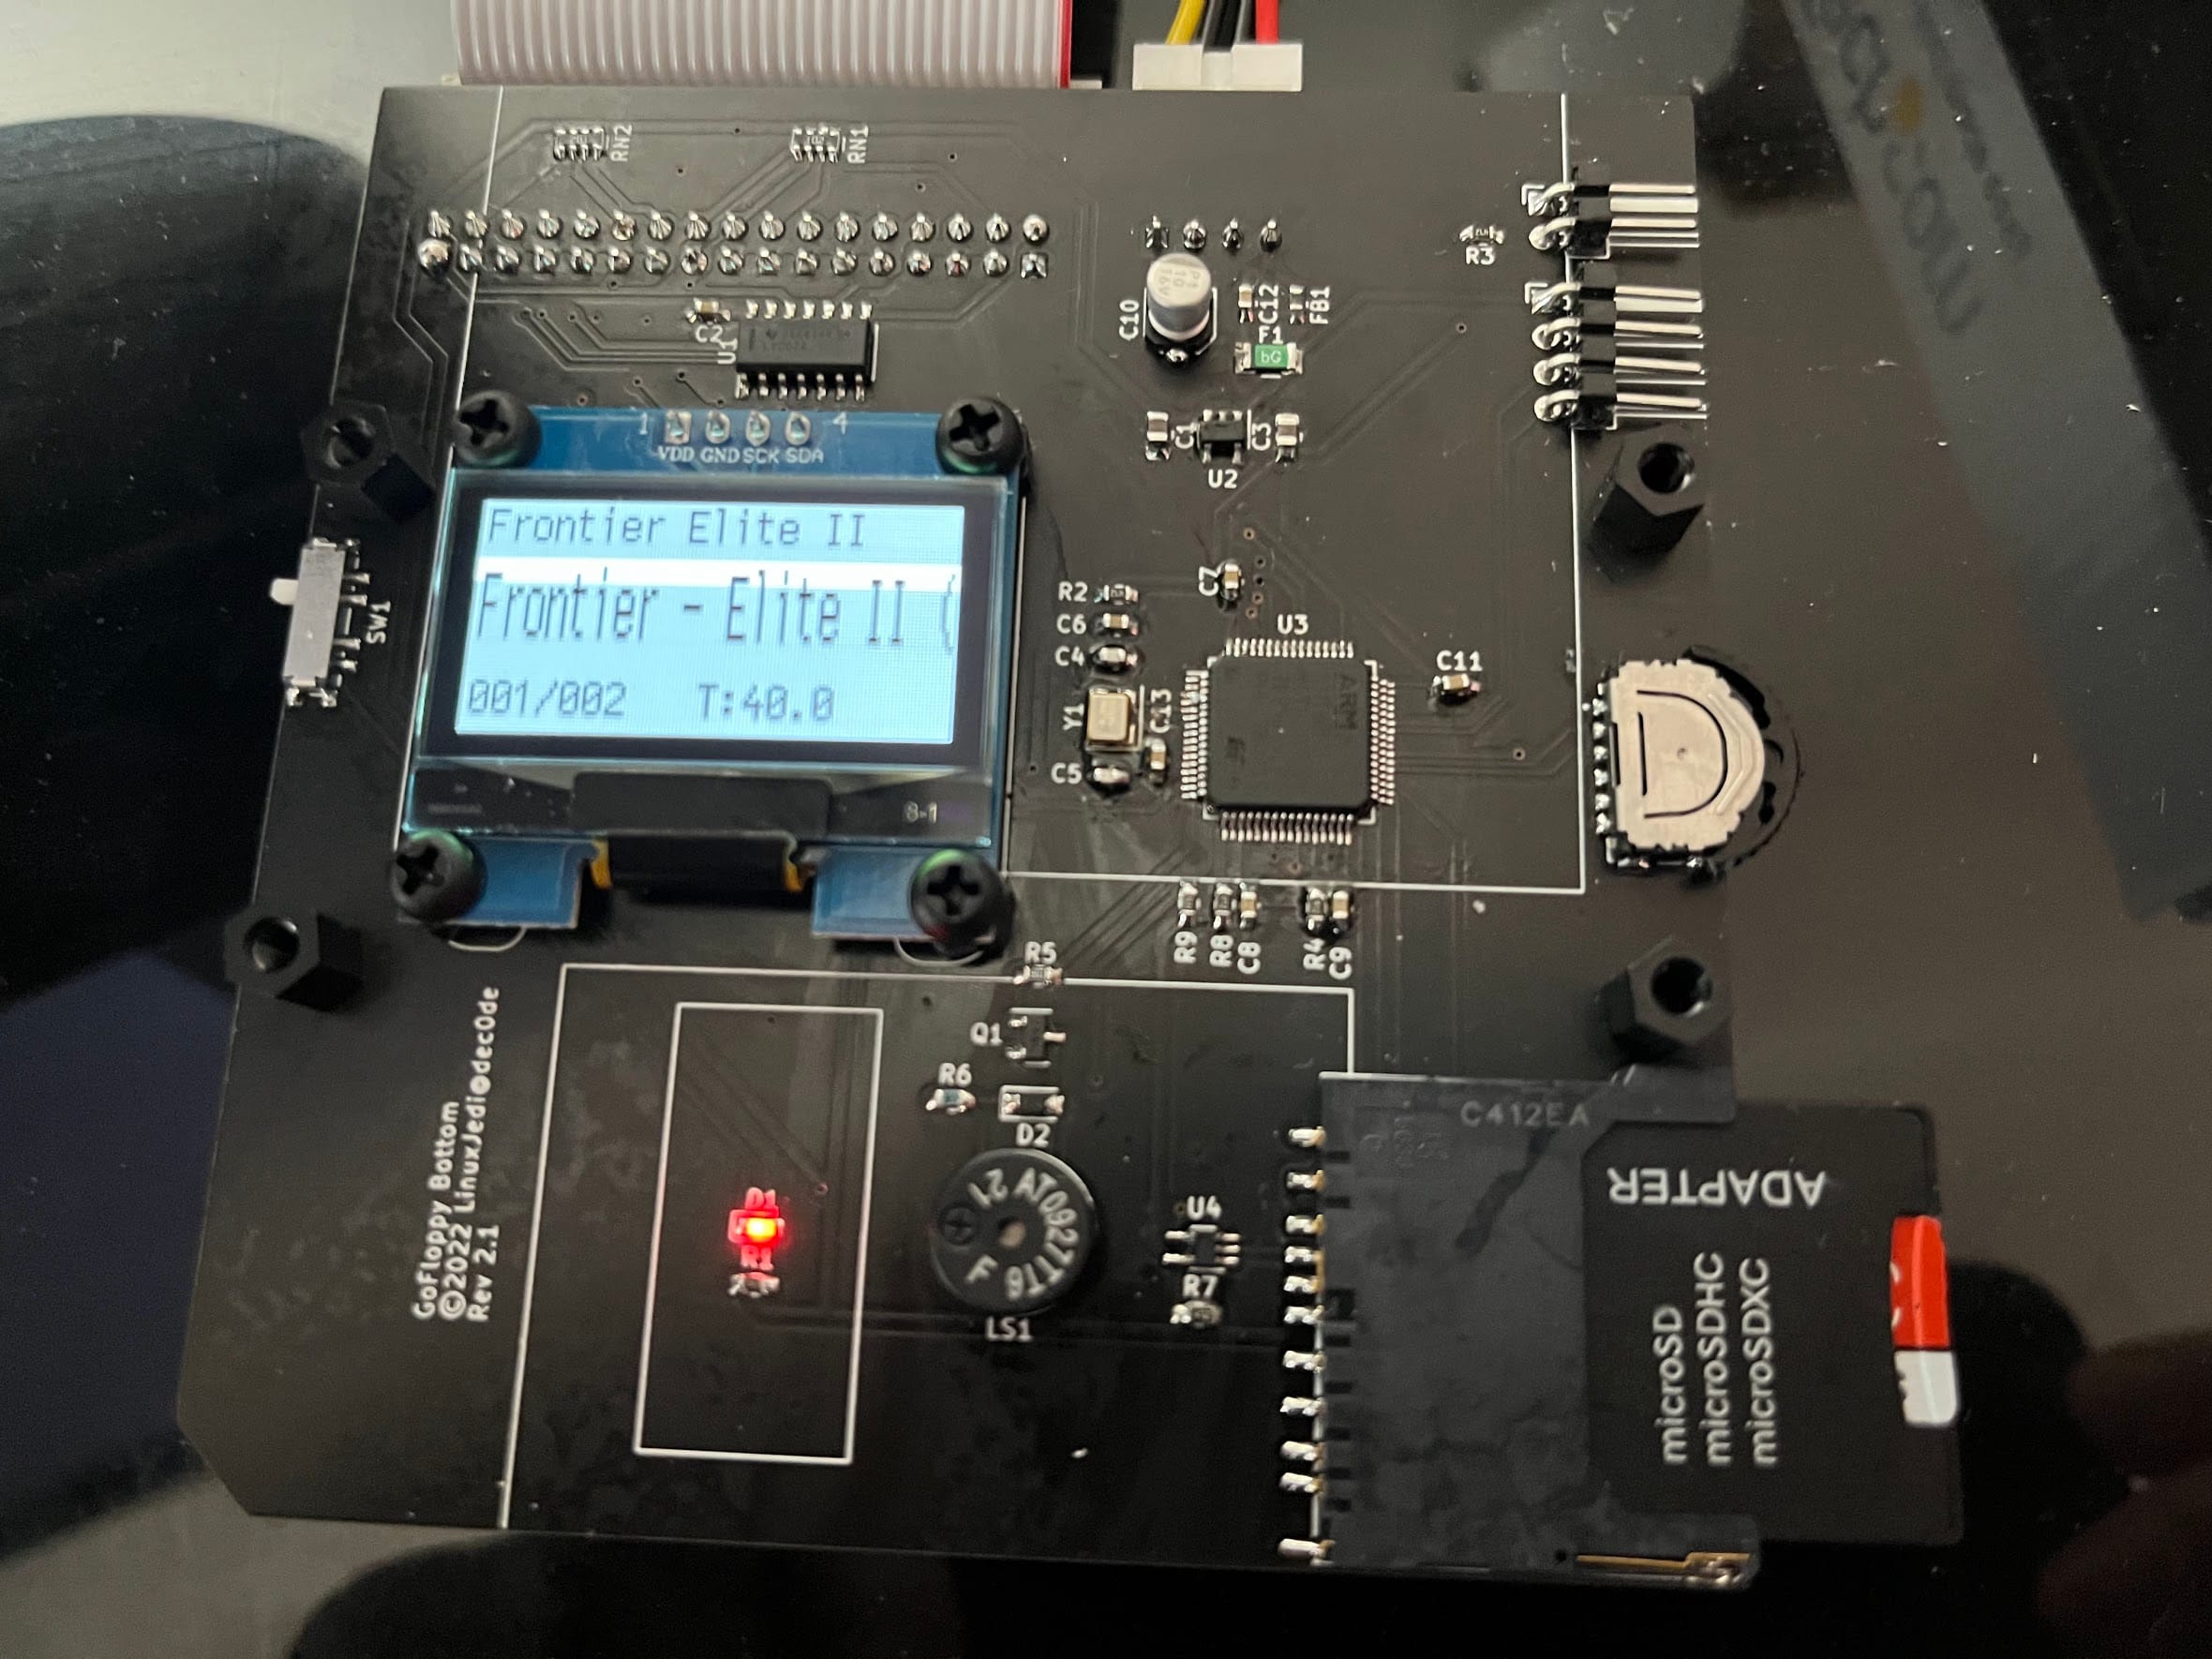
Some of the key differences under the hood are:
- An SD card is used instead of a USB stick
- A jog dial to control the device
- A 1.3″ OLED display
- Much simpler hardware configuration (slide switch for drive ID selector for example)
There are many other internal differences too, but these do not affect users so much.
Development
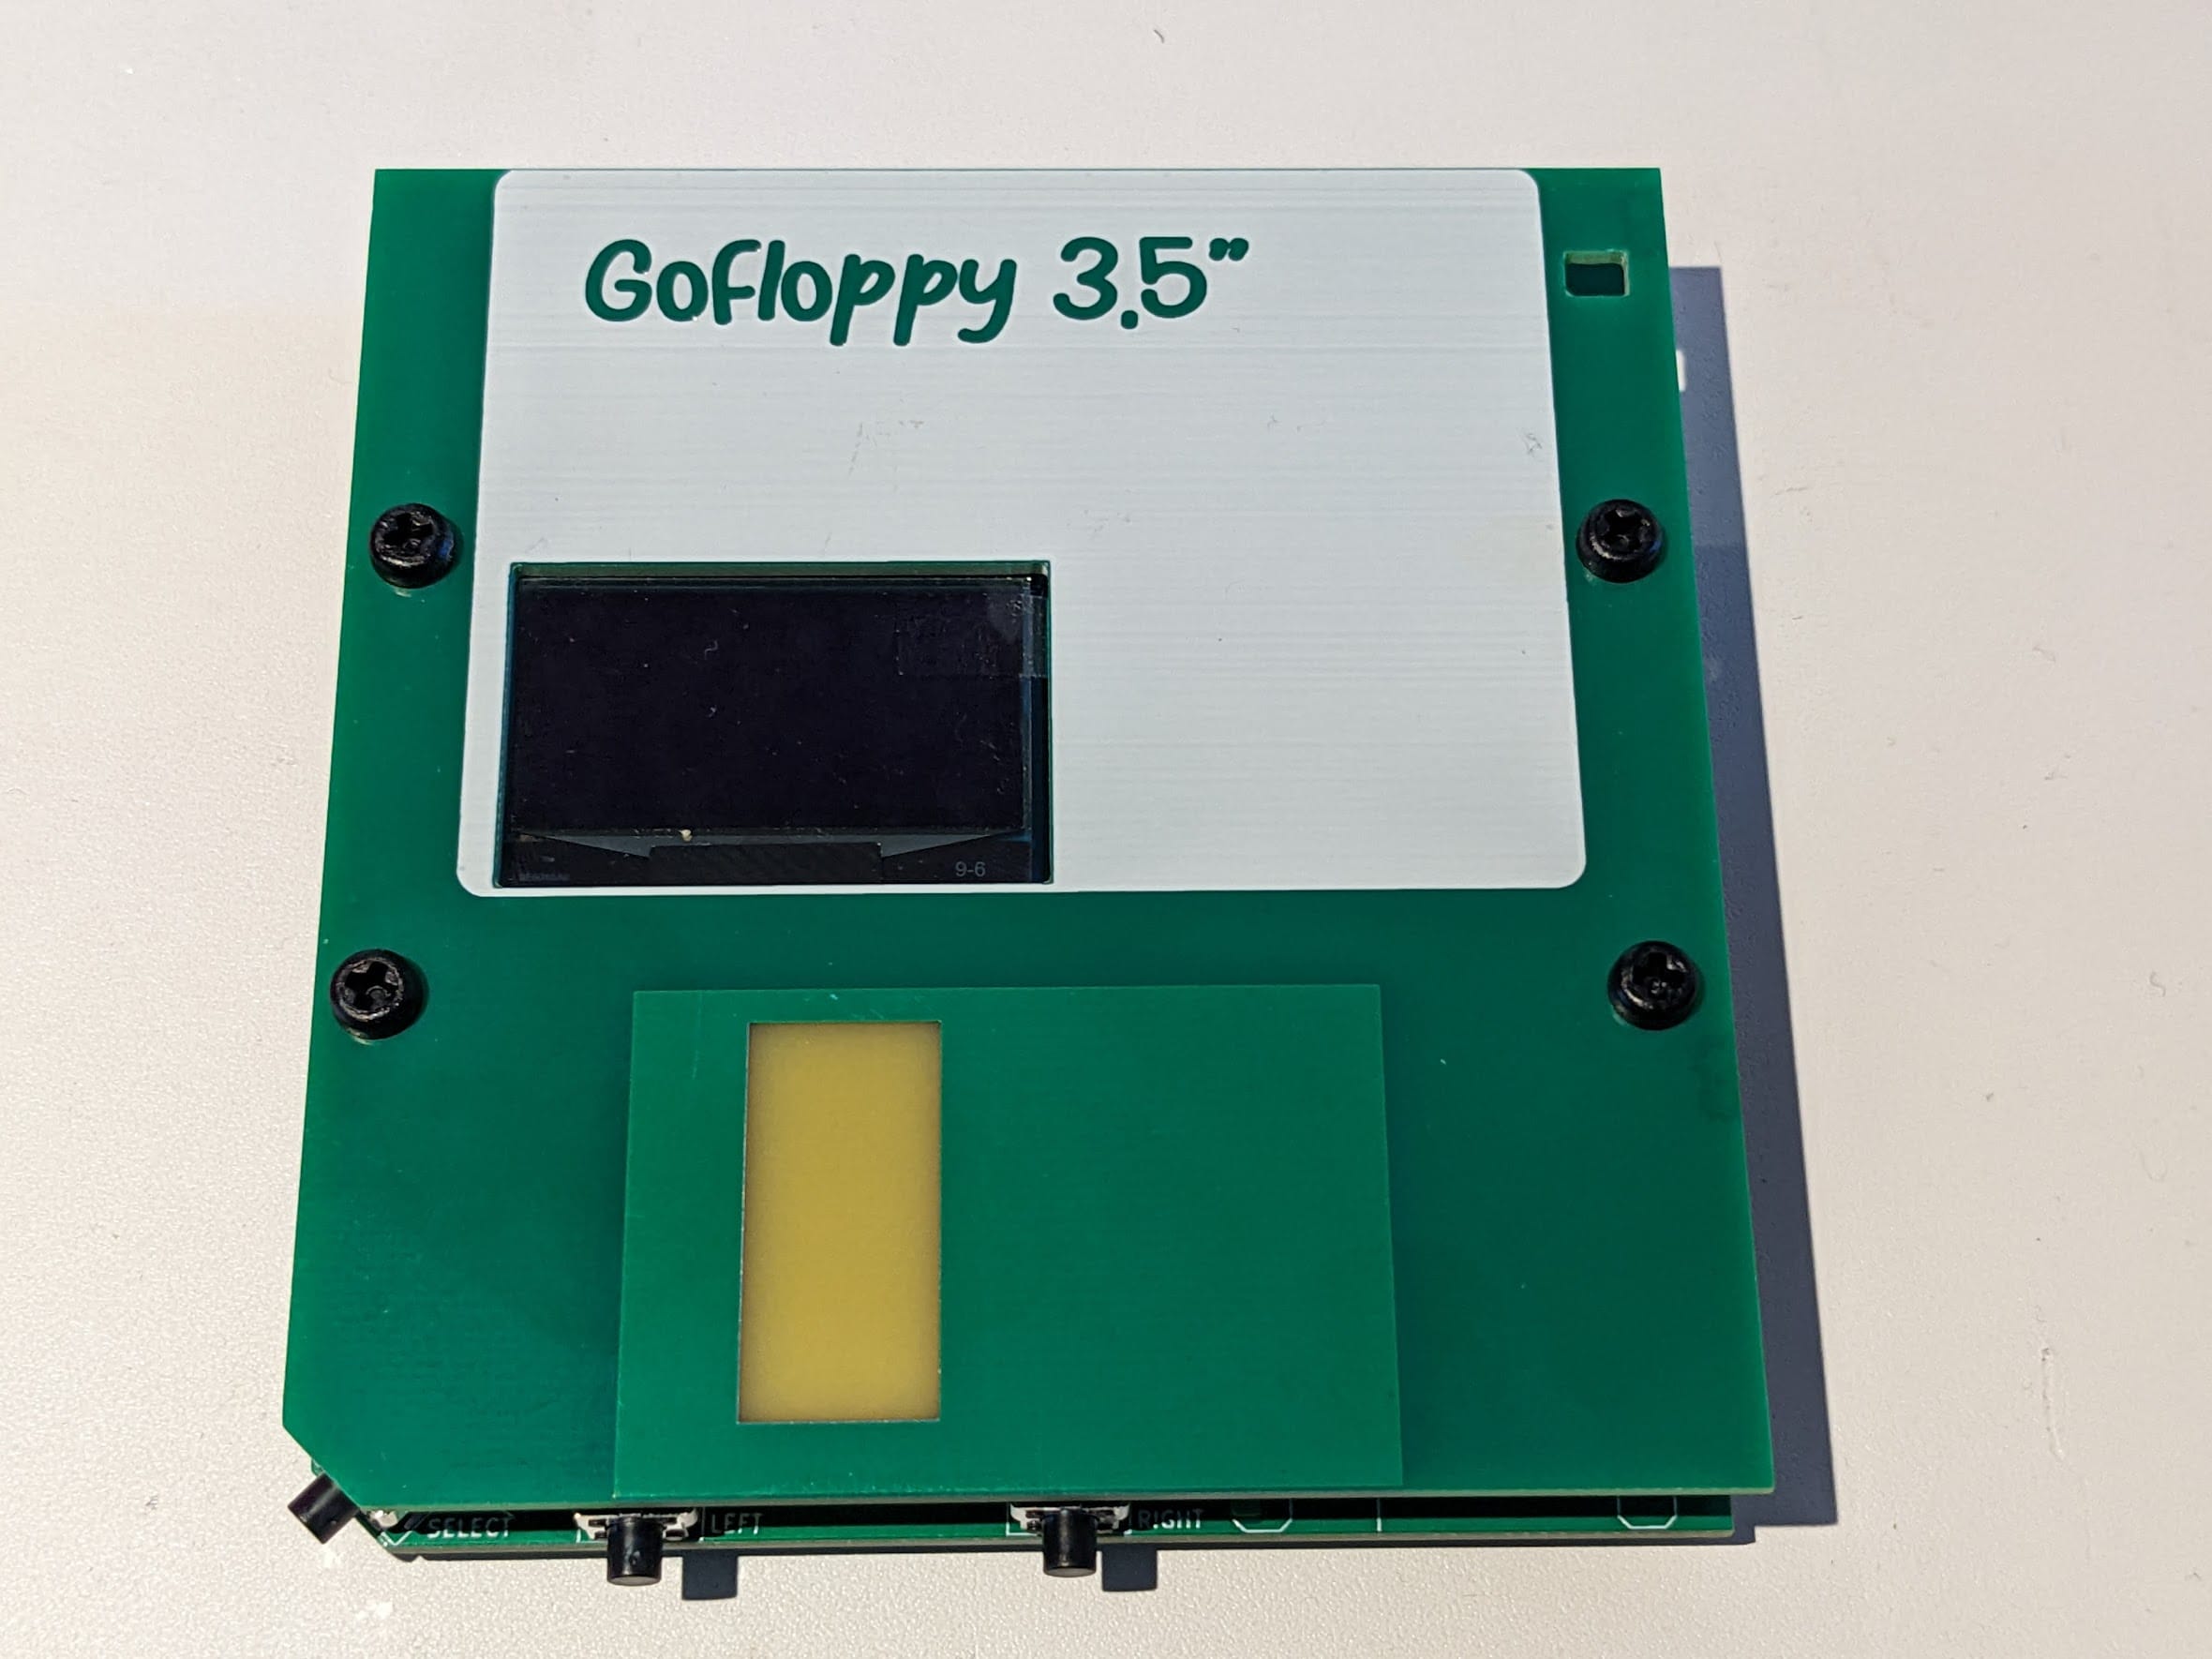
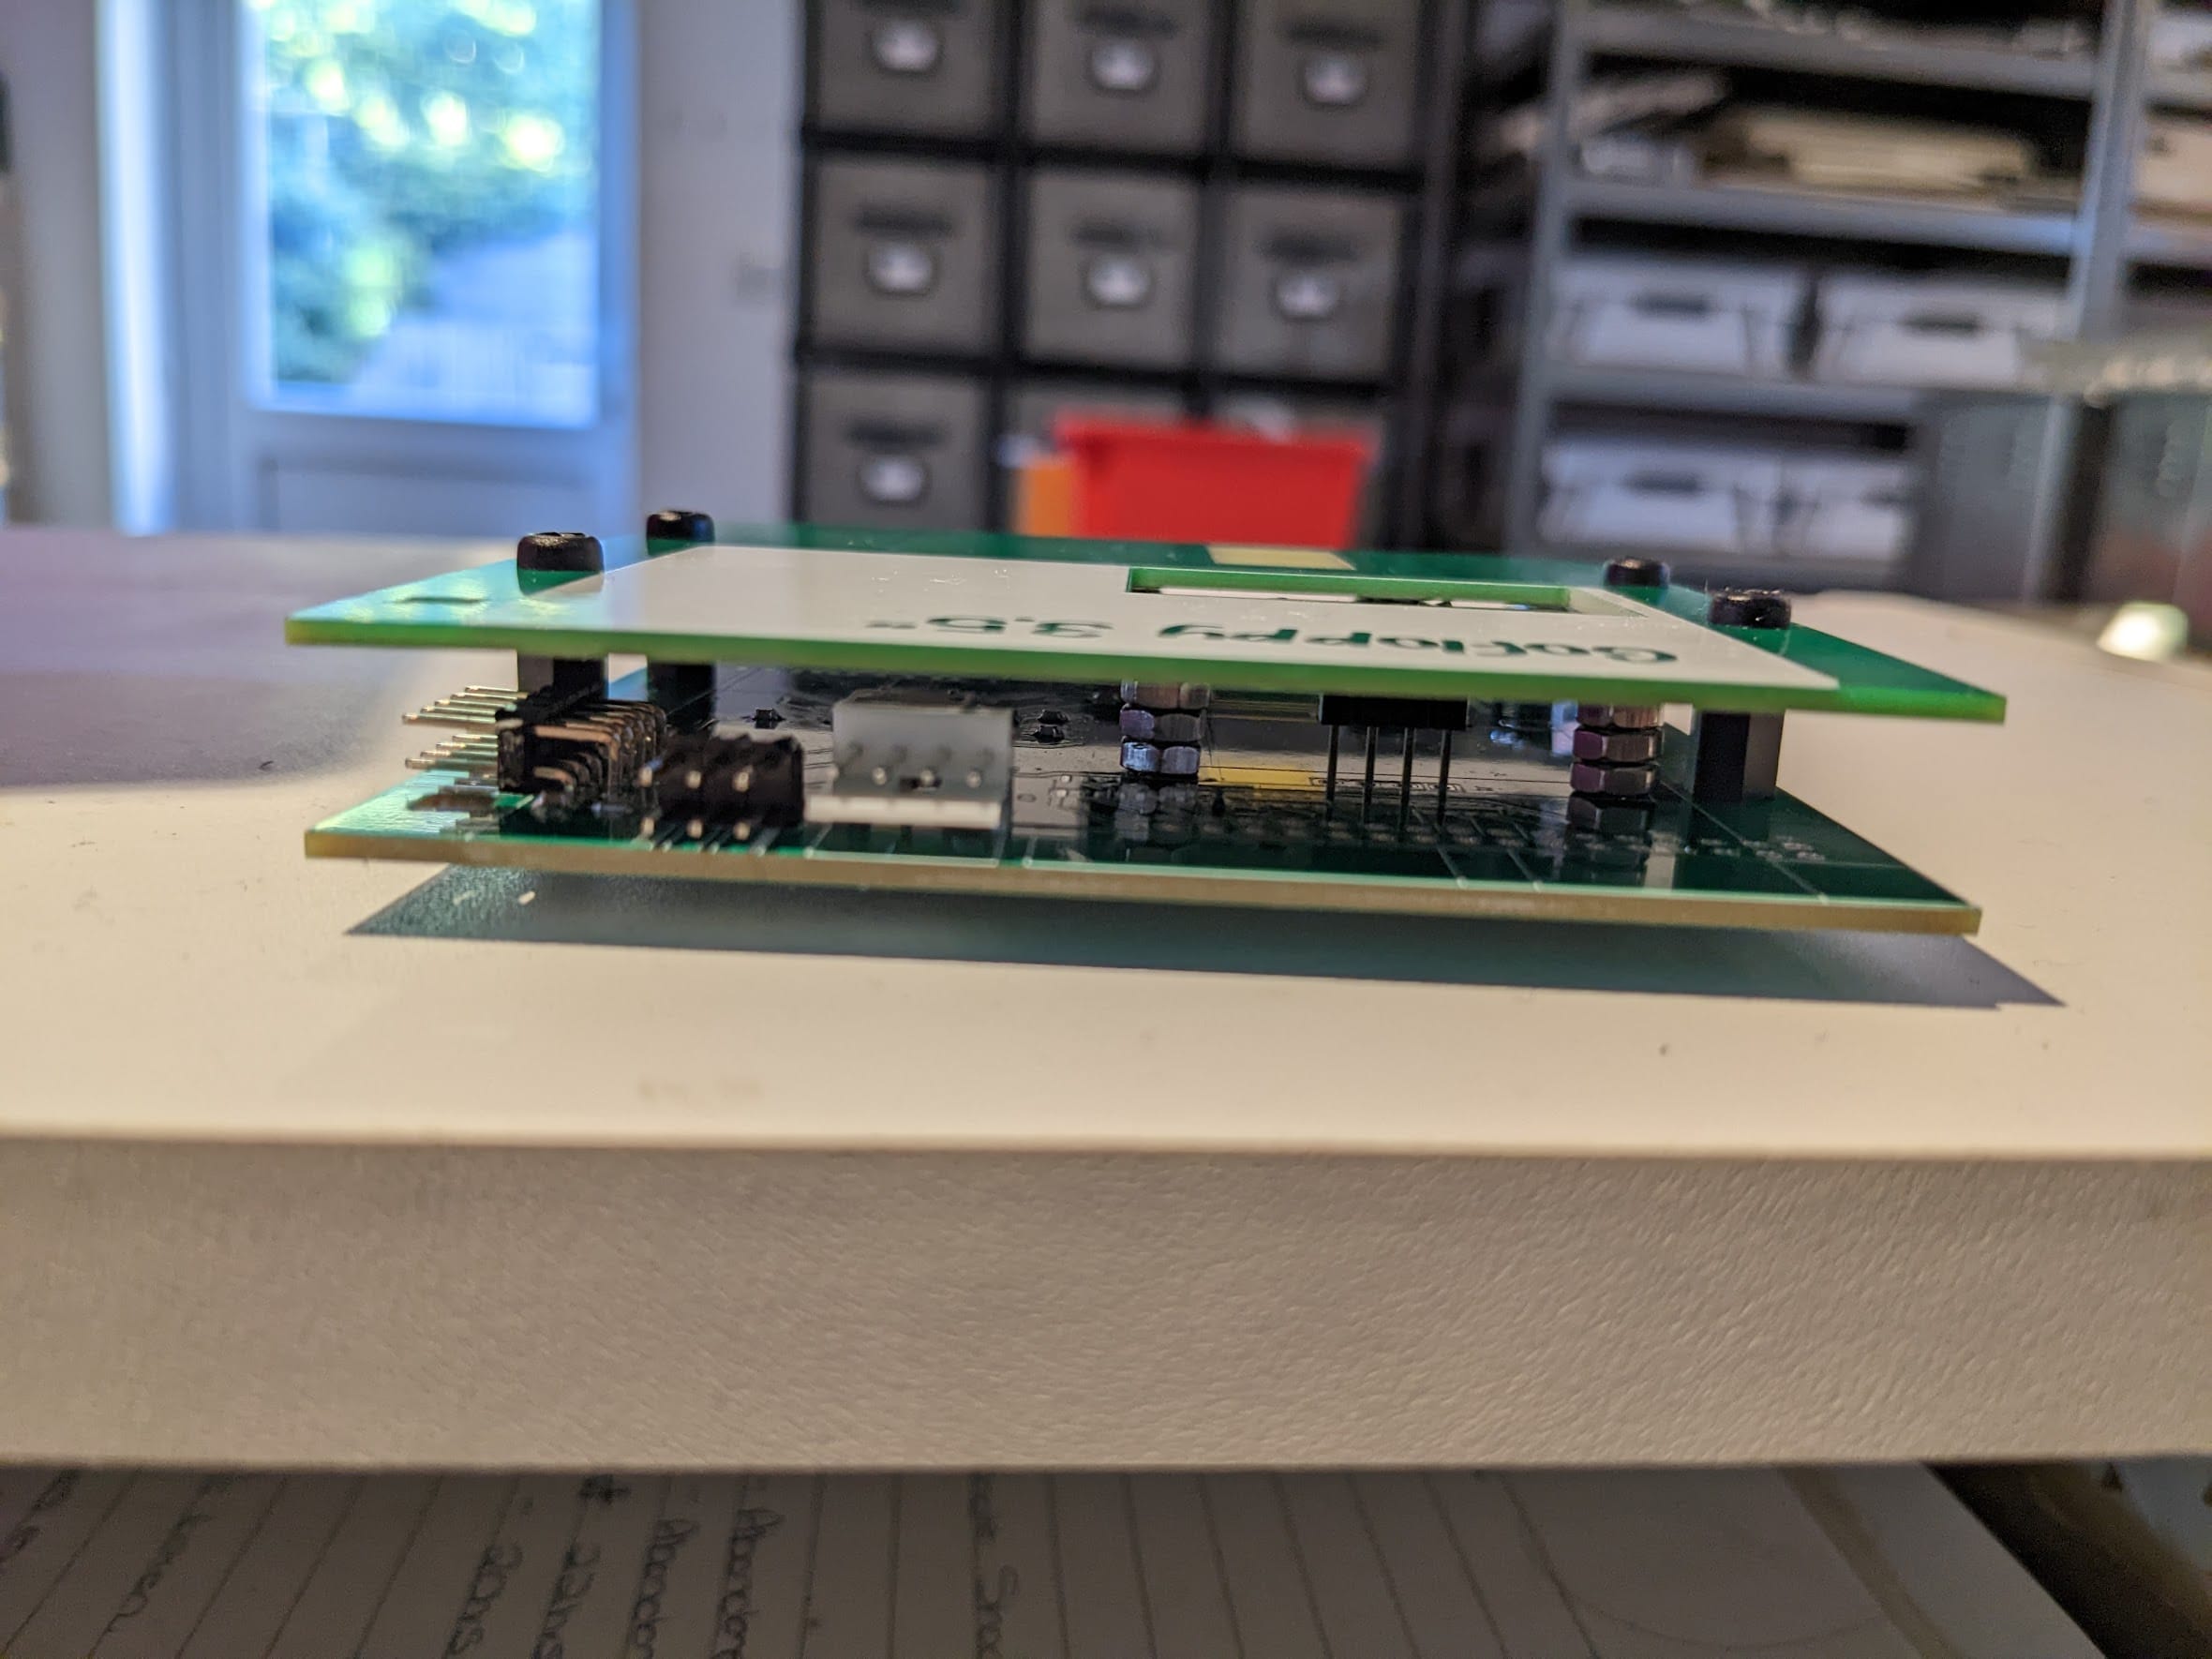
You can see here the first prototype device. This was before I had decided on a control method so I was using push buttons. This was much thicker (almost 2x) because the floppy connectors are on the inside instead of the bottom. You’ll notice the top board isn’t as detailed, the screen hole is too large. I also messed up and had the metal “shutter” covered in PCB mask.
But this prototype was surprisingly functional which led me to develop it further. Flipping the connectors to the bottom gave the drive a nice slanted angle which makes it easier to see the screen. This also led to me moving the SD card socket to the side instead of the front in this prototype. Some of the other usability changes happened after trying this design out.
I really wanted to go for as large a screen I could, unfortunately for OLED that is compatible with FlashFloppy that meant a 1.3″ without going crazy expensive. There were many things I tried out on paper before I actually came up with the final design.
The SD card was a concious decision for several reason, the key one is protection. I’ve seen a few Gotek drives fried at the USB end for one reason or another, and I wanted it to be as thin as possible. SD cards seemed like a good compromise.
I couldn’t decide on a colour for the indicator LED so I ran a poll. It ended up being a pretty much even split between red and green. So I build both options now.
Where Can I Get One?
I am currently trickling them out on my website, Retro Supplies, as I build them. They typically sell out quickly so I can’t build up a huge stock right now. But if they are out of stock please feel free to add yourself to the list on the product page and you will be notified as soon as more are ready.
The Future
I have some ideas for future projects based on this technology, but development of those projects probably won’t start until the new year.
Leave a Reply