

After the magic smoke incident in the last post I decided to replace the capacitors and go from there.
Recap
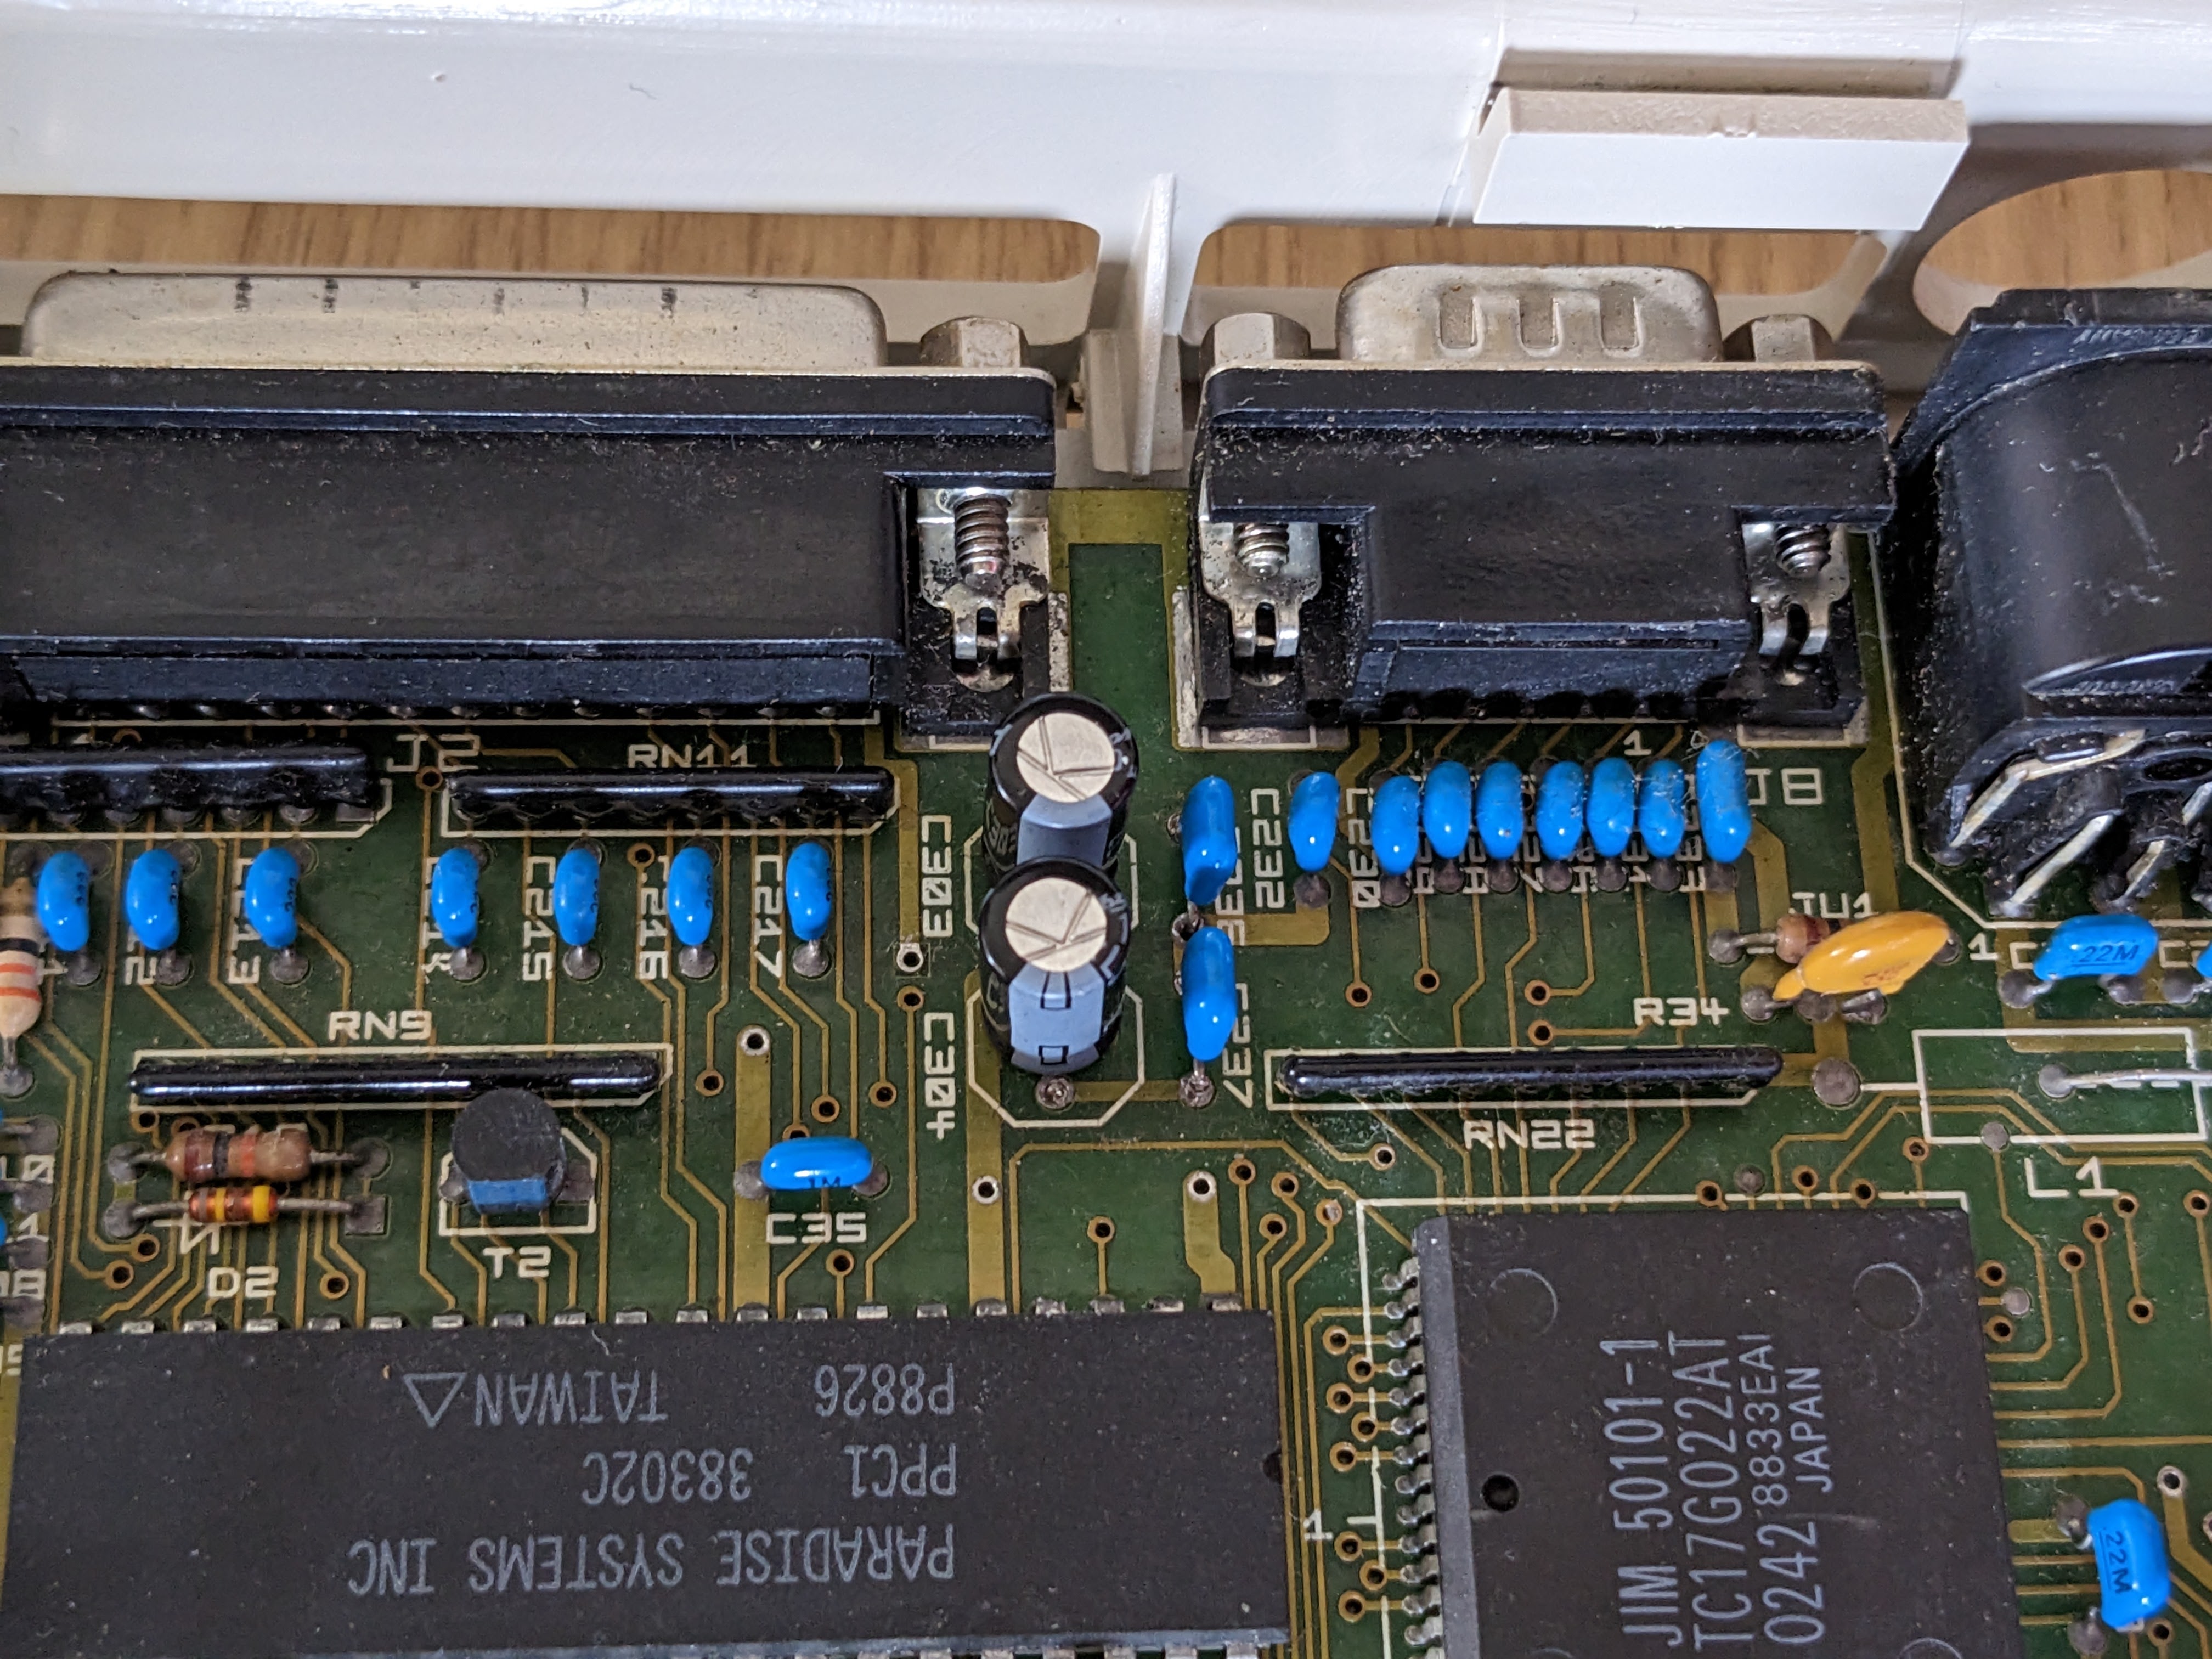
For those who missed it in the previous post, the +12v and -12v lines are only used for the ISA card slot, these each have a tantalum capacitor and one of them failed short-circuit when powered, which caused a fizz noise and a familiar smell to excrete from the machine.
Given what the capacitors are for, I don’t see any reason to replace with tantalum types. I instead replaced with electrolytic capacitors. I didn’t really need to replace them at all as those lines are pretty stable and any card that uses them should have their own large decoupling. But I thought it would be good to get it back to spec.
CPU Upgrade
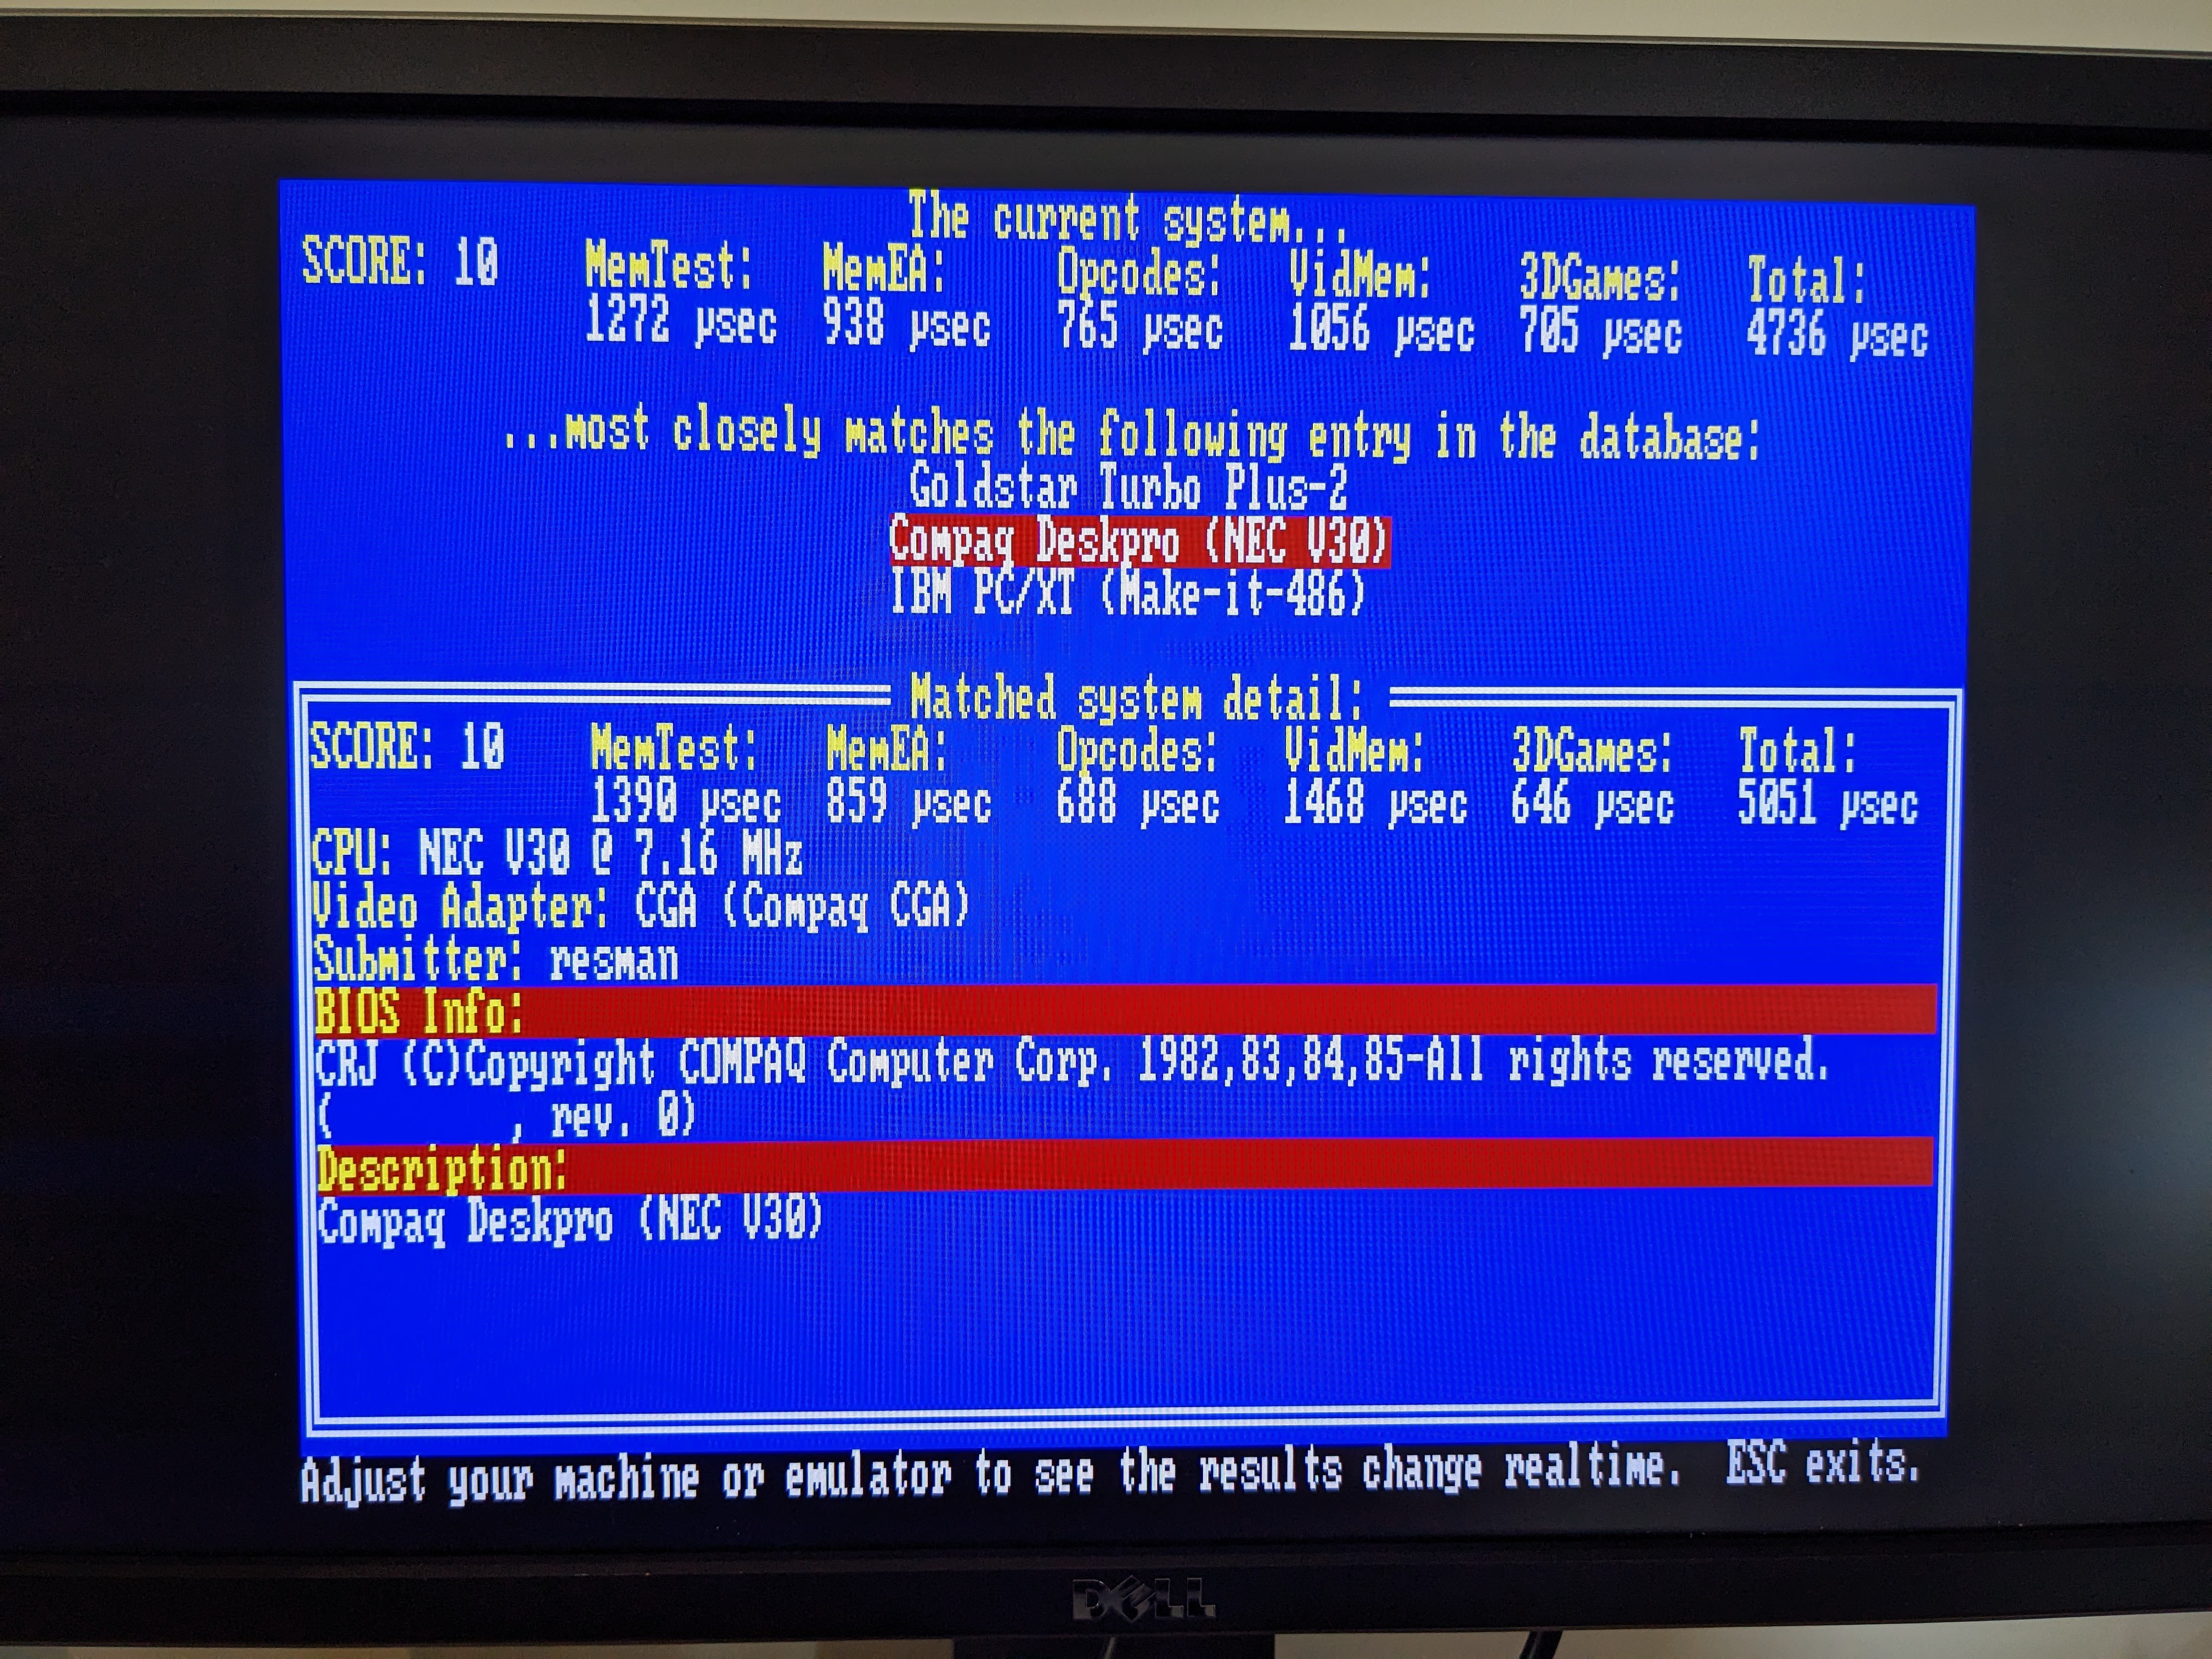
The CPU in this machine is a stock Siemens manufactured 10MHz capable 8088, this is logically compatible with an 8086 but has a physical 8bit data bus. So, it takes a little longer to transfer data to/from the CPU. NEC created their own clone of the 8088 which had some extra extensions to make it compatible with 8080 and 80186 software. More importantly, it is more efficient, requiring fewer clock cycles to fetch/execute code. This clone is called the NEC V20. I managed to obtain a few V20HL CPUs which are capable of 16MHz. This means it should run well at the 9.57MHz clock speed of this machine. The following benchmarks are from before and after the CPU was switched out:
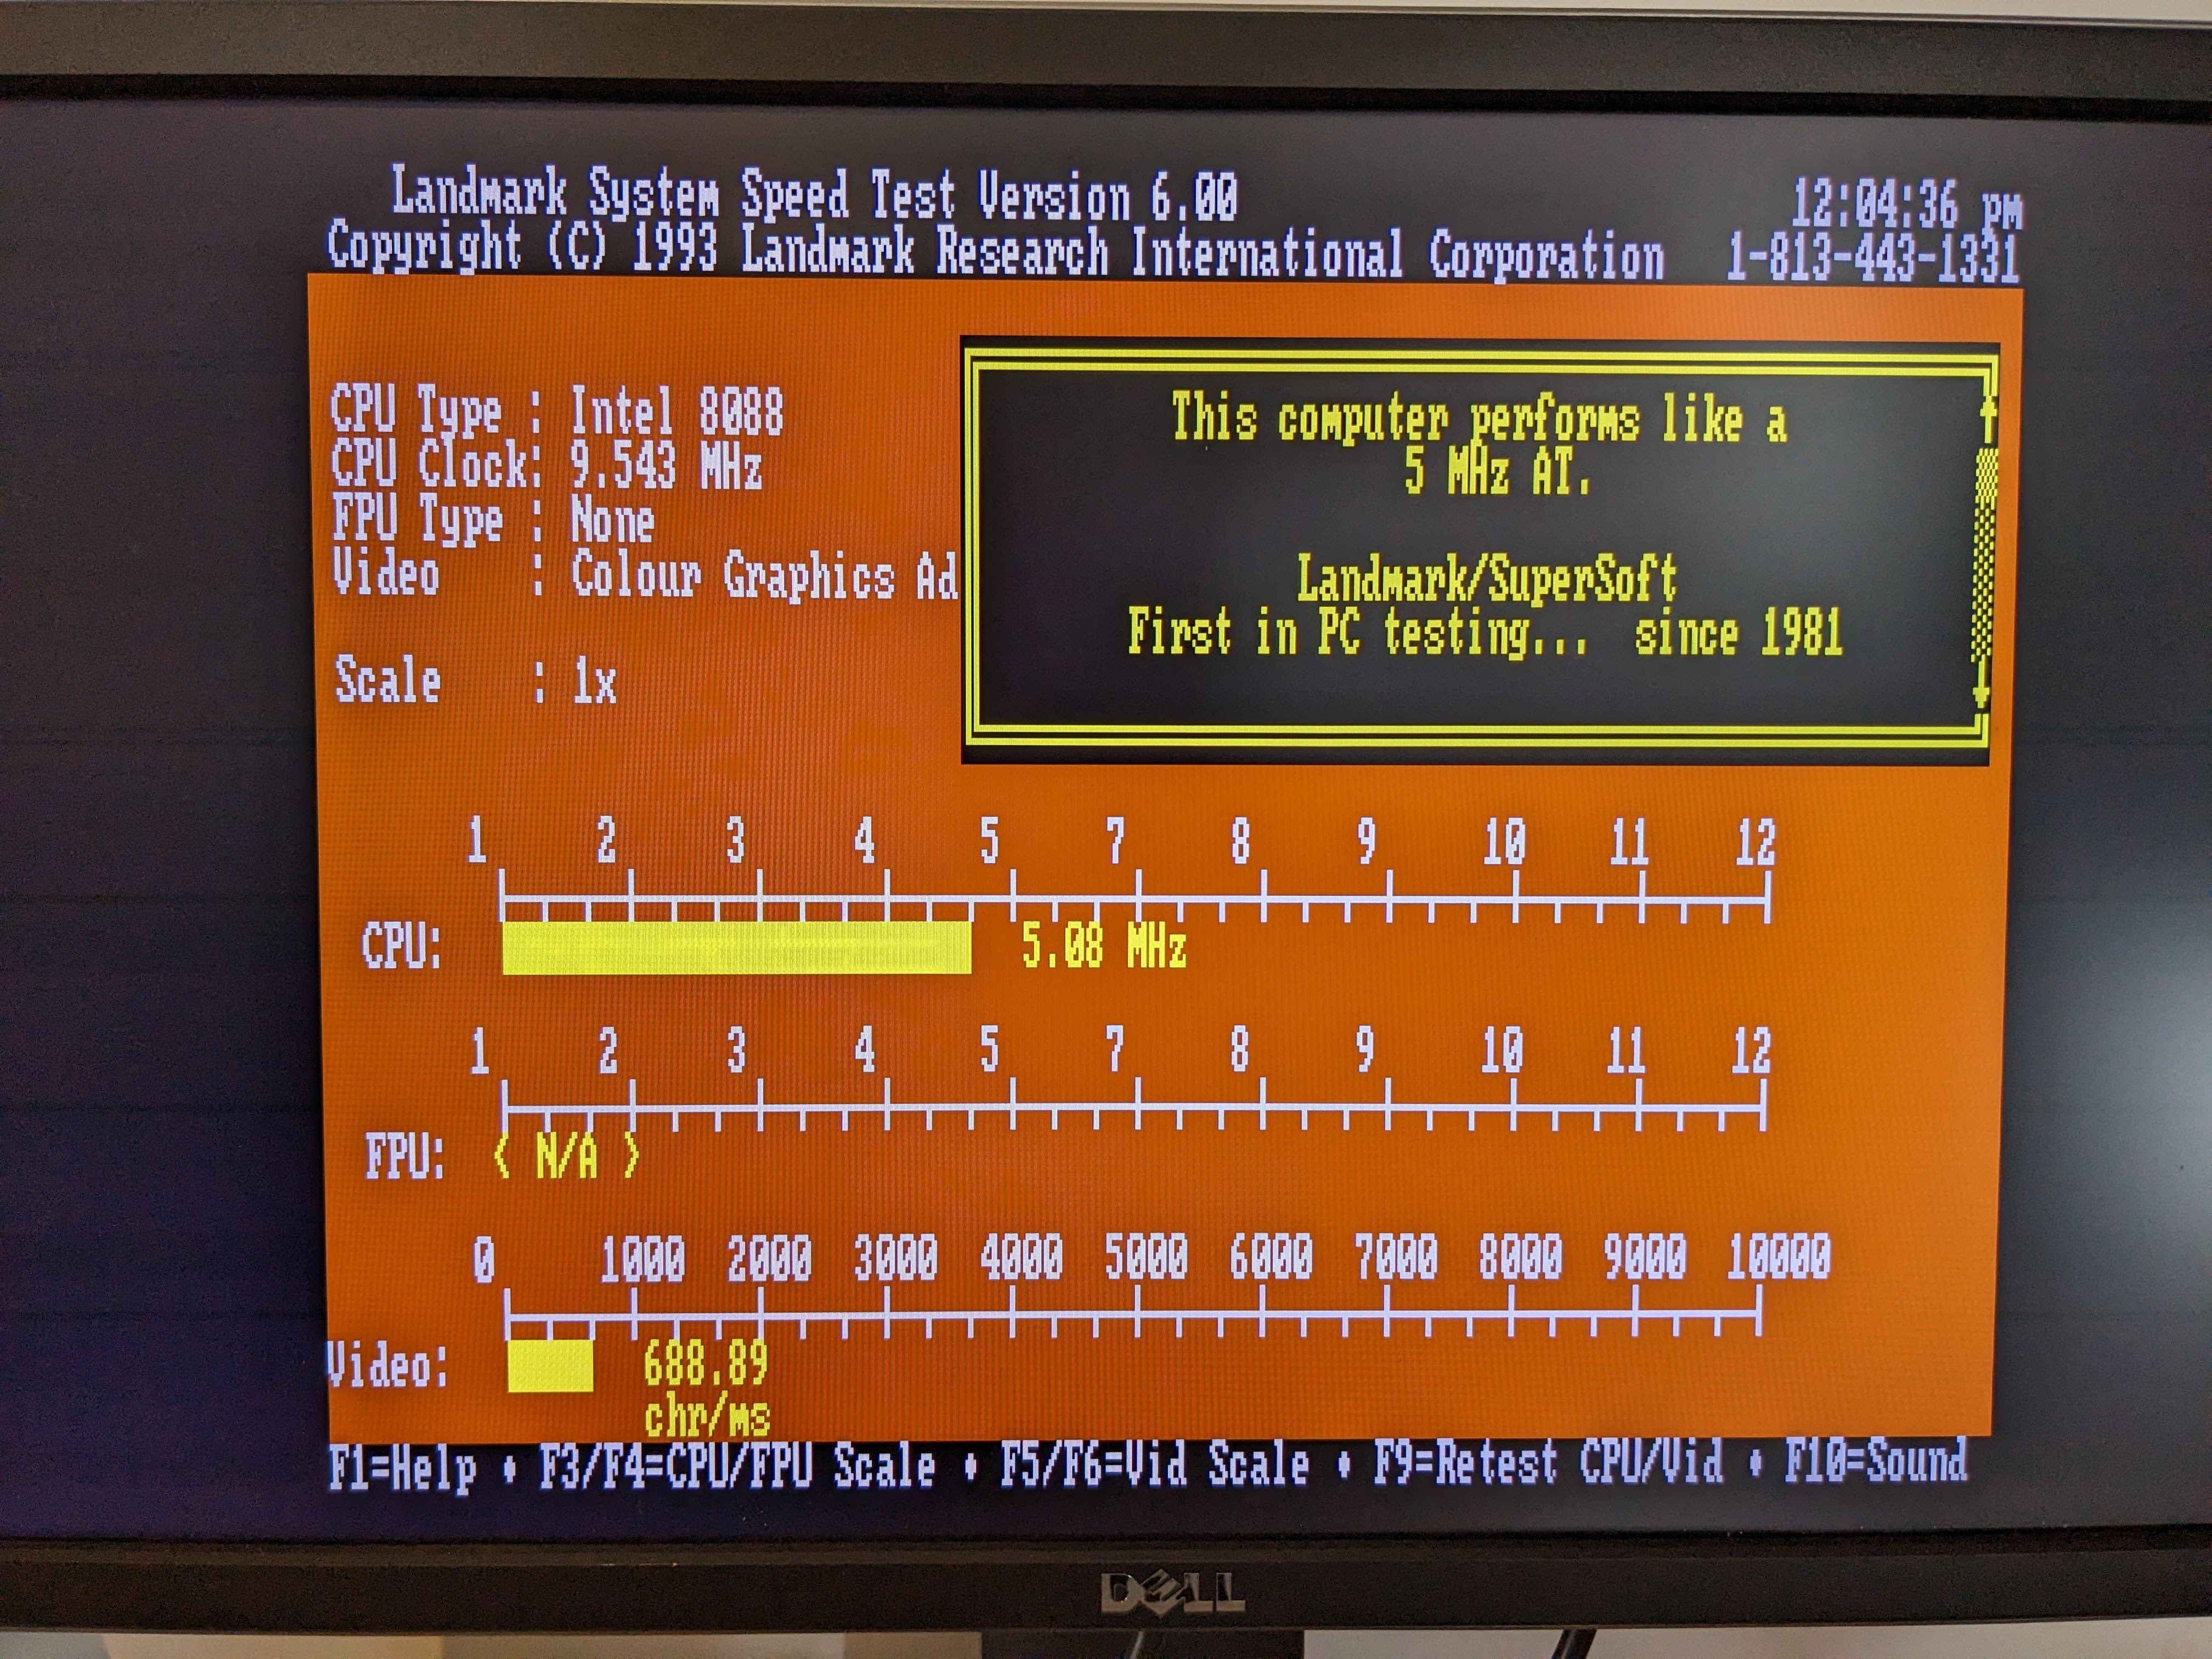
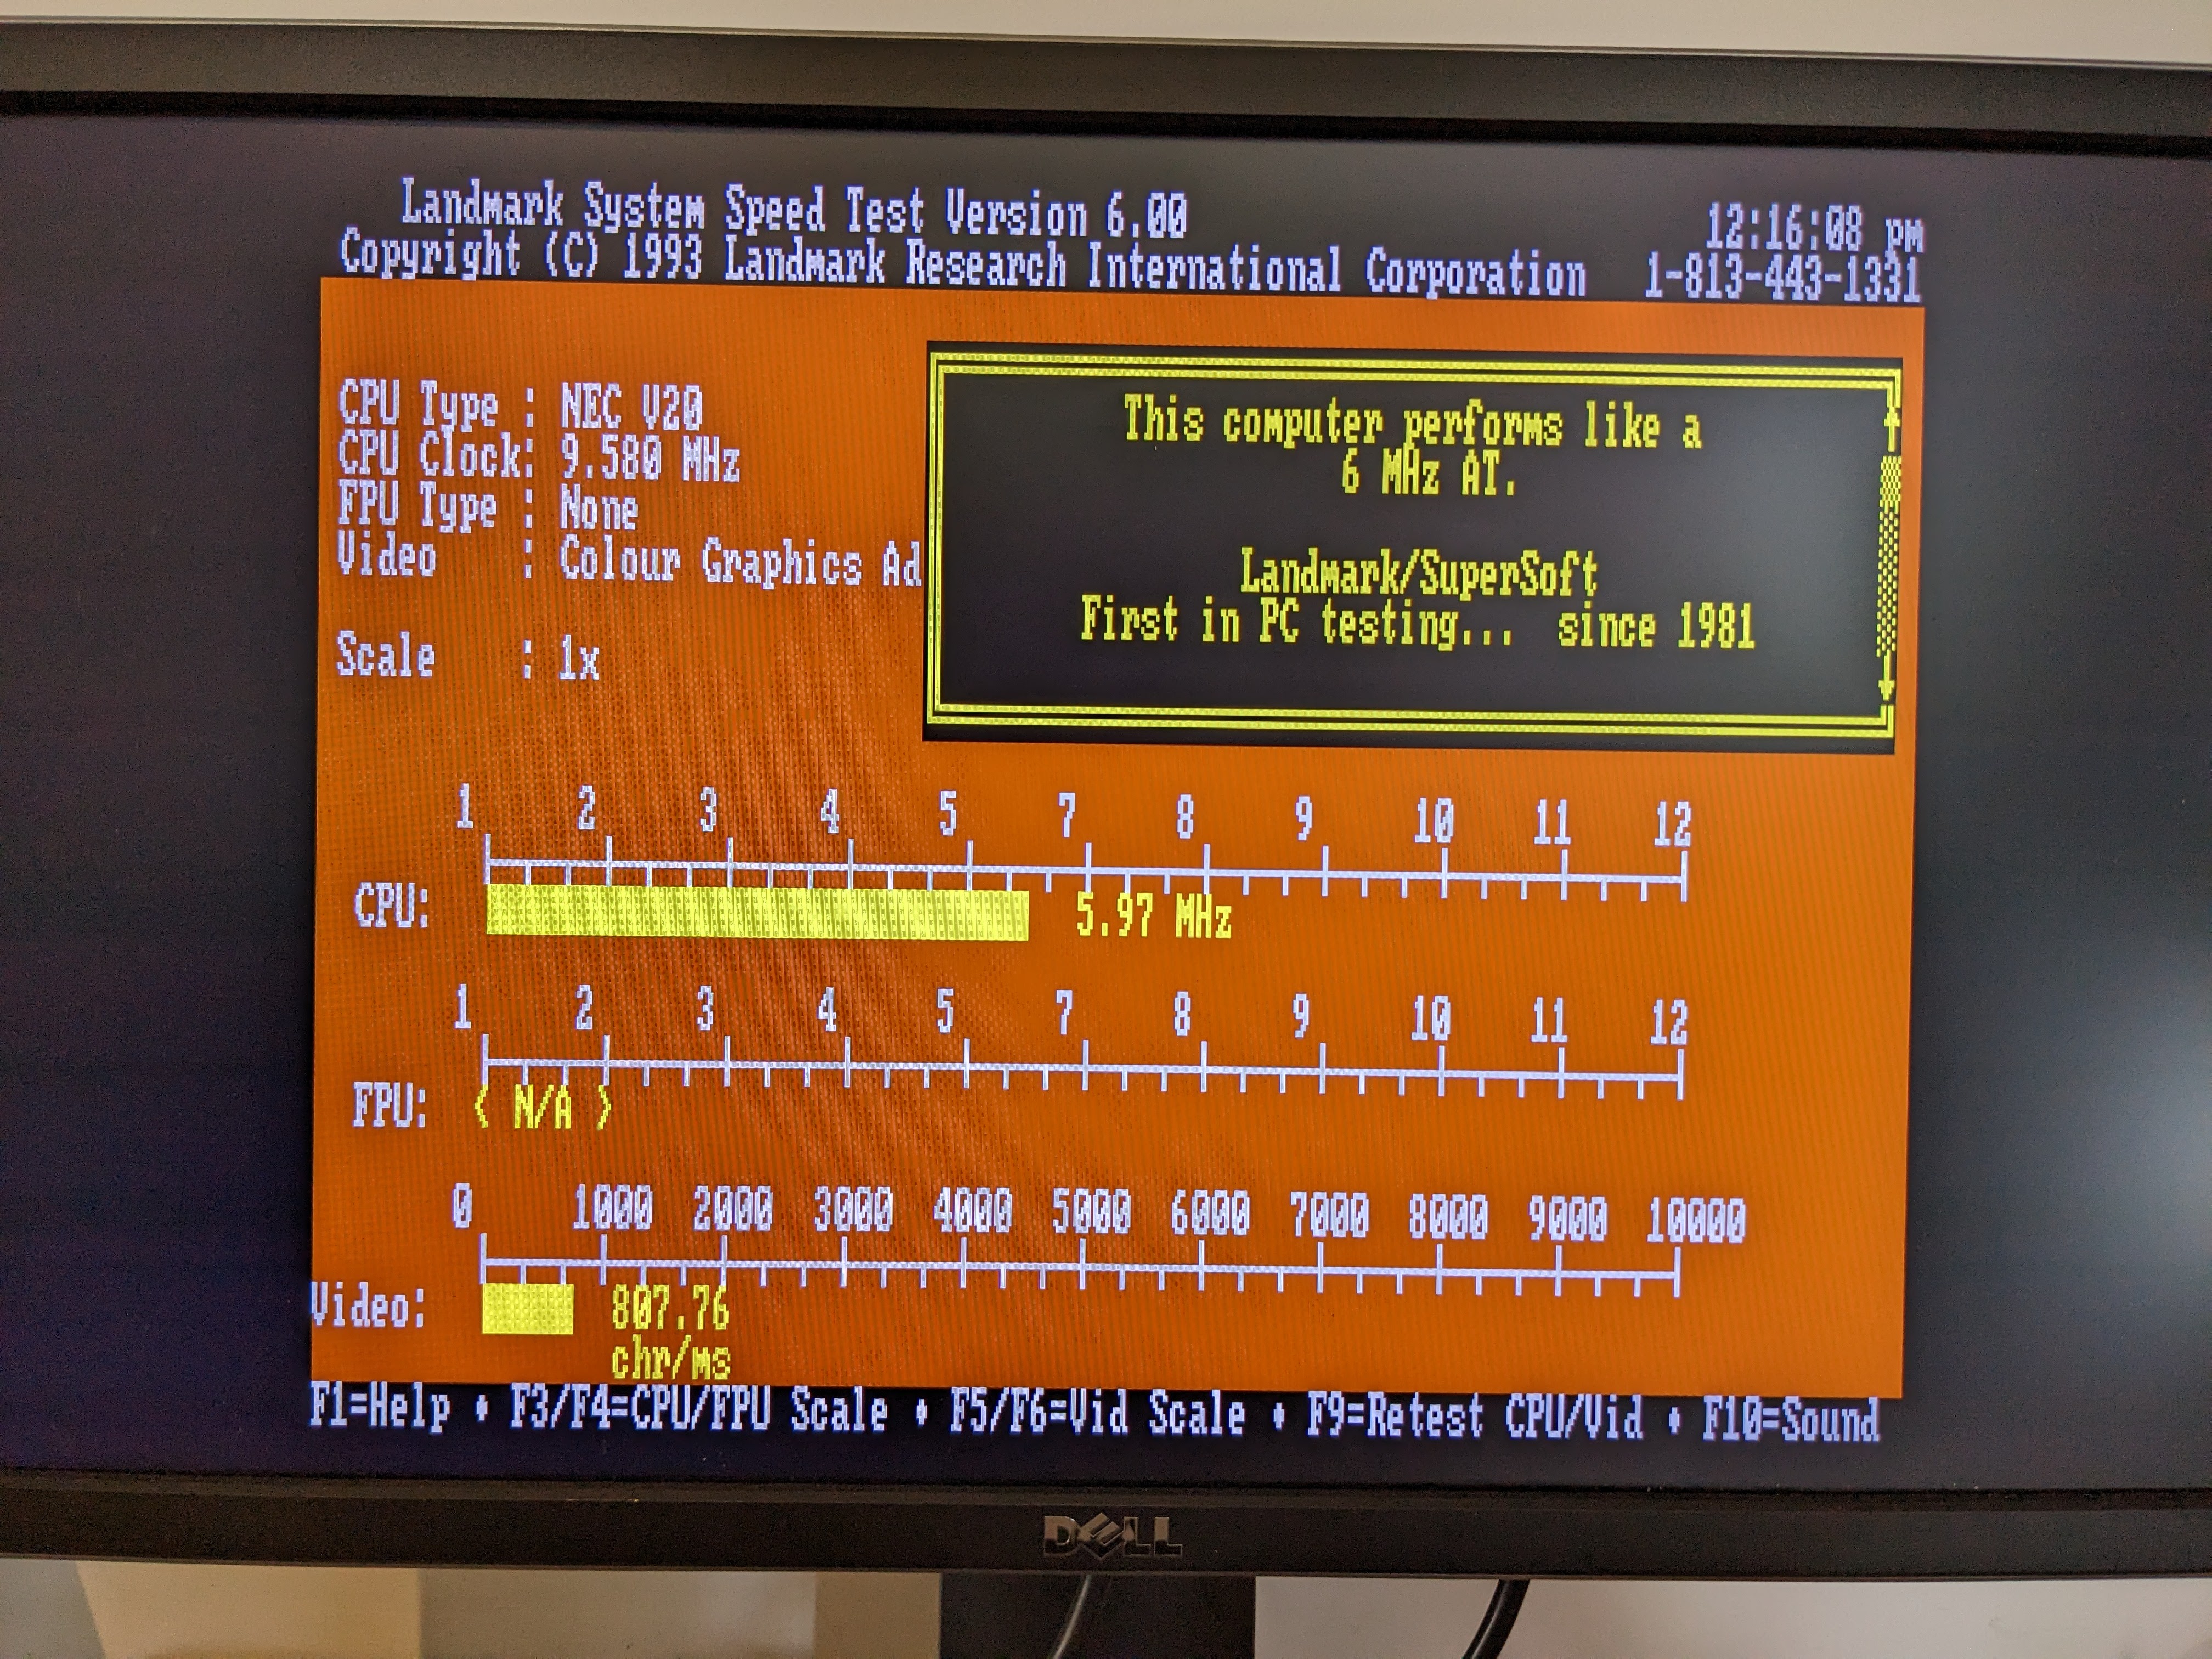
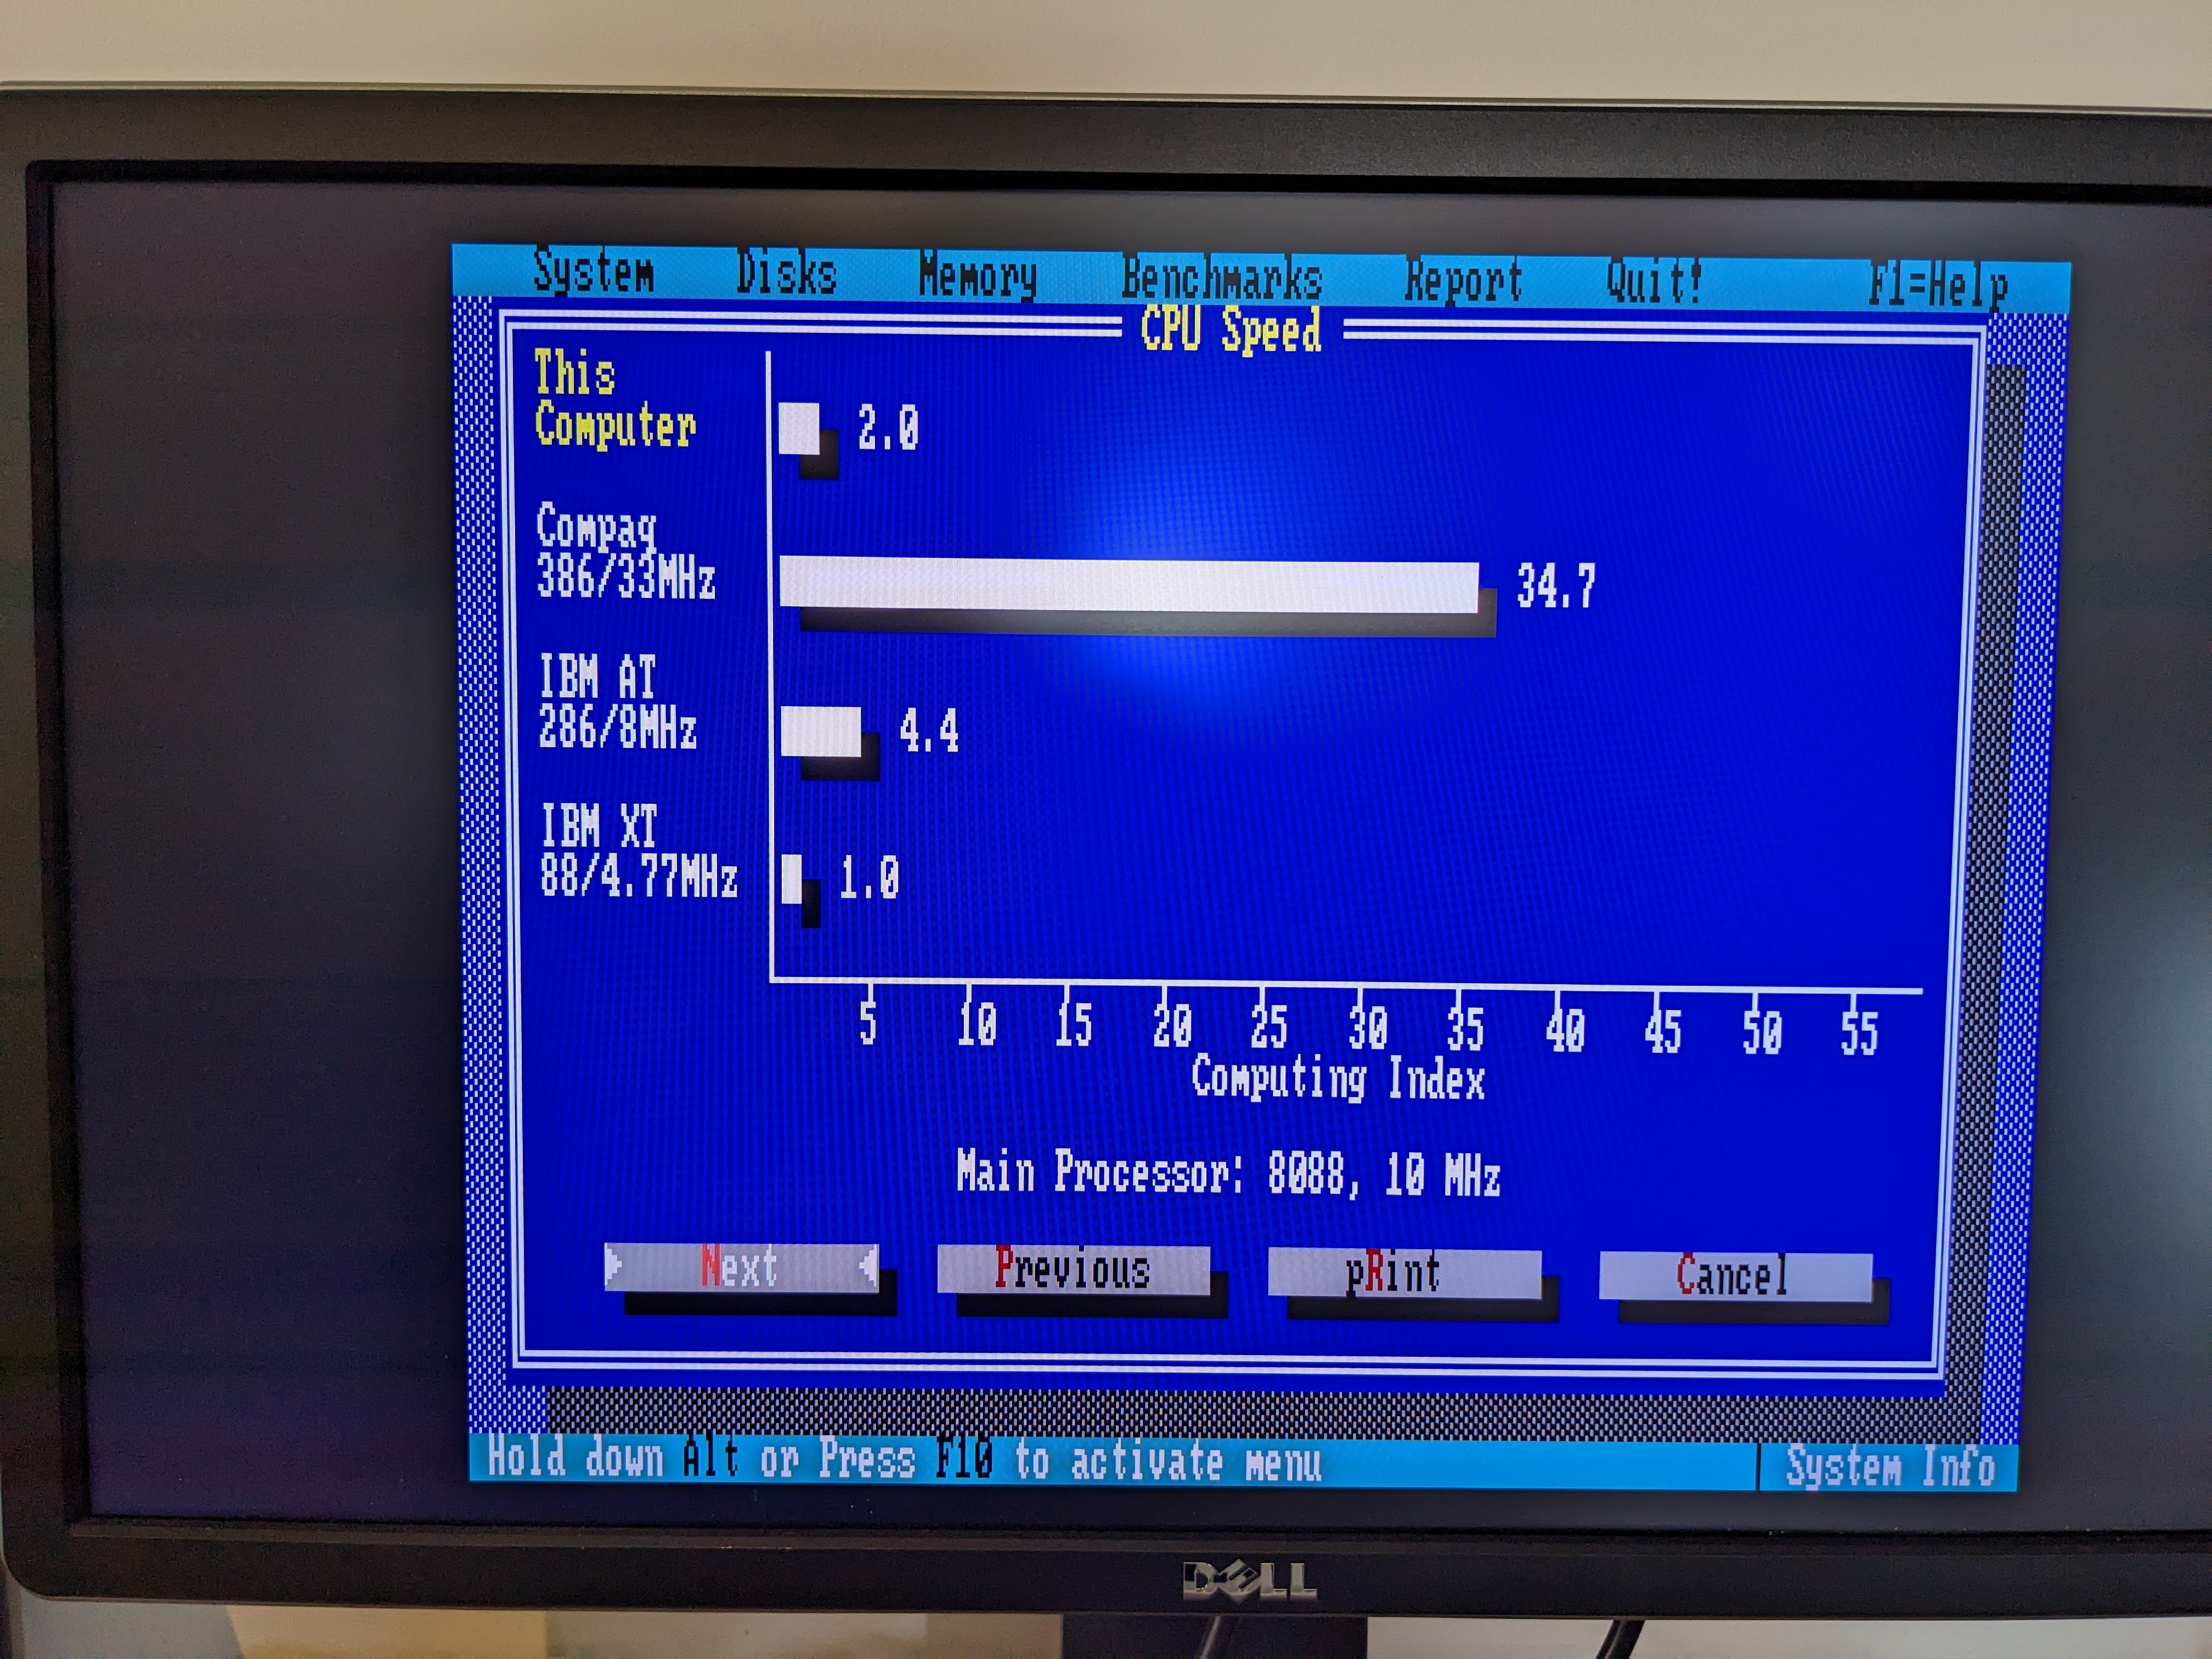
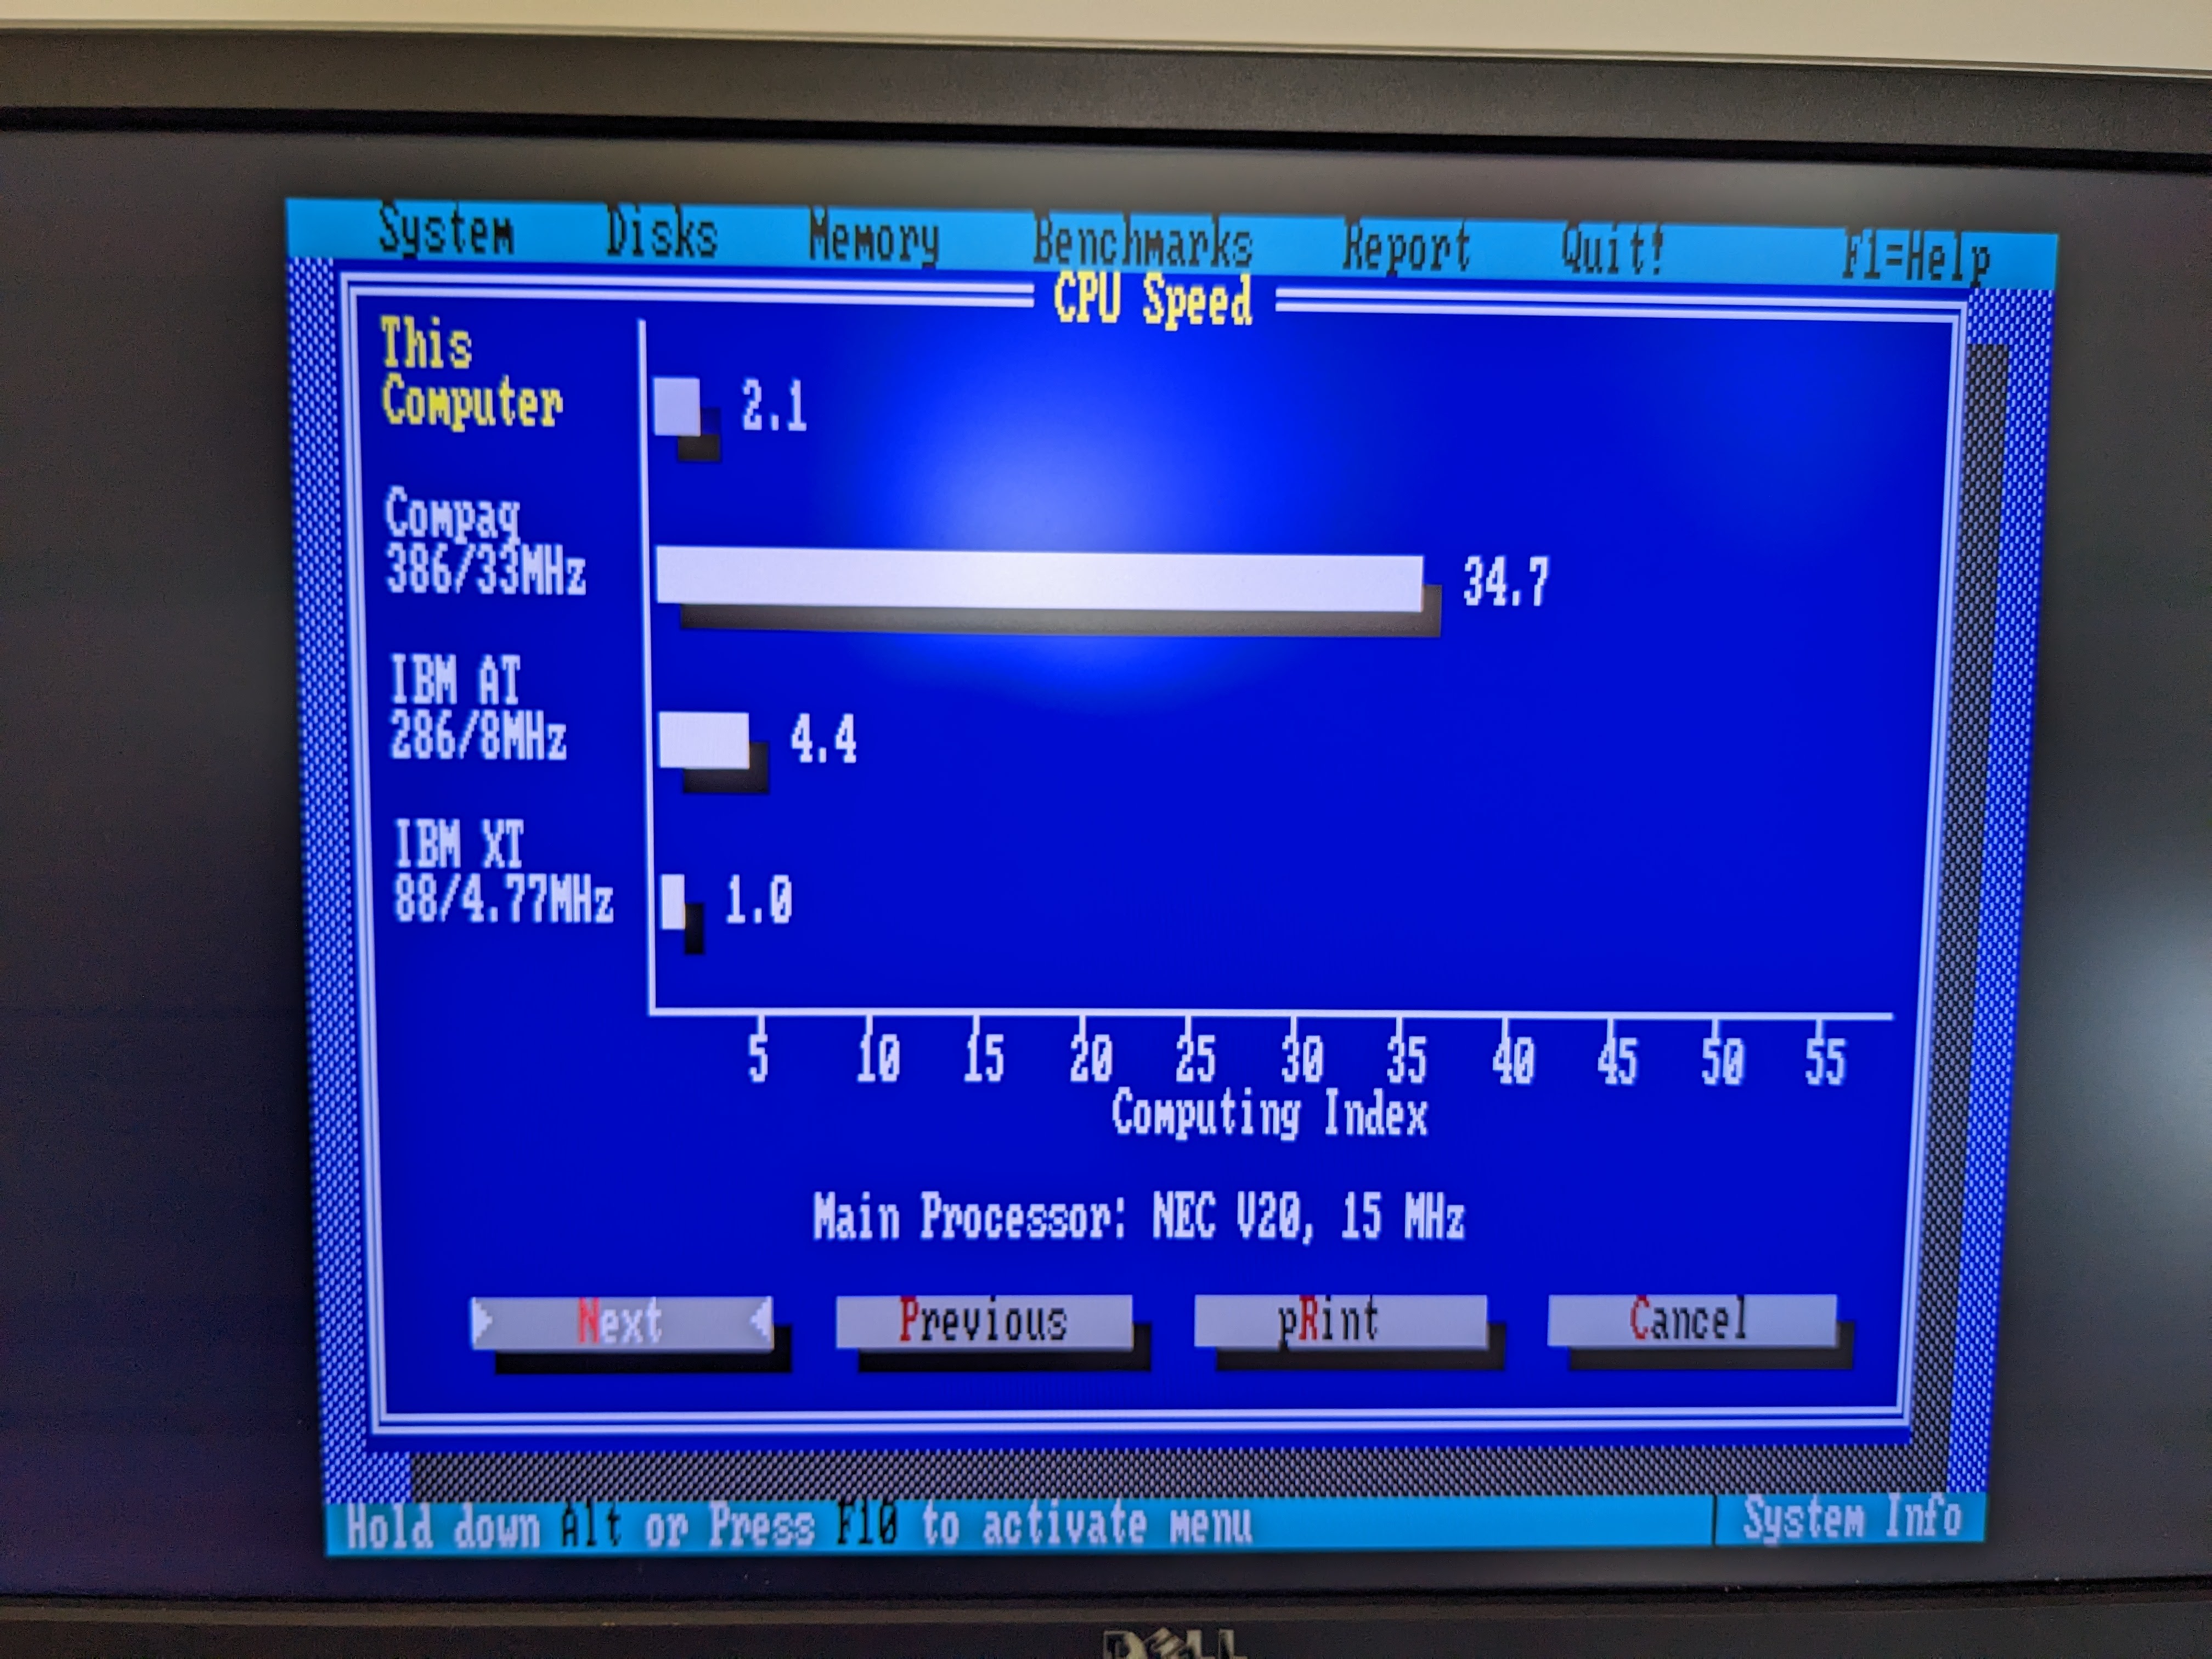
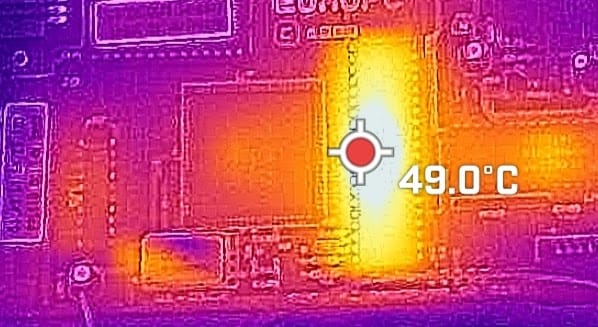
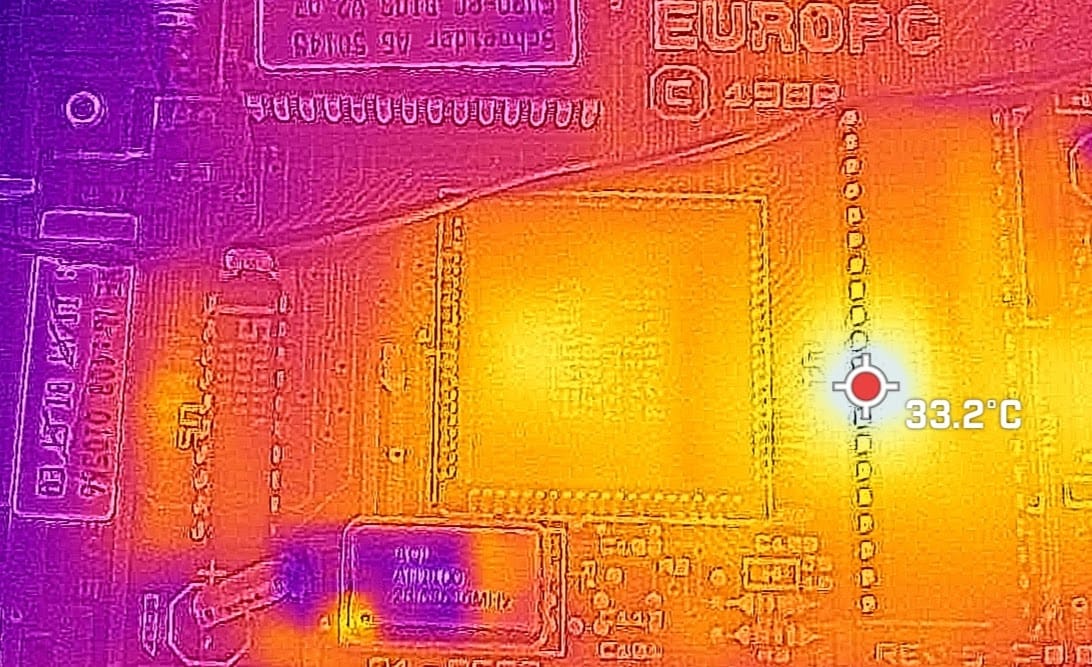
So, we are talking around a 10-20% speed increase just by swapping out the CPU. In addition the CPU is running cooler now, as can be seen by this before/after shot (my FLIR camera needs calibration for alignment, the heat is closer to the centre of the CPU).
ROM Upgrade
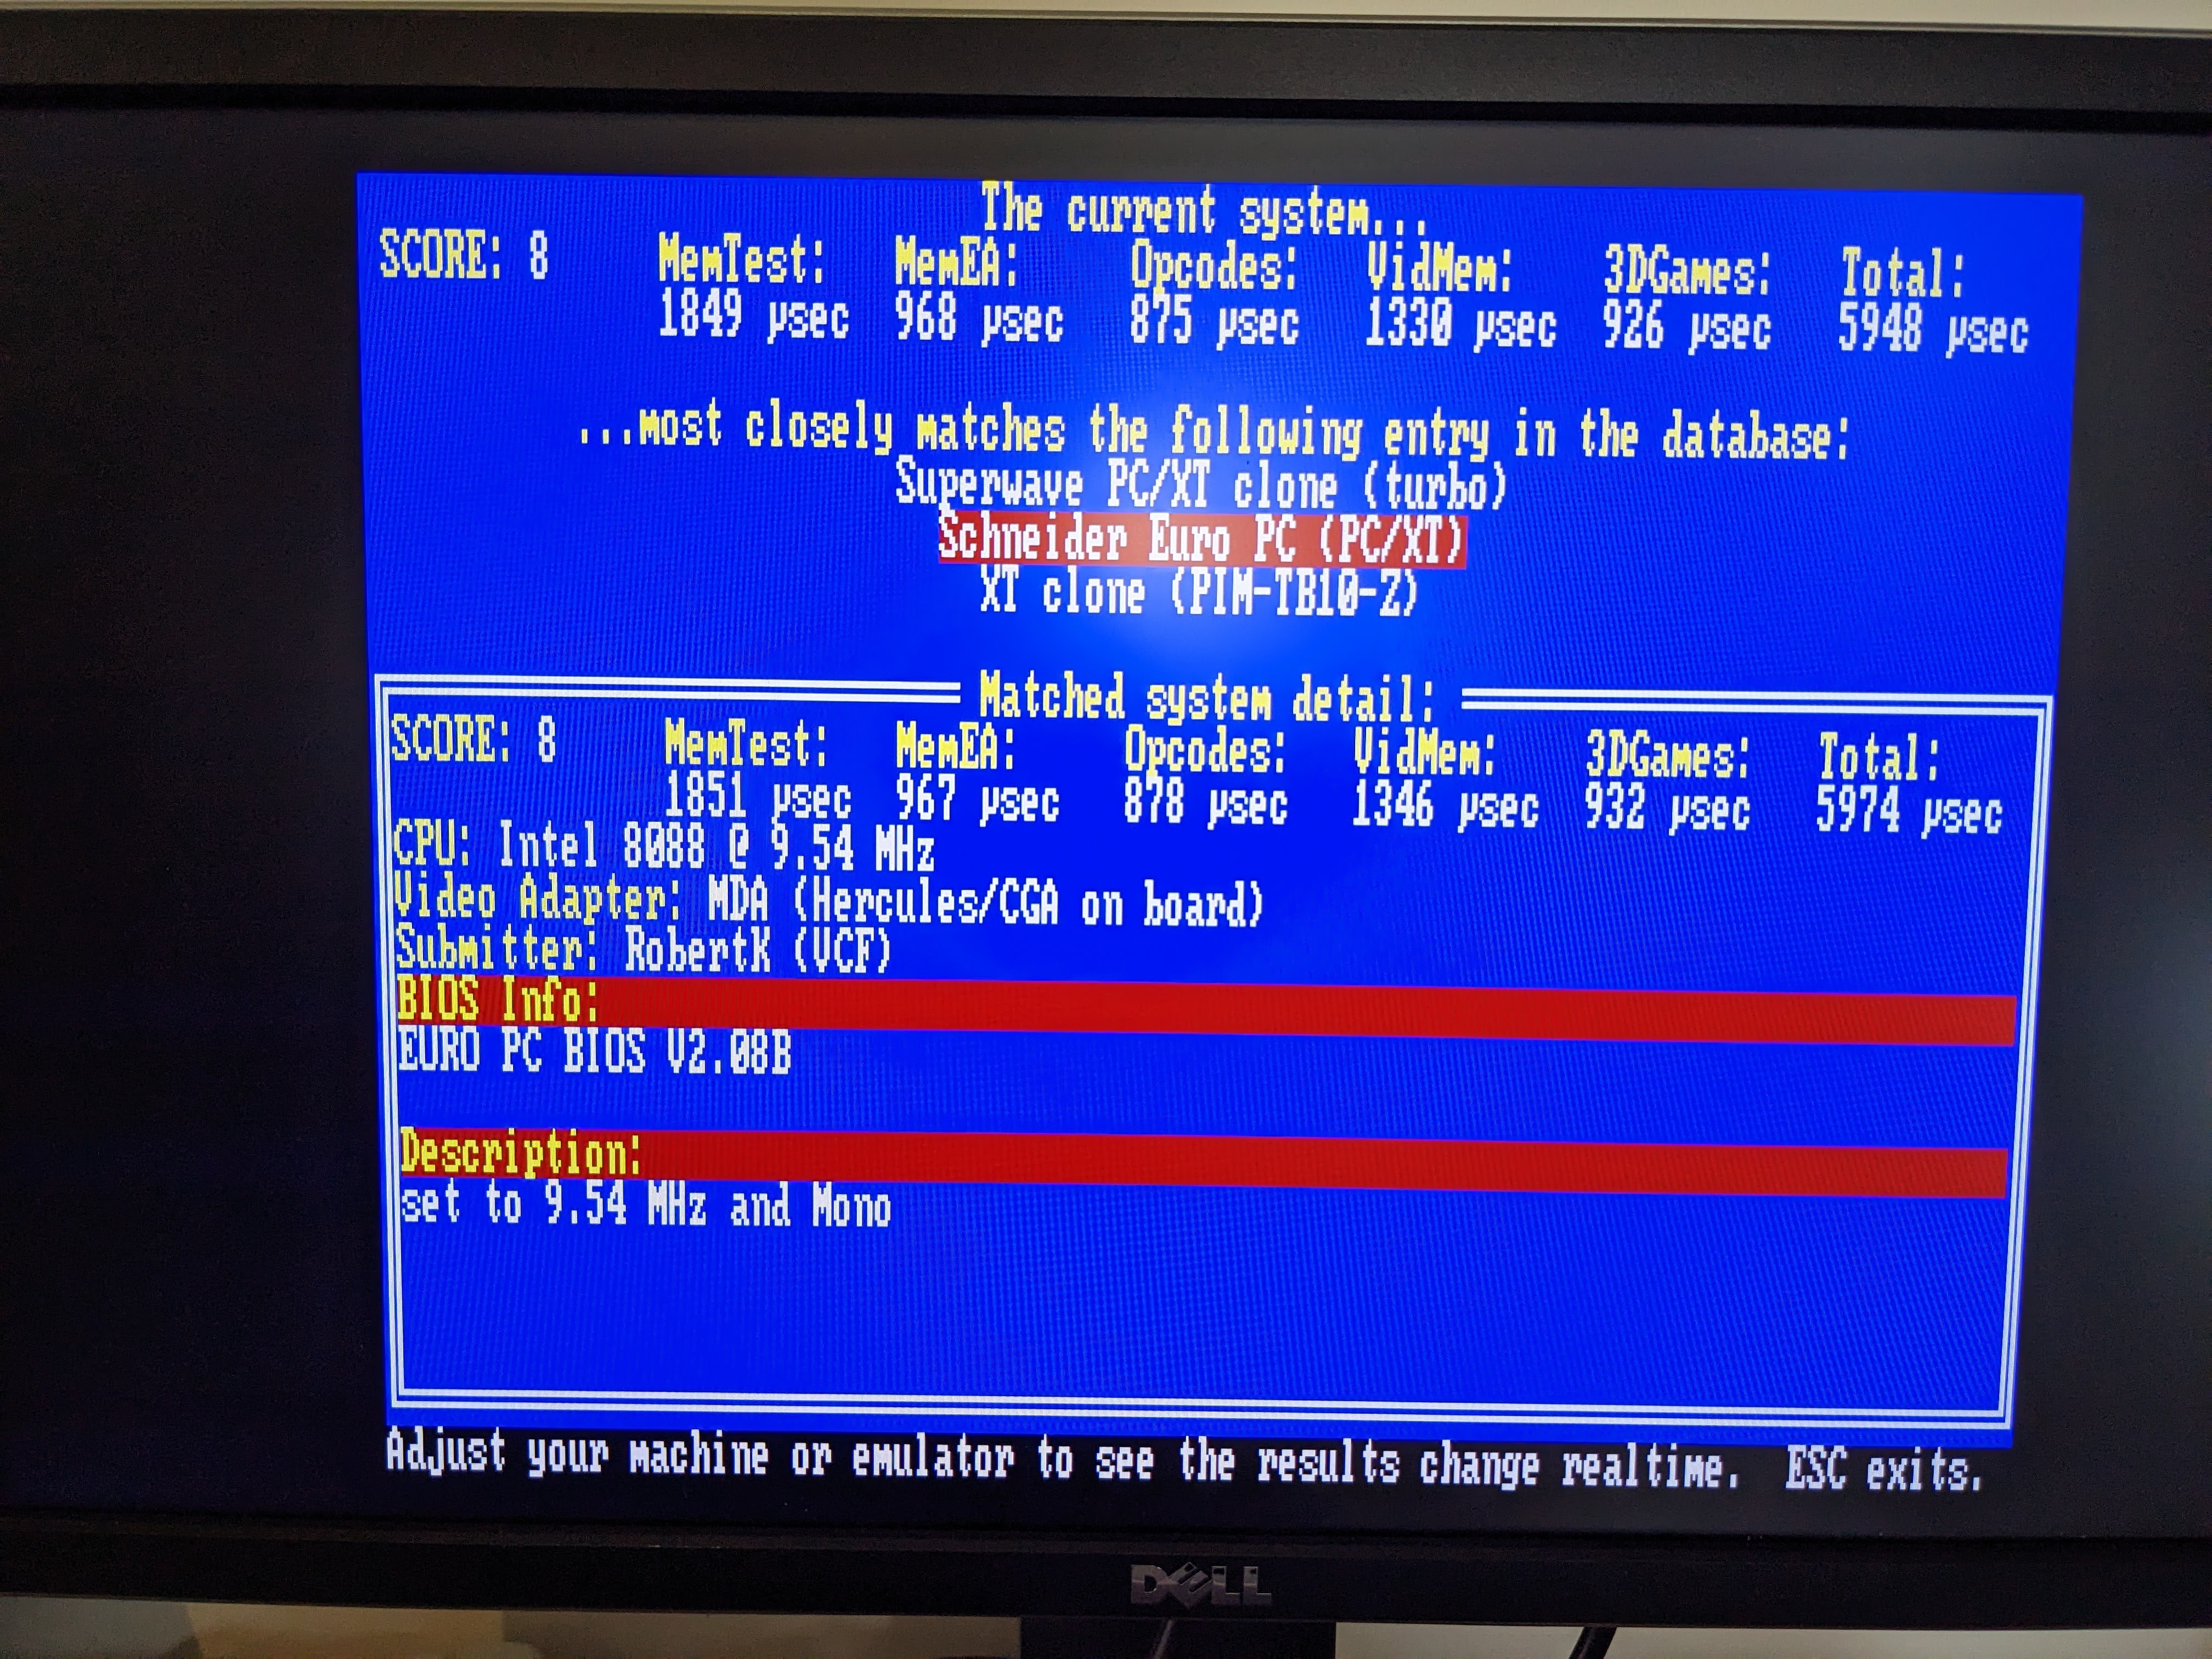
I previously mentioned that the machine was firing time/date errors each boot with a Y2K set as the date/time. It appears that this was a bug in the date checking code rather than a date storage issue. Up until now I’ve been working around it by having the year set as 1980.
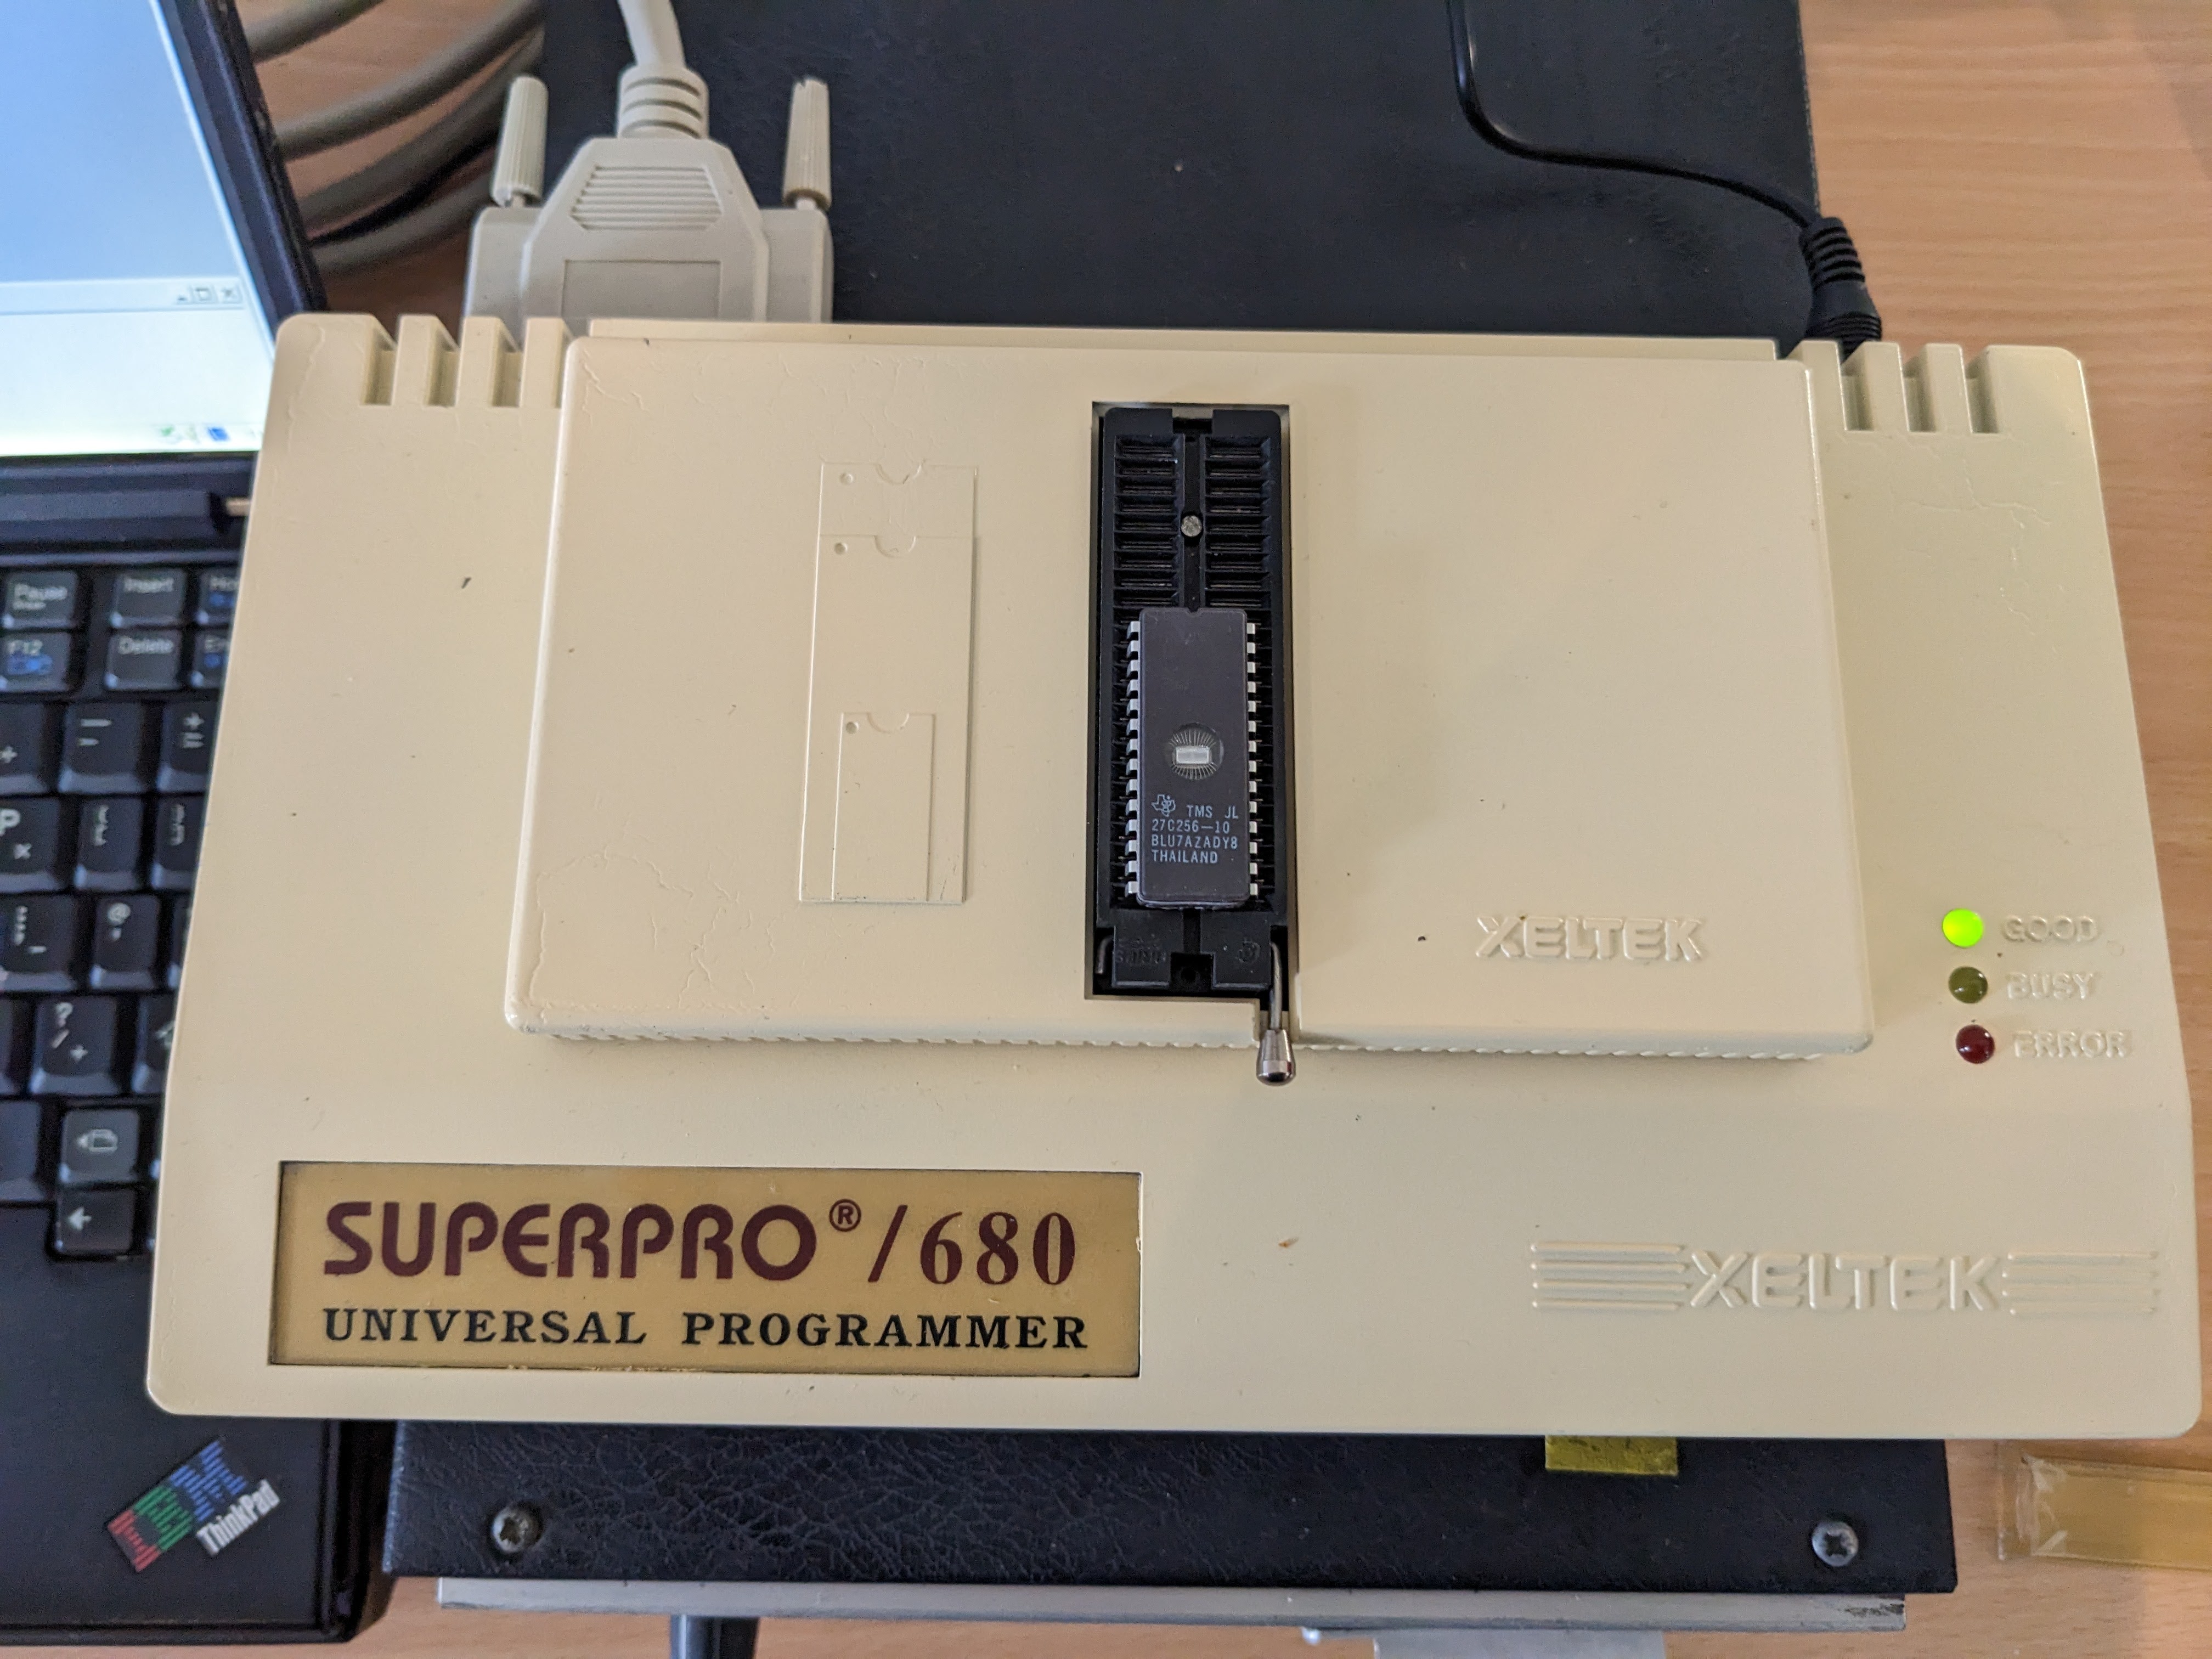
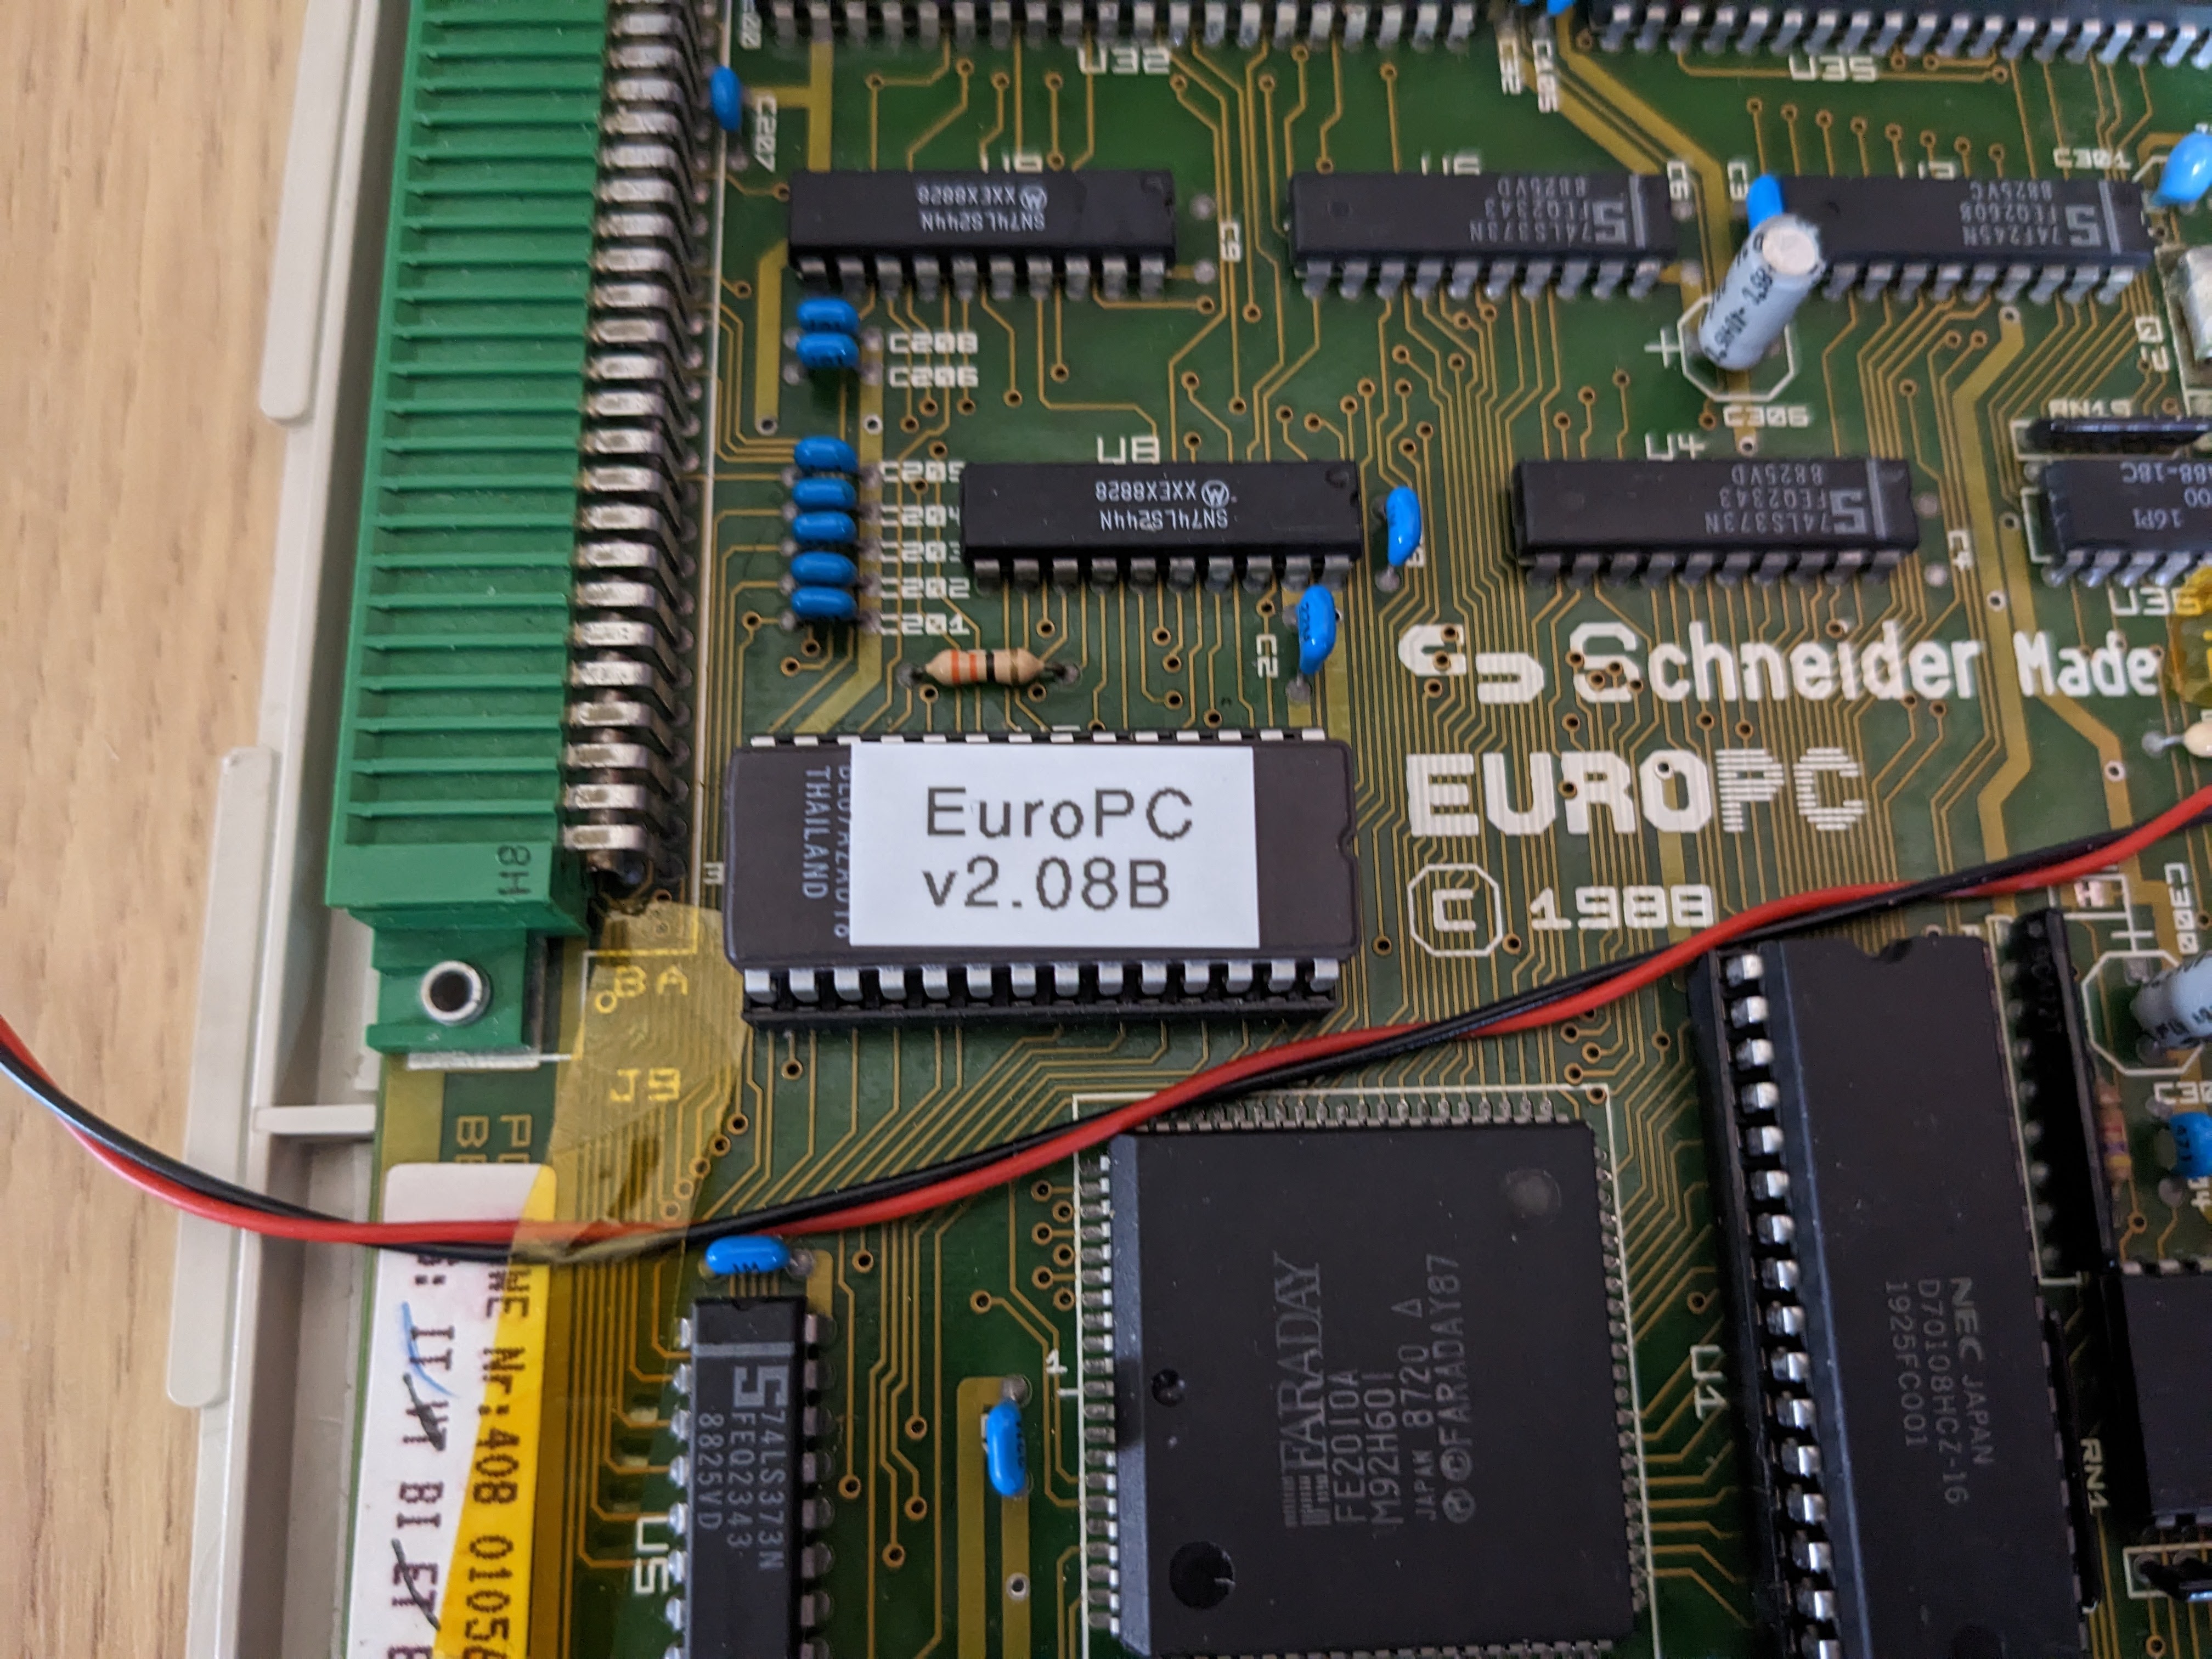
This issue has been patched by the community in BIOS version 2.08B. I have managed to acquire a new/old stock 27C256 EPROM and flashed it with the updated BIOS, which you can obtain from my Downloads page (sorry, I don’t know who to credit for this patched ROM).
I then put this into the machine and powered it up. All seemed to work fine. I then set the date to today’s date and rebooted.

No error! This does appear to have fixed the BIOS Y2K issue.
Now all that is left is testing the parallel port (still awaiting something special to test that) and assuming that is good, I’ll be ready to put the case back together.
Leave a Reply