My Amiga 3000 is now in pretty good working condition, but my work is not done. In this part I’ll continue the restoration, whilst I also start to upgrade the machine.
Face
The Amiga 3000 has two drive bays, but only one drive. Usually the second drive bay is covered by a face plate, but this is missing from my machine. My friend, Paulee, sent me a 3D printed colour-matched (as much as possible given the age of the machine) replacement piece to cover up the hole.
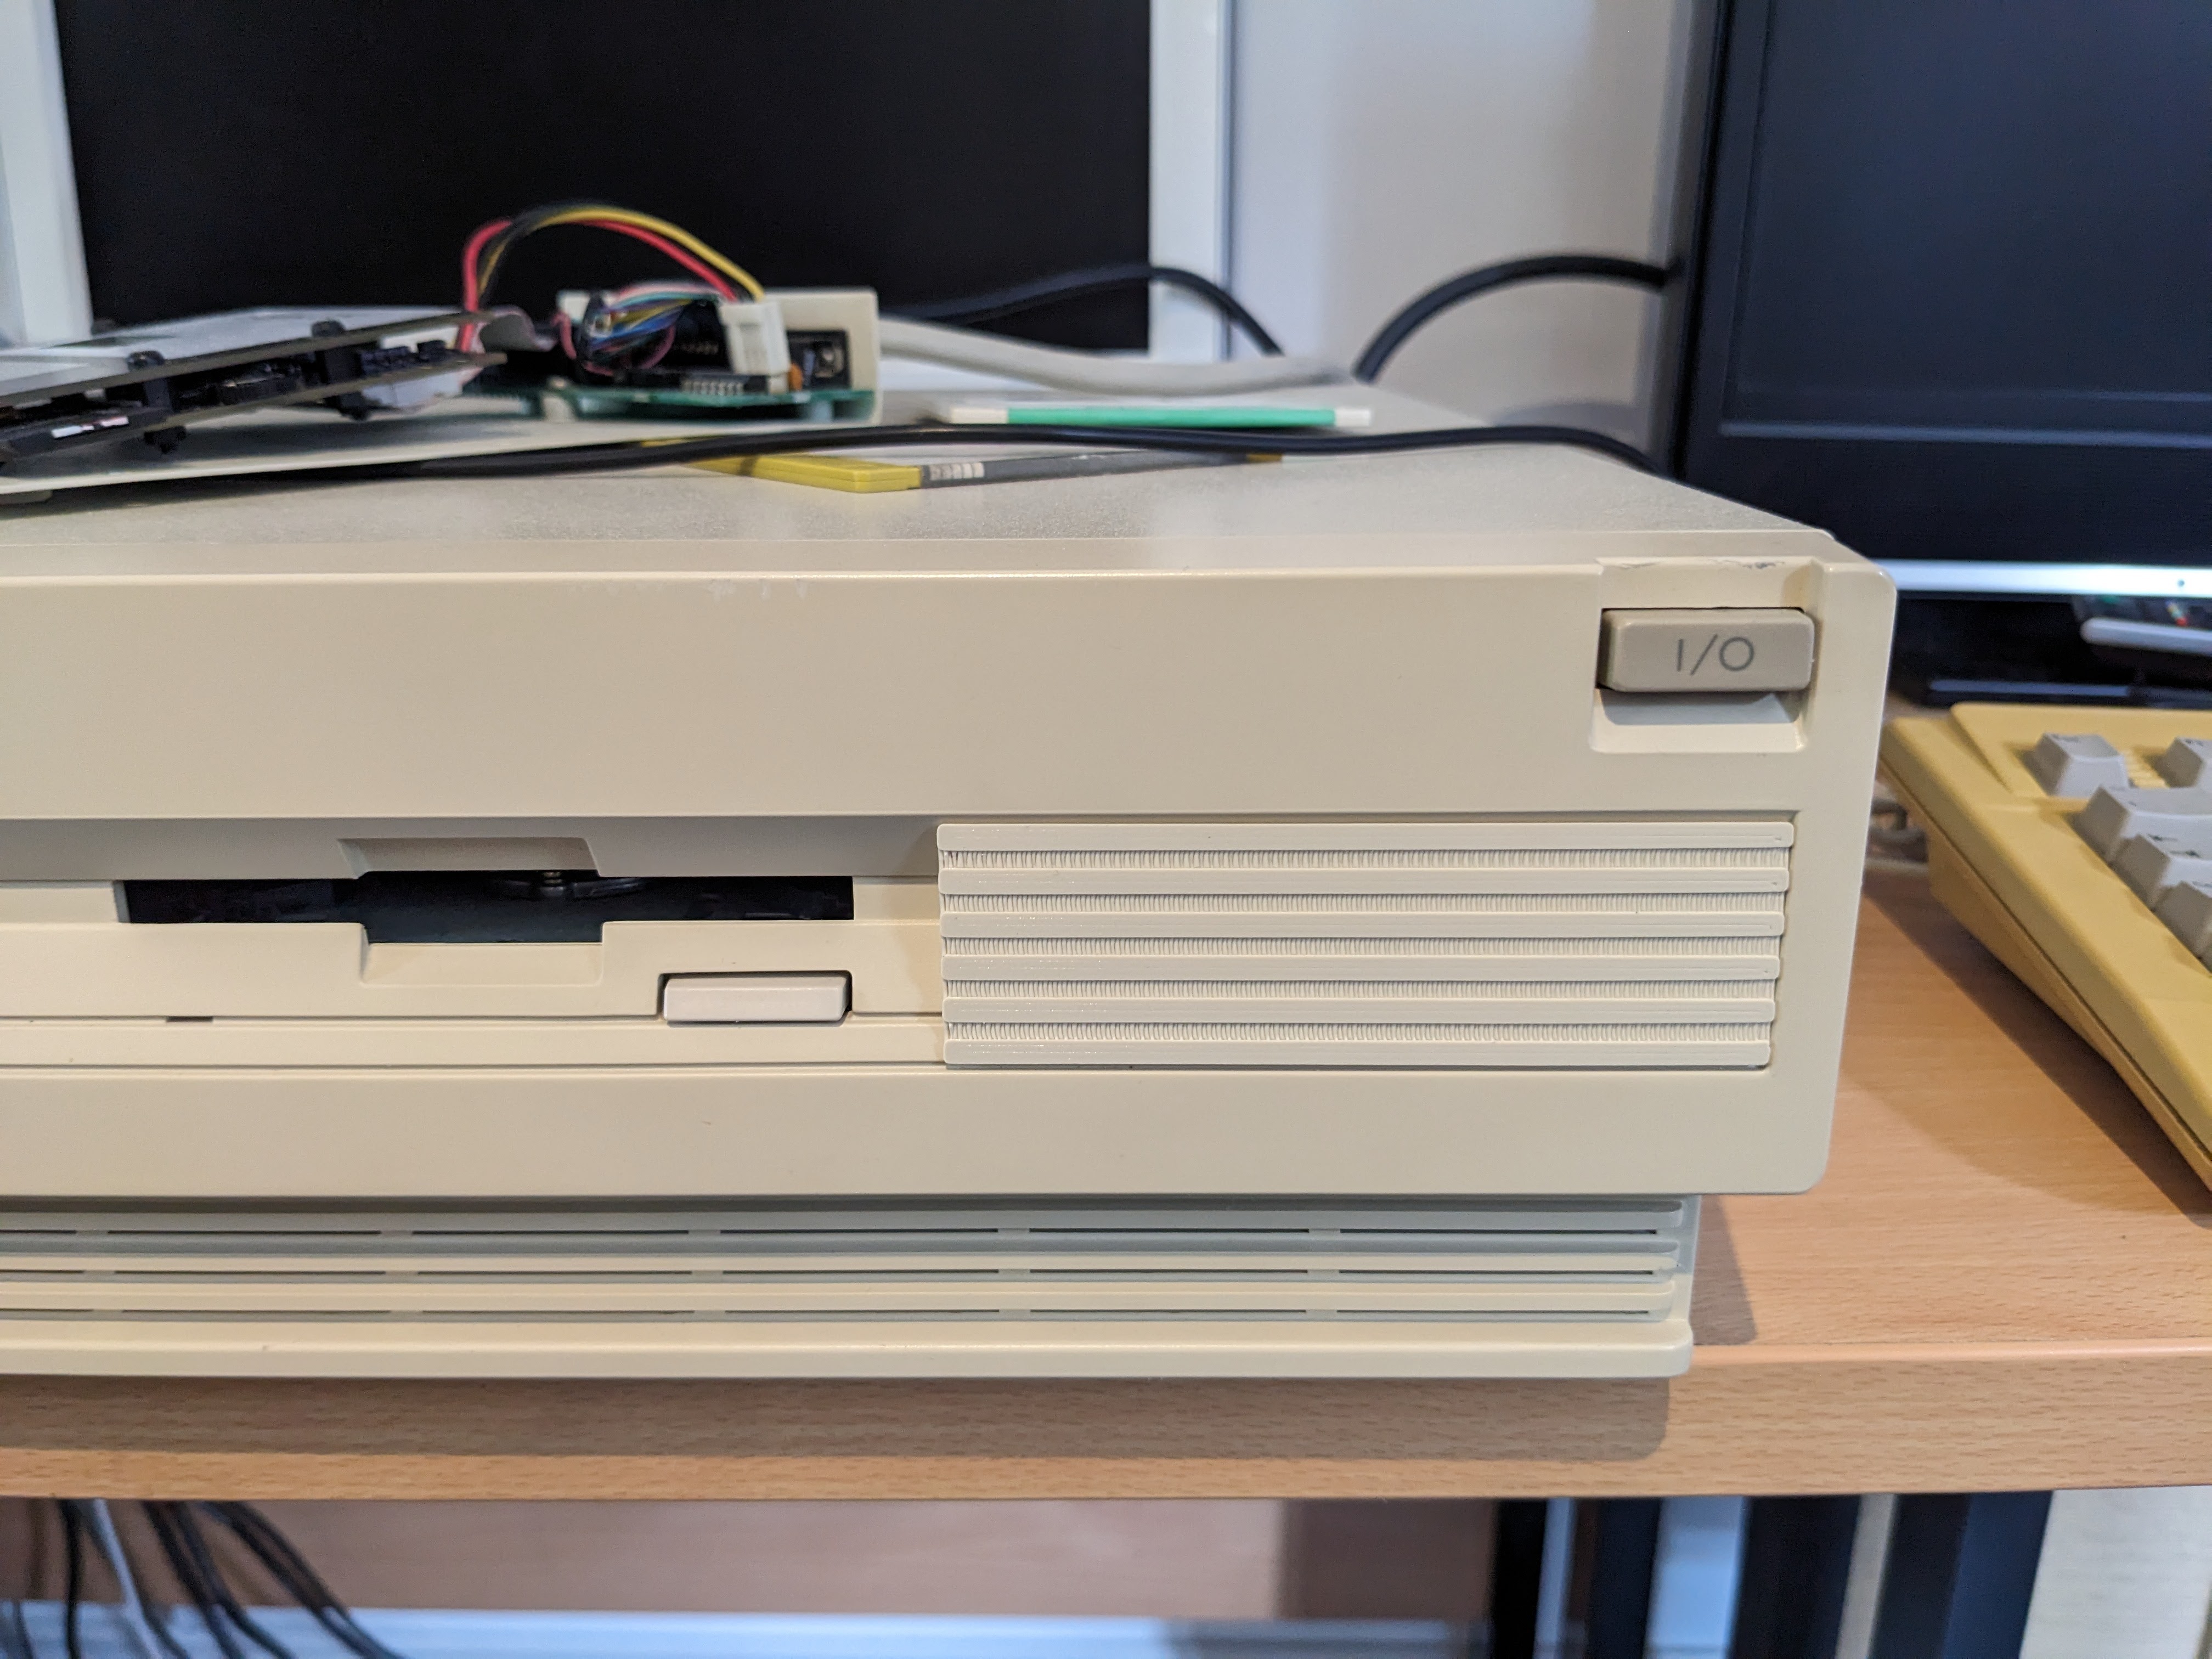
Whilst it is clearly not the original, I very much like it.
Feet
The computer itself had no feet on the bottom of the case and the keyboard’s feet had somewhat disintegrated. To solve the computer’s feet problem, particularly as I don’t know what the originals look like, I added some furniture feet to the bottom.
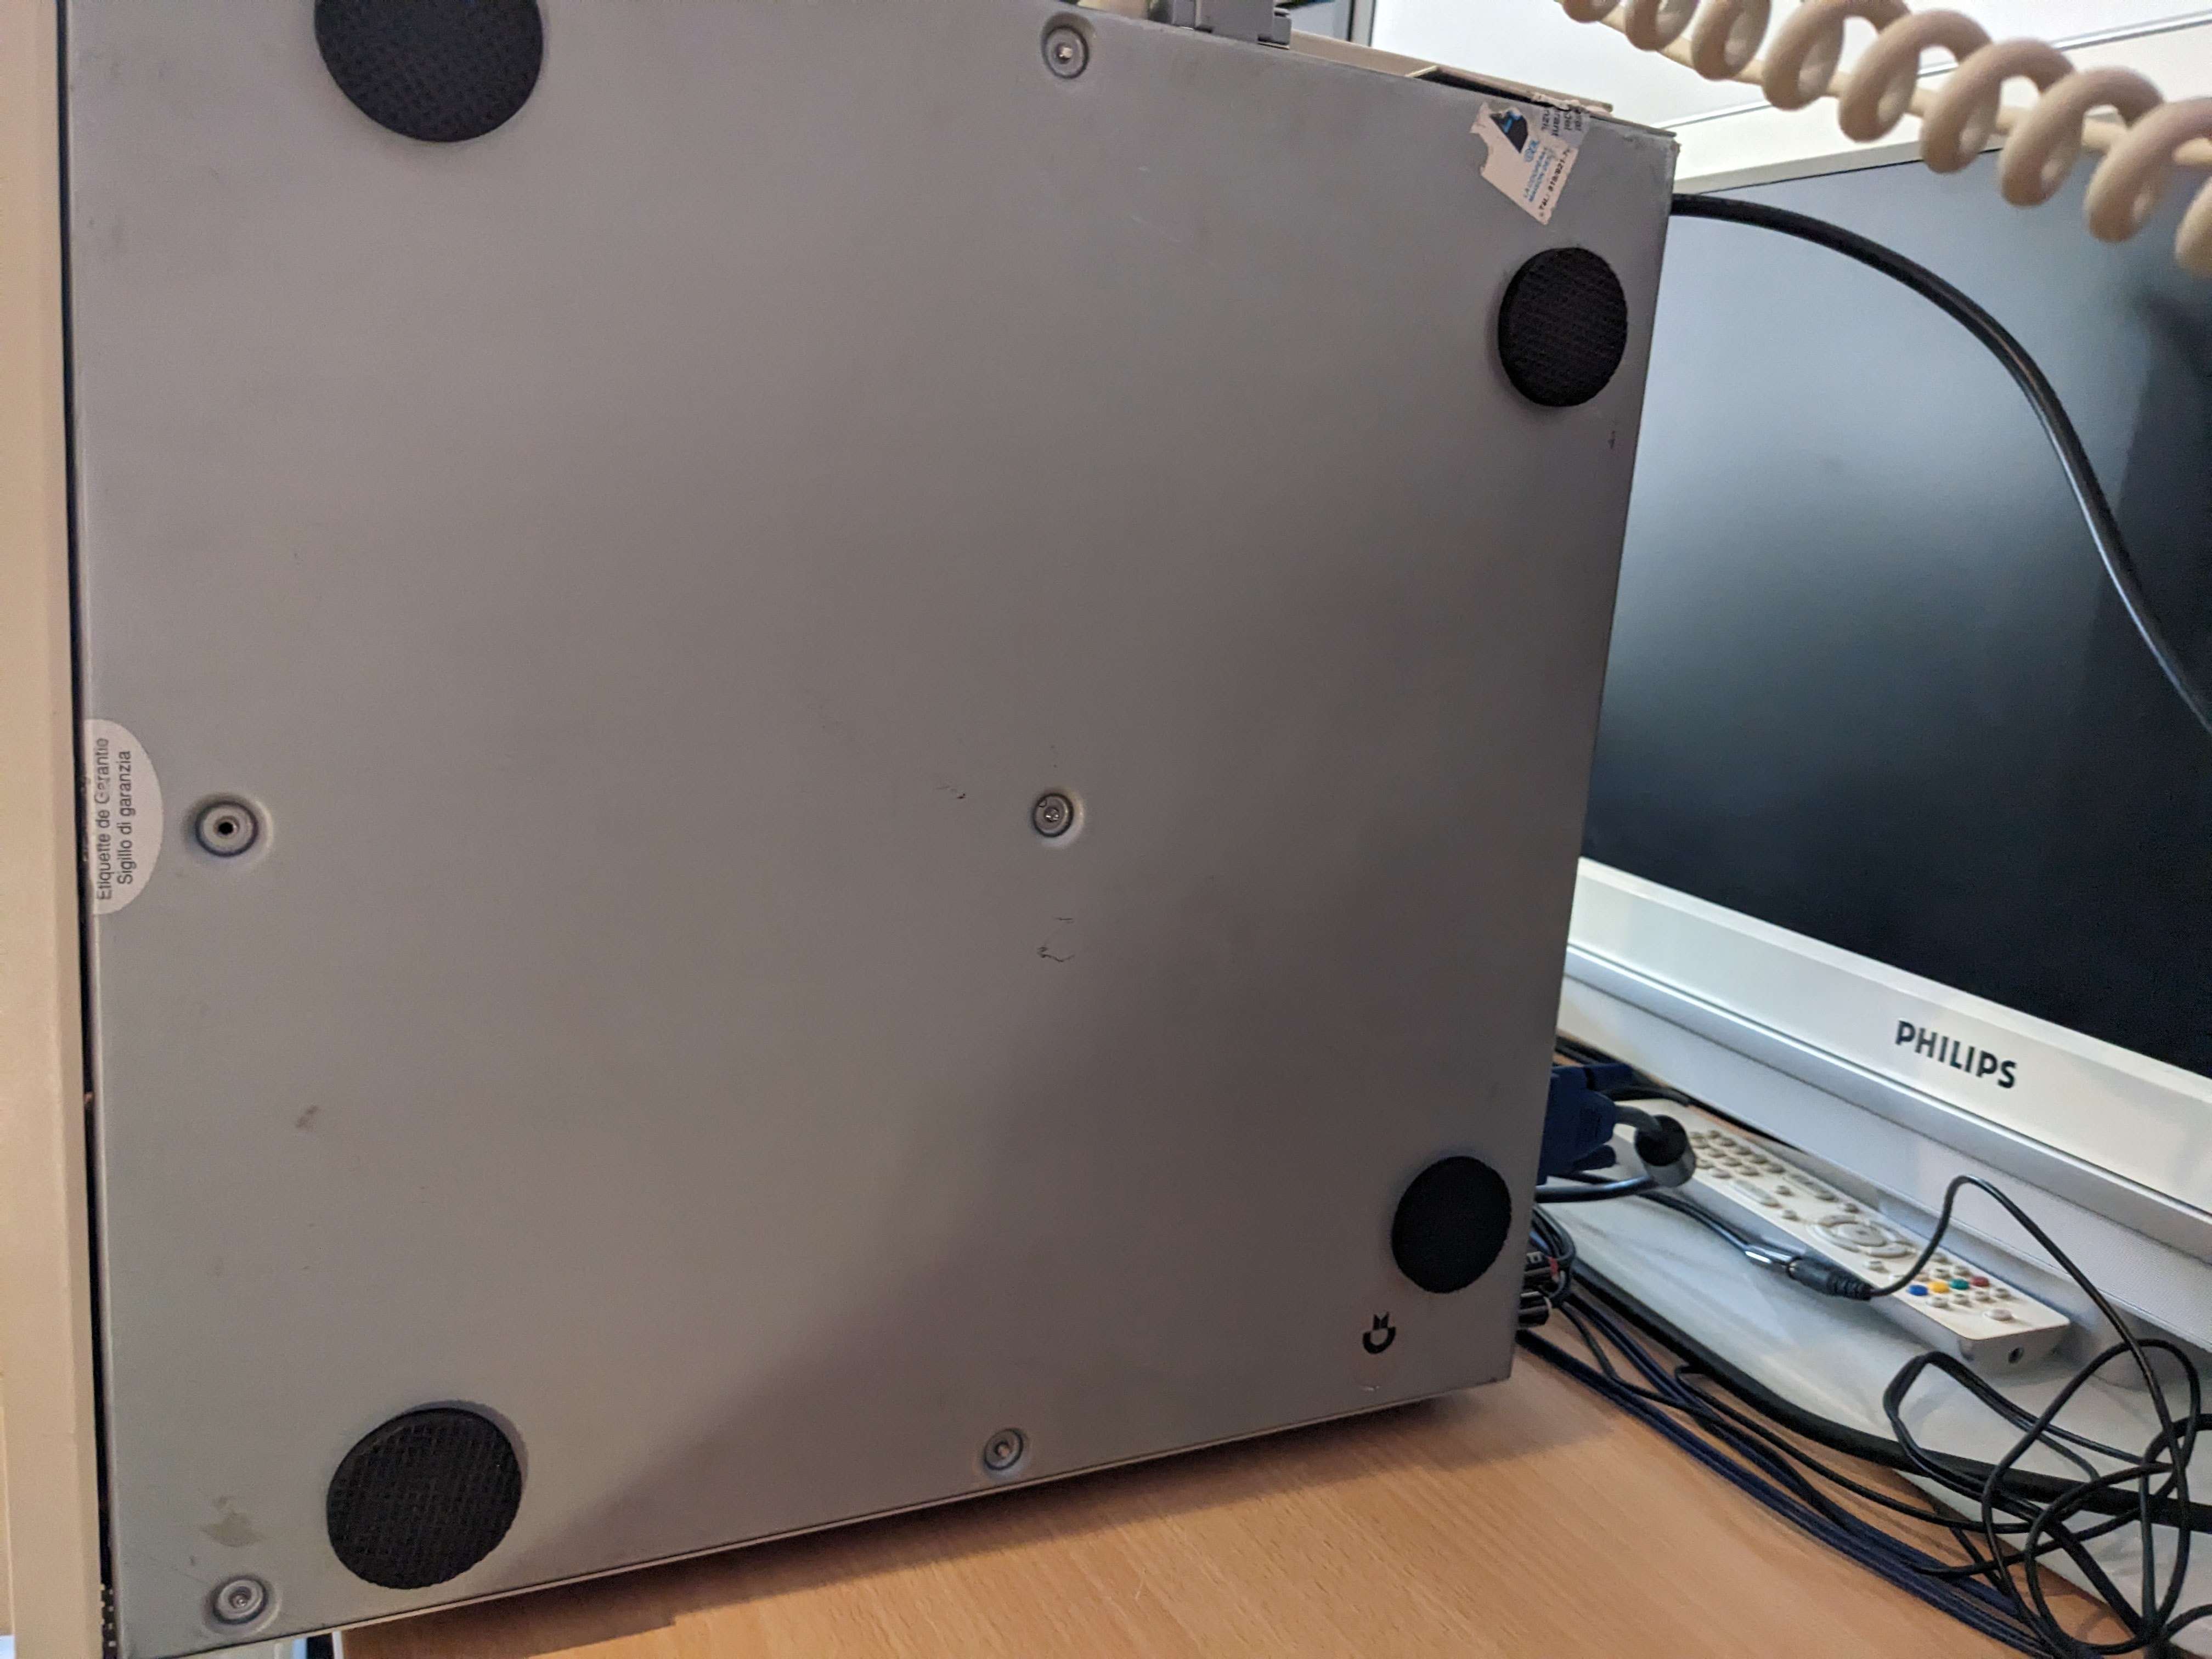
At the very least this should stop it sliding around the desk. As for the keyboard, I have compatible feet, but this will wait until I’ve finished working on restoring it.
Keyboard Part 1
The keyboard was very yellow and very dirty. In fact when I pulled off the keys, it was worse than expected.

Yummy! I’m glad I was wearing gloves for this. Once all the keys were off, I vacuumed this up and then cleaned it with a toothbrush, isopropyl alcohol and swabs. The end result is already looking better.
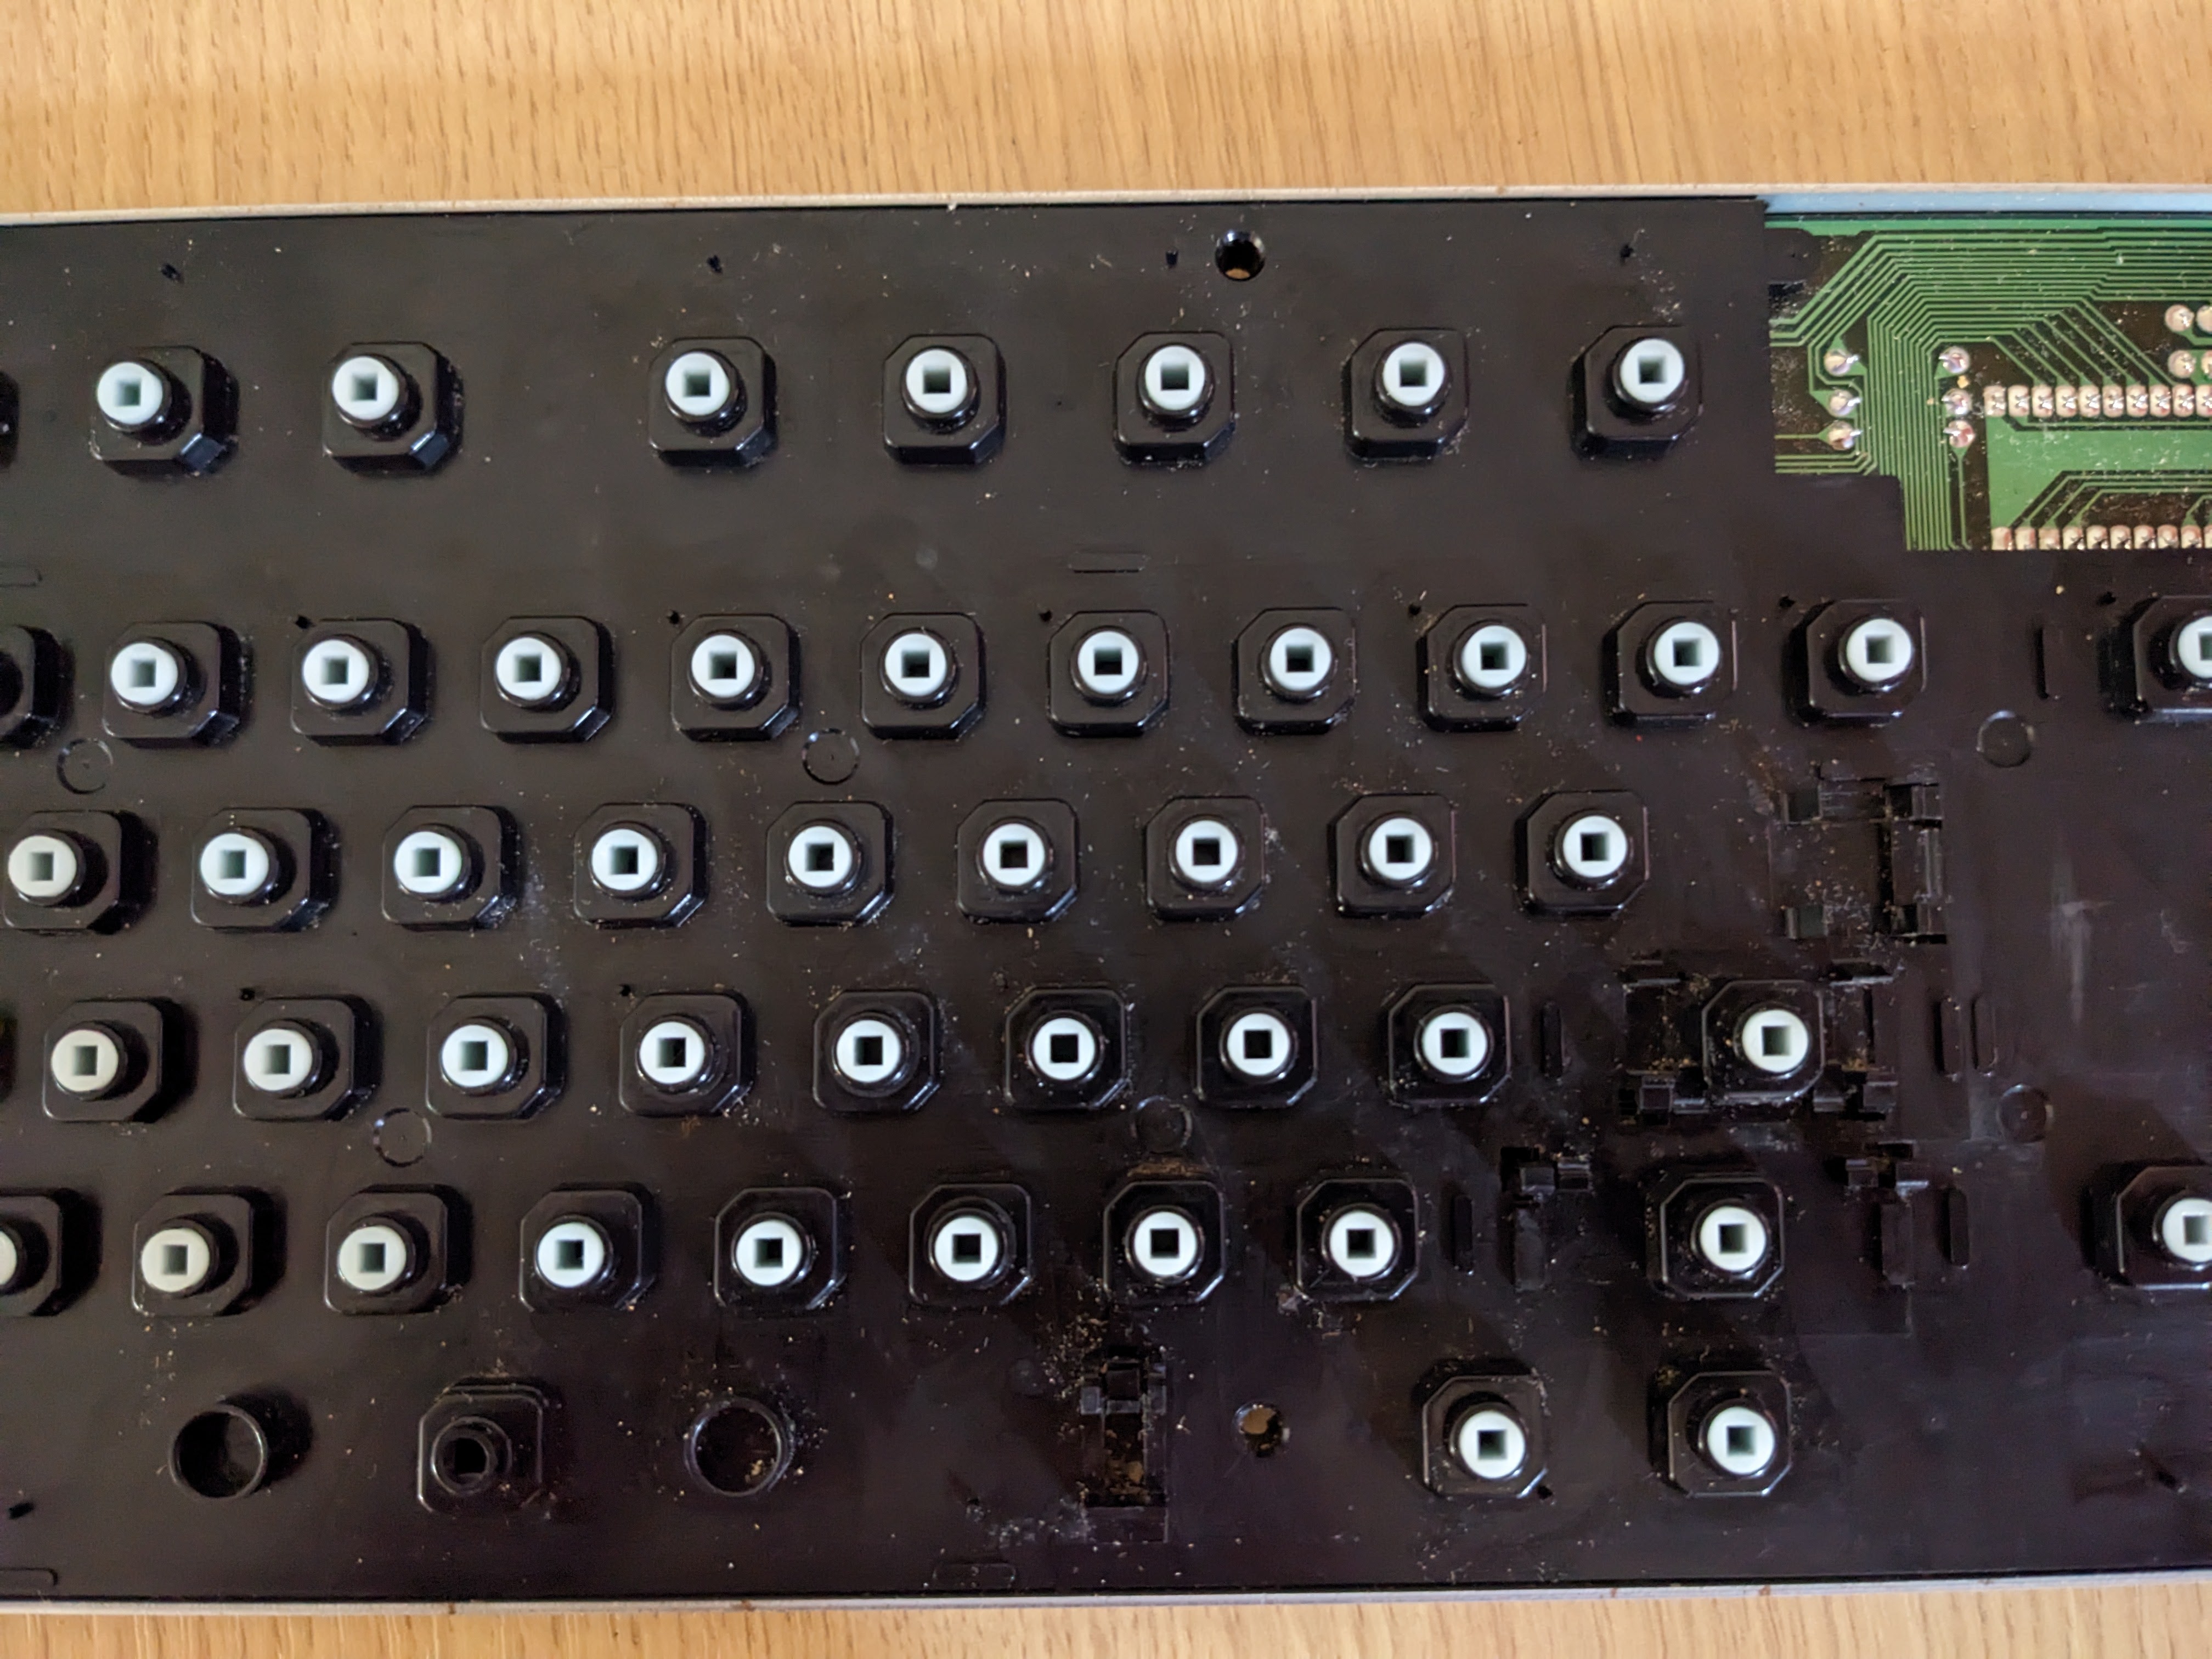
All the keys have been cleaned in washing up liquid, along with the top and bottom of the case. I’ll show this when I revisit this in a future blog post.
I figured the case is a bit too yellow for my liking, so I’m attempting to retrobright it using a vapour method that Simon Lock tried last year.

Unfortunately it is not a very sunny day, so this might take a while. I’ll revisit this in a future post too.
RAM Upgrade
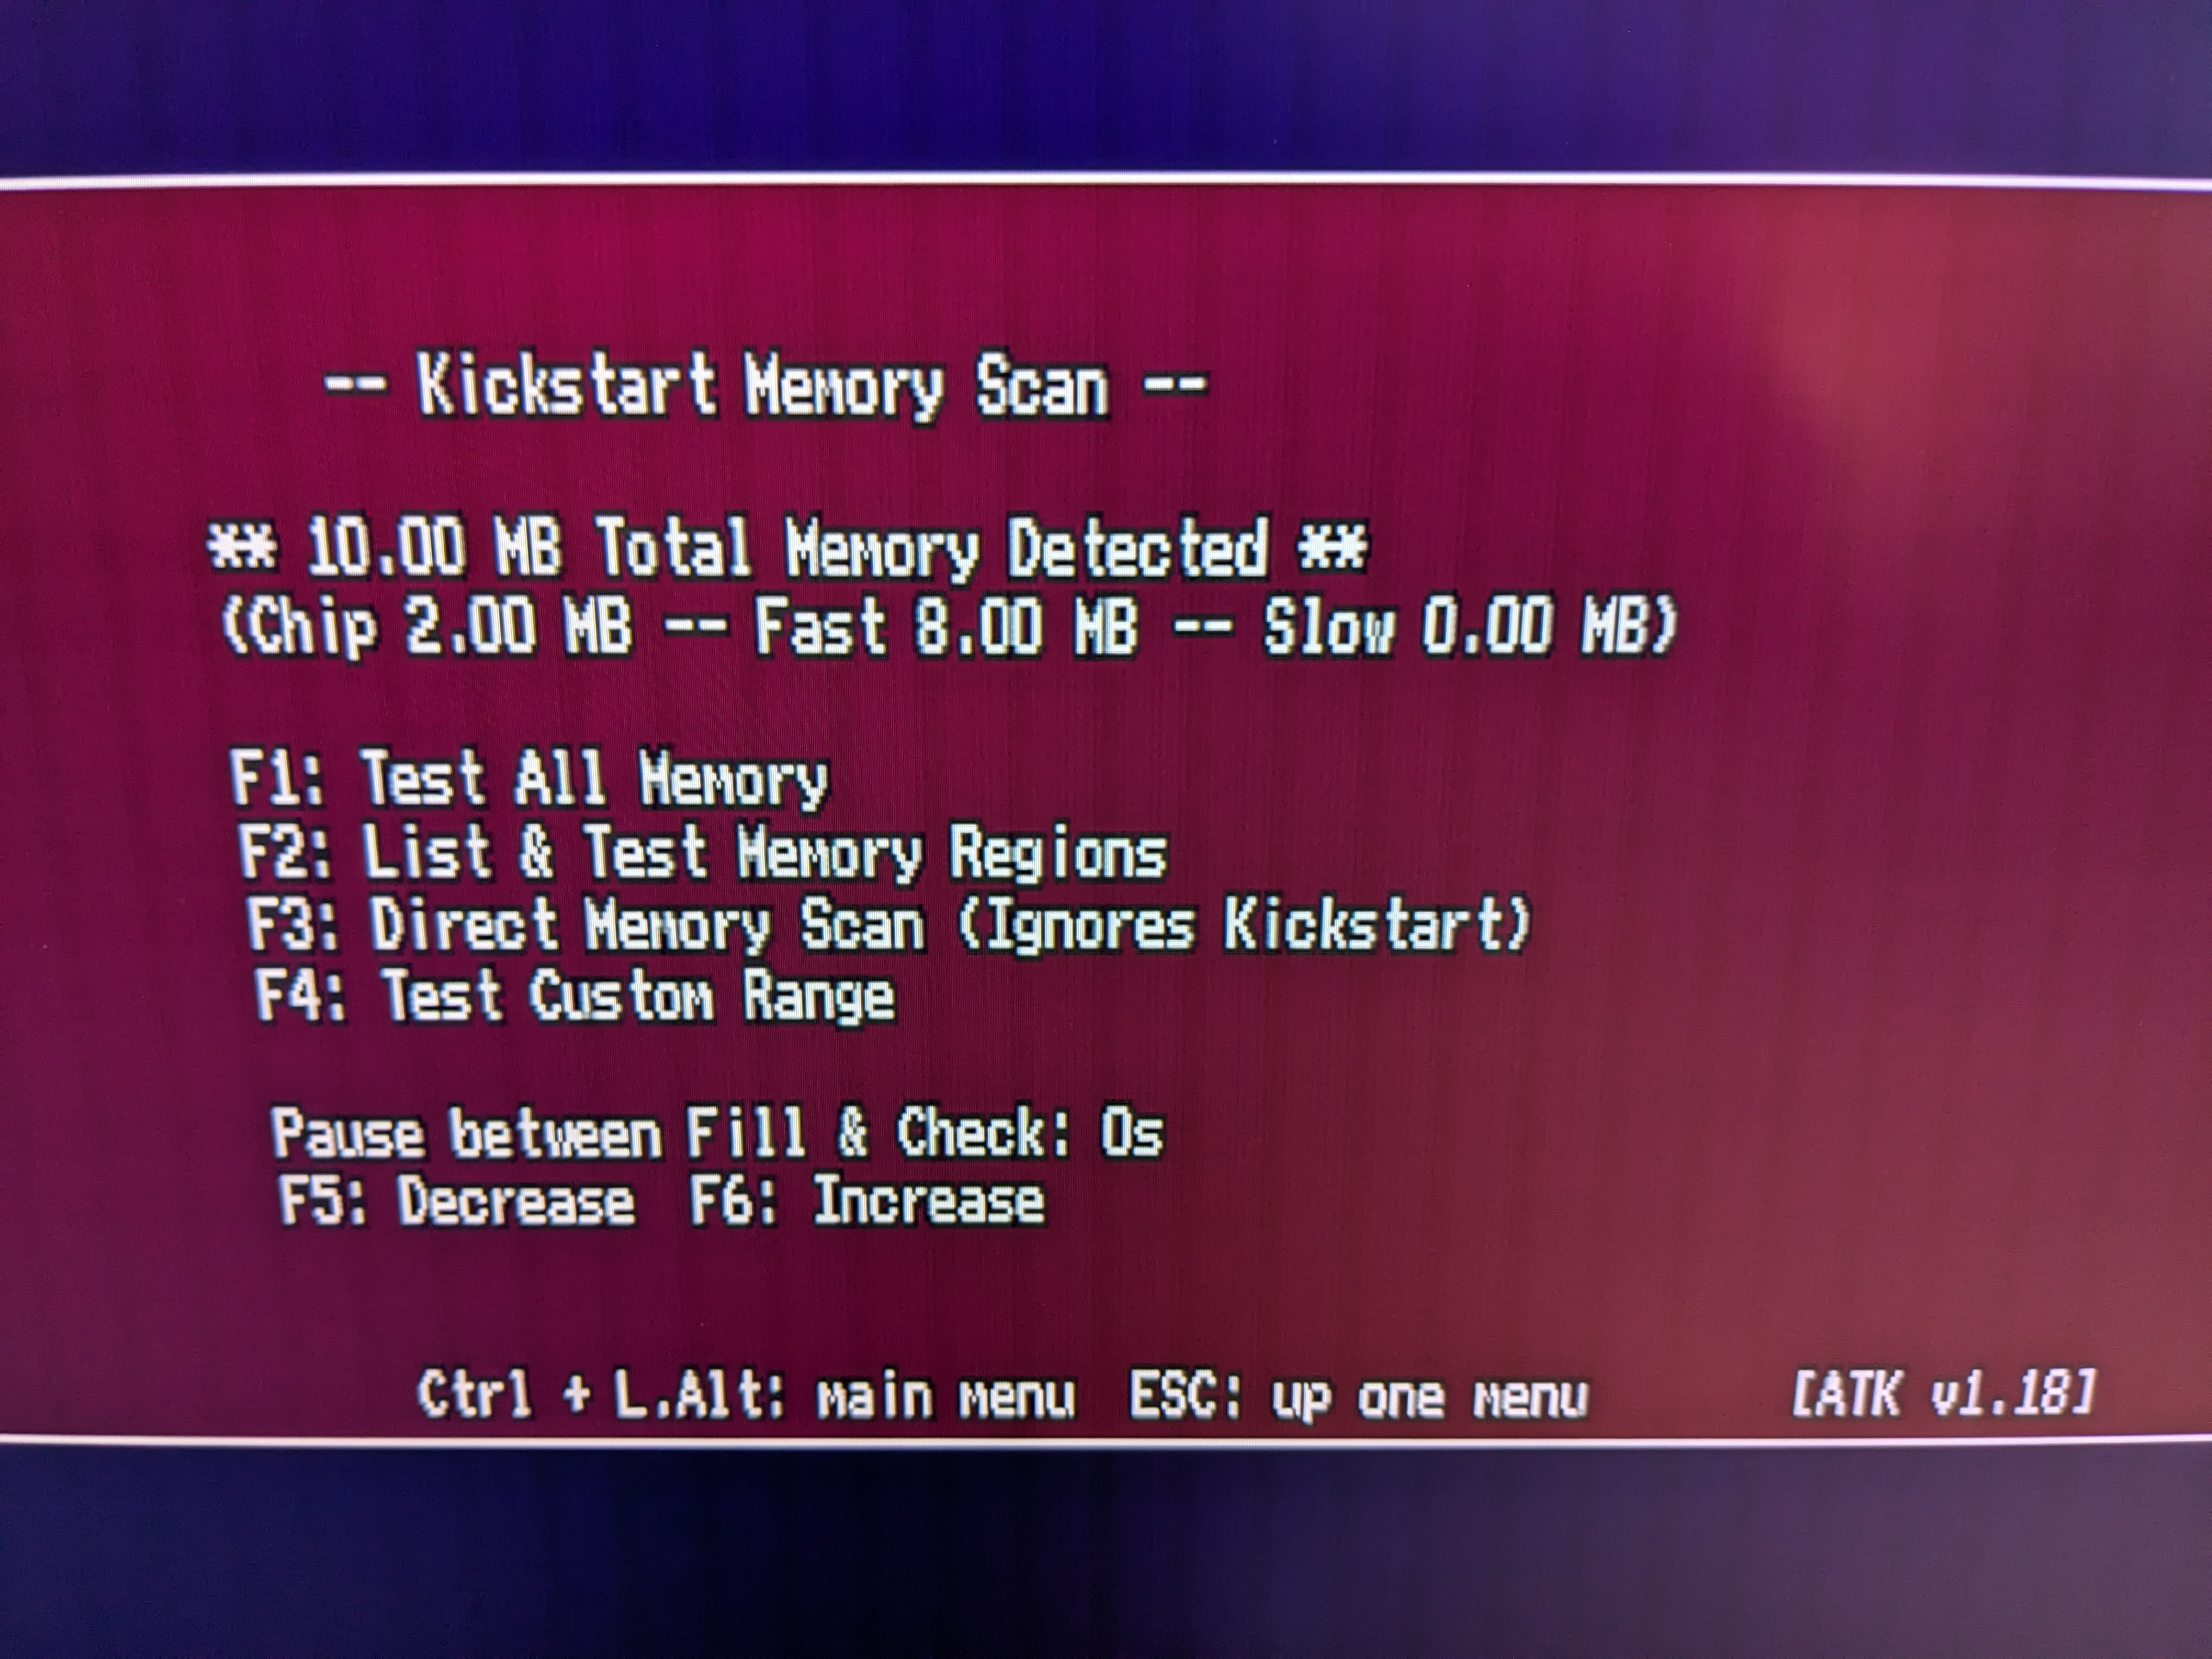
I was chatting to a local friend who has a complete Amiga collection from way back when it was cheap and easy to collect such things. He mentioned that he had some spare ZIP RAM for my machine and proceeded to give it to me in exchange for a PCB I had designed. It was another 4MB of ZIPs, which happened to be the same type static column type that was already in my machine. FPM is another possible type, but you cannot mix the two types. So, I got quite lucky.
The downside is ZIPs are hard to install, so it took some time. But it all worked out well in the end.

Kickstart 3.2
The machine came with Kickstart 3.1, there are some things I want to try that are going to be difficult to do with this version of the Amiga OS. I also happen to have an Amiga OS 3.2 license that I’m not currently using on any machine, so I burnt some EPROMs to fit. Some Amiga 3000 motherboards require a different type of EPROM to the standard, but this revision 8.9 uses 27C400s, just like most other Amigas.

I’m also preparing a hard drive image for this using FS-UAE on my laptop, this image can just be copied to my BlueSCSI’s SD card when I’m ready.
FPU Upgrade
This machine is an original stock 16MHz Amiga 3000, they also came in a 25MHz variant which used the same motherboard. I thought it might be a nice idea to upgrade the machine to the 25MHz version, to do this I need to:
- Upgrade the FPU from a 16MHz 68881 to a faster 68882
- Swap the 32MHz crystal to a 50MHz one
- Swap the 16MHz 68030 CPU to a faster one (optional, it should overclock)
- Change some jumpers so the machine timings are correct
The first step is the FPU upgrade, this turned out to be more difficult than expected due to where it is on the board. First of all I desoldered the 68881.

I also temporarily desoldered C101 so that I could get to the pins of the FPU easier to solder it on. I then soldered on a spare 40MHz capable 68882 I had in my workshop and put the capacitor back.
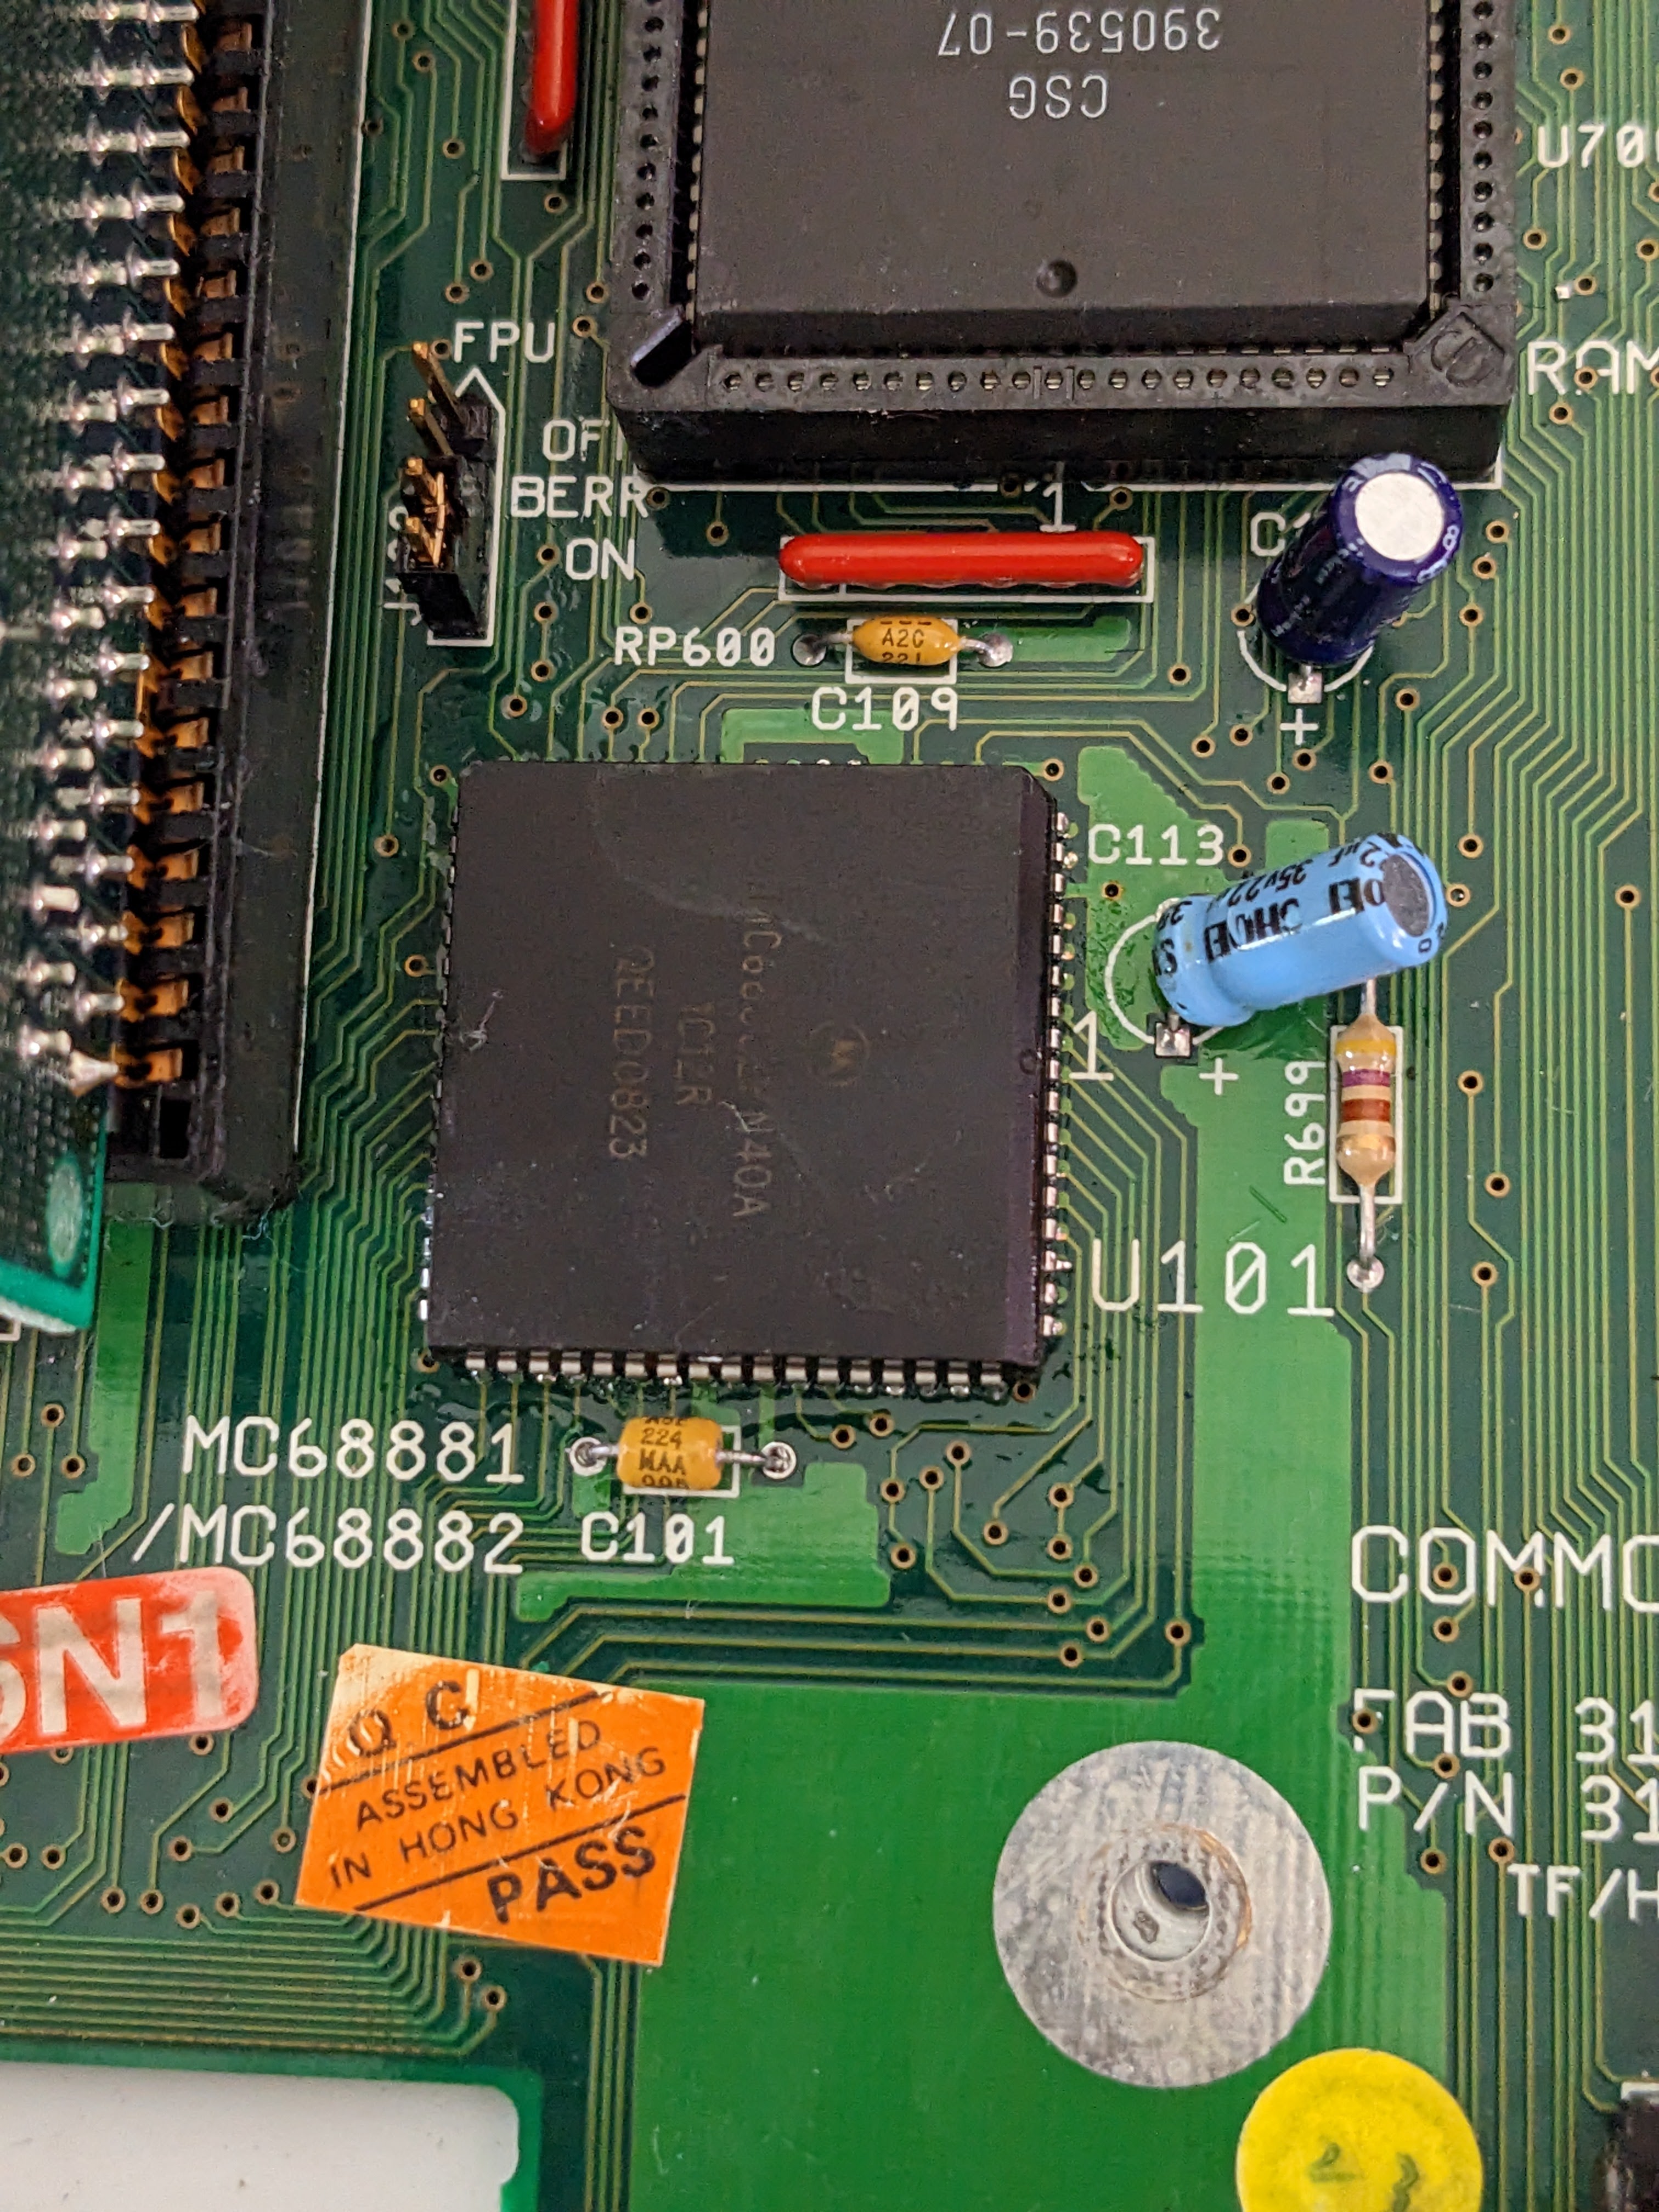
It still needs a bit of cleaning, but it I think it looks OK. Time to test.

Not much faster than before, but that isn’t surprising at this stage. A replacement CPU and clock crystal are on the way.
Next Time
I intend to finish the 25MHz upgrade, there are a couple of other minor things on the upgrade front coming too. As for the keyboard, we’ll see how the retorbrighting went and reassemble it, in a much cleaner state than before.


Leave a Reply