

Now that I have converted the Amiga 3000 from a US to European machine, it is time to fix the minor issues with it.
Power LED
Given that the power LED was not lighting up, I figured that should be the first thing to look at. Starting at the LED board. It turned out that was a good place to start. Running a diode test wasn’t giving good results, and I quickly found that two of the through-hole pads had broken away from the PCB.

My guess is that the case had been pushed back on a little too hard once upon a time, and not exactly straight. This pushed against the LED which cracked those joints. It meant the pads were not connected to the traces. This was quite easy to patch with an capacitor leg I had snipped off for another project.
After talking to several people it seems that this is a common problem with this board, it is quite fragile, to the extent that reproduction boards are available.

This was then reattached to the Amiga and I powered it up to test.
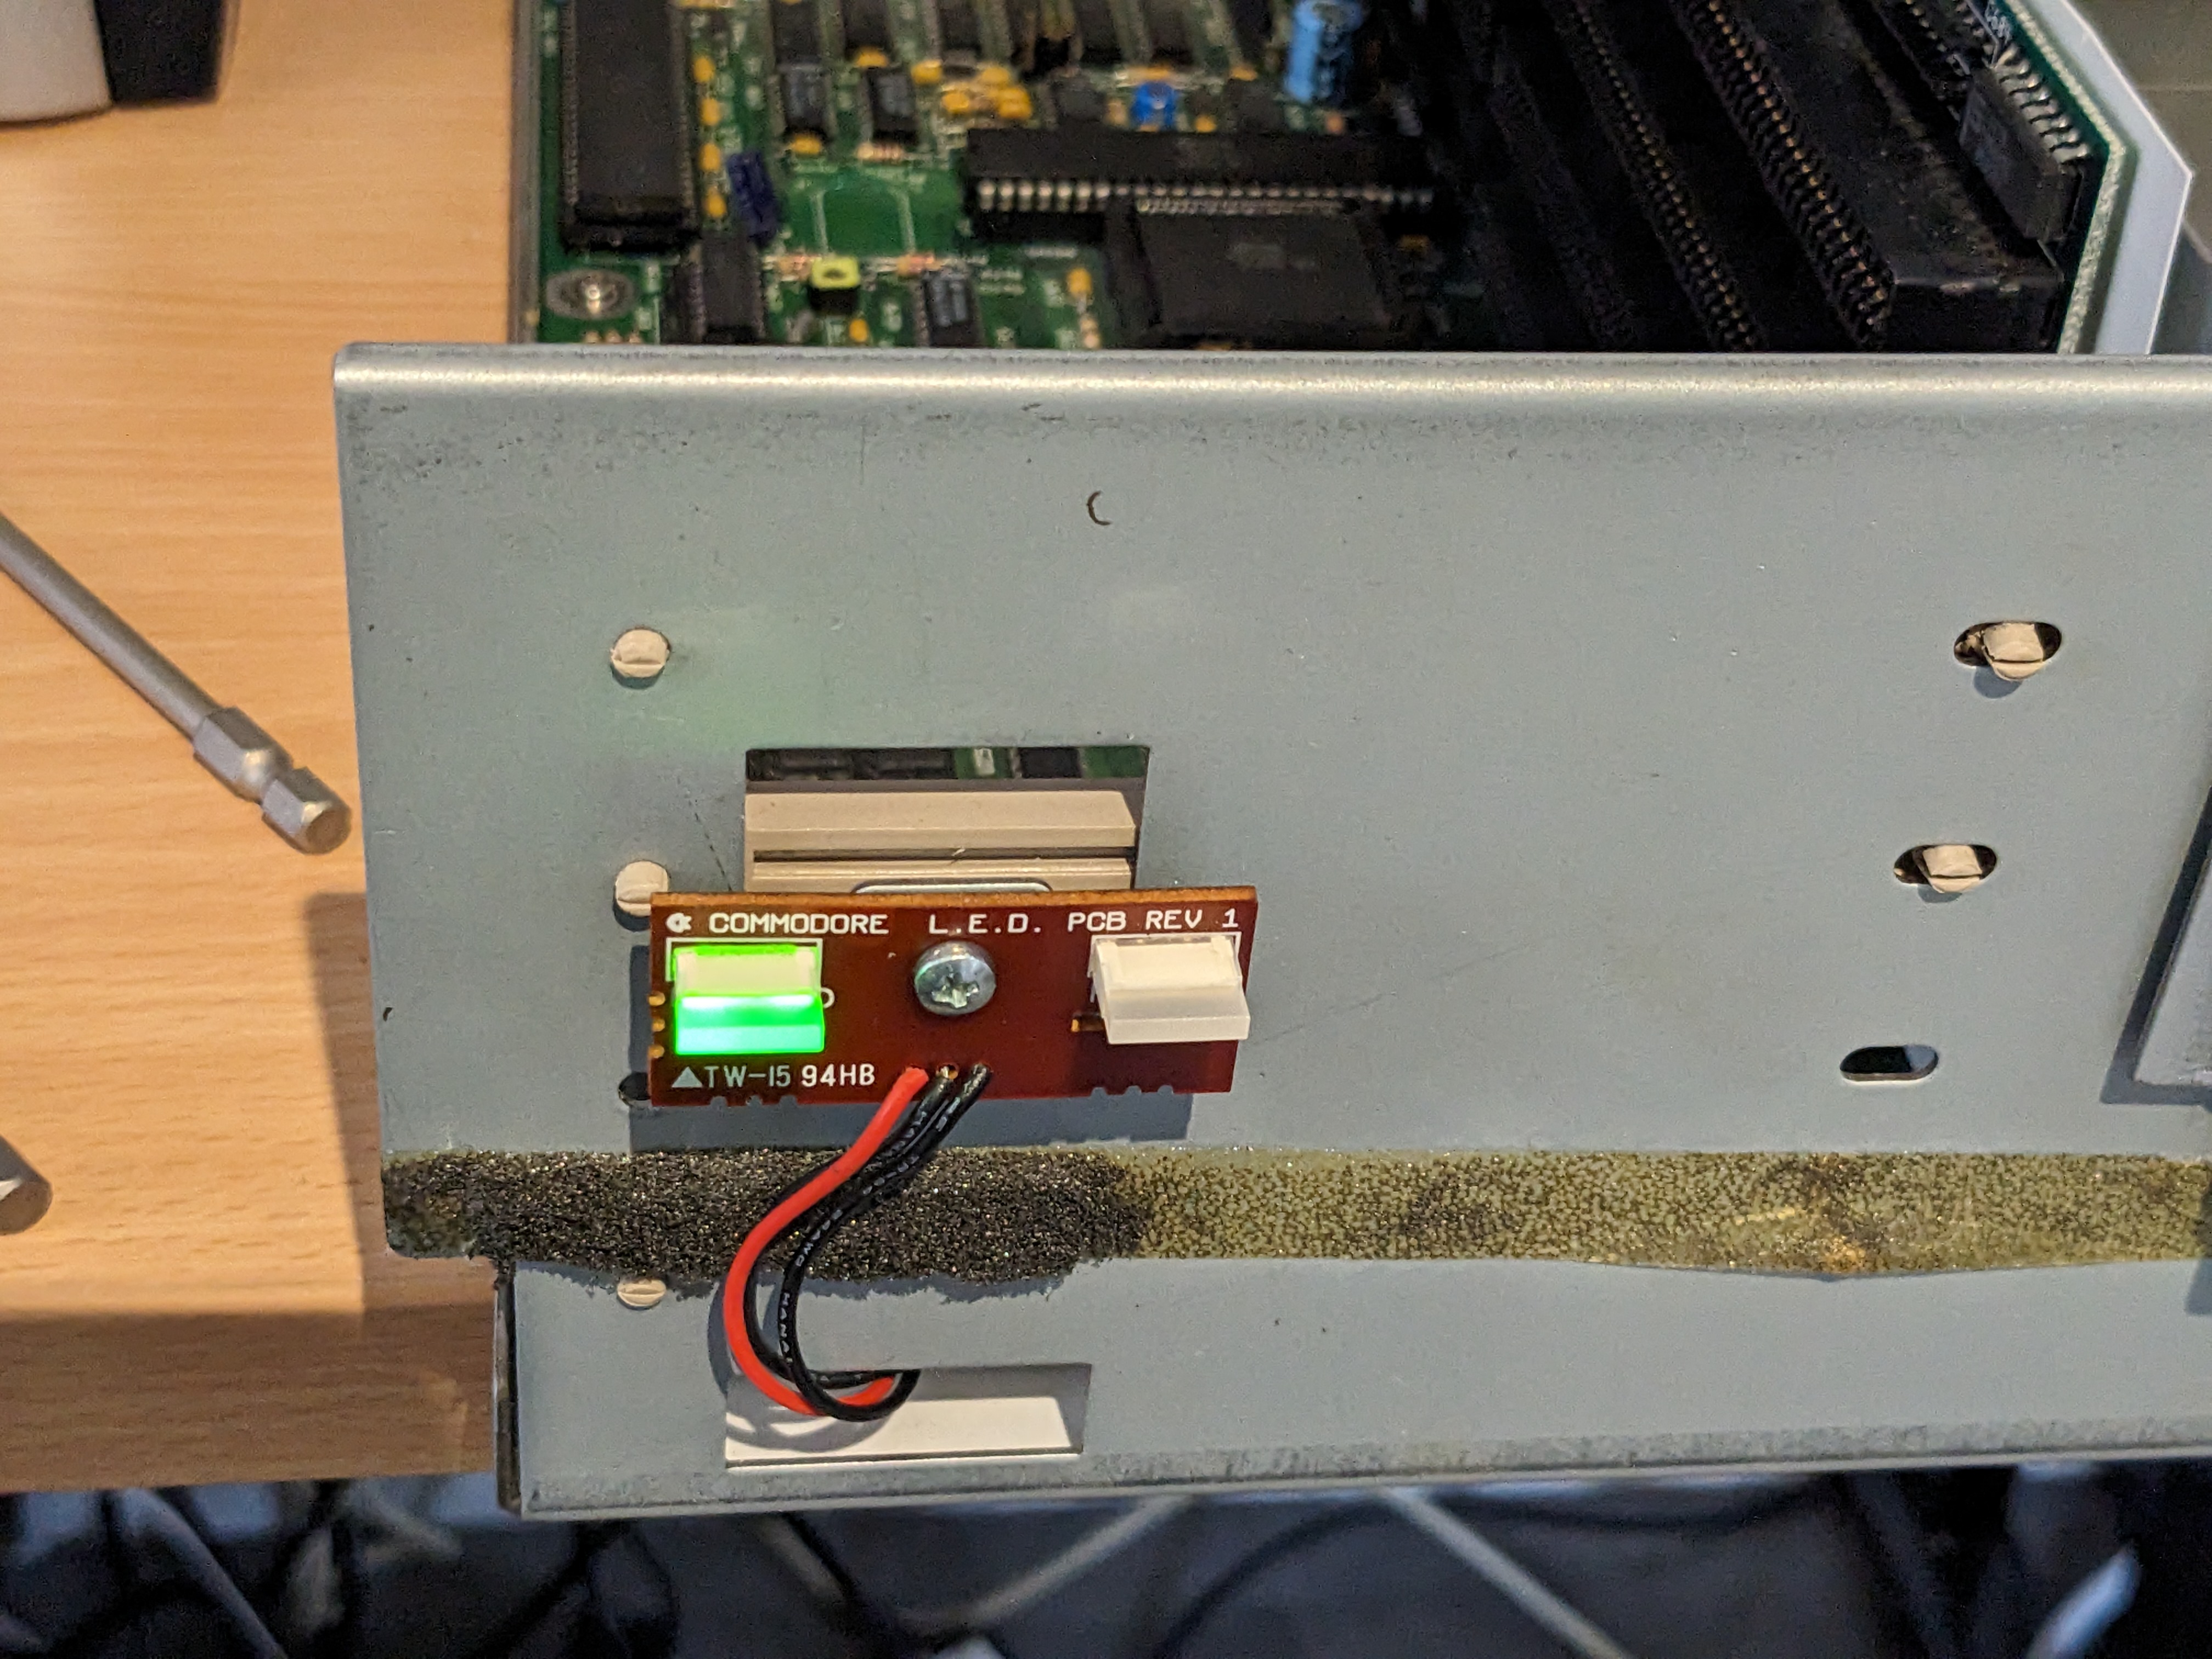
That’s the glowing green we know and love!
BlueSCSI
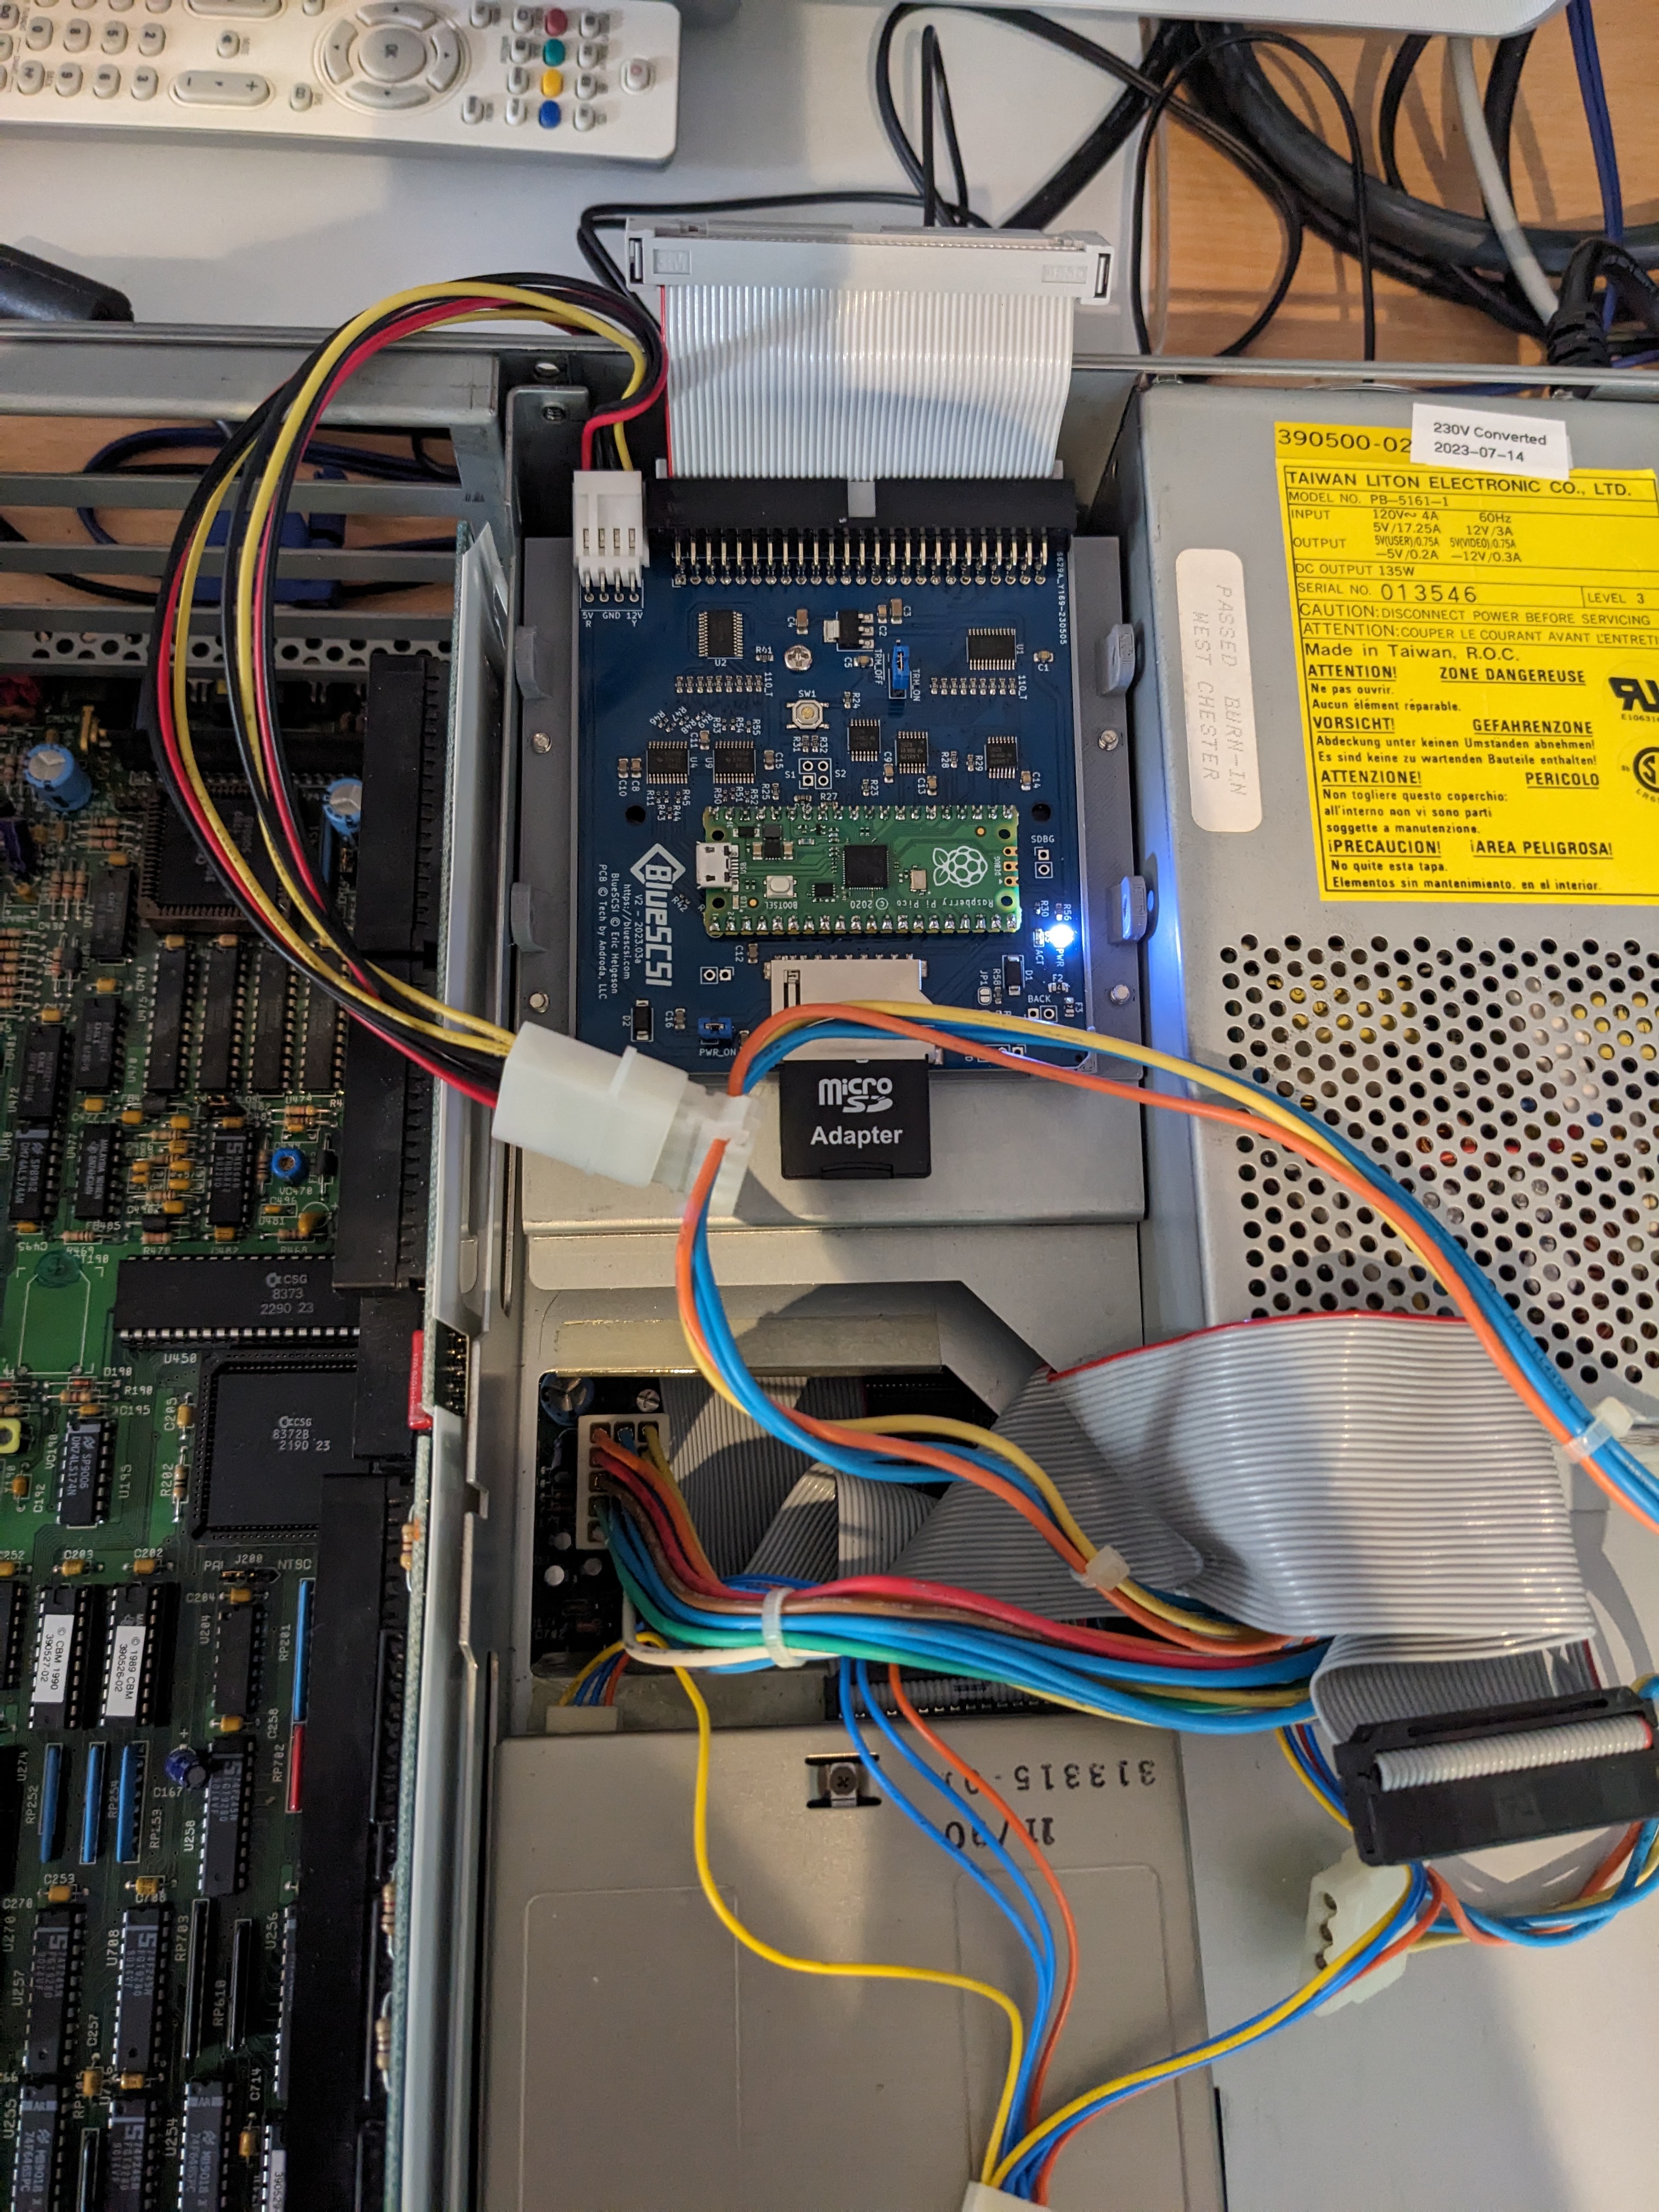
It is great that we have a 100MB SCSI drive in the machine, but I suspect this won’t last forever. So I decided to get a part-assembled BlueSCSI v2 drive. This uses a Raspberry Pi Pico to emulate one or more SCSI drives from images on an SD card.
I have loads of spare Pi Picos, so I soldered one on, along with the connectors and flashed the firmware via USB. It shows as a drive on the PC when you boot it with the BOOTSEL button held down, so you can just drag and drop the firmware onto it from your computer.

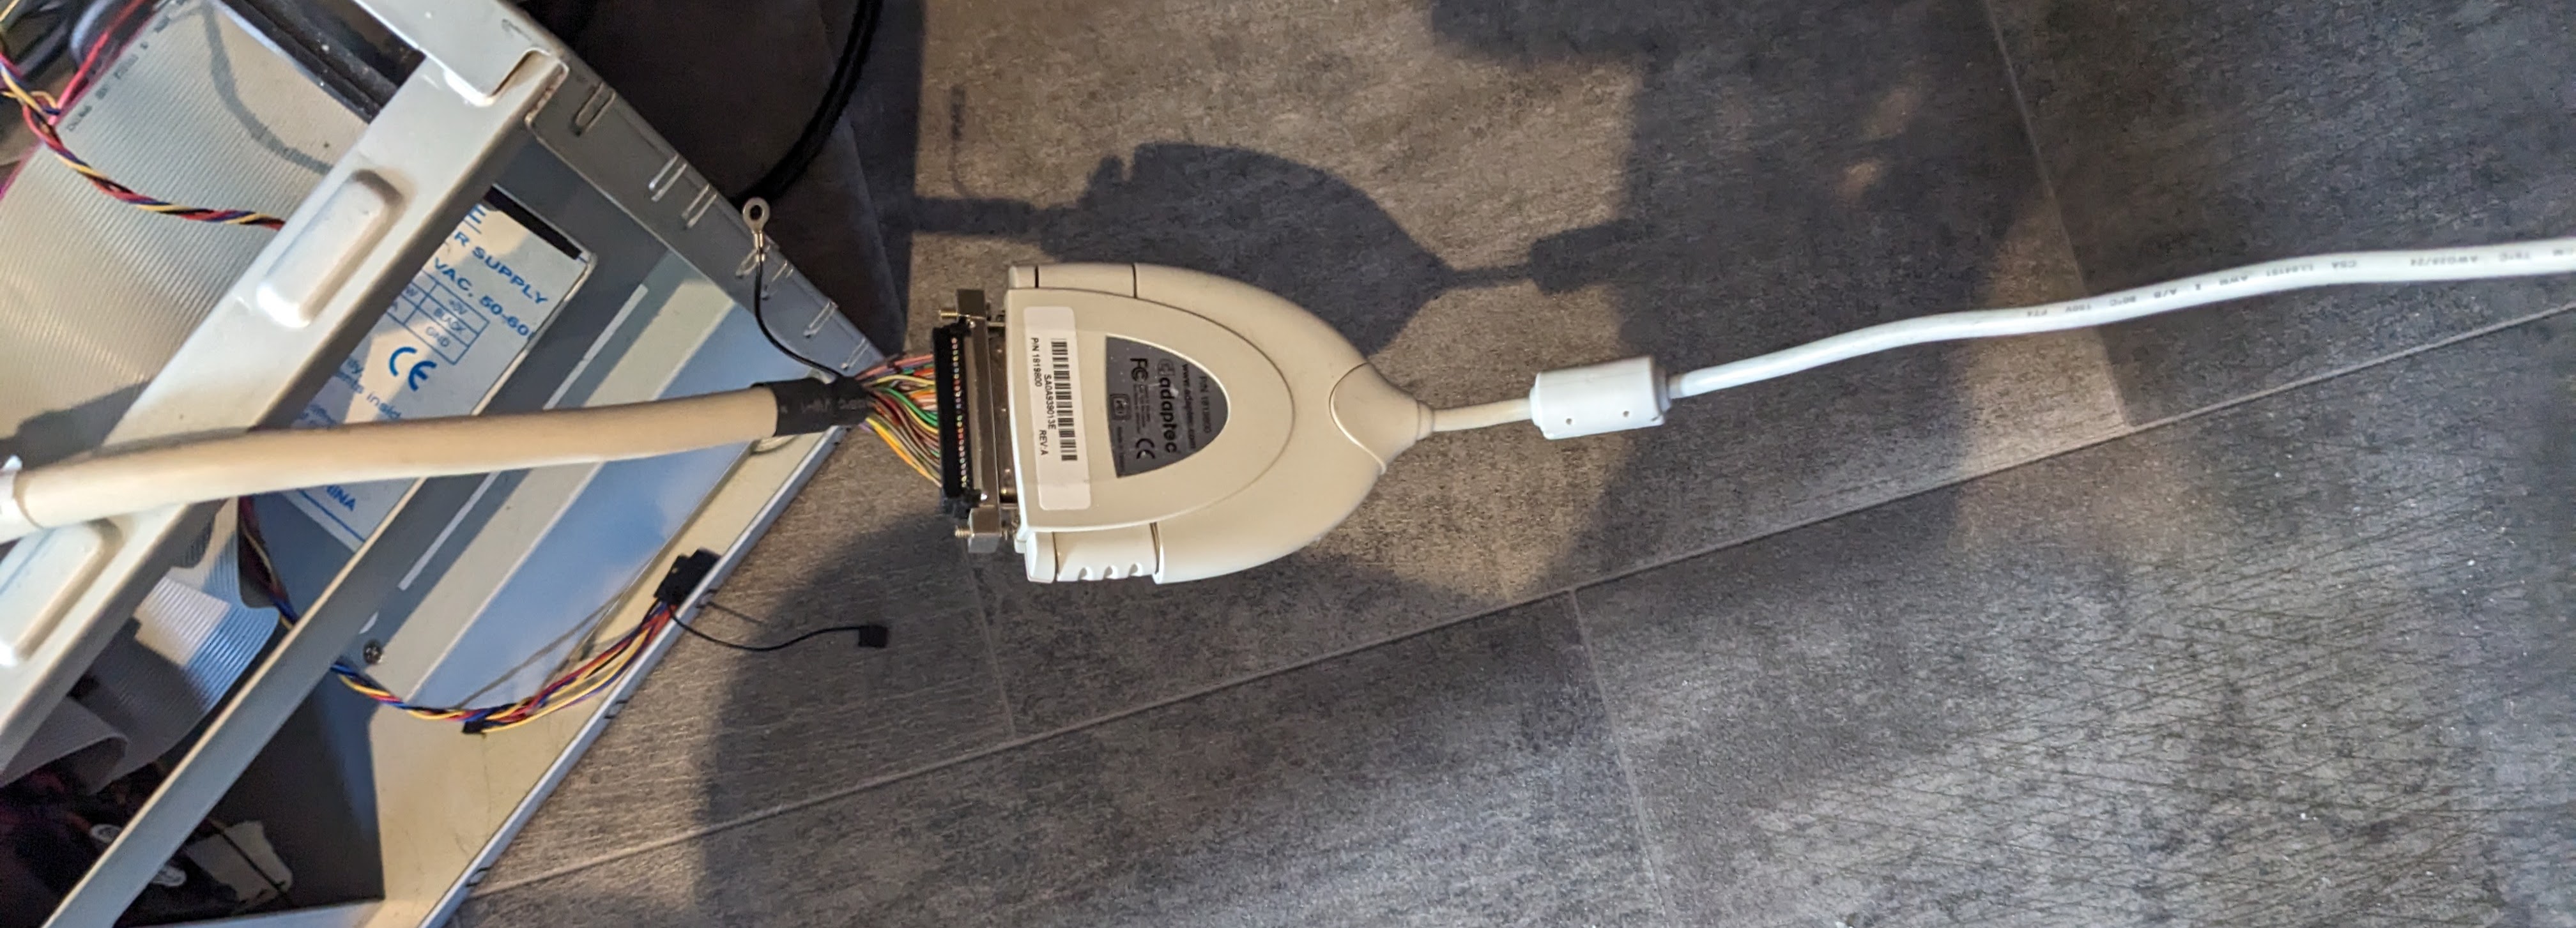
I then plugged the old hard drive into my computer using a SCSI to USB cable, the drive powered from an external SCSI cage. Not pretty, or fast (it is USB 1.1), but it worked to image the drive.


I copied this disk image to the SD card and called it HD00.hda. This becomes the first drive on the SCSI chain, just as it was when it was a physical drive. I then created a file called bluescsi.ini with the following contents:
[SCSI]
EnableSCSI2=0 ; Off
I loosely put this into the Amiga 3000, and it booted!
Battery
It took a while to cleanup the large pool of green leakage. But with a bit of work and some white vinegar, it all cleaned away.
I mulled over a few choices for battery, I had intended to use two AAAs or a non-rechargable lithium thionyl chloride battery, but I ended up with one of my ideal diode battery boards. It looks a little weird because I ran out of the normal battery holders, the ones I have in stock are a slightly different profile.
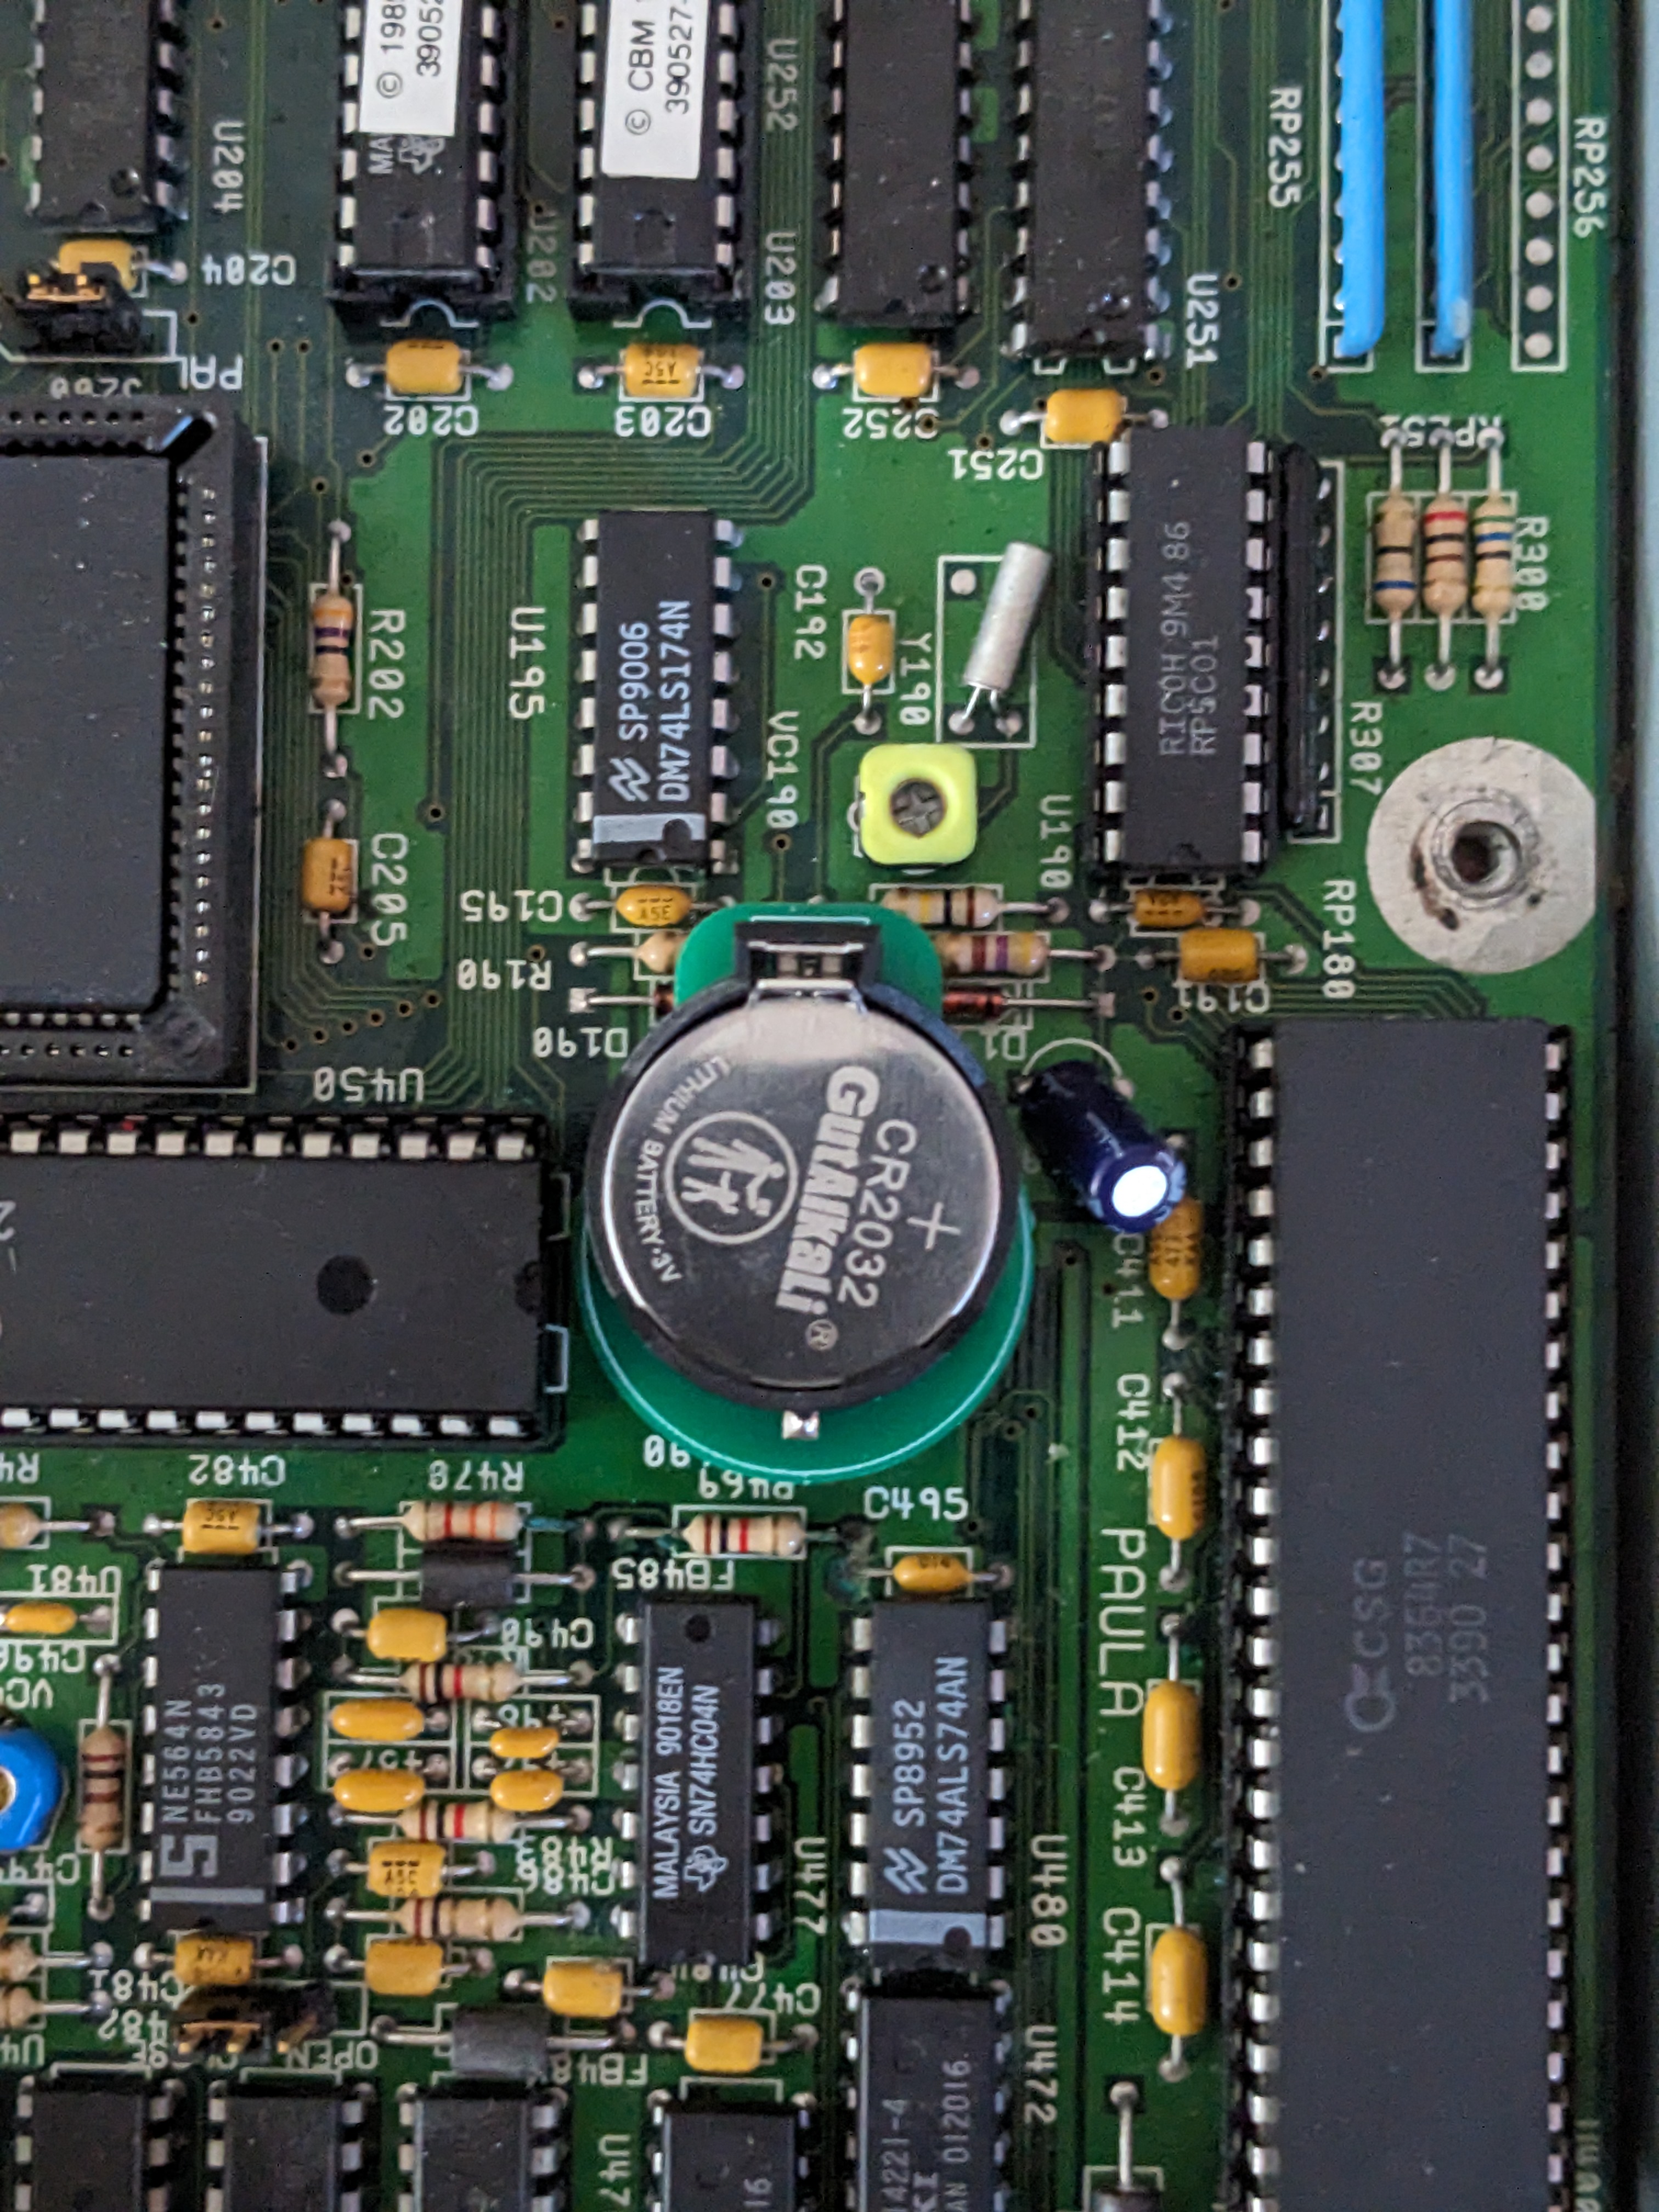
After setting the time/date and leaving it off for half an hour, I turned it back on to find that the clock was still correct. I think this part is now fixed.
Reassembly and Test
With all the repair work done, I reassembled the machine to run more tests and see what we had here.

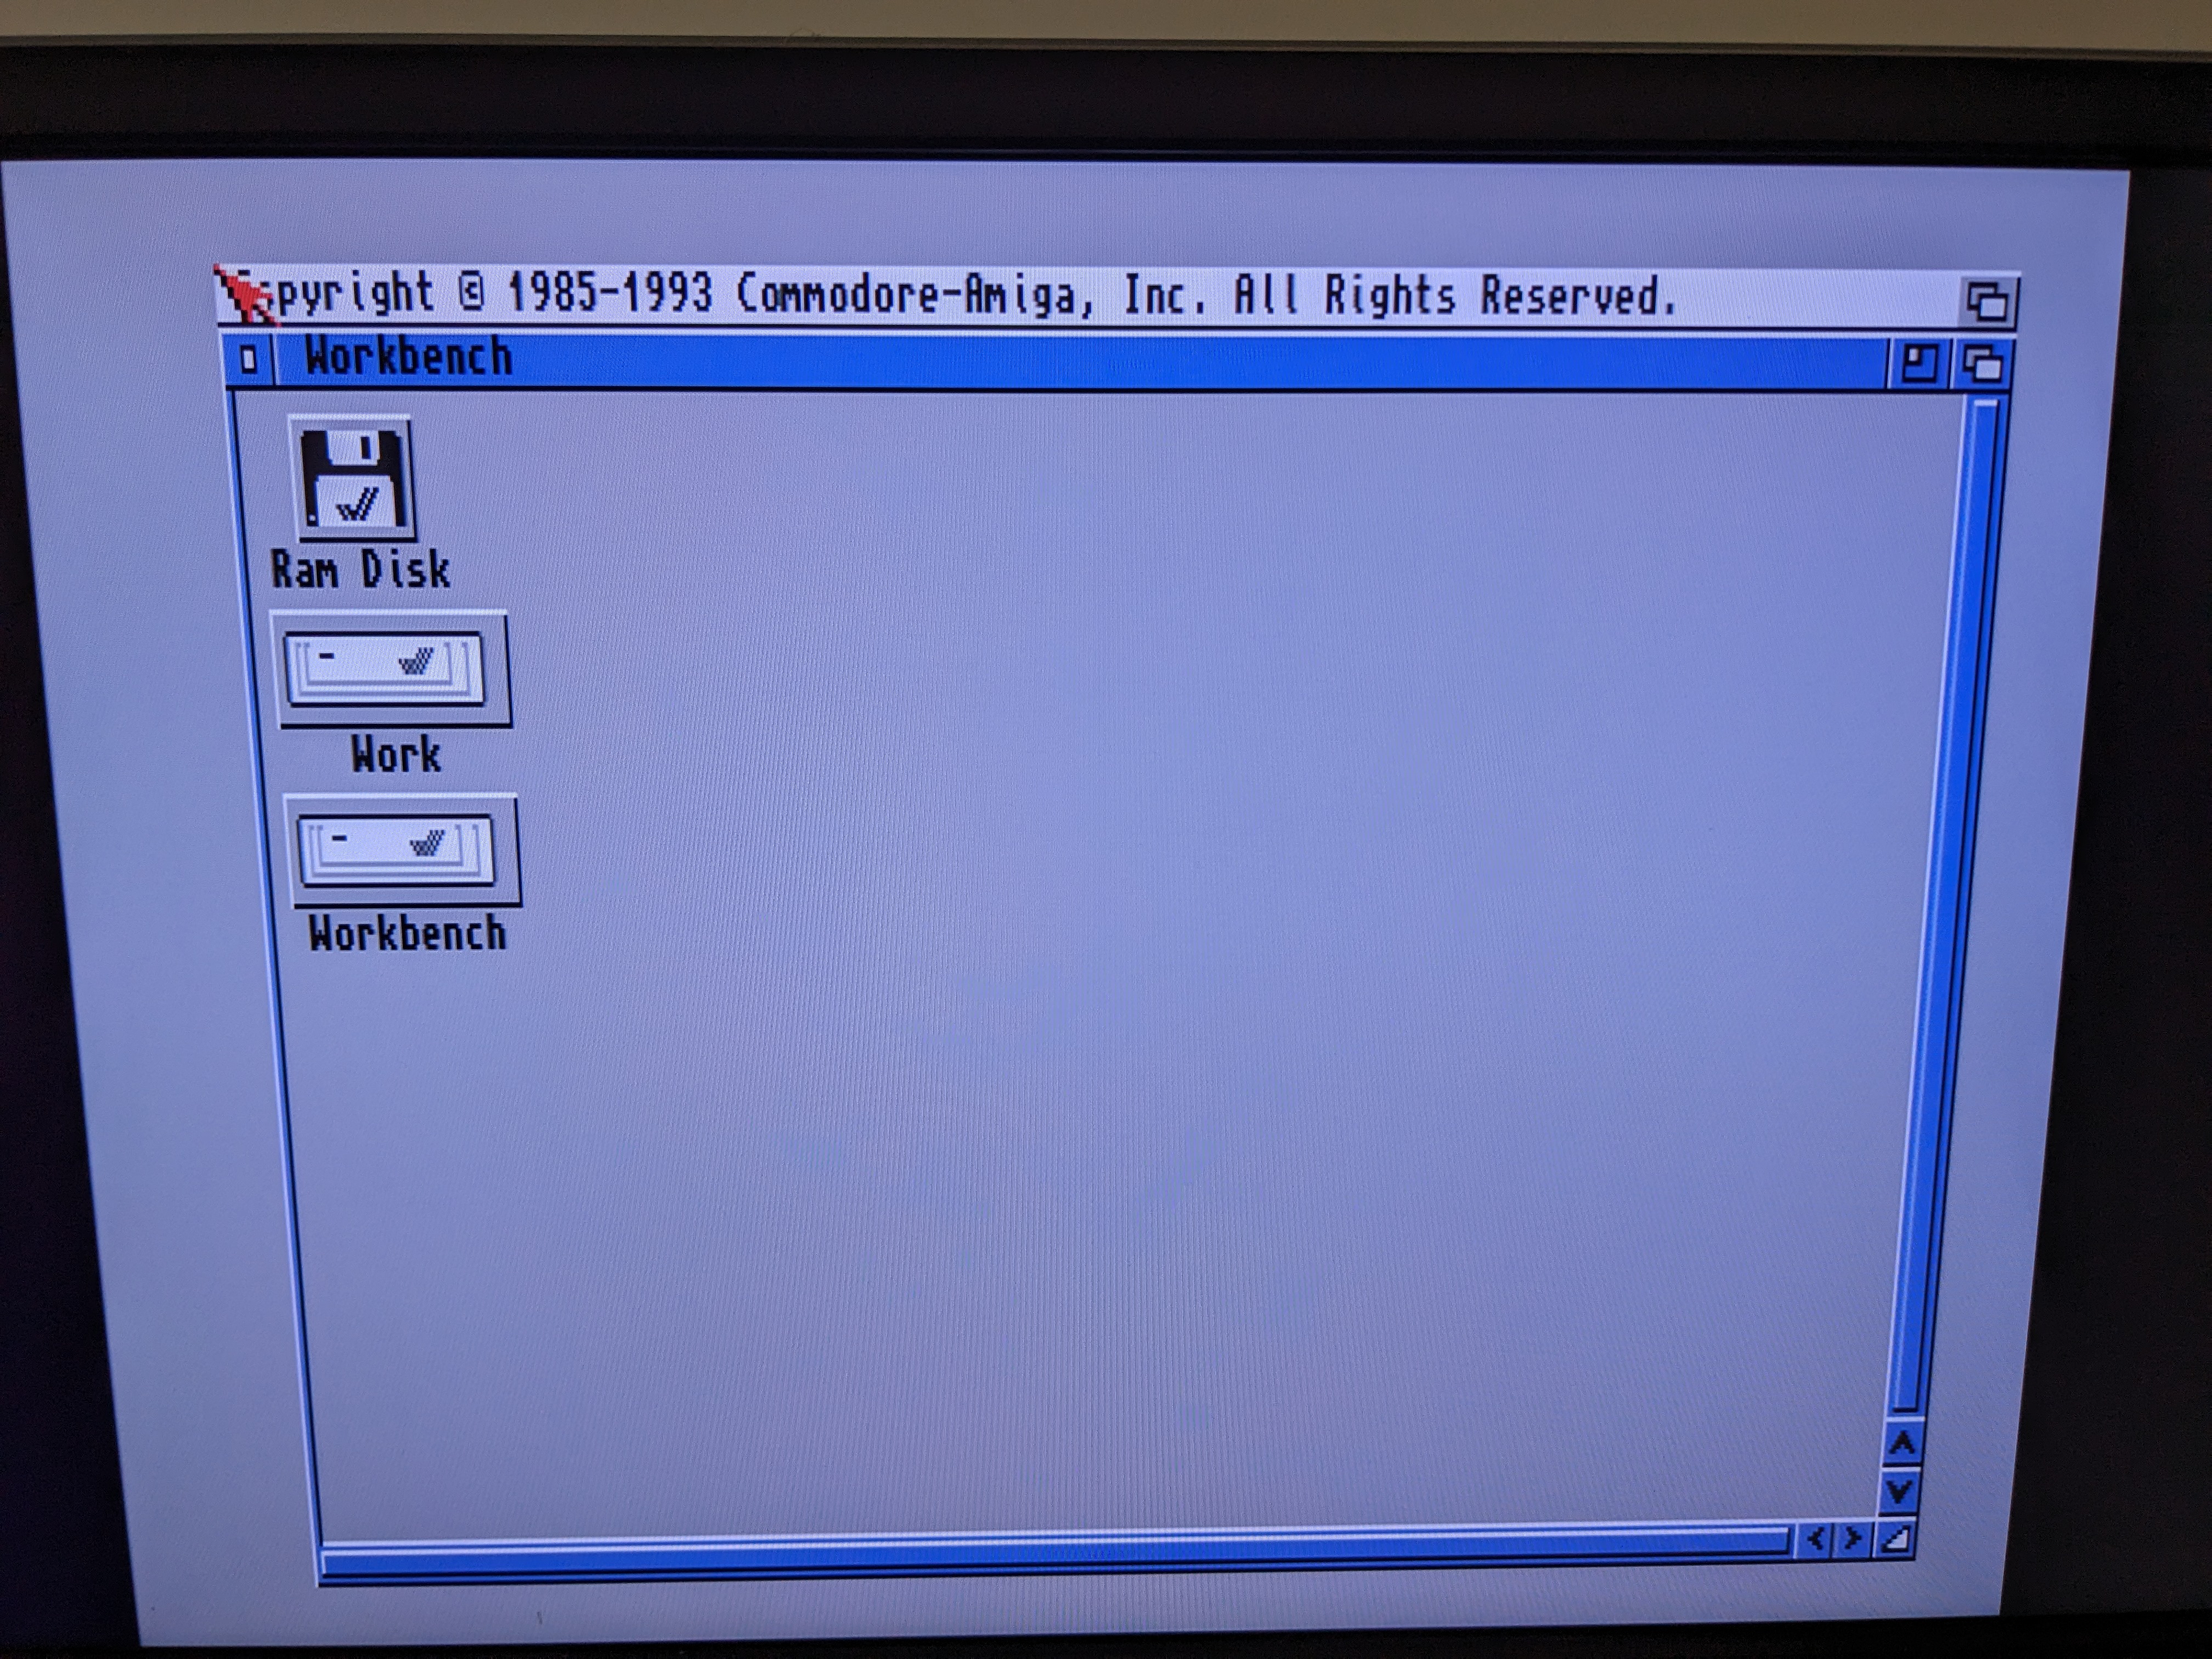
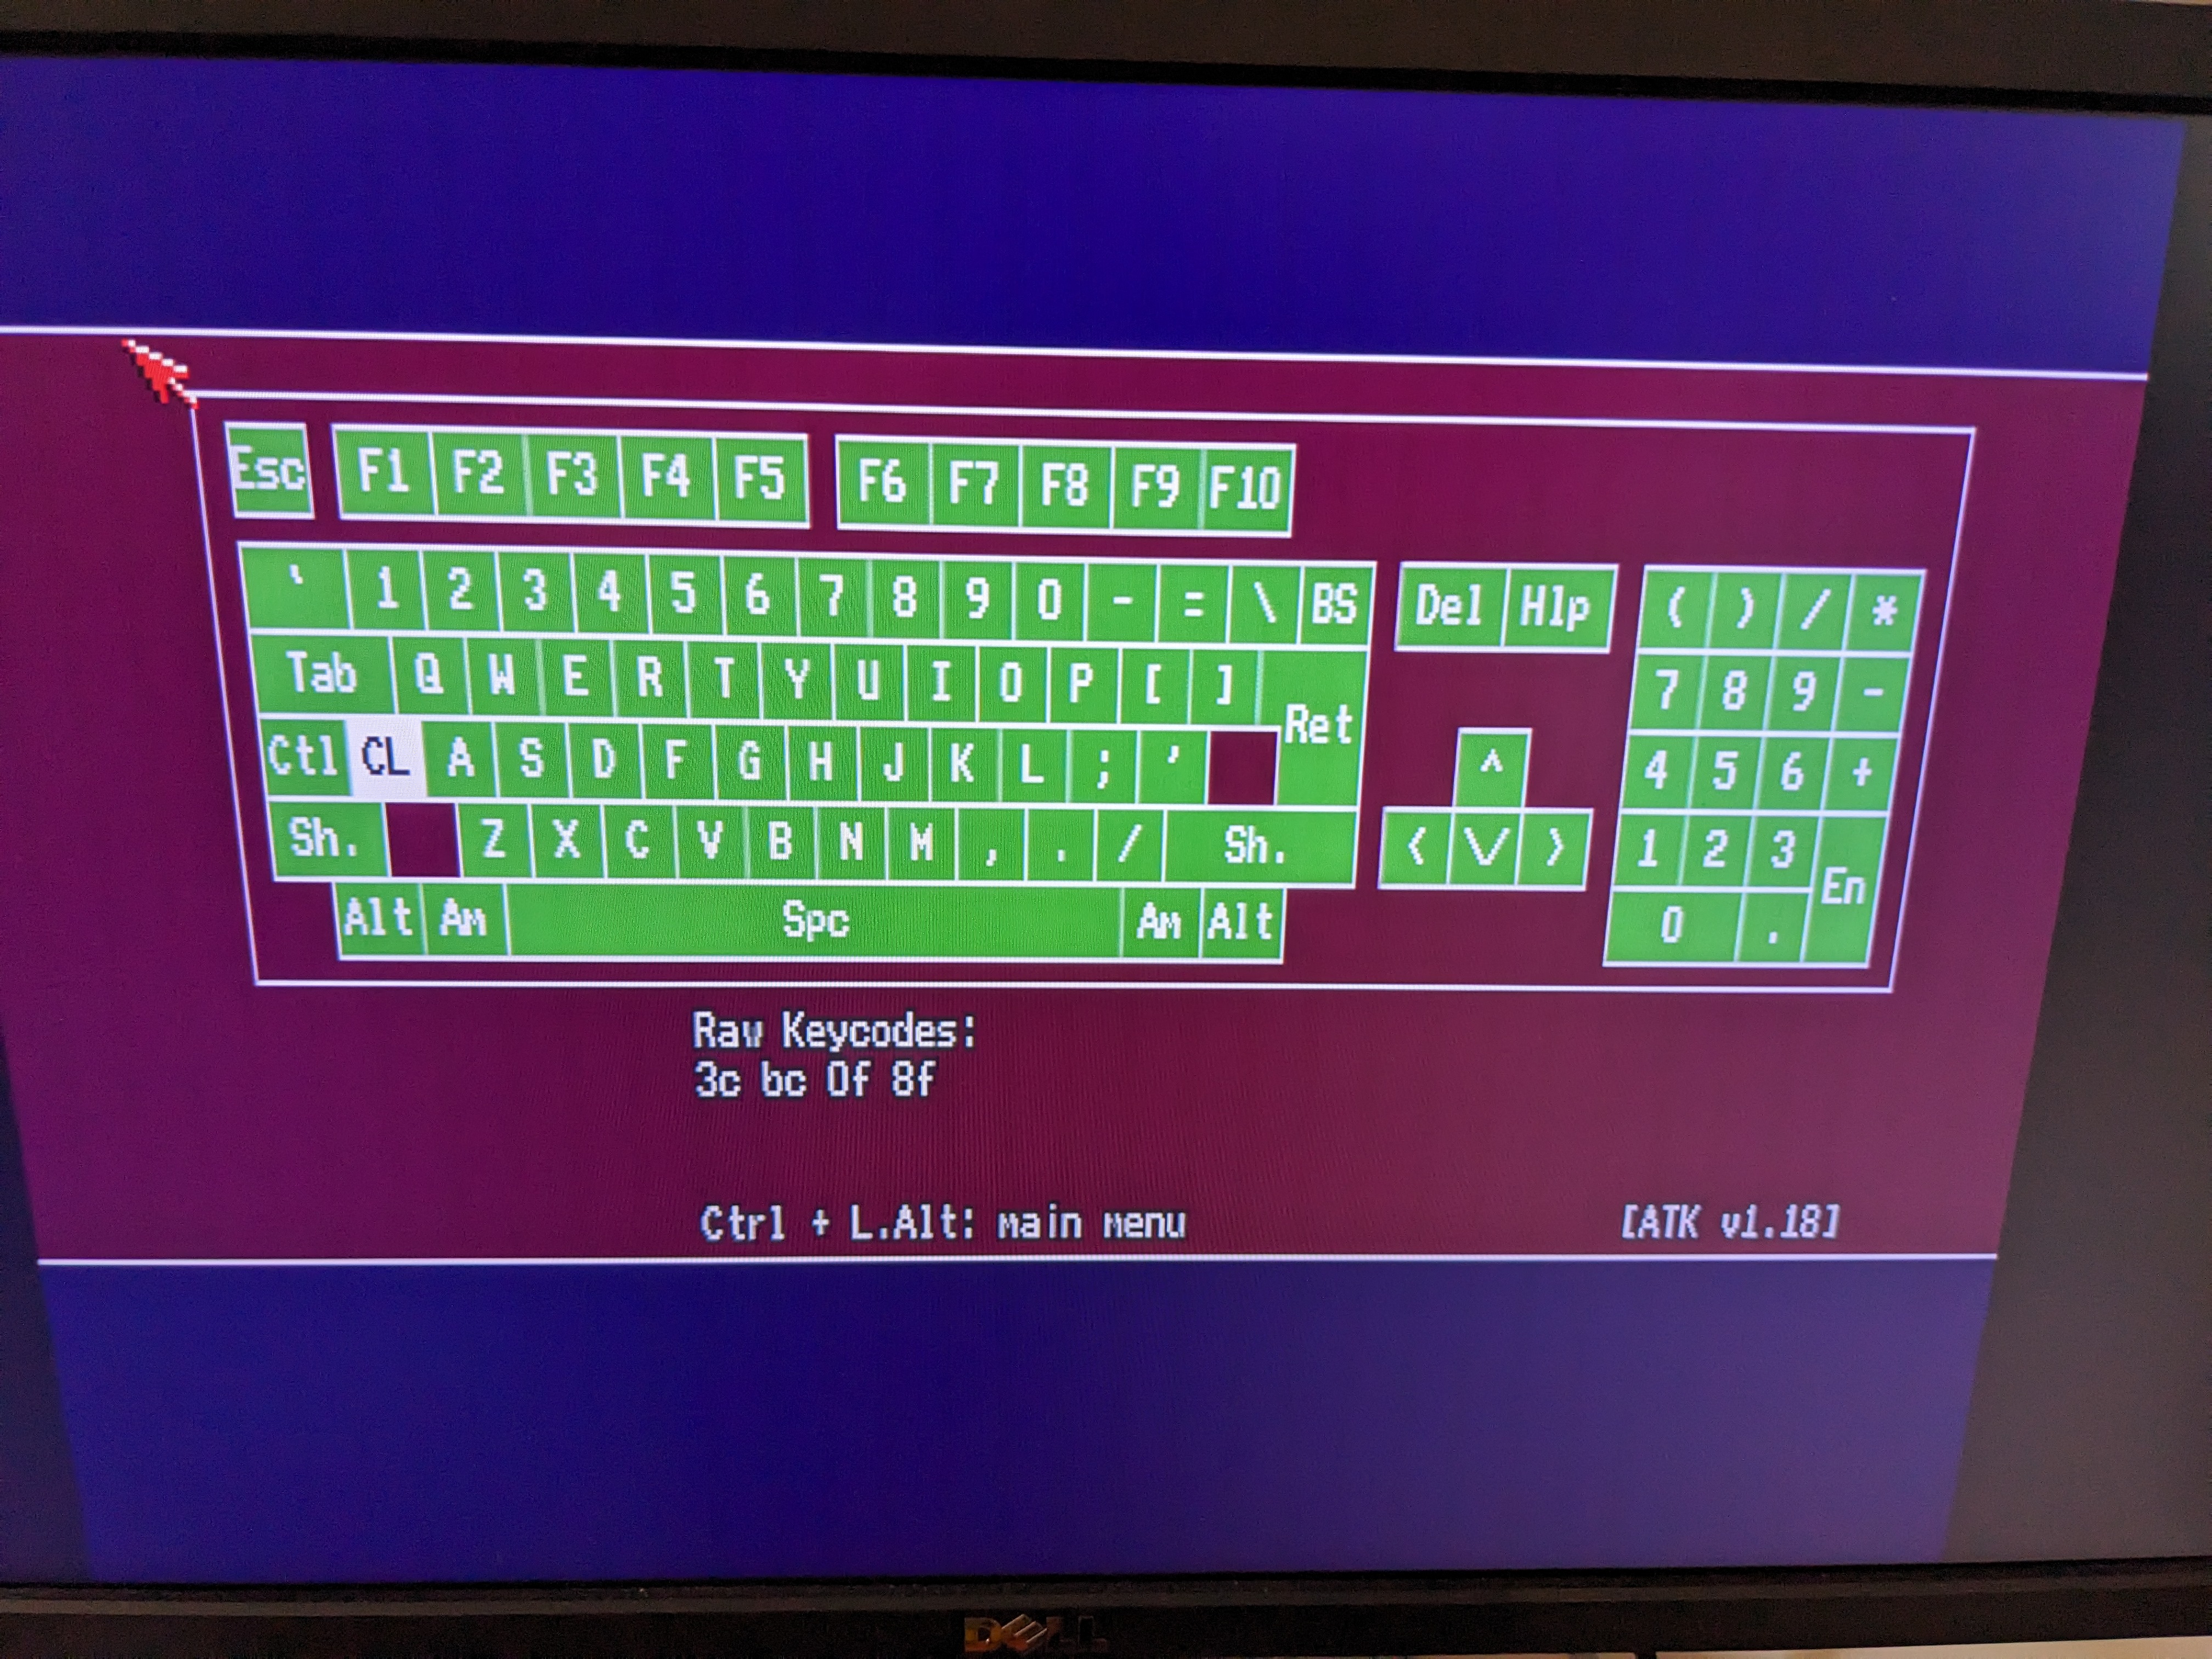
Everything appeared to test OK in ATK, which is a good sign. The machine has 4MB of Fast RAM in those ZIP sockets it seems.

Everything appears good. The hard drive has a basic Workbench 3.1 installation and some Deluxe Paint files.

Unfortunately Deluxe Paint is not on the drive, so I couldn’t see what they were.
Next Steps
The machine needs cleaning, particularly the keyboard. Both the machine and keyboard are also missing all rubber feet. I need to replace those. There are a couple of other things I want to do to the machine and I want to add some games and programs to make it more usable.
But for now, the machine appears to be fully functional! It also runs so quietly I can barely hear the new fan.
Leave a Reply