

There has been a long running joke with my friend Paulee that I would buy their Amiga 3000 from them. Then, a week ago, they connected me to someone in Canada who was looking to sell their Amiga 3000 at a reasonable price. I purchased it and a couple of days later, it arrived. It is working but needs a little work, so let’s get into it.
About the Amiga 3000
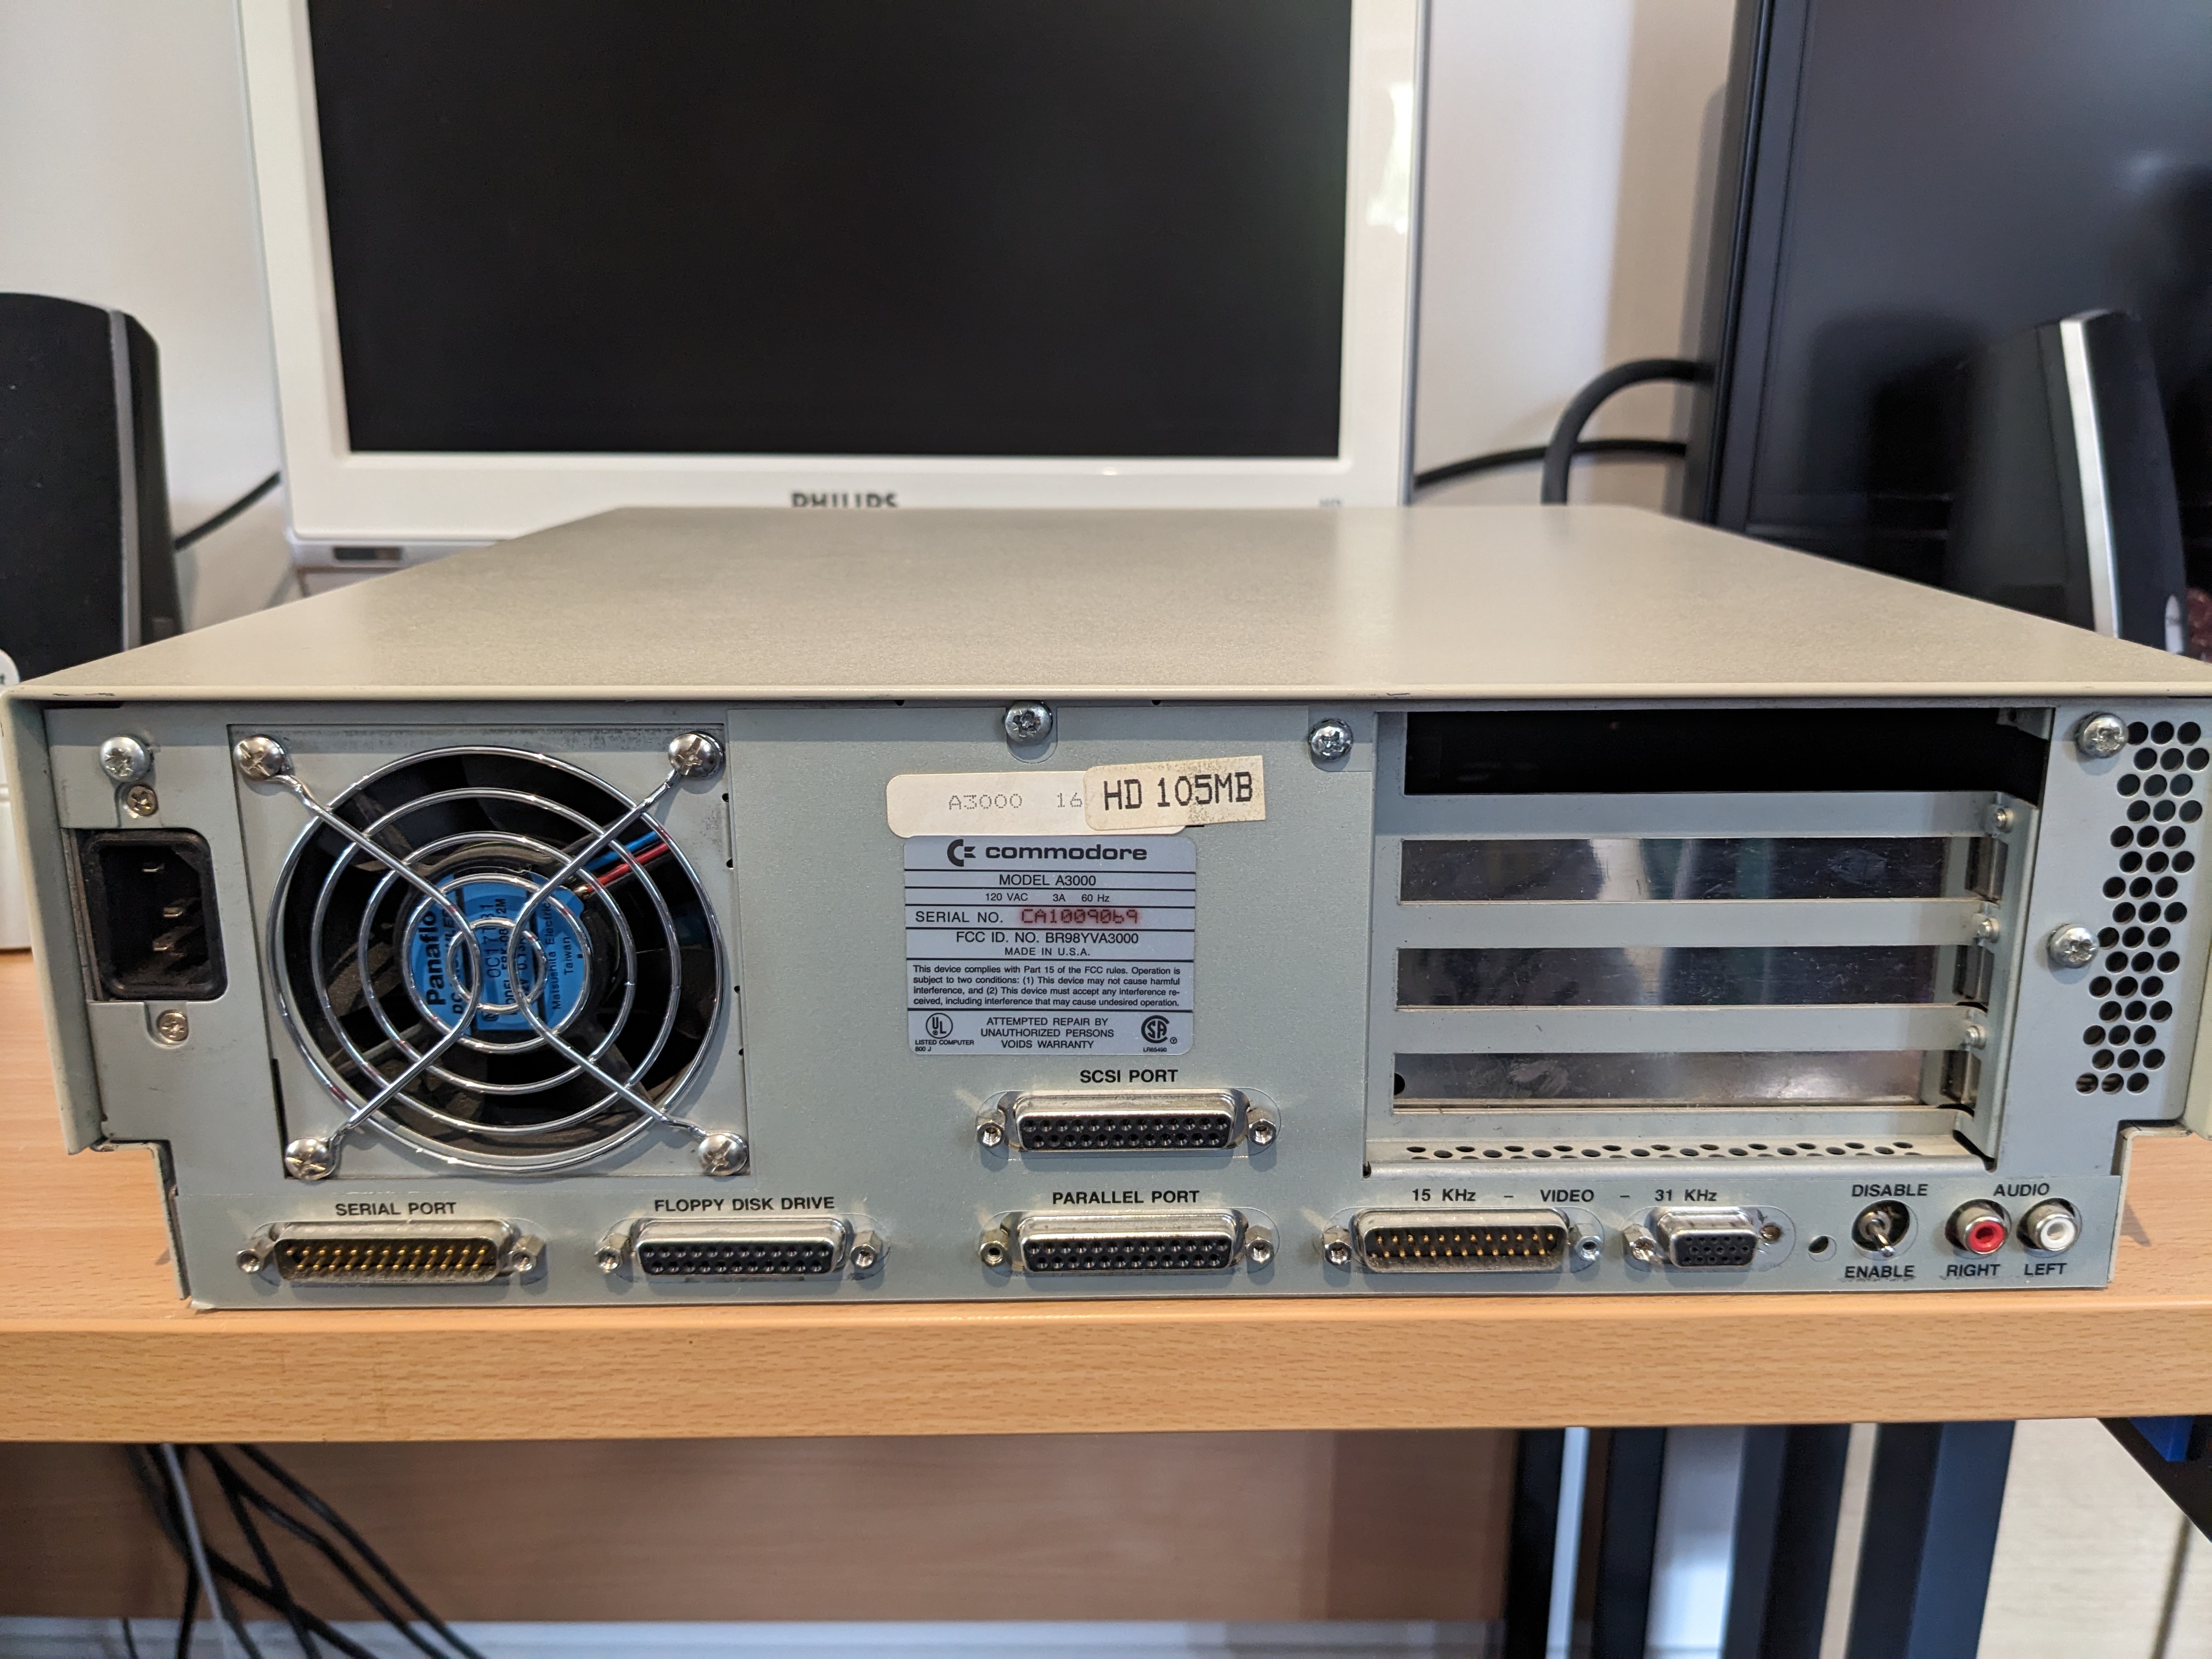
The Amiga 3000 is a big-box Amiga released in mid-1990, that in my opinion is what the Amiga 2000 should have been. It is a 68030 machine with a math co-processor, internal and external SCSI built-in and a daughter board for expansion cards. It also supports the same CPU accelerator cards as the Amiga 4000. The outer casing even looks very nice and, like the Amiga 1000 and CDTV, holds up well today.
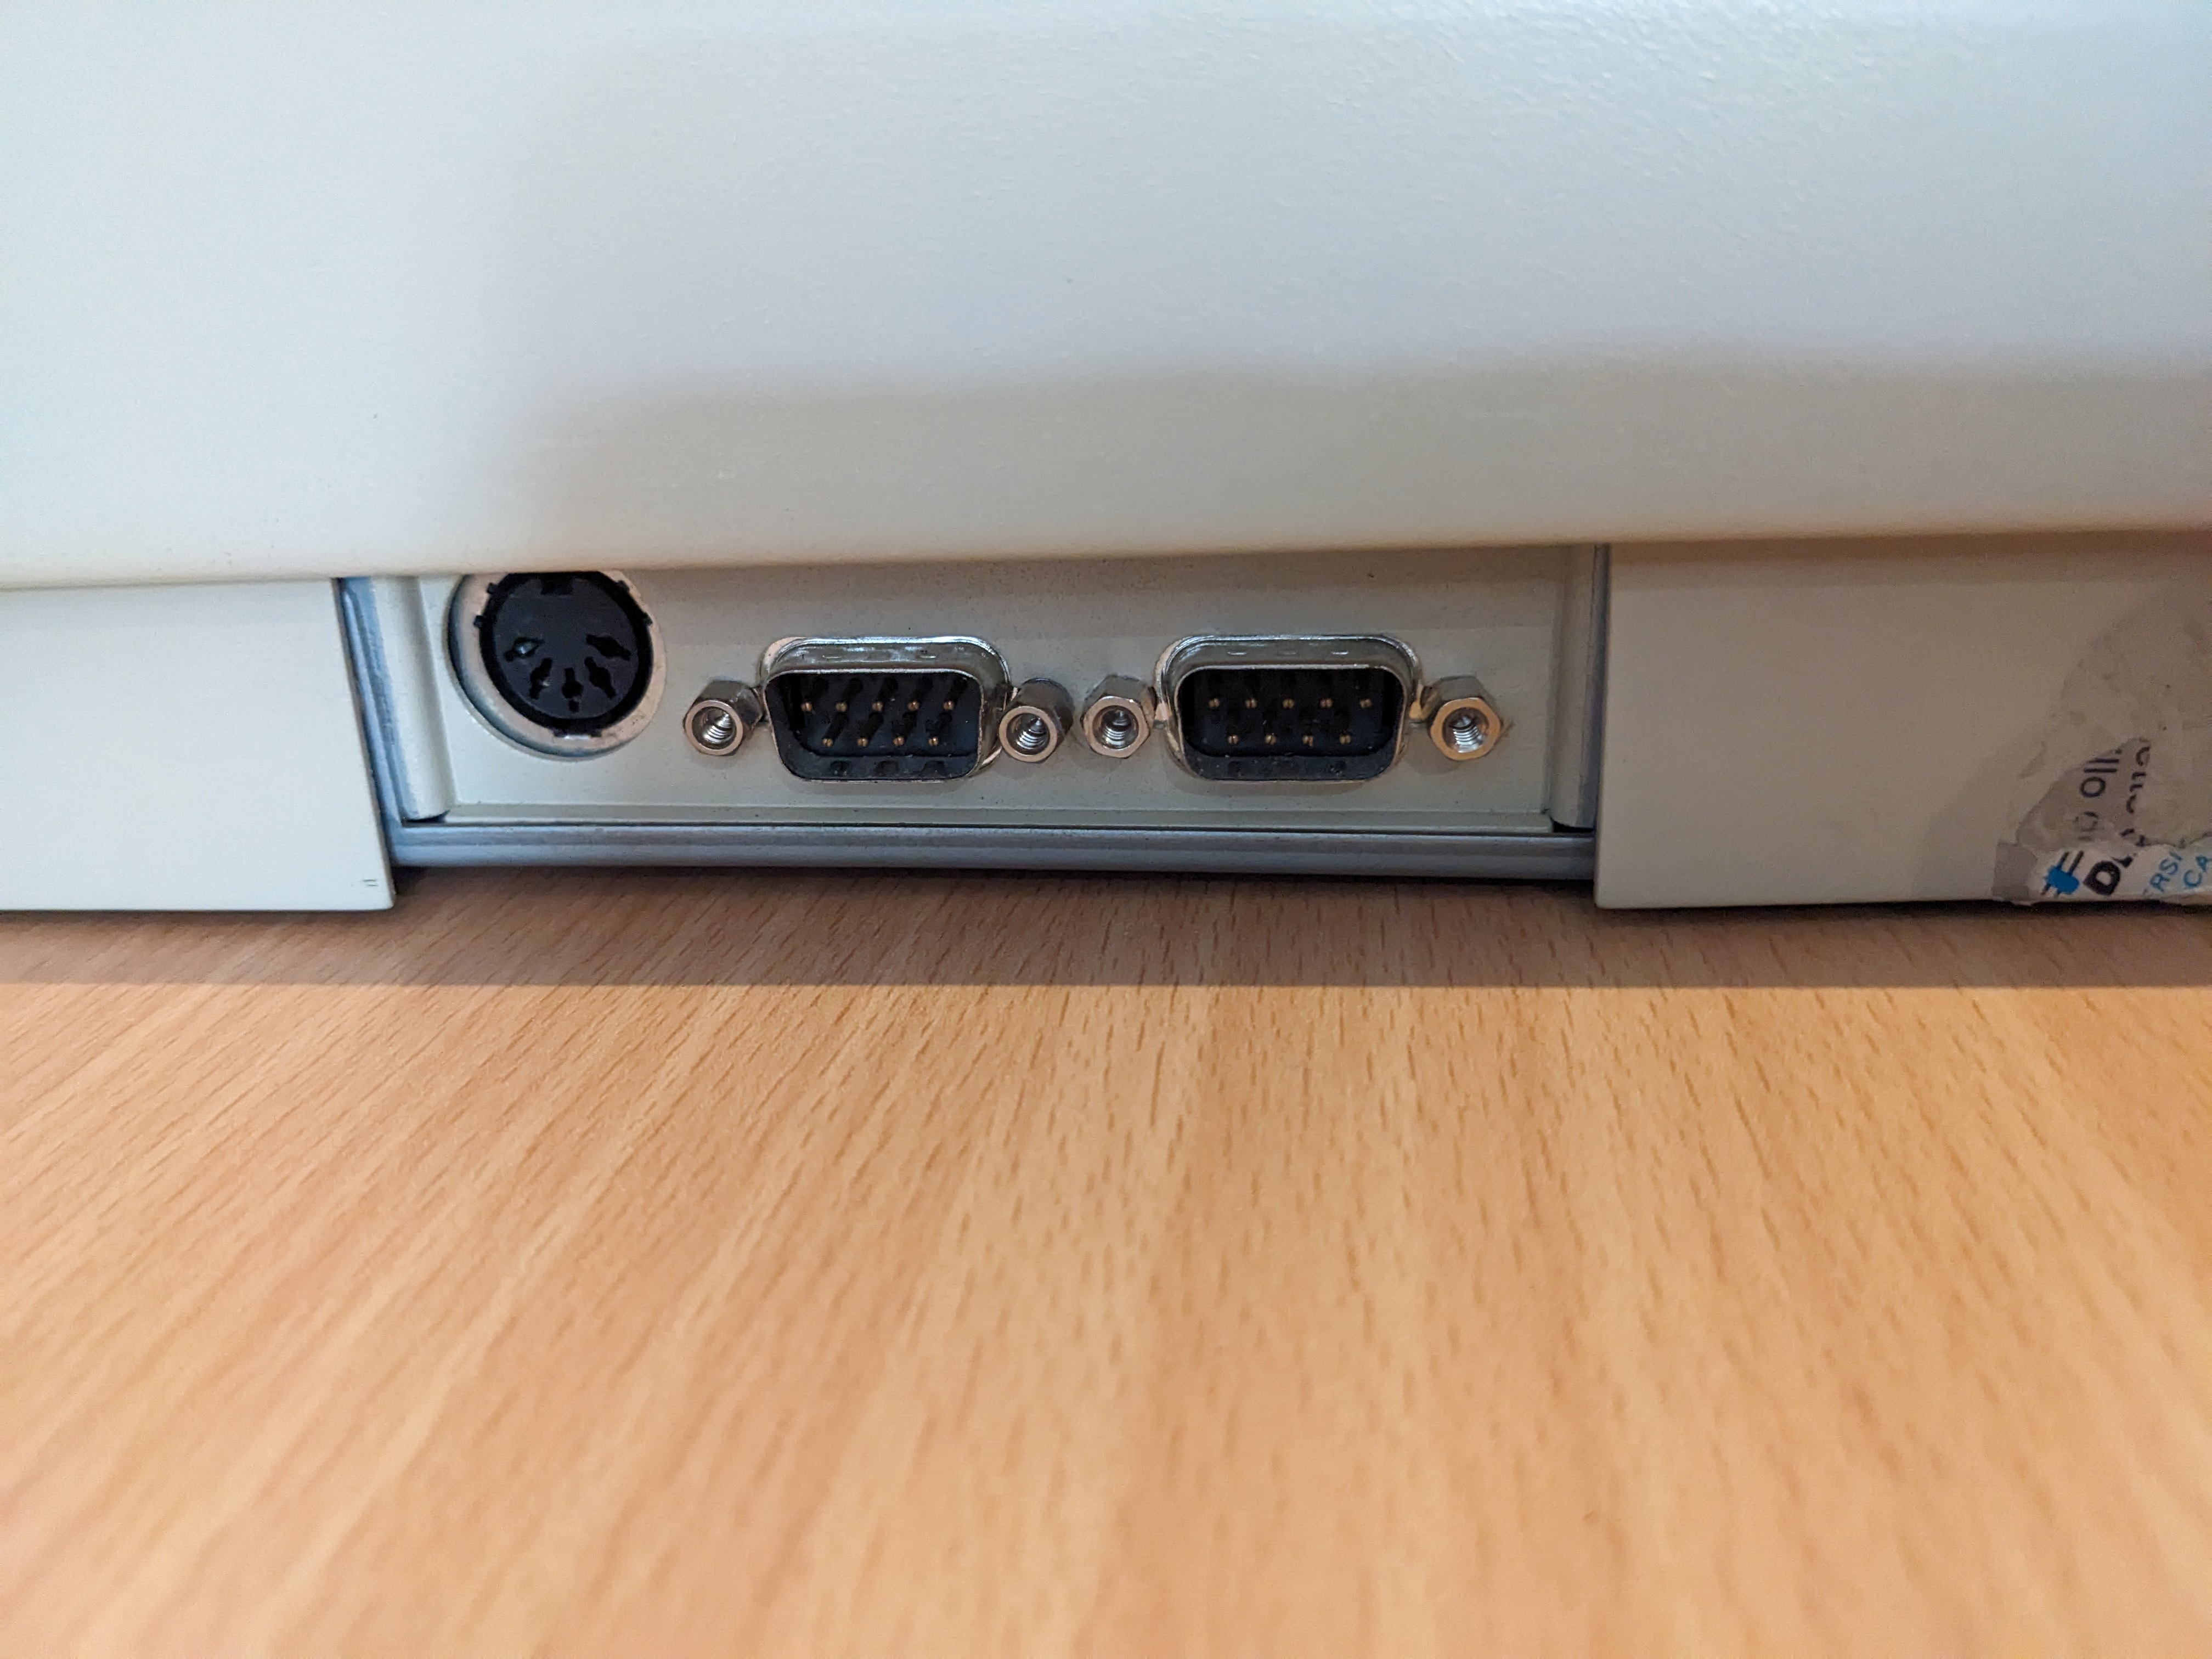
In fact I think the only thing missing from the Amiga 3000 is the lack of AGA graphics. This is an ECS machine with a special chip called Amber. This chip is a built-in scandoubler with a VGA output that allows you to use more modern monitors.
My Amiga 3000
The one I purchased was incredibly well packaged, you know it is good when it takes you 15 minutes to cut through and unwrap everything to unbox it. Coming from Canada, it is an NTSC machine with a 110v PSU. I cannot just plug it into UK power and expect it to work without things going bang. There is some conversion needed.


Undoing four screws around the outside, and one at the back lets use slide the case off forward to reveal what is inside.

There is some minor battery leakage that will need cleaning up, but we know this didn’t break anything.

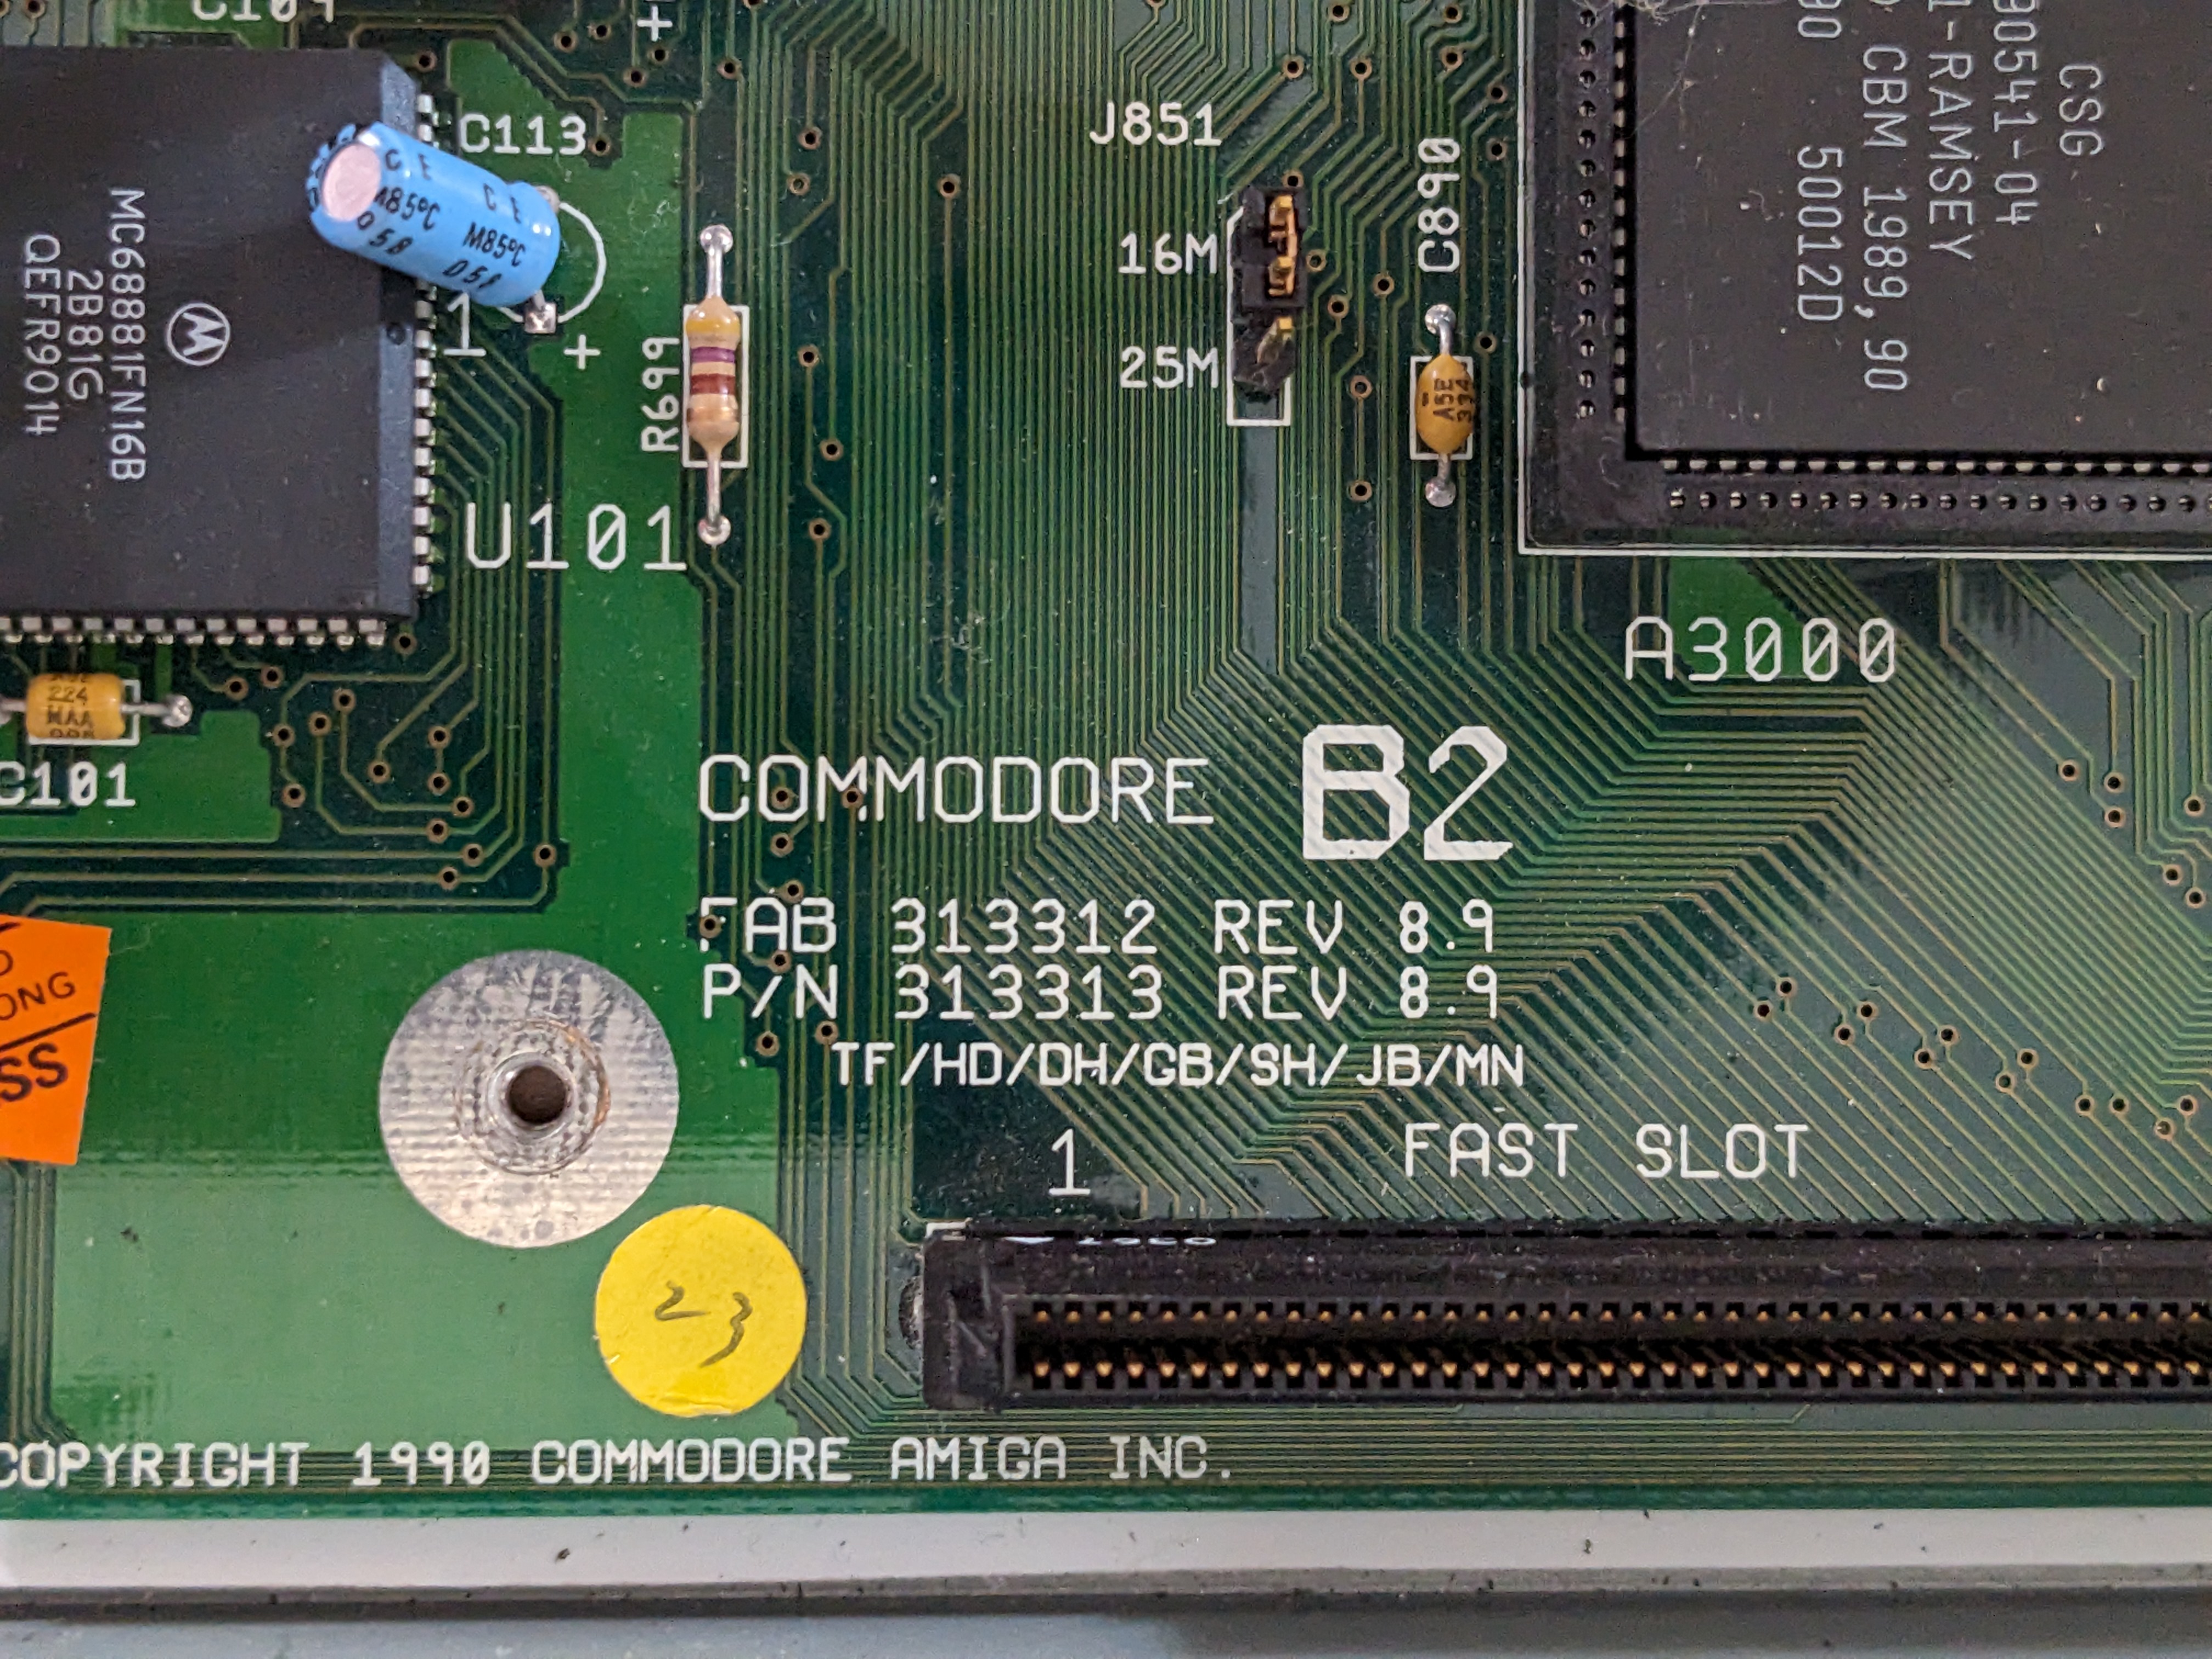
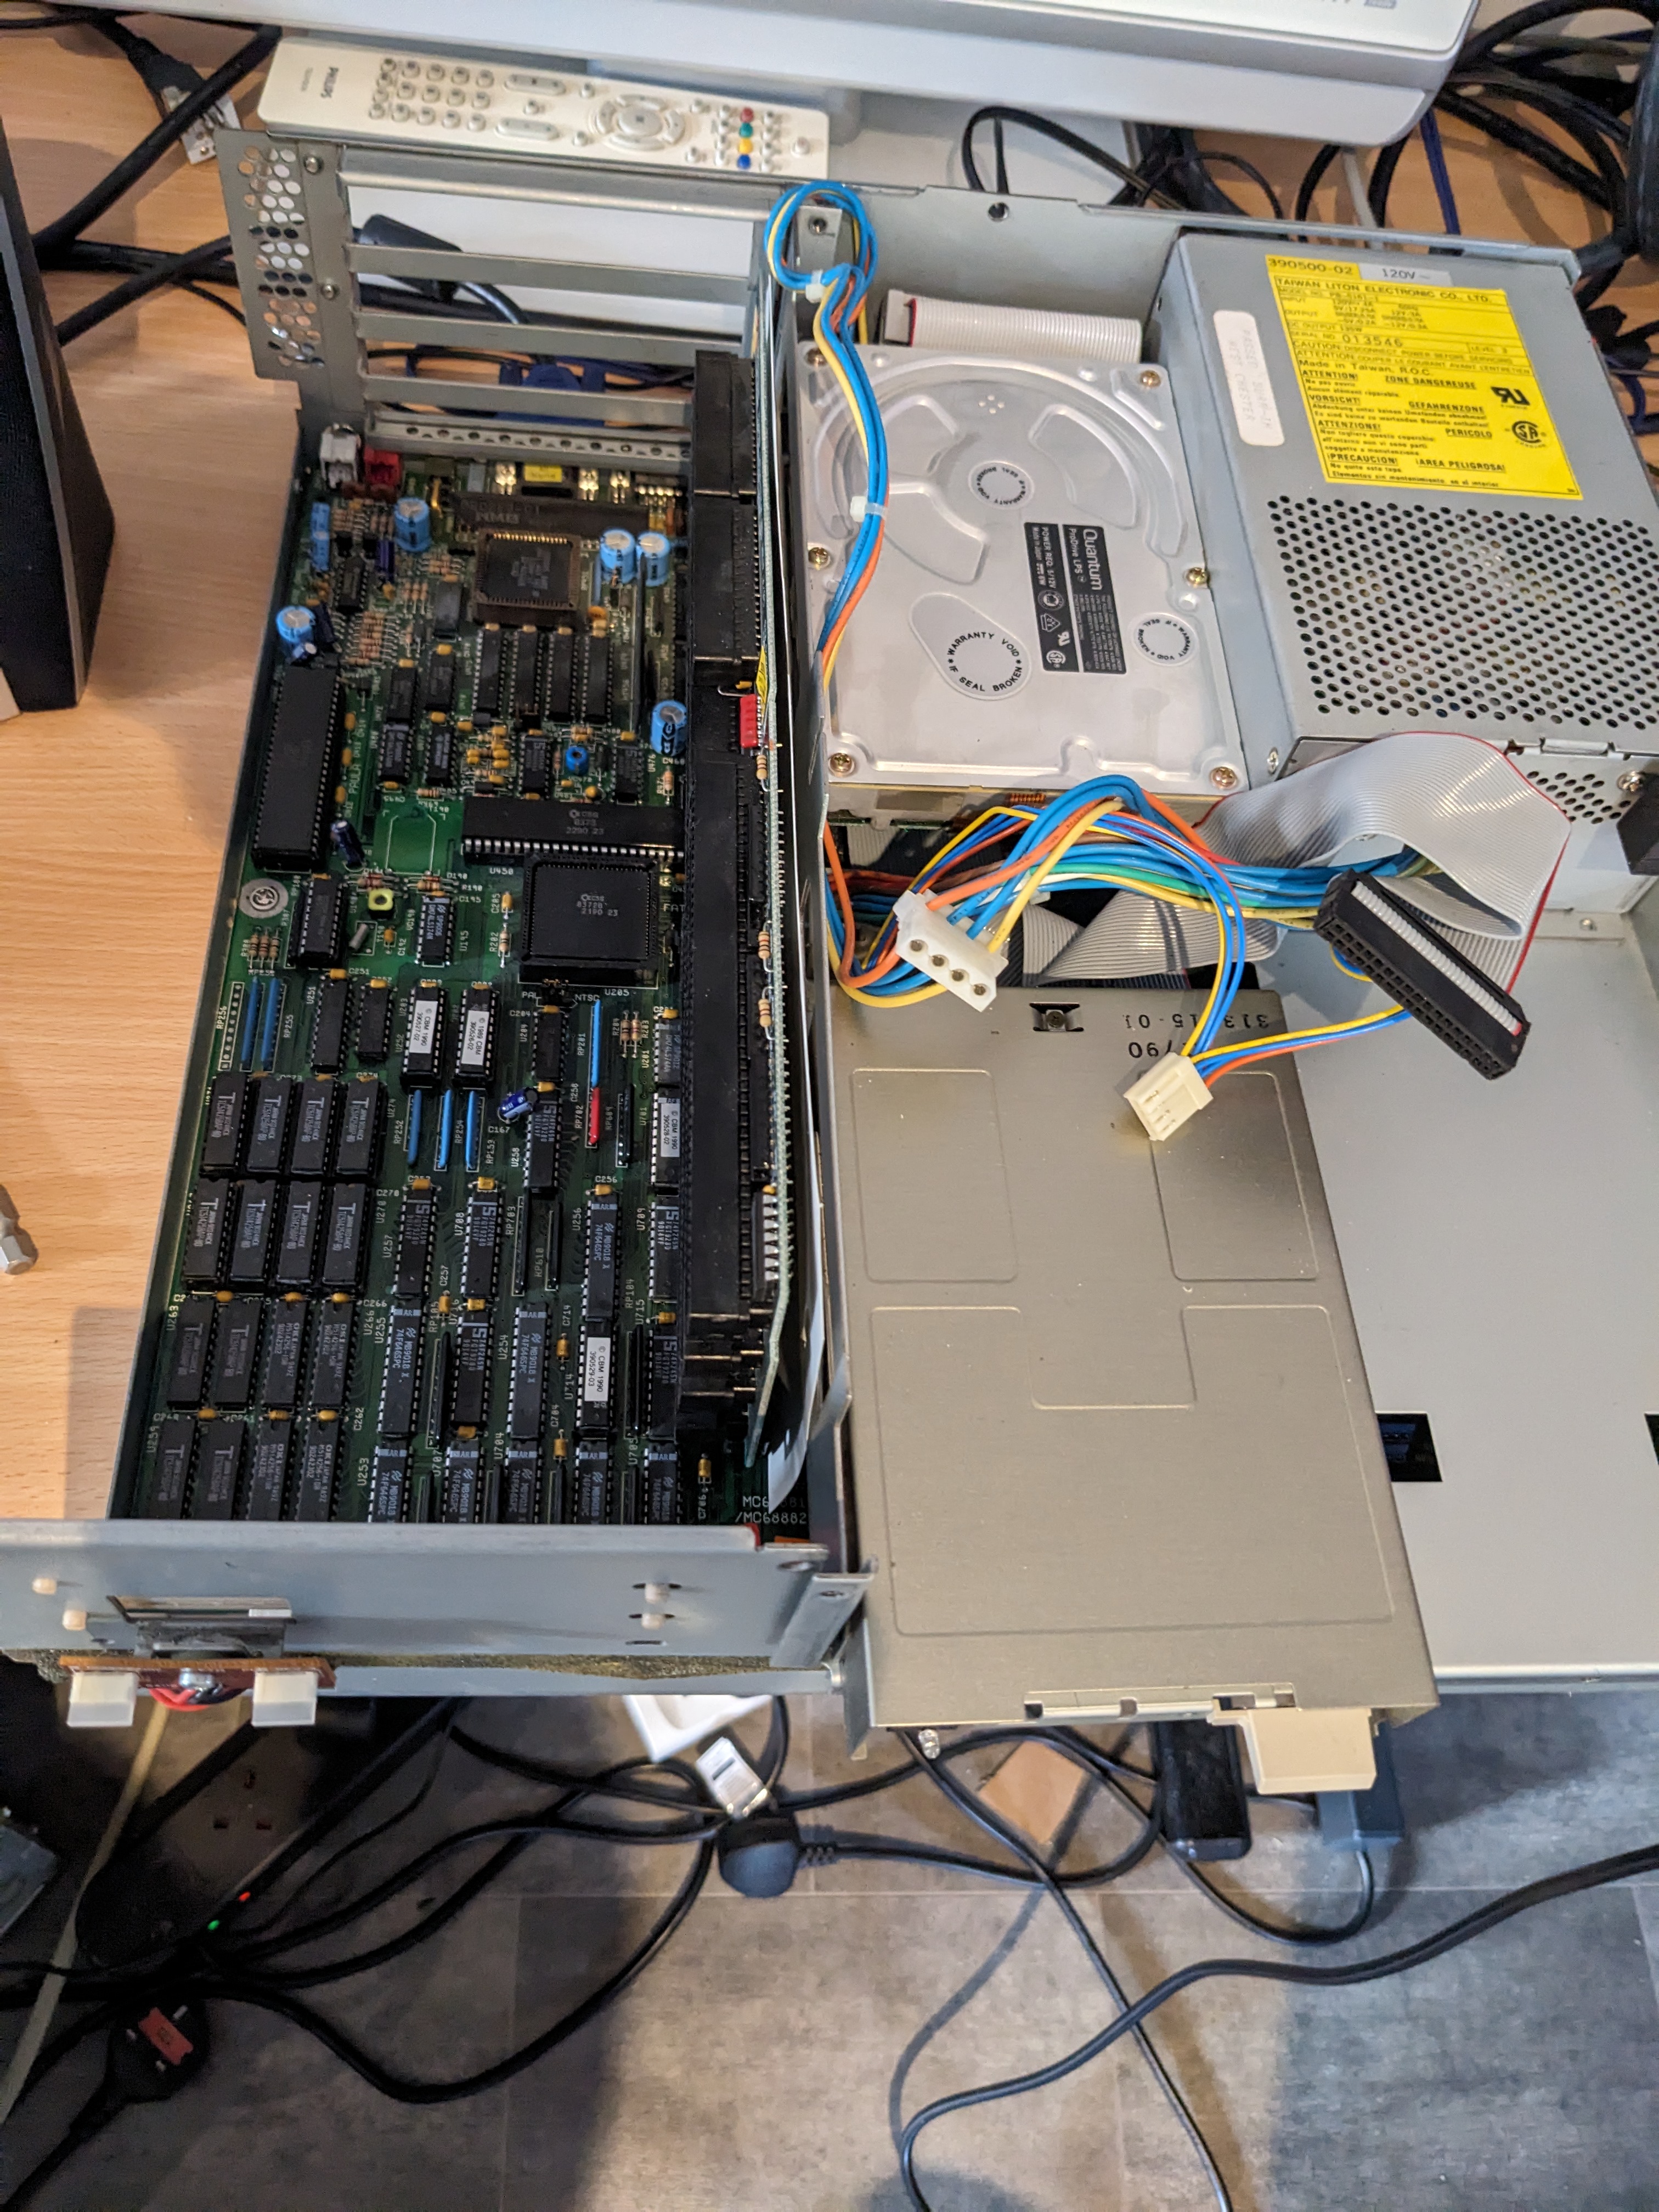
Once we remove the drive cage we can see that my machine is a revision 8.9 board with a 16MHz 68030 and a 68881 co-processor.
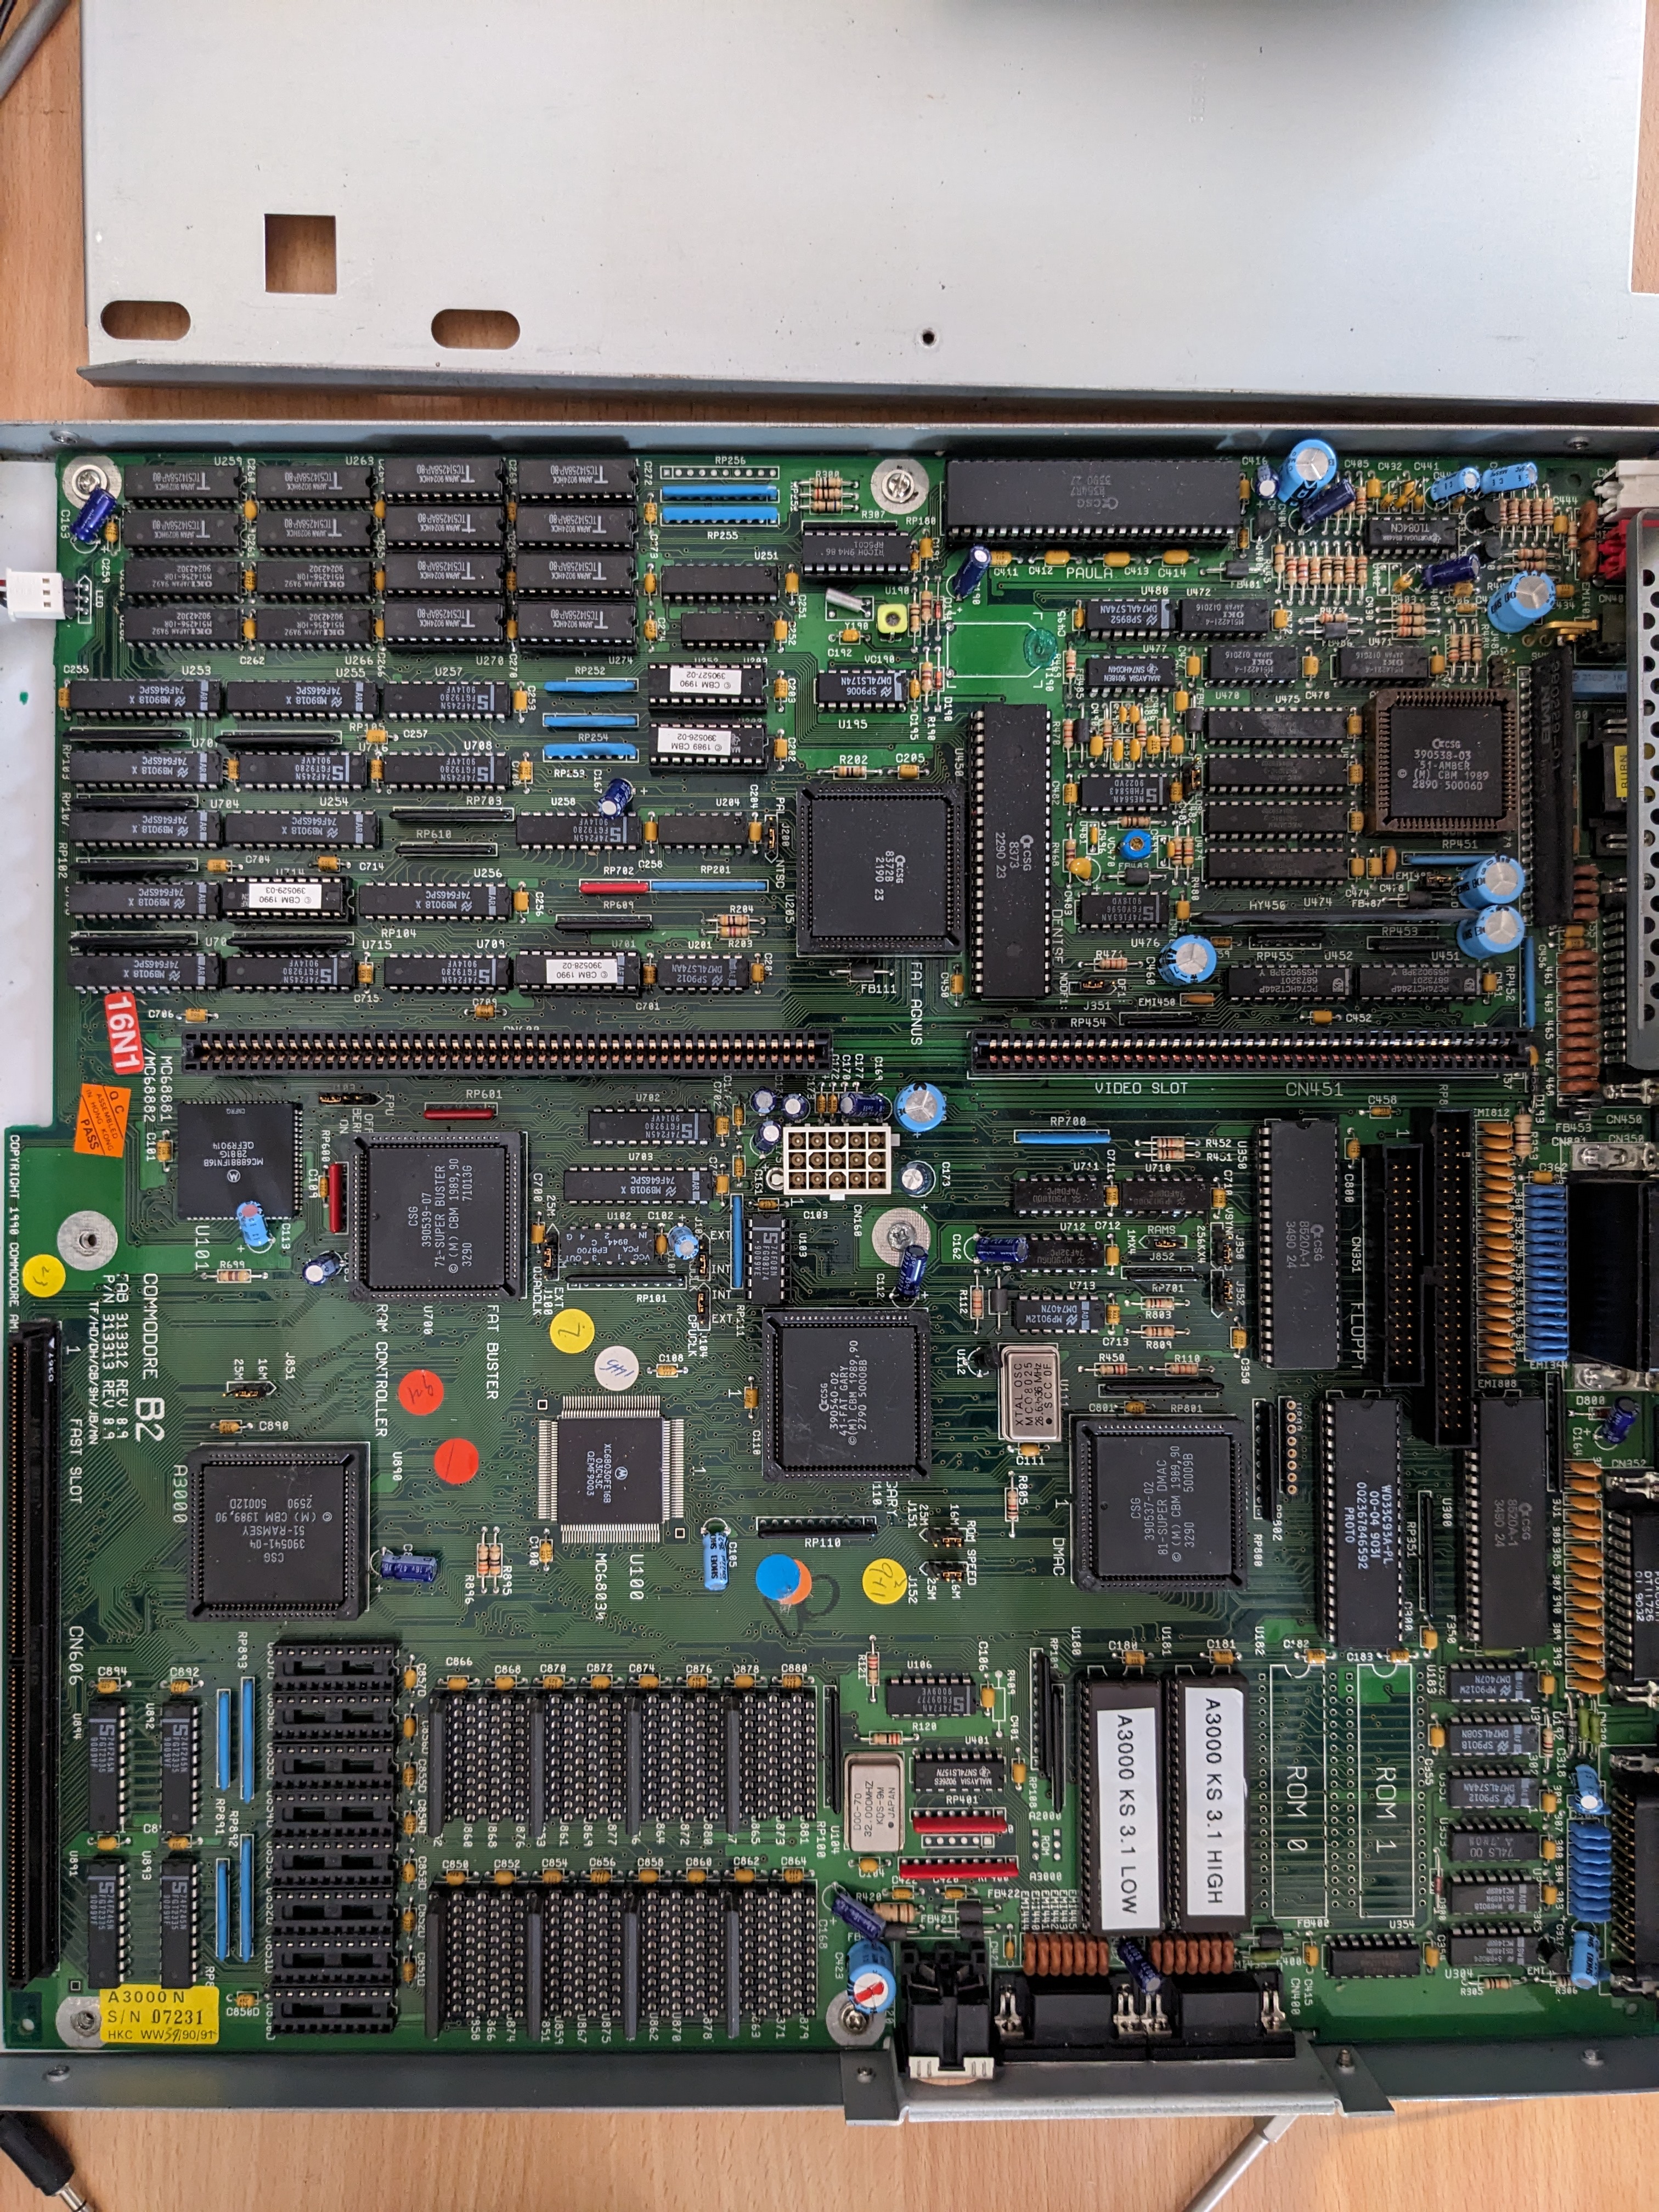
This is the view of the whole motherboard.
PSU Conversion
As stated, the PSU is a 110v only one. Luckily LITON, who manufactured it, used the same PCB for 110v and 230v. It just needs a slight modification. There are instructions available here, but I will show my own journey.
Once the PSU is opened and the board removed (this is a lot of screws) we can see a link wire labelled 110v, this bridges a section of the PSU which would normally half the input voltage. This link wire needs removing.
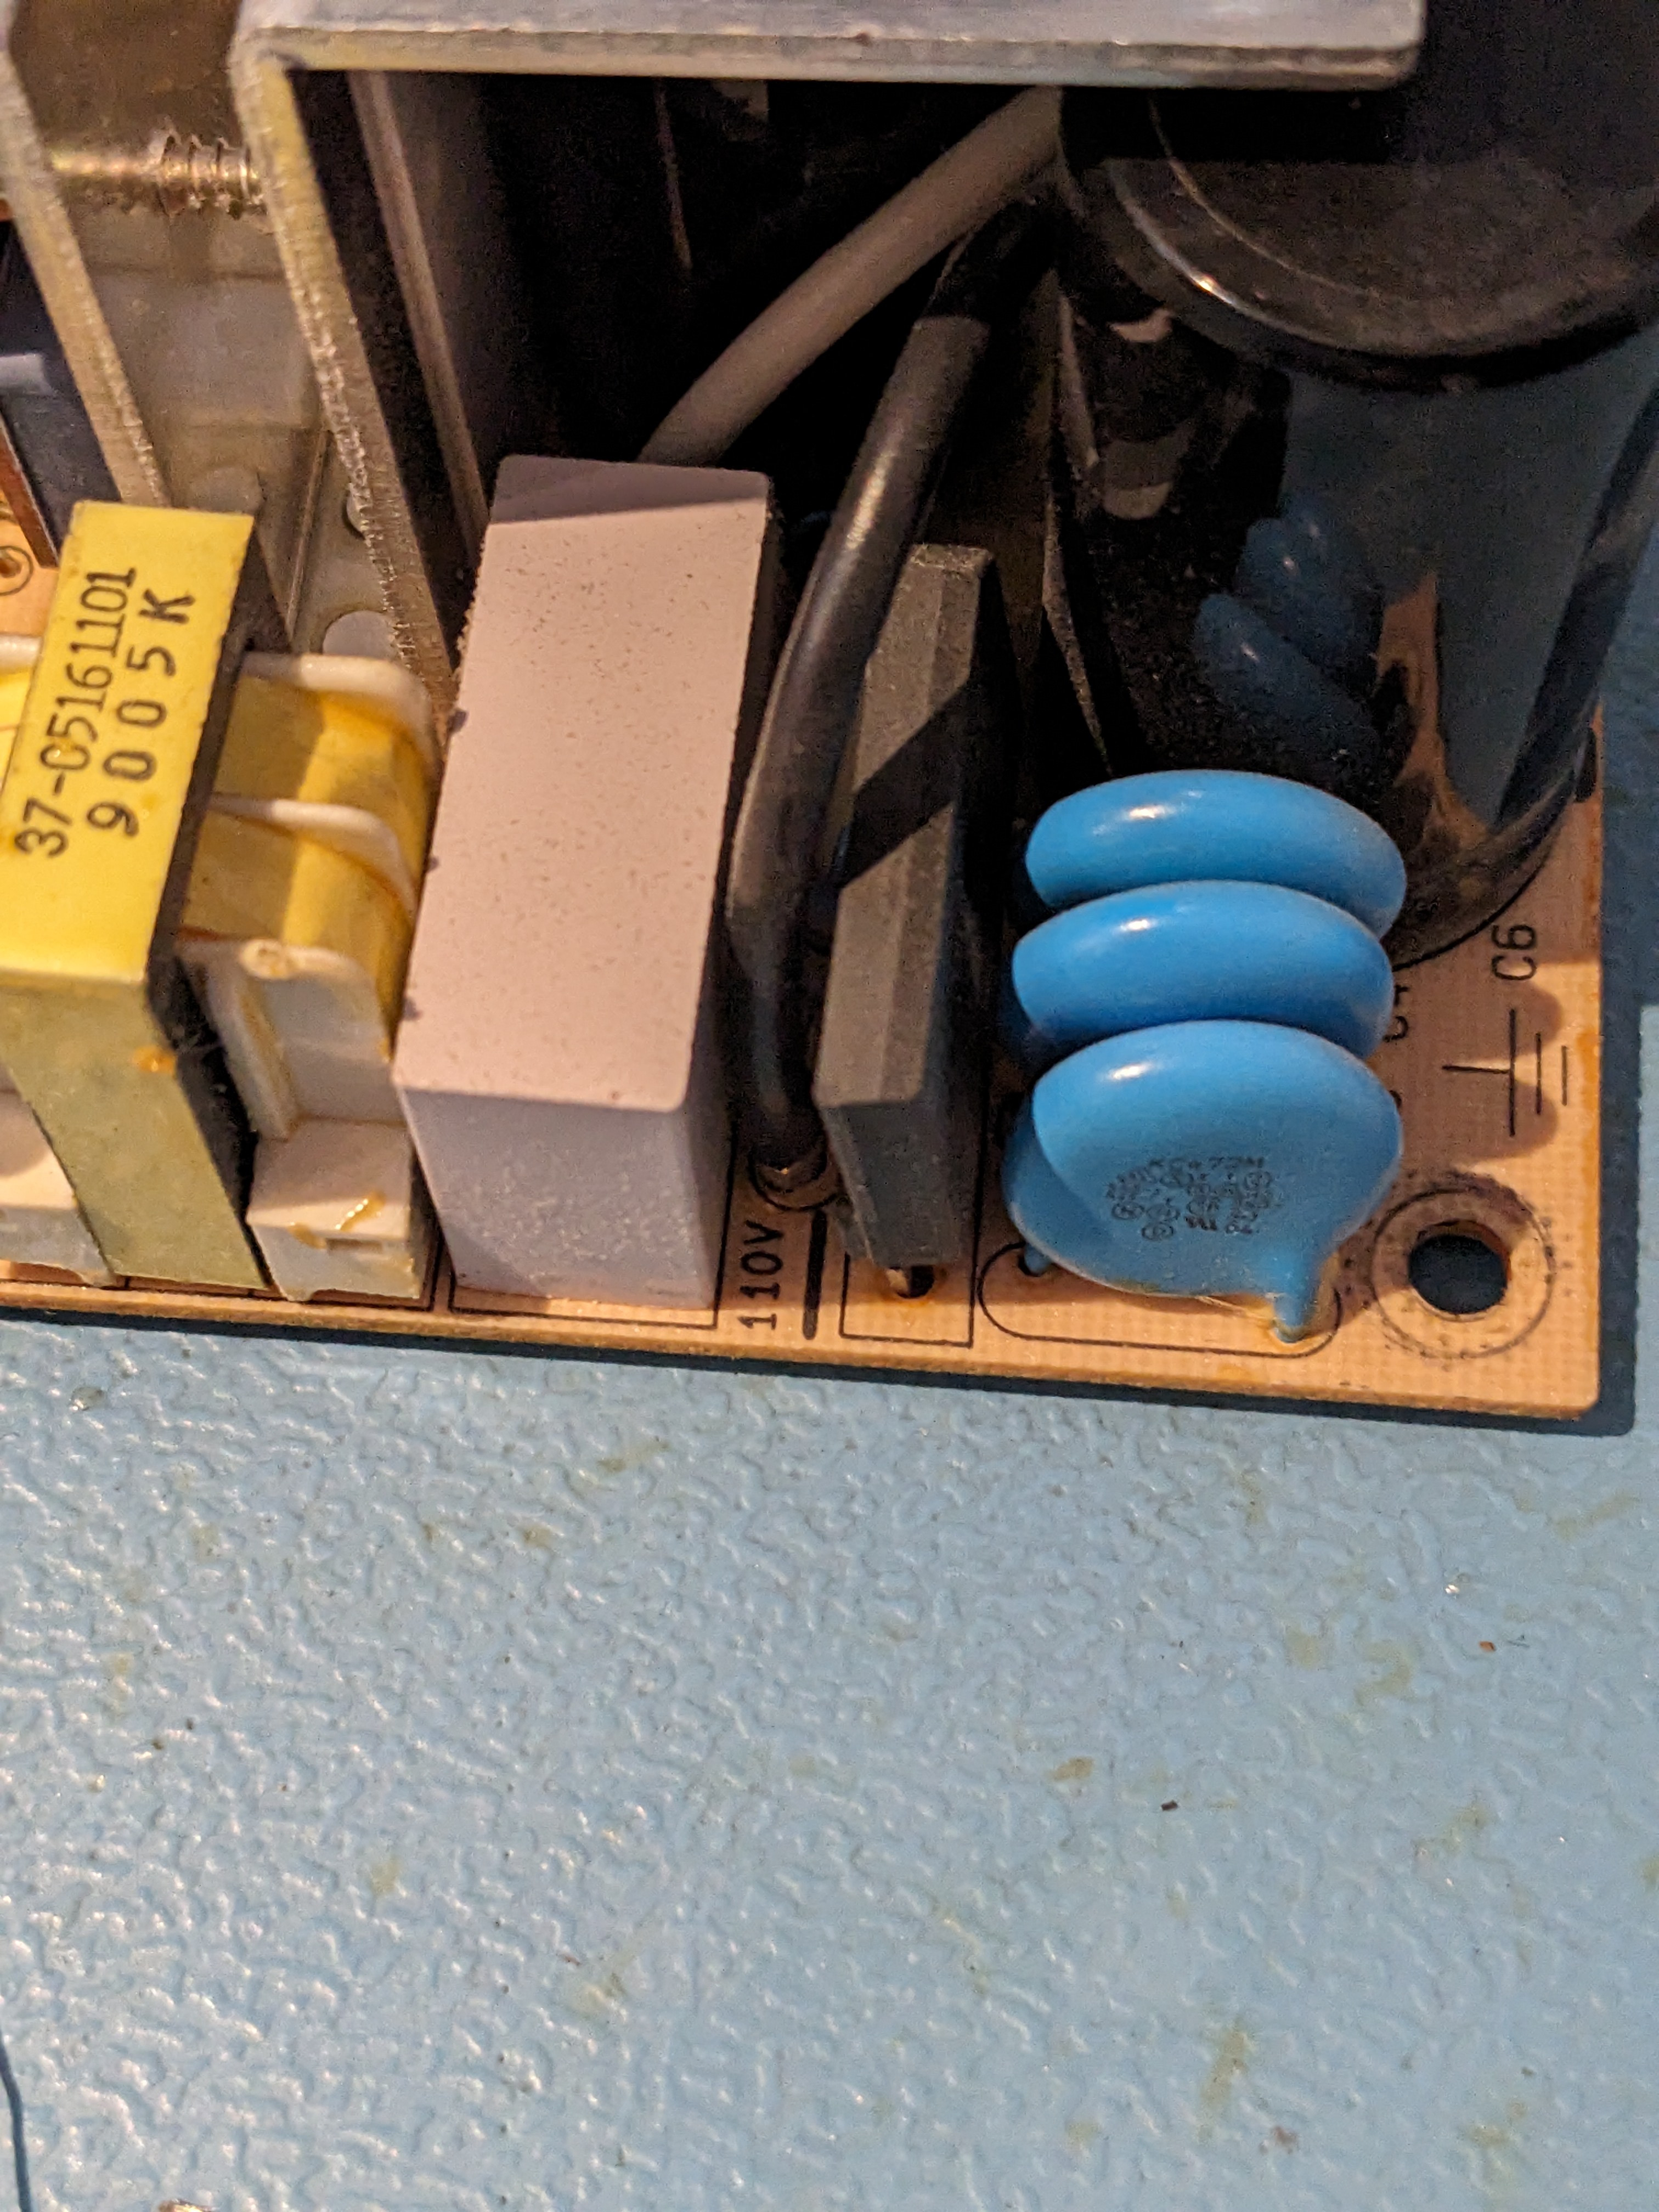
The large input capacitors are marked as 200v, this is fine as they are in series. But there is a MOV (Metal-Oxide Varistor) which is usually not capable of the higher voltage. It can be found next to the power input connector, the green component in this photo:
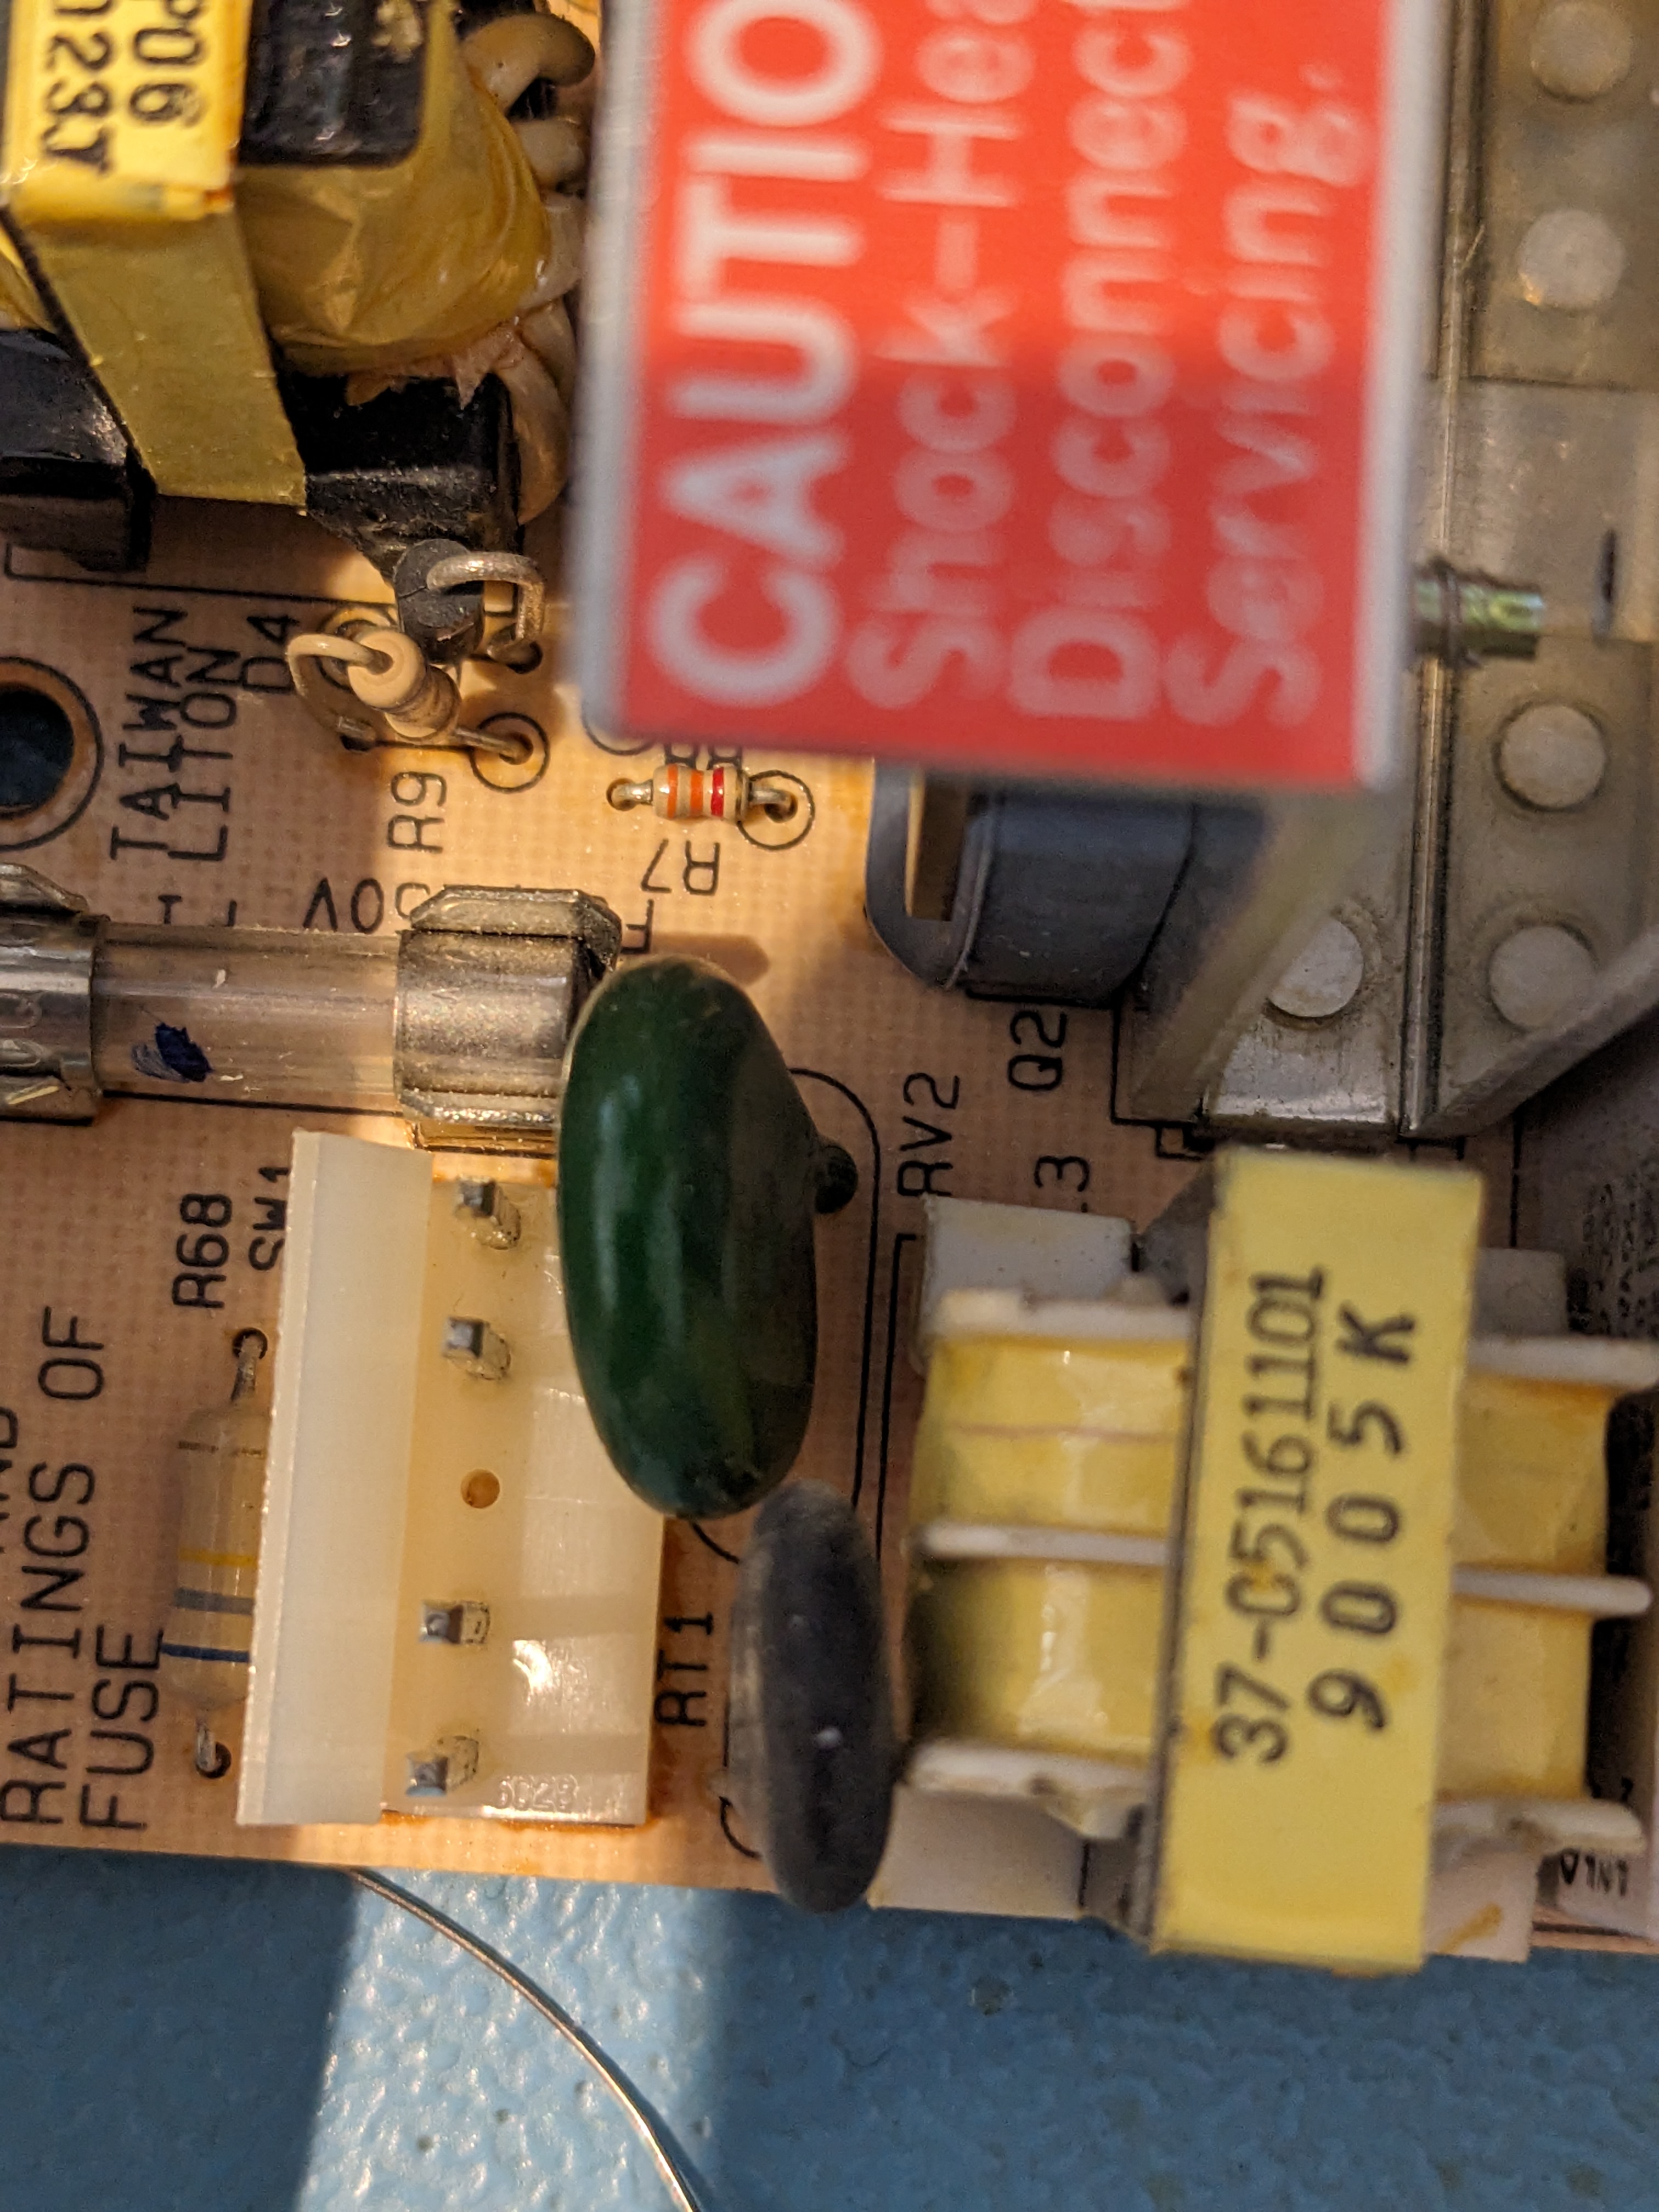
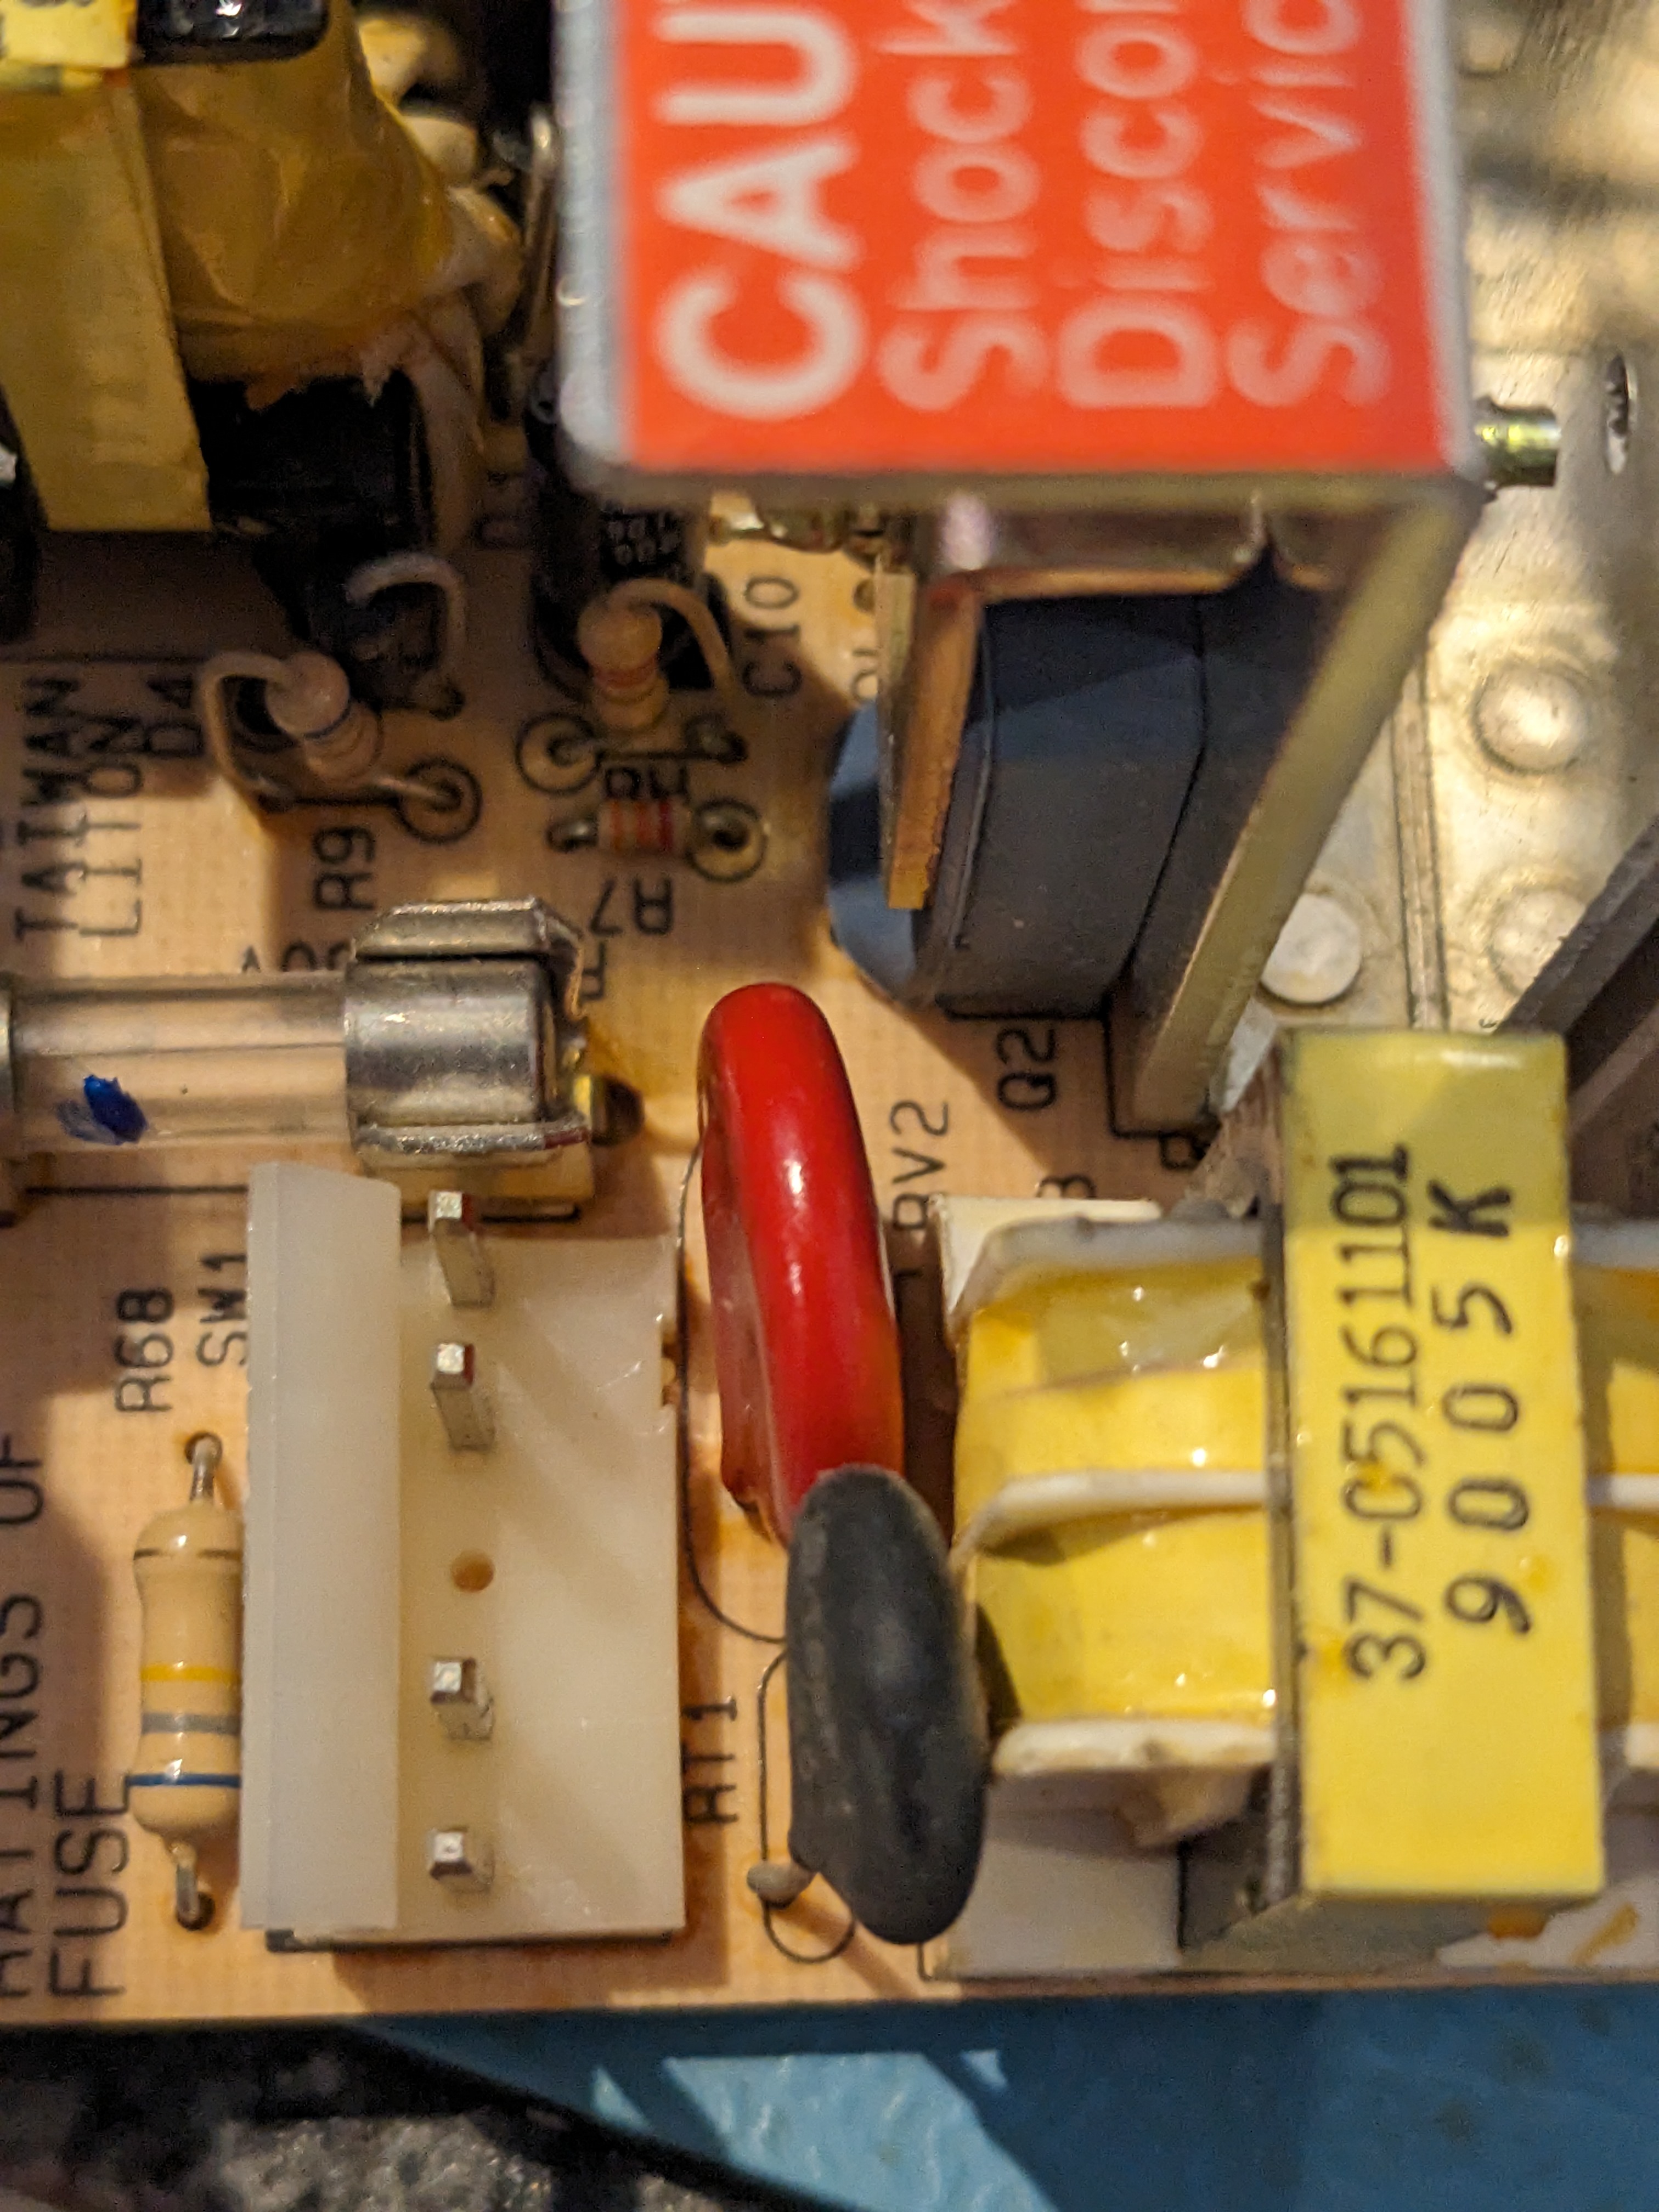
Note that despite the site I linked to calling it “RV21” it is marked as “RV2” on my board. This is the same component though. As recommended, I switch this for a 275v capable V275LA20AP.

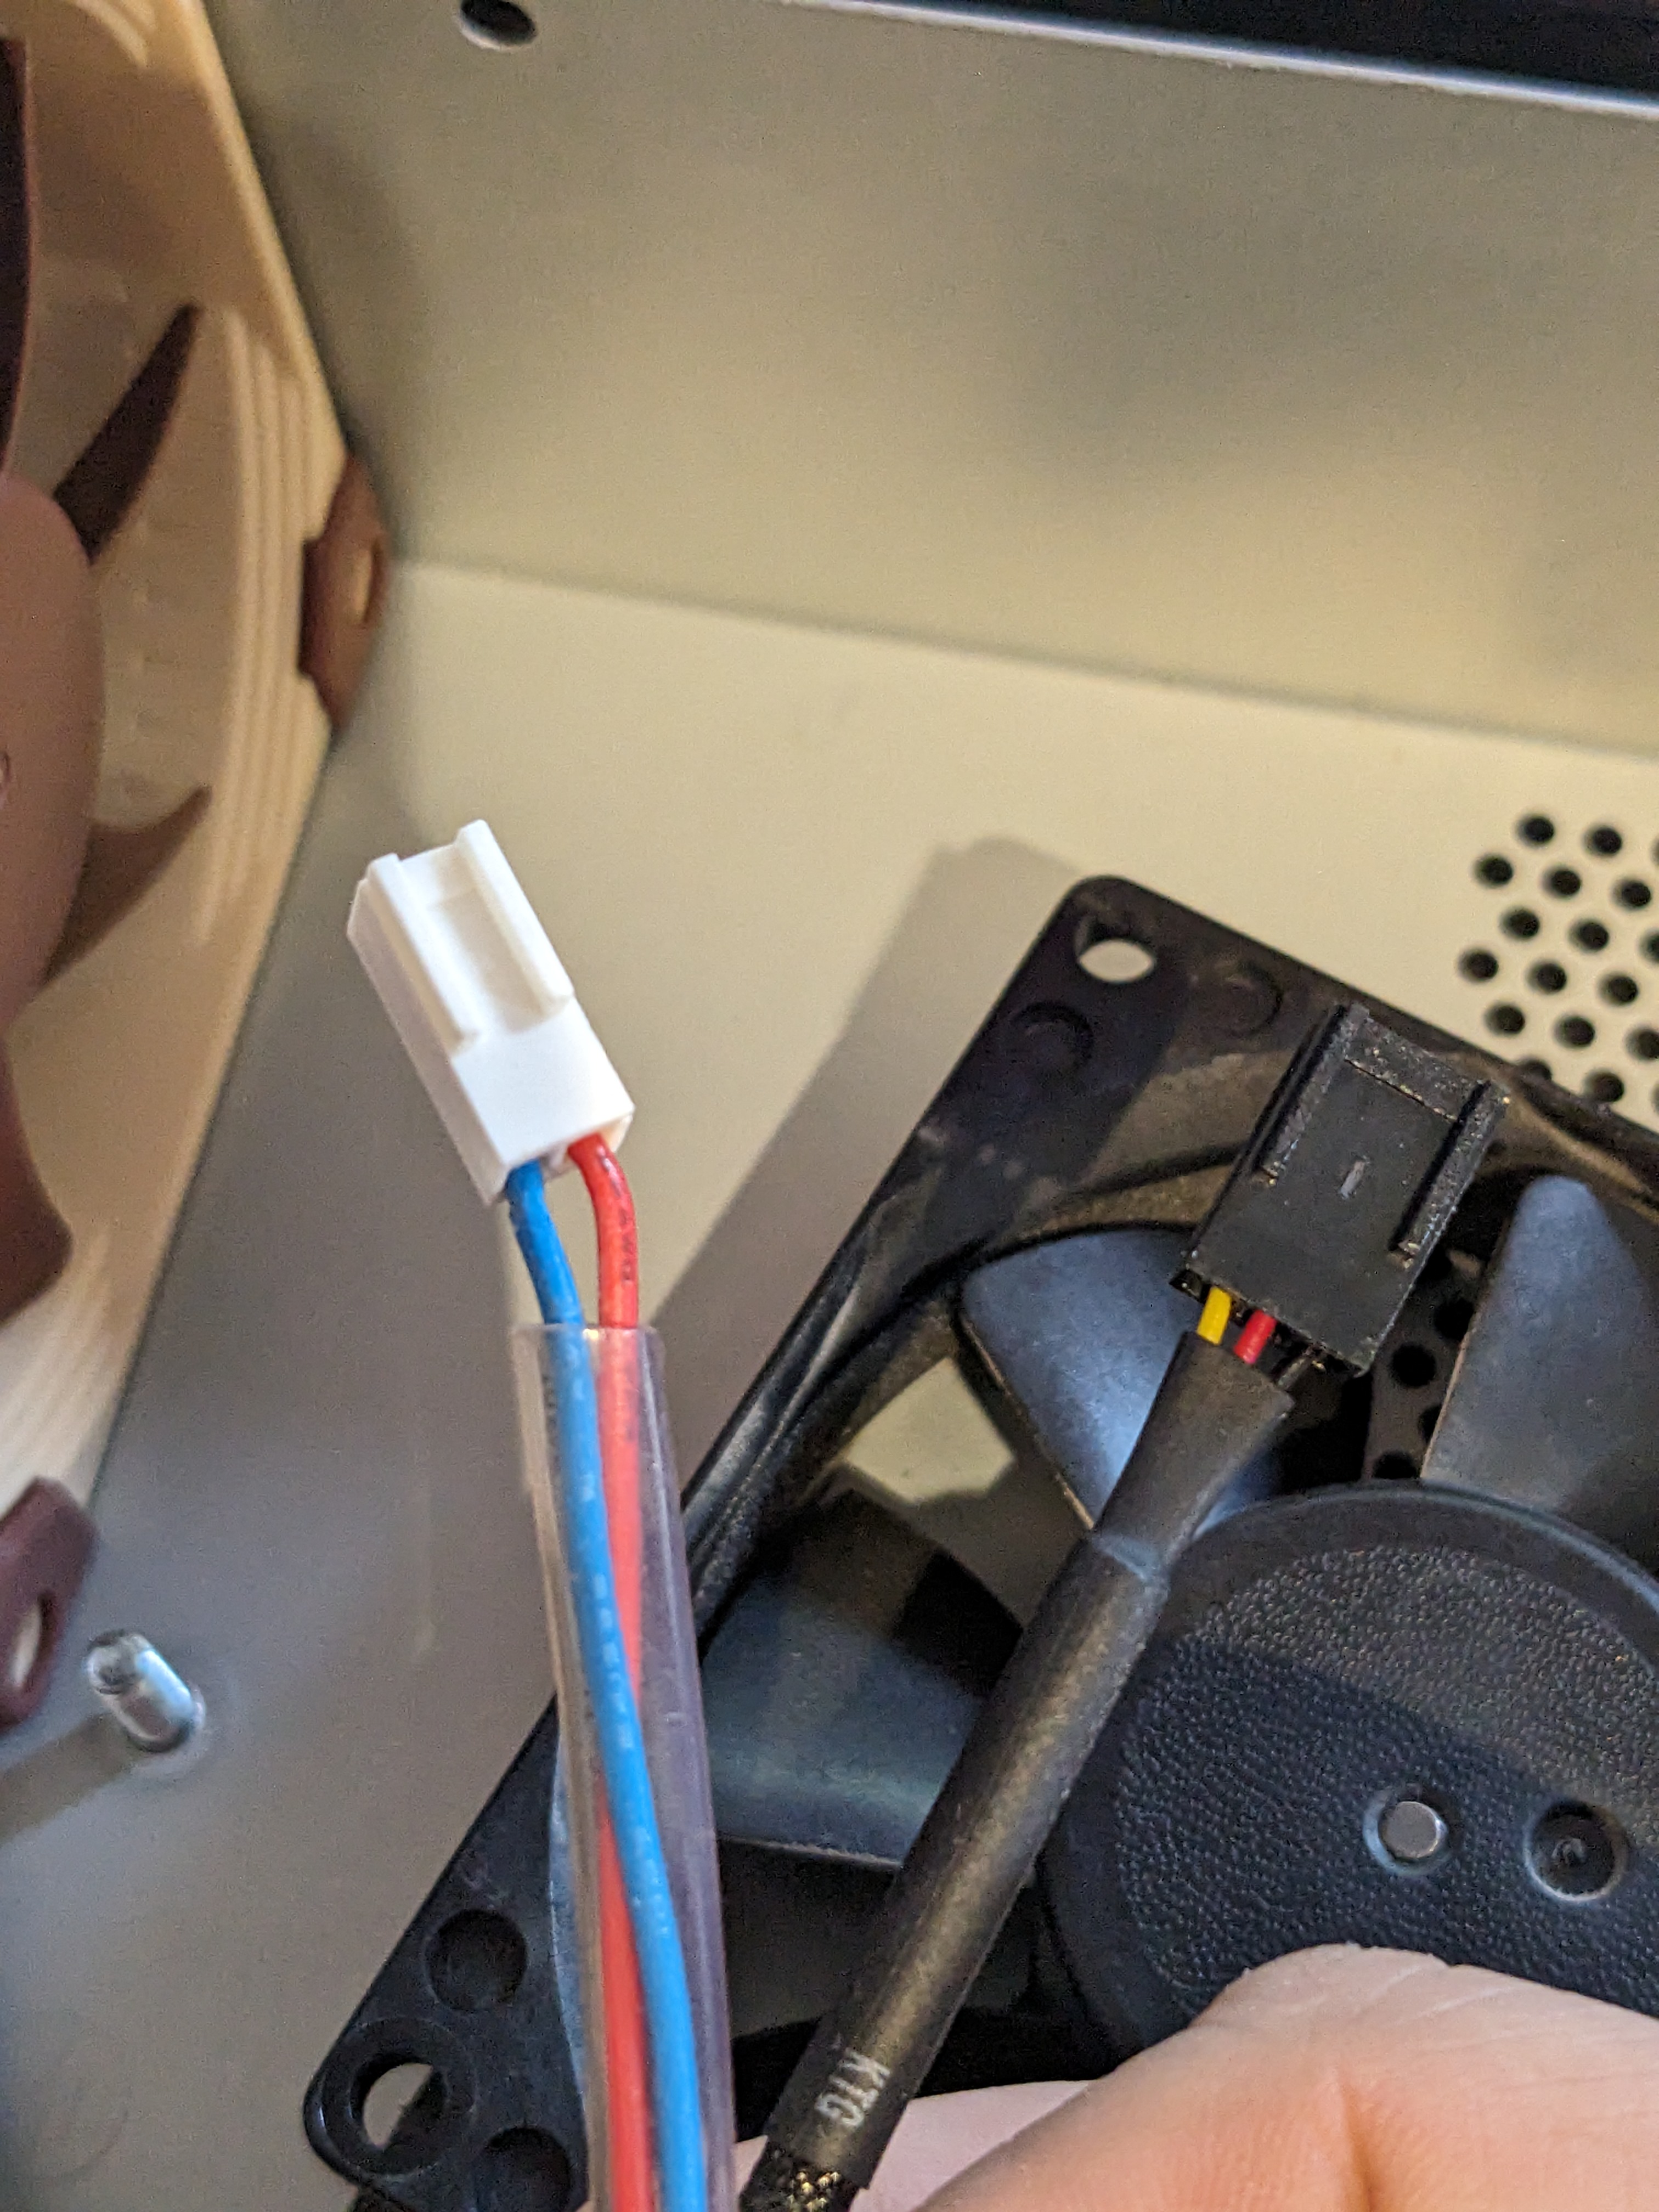
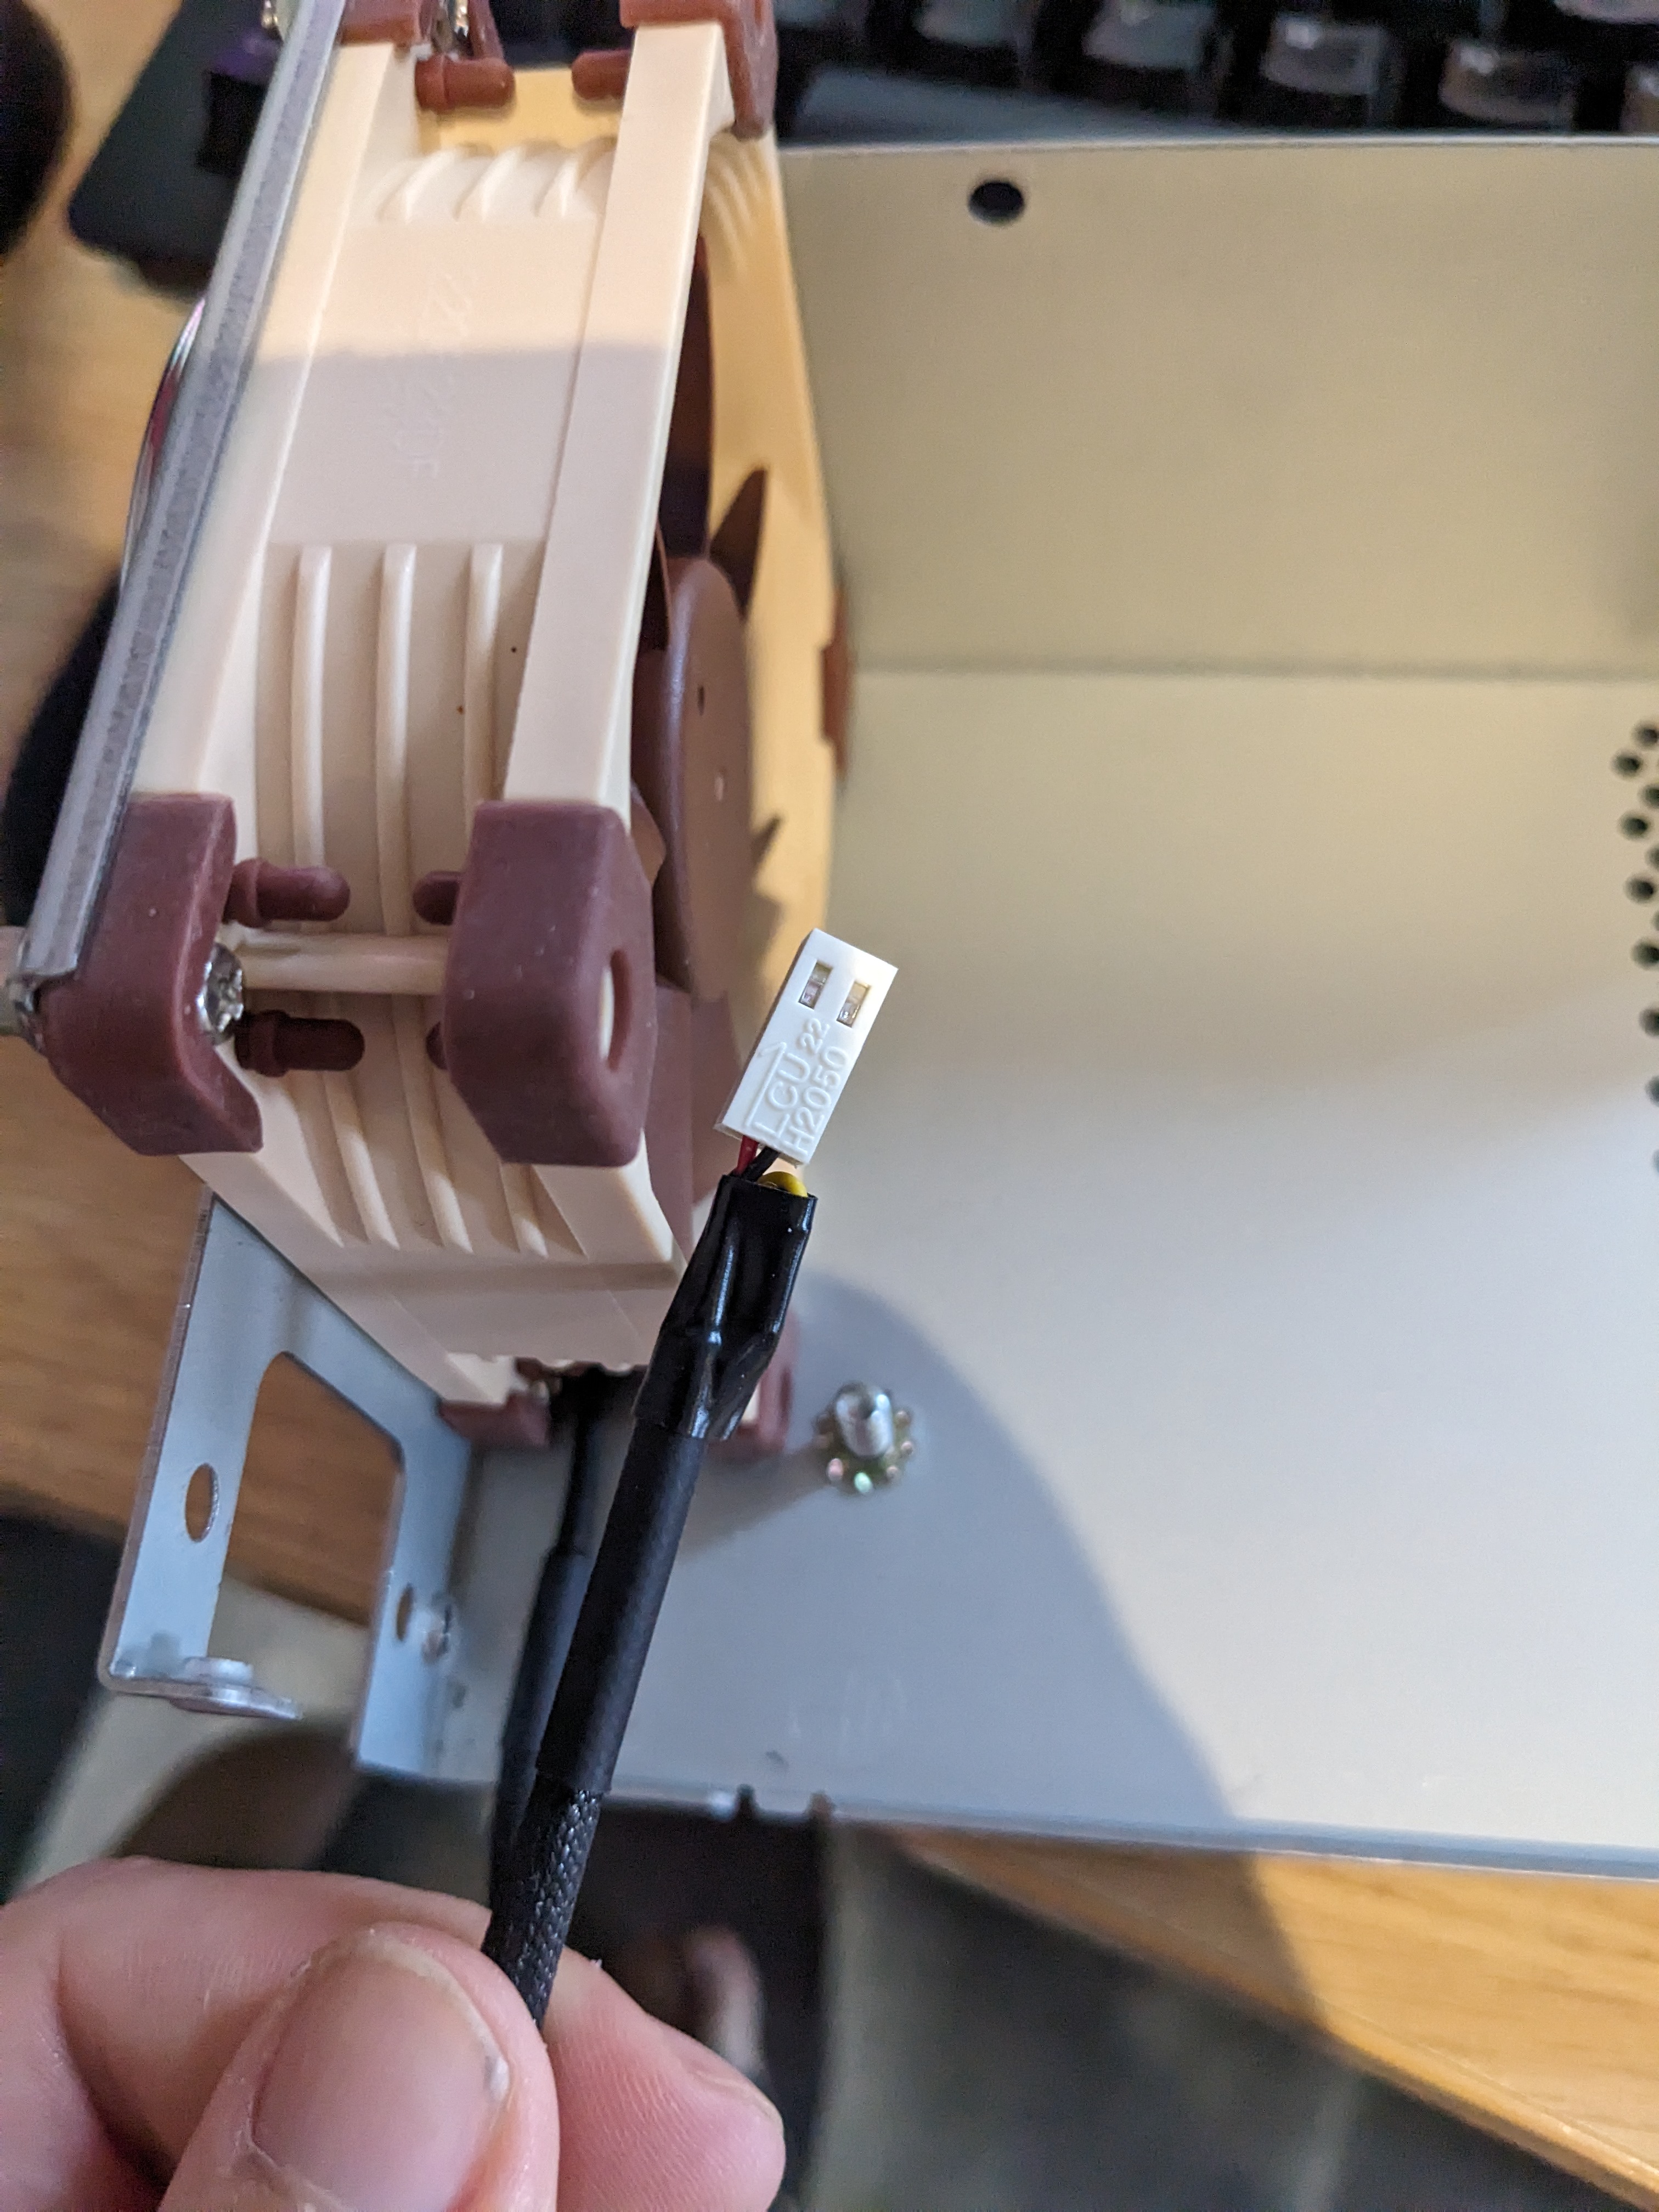
Whilst I was at it, I decided to switch out the fan. I’m sure the old one works, but there are a lot of reports that even fully-functional, it is very noisy. I had a spare Noctua in-stock and installed this. It wasn’t easy for a couple of reasons, the old fan had clips which you screwed into, these don’t fit on the Noctua. Also the rubber plugs you can use instead of screws were almost impossible to install due to fan fitting in a 90° corner of the case and there is no way to pull it through. On top of all that, the holes in the case were not large enough for the cutting screws that come with the Noctua. I ended up using M3 screws on the inside and nuts on the outside to fit it, this worked quite well.
The other thing to watch out for is the fan connector. The polarity is the reverse, I ended up removing the original connector from the original fan and putting the pins from the Noctua fan into it. The two connectors are of the same time. The extra PWM wire I strapped using electrical tape.
Once rebuilt I tested the PSU with an old spare hard drive as load and some multimeters to measure the power. Whilst I didn’t get a photo of this, I can confirm it was good. So, time to test it in the real machine.
PAL Conversion
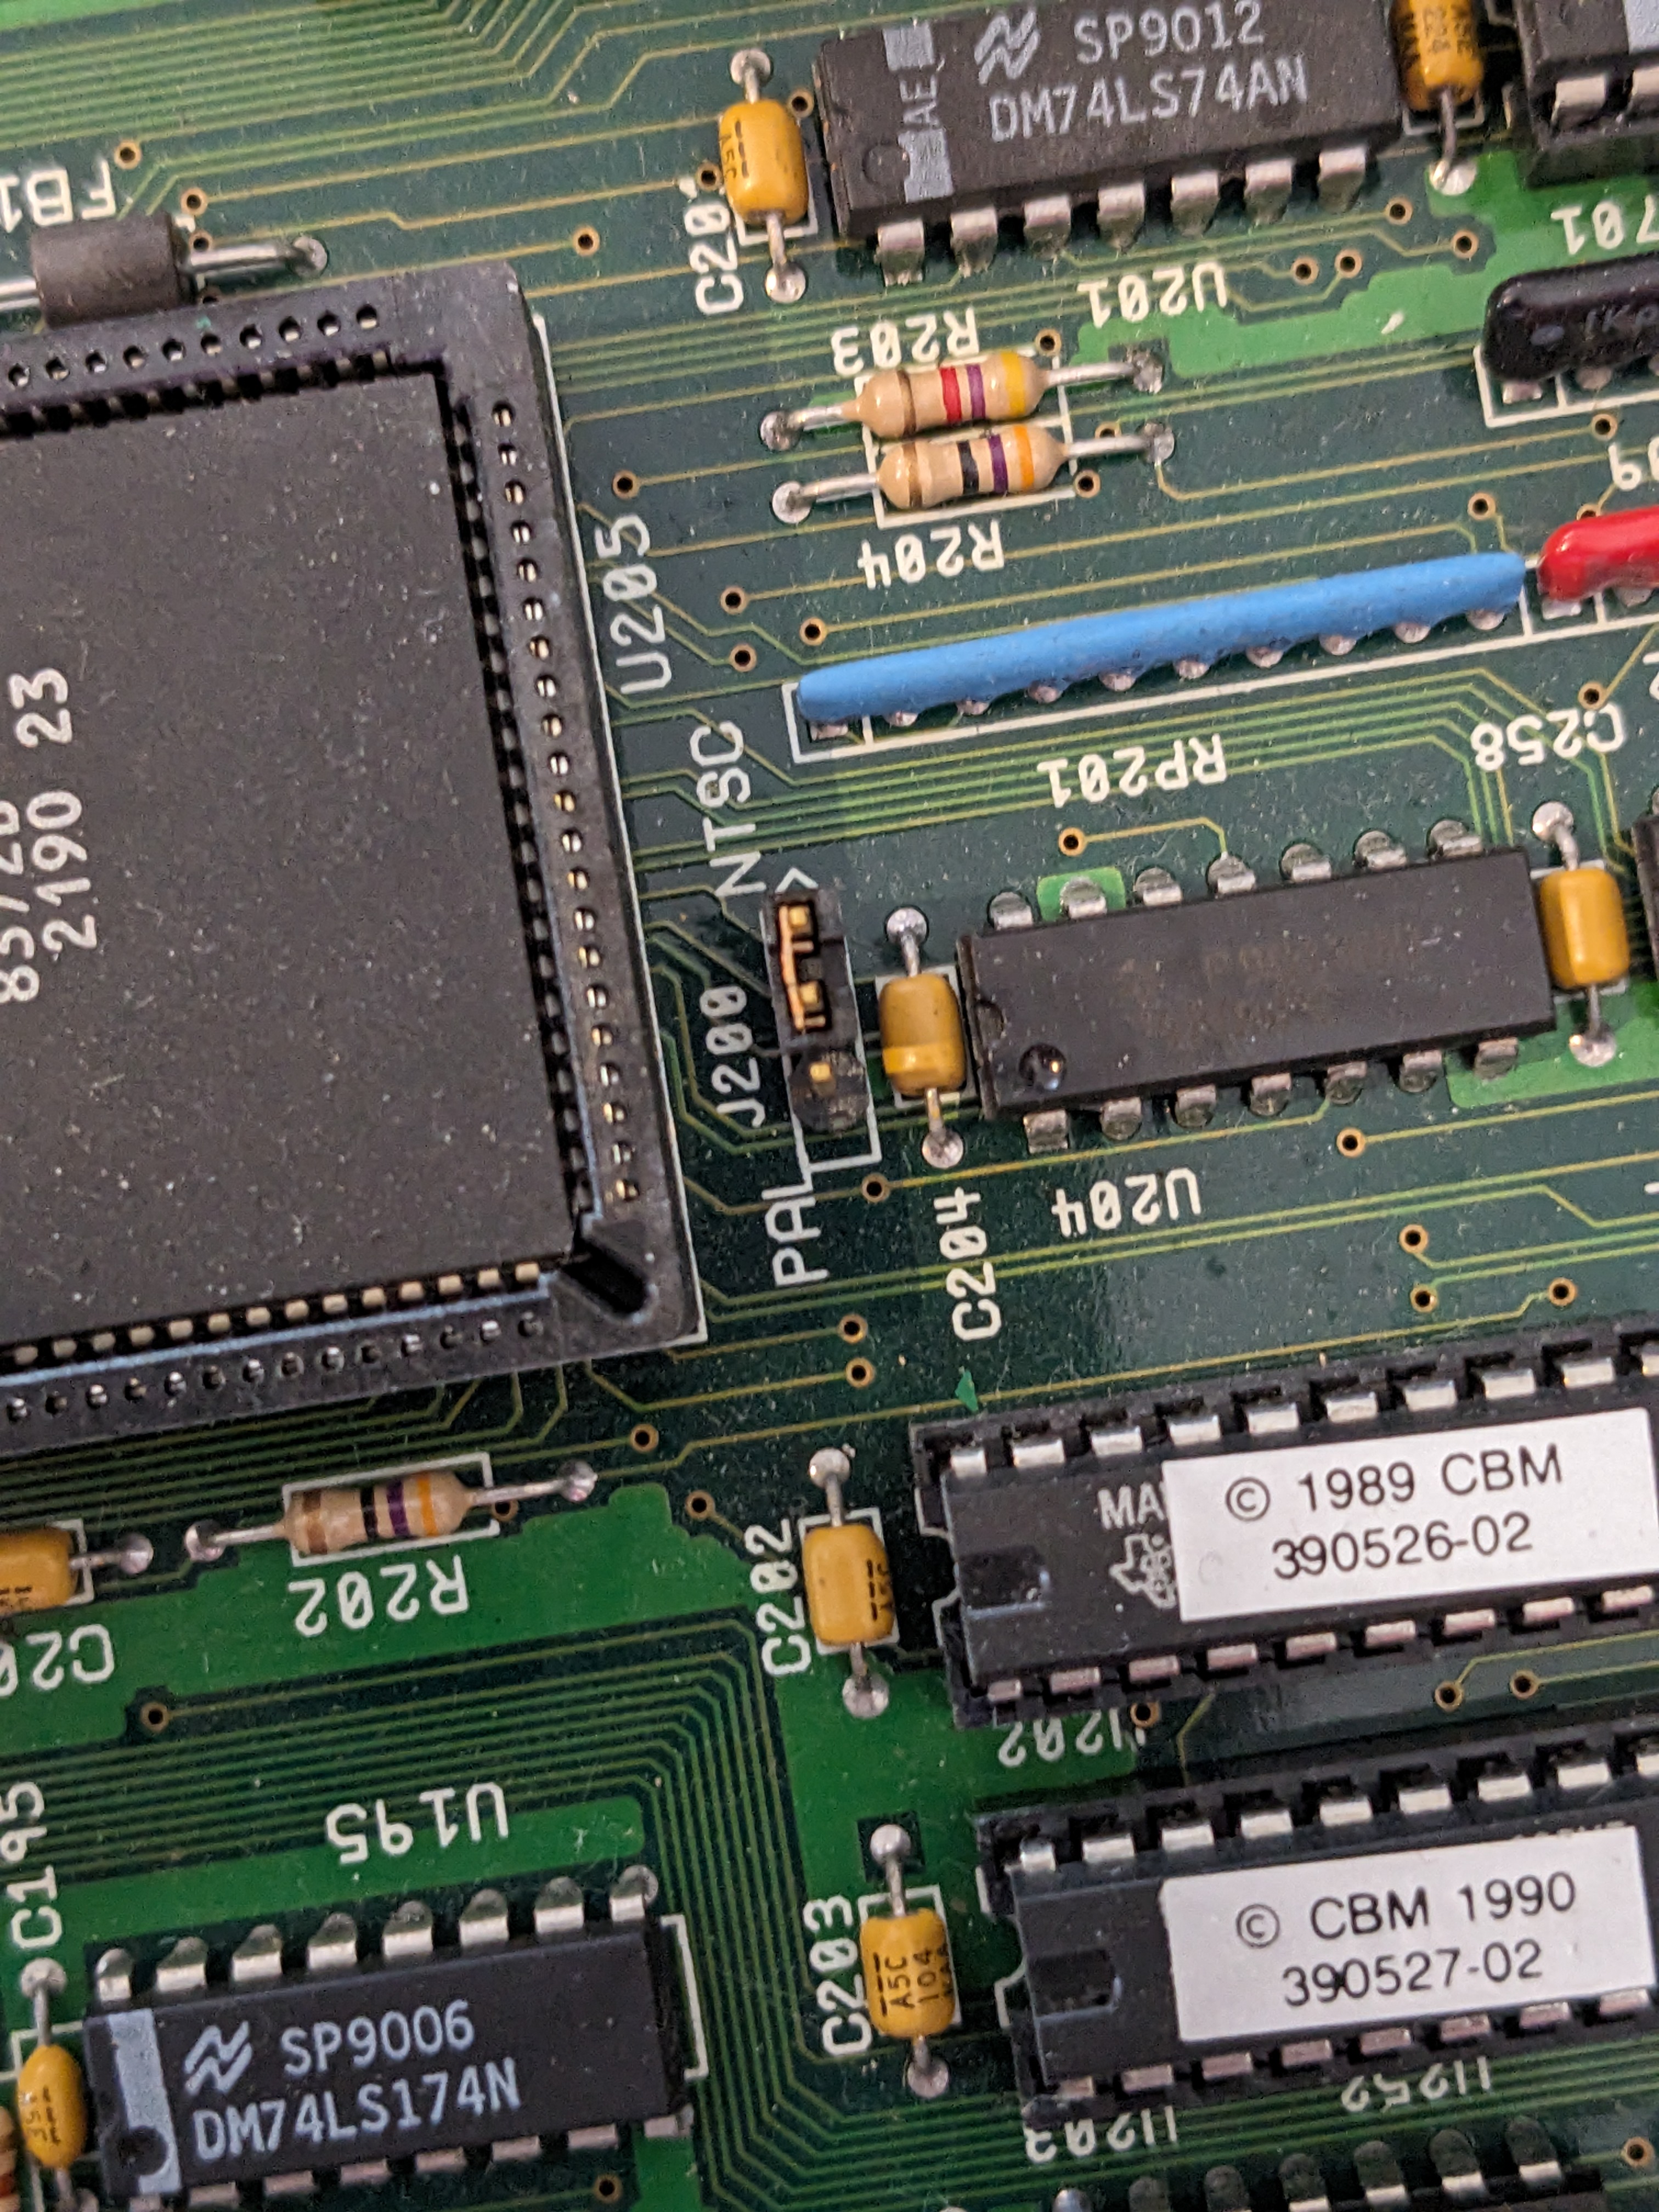
There are two very easy things you need to do convert an Amiga 3000 from NTSC to PAL. The first is a jumper that is literally labelled NTSC and PAL depending on position. The second is a crystal, this is optional, but the timing will be more accurate with the correct one. An Amiga NTSC crystal is 28.63635MHz and PAL is 28.37516MHz. The crystal is socketed, making it very easy to swap out with a PAL one. I just happened to have removed from a battery destroyed Amiga 500+ board.


Testing
I loosely put most of it back together to test it all and powered it up and immediately got a yellow screen.

I thought at first this was something quite serious, but it turns out that you need the riser card installed to boot it, otherwise you get a yellow screen. So, I re-installed this. Attempt 2…

It works, but the power LED doesn’t seem to be lit. Looks like I’ll need to check this out when I work on cleaning up the battery leakage.
Next Steps
The battery leakage is going to need cleaning up and I’m going to need to look at why the power LED isn’t lighting up. I also want to switch the SCSI hard drive to something SD card based, this will be coming soon. Finally, the keyboard needs cleaning, and it is so discoloured that I’m considering using a retrobrighting technique on it.
At the very least I now have a functioning 230v PAL Amiga 3000!
Leave a Reply