
There is a lot to do with these Amiga 4000s after the initial inspection, but some progress has been made.
New Drive Covers
Both Amiga 4000s are missing covers for the bottom drive bay. There are STL files to 3D print for these readily available, so the question is, what colour?
A few people say that the Amiga 4000 is the same off-white as the Amiga 1200, but judging by the inside of the case of both of these, the 4000 is the same colour as the Amiga 500/1000/3000. I have an Amiga colour-matched PLA called Jessie, so used this to print a cover. I then tested this on Amiga 4000 #1.


Whilst this doesn’t look like a perfect colour match, this is because the Amiga case itself is discoloured. I might try to rectify this later on. With the success of this print, I made another one for the other A4000.
CPU and RAM Test
Amiga 4000 #2 had lots of… something all over the CPU card connector, the RAM also had corrosion over some modules. I decided to put all of them in the ultrasonic cleaner to clean them up. I then tested them.

They are looking a lot better. I tested the CPU in my Amiga 3000 as it happened to be on the bench at the time. This appears to work OK. But I’ll still replace the capacitors on it as I go forward, the motherboard capacitors are in a bad way, so I’m guessing these are too.

As for the RAM, I swapped over to Amiga 4000 #1 and put the RAM in there. I then loaded Amiga Test Kit and tested the RAM.


Phew! I was expecting at least of these modules to be too far gone, but they all seem to identify and work.
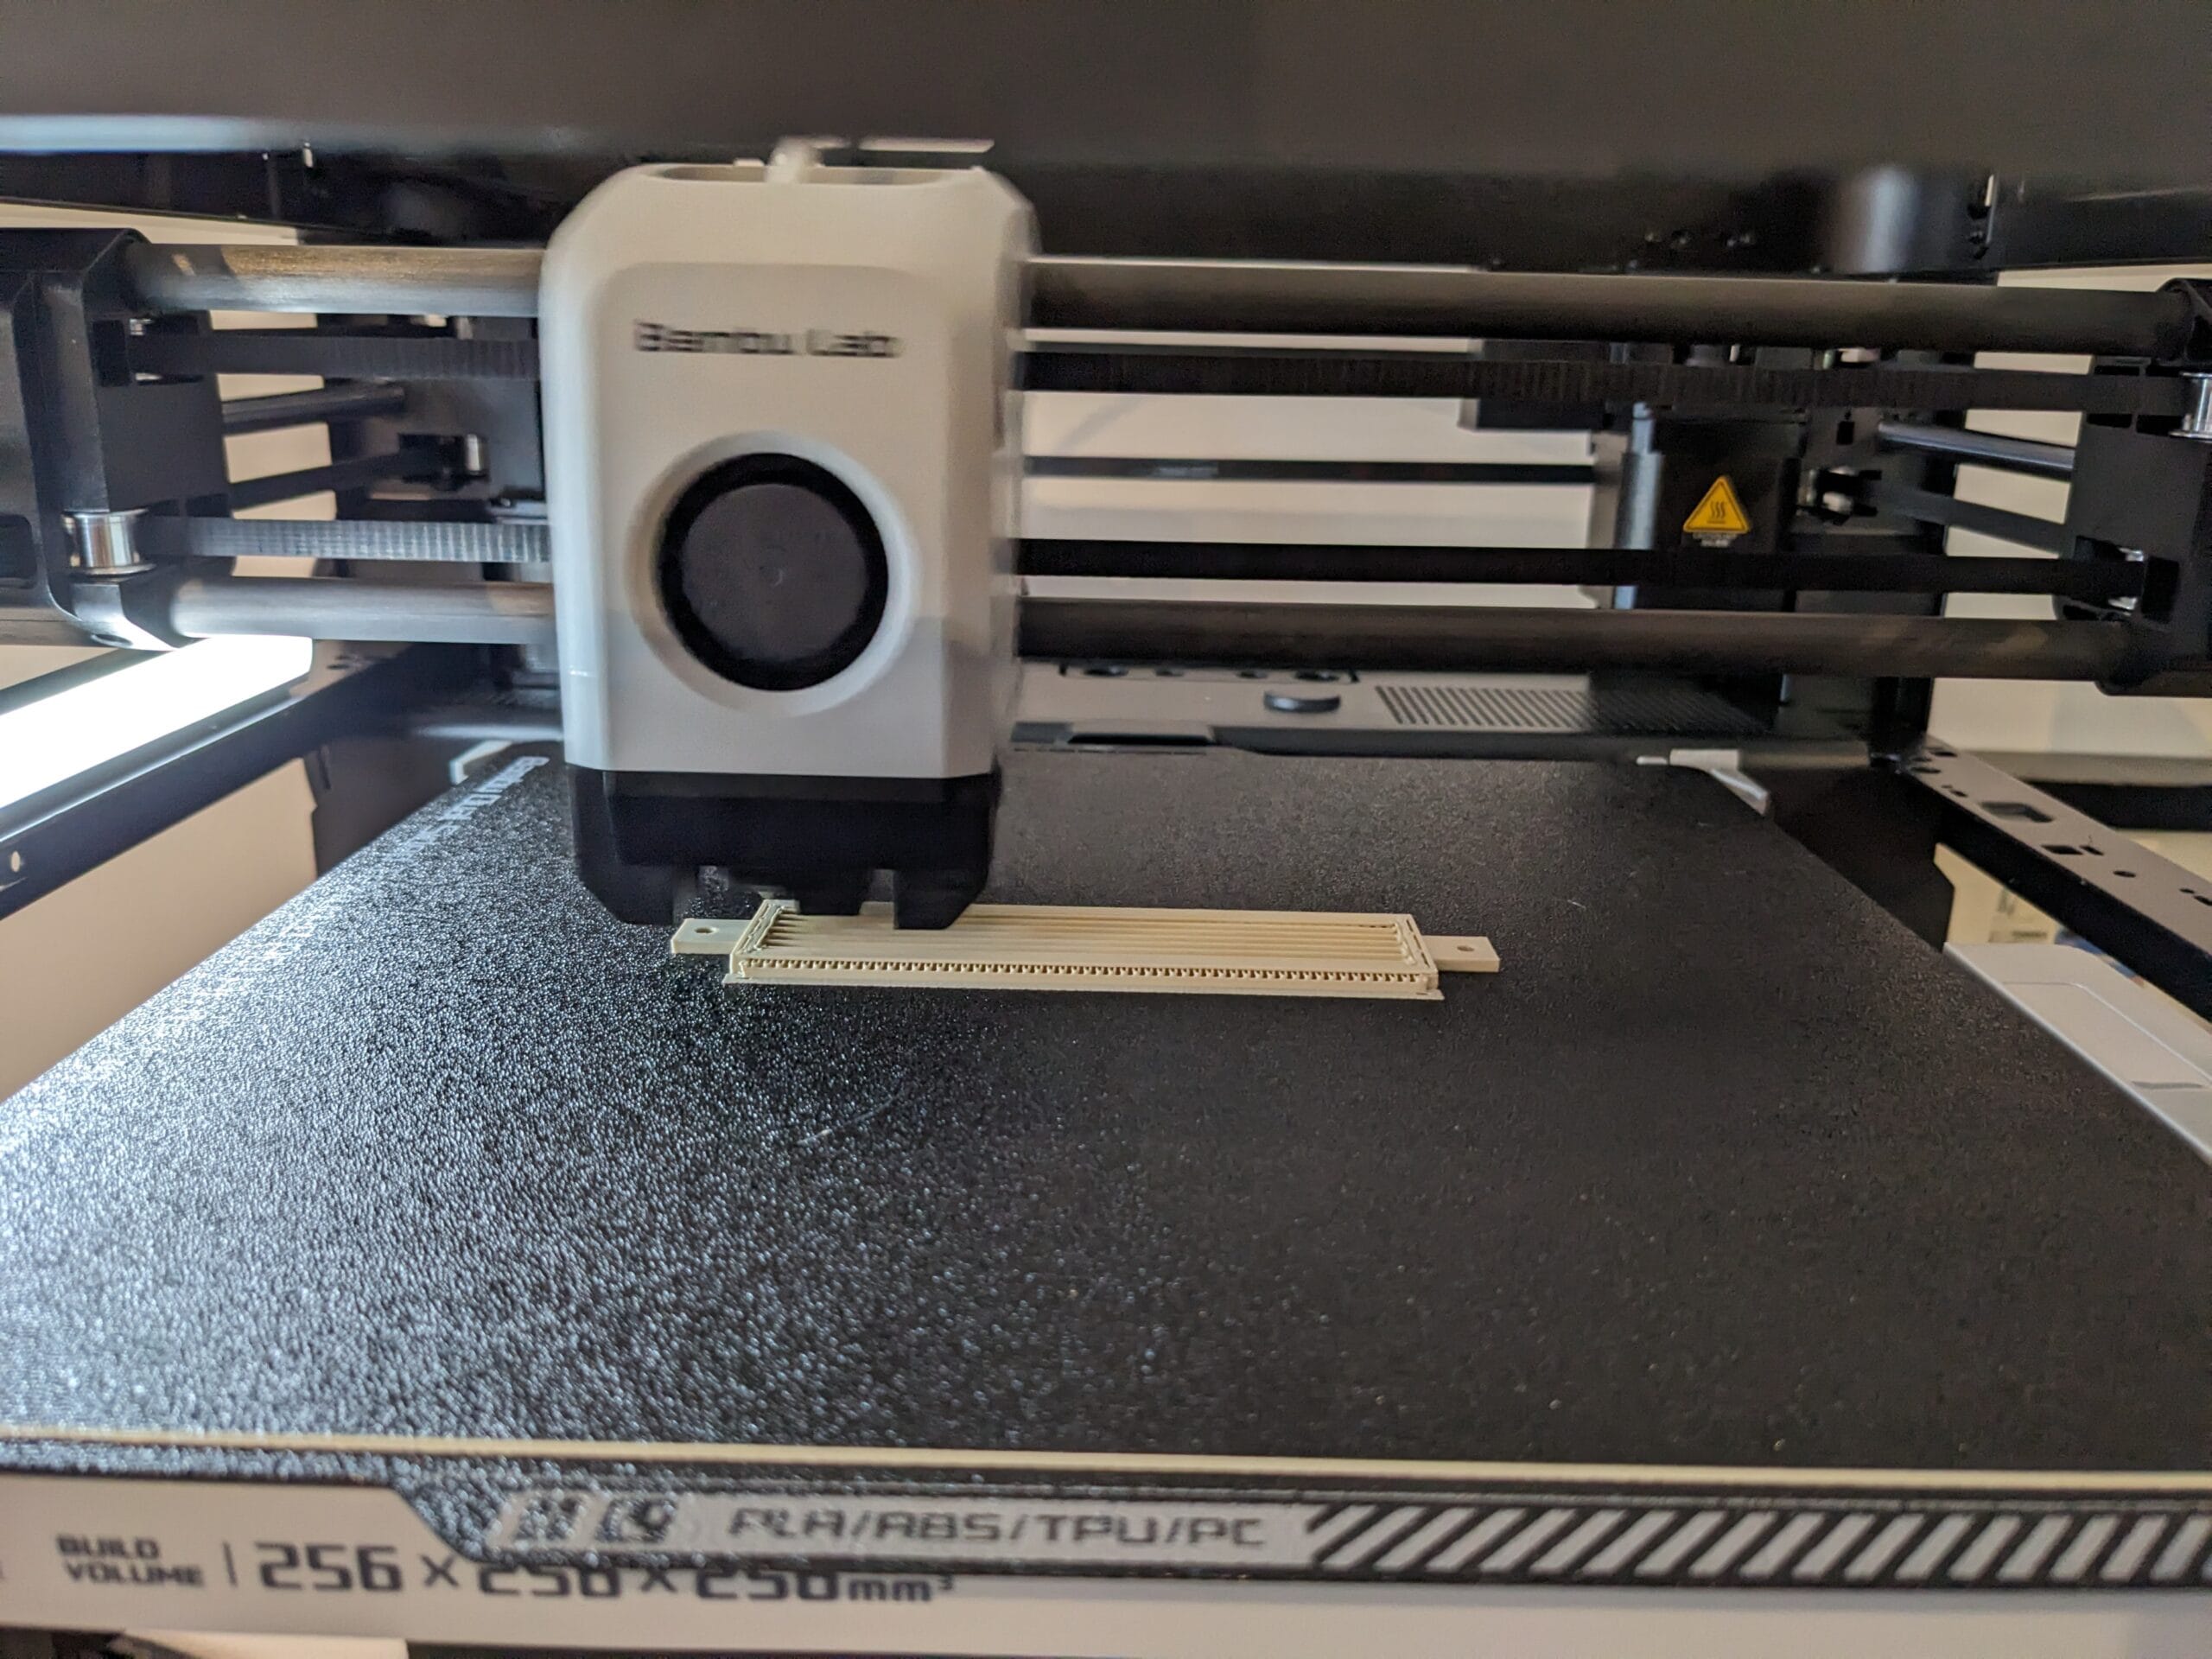
Motherboard Clean
I needed to see how far the corrosion goes on the 4000 #2 motherboard, the first step to this is to remove the two SIMM sockets closest to the battery to assess the damage. After a few minutes on each with the Hakko FR-410, I managed to remove these with little effort.

Not great, but could be far worse. I decided to remove all the sockets so that I could clean and solder on new, better quality ones. I then cleaned the whole board in the ultrasonic cleaner. Unfortunately, it didn’t fit, my cleaner is only large enough to do half a board at a time. So, I did two runs on the board, one per side. Once it had run through the clean and then rinse cleaner, it just about fit in the oven with something holding the door mostly closed.
The resulting board is already starting to look better. The ports are looking clean, the white stuff around the CPU card connector has now gone, and the RAM area is looking as clean as I’ll probably get it.


Next Steps
Now that we have a nice clean board to work from, I need to replace the capacitors on it, most appear to have leaked. I also need to test the traces on the board to see which ones have been destroyed. There are new SIMM sockets on the way, so after testing the board and doing any repairs to obvious failed traces, I’ll solder those on too. Then I can finally test the board properly.
Leave a Reply