
At the end of the first part, I had the CD32 in a state where it shows the boot logo, but the red video signal was missing. Let’s continue the repair.
The Red Flag
To diagnose this issue, I had this part of the schematic to work from. My theory was that the 4066 IC was faulty, but it could have been other things instead.
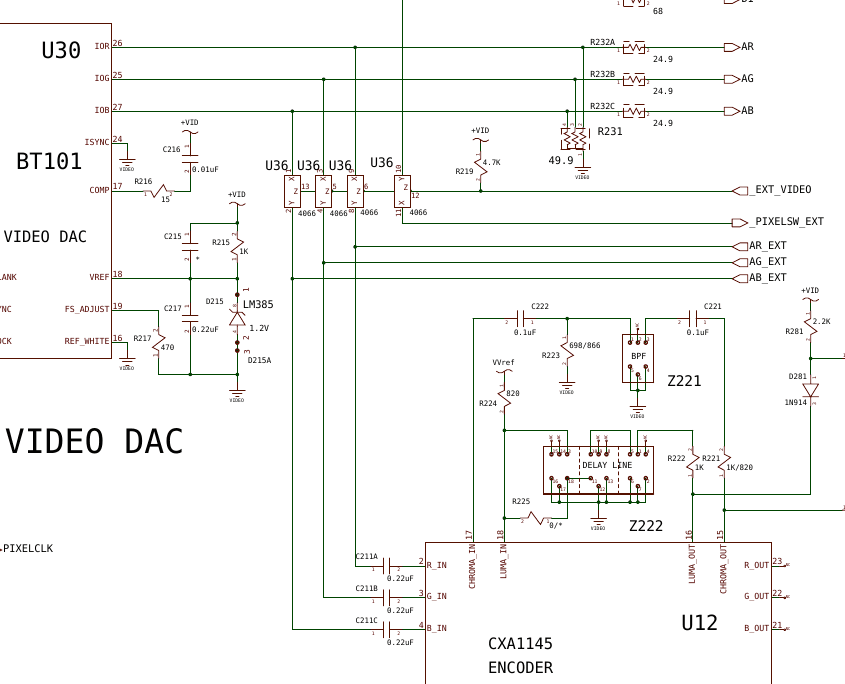
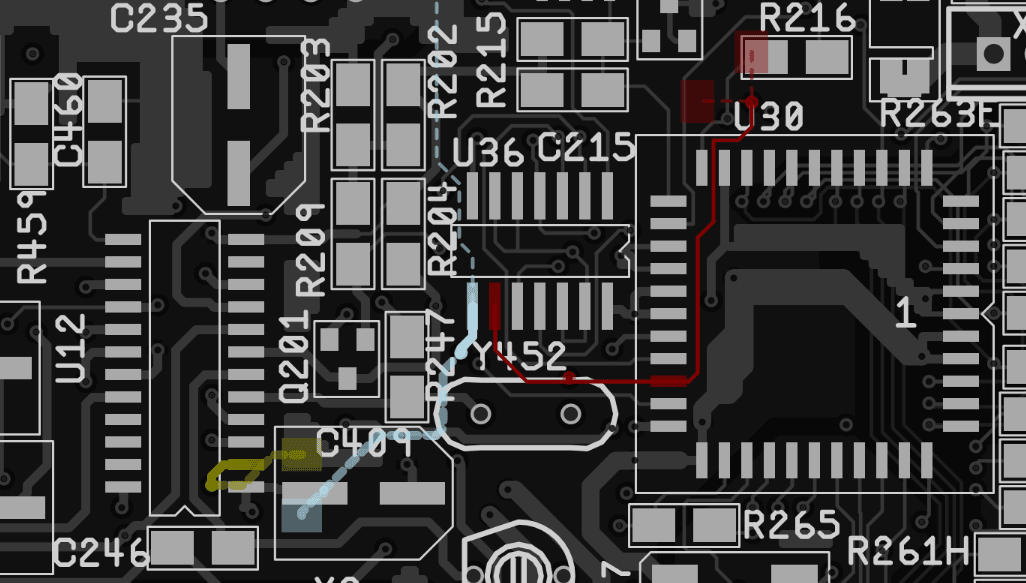
The capacitor for red near the encoder chip was tested first, just to make sure that wasn’t blocking the signal and it tested fine. The 4066 is basically a digital switch that can turn the video on and off for each of the red, green, and blue channels. Pin 9 is the red input (red trace below) and pin 8 is the red output (blue trace below).
When testing with an oscilloscope, it was clear that the input looked like a normal video signal, but the output was mostly pulled to ground (but quite noisy).
IC Yoga
As this chip is basically a switch, this is relatively easy to test. I lifted the leg for pin 8 of the 4066 IC, left it hovering in the air and soldered a tiny jump wire between pin 9 and the via for pin 8. This effectively hot-wired a bypass for the switch. This is a photo of my microscope screen, as it is difficult to photograph the patch with normal phone lenses.
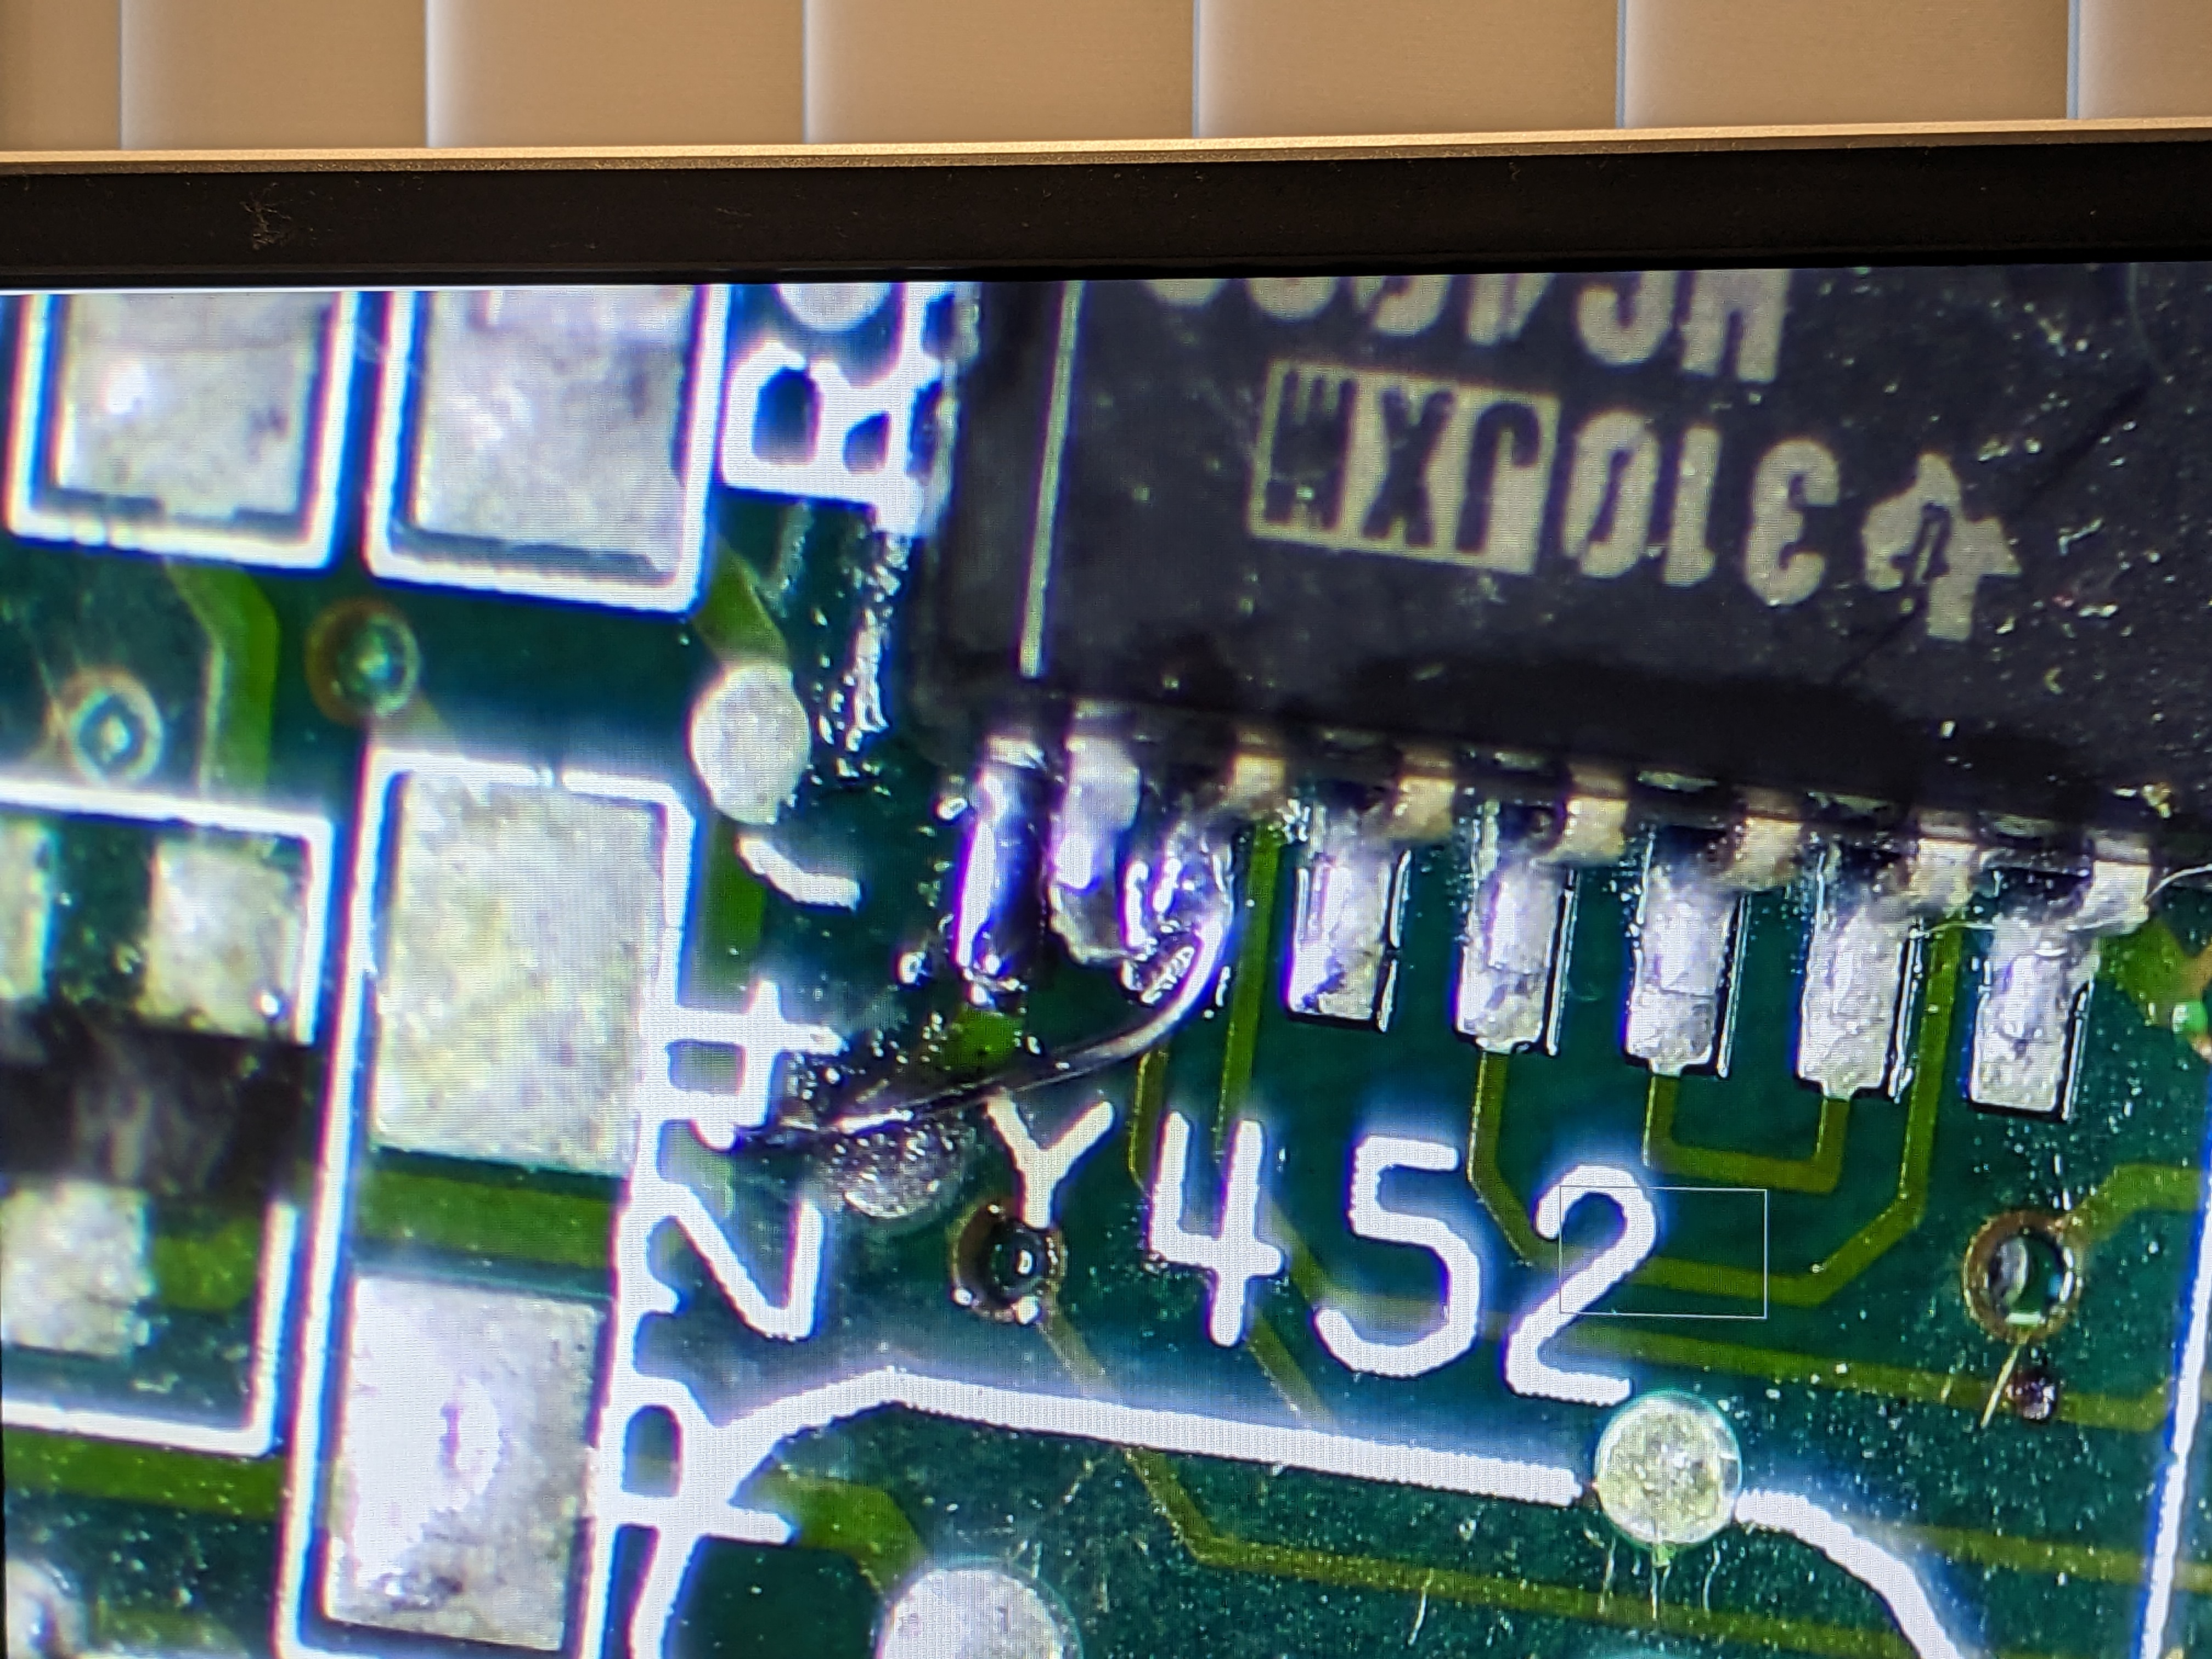
It doesn’t look great, it is a bit hacky, but it should be good enough to be functional. Let’s test it.

We have red! And the CD32 boot screen is a lovely animation. Even though this is through a low-quality composite video. Now I just need to replace the chip for the proper repair.
Flipping The Lid
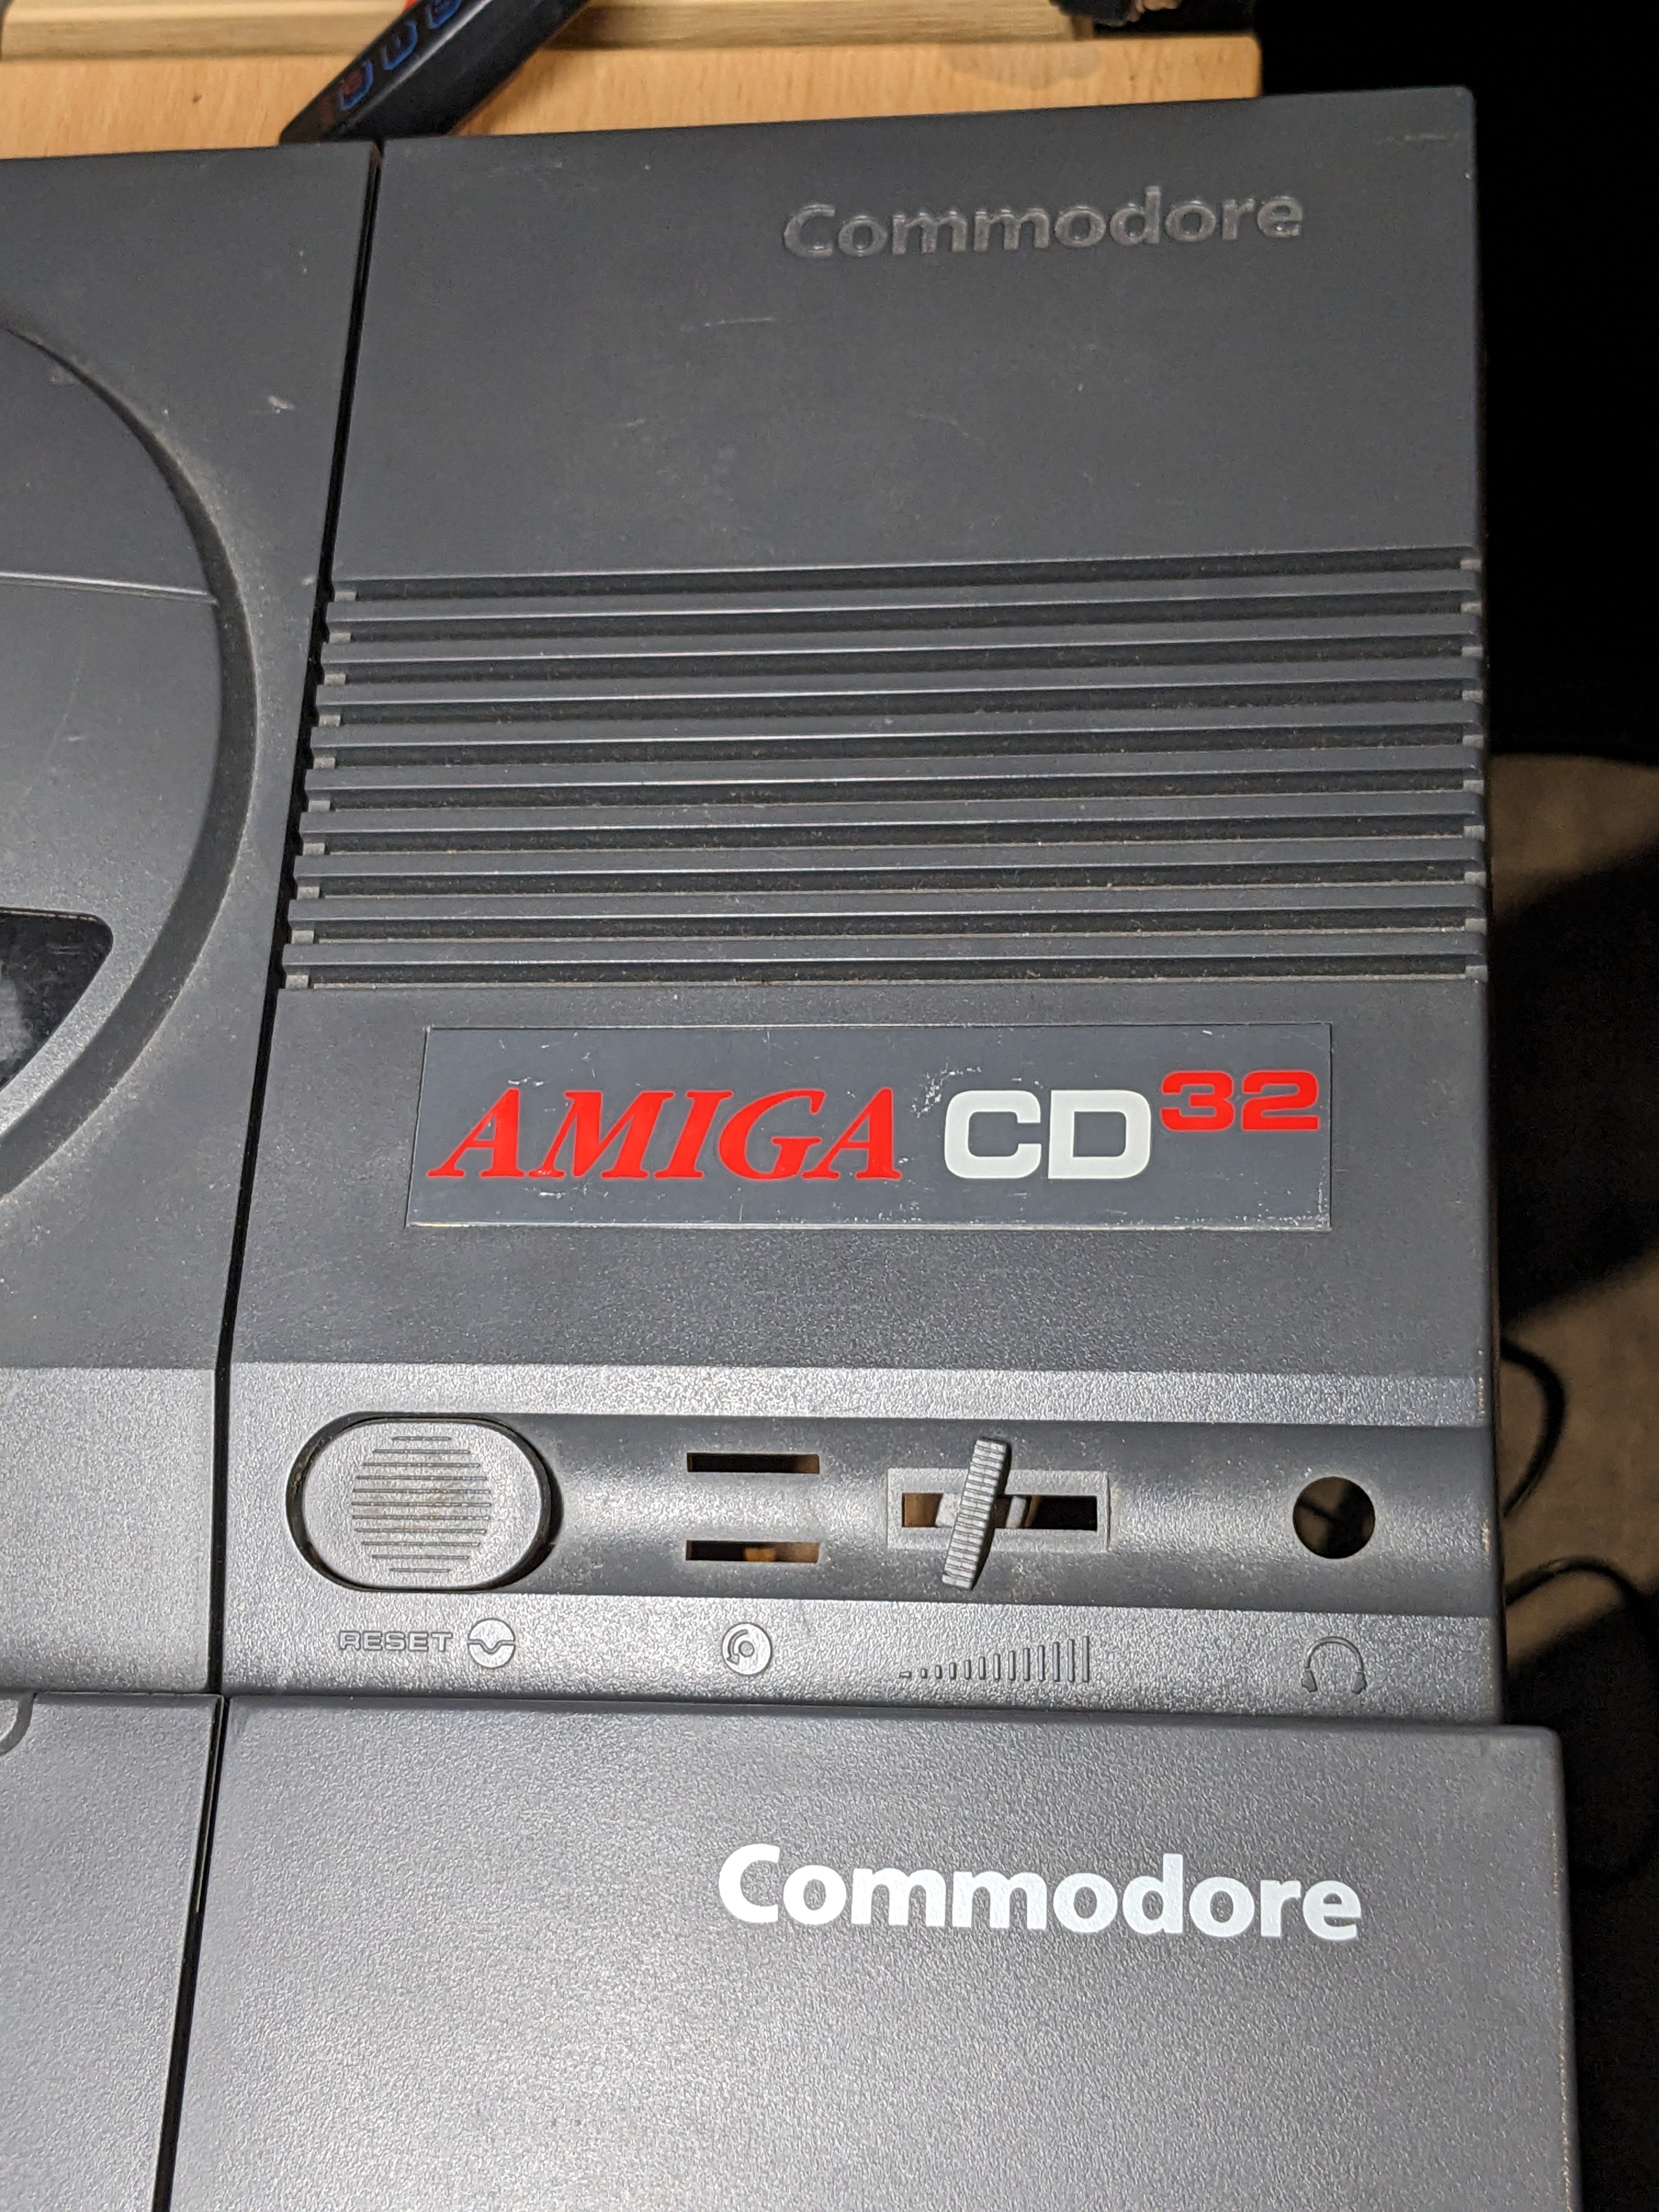
With the CD drive mounts broken on the original case, I ordered a replacement case from Analogic. Interestingly, the Commodore logo is a bit different on this case. I didn’t realise there were two versions of the case.
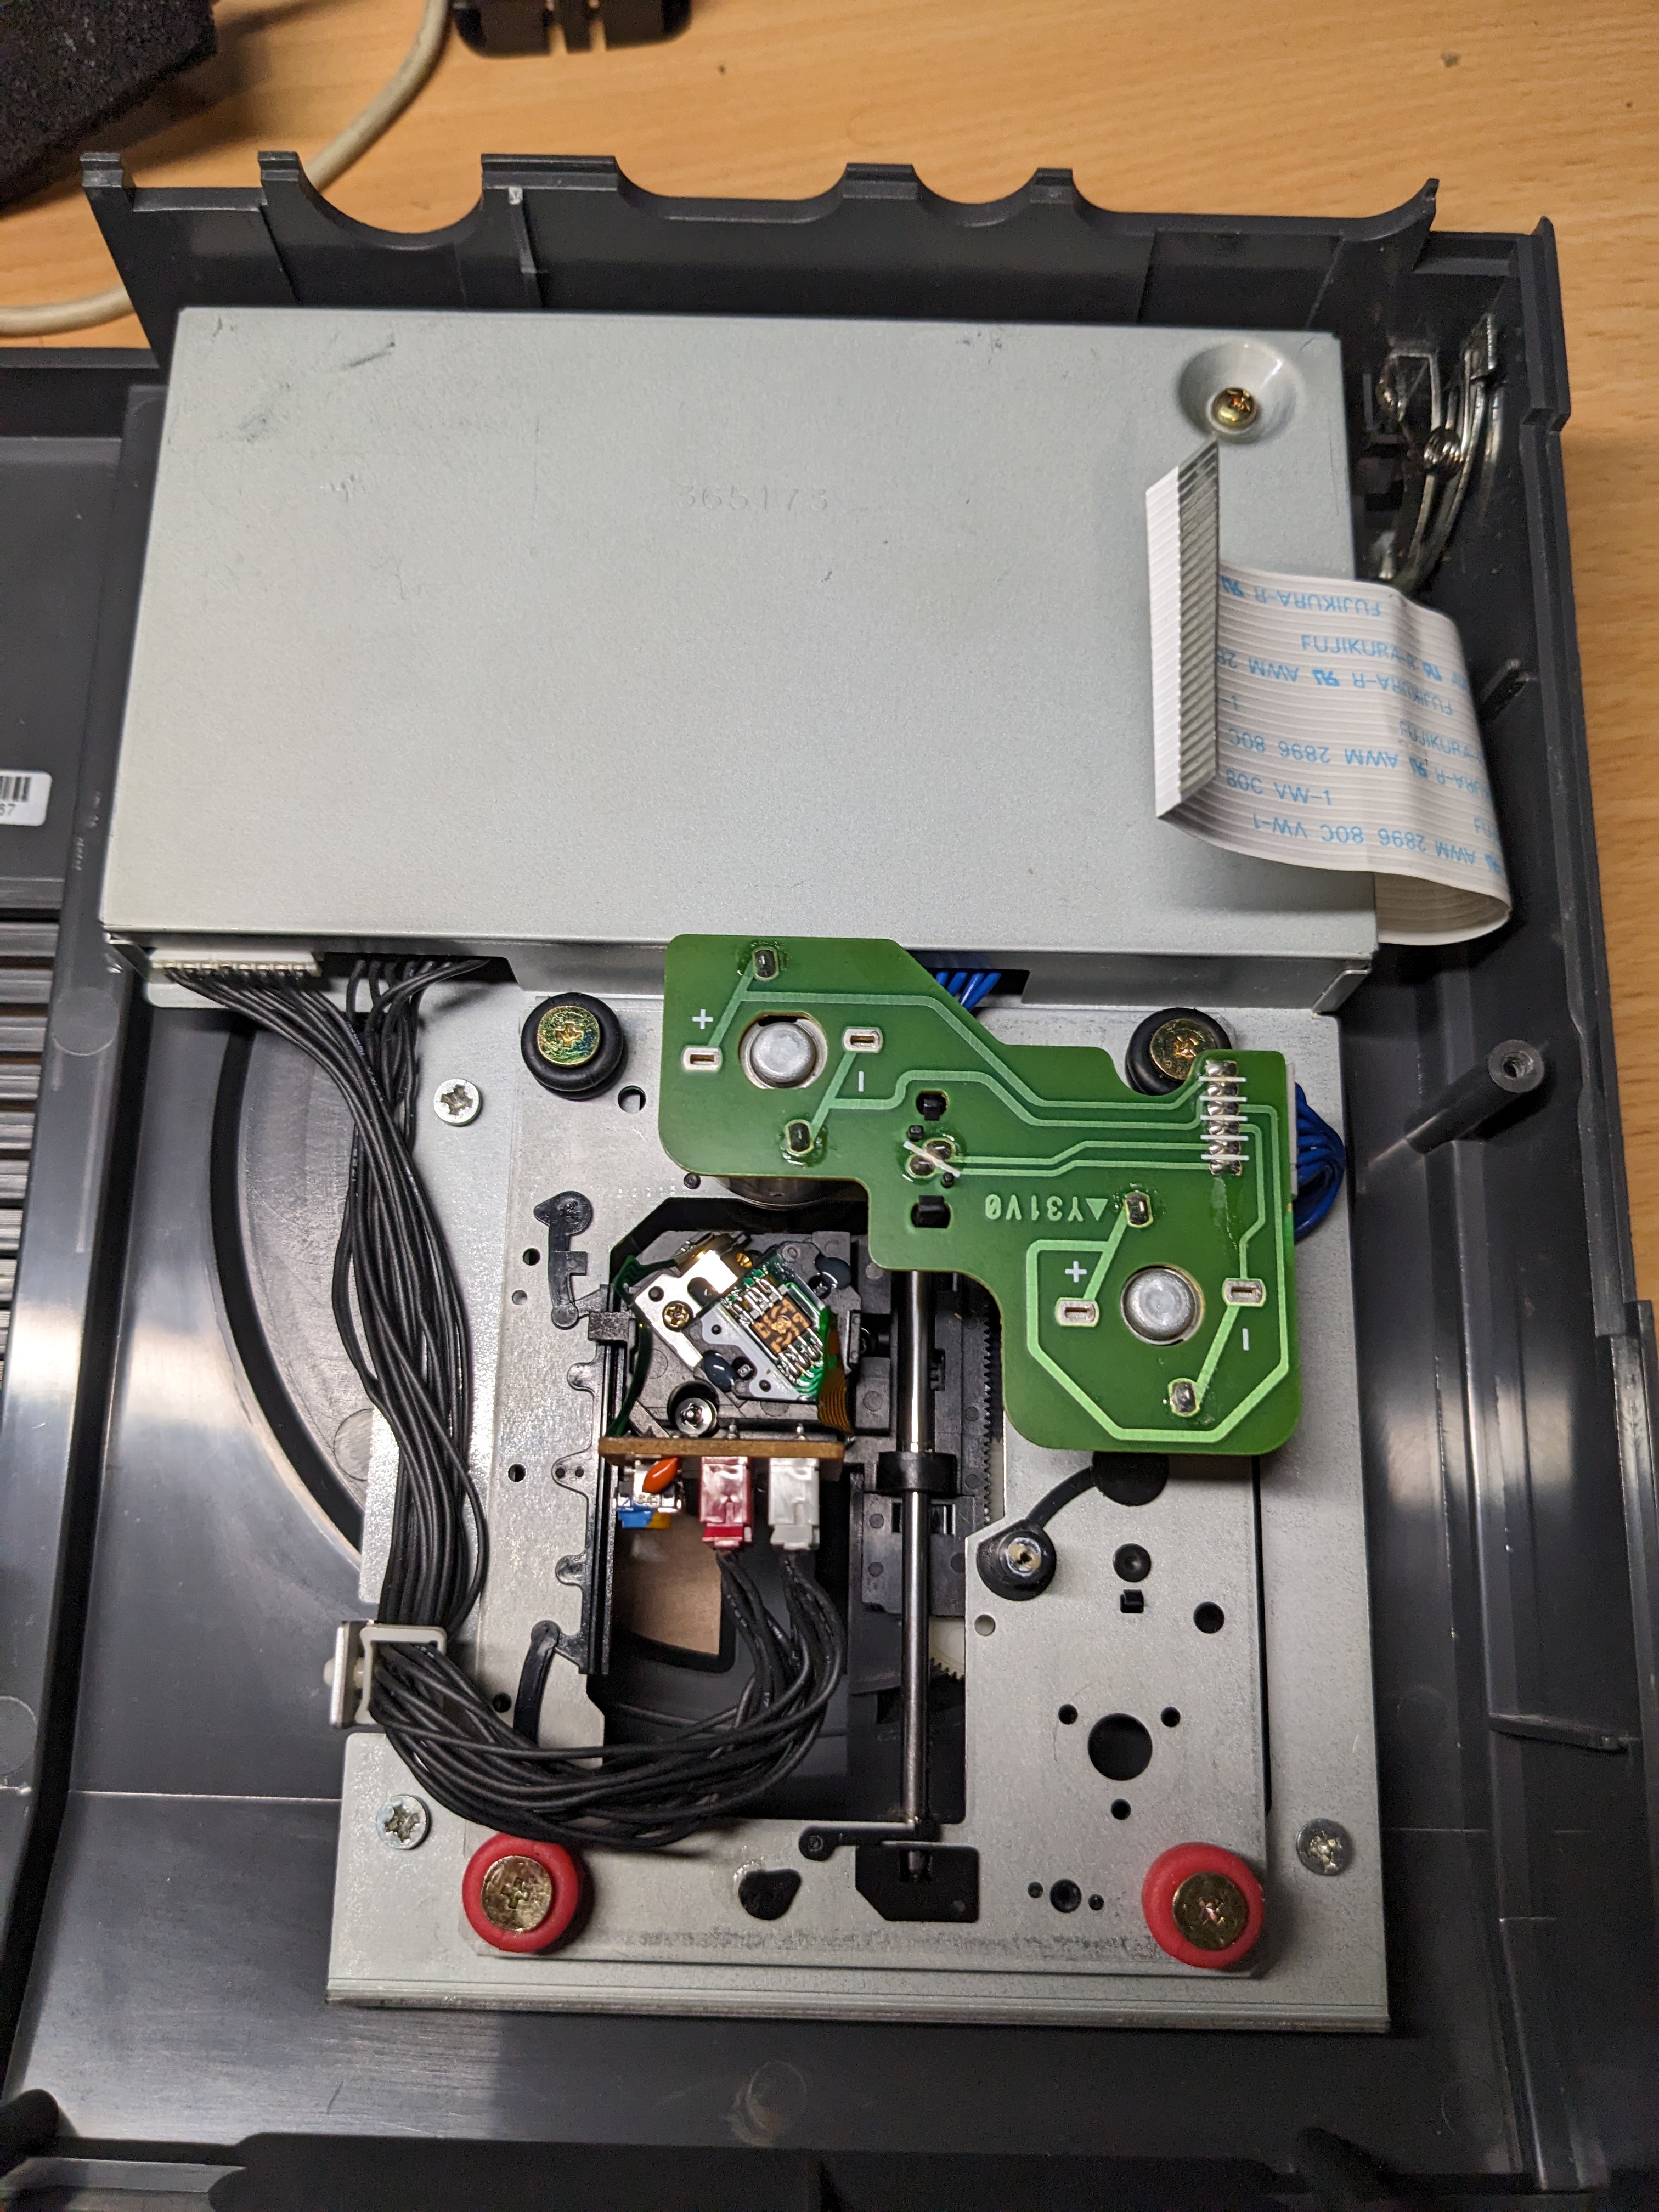
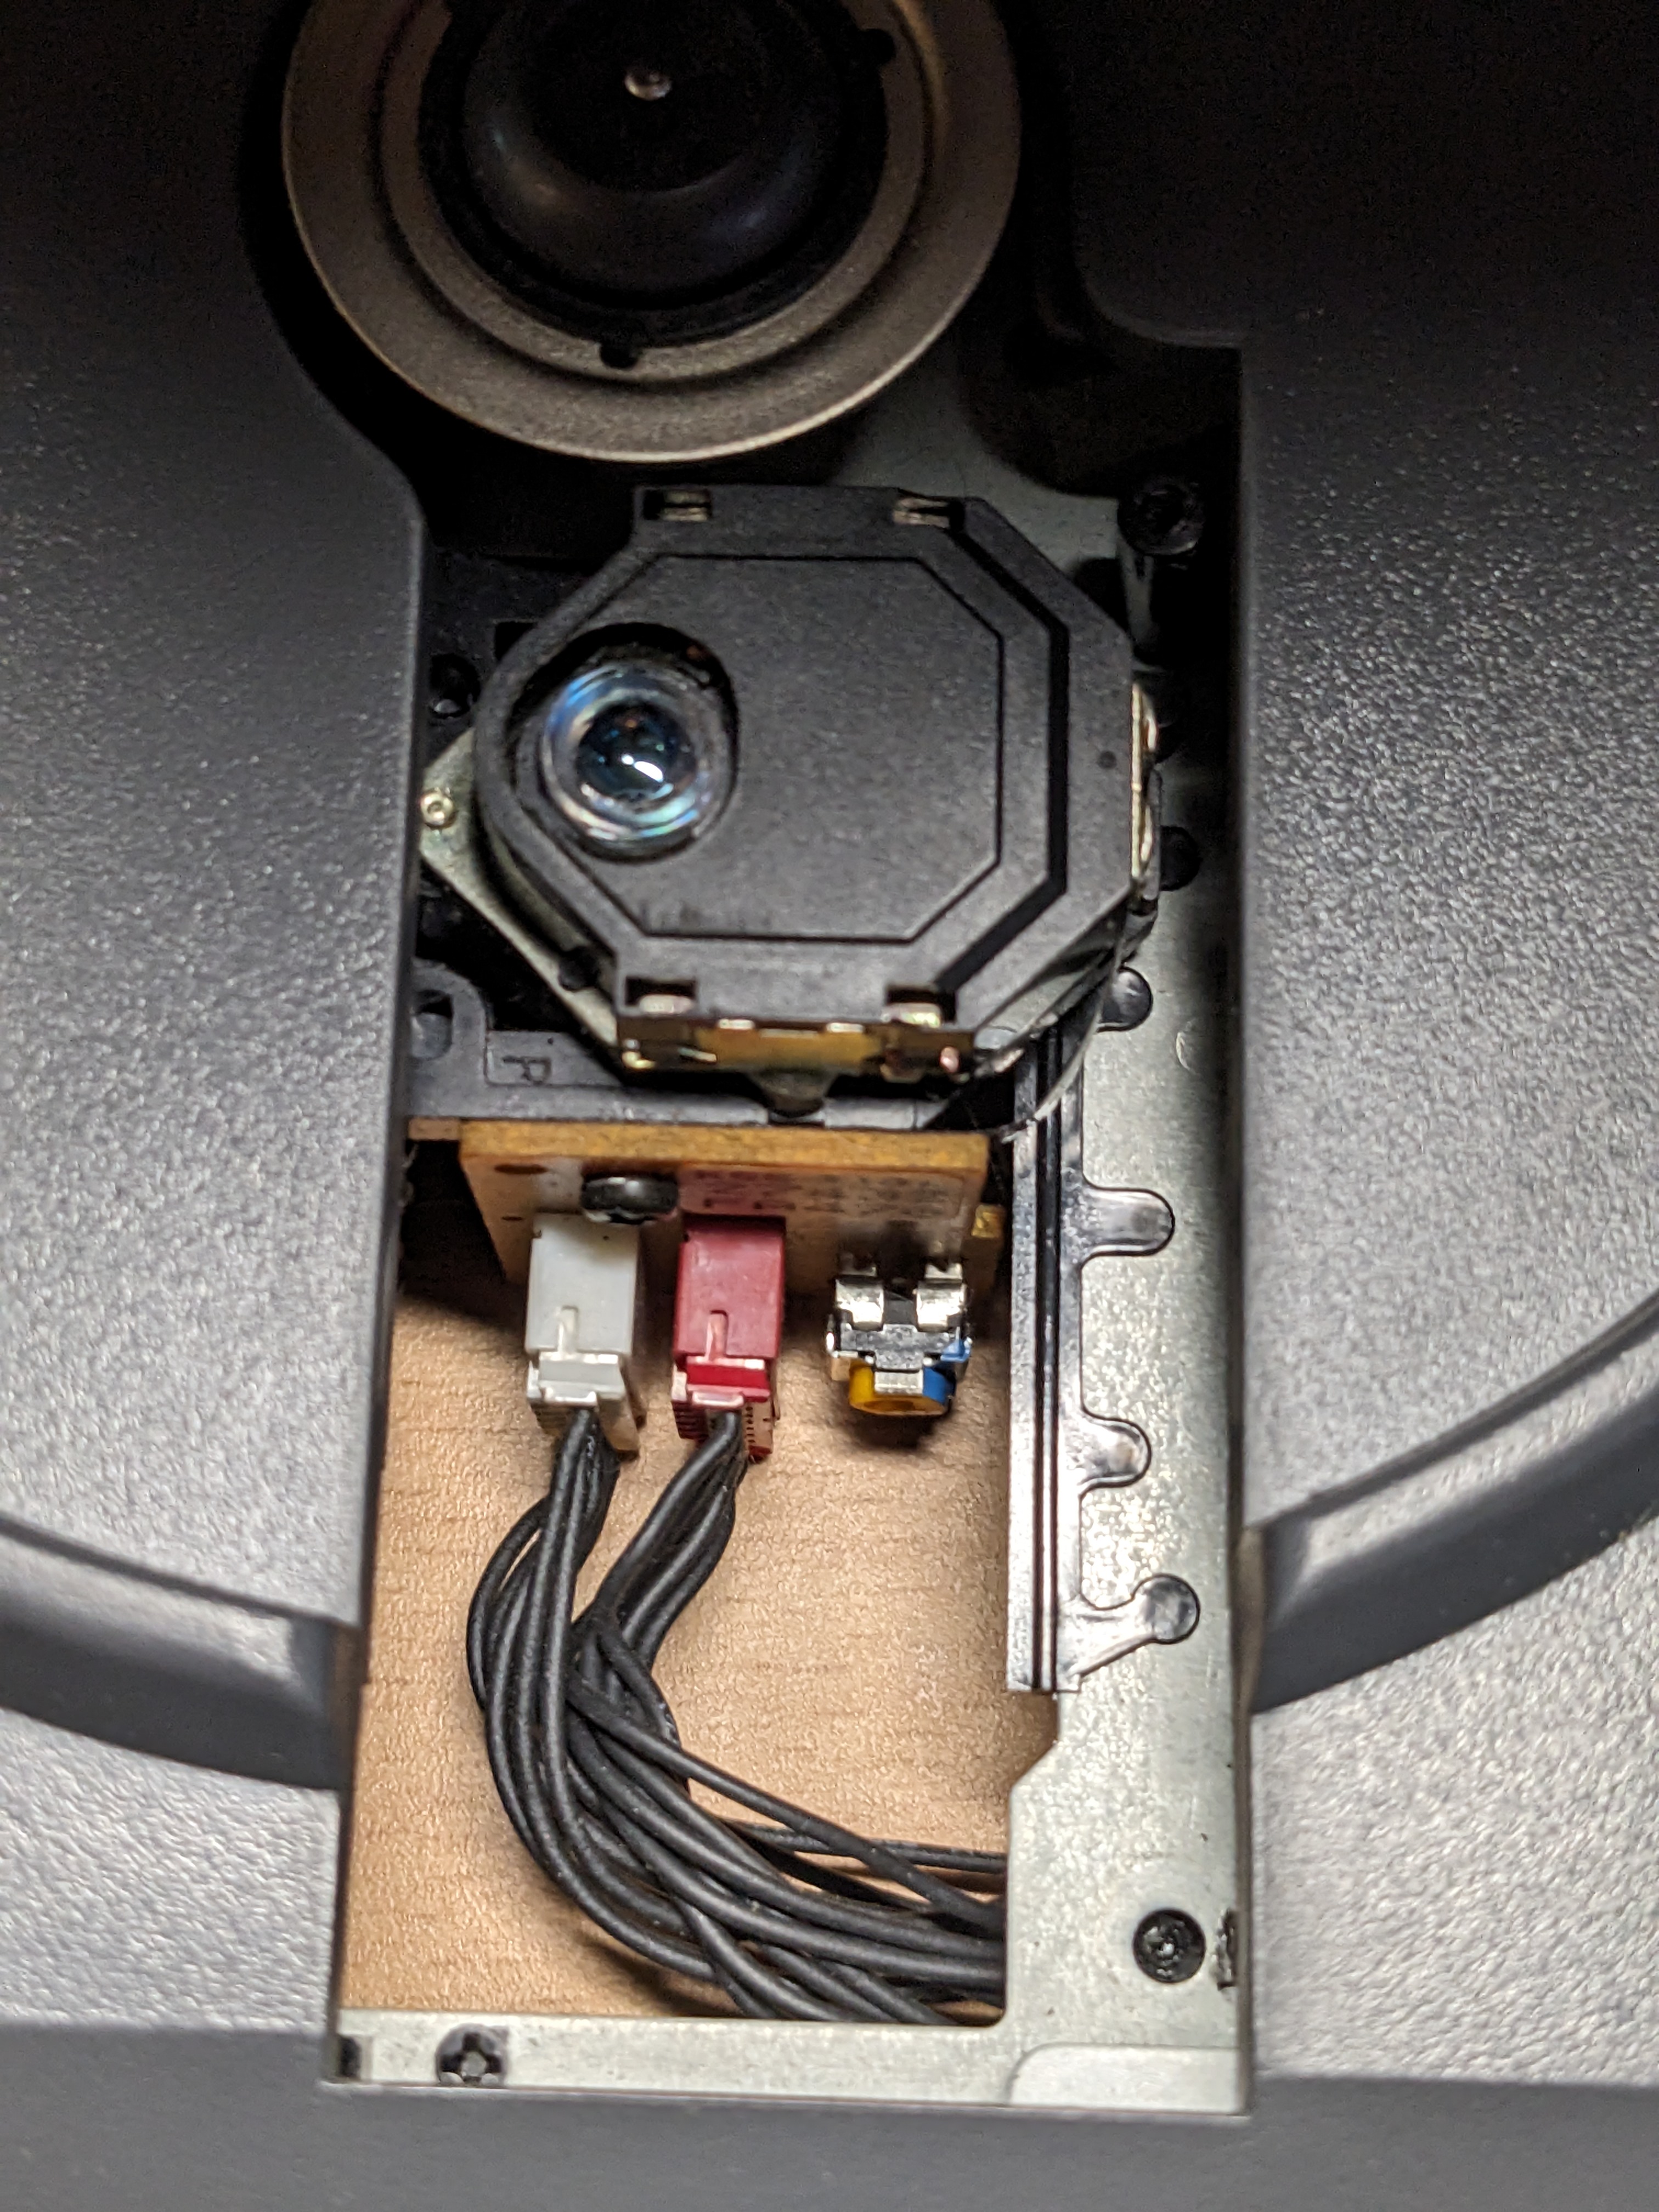
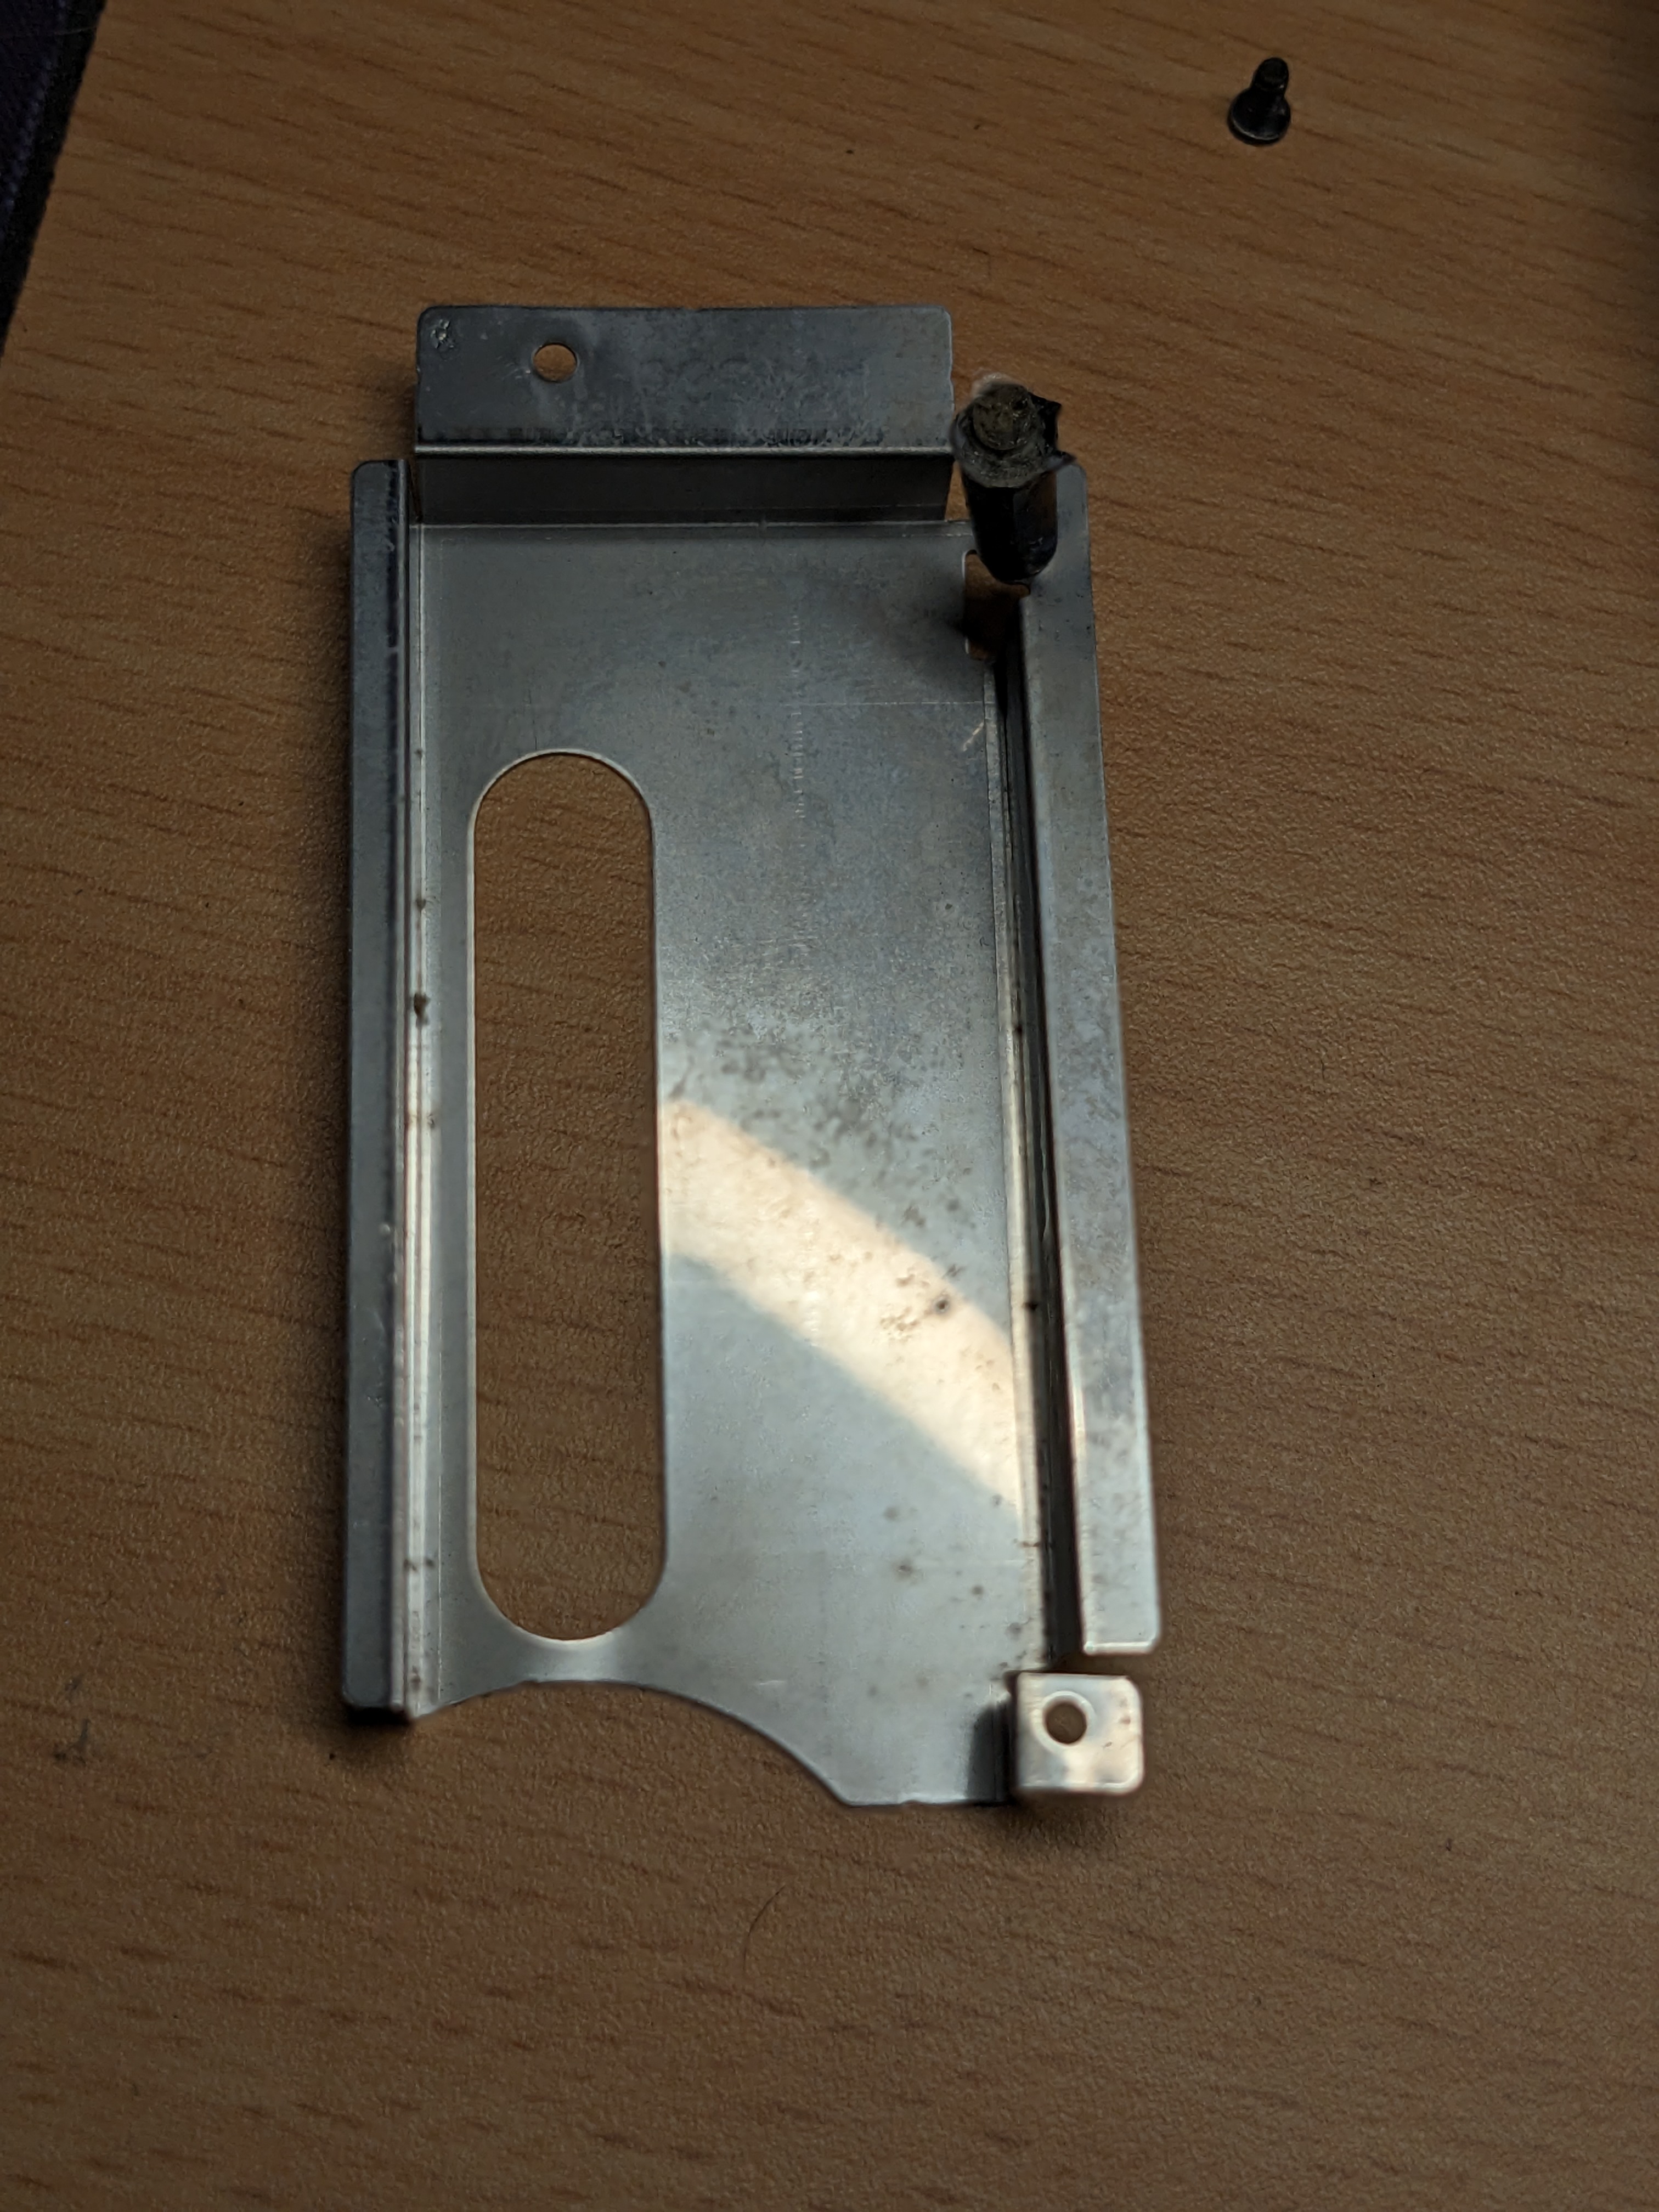
I installed the CD drive in the new case. Although I did have to remove the metal cover over the lens mechanism, it was buckled slightly, and the mounts were broken for this too. It shouldn’t impact the functionality, it is more cosmetic when the door is open.
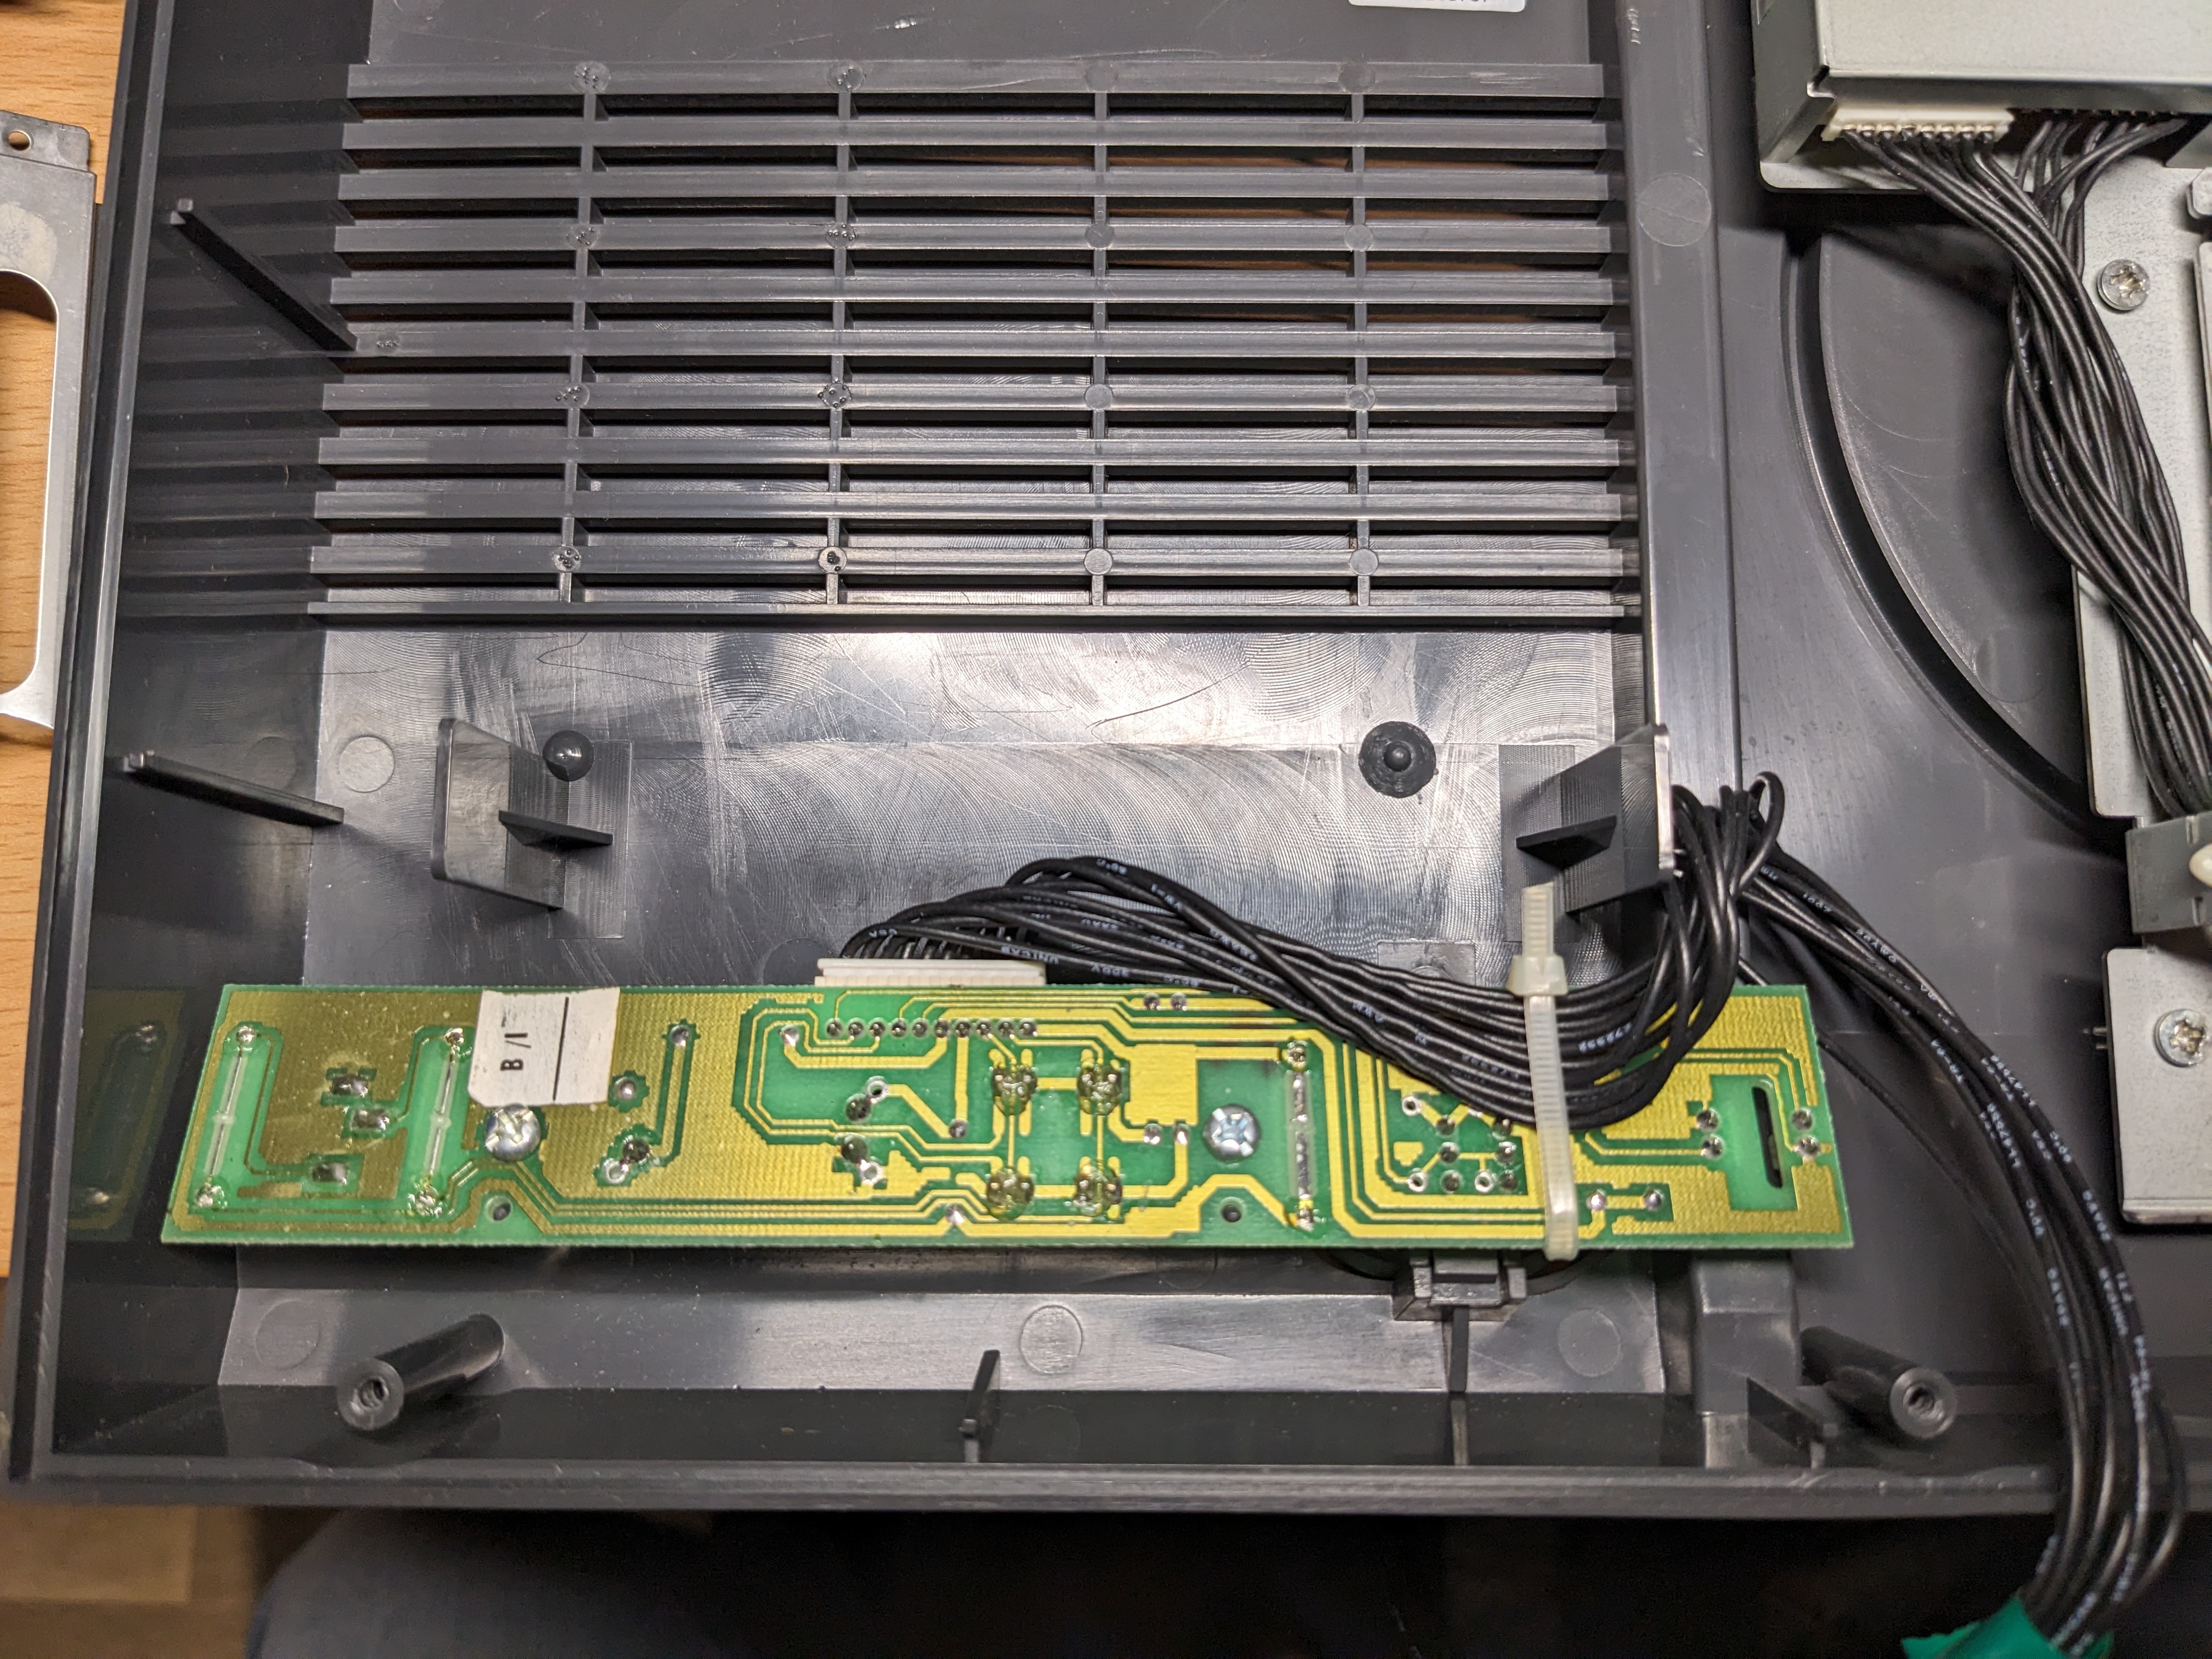
I then put transferred the front control board into the new case.
Testing
With that done, it is time to test. I plugged the CD drive and panel onto the motherboard. I then grabbed my Xenon II CD and popped it in the drive. I’m holding the top shell up slightly so the CD drive electronics do not bang into the motherboard.

But did it work? Let’s see…
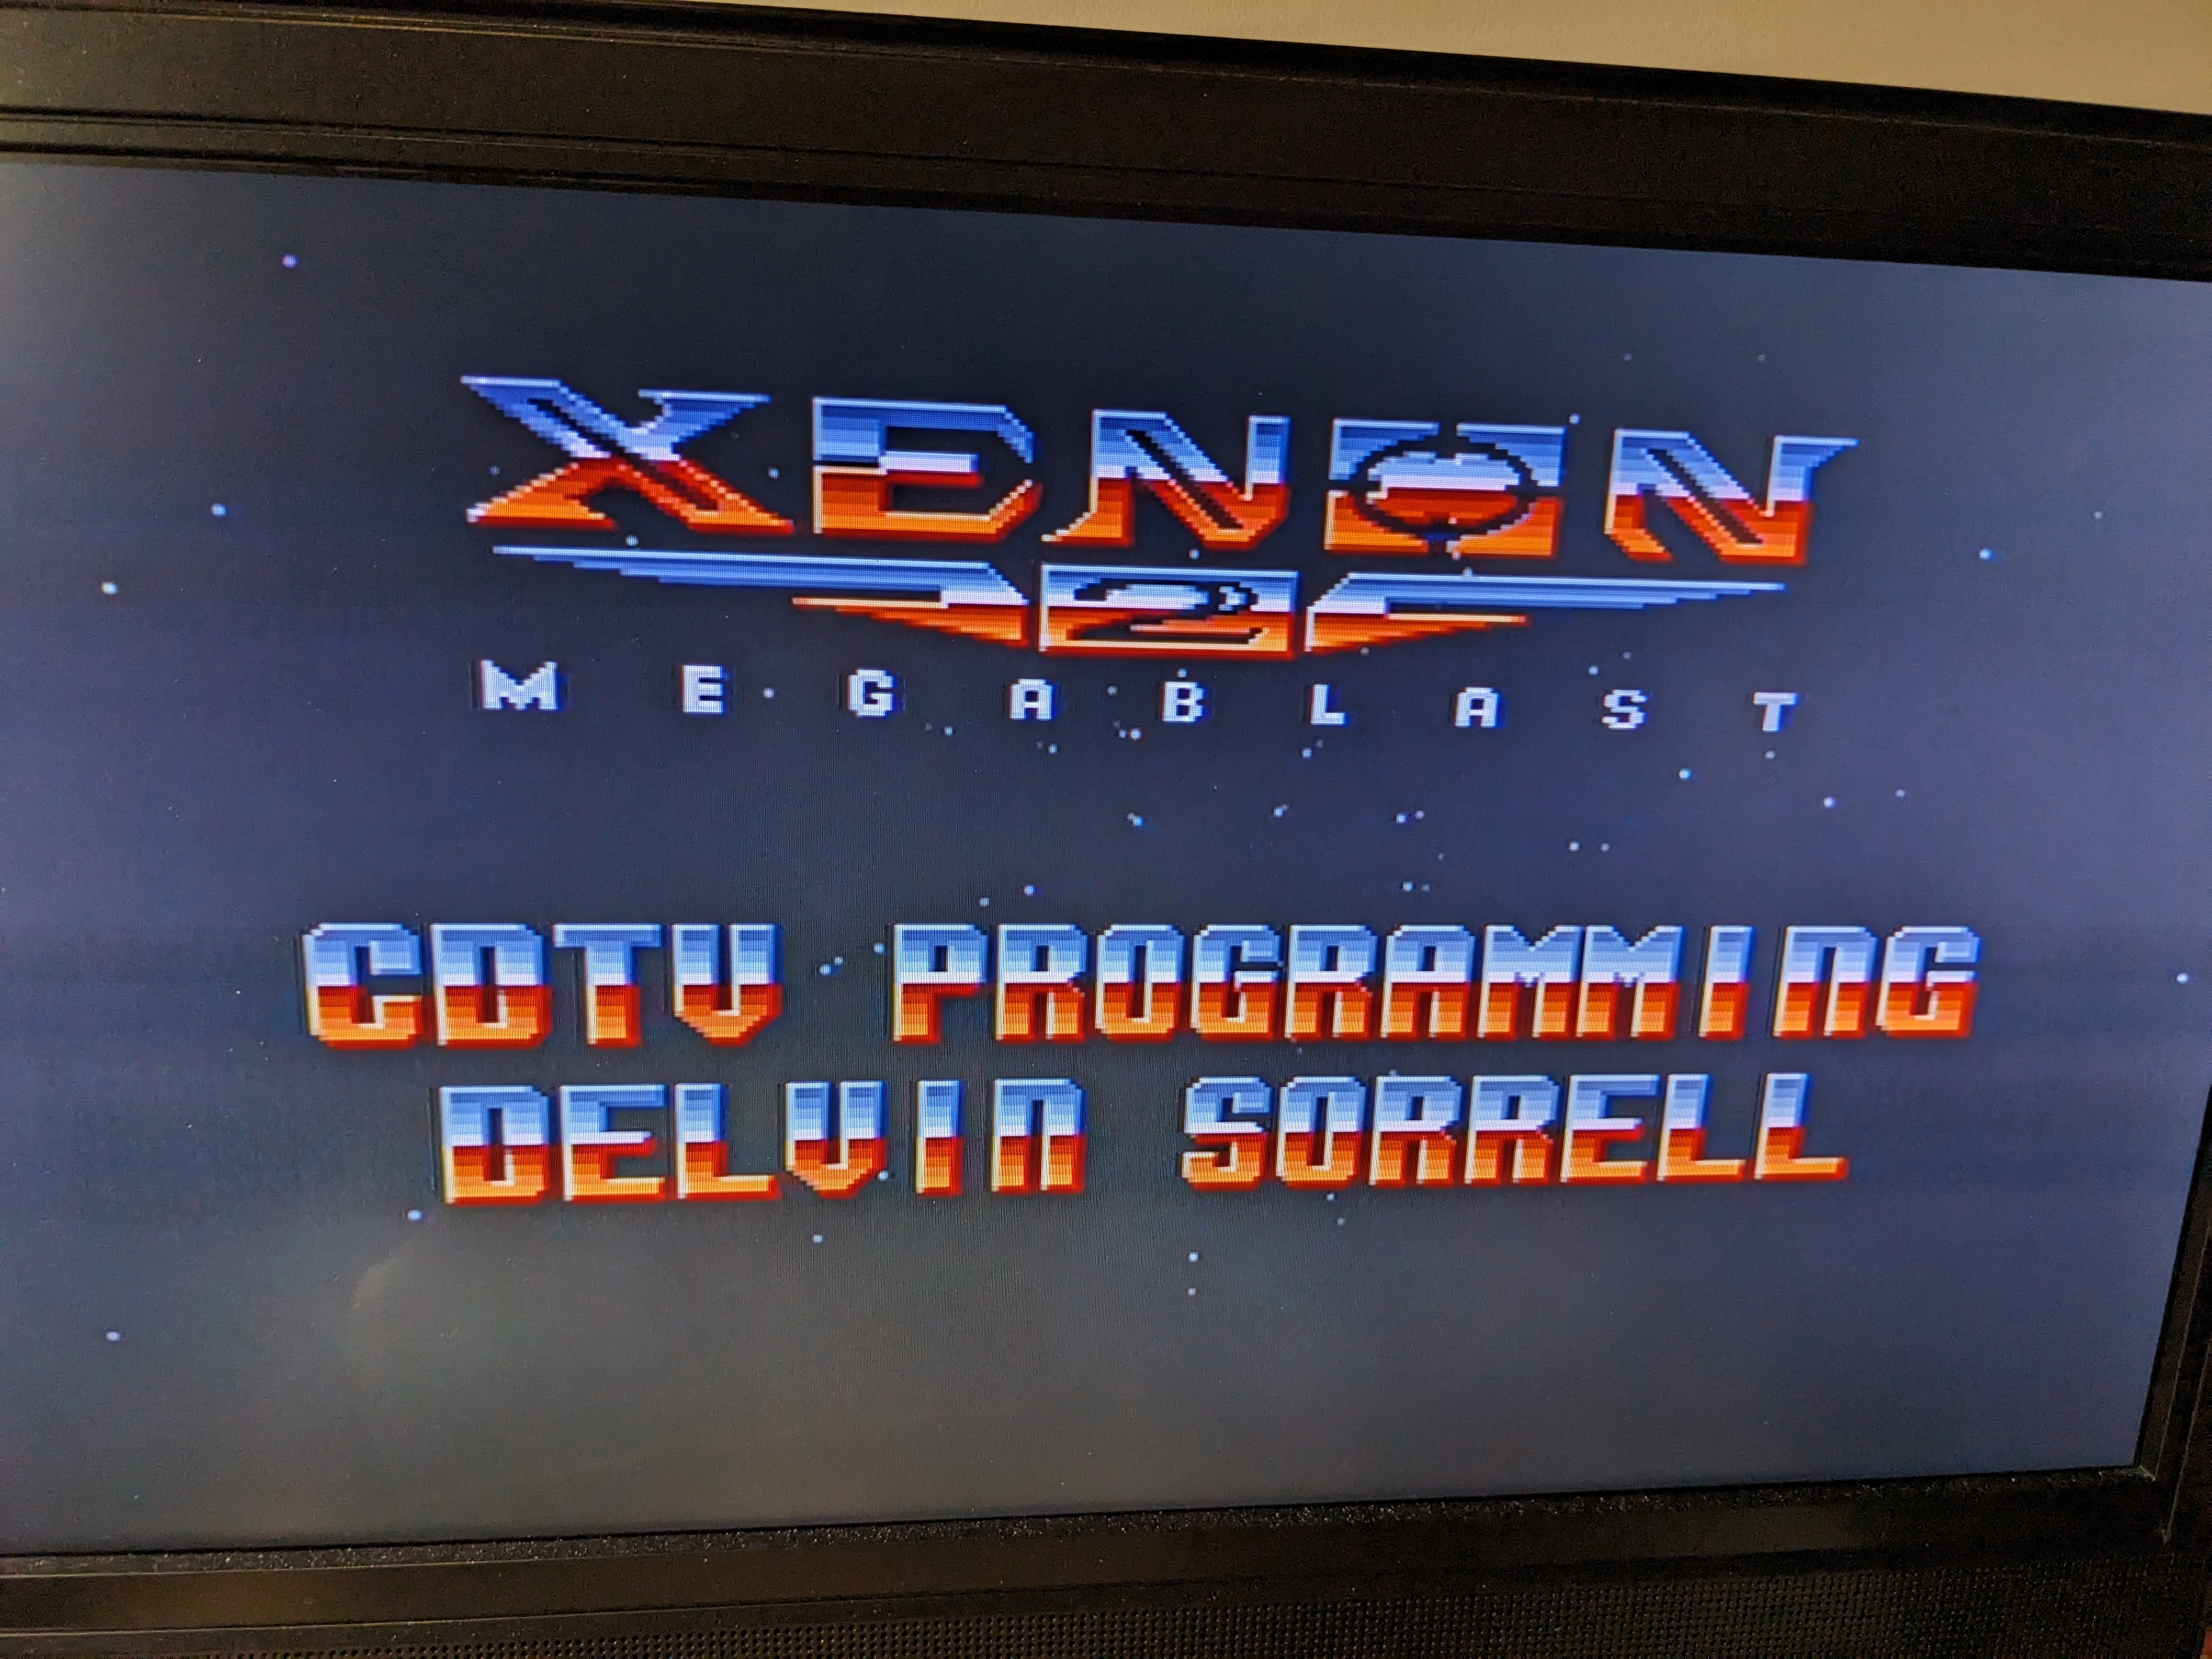
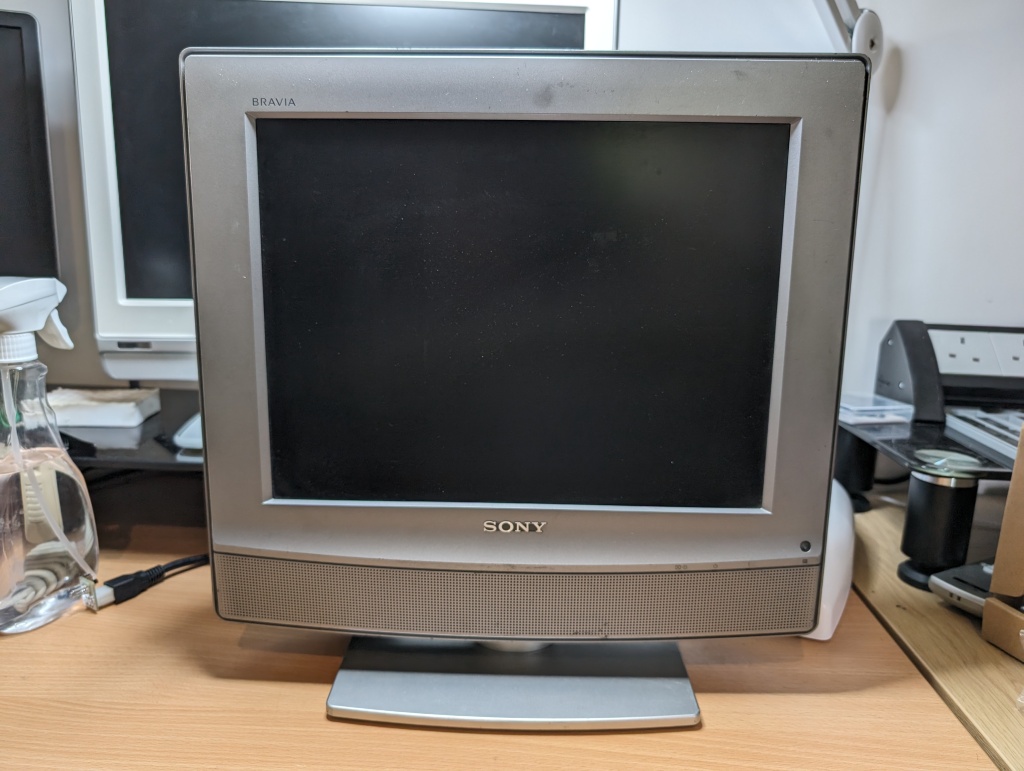
Success! I was a little worried that this drive wouldn’t function, but it seems to work fine. It was also a nice test of the audio output. I am now using an S-Video with RCA audio into this TV to test.
Next Steps
We have a functioning drive in a new case and a functioning motherboard. The faulty IC still needs replacing before I can completely reassemble the machine. There are also some more tests that are possible. I also have a minor upgrade to install. But more on that next time!


Leave a comment