
In my previous blog post, I showed how to make a new, high-spec power supply for Amiga 500 / 600 / 1200 computers. Now I want to do some testing and there are a few improvements that can be made. Let’s get to it!
Voltage Tweaking
Whilst the primary voltage coming out of the power supply might be 5V, there are losses in places such as the cable and the filter choke, which means that it isn’t likely that the chips that need it will see 5V. Most Mean Well models, apart from the RPT-60B, have a potentiometer that allows you to tweak the 5V output of the PSU.
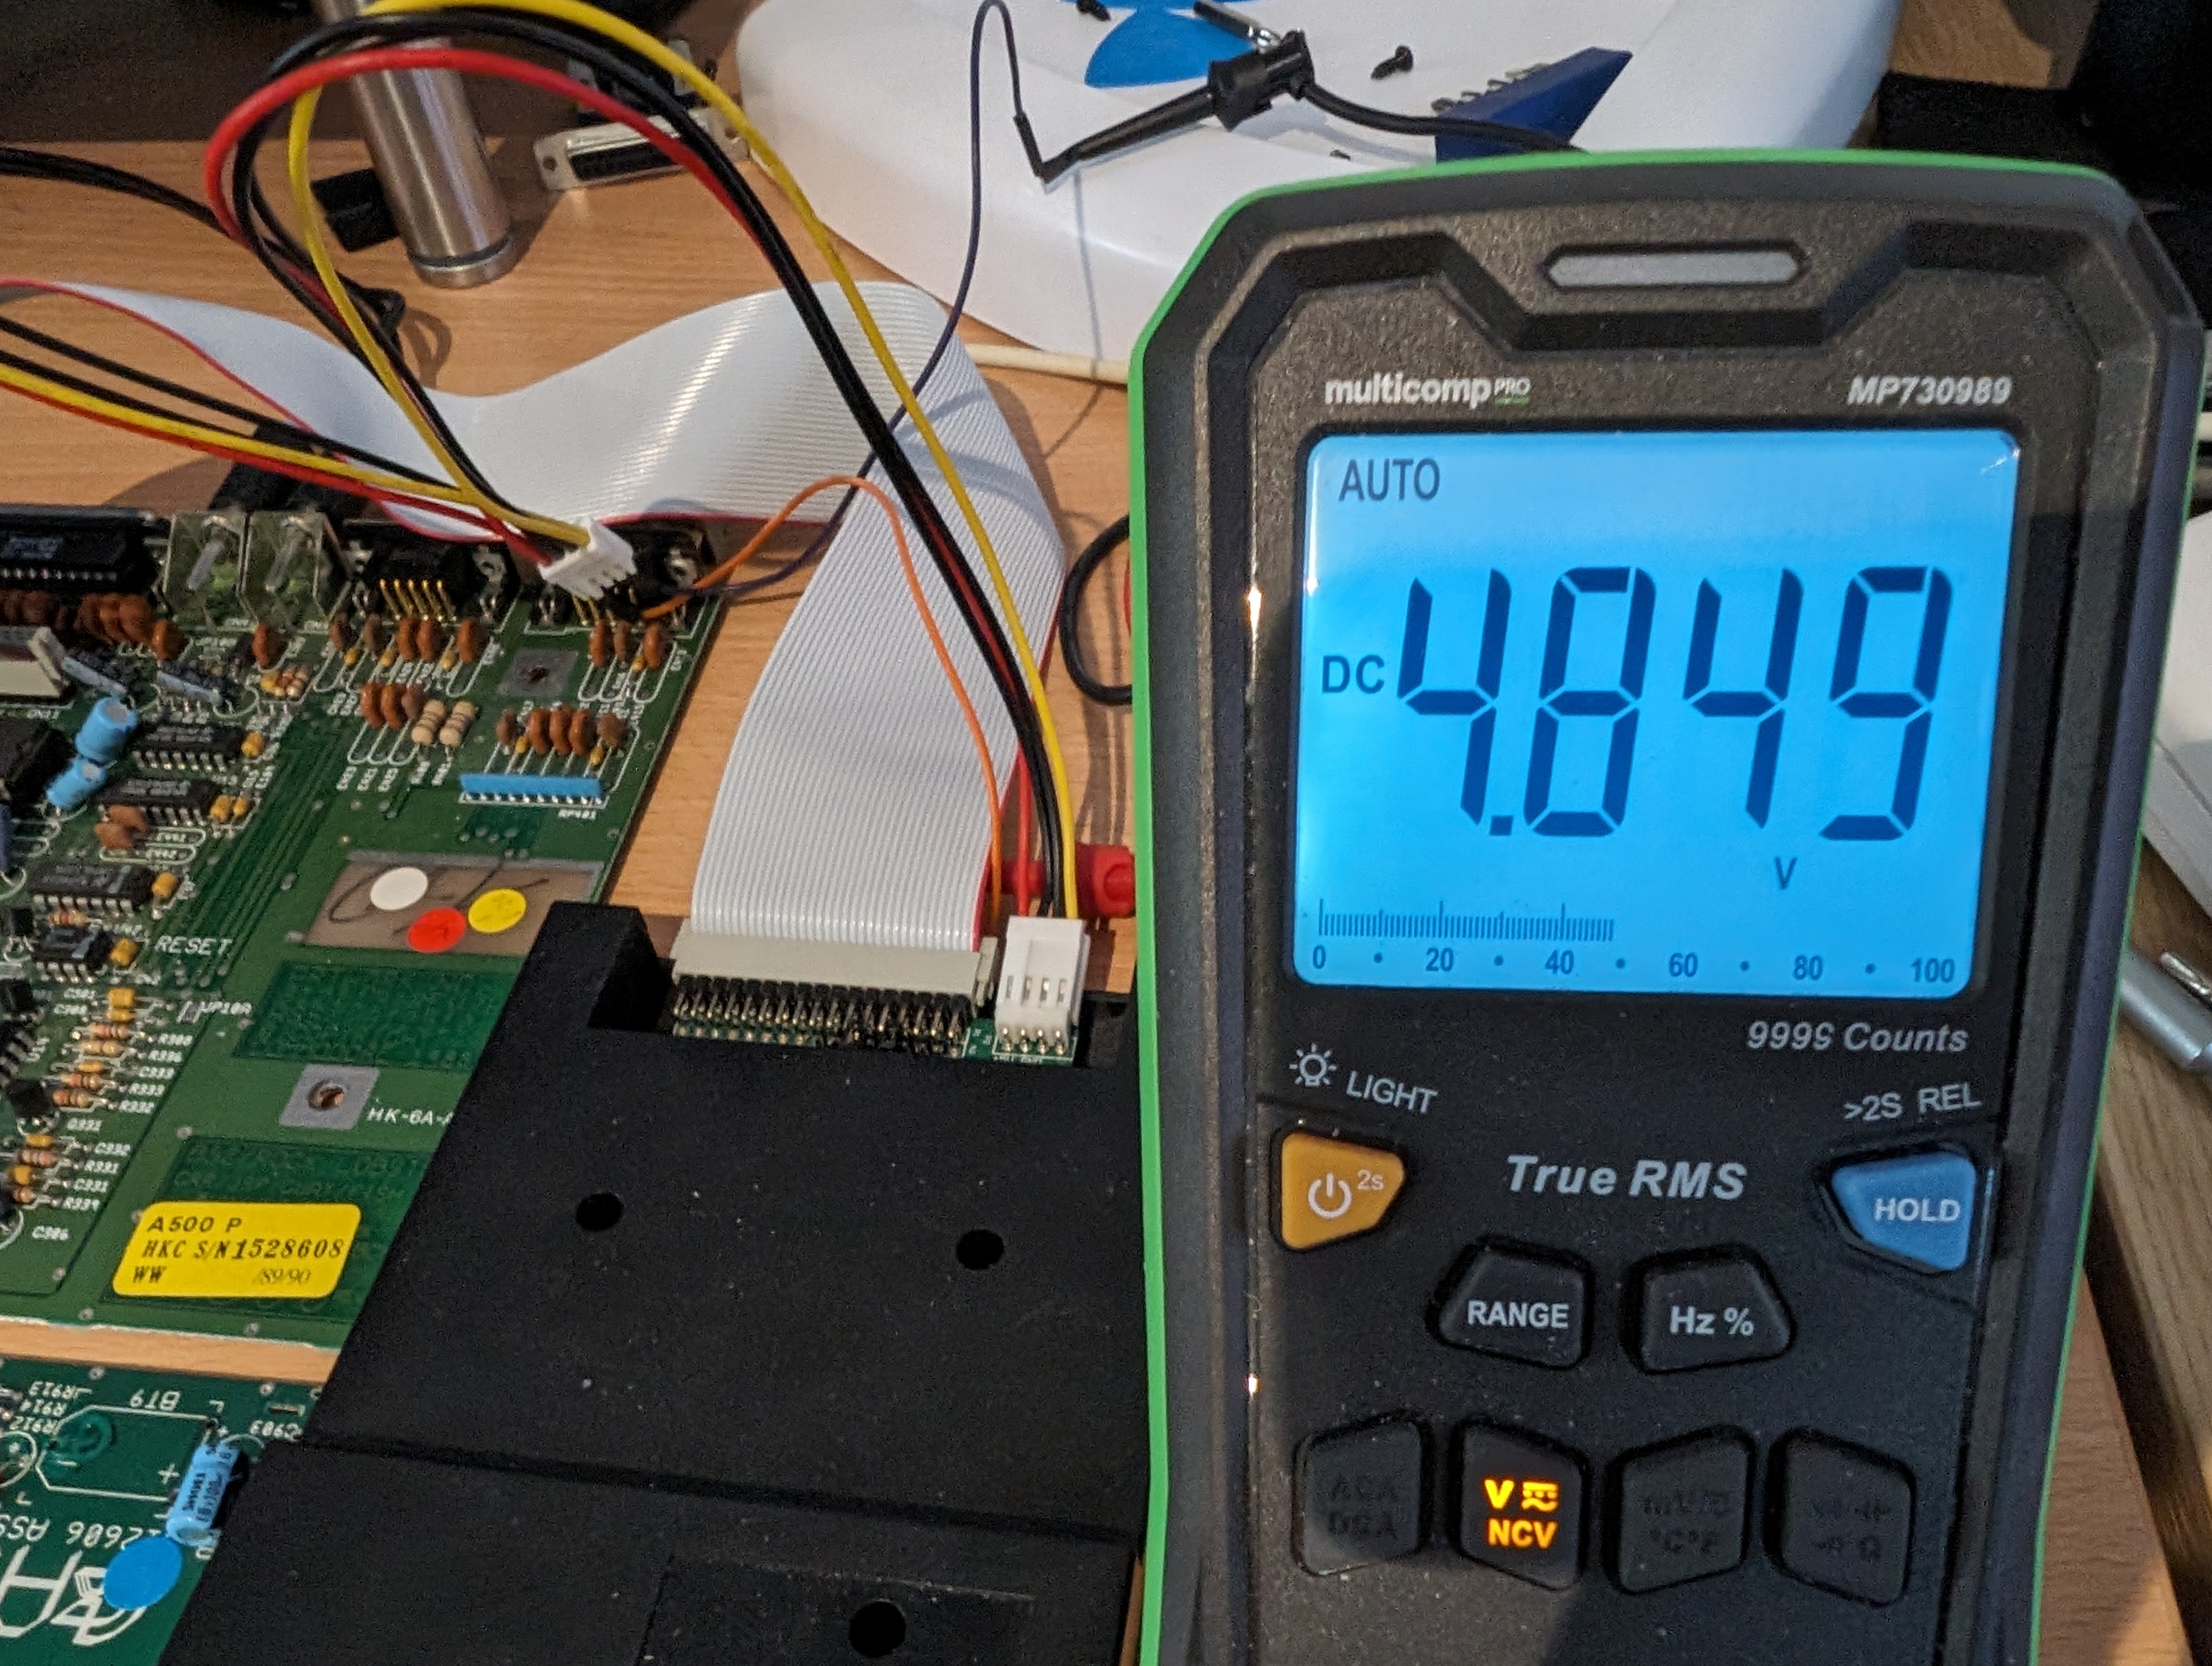
To test this, I hooked a multimeter up to the floppy drive power output on the motherboard. This is a pretty good place to read the 5V levels. As we can see, it is not quite 5V.
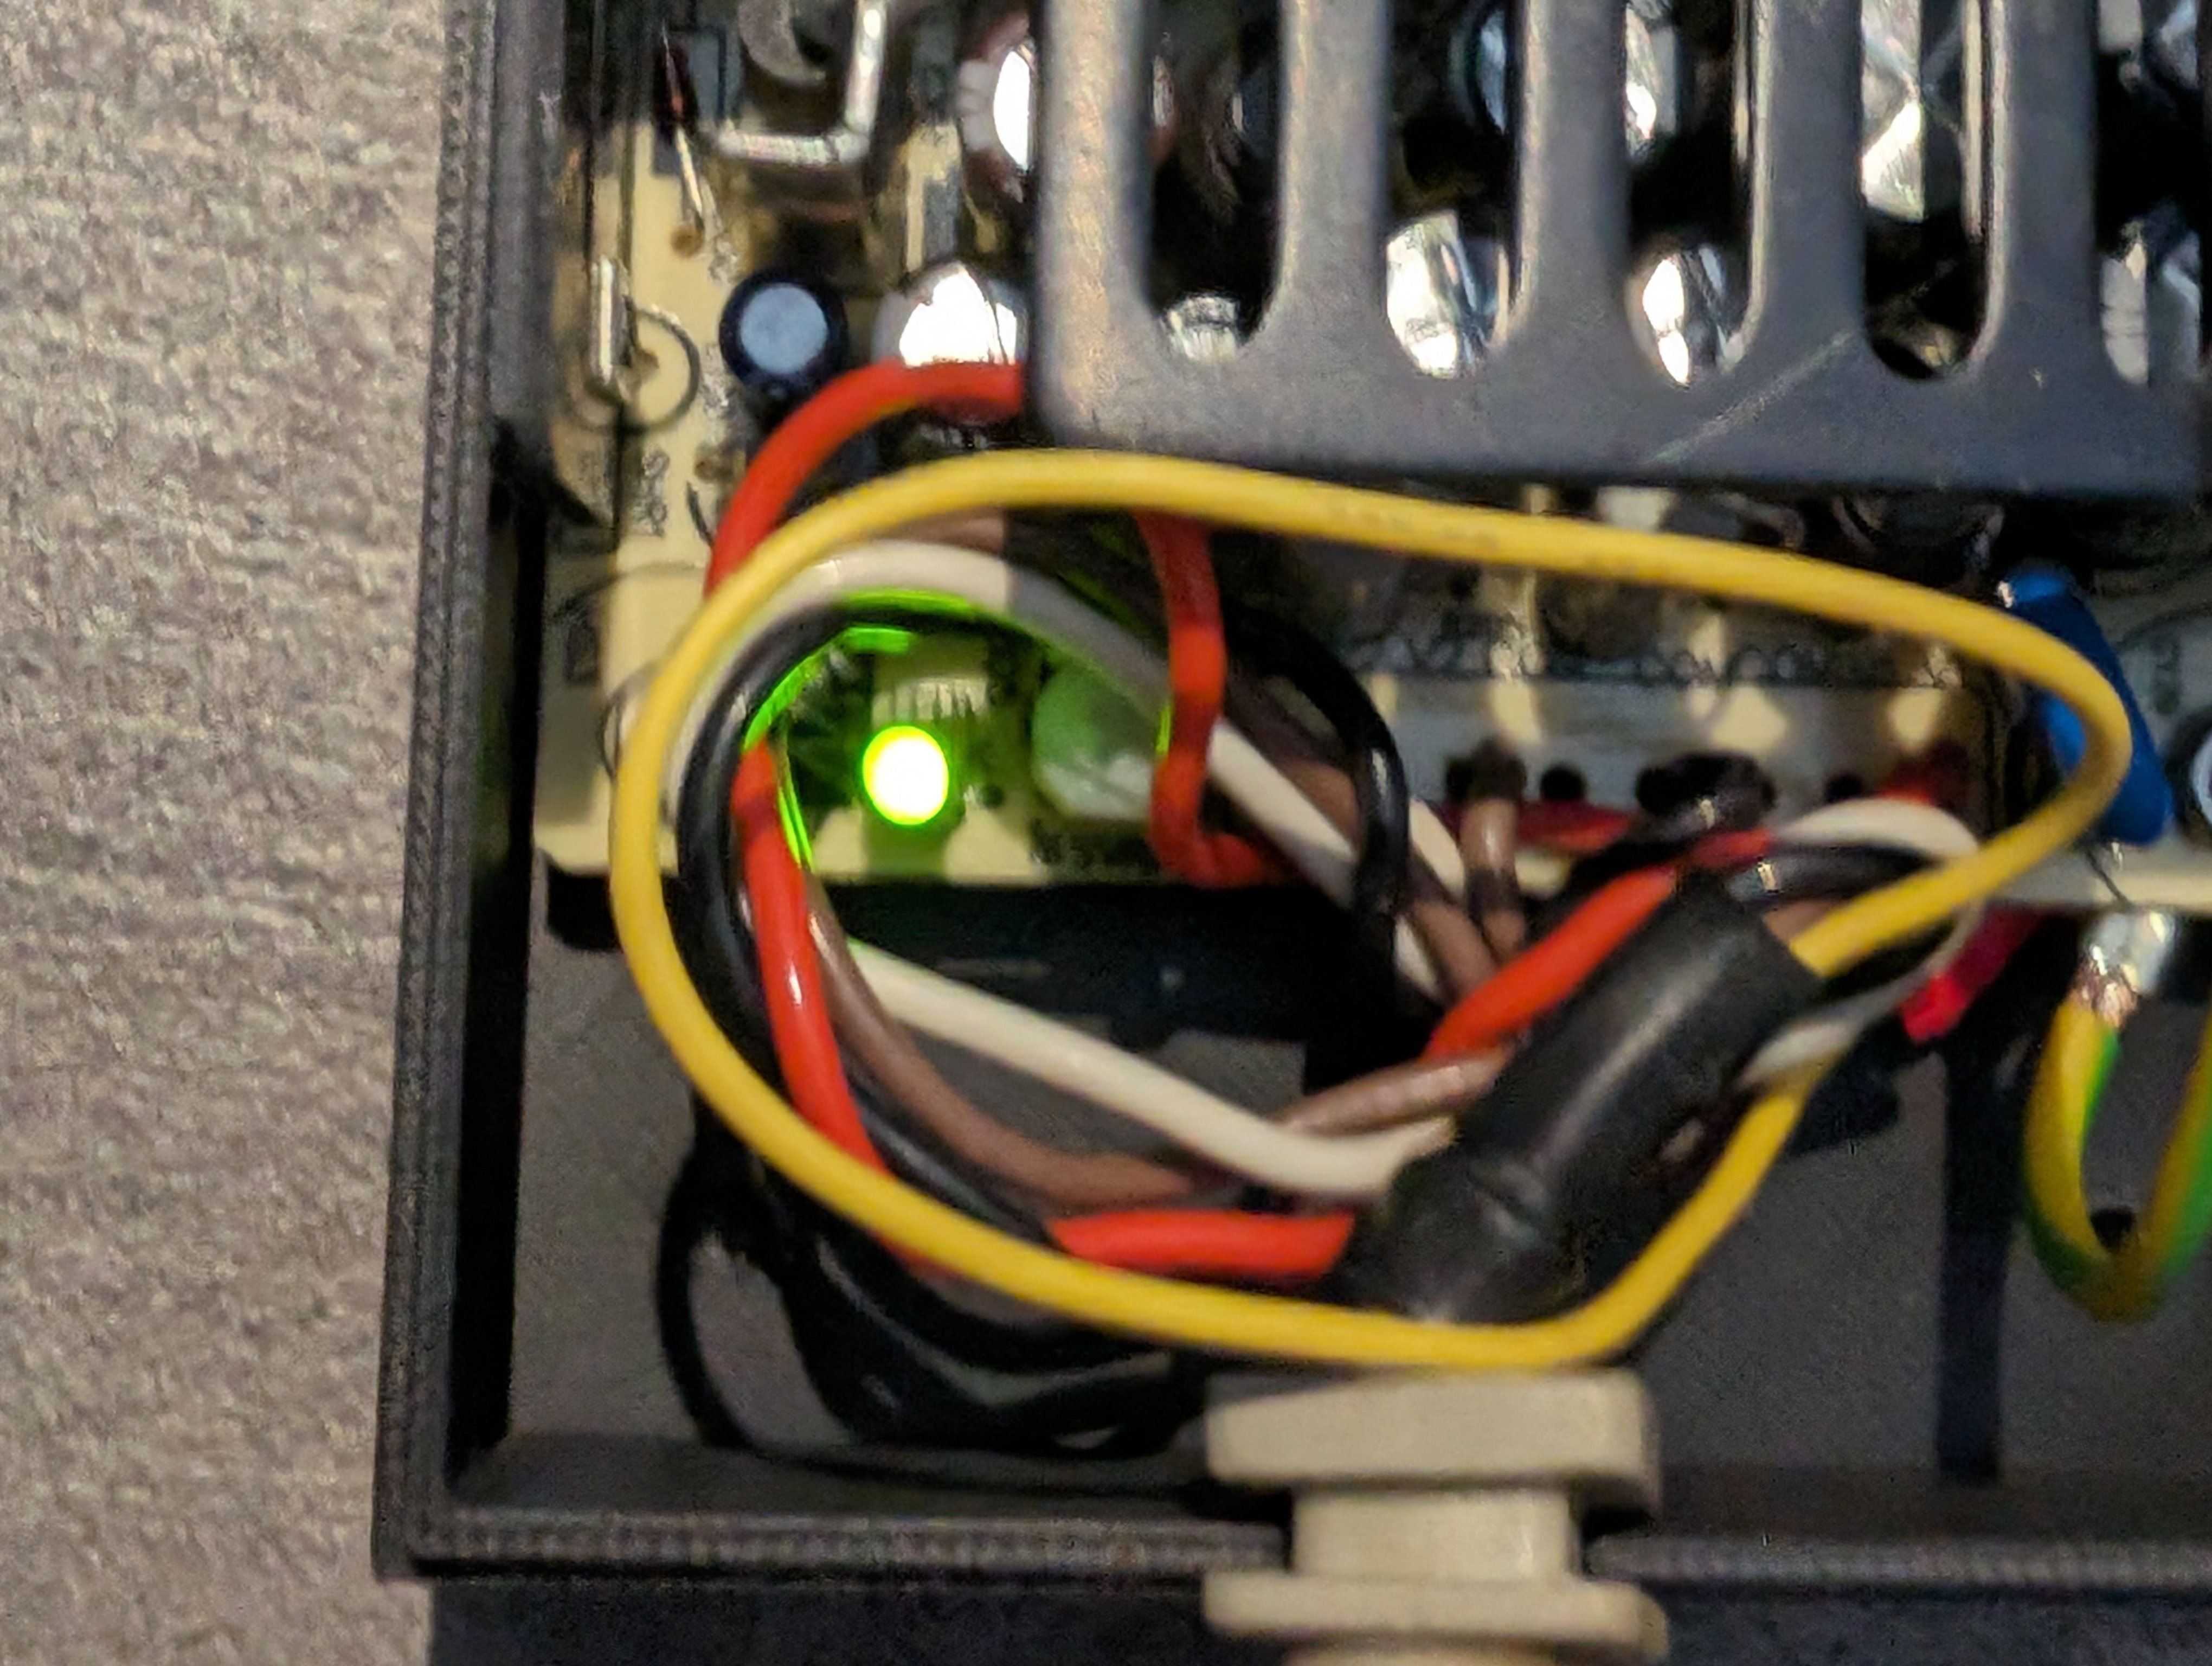
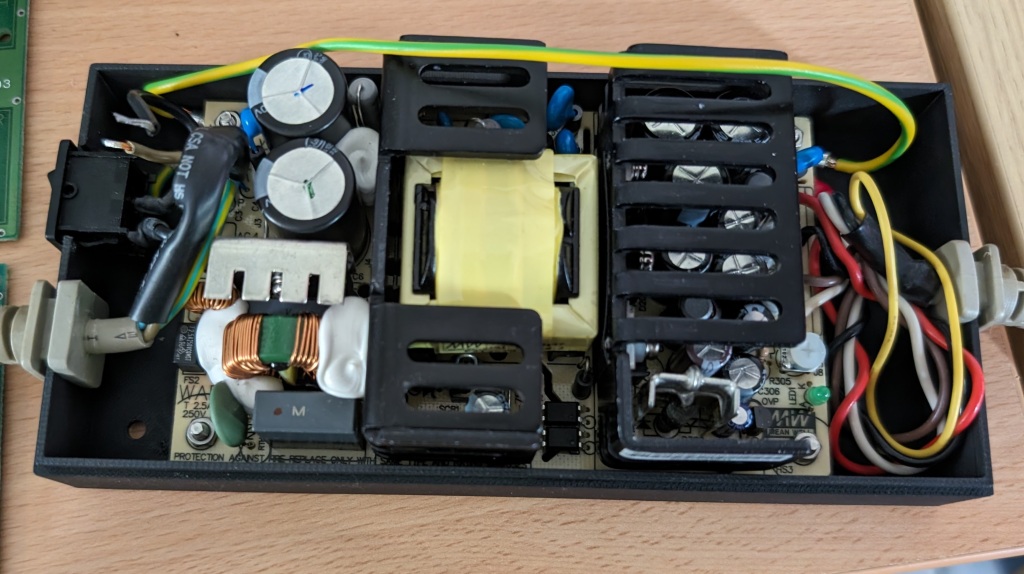
Near the LED on the power supply there is the little white potentiometer which can be turned with a small screwdriver.
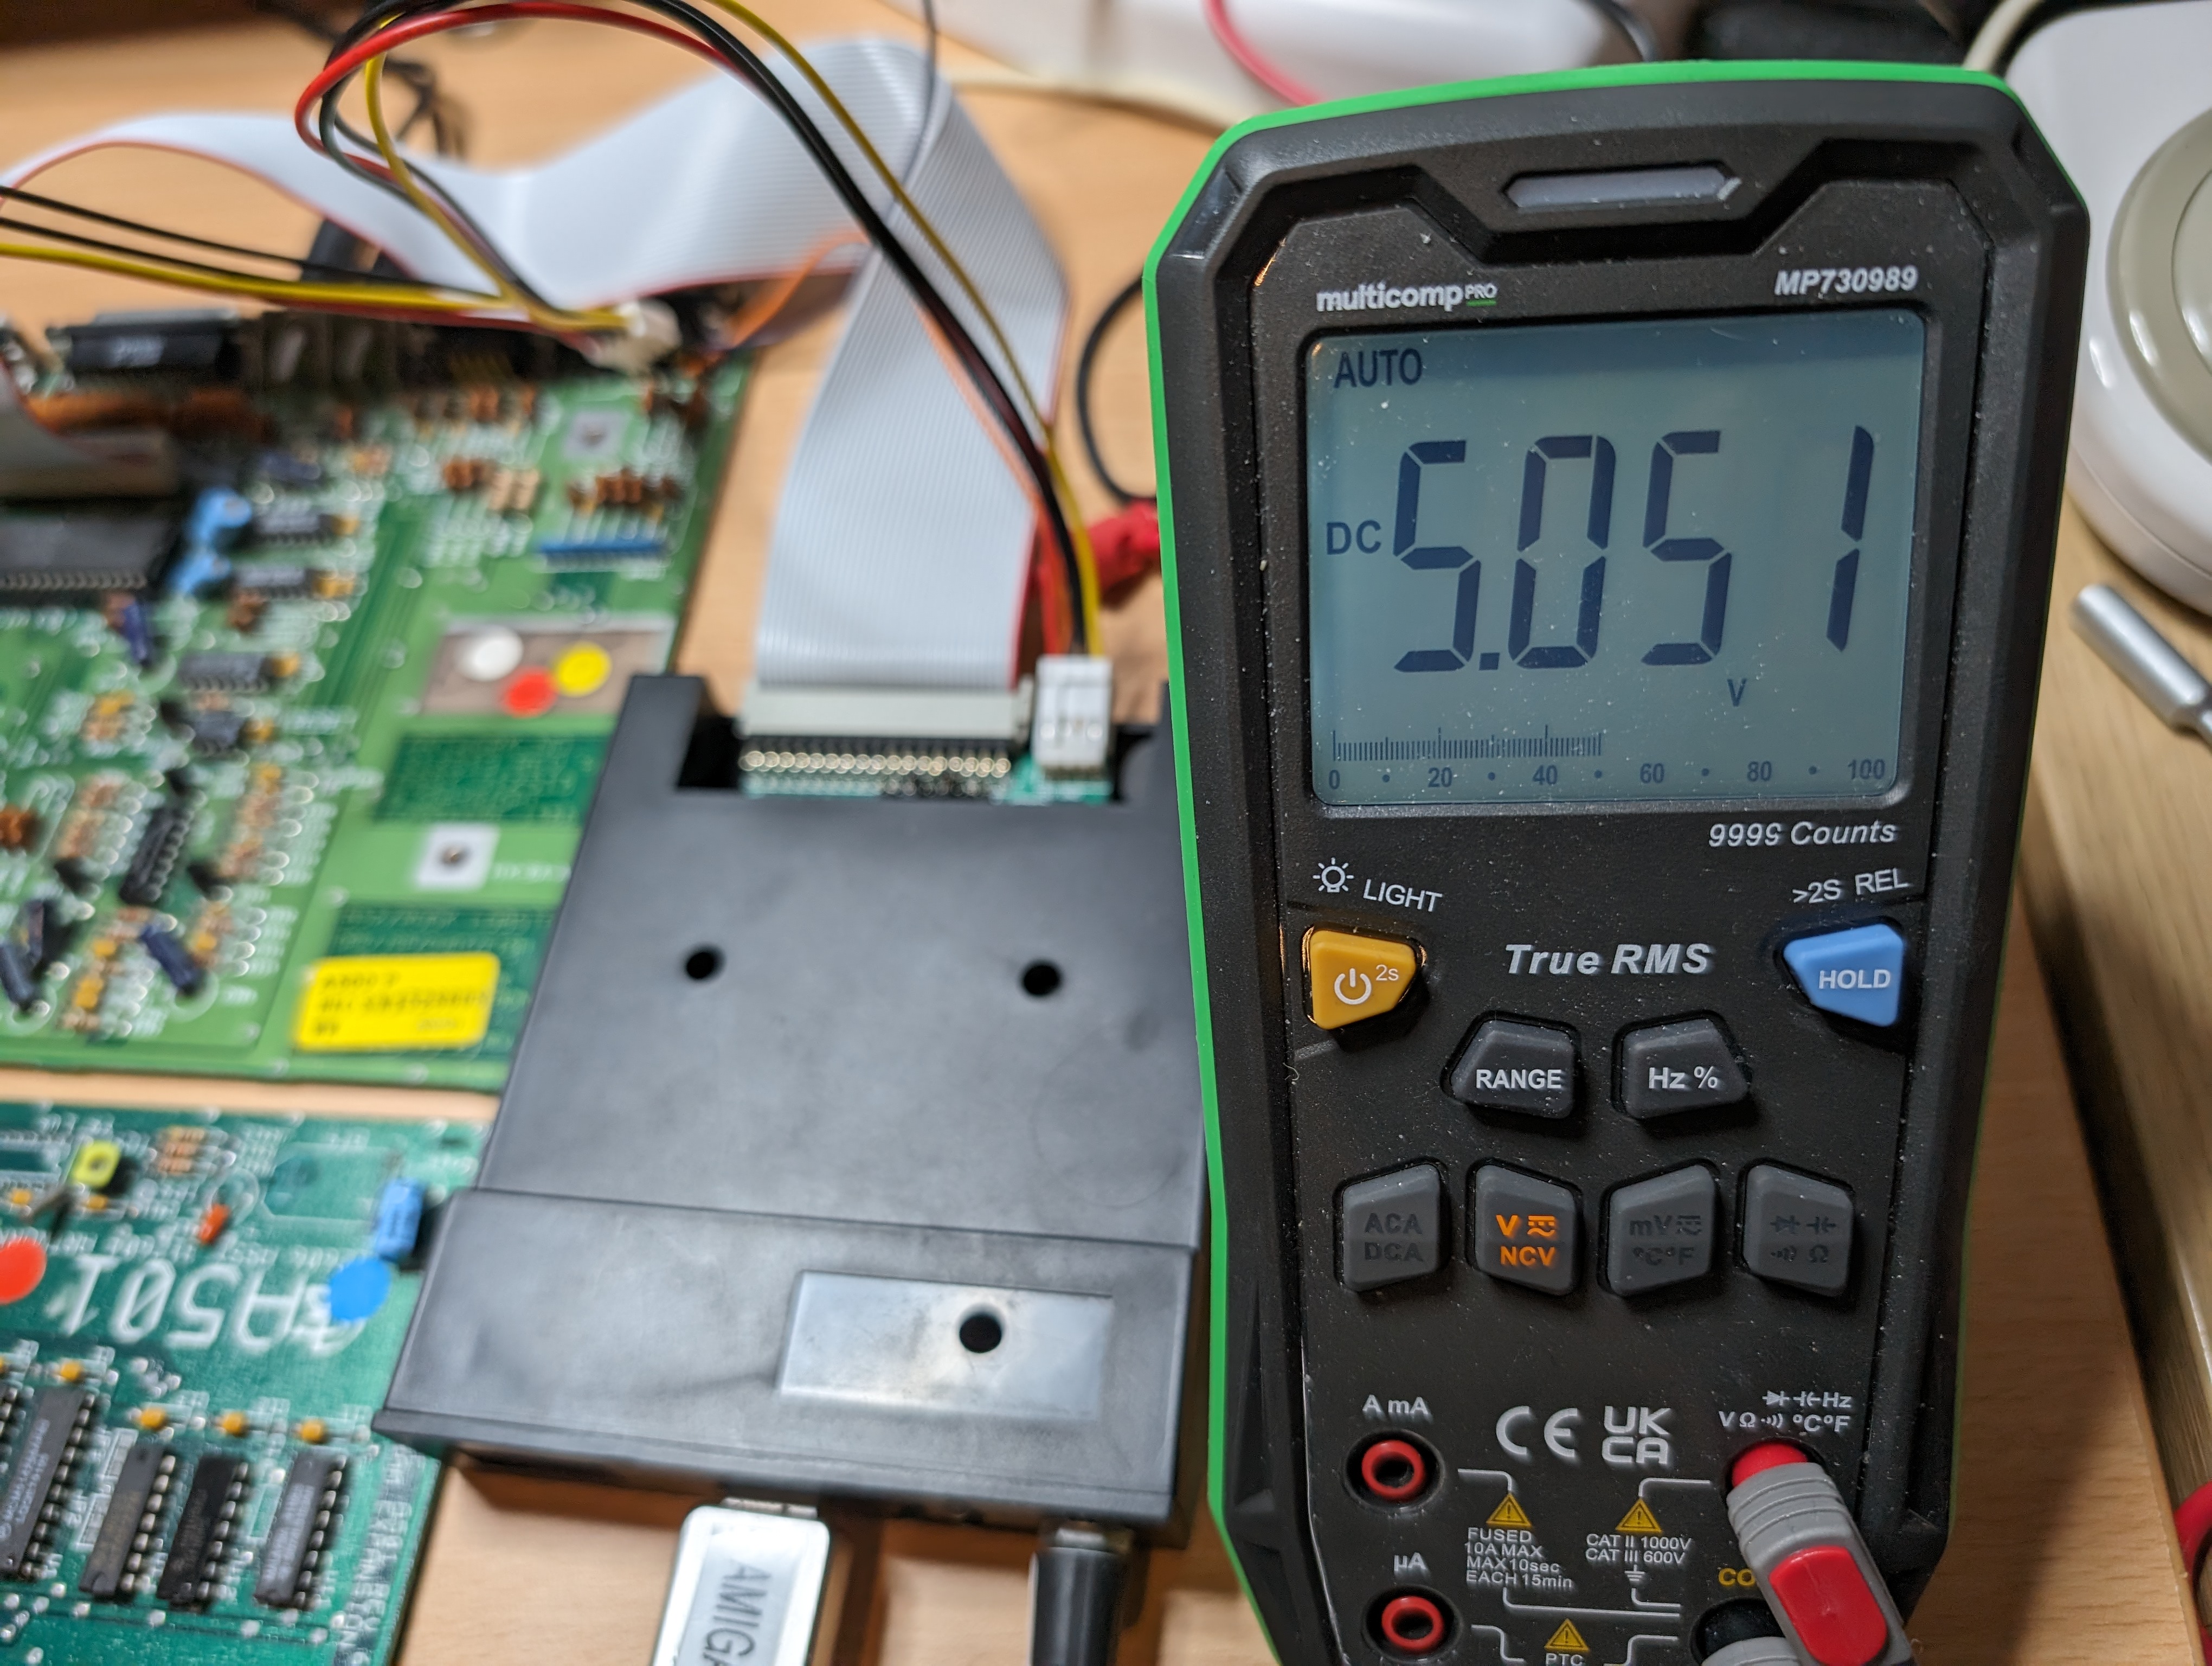
I turned this a little to the right, and we got a lot closer to 5V. This is good enough for me, and I’ll stop here.
PiStorm Testing
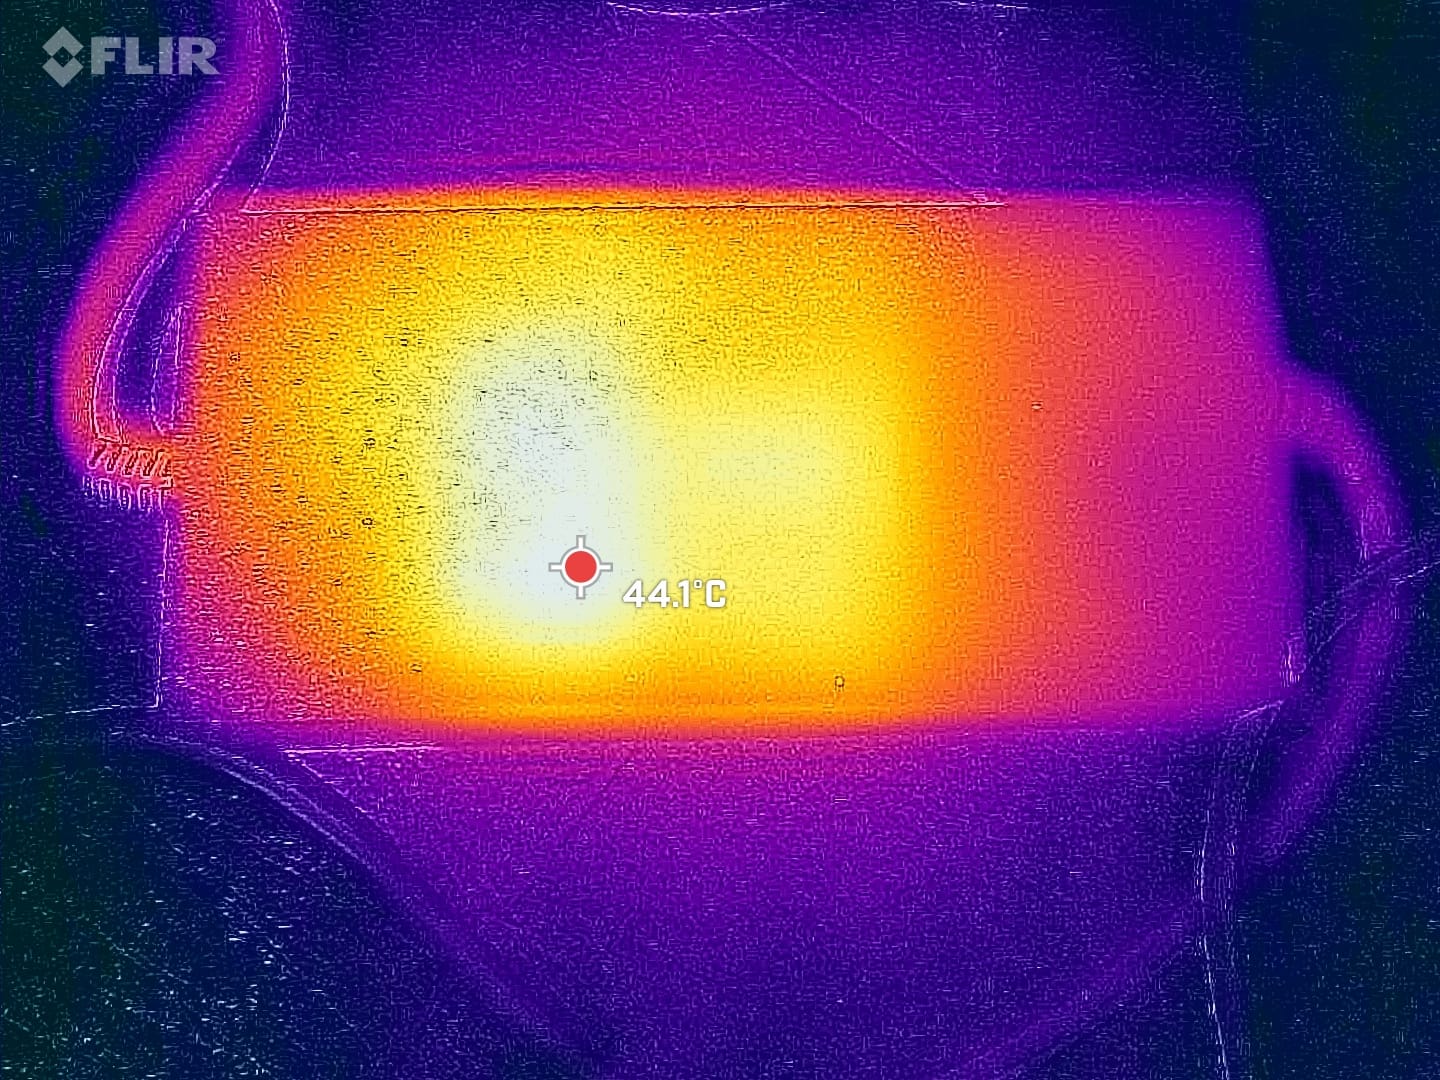
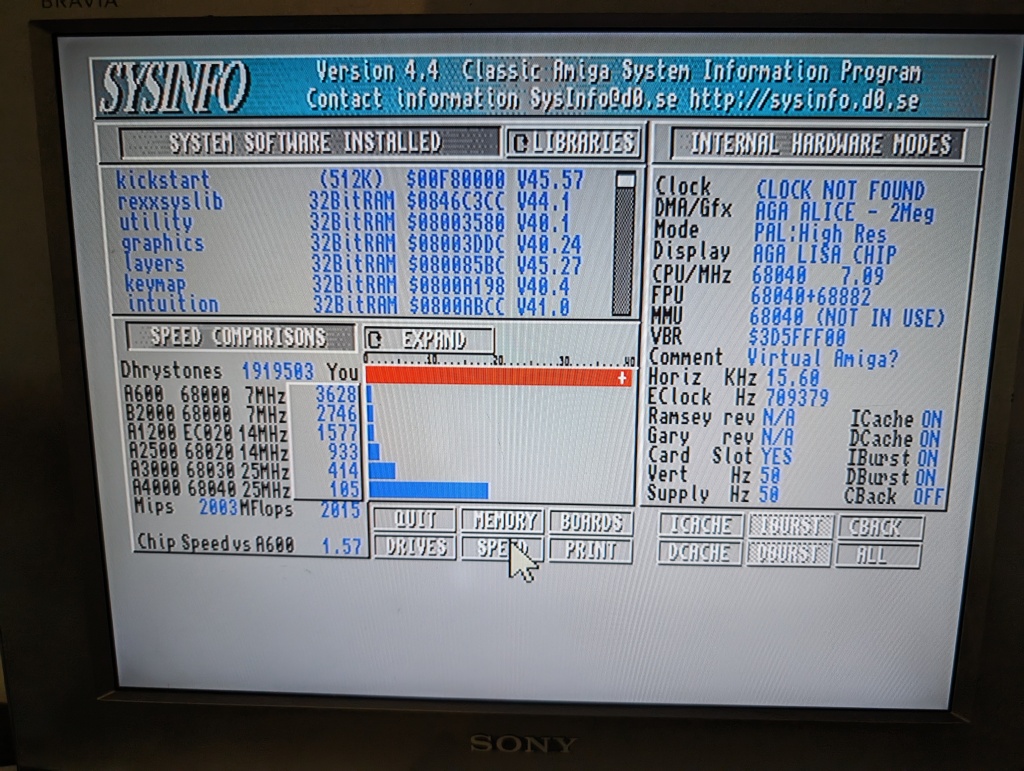
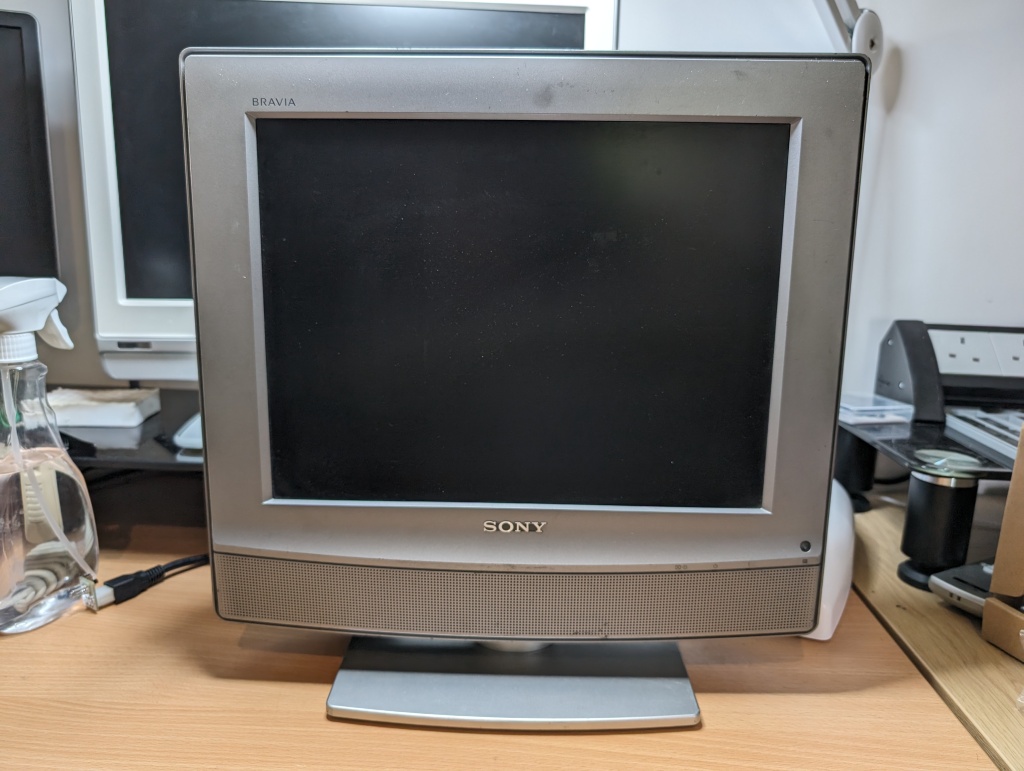
The whole reason for building this power supply was so that I could use it with my Amiga 1200 that has a PiStorm32-Lite in it that in-turn uses a Raspberry Pi 4. This setup can be quite demanding on a power supply, and my RPT-60B based power supplies run quite hot.
After an hour of pushing the PiStorm quite hard, it is warm but nowhere near hot. The ambient temperature was 23.1°C.
As a side-note. Quake 2 running at 30fps on an Amiga is a nice thing to see.
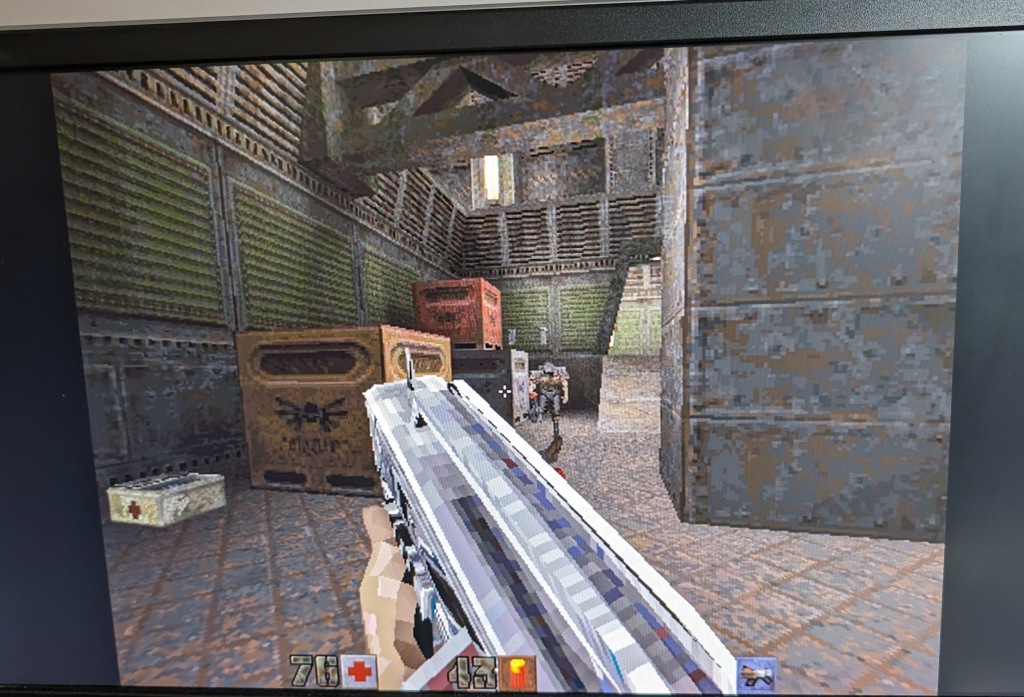
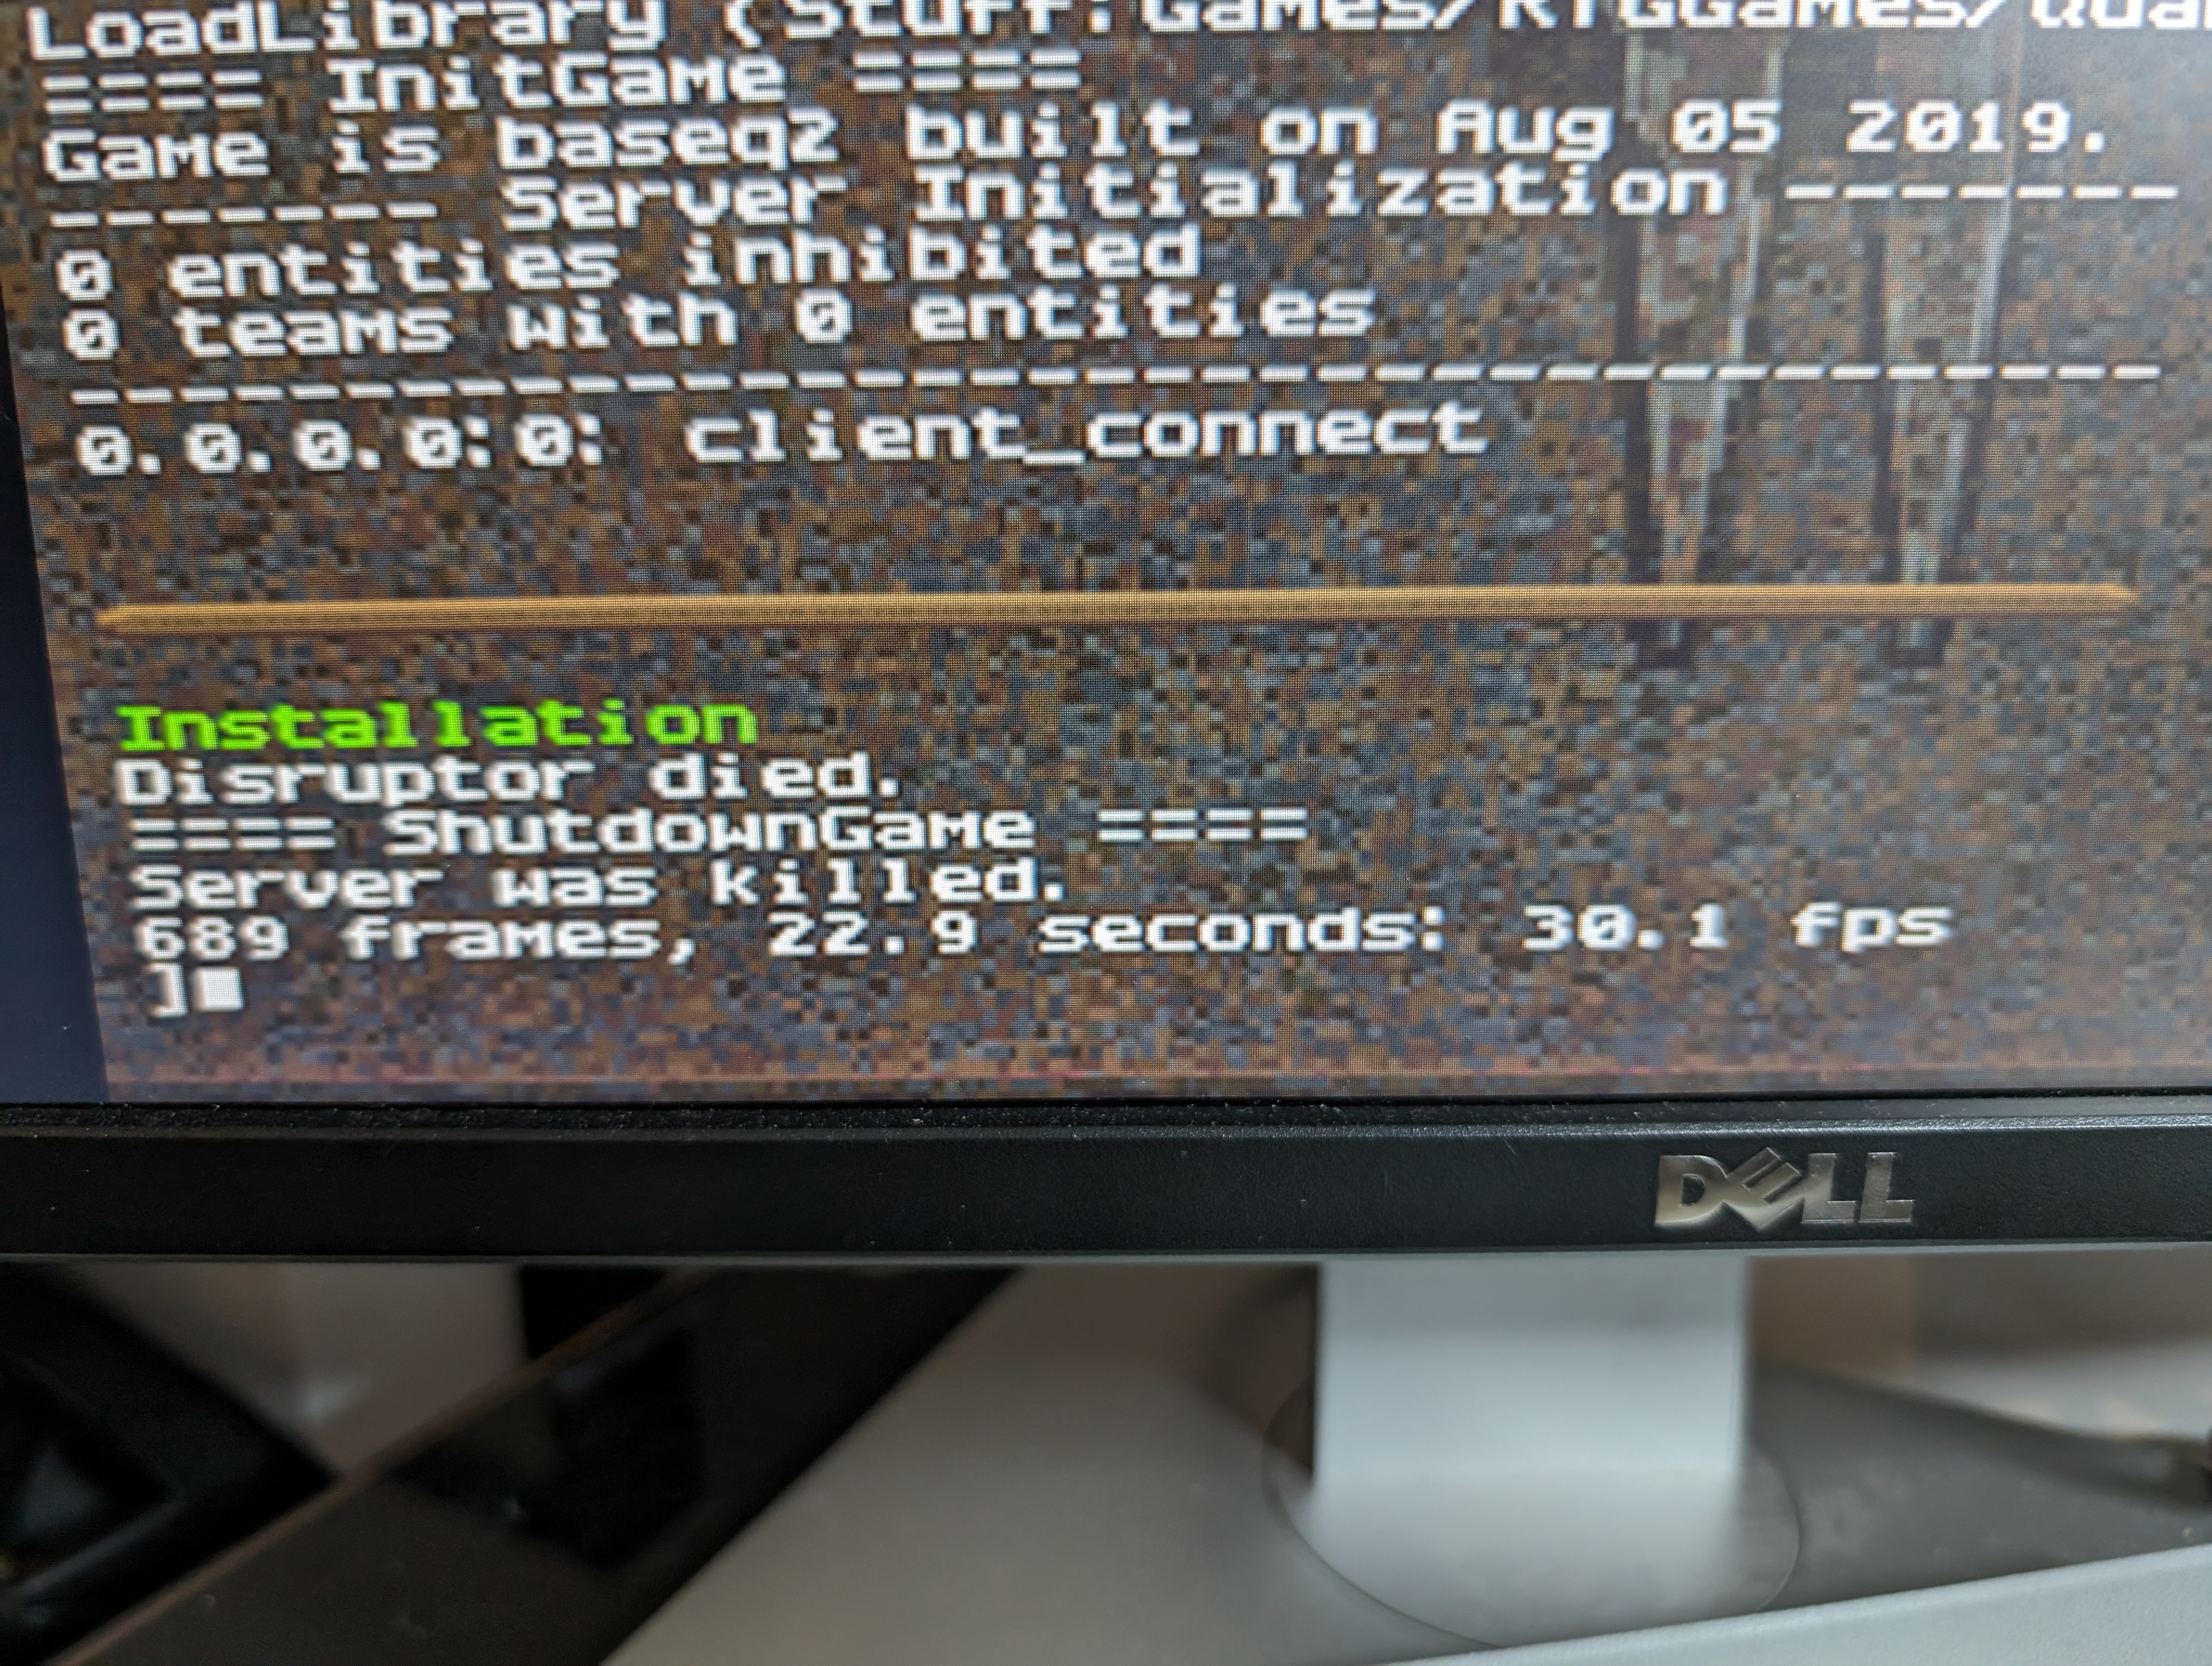
In fact, it is running about 20% faster now that I have applied 5 months of updates to the PiStorm software.
Labelling
My wife’s business has a Primera LX610 label printer. It prints the labels and then has a built-in plotter cutter to cut around any shape. She uses to design labels for her products. I quickly knocked up a label for the power supply, drew a rectangle in the printer software to cut around it and used it to print and cut the label.


She then told me that she could have done a better job than me, making it cut rounded corners, showing more of the black casing and things like that. But it is good enough for now, if I make another one I’ll take her up on the offer to improve it.
Conclusion
I’m very happy with this power supply in the end, it will serve me well when letting the public use this Amiga 1200 next week. Whilst I don’t have plans to build any more right now, I may well do in the future if I need a high-power Amiga PSU.


Leave a comment