
Back in May of 2021 I managed to acquire a faulty Acorn Archimedes A3010 complete with a mouse, monitor, printer and a box of floppy disks for just £120. I have been wanting to repair it for a long time, finally in September 2022 I actually made a start on it.
Machine Inspection
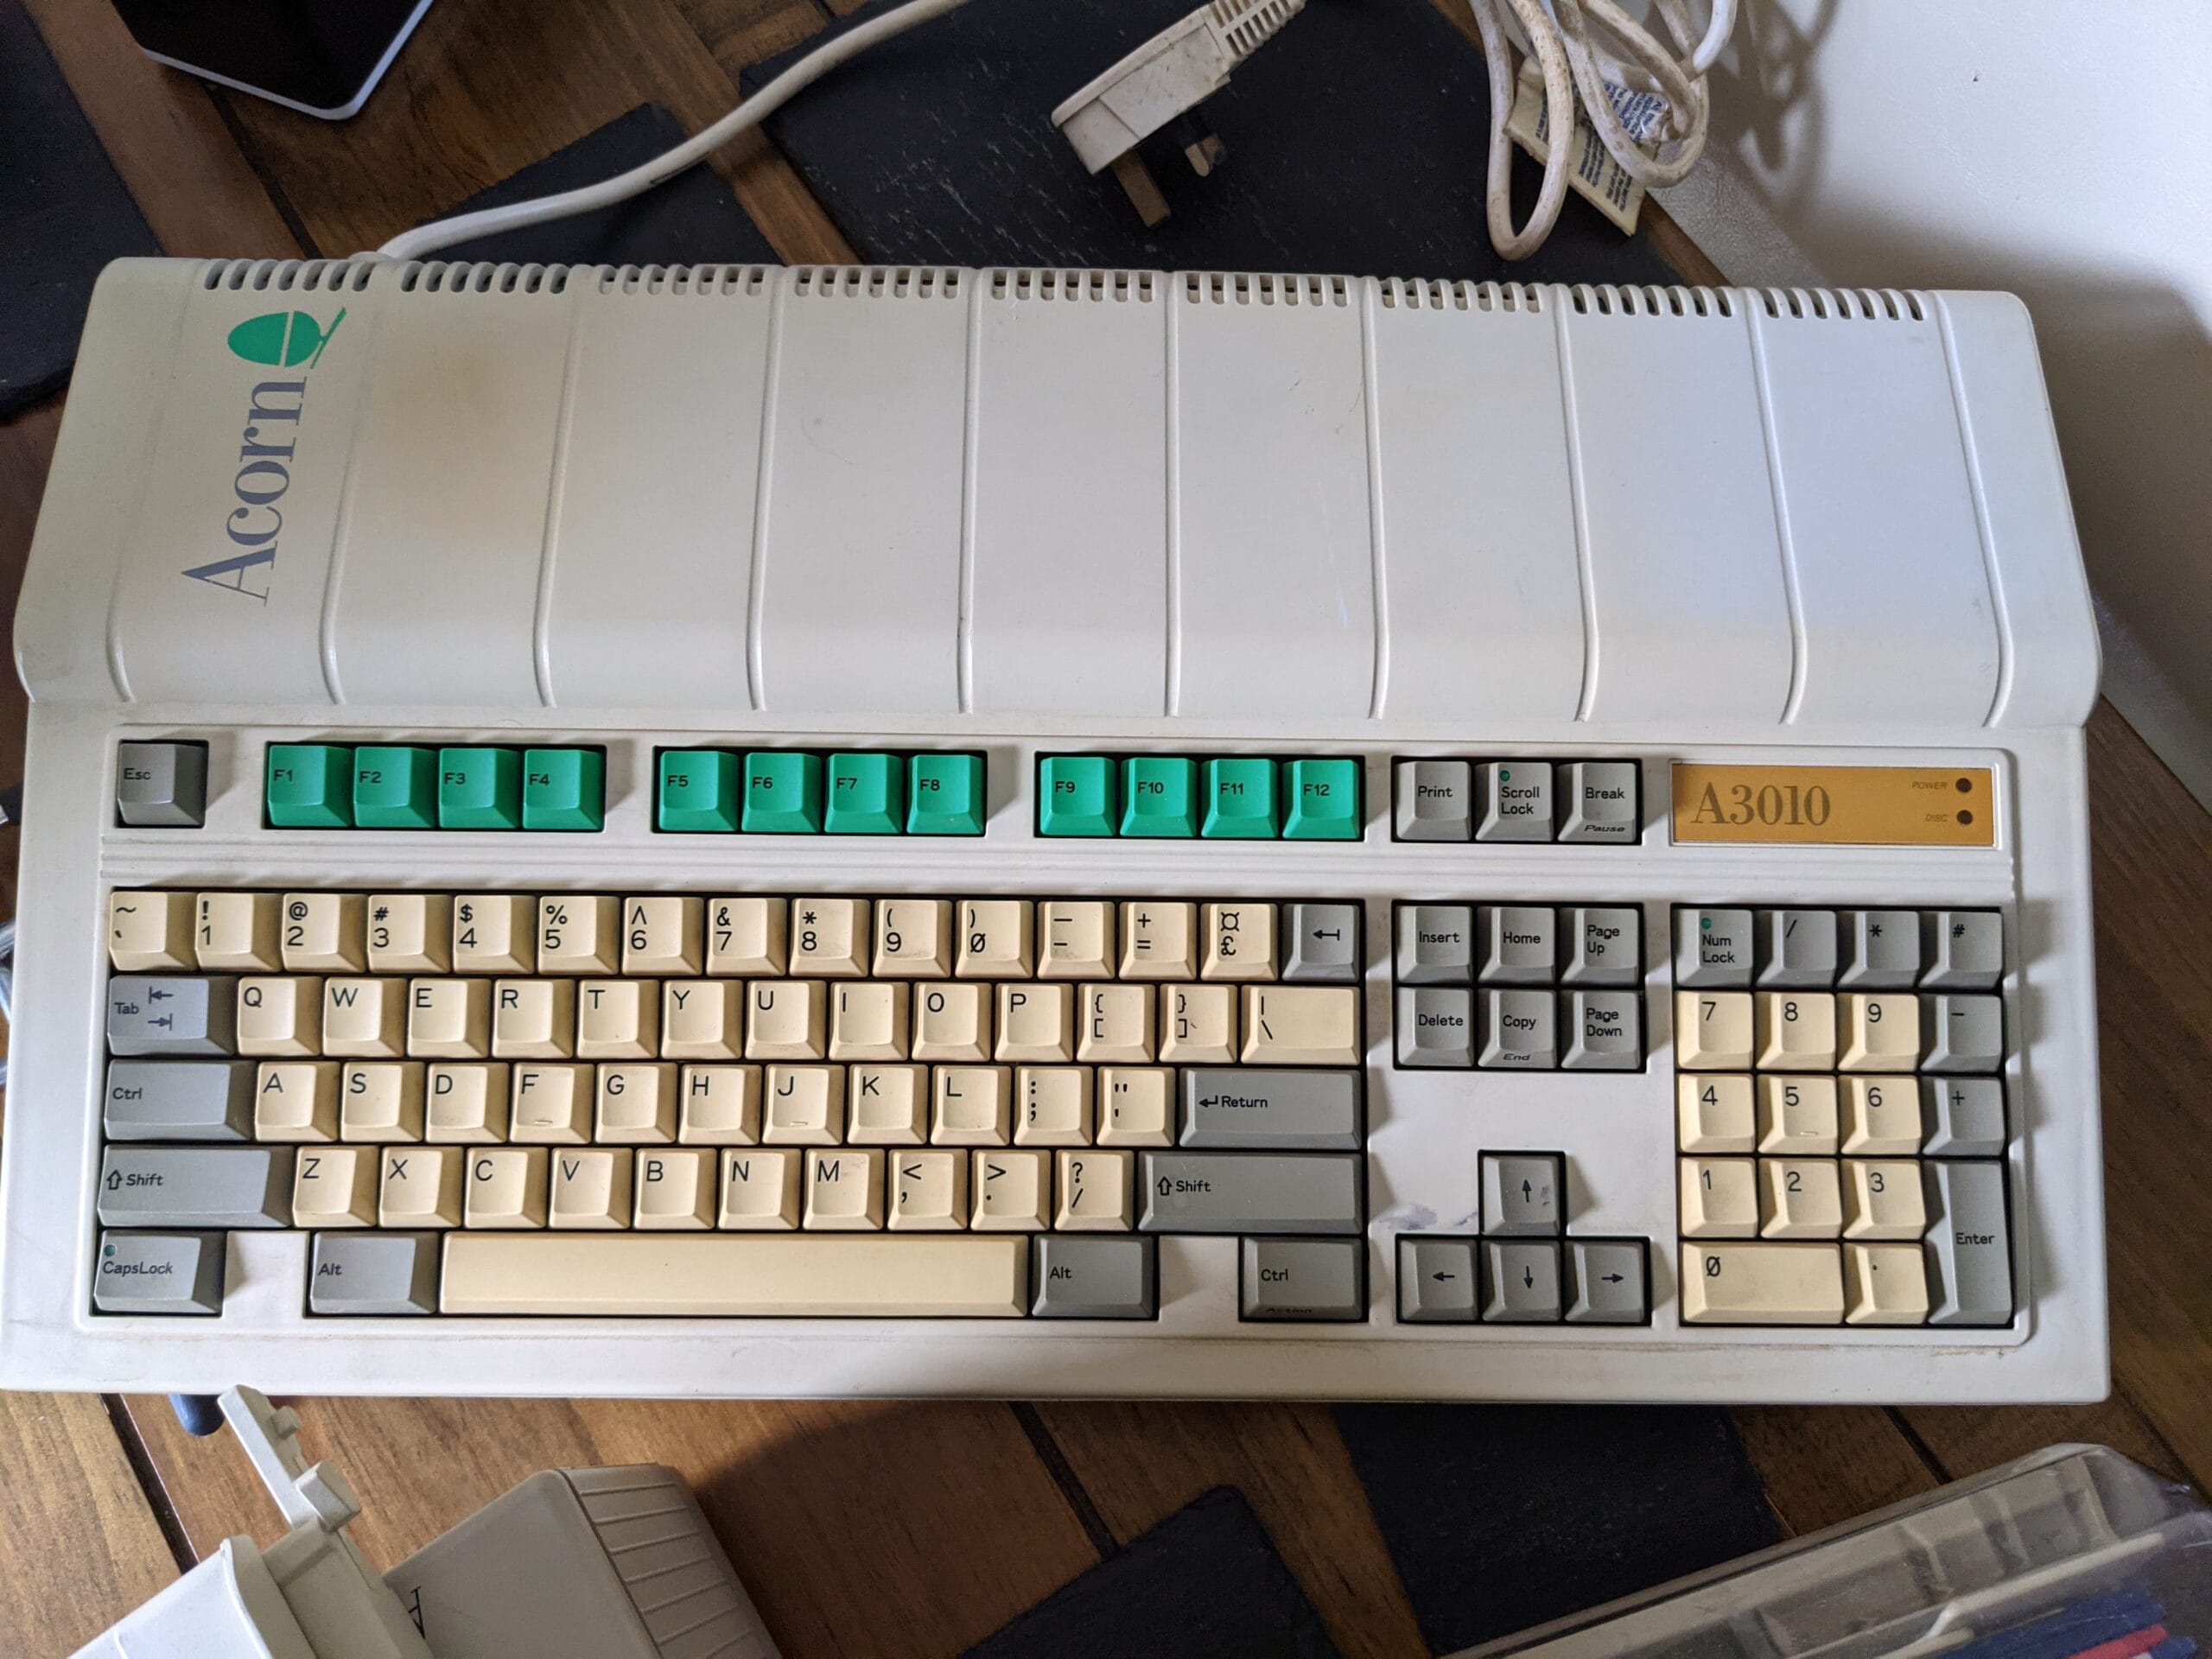
The Acorn Archimedes is famous as the machine that introduced the world to the ARM processor. There were several different models but the A3010 was a wedge shaped design that was geared towards the home computer market. I had never owned an Archimedes before this and only briefly used the one in the corner of the BBC Micro room in high school. But I thought this was a piece of history worth preserving and I really wanted to try it out properly.
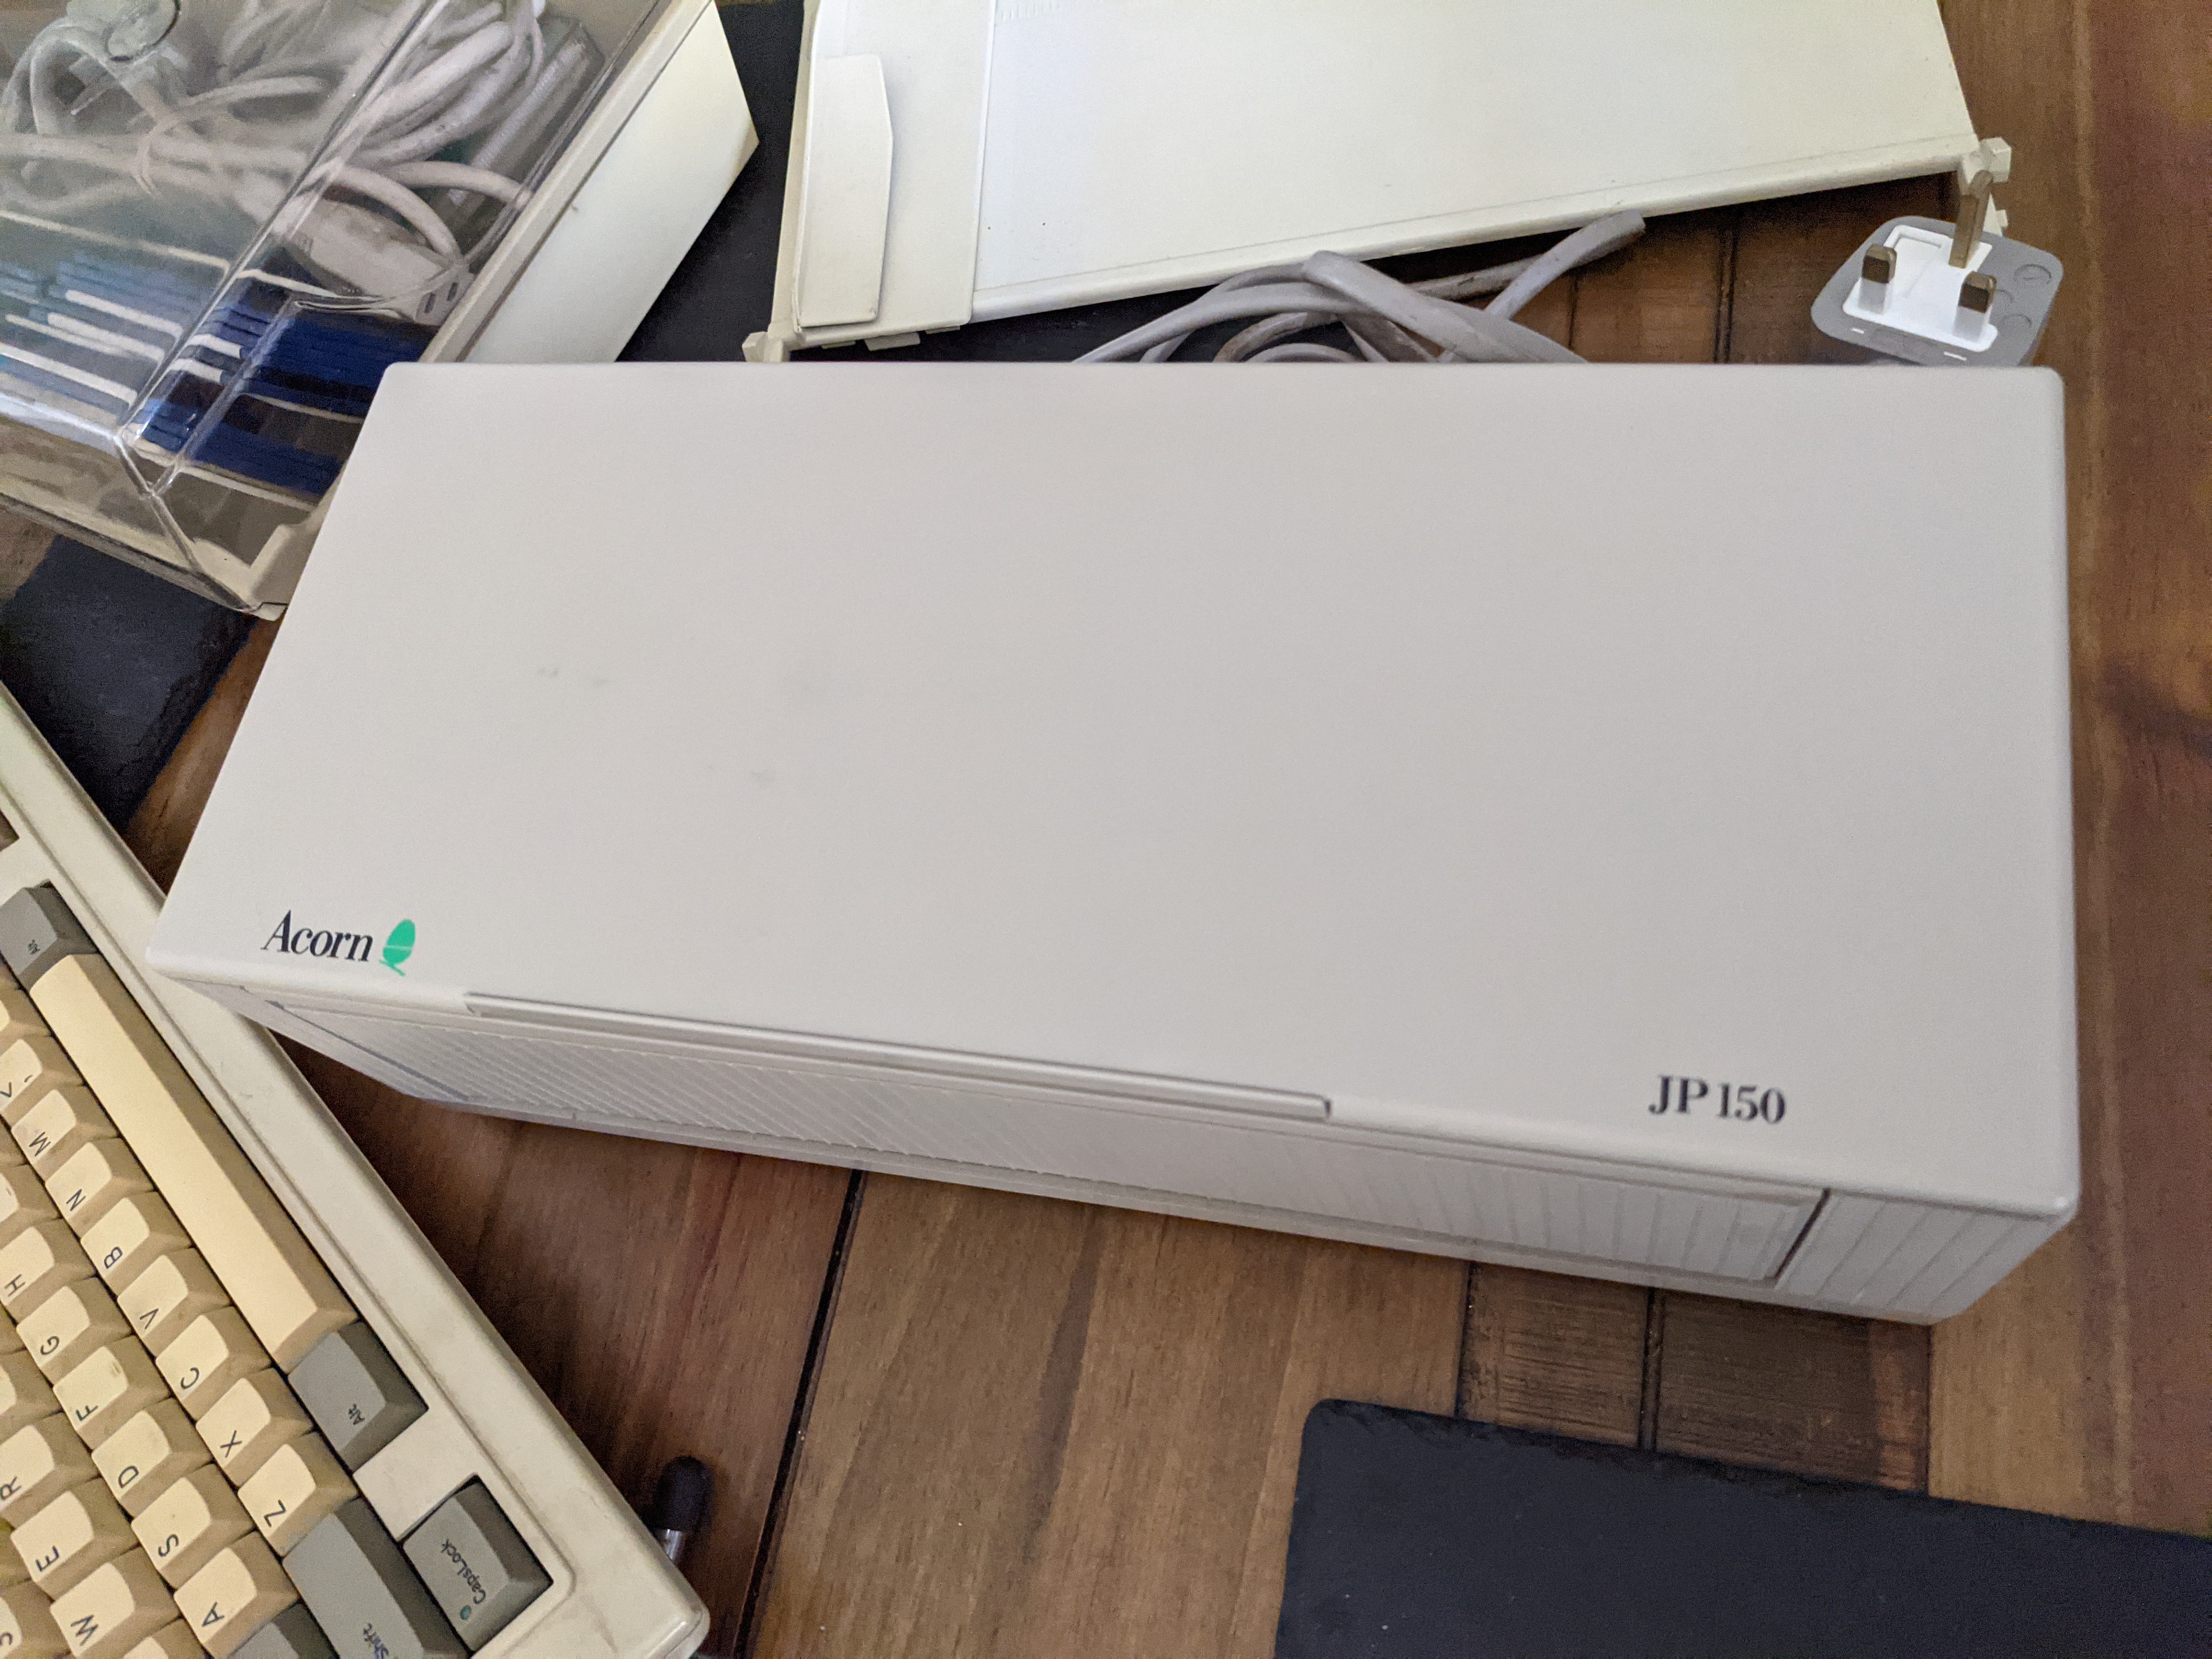
This is what I acquired in 2021:

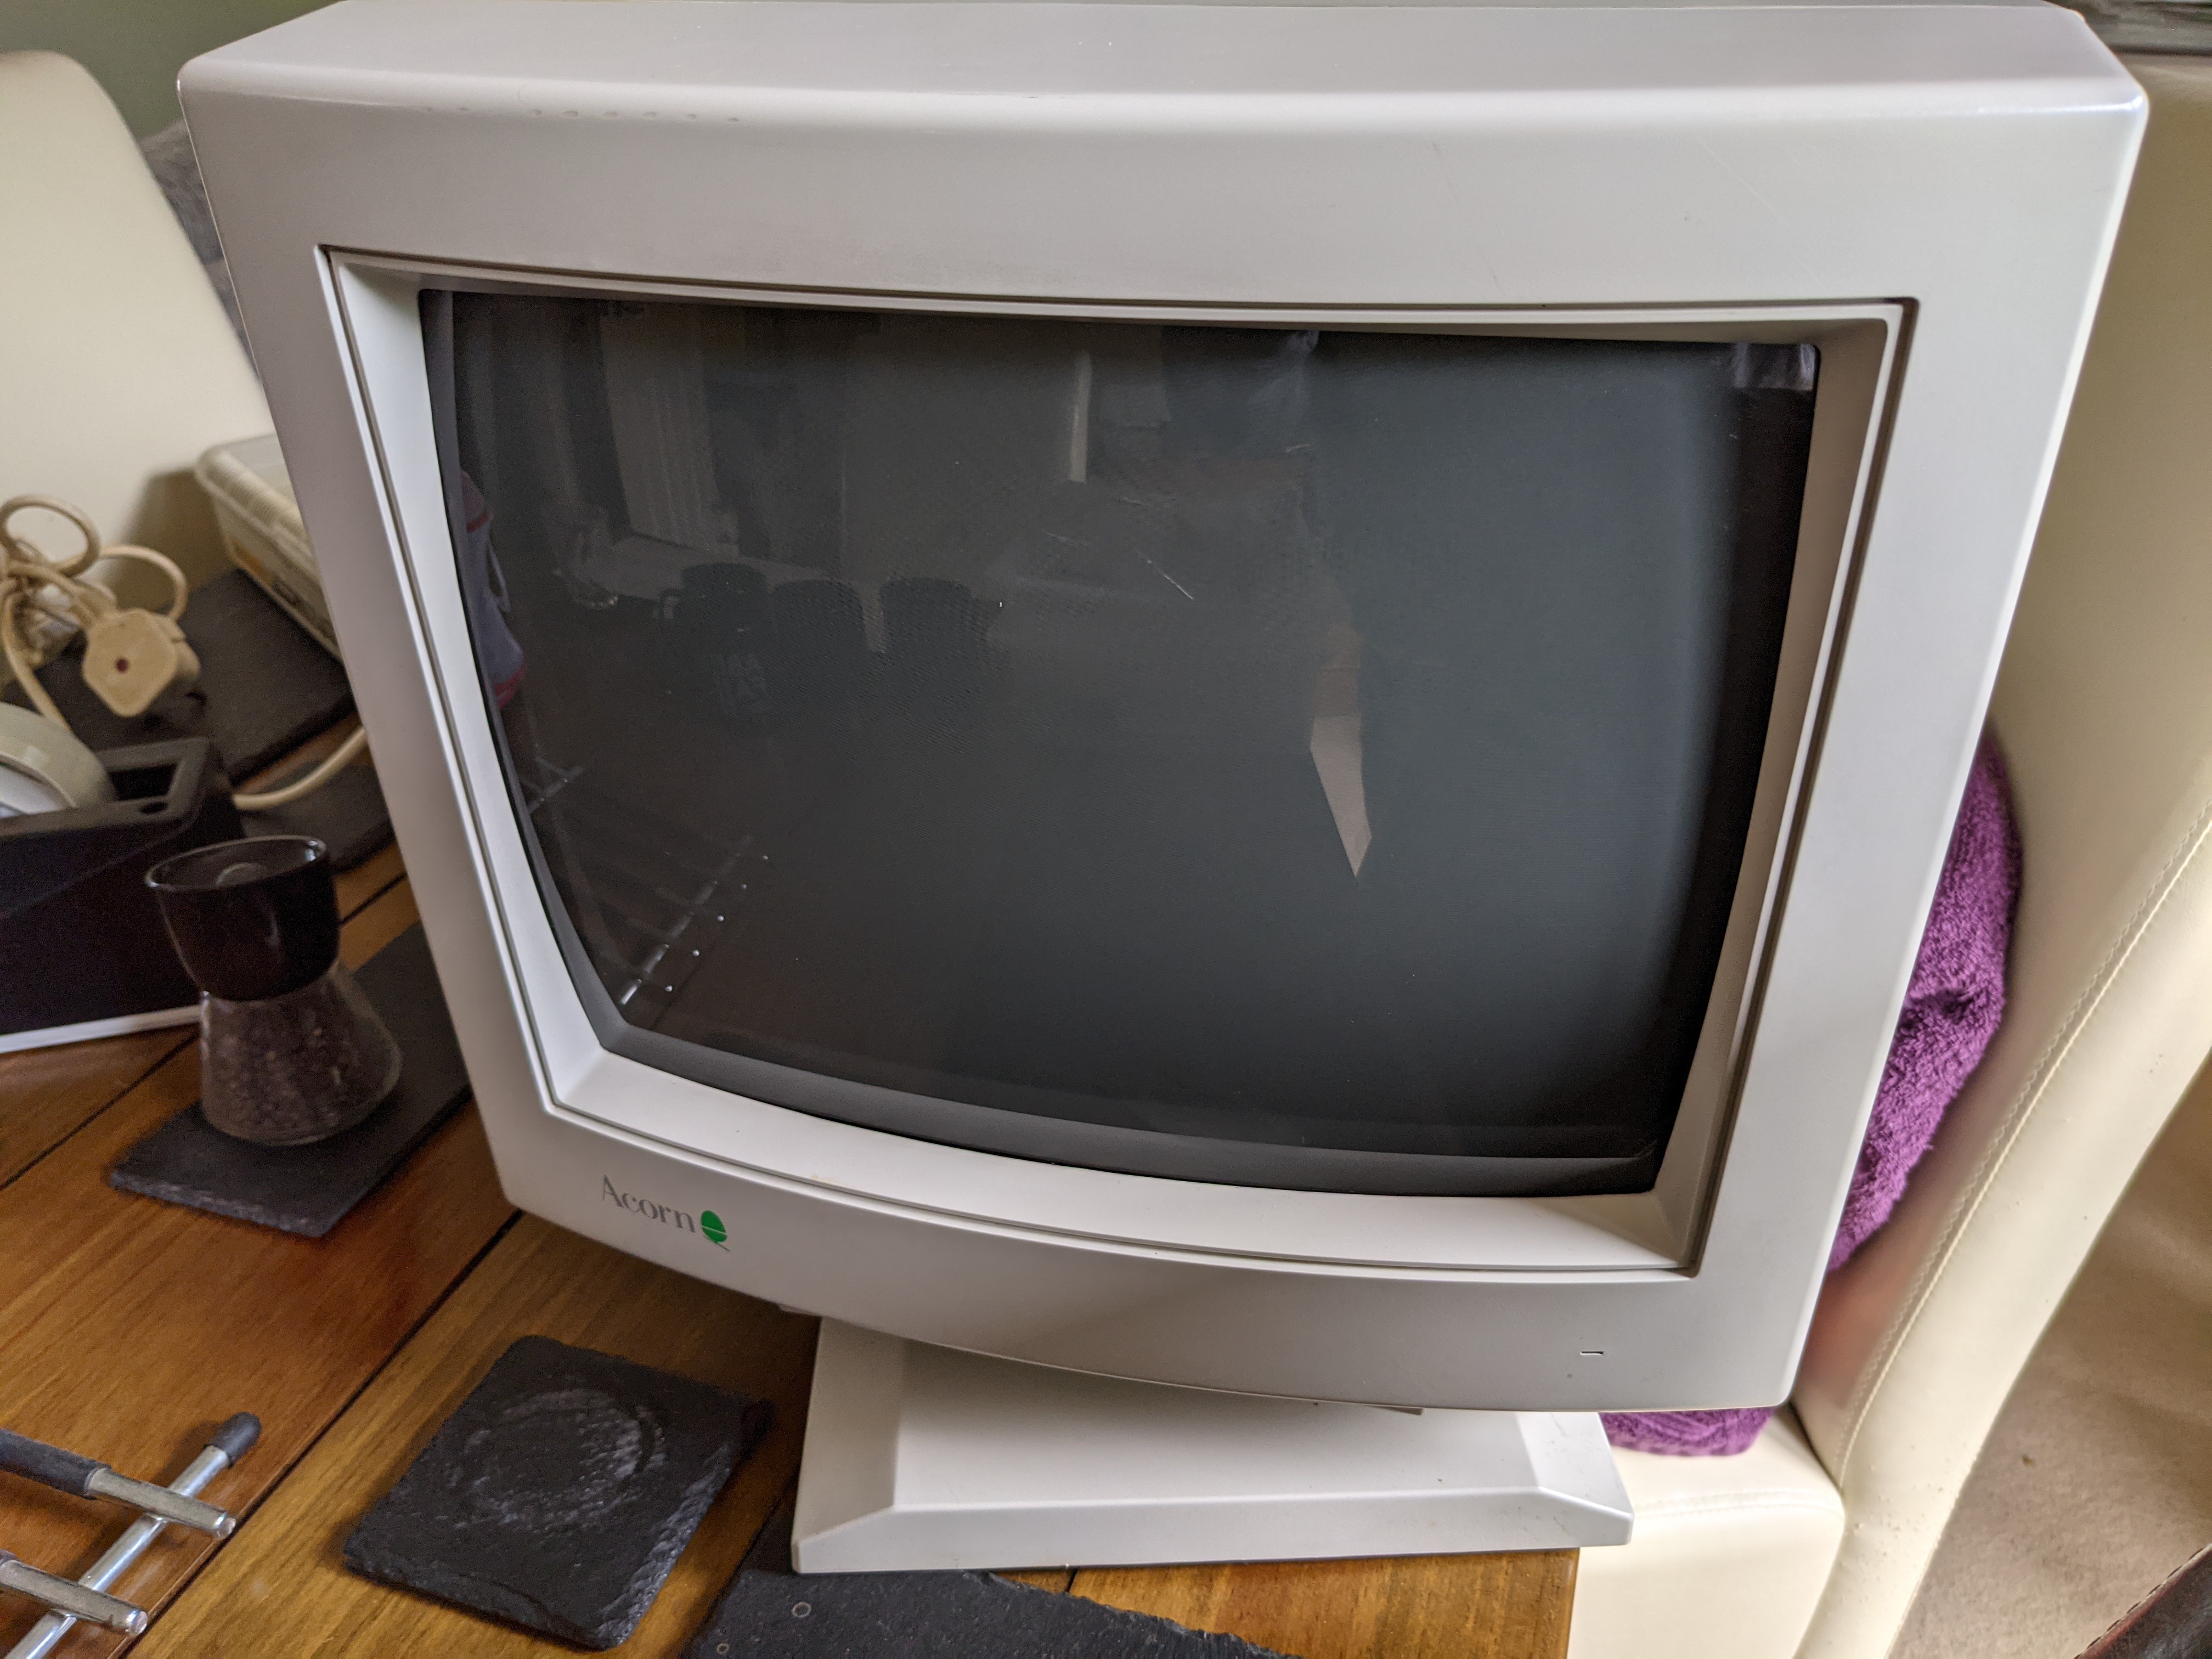
The monitor I gave away to a member of my local Commodore Amiga group (it is Amiga compatible), as nice as it is I don’t really have the space for it.
Back when I acquired the machine I tried powering it up to see what the problem was. Using this handy website, the flashing floppy drive light indicated that the RAM area was faulty. So, I disassembled it to see what we had.

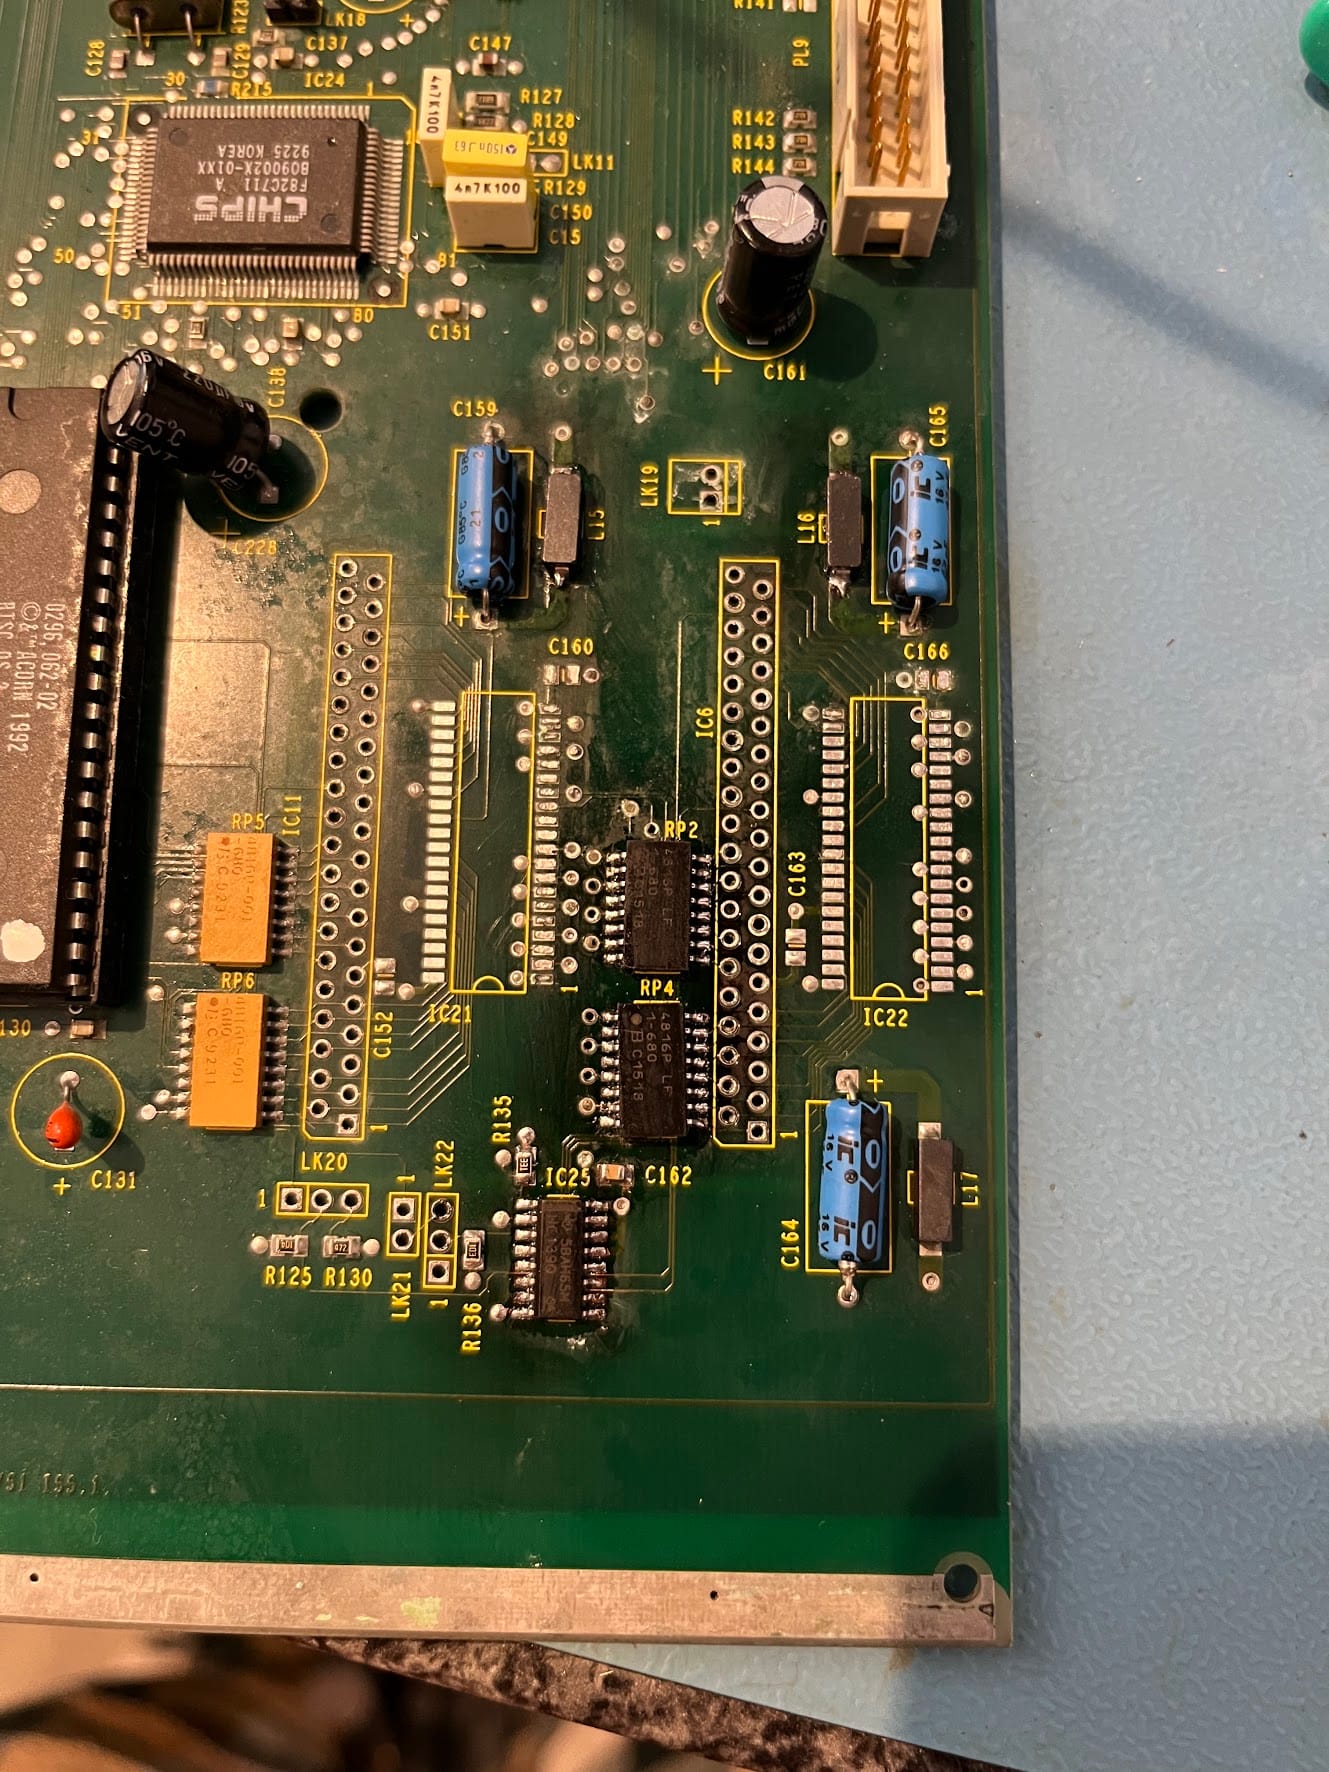
Well that is already not a good sign. Corrosion on the metal shielding and even from here I can see corrosion around the RAM area.

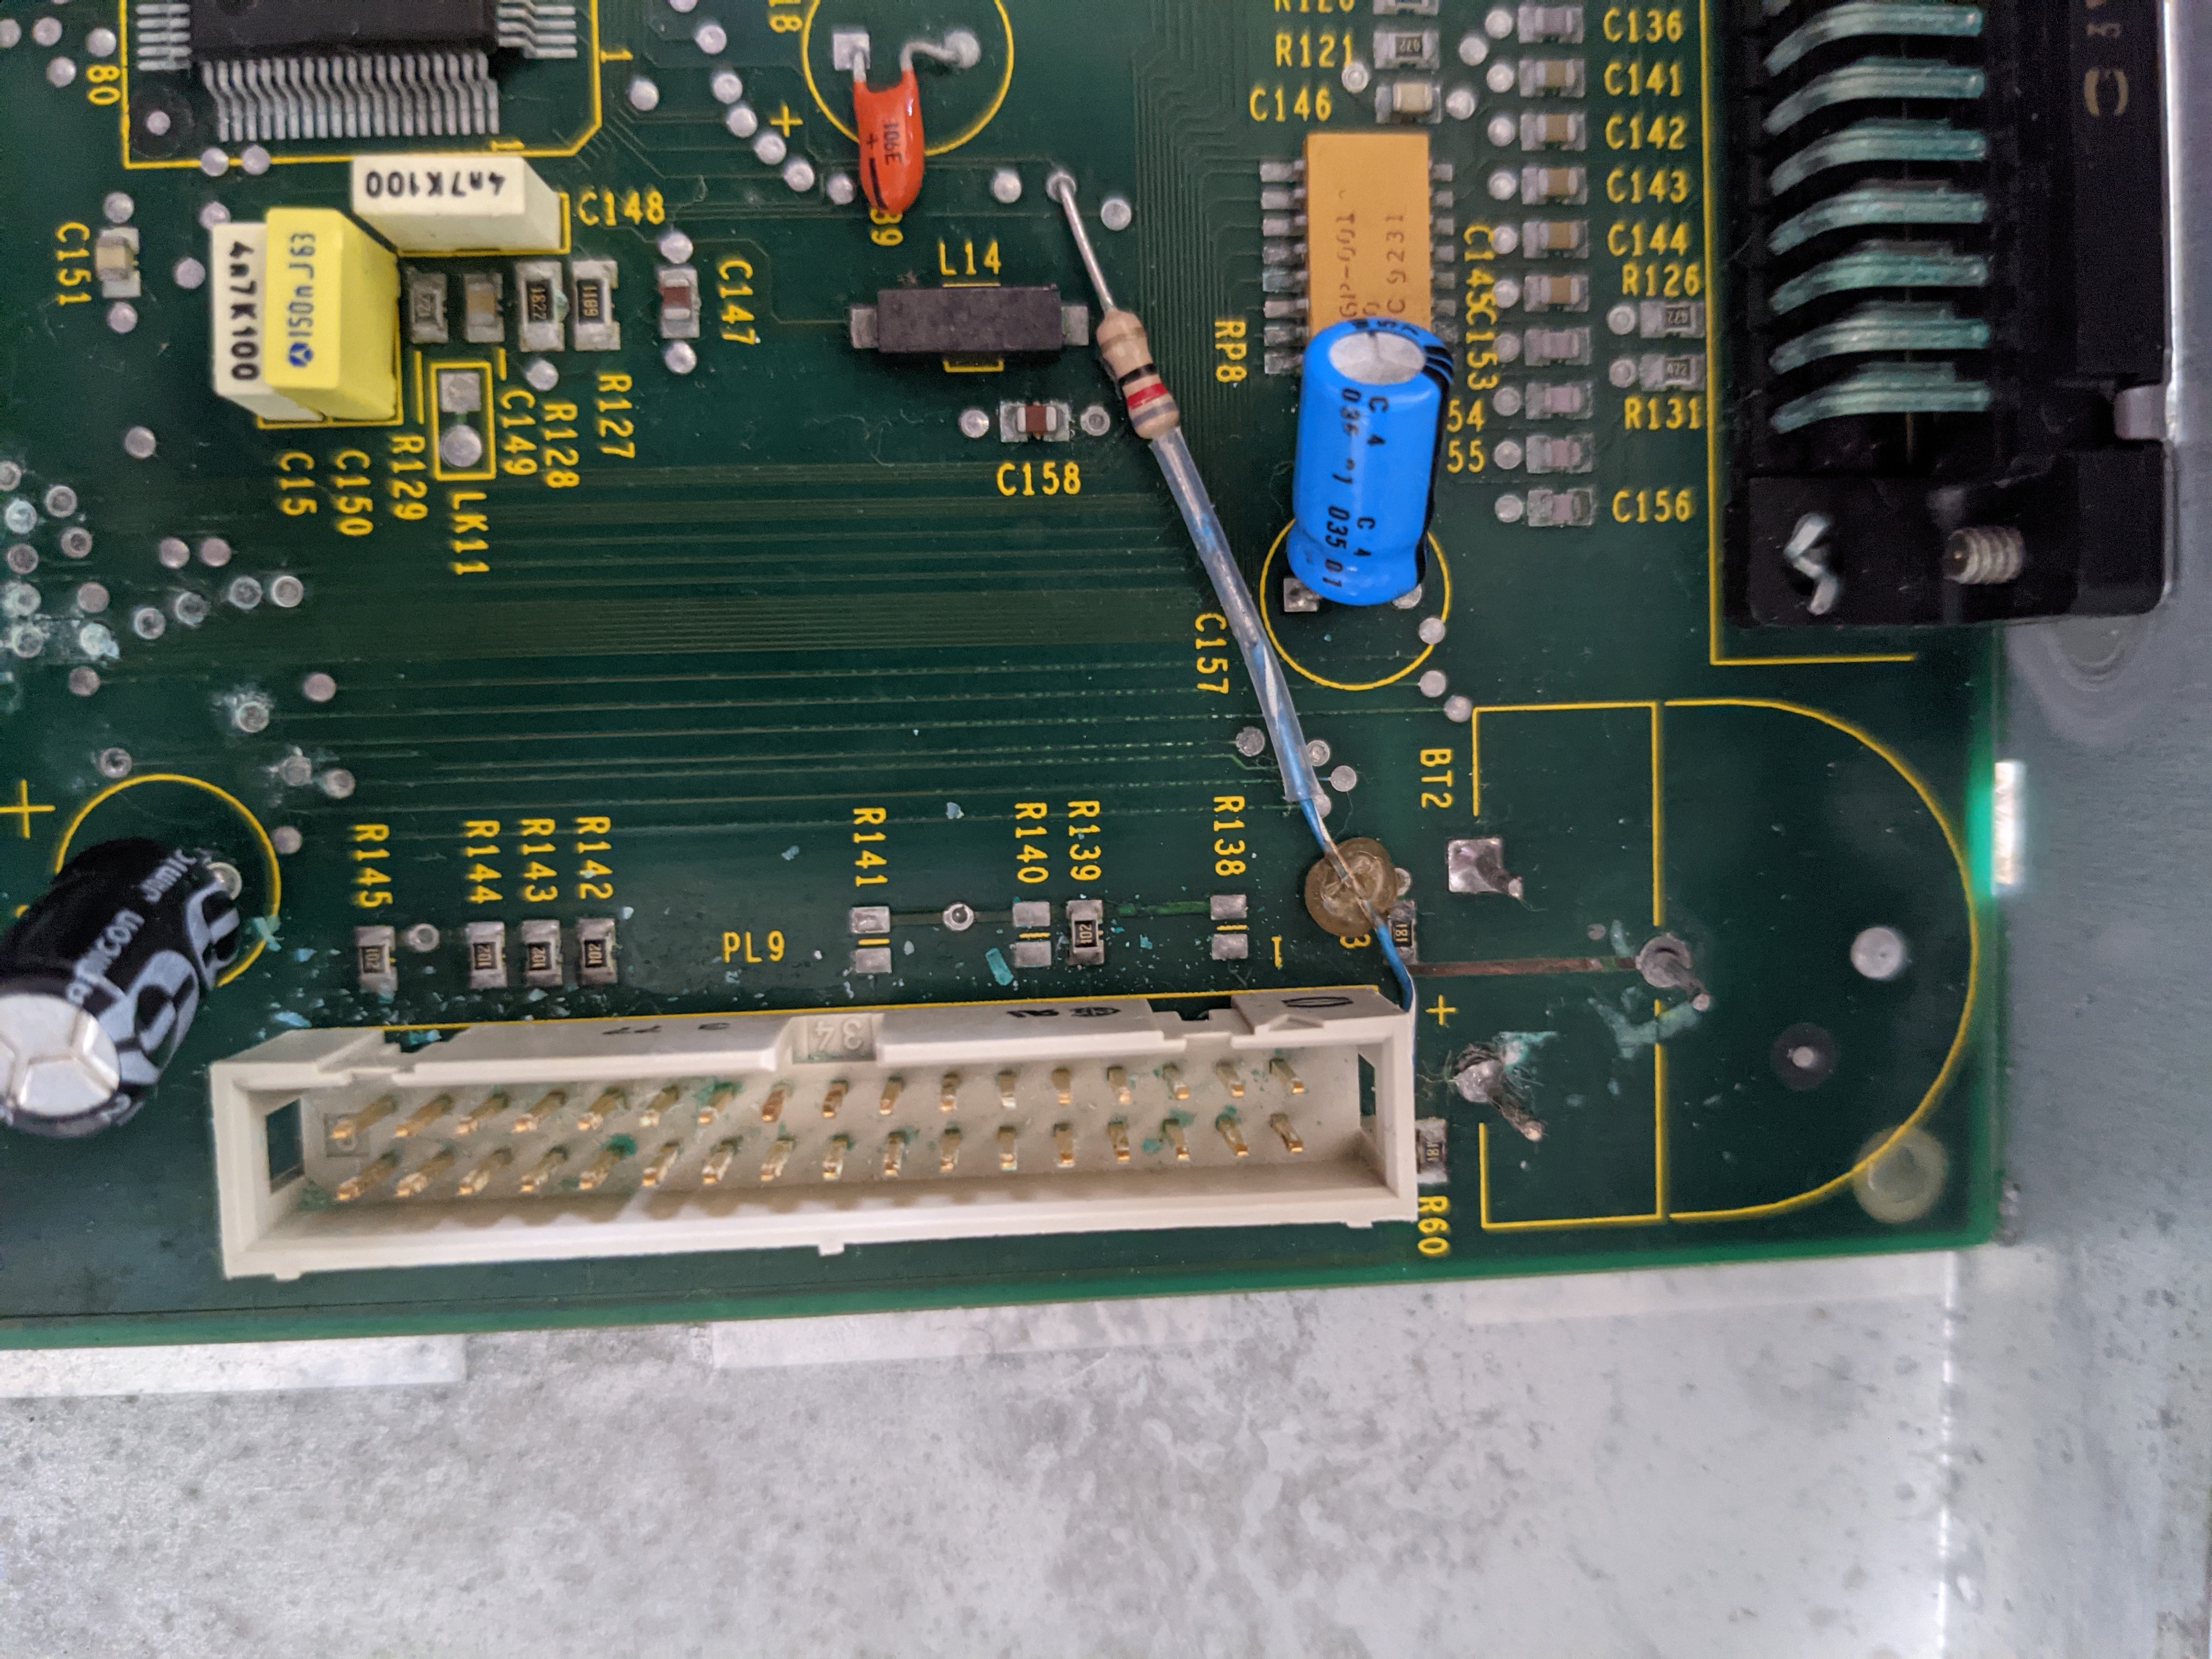
It looks like someone before me at least got in there to snip off the battery. But that RAM area is looking a little too green for my liking. I pulled out the zip RAM upgrade and put the machine away until I had time to repair it…
RAM Repair
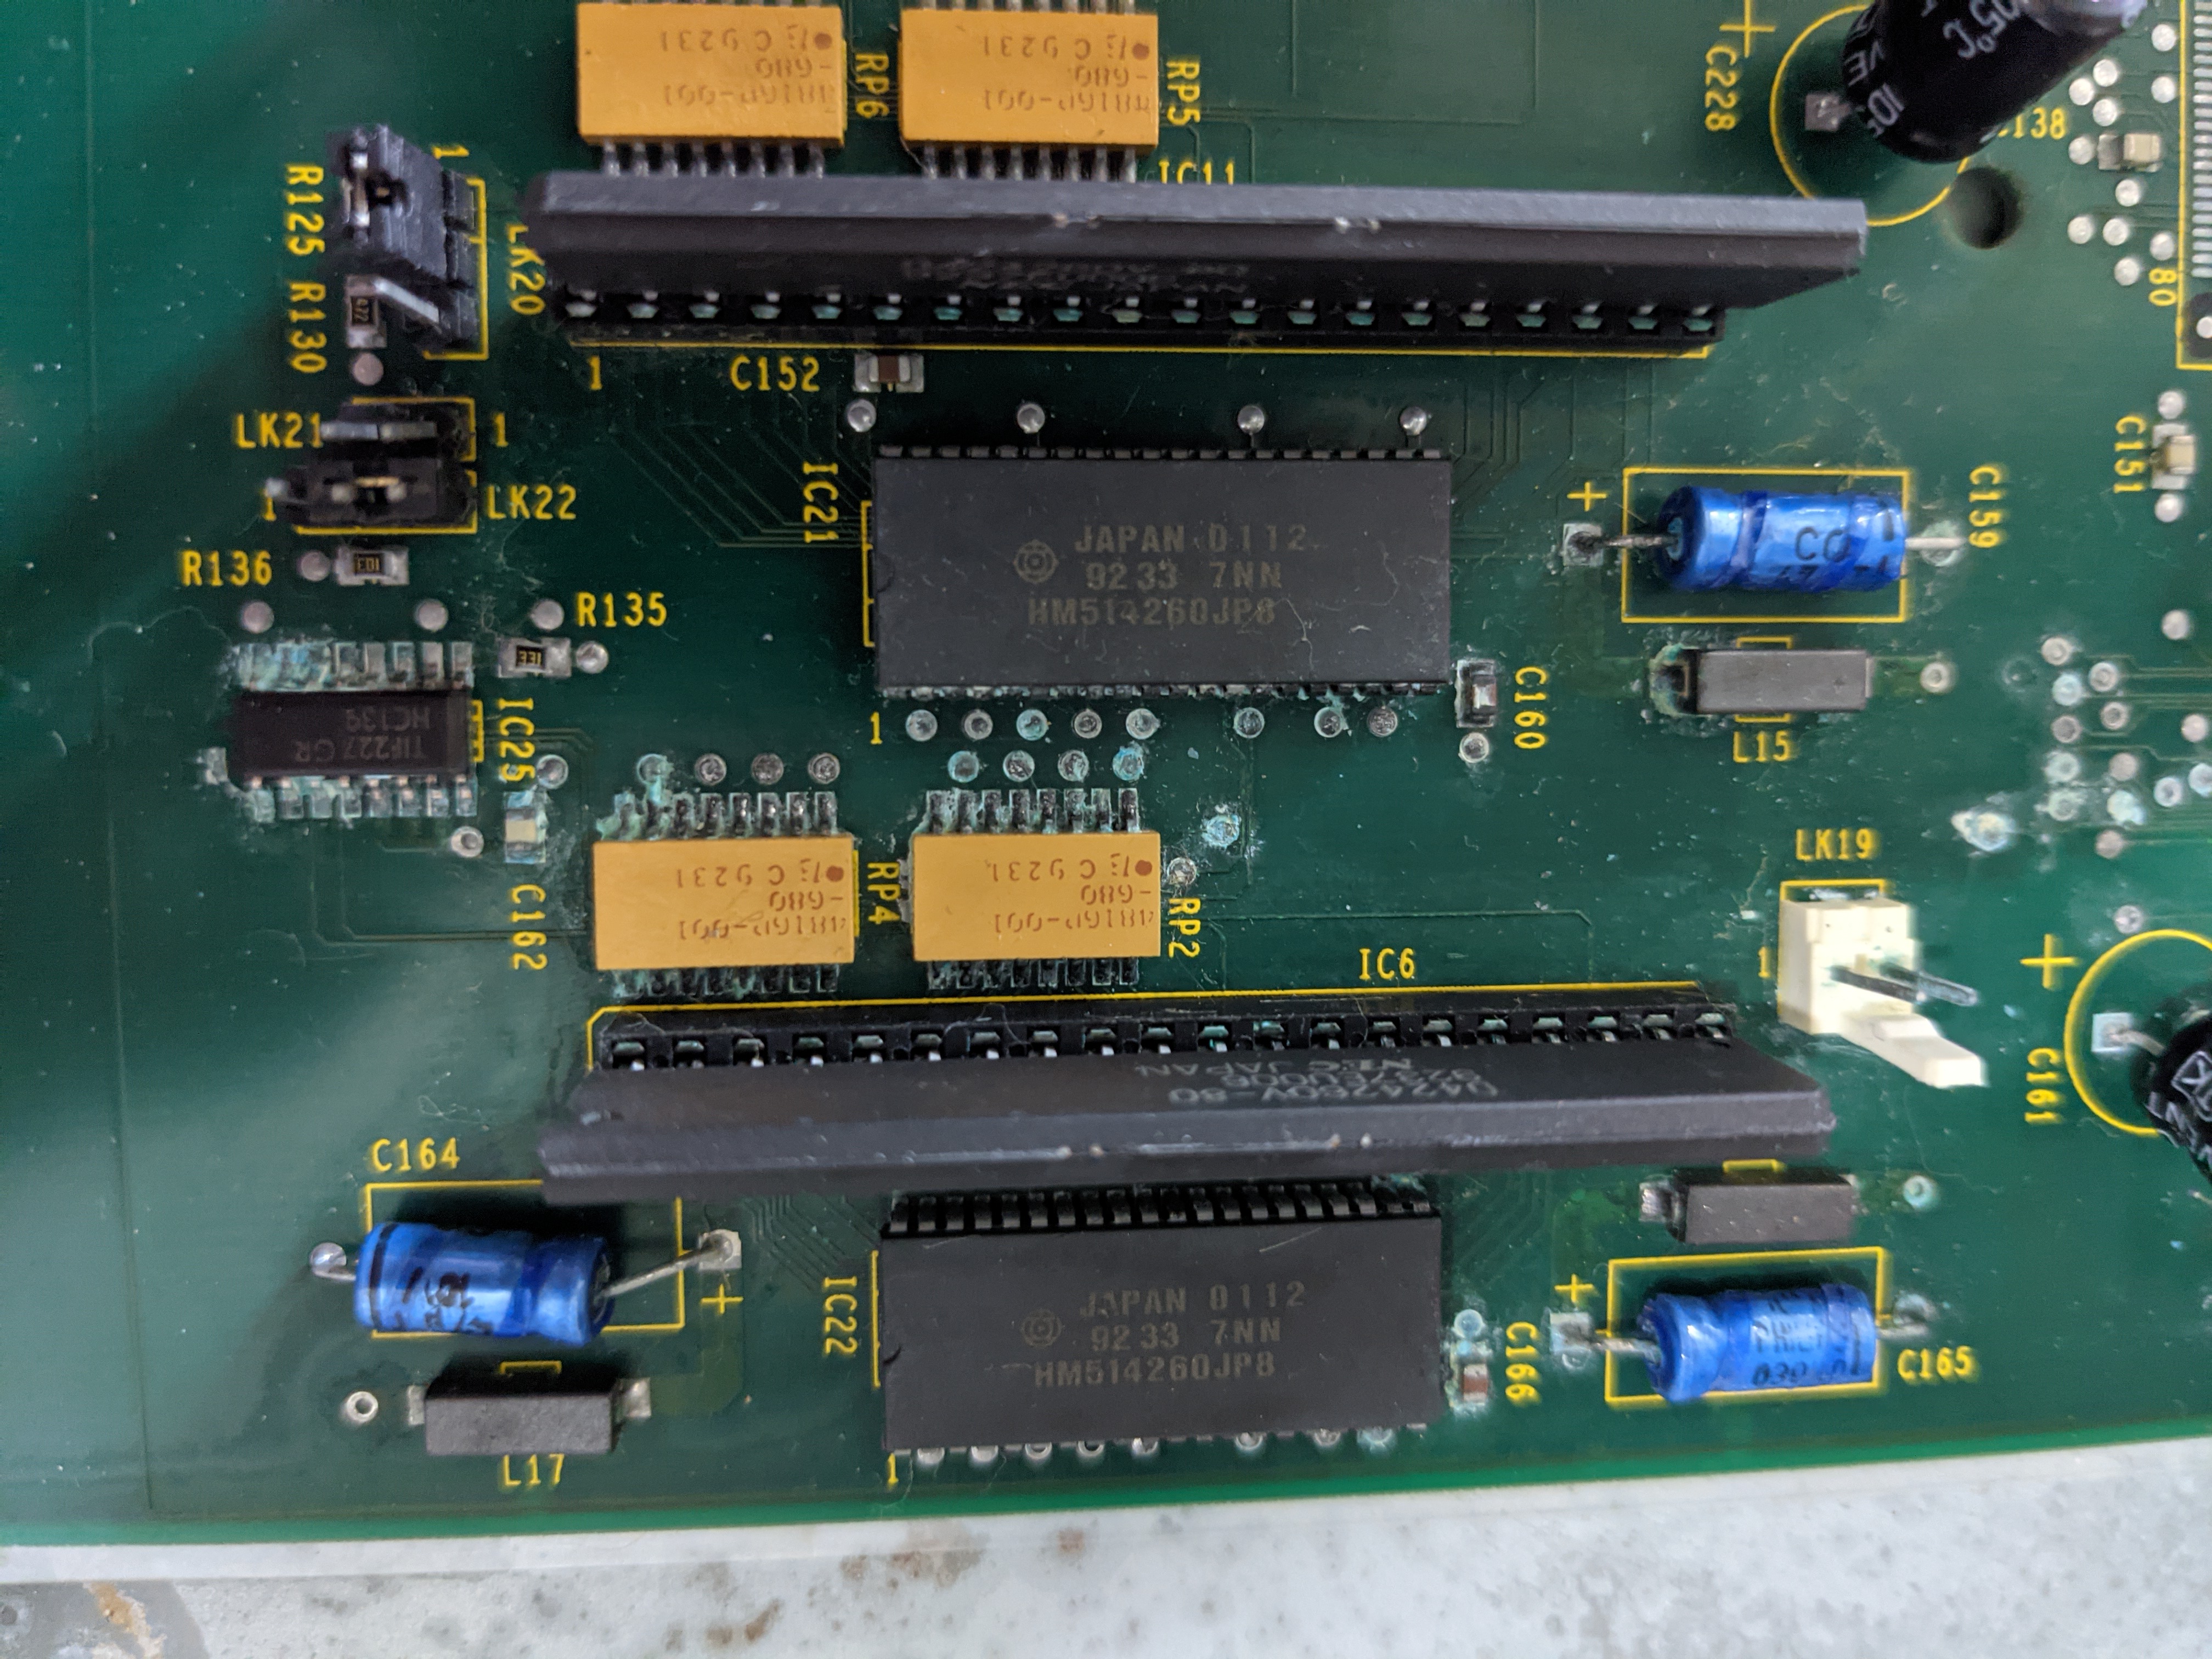
Roll on 2022, somewhere along the way between moving the machine to my new workshop I lost the zip RAM, but I decided to press on anyway. The first task is to completely strip down the RAM area, cleaning as I went.
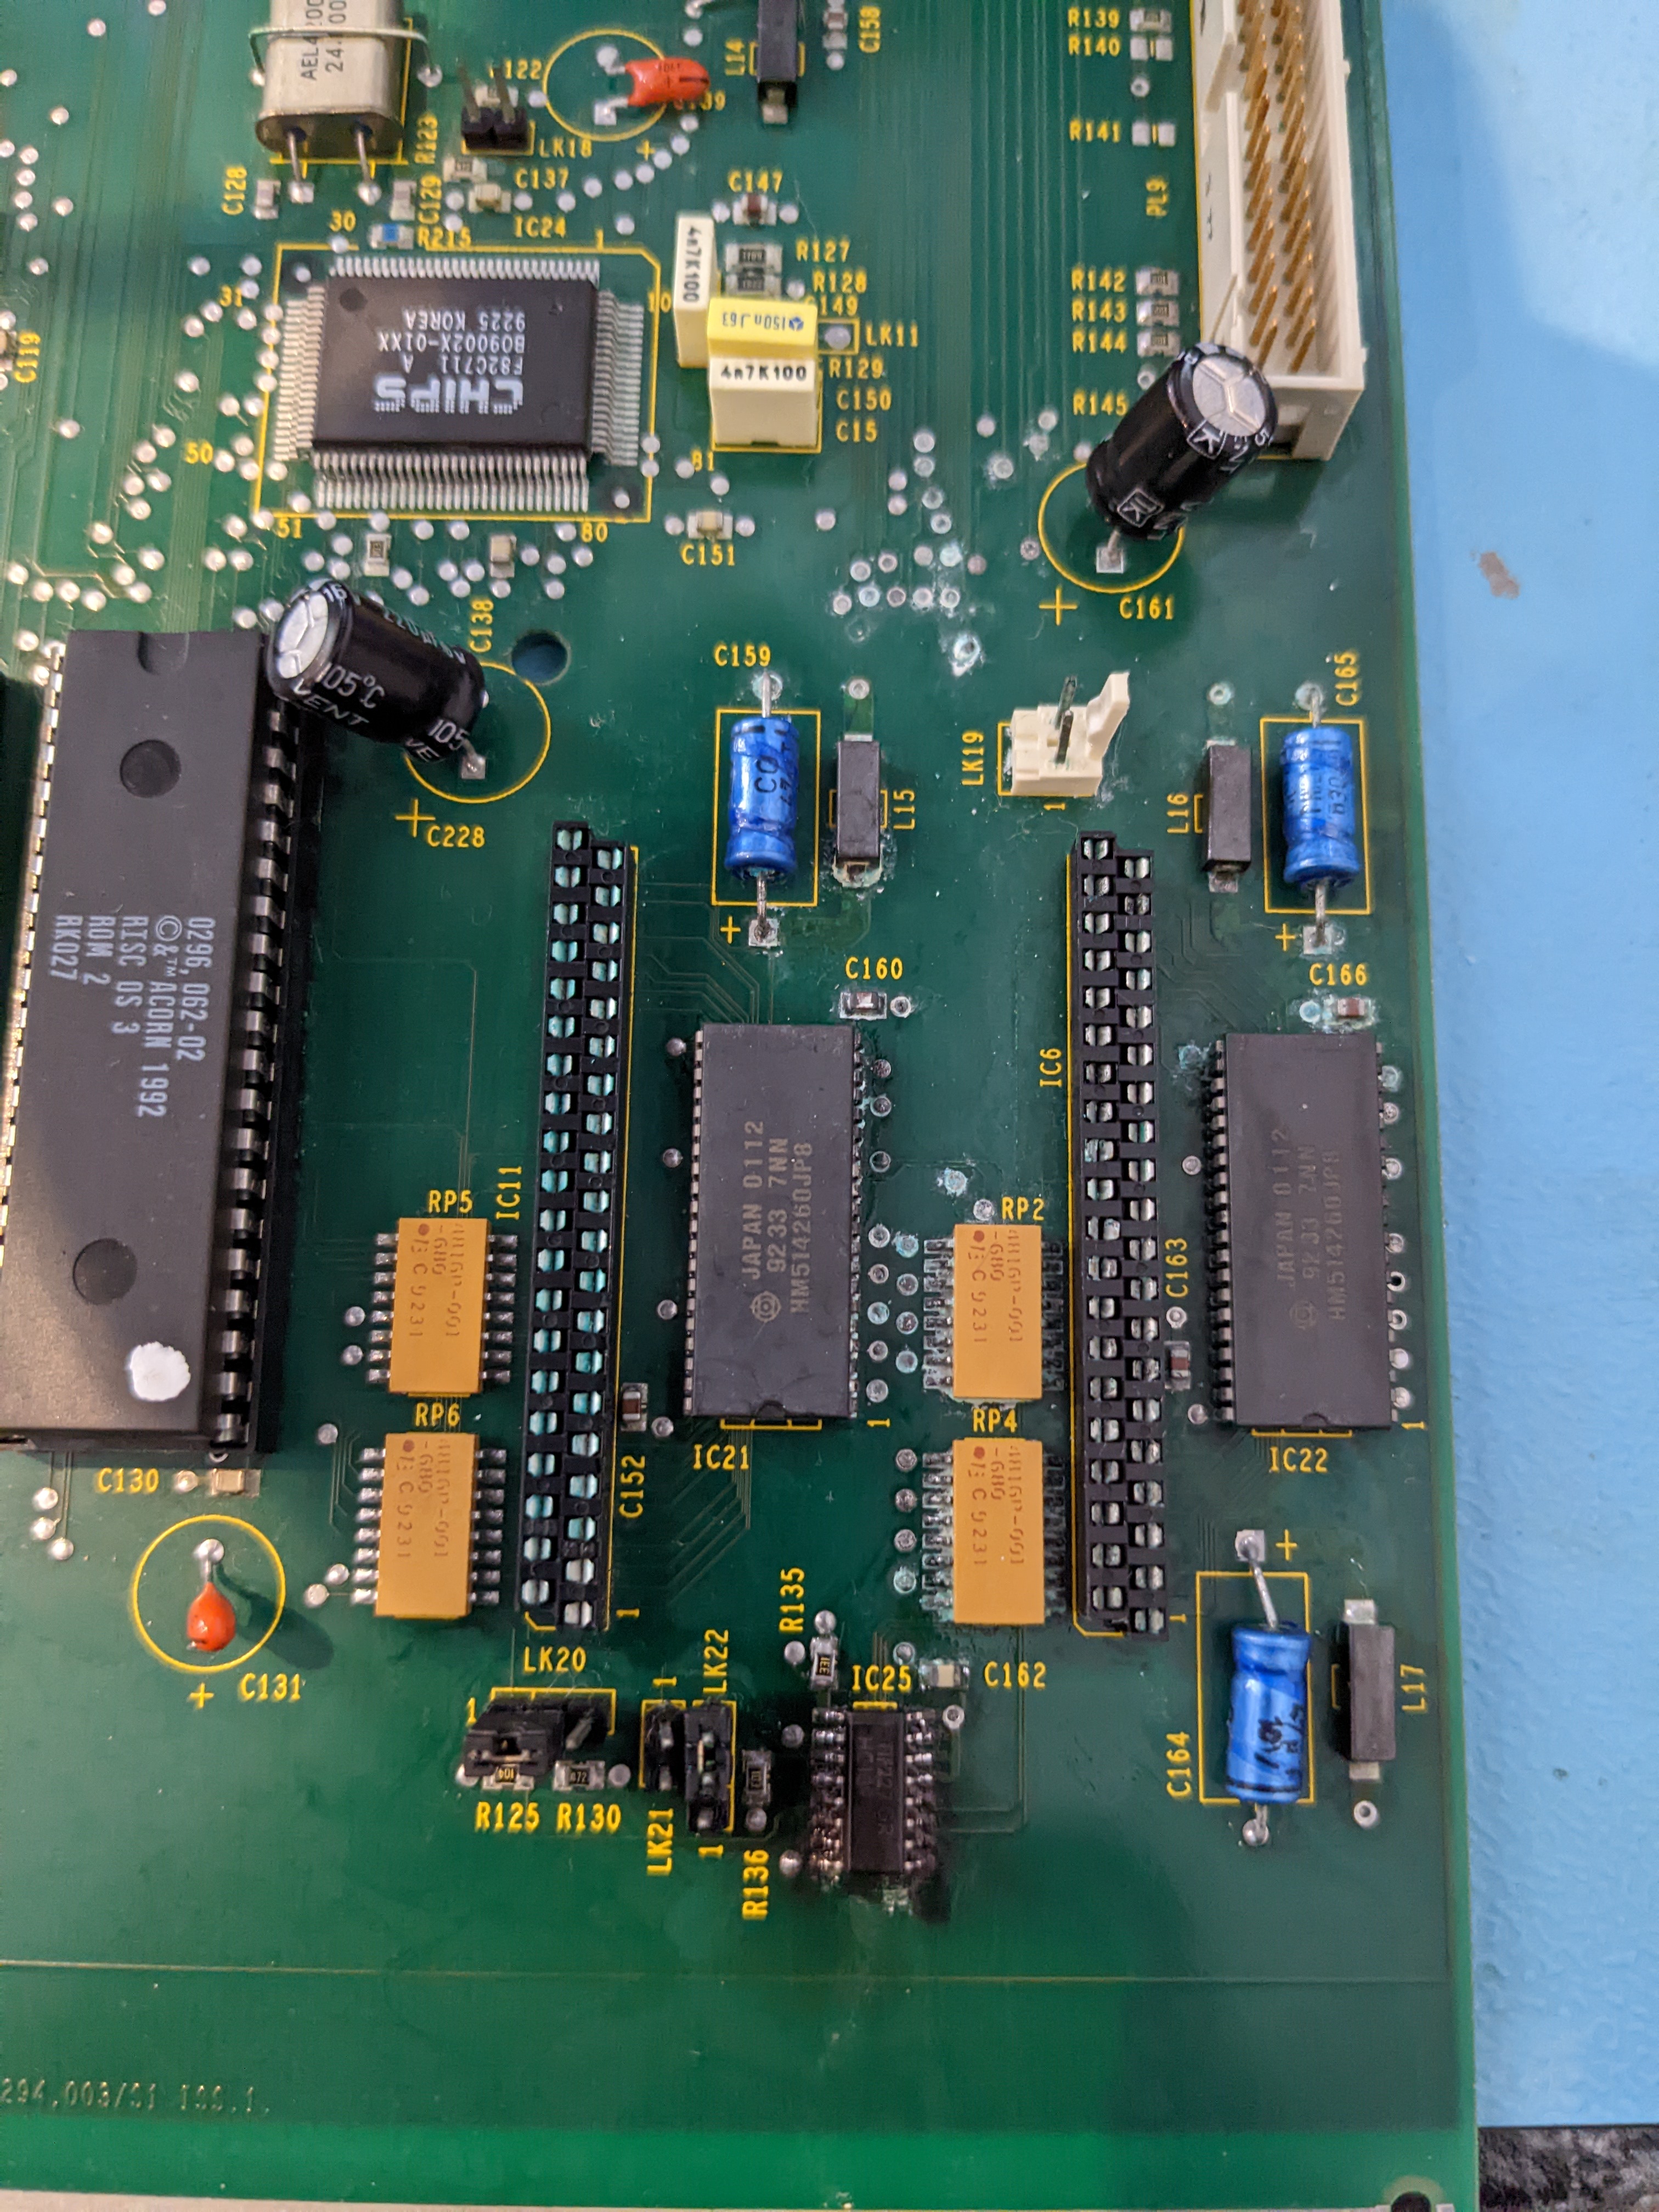


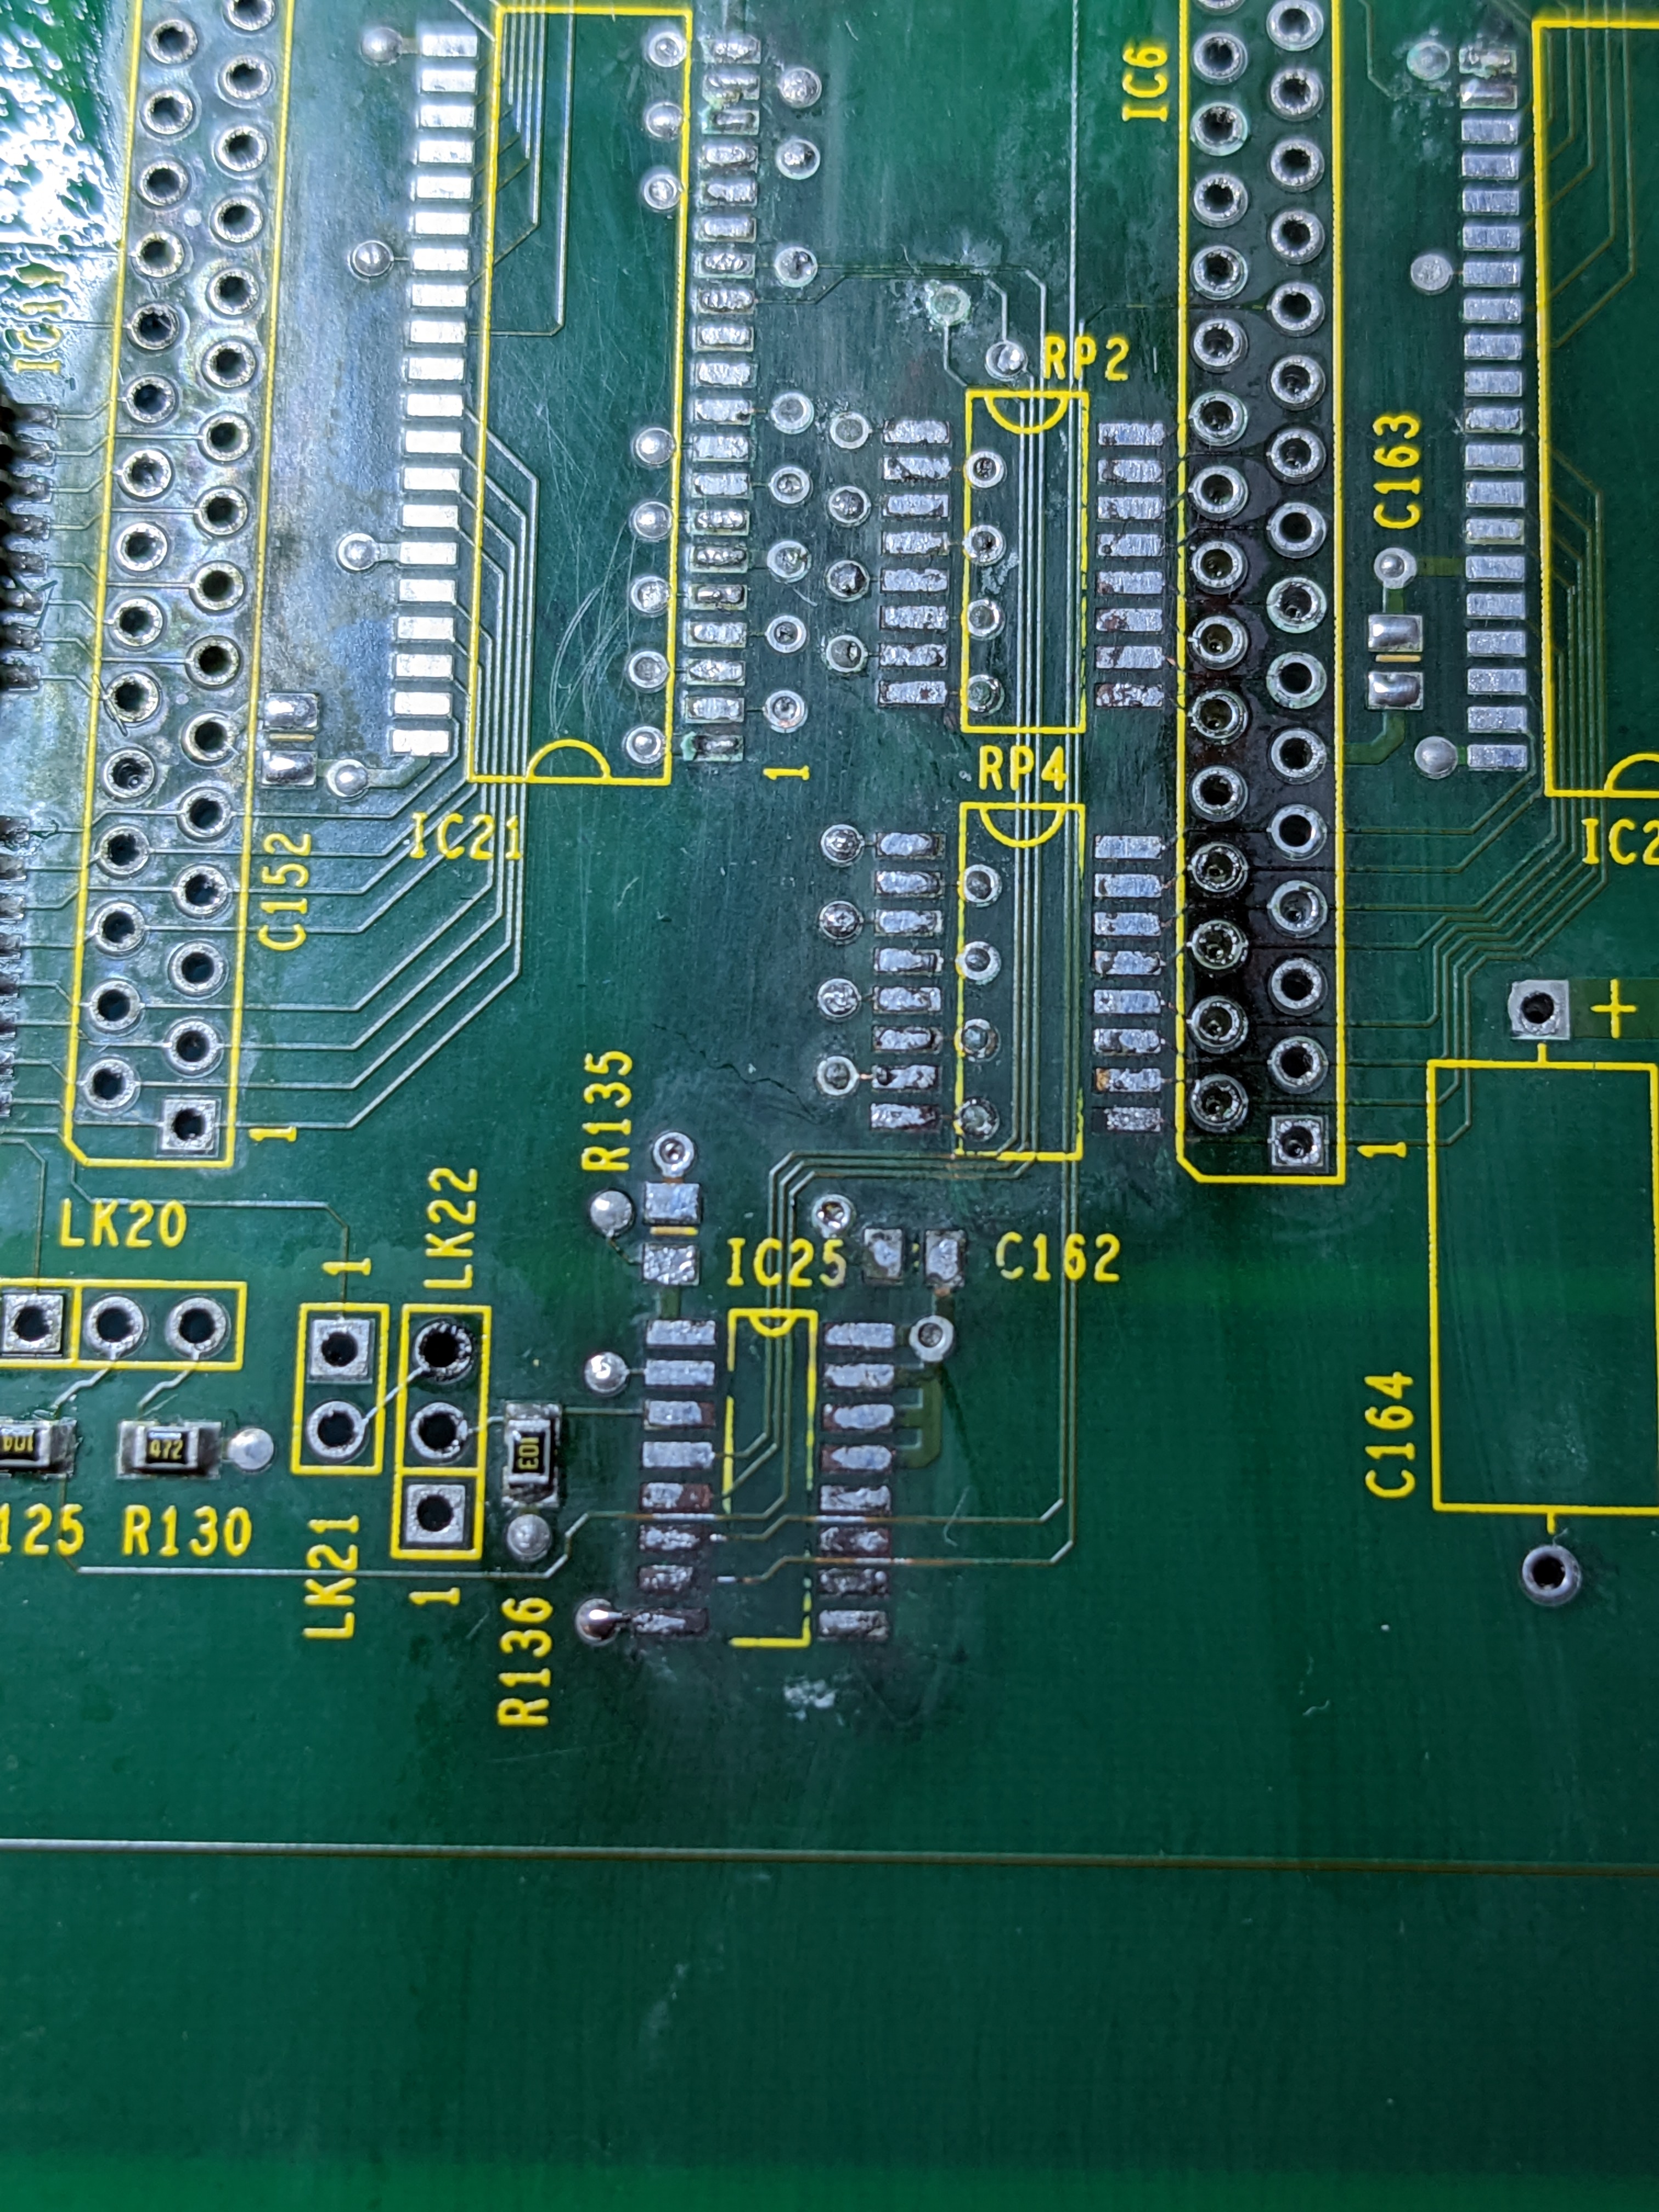
It looked pretty bad but actually every pad survived and a quick buzz around showed that only four traces were broken. Two for IC25, one for RP4 and one for RP2.
Next up I tested the axial capacitors I had pulled.
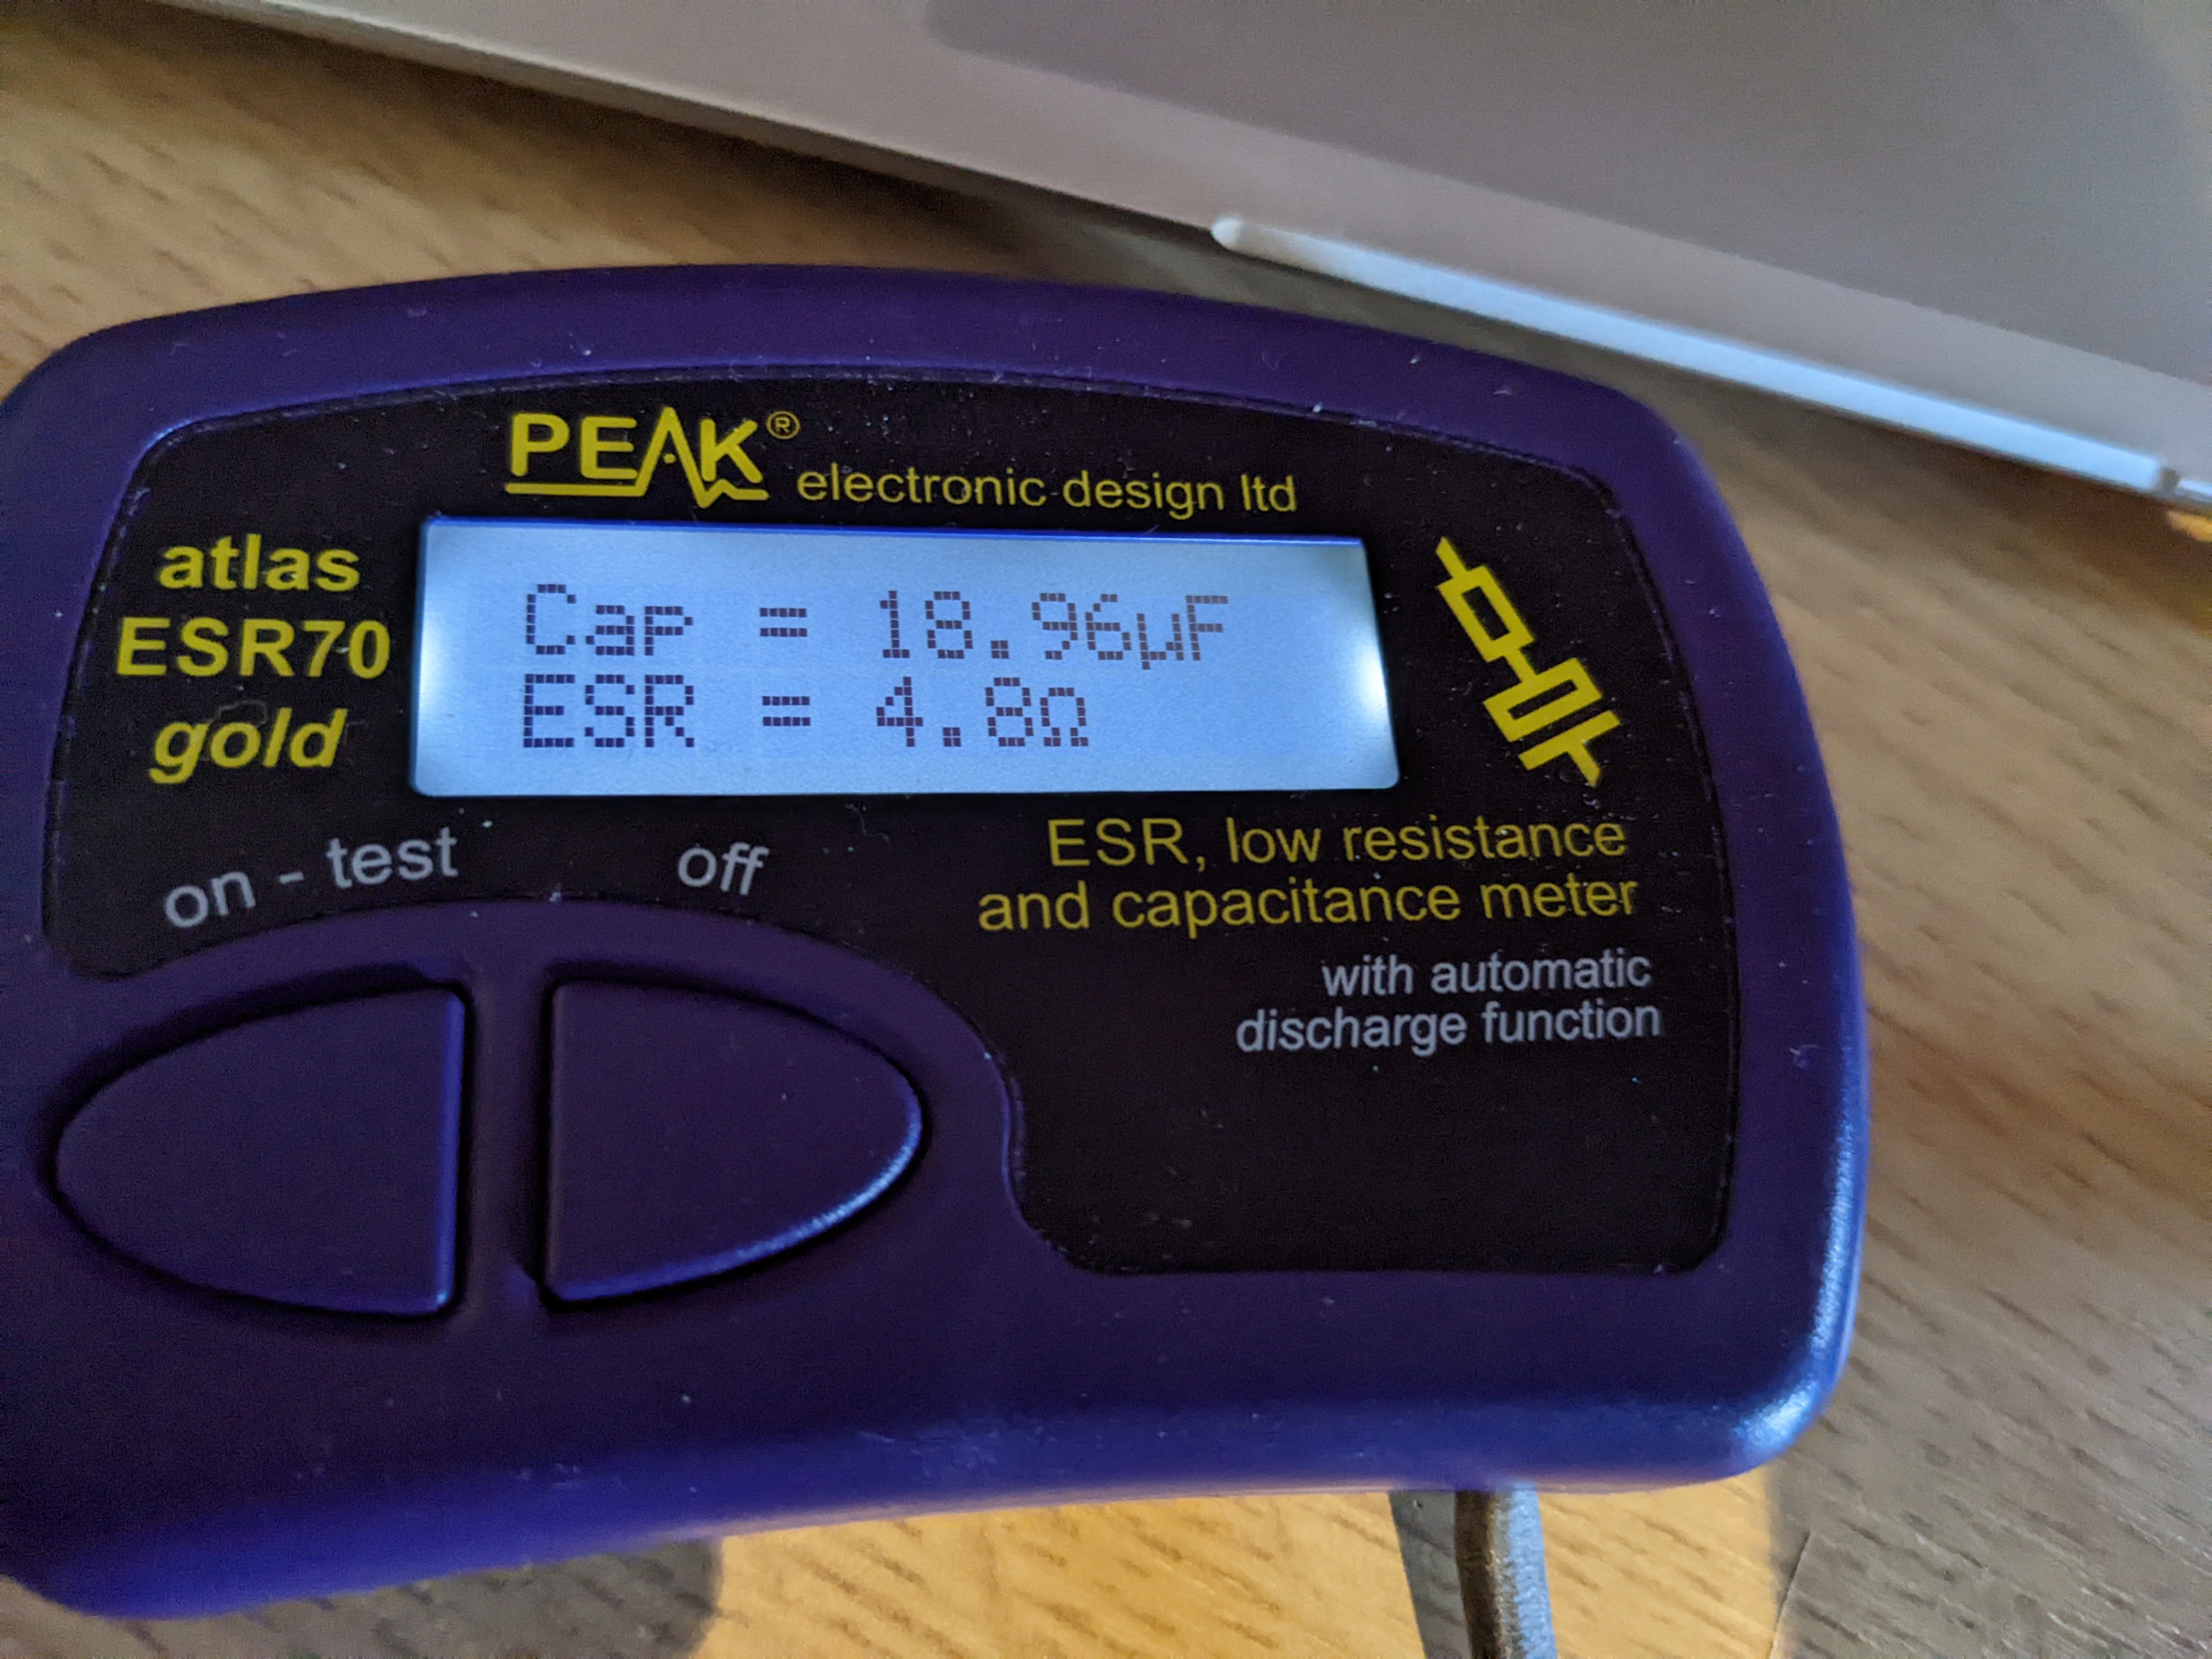
Given that this is a 47uF capacitor I’m going to call it and say it is bad. The other two were in a similar ill health. I ended up replacing these, two ferrites, a radial capacitor, both affected resistor packs, an SMD resistor, an SMD capacitor and the jumpers for that area. I decided not to replace the RAM but instead install a 4MB upgrade. This is partly because I wanted to install the maximum RAM possible, and partly because I knew that installing a 4MB upgrade disables the onboard RAM so those chips would not need replacing. I do also need to replace LK19 which is the loudspeaker connector, but I didn’t have any of those to hand.

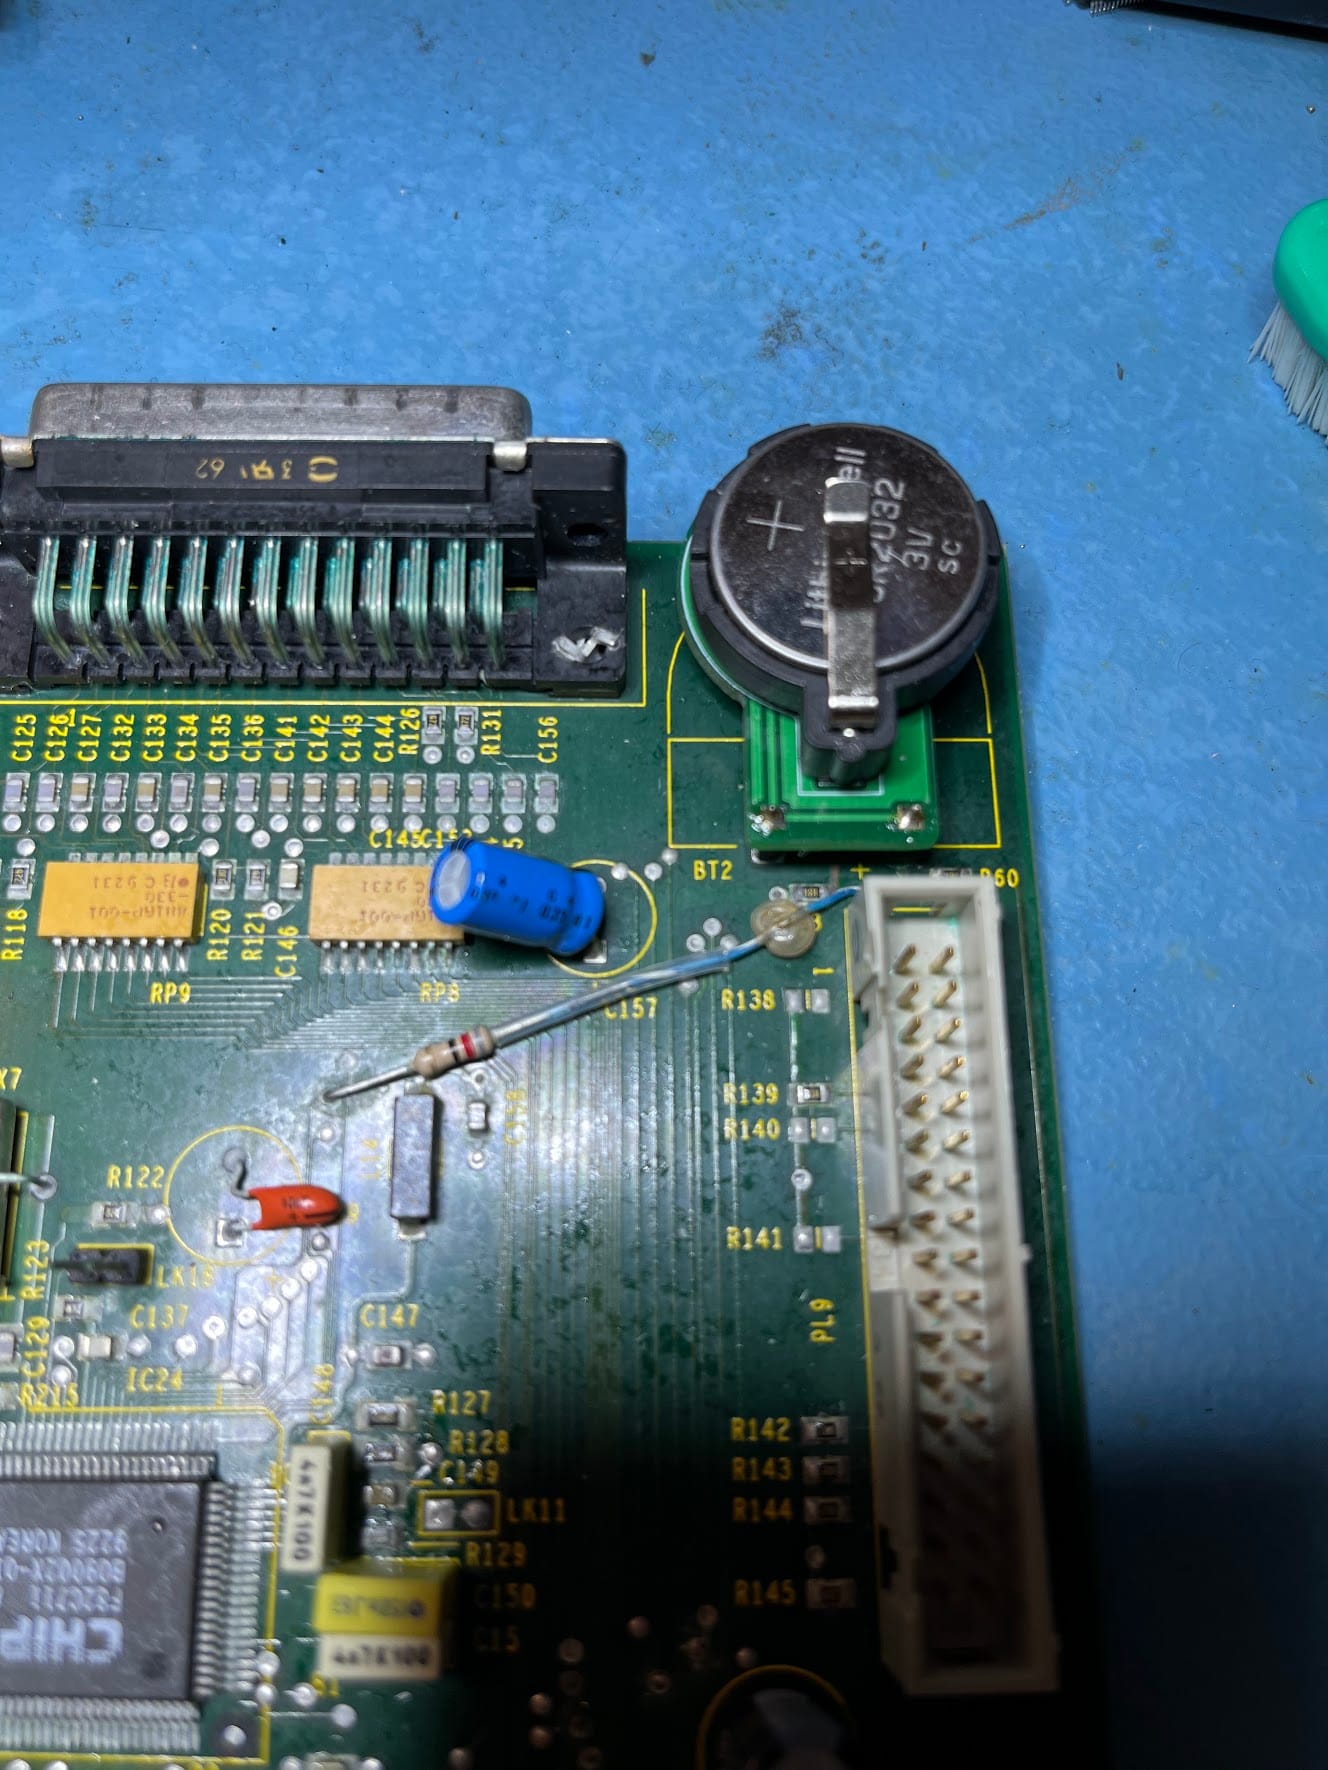
For good measure I temporarily installed a CR2032 battery mod I designed for Amigas which uses a MOSFET to stop reverse voltage. The MOSFET gives it a lower voltage drop than a diode.
This is an older bulkier version that won’t fit once it goes back in the case, but will help keep the settings whilst I test things. I have a smaller version I might use when reassembling or I might go with a different design altogether.
Now for the moment of truth. The motherboard has handy blade connectors on it for +5v and 0v connections so instead of hooking up the mains side of the PSU I just wired these to my bench power supply. This makes it easier to connect / disconnect at will during repair.
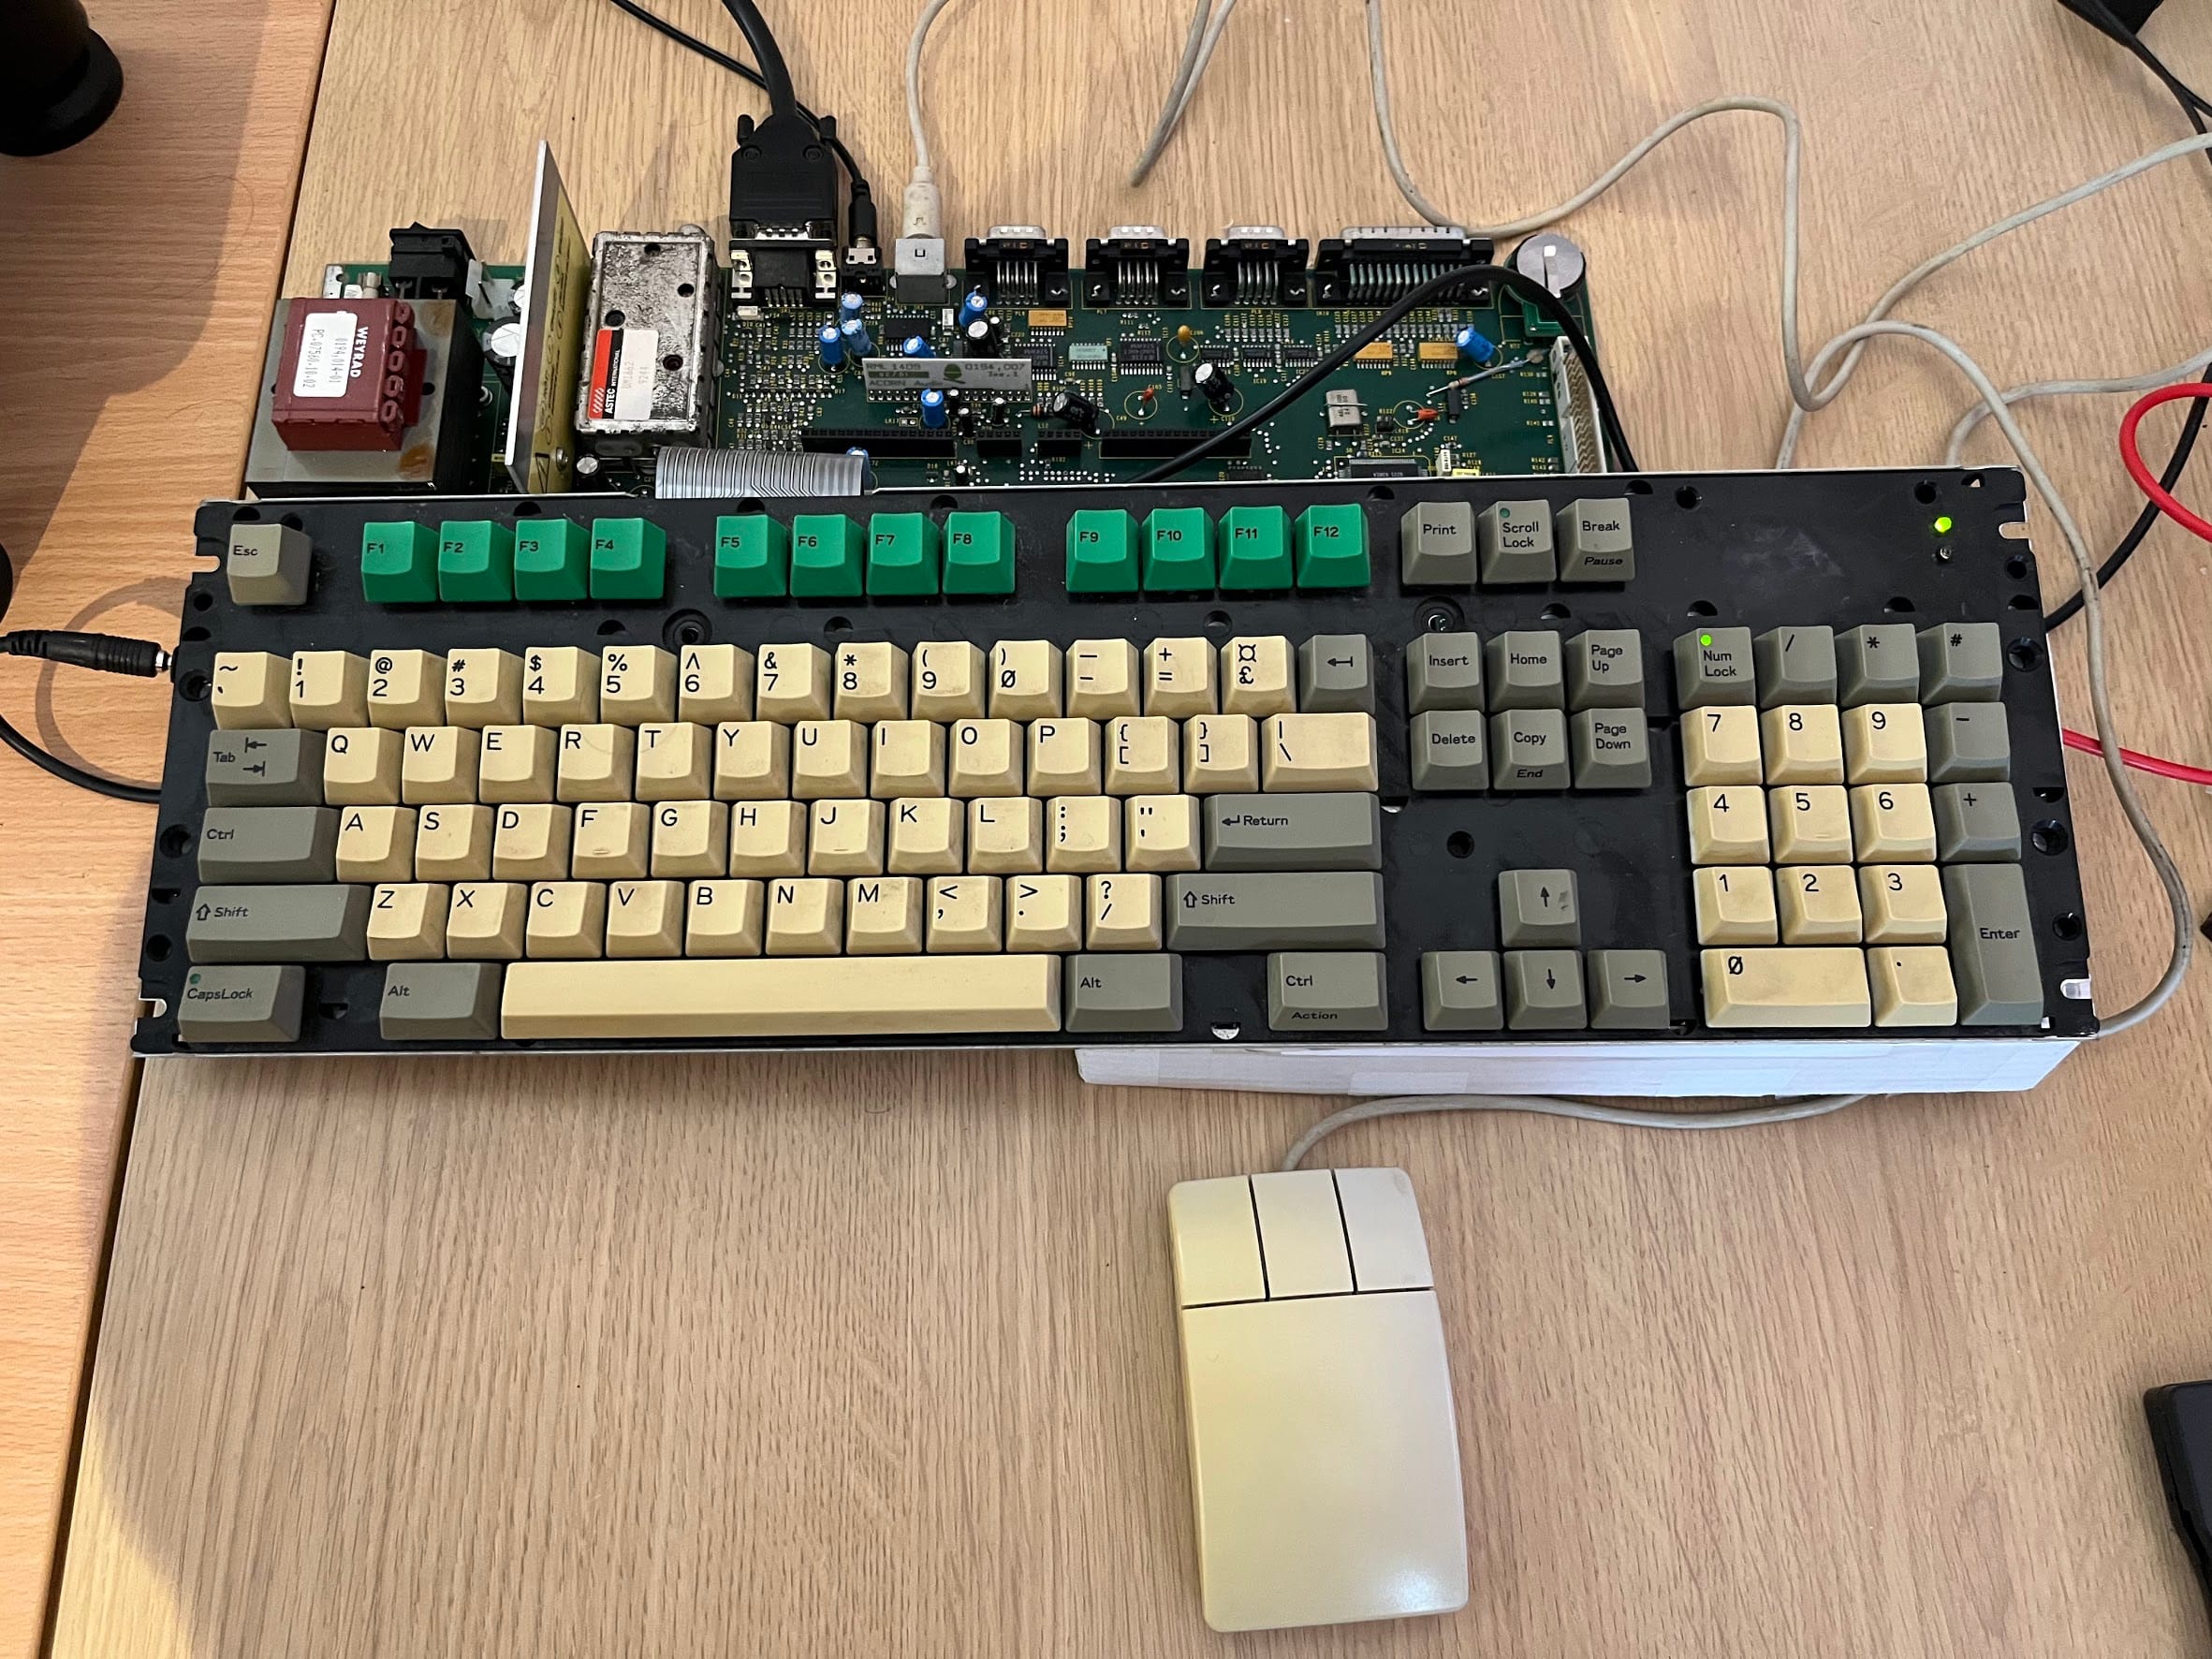
I turned it on and got a few flashes of colour followed by a black screen. I was concerned, checked a few things and then remembered that the battery backed-up settings RAM will likely be scrambled. This can be reset by holding down “Delete” when turning the machine on. So I did exactly that…

WOW! It booted immediately! I quickly checked the RAM out to see if it was all registering.
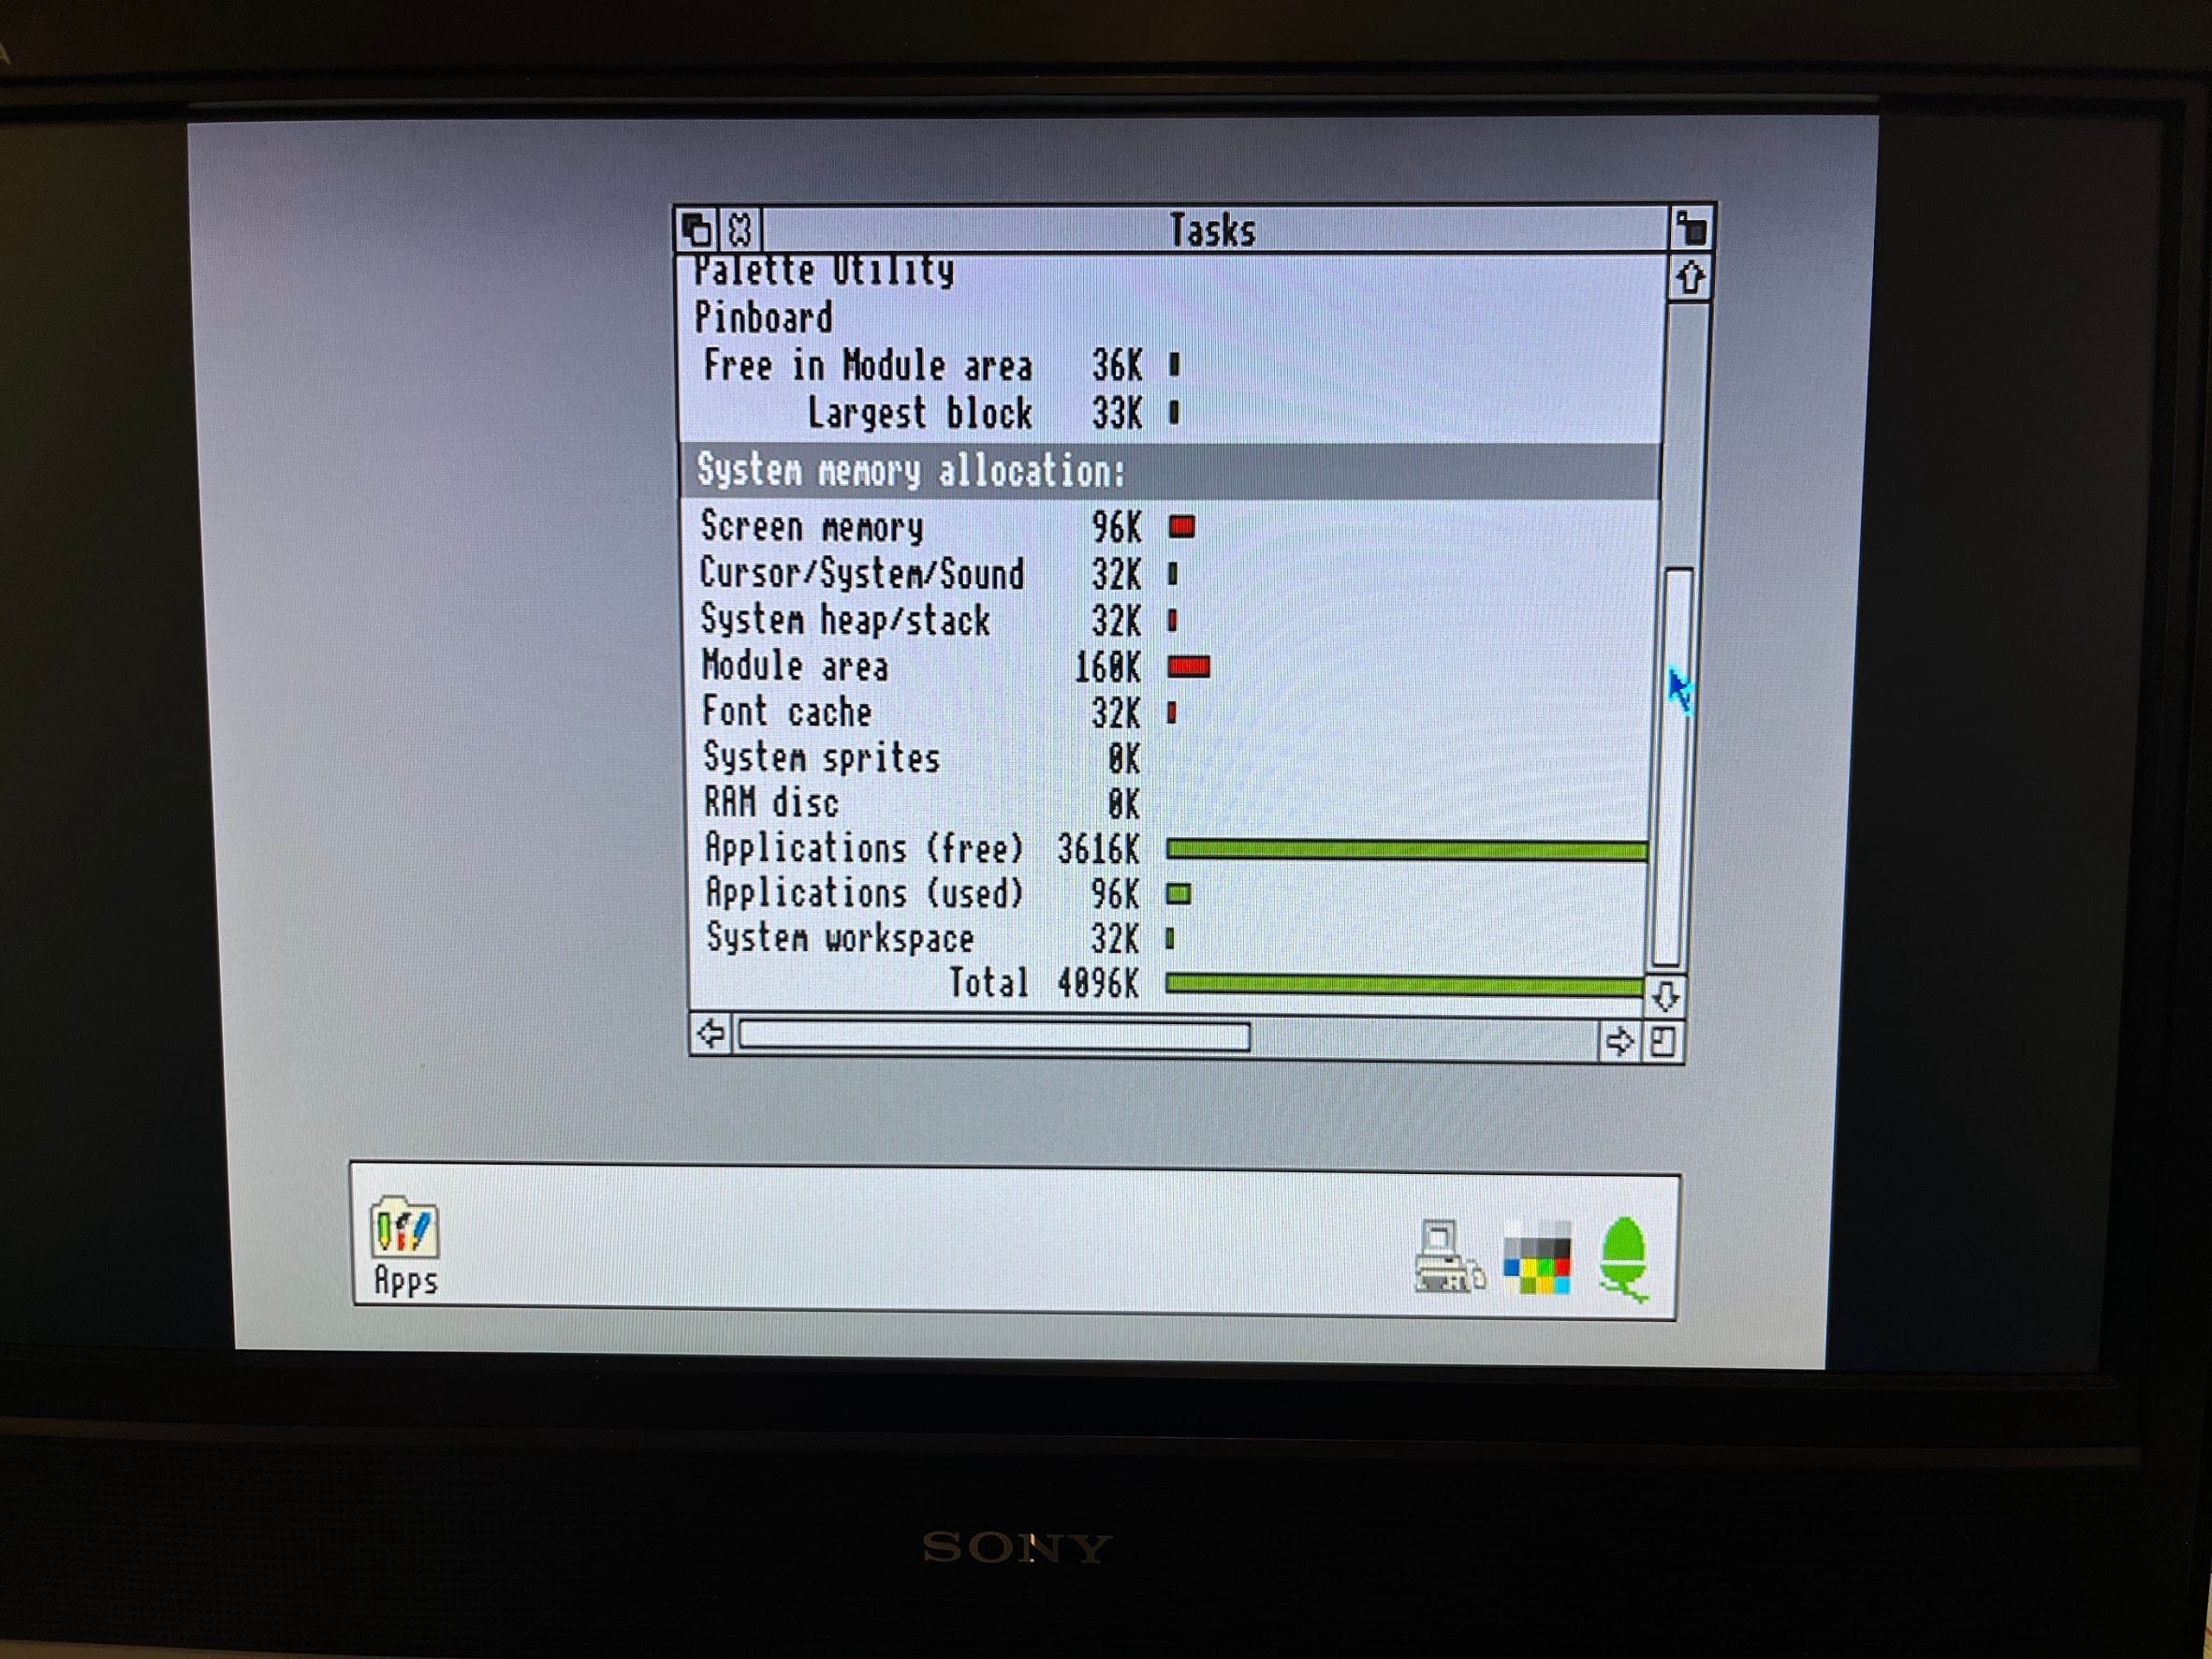
I’m calling that a success!
This is where I am leaving it for now. I need to replace the speaker connector, clean things up a bit more, replace the battery and start testing some more. But there is progress!
Leave a Reply