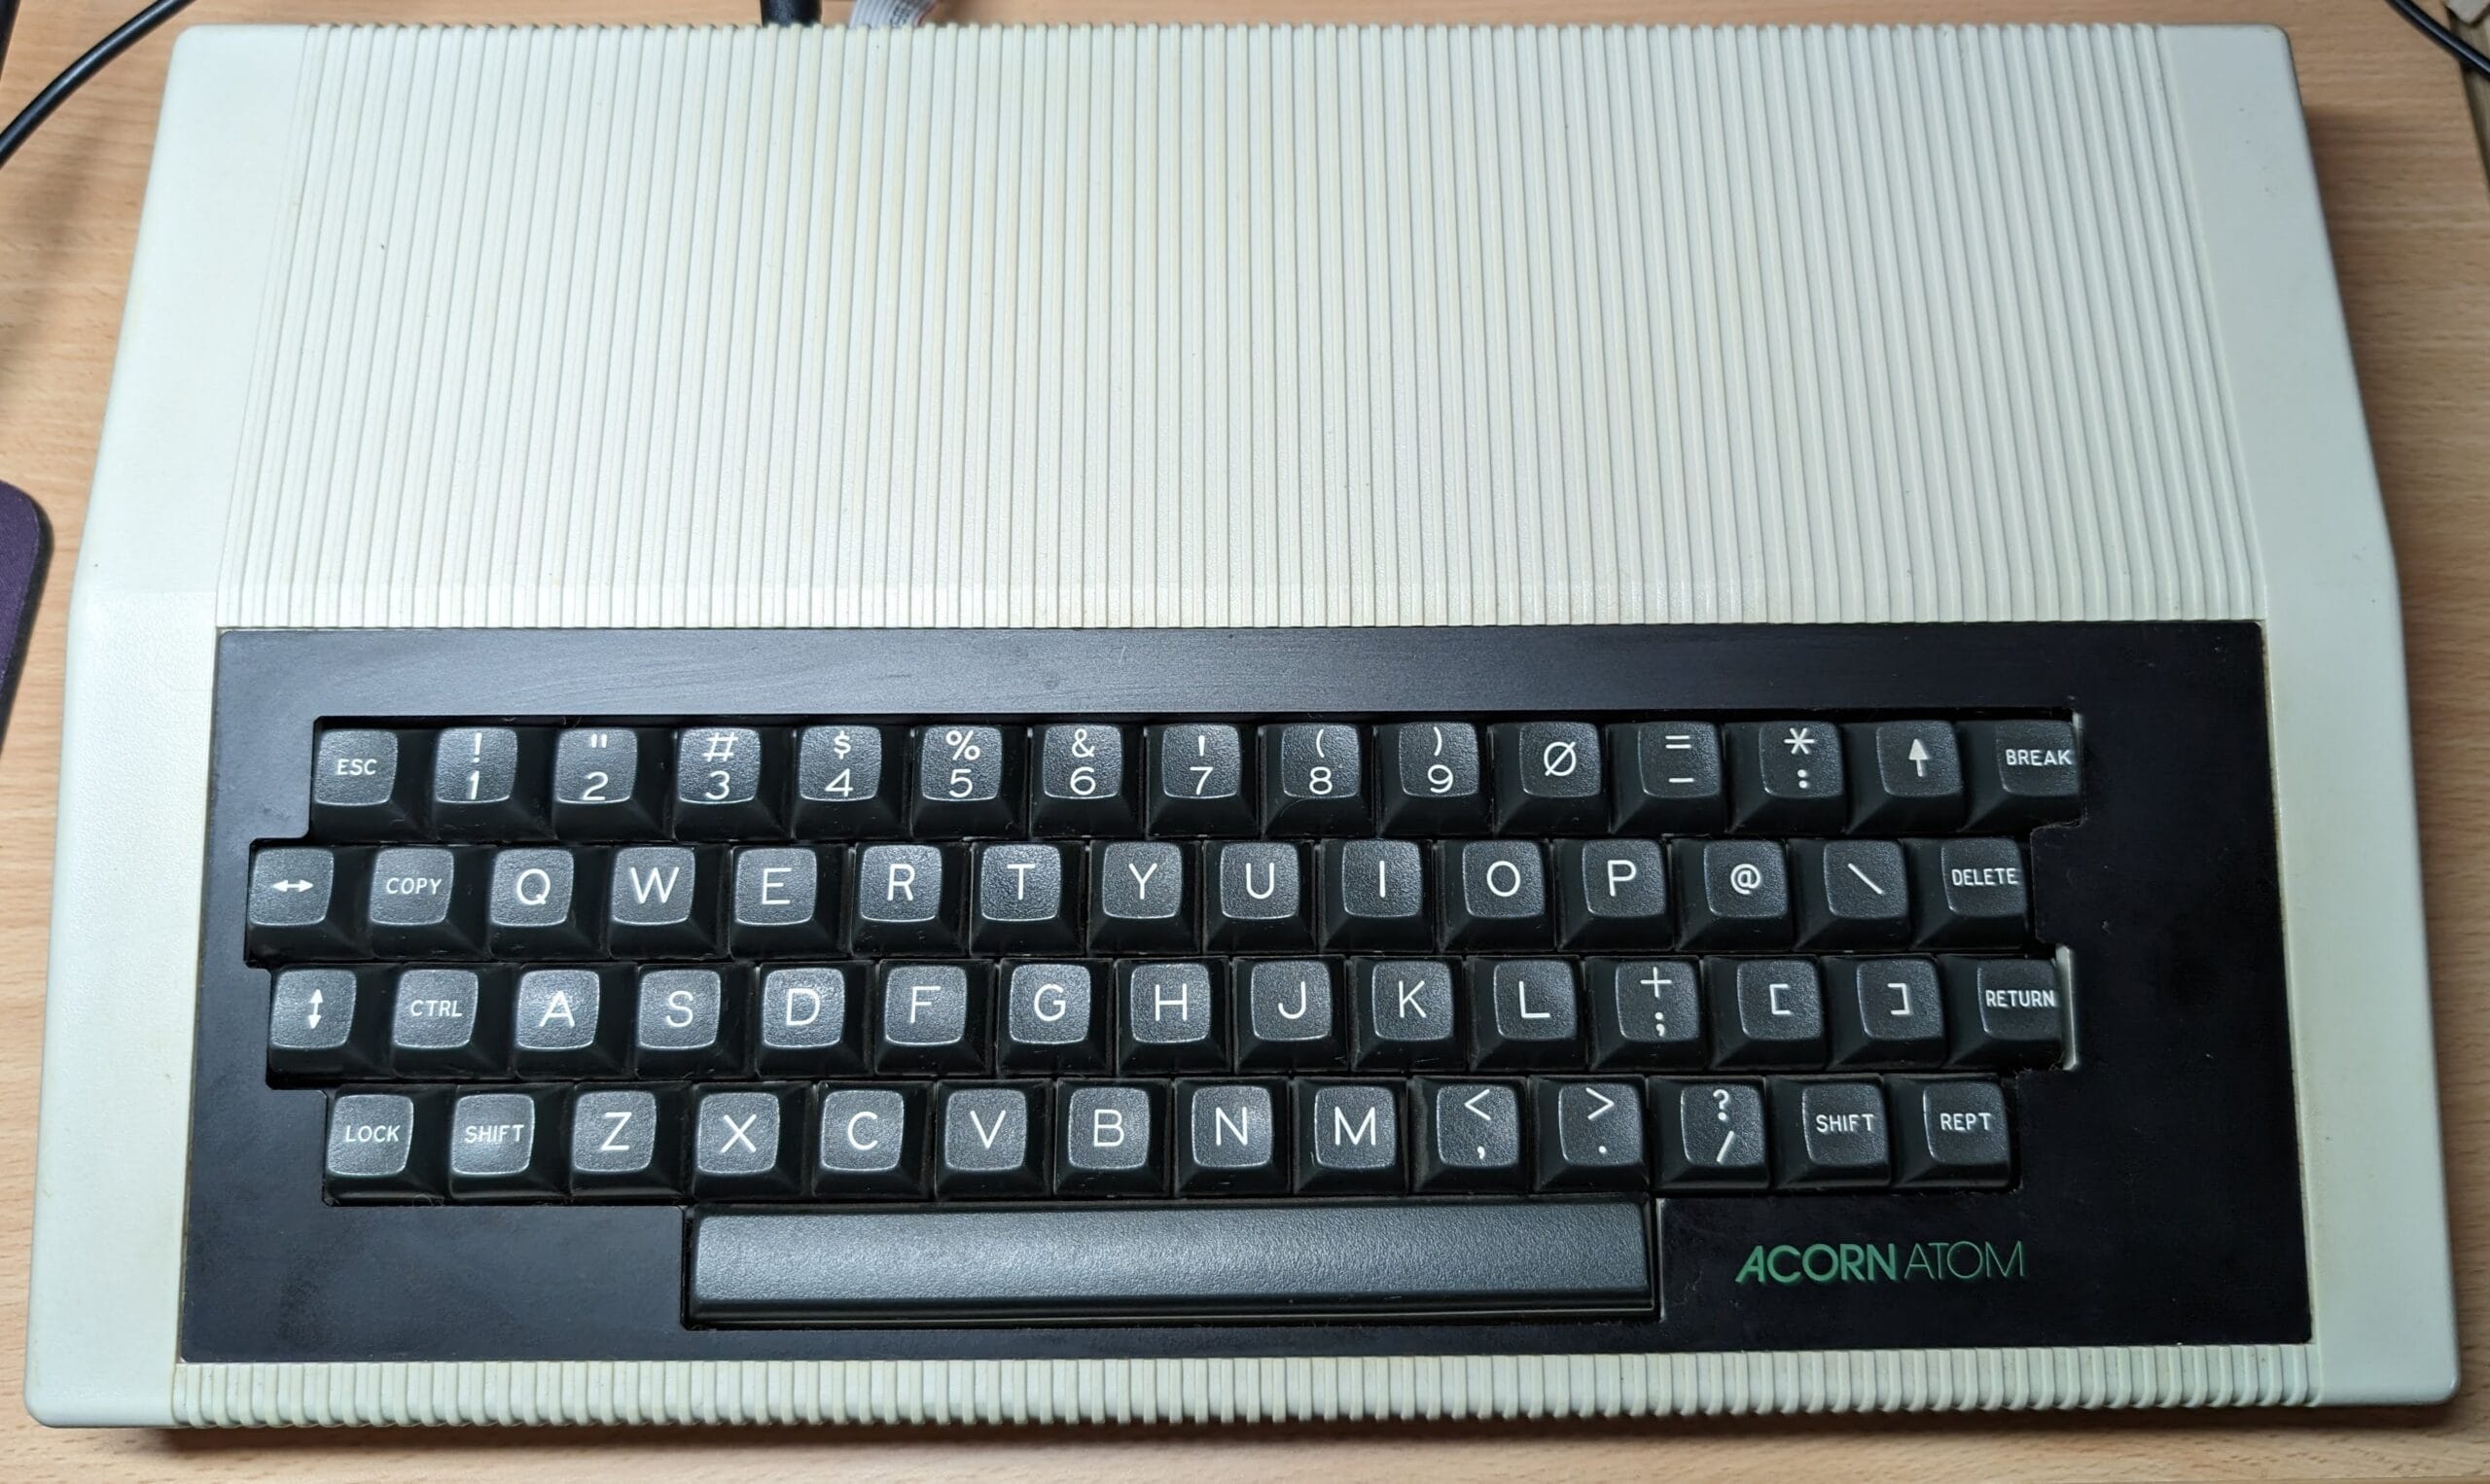
Pretty much everything was working in my previous post. But I was struggling with the tape interface and there are a few changes I wanted to make. Here is where I am at.
Loading tapes, take 2
After my previous failures, I tried a couple more tapes and ended up with more success than previously.


Zodiac being a text adventure game that really took 10 minutes to load, and Rat Trap, which was on the Atom Games Pack 3 tape. Rat Trap is basically a two-player Tron bike type game which works surprisingly well.
Power reduction
Adding the Video RAM / Noise Killer board reduced the power draw for the Atom quite significantly. But I knew I could do better. I switched the CPU to an R65C02 CPU which is a newer lower-power variant, and the bottom 6KB of RAM I changed to SCM21C14 ICs, these again are much lower power CMOS variants of the original 2114 RAM chips.

These combined reduced the power to 640mA, down from 1.1A, halving the power draw. Before I started, this machine was drawing 1.7A, so this is a significant reduction from the start. It shouldn’t get anywhere near as warm as it used to. The RGBtoHDMI adds about 250mA to the draw, so even with that installed it is still less than 1A total.
Cleaning
The case had become pretty dirty over the learns. I ended up cleaning it using a combination of baby wipes and a plastic cleaning spray with sponge. Here is the before and after shots for the top shell.


Definitely looking a bit brighter, even the inside was quite dirty, and you can see where the regulators used to get so hot that they discoloured the plastic!


I also installed the missing rubber foot from the bottom, it isn’t quite the same colour as the other three, but it is the same size, so the machine no longer wobbles when typing. These are the same type I use for Amiga hardware, pretty standard ones made by 3M.

Final look
The machine is 99% complete, I haven’t yet identified the screw types to join the top and bottom shell, I think they are somewhere between M5 and M6 size and will be quite long. But, unfortunately they didn’t come with the machine. I’m asking around in forums to find out what they should be. I’m also going to play a bit more with the tape setup and available software.
With that, here is the final before and after shot for the machine.


Leave a Reply