

Now that we have things running properly in part 3, I figured I should work on the casing a bit. Especially since the current postal strikes in the UK mean that parts I have ordered are getting heavily delayed.
Casing
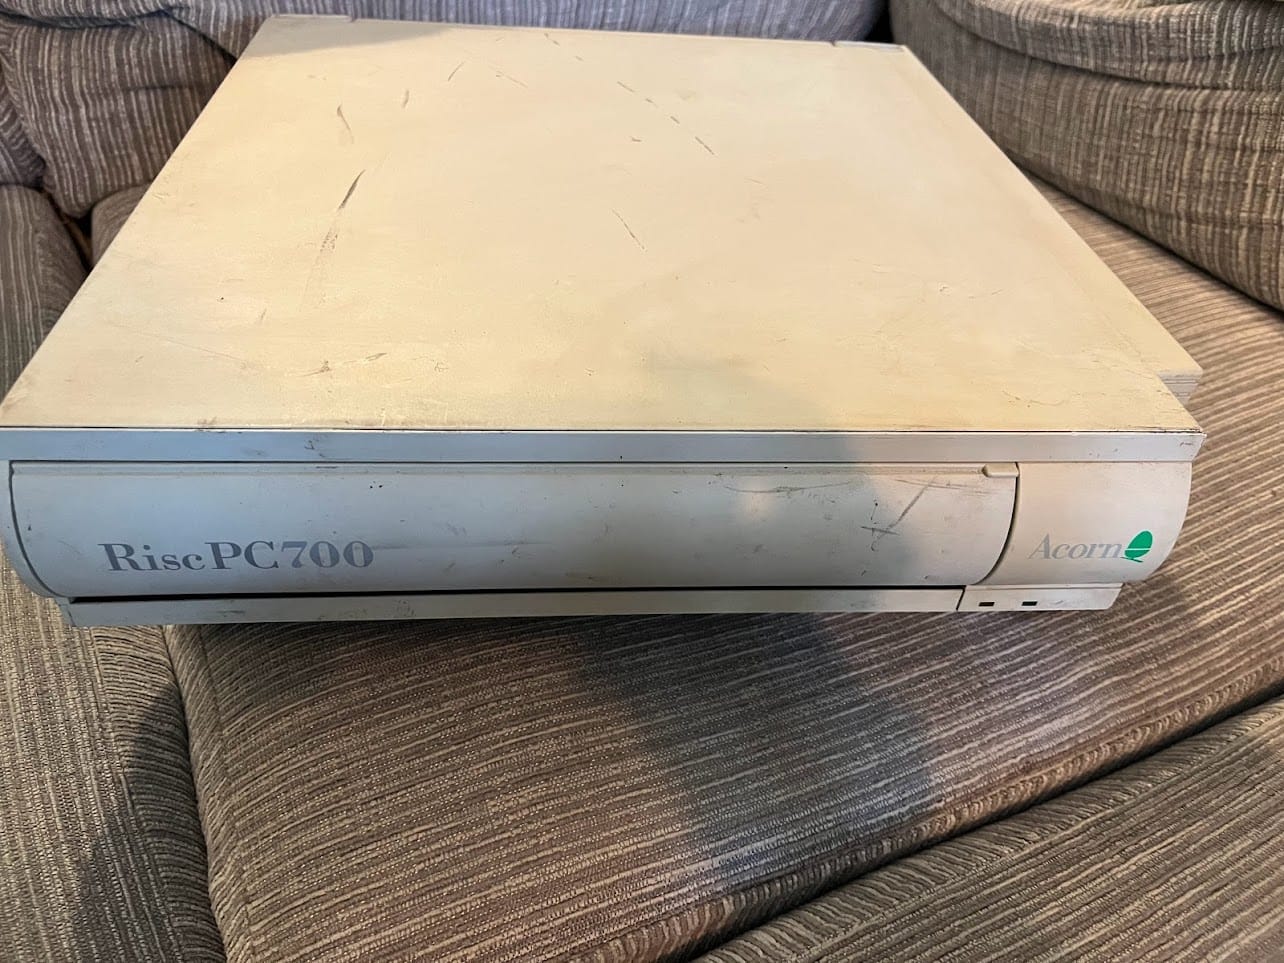
First of all I used a basic plastic surface cleaner to clean all the outside plastic parts and surprisingly it worked very well.
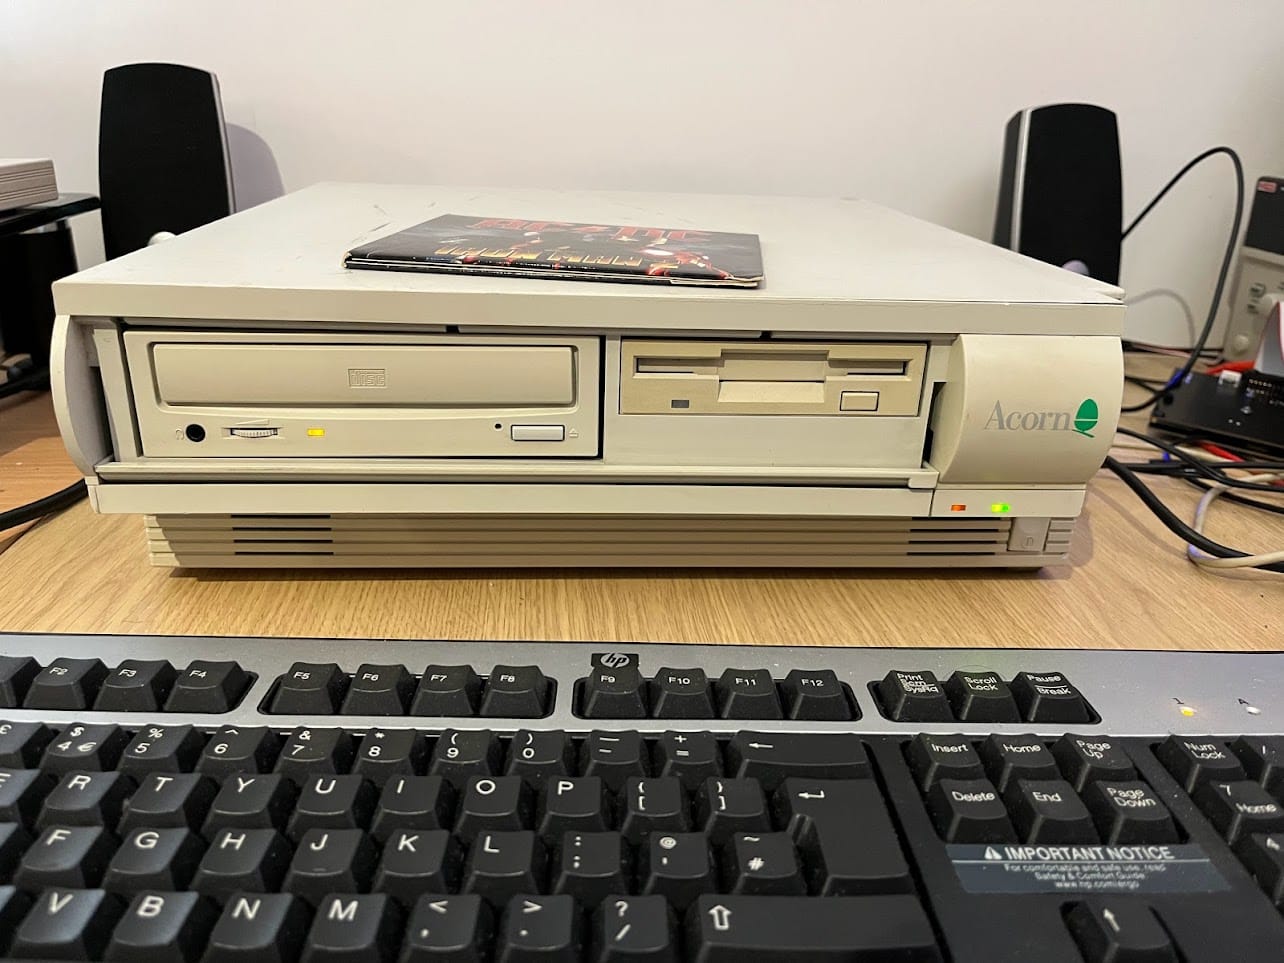
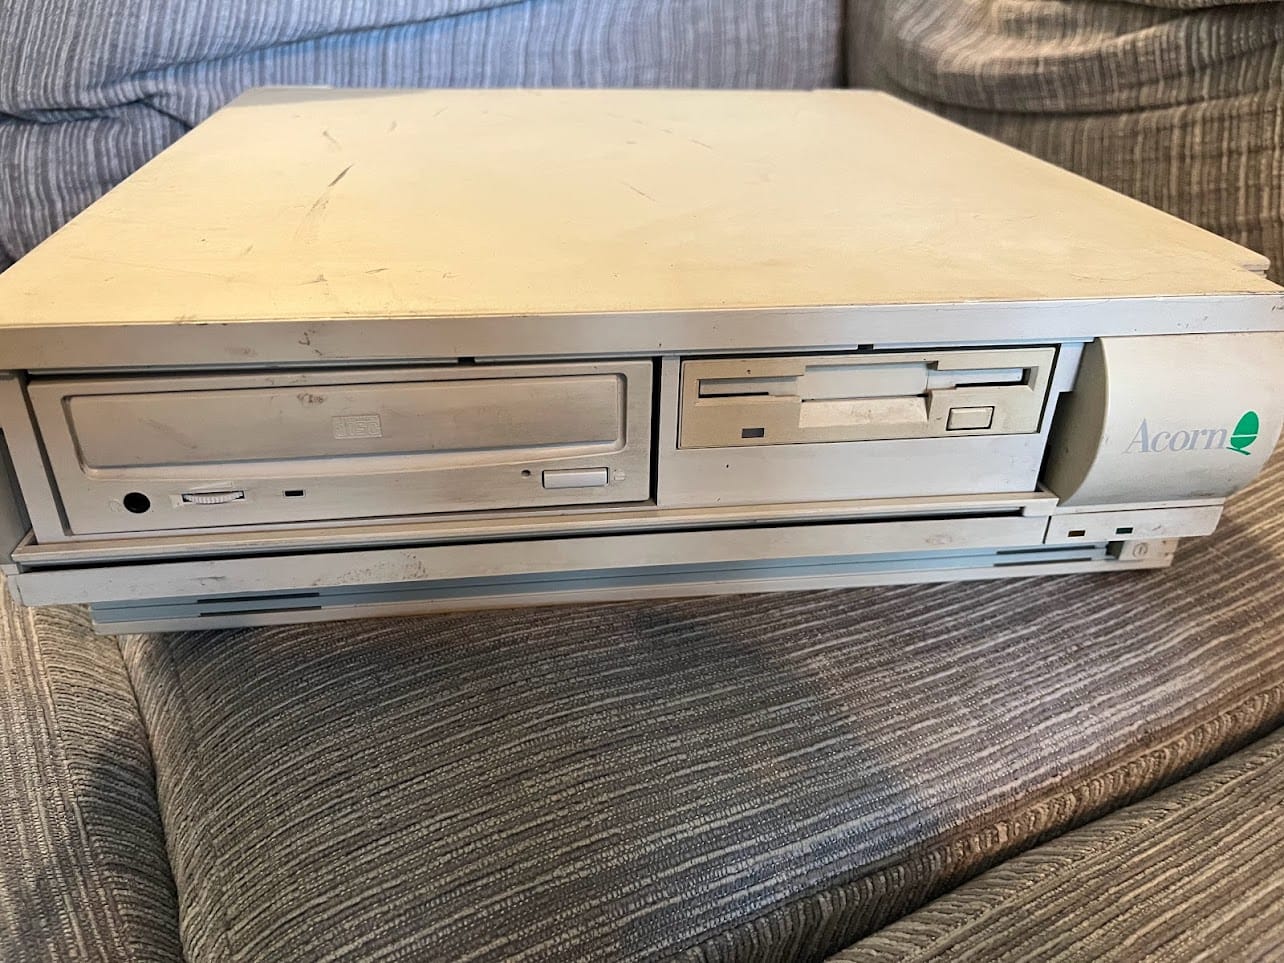
You can see there are still a few marks on the front and some much deeper marks on the top, the floppy drive is a bit discoloured but I’m not too worried about that. I then used a magic eraser on the top and lightly on the front to clean up the remaining marks. Below is before and after photos:
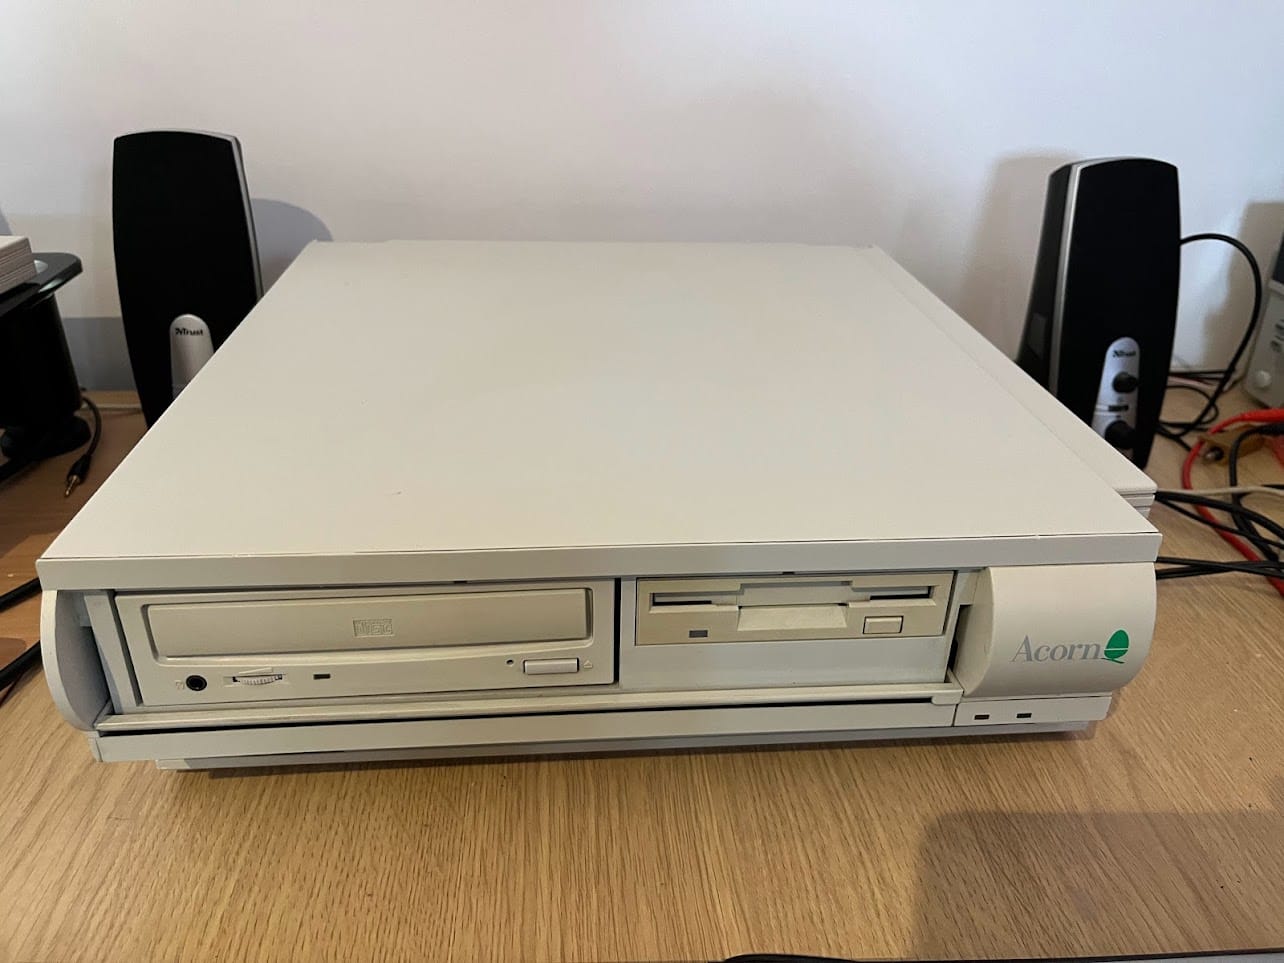
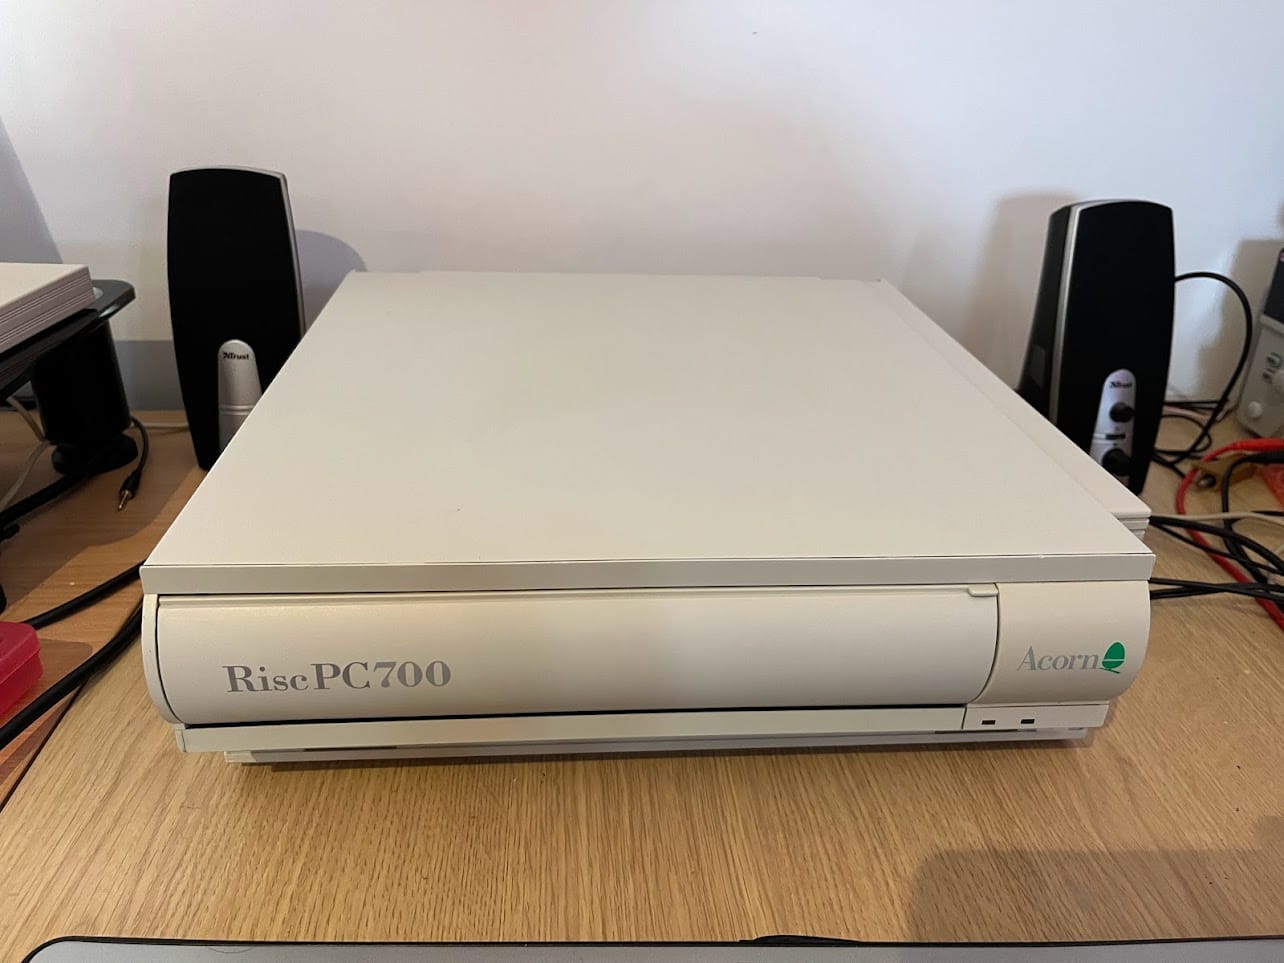
This is better than I could have imagined! Apart from a few scratches on the top it almost looks new in comparison!
Flappy Thing
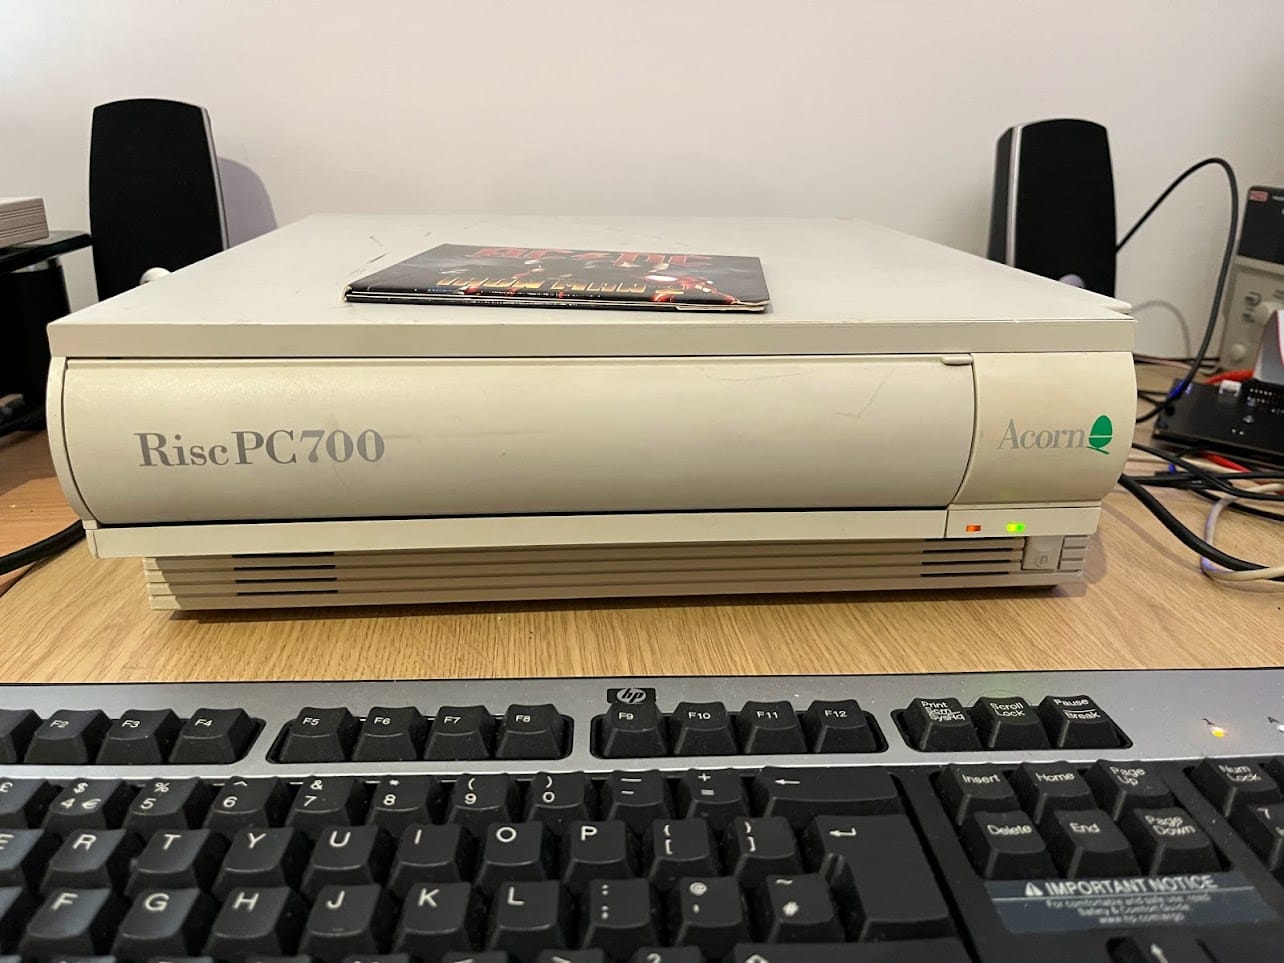
You’ll notice that the front has a flap that can be opened and close, this has a spring in it so that it can snap shut. I’ve seen many where the spring is missing or the mechanism is broken, surprisingly on this machine it is in-tact:
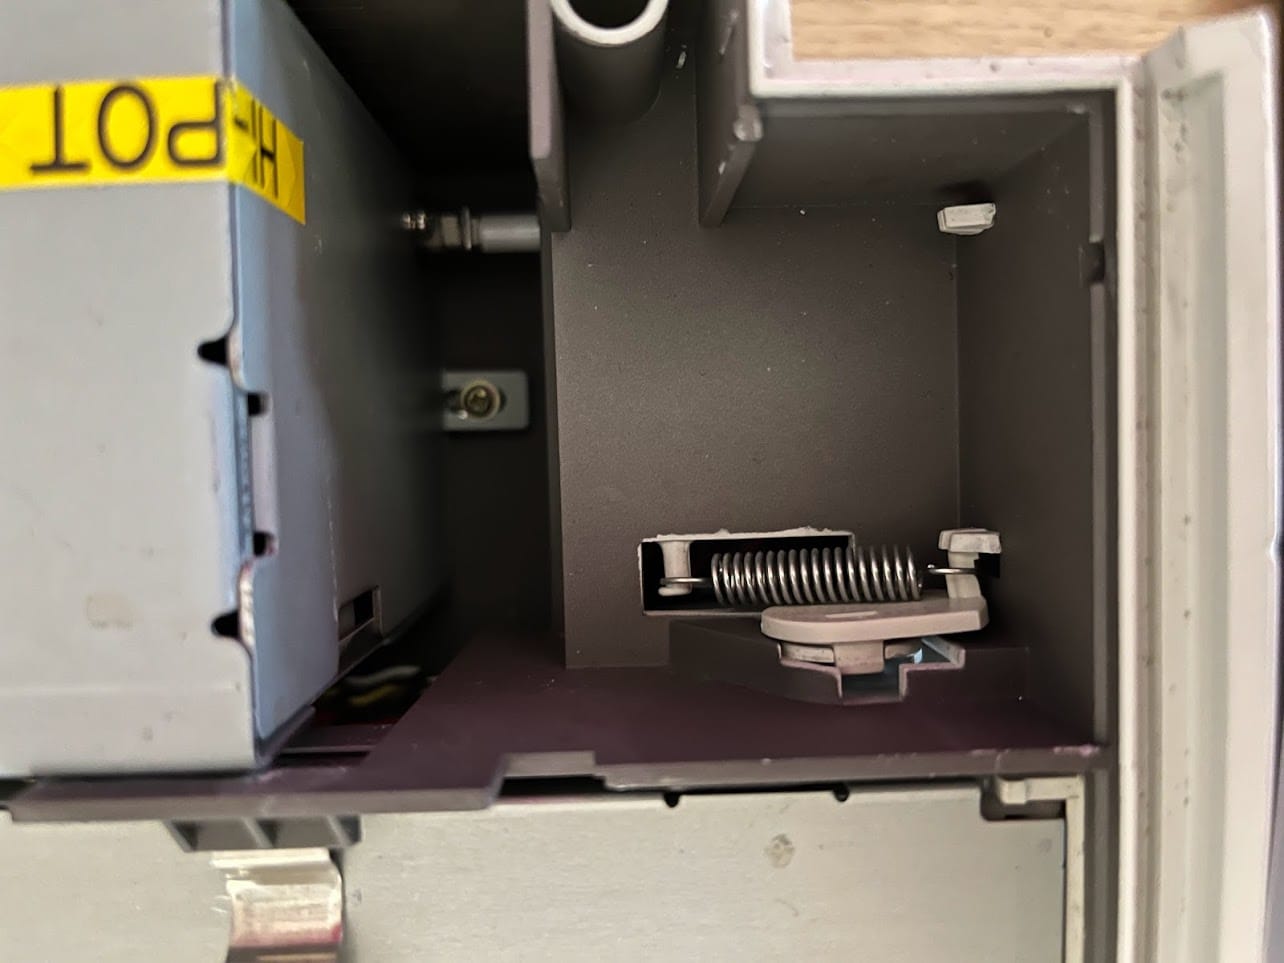
That being said, it was sticking. The mechanism didn’t move very freely on its own. Applying a little silicon lubricant to the mechanism on both sides freed it right up and it now opens and closes as it was designed to.
Battery
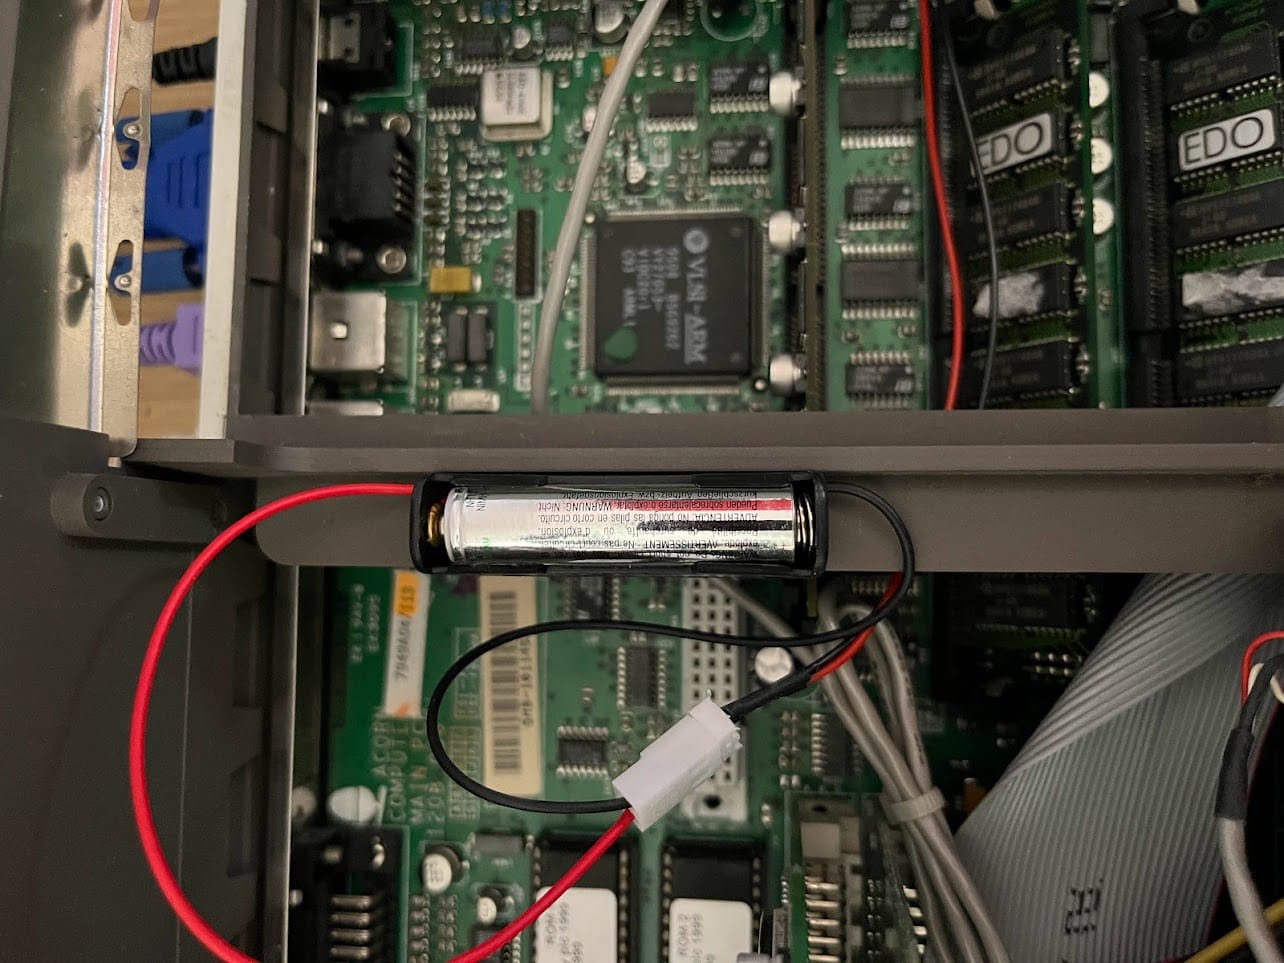
I mentioned in a previous post that I had soldered on wires to use a rechargeable battery, the only issue really was where to place the battery. On the top section of the casing there was a ledge which isn’t being used for anything, it happens to pretty much be spot-on for the width of a battery holder. So a bit of double-sided tape later and I now have a AAA rechargeable secured to the casing, well away from anything else in the machine.
Software
I eventually got Windows 95 running in the PC Pro software, but it was a little difficult, partly down to the CDROM drive needing a DOS driver to operate, and partly down to the drivers for everything else.
As seen at the end of my previous blog post, I ended up copying the Windows 95 CD contents to a virtual hard drive and installing from that. I tried several different drivers for sound and video, none of which worked, until I found a file called 203to213p.zip on a drivers download site. I won’t link to it because it is a bit spammy, but you can find it with a quick Google search. With these drivers I had proper sound, video and even CD support.
I even showed-off on Twitter the machine running Windows 95 on its 586 CPU card whilst also running RiscOS playing a CD on the ARM CPU.
Minor Issues
There are still a couple of minor issues to solve. The first is the IDE cable is a bit sensitive. If it gets knocked slightly the drives no longer exist. So I’m going to replace the cable. Also the CD-ROM drive is an old single-speed affair, it really struggles with some CDs that have even the slightest scratch on them. I therefore intend to upgrade this to a faster, more reliable drive.
I have not dared try to clean the keyboard yet, I’m saving that for a few hours one weekend in the future due just how dirty it is. I have a simple PS/2 keyboard connected for now which works just fine with it.
Beyond that I am awaiting delivery of some upgrades that probably won’t arrive for several days now. Watch this space!
Leave a Reply