
It has been a couple of months since I’ve worked on my Amiga 1000. In that time I had an interesting conversation with Darren Gurney on Discord who generously offered to 3D print the missing covers for my Amiga 1000. This week they arrived!
The two sections that needed covering were the front RAM panel and the side slot. It is clear from the motherboard edge connector wear that this Amiga had some kind of side expansion and that is why that panel was missing. I’m also guessing the front panel breaks off easily as I see many Amiga 1000s with that part missing.
Luckily there are 3D printable parts available for both holes to cover them. Darren has a 3D printing filament called “Jessie” which is a colour-match to an Amiga 500. This is good because the Amiga 1000 and 500 are the same colour.
The two photos below are the parts that arrived.
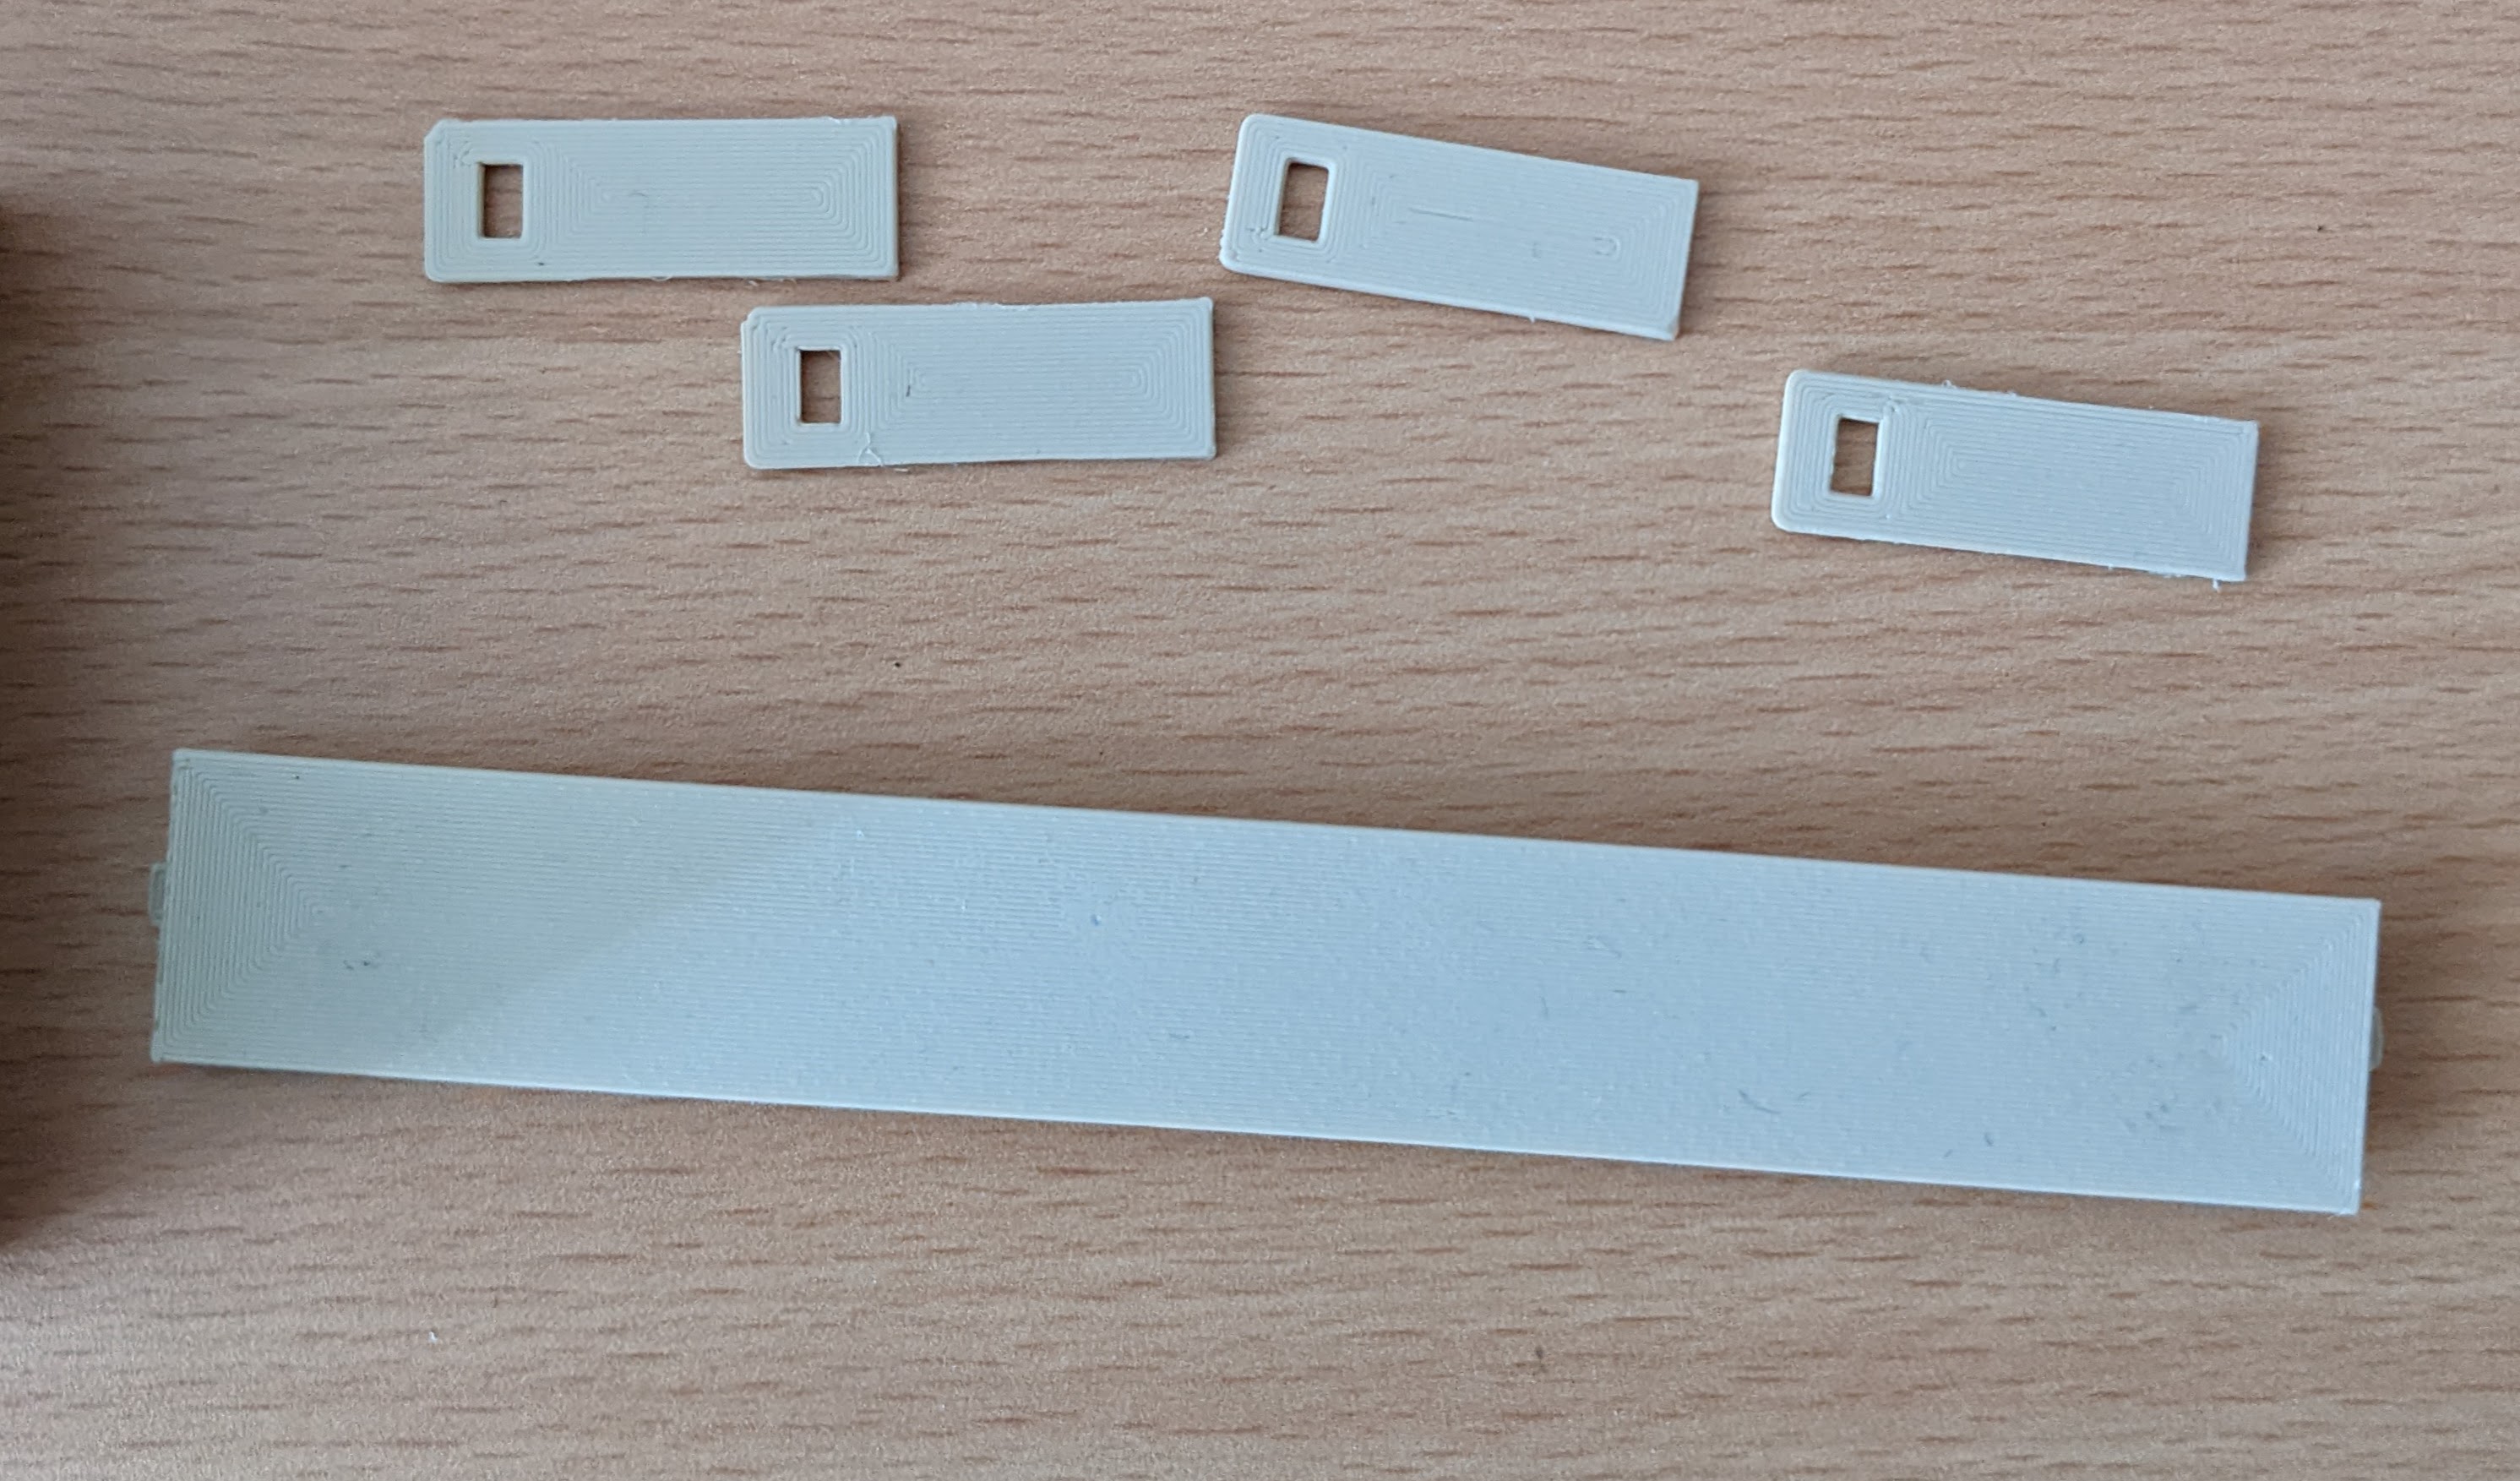
The small plastic tabs are to go inside the larger front panel so that it can clip onto the Amiga 1000 case. It only needs two of these but I was sent four of them just in case. A little hot-snot glue and that part was ready to clip on. The smaller long piece is to cover the side expansion port. That has a clip built-in to each side, so bending it slightly makes it easy to pop-in.
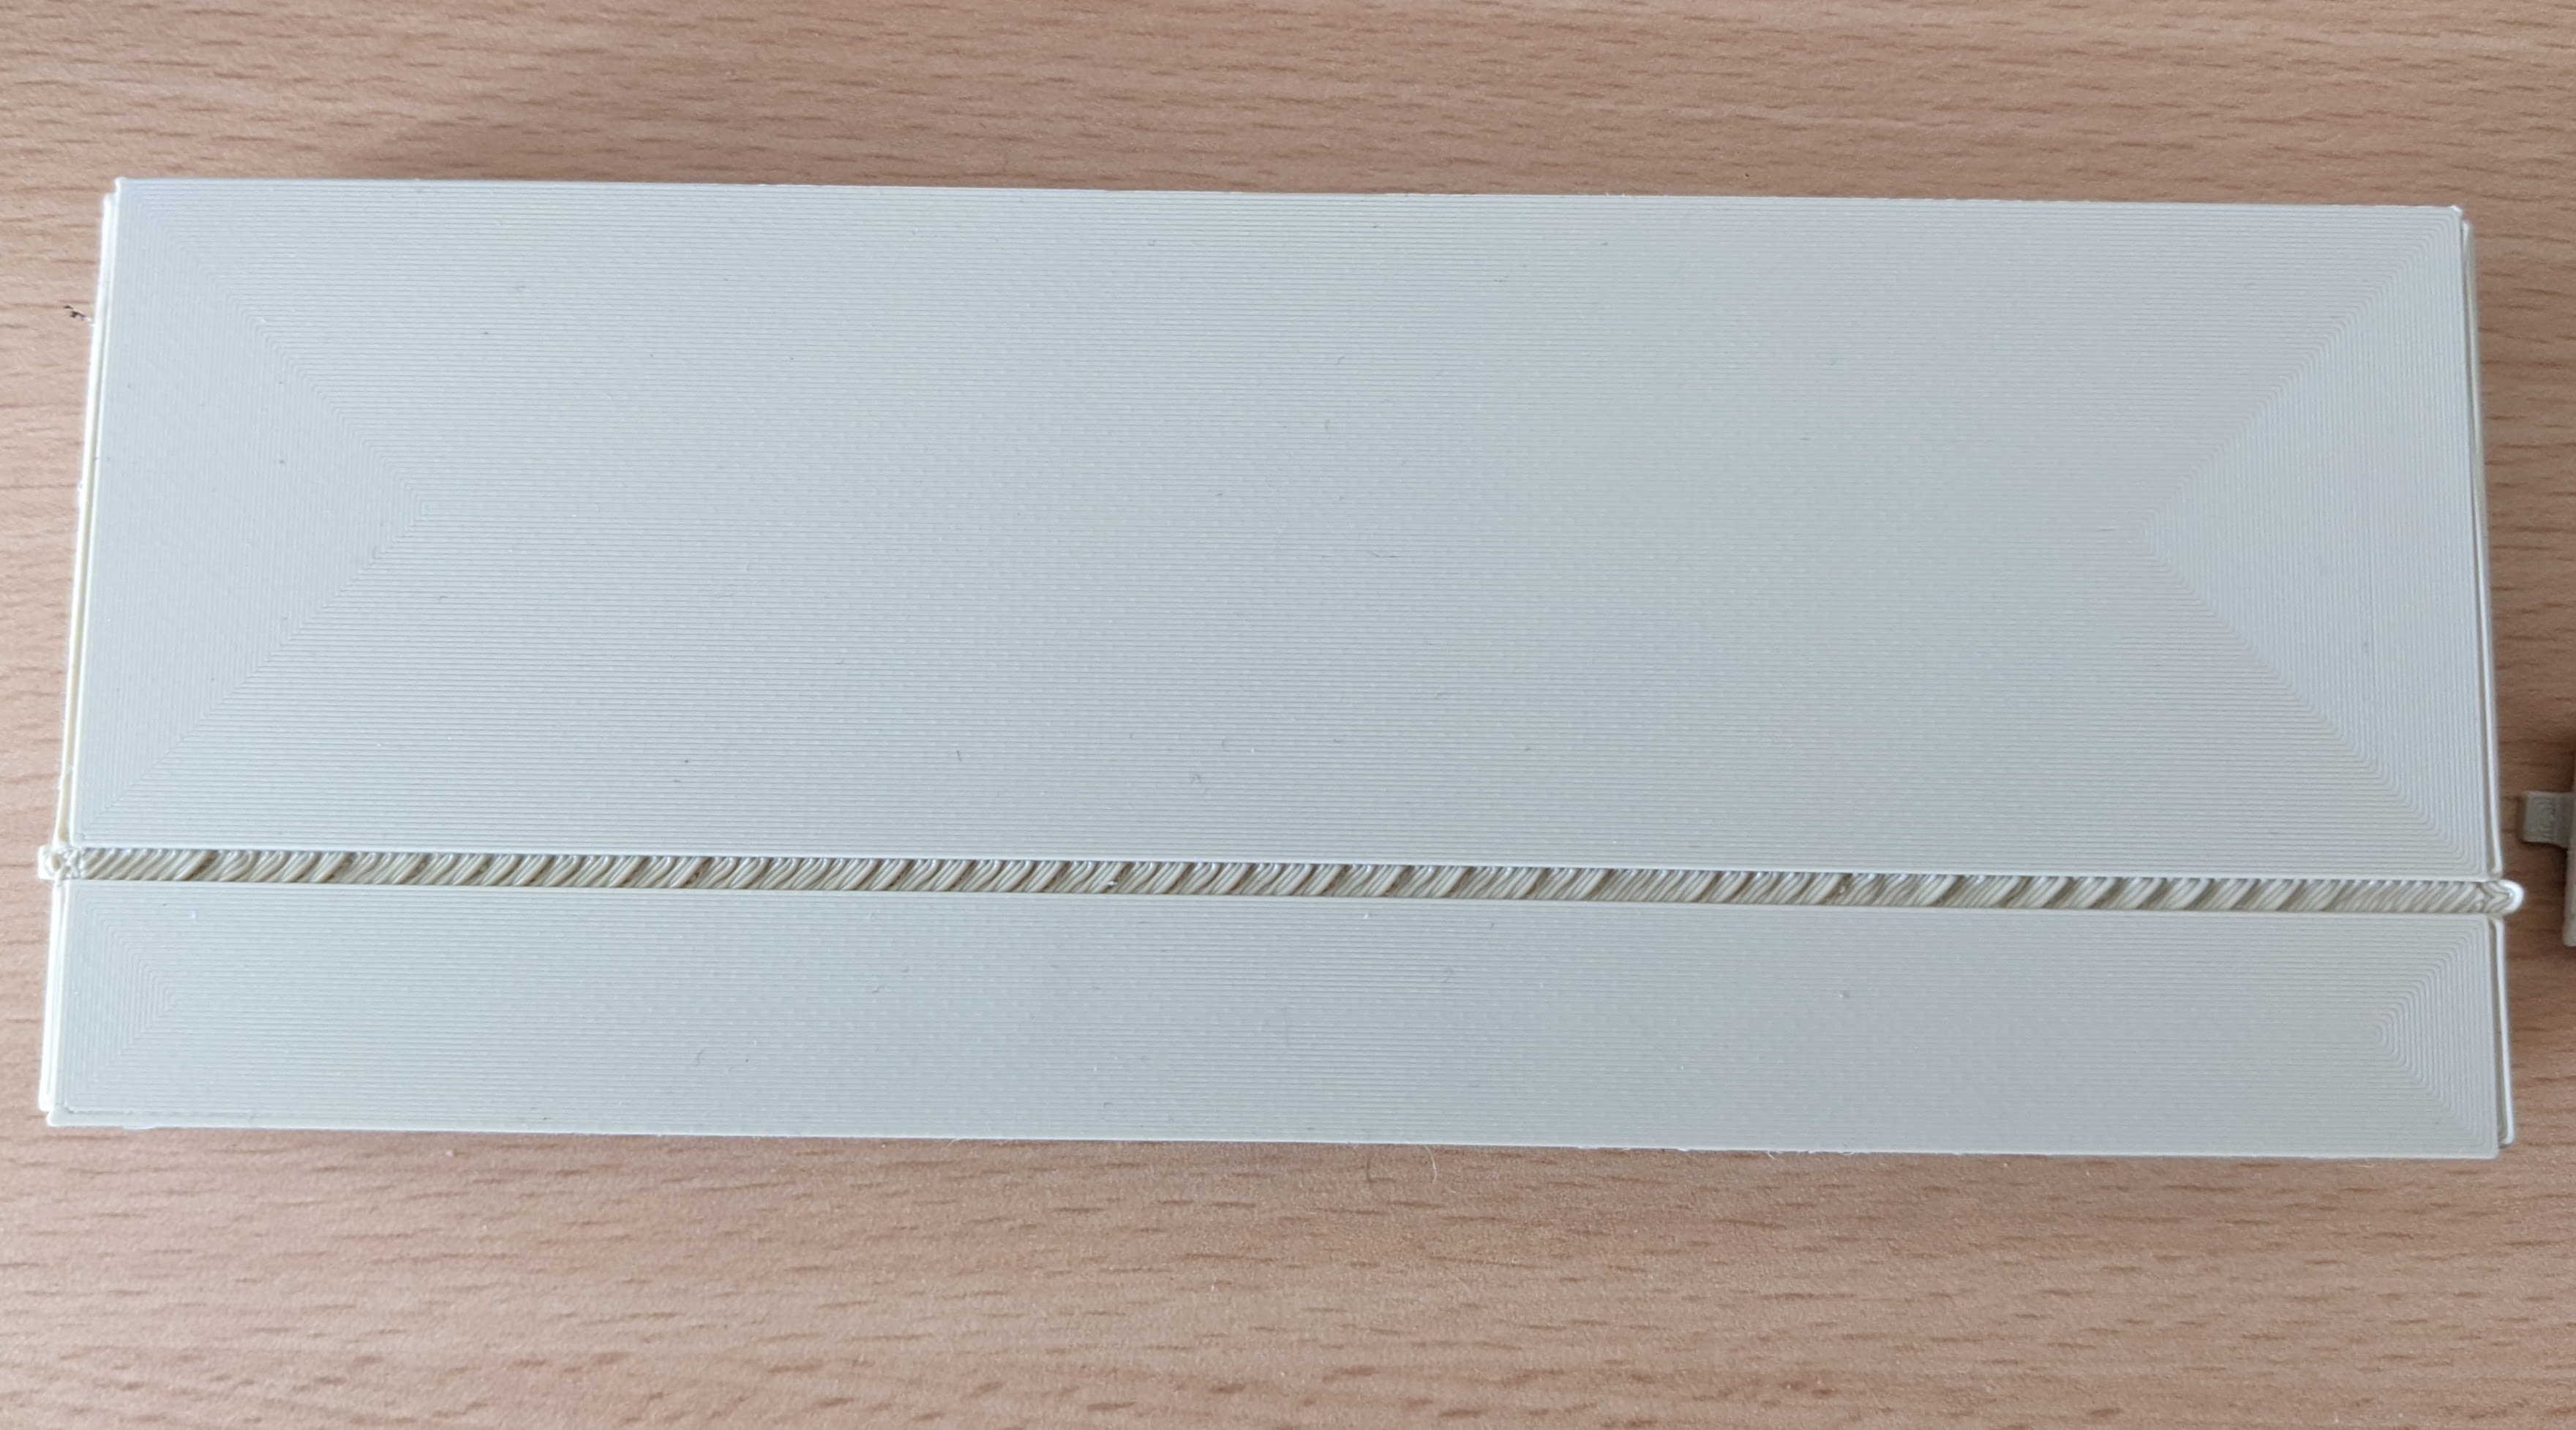
These are the results.


The colour looks slightly off, but that is due to several factors, including the difference in finish and age of machine. In real life the colour difference doesn’t look as bad.
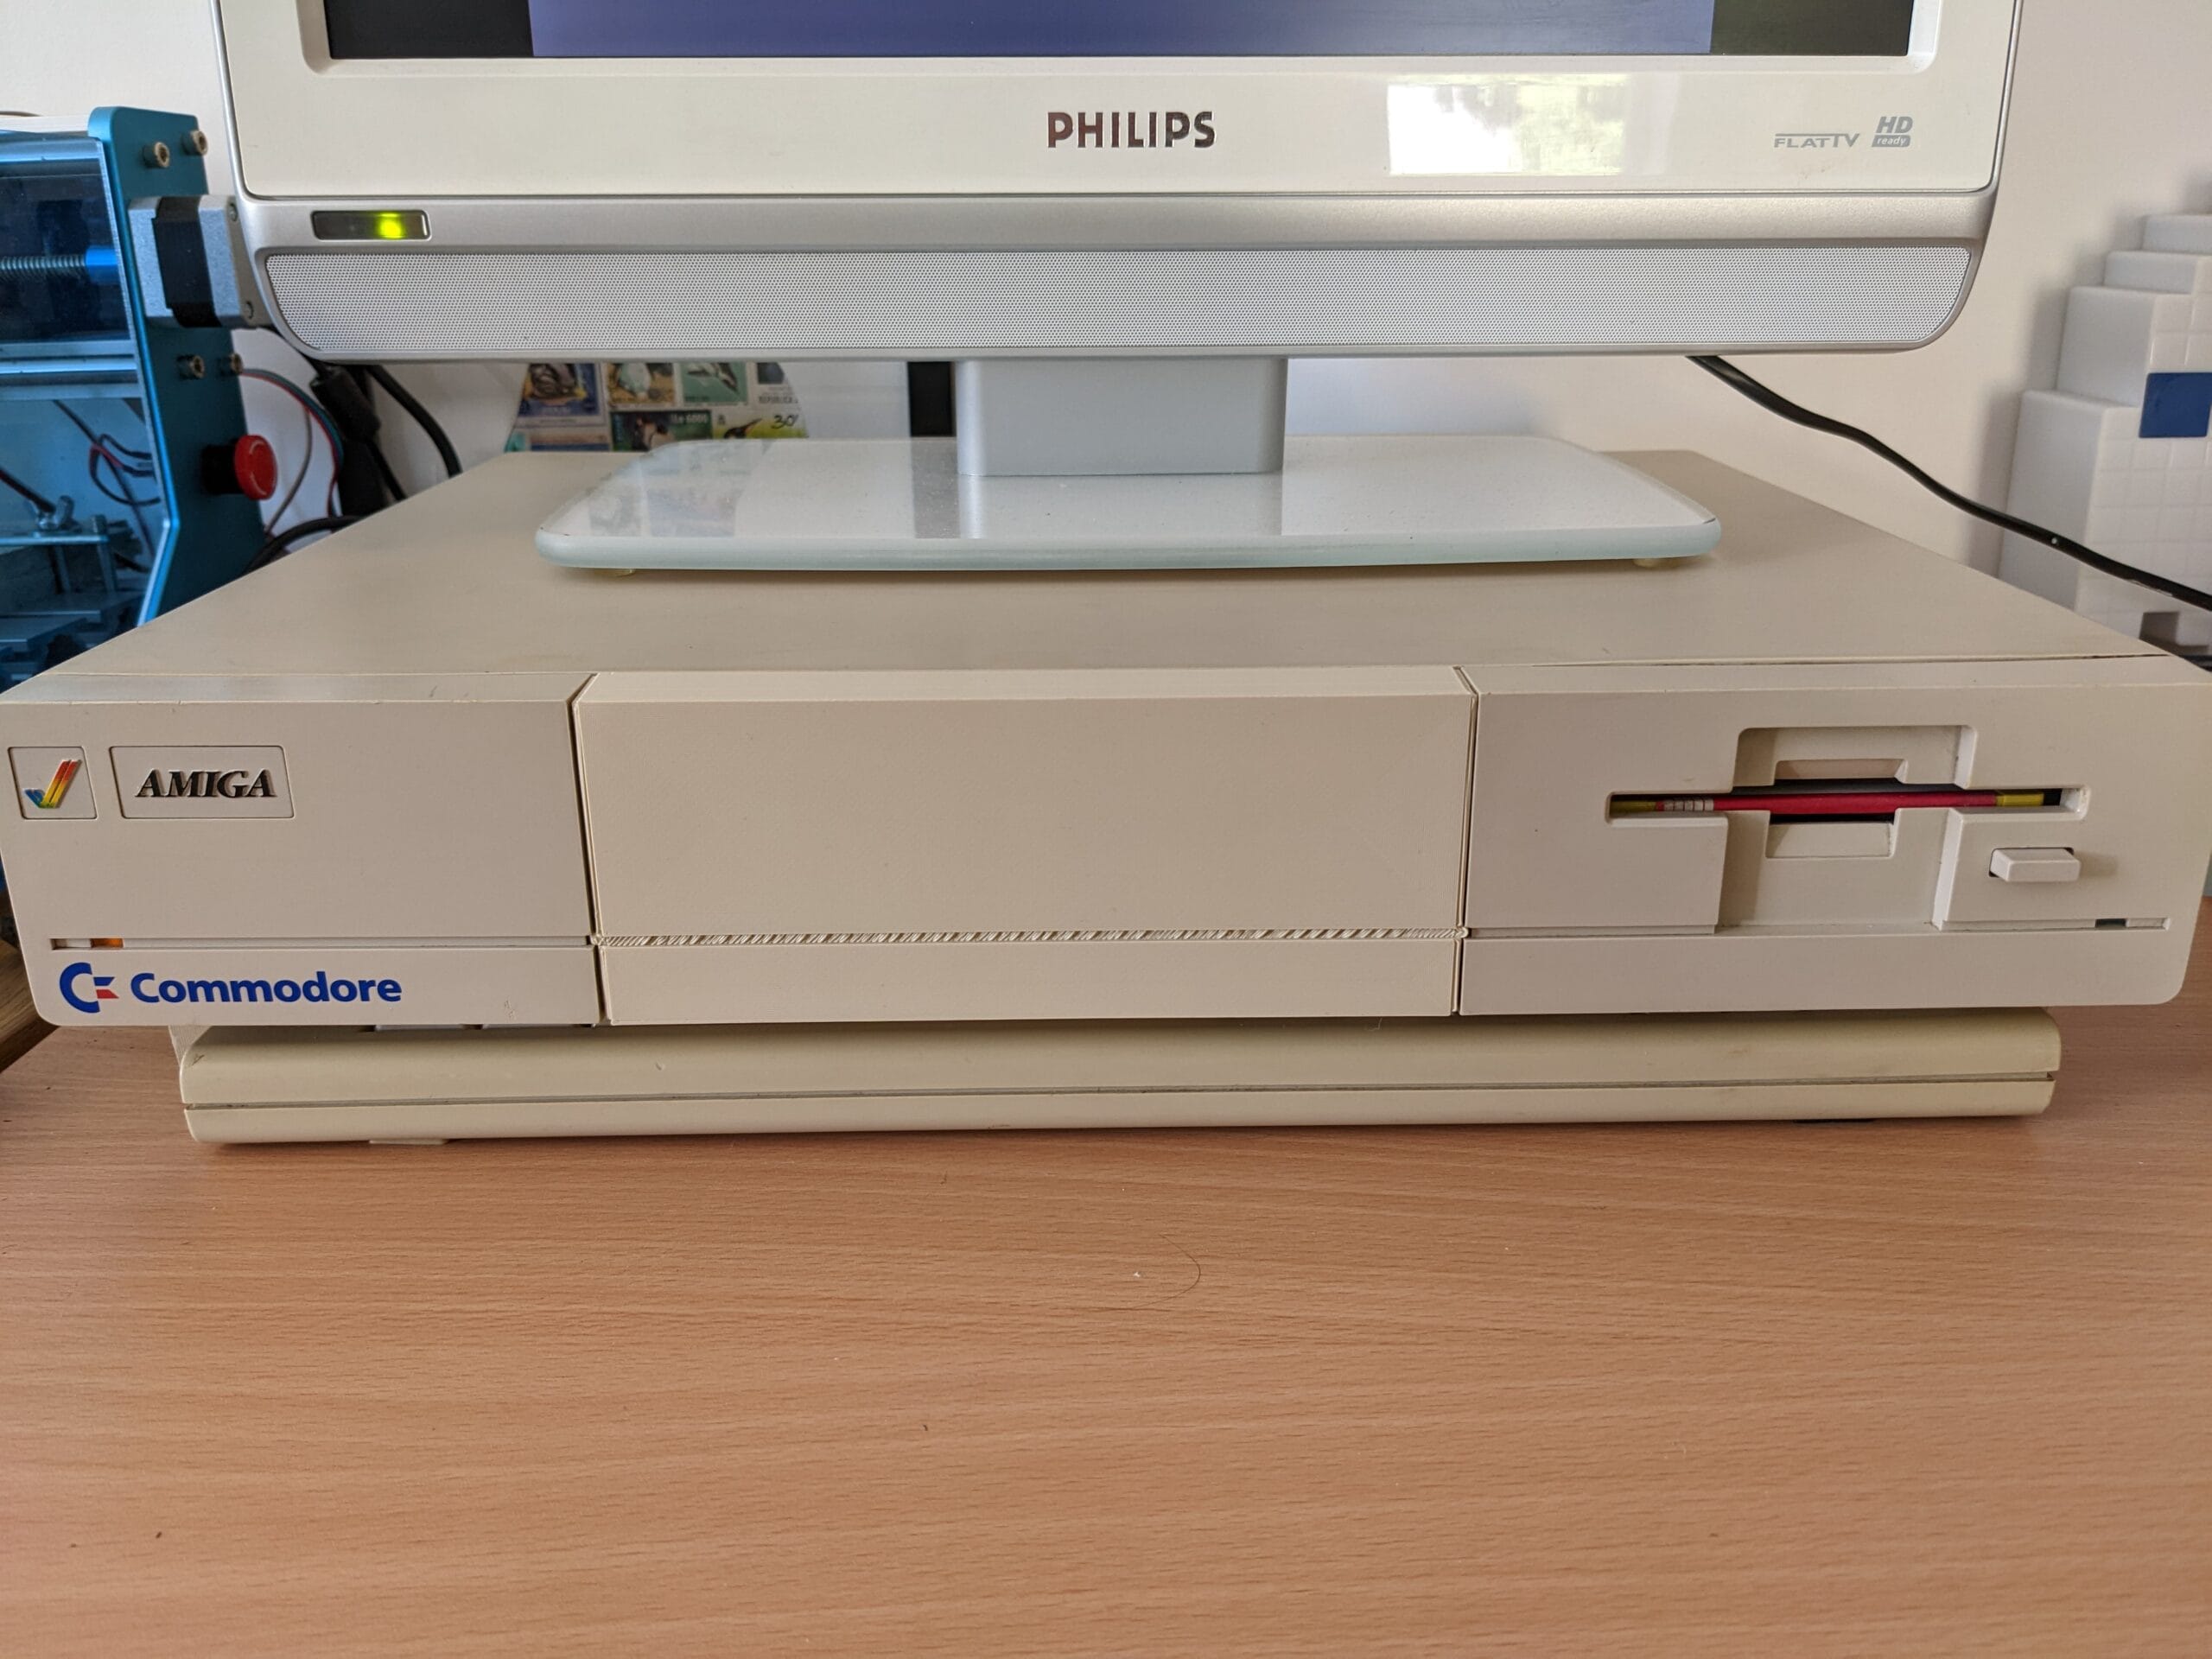
The last photo there shows a neat trick with the Amiga 1000 which I kinda wish other computers did. The keyboard fits perfectly under the machine and there is a small channel underneath on the right for the keyboard to go through as can be seen below. This makes the Amiga 1000 a perfect desk-saving machine when not in use.

I don’t think there is a lot more I can do to restore this machine. It has been an awesome project to work on and I look forward to similar restorations in the future.
Leave a Reply