
Following on from my first restoration post the next step is recapping the PSU and cleaning the case. As with the first post, not everything went to plan…
The Amiga 1000 power supply was made to a very high quality with reliable capacitors. That said it is highly likely that they are beyond their recommended serviceable life, especially on the low voltage side. So I decided to replace them all with equally high quality replacements.


After the recap the first minor issue was found, the new large high voltage capacitor is physically too tall to go back in the casing. I ran an ESR test on the original capacitor and it was still in incredibly good condition (around half the ESR for what would be typical and lower is better), so I fitted that one back in for now.


Whilst the board was out I also gave the fan and casing a good clean, the power button in particular was very grubby, the fan was caked in dust and whilst not perfect it is looking a lot nicer now.

Now on to cleaning, surprisingly the inside was dirtier than the outside I gave the plastics a good clean, this is an in-progress cleaning shot with the before shot.


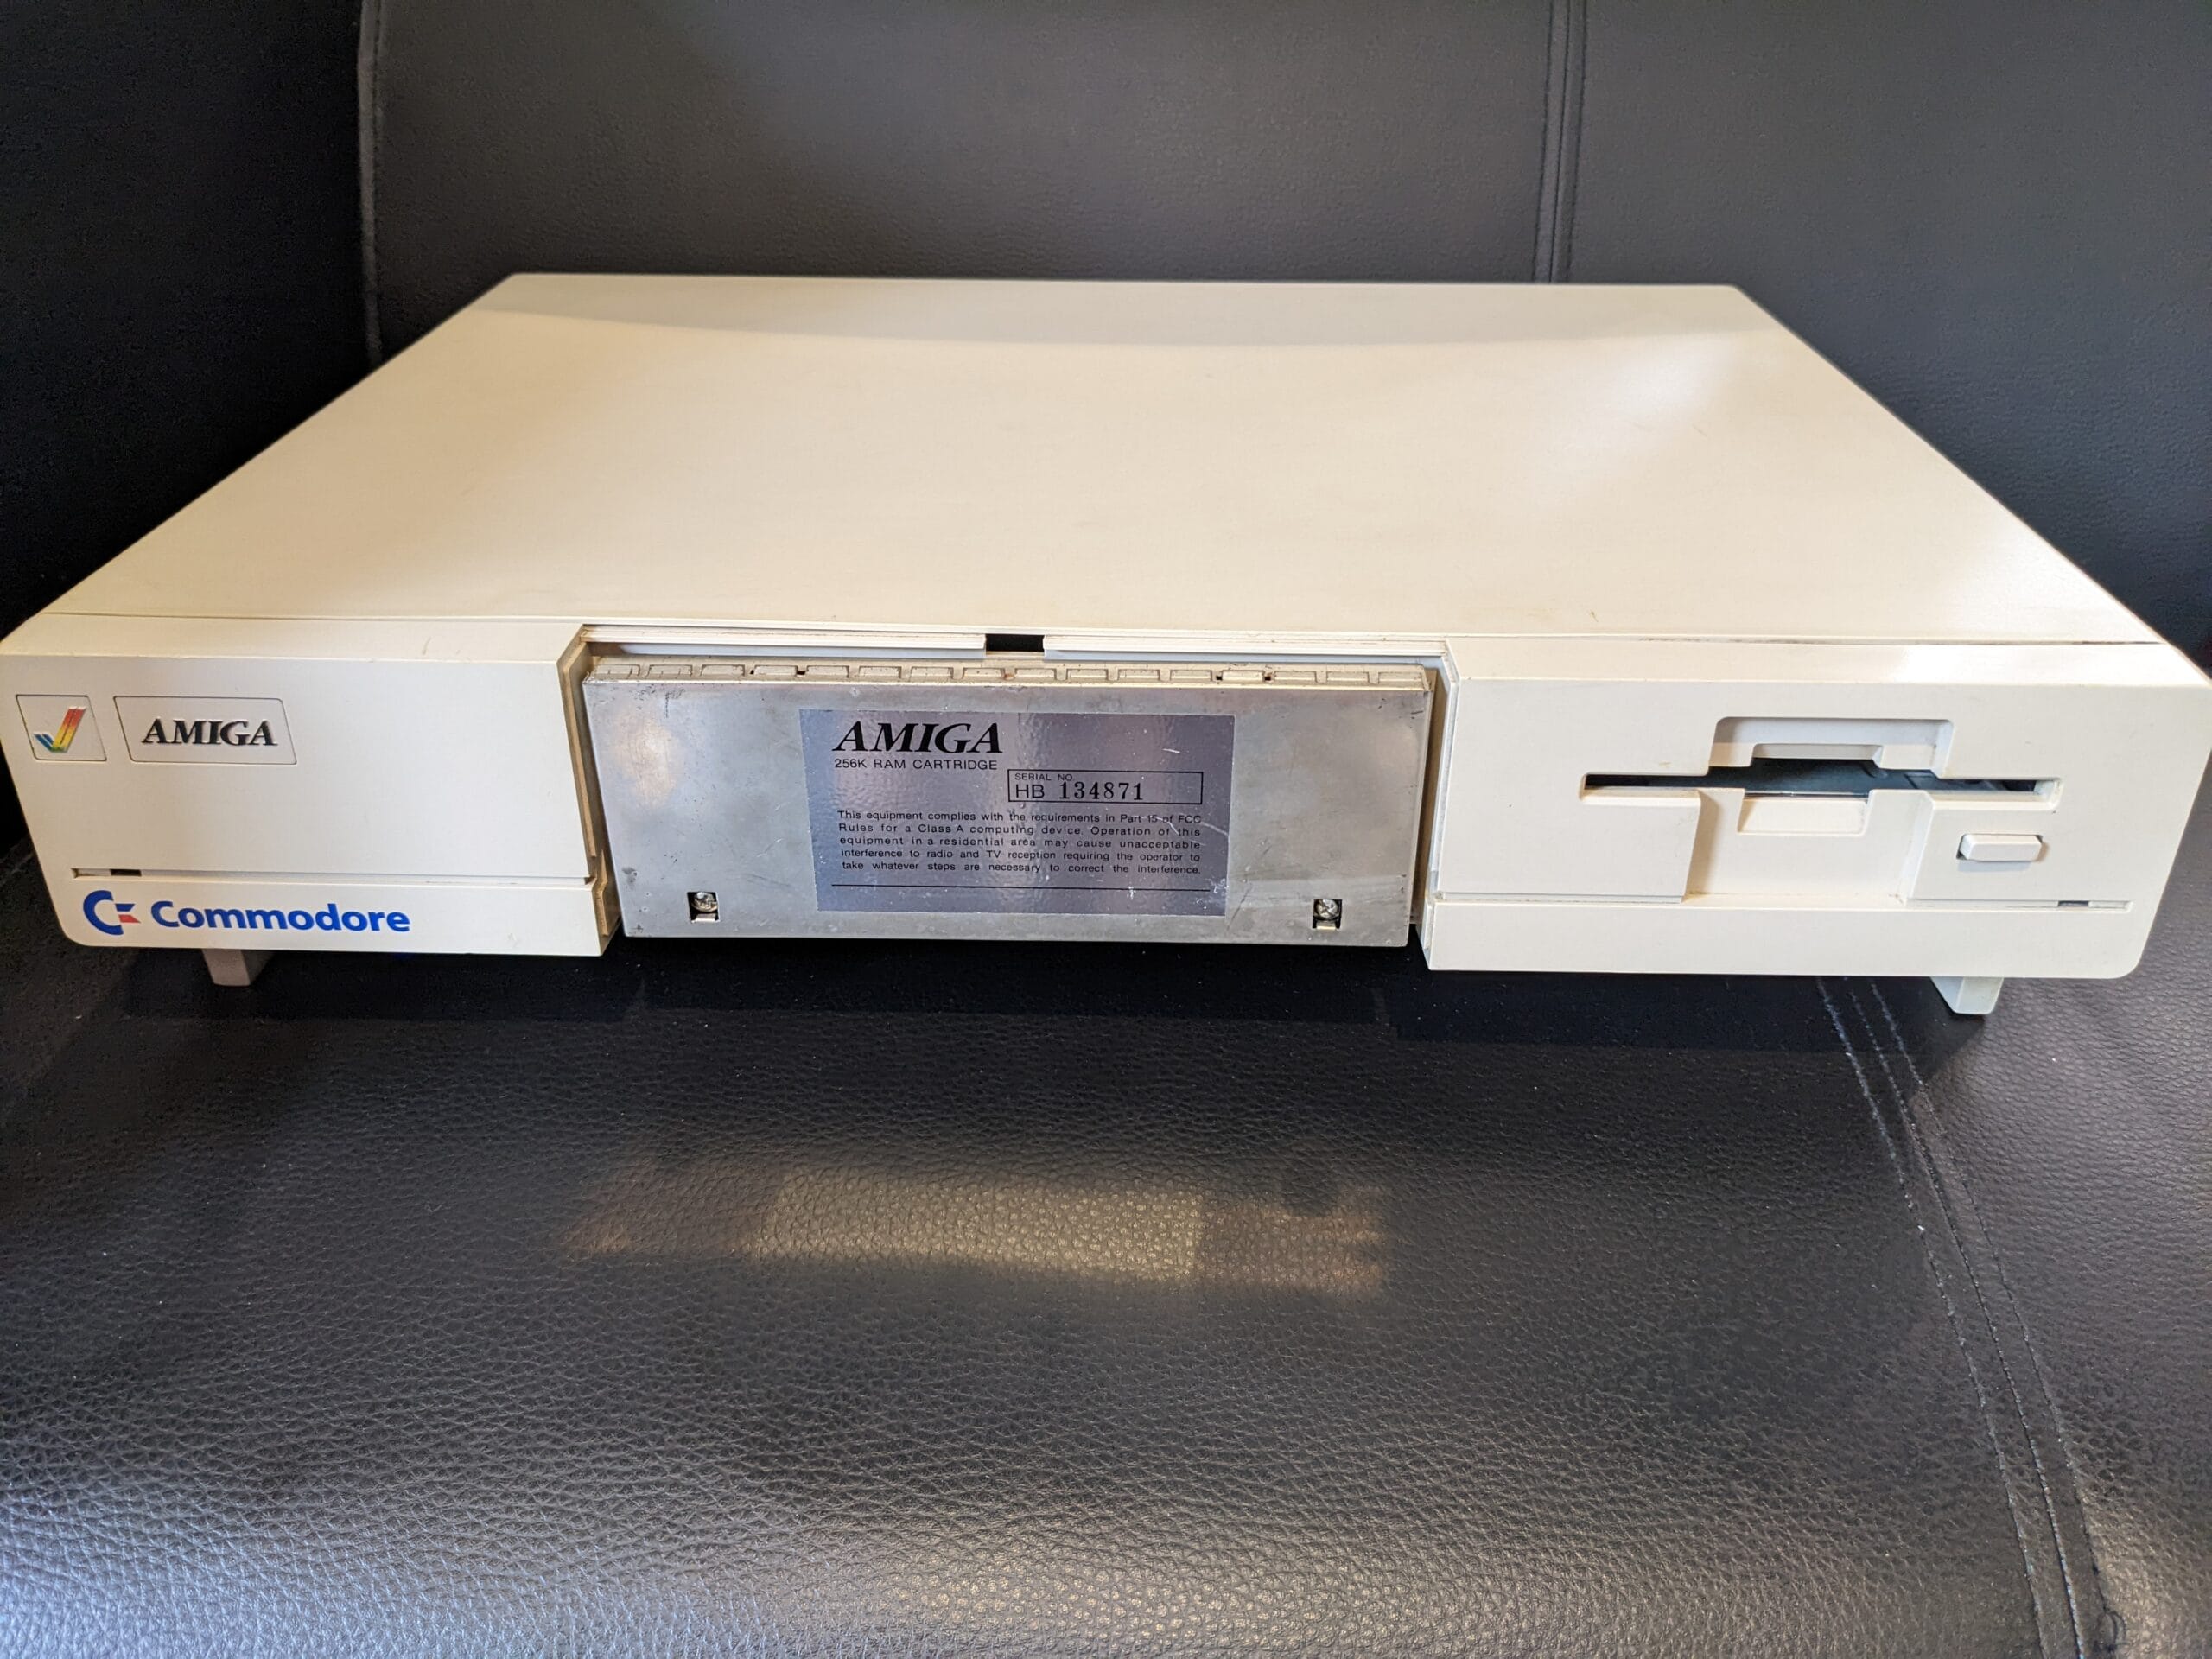
So, after cleaning the whole thing gets put back together for testing. The floppy drive slot in particular is looking a lot cleaner now, and has an eject button!

I powered it on, inserted the Kickstart 1.1 floppy and… it didn’t boot. GAH! I then tried a known-good Kickstart 1.3 floppy disk and that didn’t boot either. It turns out my working Amiga 500 floppy drive that I converted has failed at some point during this process. Luckily I had another spare, tested that and made the exact same conversion. Put it all back together again and tested a Kickstart 1.3 floppy disk.

Phew! Add the bad drive to the pile I need to repair some day…
Now we can boot Amiga Test Kit. I haven’t cleaned the keyboard yet and before I do I want to test it.

Some of the keys don’t exist (top row of numeric keypad and ‘+’ on the numeric keypad) and some are not working. I actually already suspected the ‘C’ key was faulty as it wouldn’t work when I was testing the WCS area (0xFC0000 – 0xFFFFFF) with DiagROM in the previous post.
Looks like my next adventure will be cleanup and repair of the keyboard.
Leave a Reply