

Now that my new Amiga 1200 has been restored, and the boot loop repaired, I have been having a play with the PiStorm32-Lite. Things have come along leaps and bounds since this Amiga 1200 board was released, so I wanted to go over setting it up and running it.
What is the PiStorm32-Lite?
For those who don’t know already, the PiStorm32-Lite is a CPU accelerator board that uses a Raspberry Pi to emulate the CPU of the Amiga. It also adds RTG and the ability to access the SD card partitions as hard drives. These are using drivers to talk directly to the Pi. The rest of the Amiga hardware is still used as normal, this is not emulated. Raspberry Pi 3A, 3B and 4B are supported, as well as the Compute Module 4 with an adapter board. A Pi Zero 2W should work as well, but I don’t think this is well tested.
It is called a PiStorm32-Lite because it is the Lite version of the 32bit PiStorm 😀. The full PiStorm32, which was intended for the Pi Compute Module 4, became too difficult to assemble (both to get the parts and actually assemble it). The Lite doesn’t have all the extra hardware onboard to make a Pi Compute Module work, as they are all on the regular Raspberry Pi board. Apart from that, the functionality is pretty much the same.
As far as the software goes, the Emu68 emulator is a first-class citizen. This is a bare-metal (no Linux OS on the Pi) JIT-based emulator that is incredibly fast. Instead of a CPLD used in the original PiStorm, an FPGA is used in the PiStorm32-Lite. This is flashed by the Pi automatically on power-up, which makes firmware upgrades much easier.
Hardware Assembly
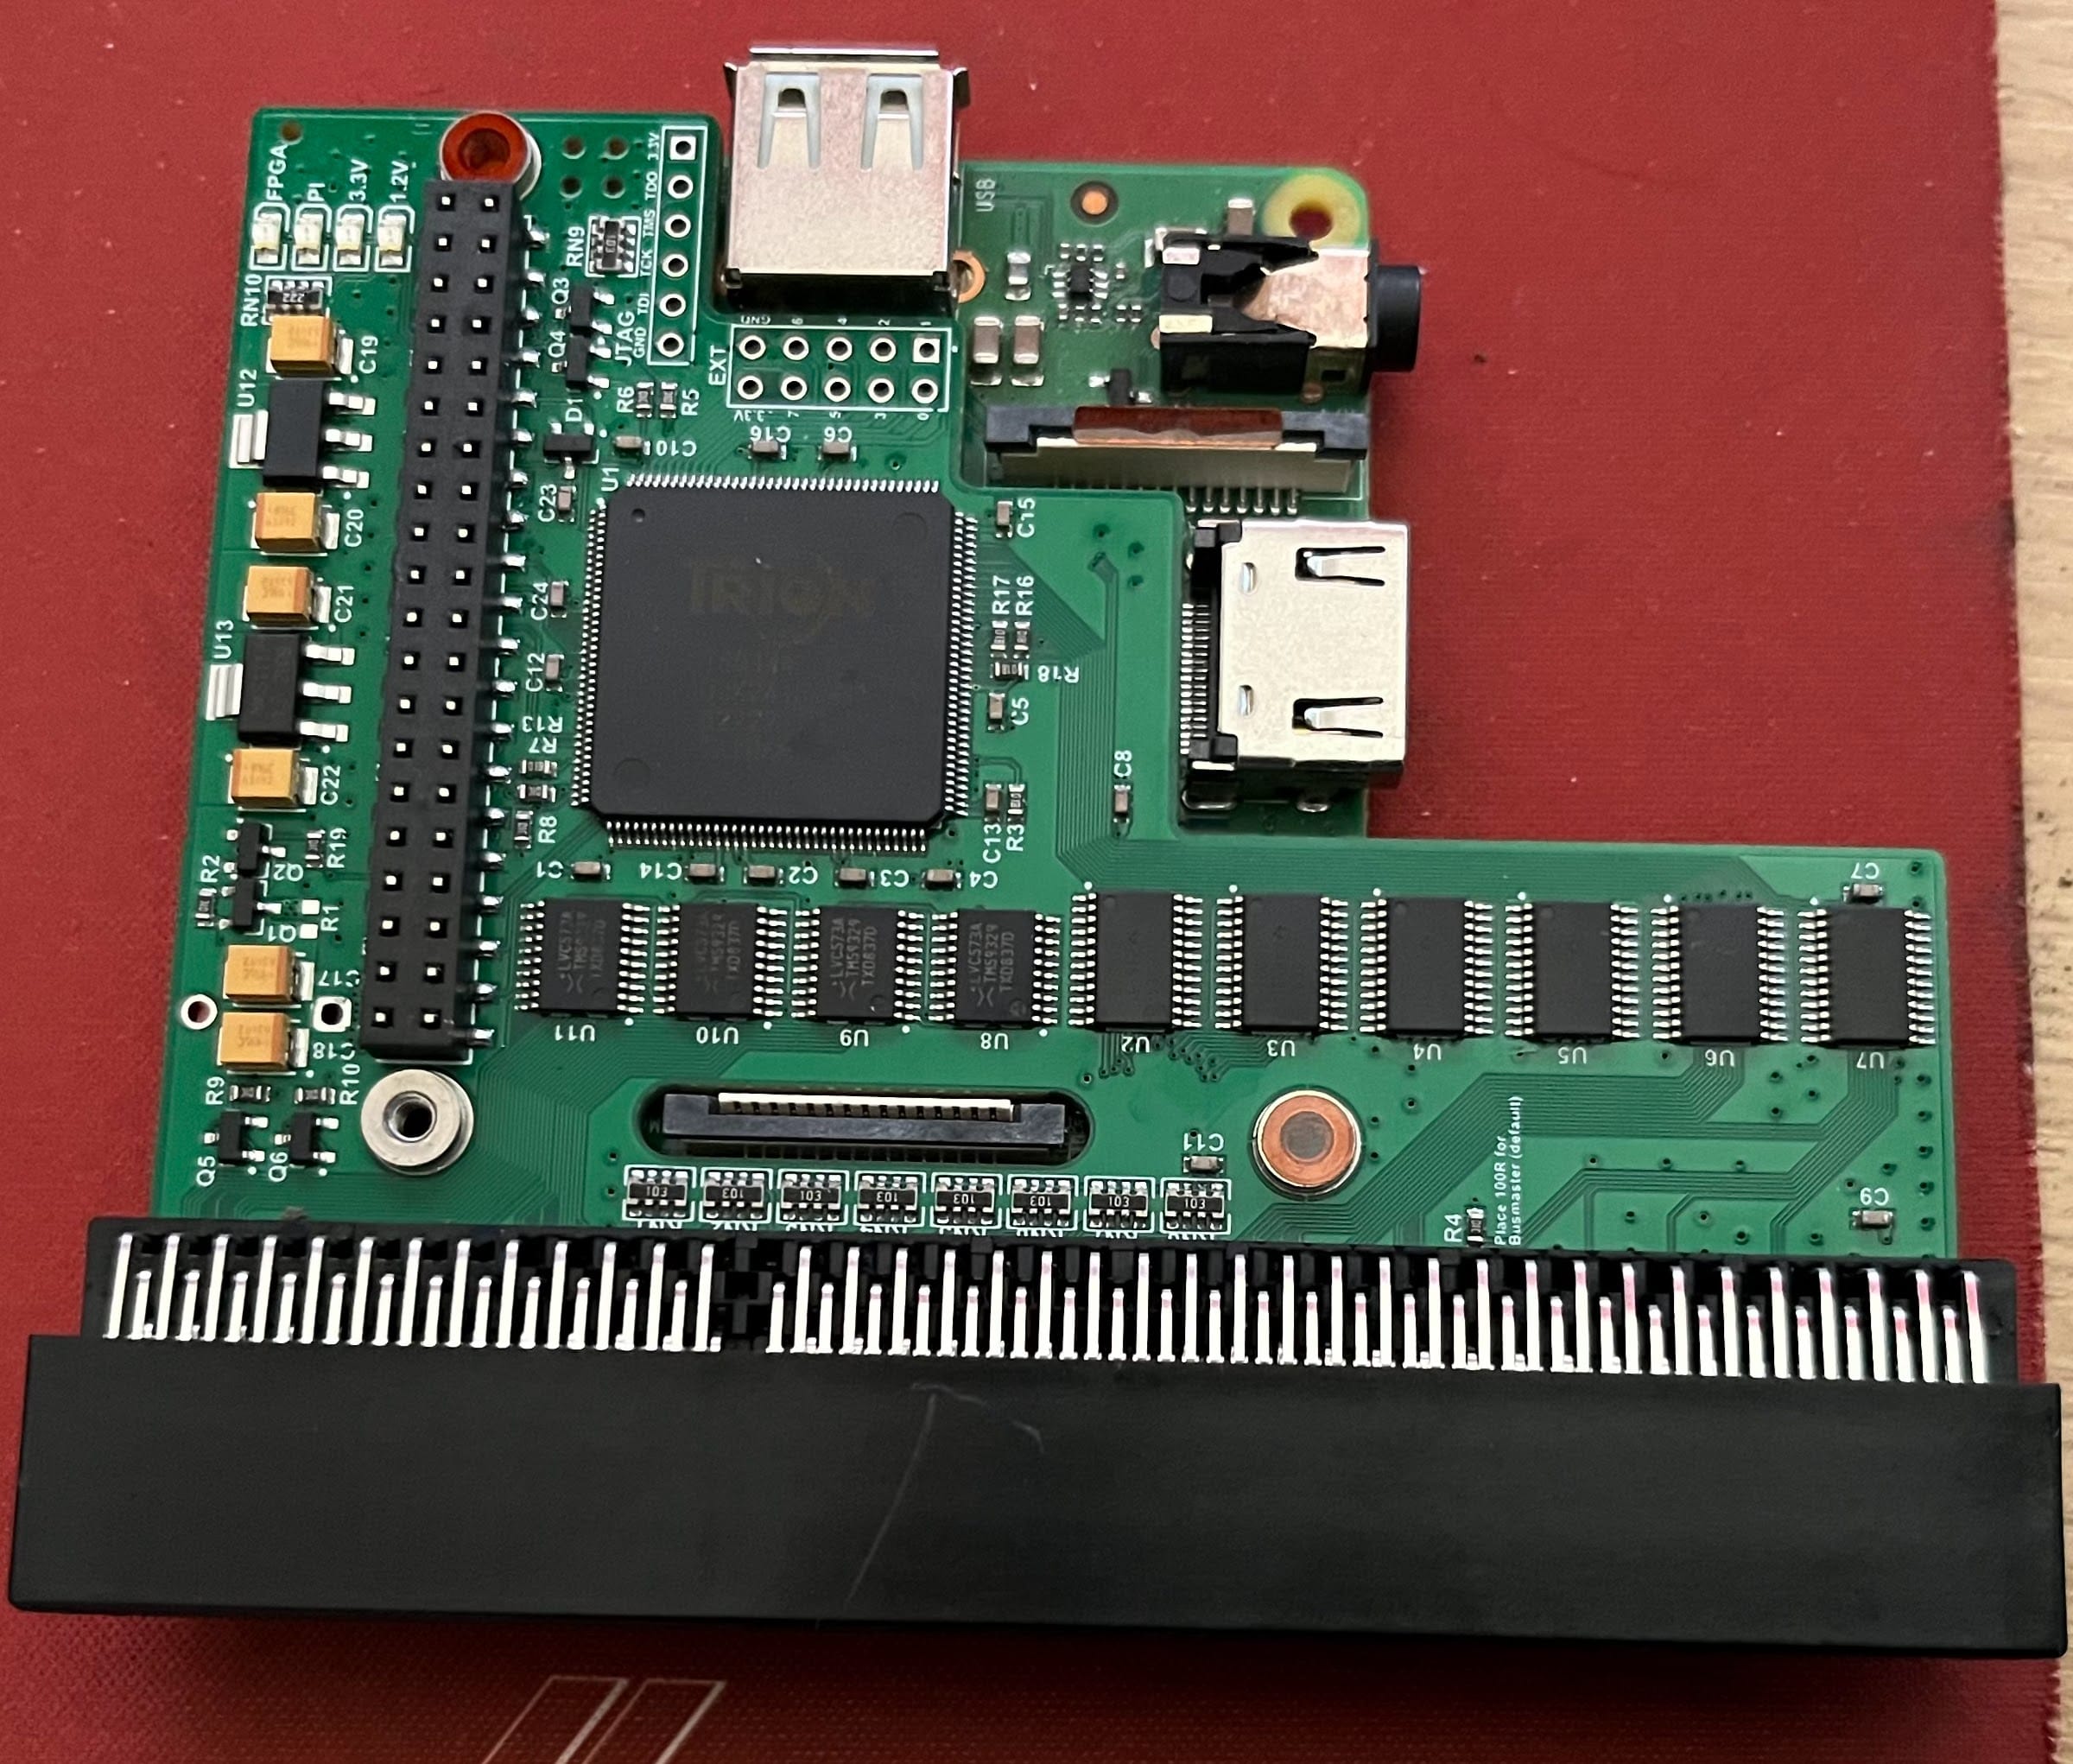
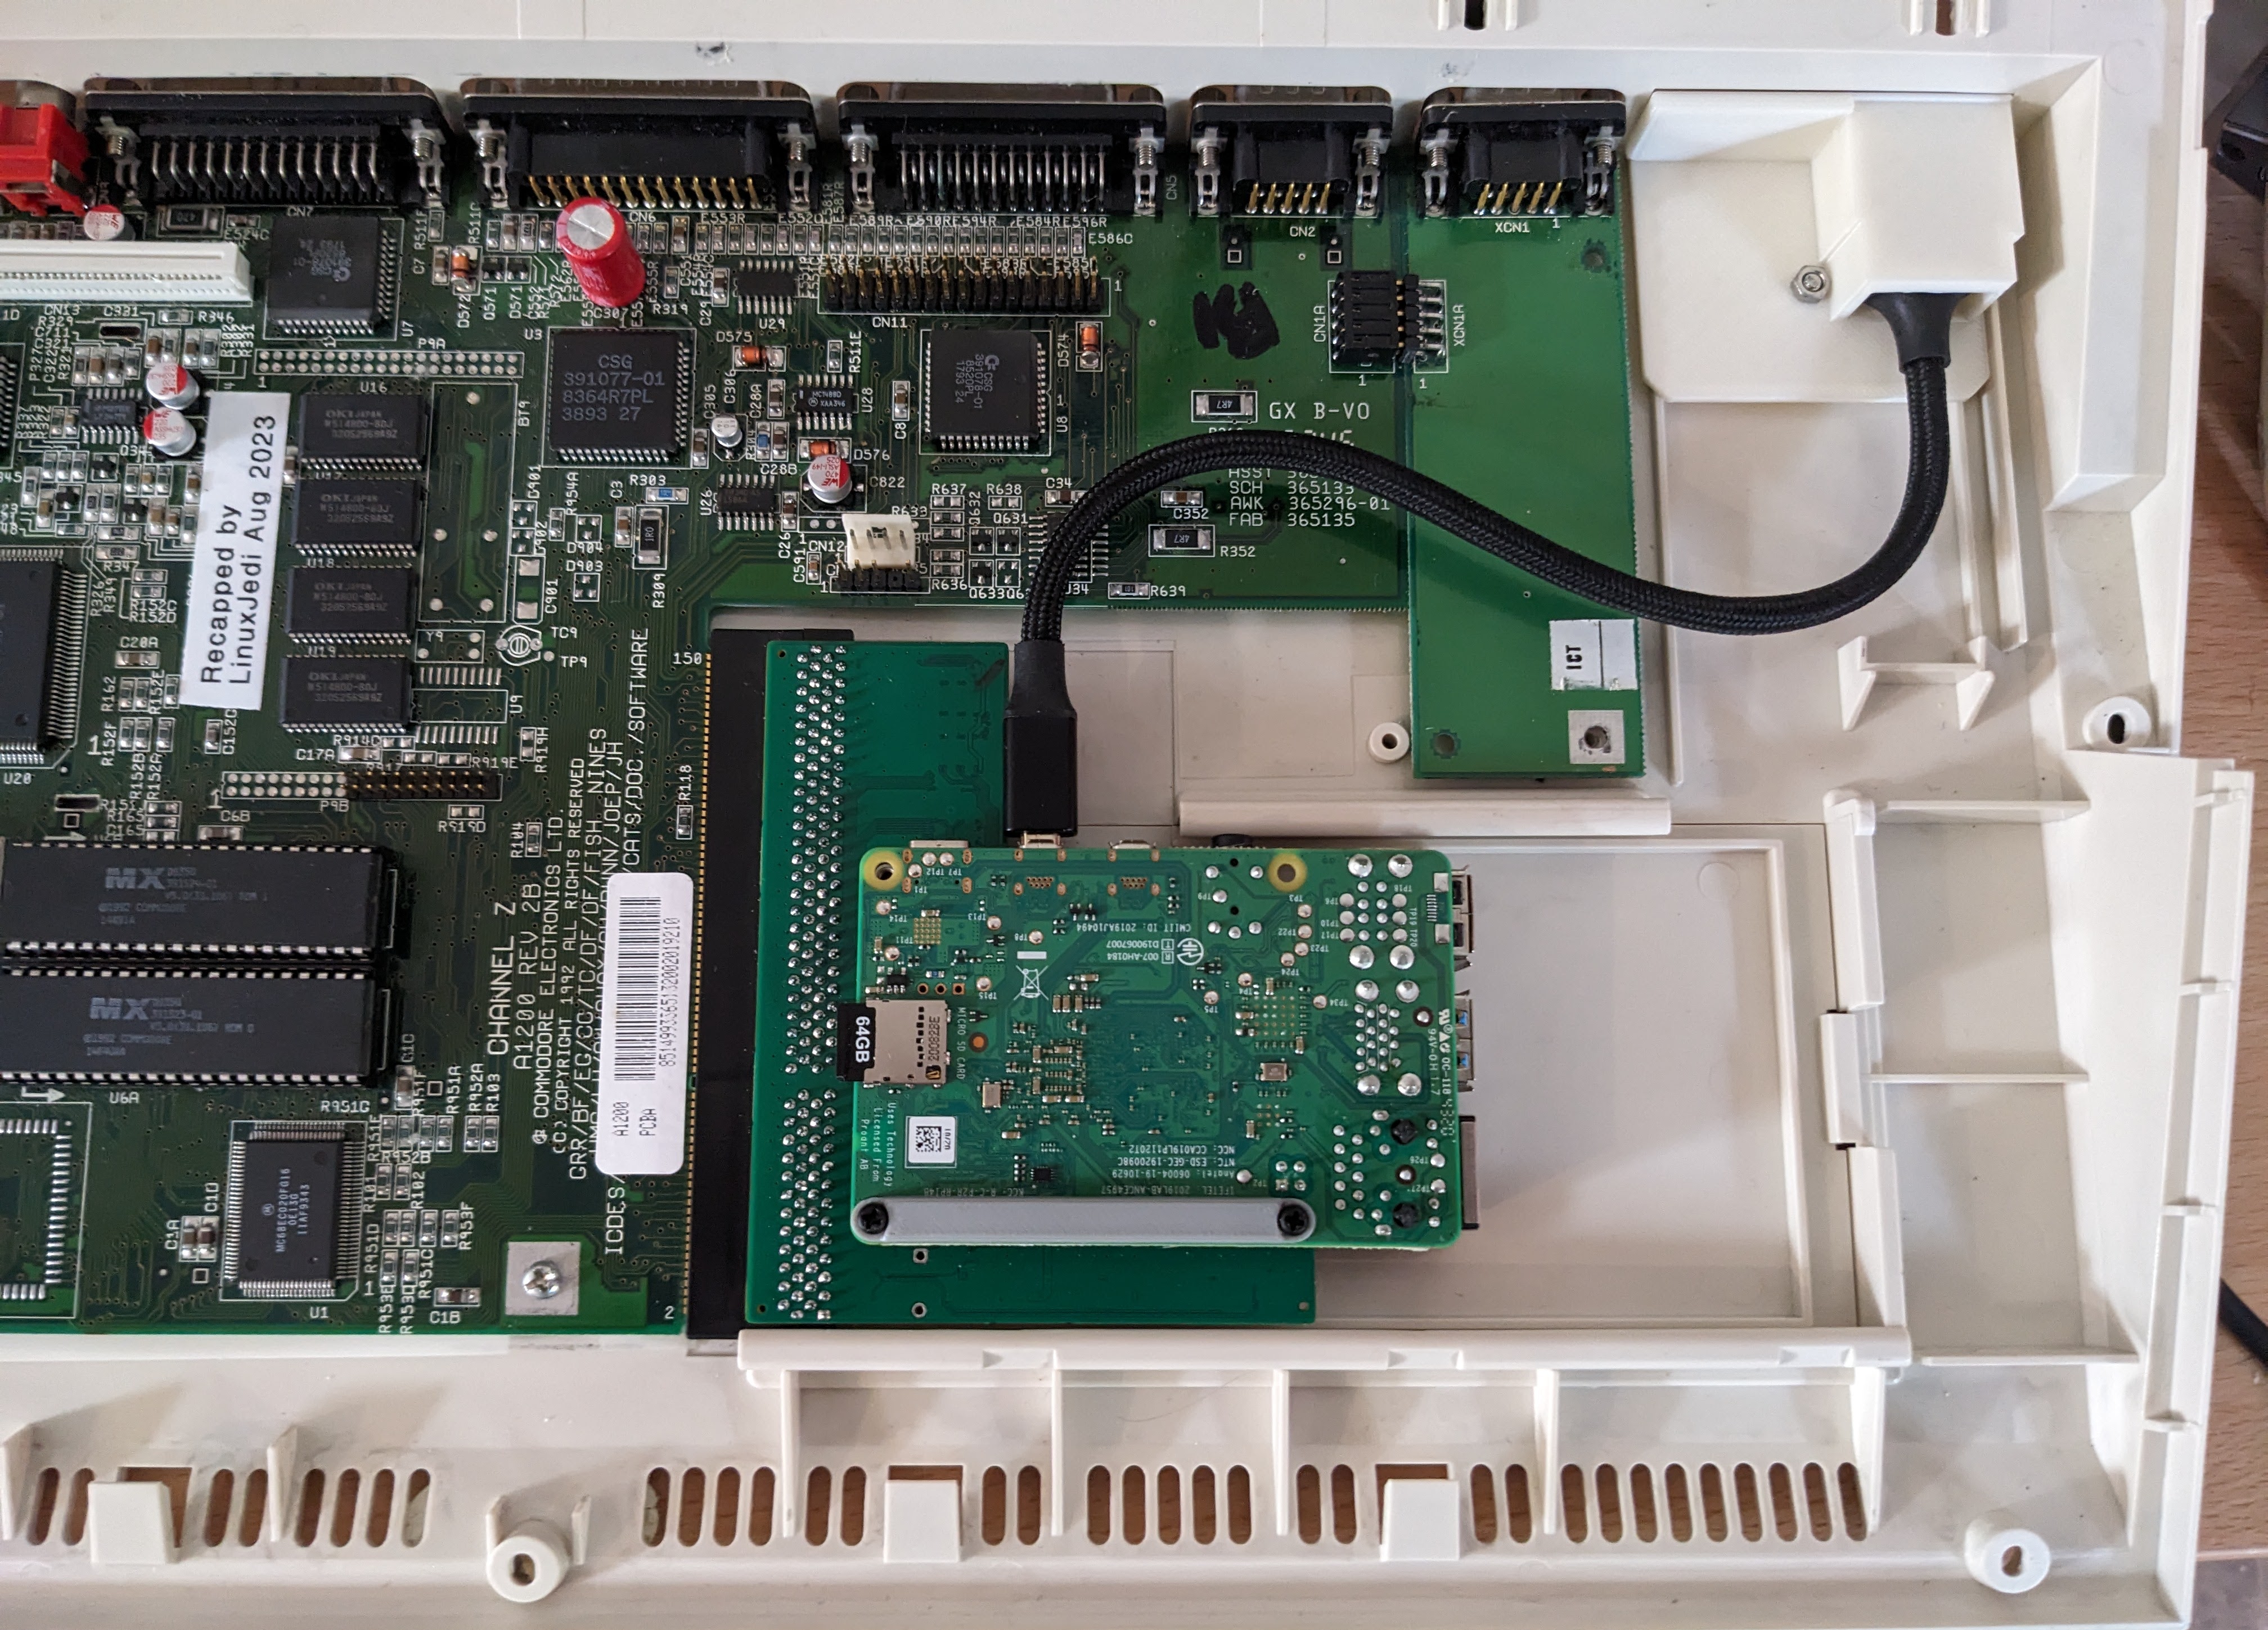
This isn’t too difficult, even if it will seem a little weird at first. The Pi goes through the bottom of the PiStorm board. The Pi’s connector goes through the holes in the PCB and into the connector on the other side.

It is recommended that spacers and screws are used to secure the Pi, a thermal pad to conduct the Pi’s CPU heat to the large metal heaksink plane on the PiStorm. You should also have a 3D-printed piece to cover the back of the Pi’s connector so that it doesn’t short on the metal back of the keyboard. The STL for one such protector is available here.
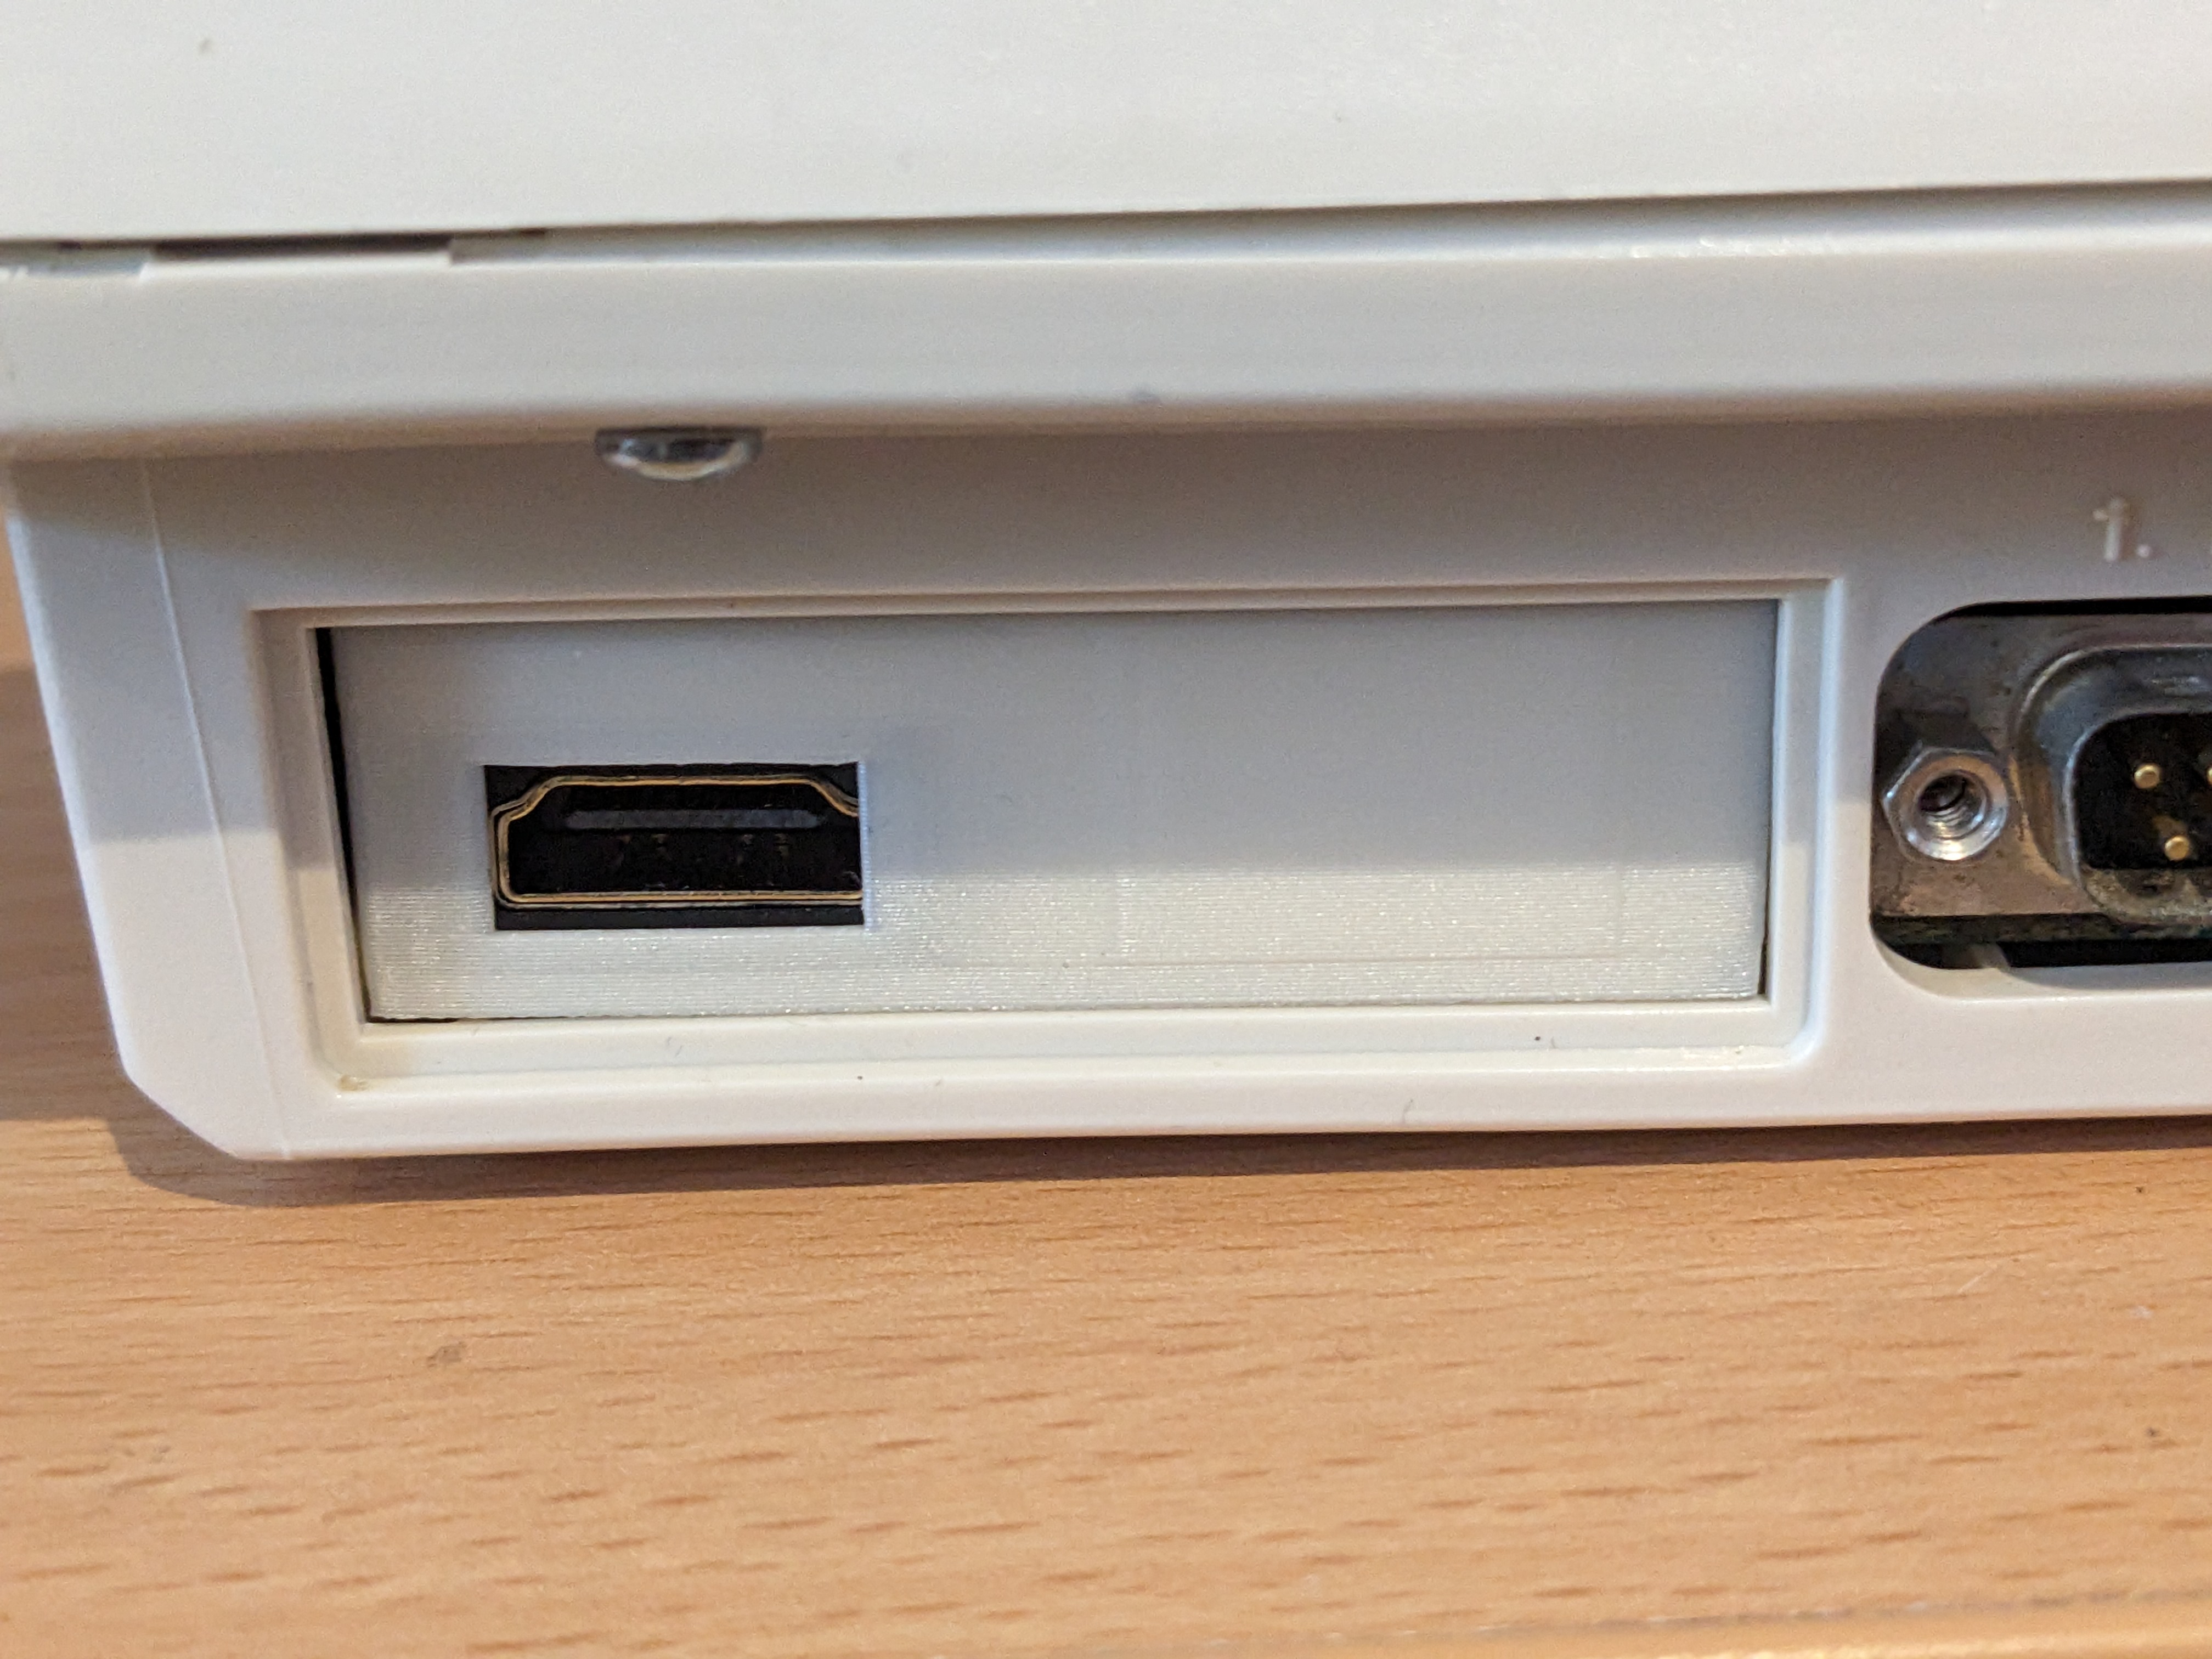
For mine, I also modified this STL so that it worked with a short micro-HDMI (as used on the Pi4) to female HDMI connector. The end result looks like this.
Note that the PiStorm32-Lite I’m using above was a beta version, so the silkscreen printing on the back is missing. It is functionally identical to the released one.
I have removed the metal shields from the Amiga. They aren’t really needed, and they get in the way of the HDMI cable. I could have done a better job with this STL, but it isn’t bad for a quick and dirty remix and print.
Software Setup
The software for the Pi can be found on GitHub. On a micro SD card you need two partitions, the first quite small (I’ve used 8GB, which way bigger than needed), this needs to be FAT32 formatted (not ExFat!). The second partition is what you can use as an Amiga hard disk, it needs the partition type ID 0x76. Details on how to do this on Windows can be found here. On Linux I did this with fdisk.
Now, on the FAT32 partition, you need to extract the zip you downloaded from GitHub. Note that this should be on the root of the FAT32 partition, not a subdirectory. Next, I recommend taking your favourite Kickstart ROM file, renaming it kick.rom and copying it here. The PiStorm will pick it up and use it on boot.
The configuration defaults are usually fine, but if you need to tweak anything, details are here.
Testing
Now you should be in a place where you can boot the PiStorm. Put it into the Amiga and turn it on. You might find it boots twice in a few seconds. The first time is the Amiga’s 68020 booting, then, once the Pi and FPGA are ready, it is rebooted into PiStorm mode. There are troubleshooting steps to take if this doesn’t work, but I won’t cover them today.
With a Pi 4 you can then expect speeds along these lines, over 1300x faster than a stock Amiga 1200. Although this isn’t a great benchmark for it, due to the nature of JIT emulators some tasks will run quicker than others. It still runs blazingly fast regardless. This is with the beta 2.1 release, and I believe the performance has improved further in the last few days.

I should point out here that although the CPU identifies as a 68040, this is more for convenience and most 68060 instructions and software should work just fine.
Amiga Setup
To setup the SD card partition, install the OS and RTG on the Amiga side I recommend reading this page on Retro32. Everything I would say here would be pretty much the same. It is worth noting that on the Raspberry Pi 4 it is brcm-emmc.device instead of brcm-sdhc.device. This is because the SD card hardware in a Pi 4 has a different controller to other models.
After this, I installed:
- Emu68-Tools – Expand the “assets” section to get the latest build
- MUI – needed for Emu68-Tools
- FAT95 – so I could see the SD card’s FAT32 partition on the Amiga side
- CFD – so that I can transfer files from my laptop to the Amiga using a CF card in the PCMCIA slot
Now I can boot my Amiga into the RTG, monitor the Emu68 side and alter the settings as needed.

Showing the FAT
If you want to show the FAT32 drive, you first need to install FAT95 as above. You then need to create a file which you can call something like MOUNTFAT which has the following:
FileSystem = L:fat95
Flags = 0
MaxTransfer = 0x1fe00
LowCyl = 0
HighCyl = 0
Surfaces = 1
BlocksPerTrack = 1
Buffers = 100
StackSize = 8192
GlobVec = -1
Priority = 5
You then need to edit the icon of the file to change the tooltypes to:
UNIT=0
DEVICE=brcm-sdhc.device
DOSTYPE=0x46415401
ACTIVATE=1
Note that if you are using a Pi 4 it needs to be brcm-emmc.device instead of brcm-sdhc.device. Finally, change the following icon details:
Default tool : C:Mount
Stack size : 4096
Start from : Workbench
You can then run this icon to mount the FAT32 partition and copy it to Devs/DOSDrivers to run this at boot time.
This will be read-only by default. So if you want it to be writable, which allows you to update Emu68 from the Amiga, you need pop the SD card in the PC, add a file called cmdline.txt and put in there:
sd.unit0=rwRunning Games
A lot has been said in the past about game compatibility. But, nowadays, a majority of Amiga demos and games work file in the PiStorm32-Lite, and the list is getting better all the time. Some need settings changed in EmuControl for certain demos and games, but there is a compatibility table available here which shows what needs changing. Most of the remaining issues are to do with self-modifying code, which a JIT based emulator such as Emu68 will struggle to execute correctly.
More modern games can also be executed. For example, using the PiStorm’s RTG you can run Quake at 90 FPS, even using AGA it can ran at nearly 50 FPS.
What Next?
For the PiStorm project? Lots of cool things, join the PiStorm Discord (I’m an admin there) to follow the latest there.
For me and this Amiga 1200? I’m planning something very cool for it, which will be public in a couple of months. I’ll post more when it happens. Furthermore, I’m also in the middle of printing a 4cm fan mount trapdoor cover for it, the Pi4 runs hot enough that it could warp the plastic if it ran for days on end.
Leave a Reply