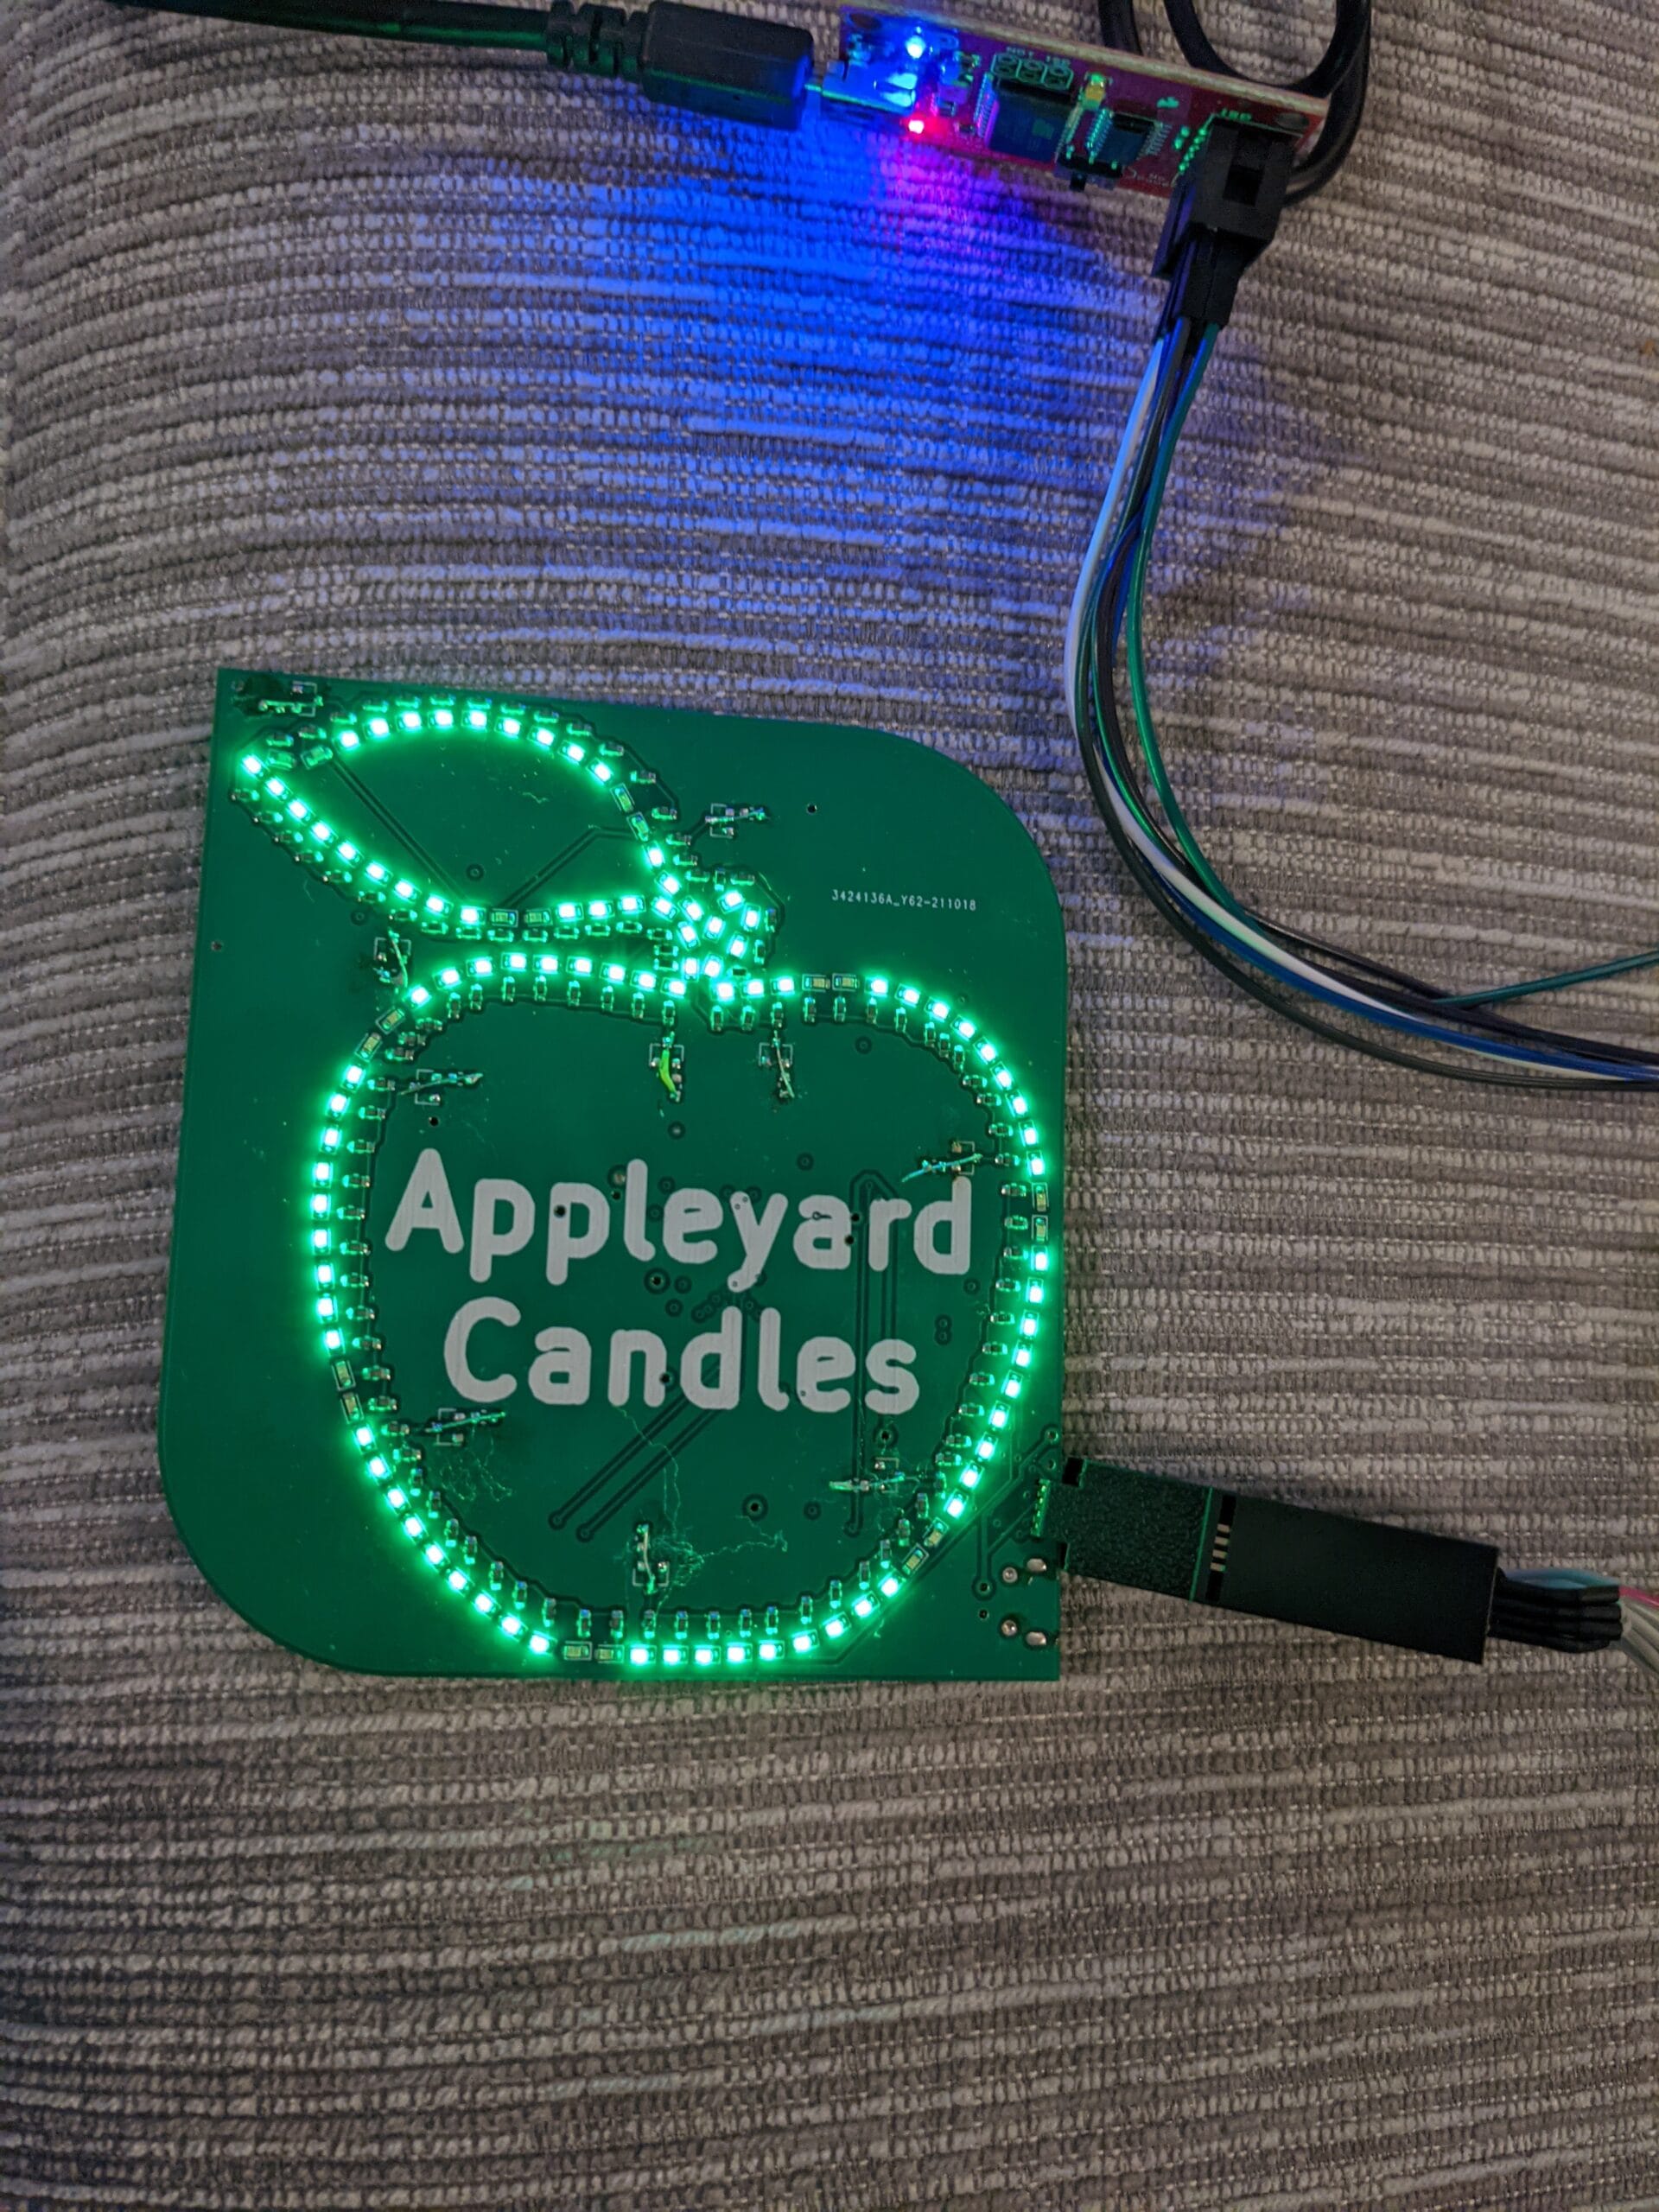
I recently designed and built a small prototype device for my wife that uses an AVR MCU. I wanted to use my own IDE and build it on my Linux laptop like anything else. This is the quick Makefile I wrote to do it.
Installing Tools
Most Linux distributions have and AVR toolchain in the repositories, for Ubuntu based distros you would install using:
sudo apt install avrdude gcc-avr avr-libc
The AVRDUDE tool (short for AVR Downloader/UploaDEr) is used to communicate with the AVR, in my case I’m using a SparkFun Pocket Programmer which in AVRDUDE is a “usbtiny”. On this board I’m using a SOICbite to connect the programmer so I can easily connect and disconnect it without having to solder pins to the board. The rest is basically the compiler toolchain.
Makefile
Next up the Makefile:
# The MCU model, see https://www.nongnu.org/avr-libc/user-manual/using_tools.html for list
MCU=atmega169
# Clock speed used (after divider), mostly for delay functions
CLK=16000000
# Name of project output file
PROJ=appleyard
# List of source files
SOURCES=appleyard.c

# List of object files generated from source files
OBJ=$(SOURCES:.c=.o)

all: $(PROJ).hex

# Generated object files
.c.o:
	avr-gcc -w -Os -DF_CPU=$(CLK) -mmcu=$(MCU) -c -o $@ $<

# Generate executable
$(PROJ).elf: $(OBJ)
	avr-gcc -w -mmcu=atmega169 $(OBJ) -o $(PROJ).elf

# Create Intel hex format for programming
$(PROJ).hex: $(PROJ).elf
	avr-objcopy -O ihex -R .eeprom $(PROJ).elf $(PROJ).hex

clean:
	rm -f *.hex *.elf *.o

# Install flashes the code
install:
	avrdude -c usbtiny -p $(MCU) -U flash:w:$(PROJ).hex
This basically makes “make” generate object files, a final executable and then a Intel hex format file for programming. Then “make install” will flash this file. The variables at the top are to be adjusted for your project. The MCU should be changed for your specific chip, the CLK should be adjusted to the clock speed after you have set the frequency divider, this is mostly used for the AVR delay function timing. The PROJ is the name of the output files generated and SOURCES is a list of source files used.
Code
The code needs a few things to work, mostly some headers and setup in main(), I’ve added a few other potentially useful things here for the ATMega169 I’m using:
#include <avr/io.h>
#include <avr/interrupt.h>
#include <avr/power.h>
#include <util/delay.h>

void main(void)
{
    // Set ports A, C, D and F as outputs
    DDRA = 255;
    DDRC = 255;
    DDRD = 255;
    DDRF = 255;

    // Make ports A and F all high
    PORTA = 255;
    PORTF = 255;

    clock_prescale_set(clock_div_1);
    // Setup timer interrupt
	TCCR1A = 0x00;         //not using any hardware features
	TCCR1B |= (1<<CS11);   //using div8
	TCNT1 = 65500;         //65536-65500 = 36 before overflow
	TIMSK1 |= (1<<TOIE1);  //enable TIMER1_OVF_vect
    sei();                 //turn on interrupts

    while(1)
    {
        ...
    }
    // Note: main() in AVRs should never return
}

ISR(TIMER1_OVF_vect)
{
    ...
    // Restart timer
    TCNT1 = 65500;
}
The clock_prescale_set() will change the clock prescaller used, many AVRs by default will use a clock divider and will therefore not be running at full speed. Information on this function can be found here. For my project I’ve setup a timer interrupt to fire every 36 ticks of clock / 8. I’m using this for PWM of LEDs for dimming and matrix row selection.


Leave a Reply