
In a previous post, I showed the two BBC Micro computers I had acquired. I decided to work on the black one first, this is the start of the restoration.
PSU Recap
A vital thing that needs to be done with all BBC computers is to replace some of the capacitors in the power supply. The two main ones are Rifa branded capacitors designed to reduce electrical noise. Over time the plastic casing on them starts to degrade, cracks form, moisture from the air gets in and because they are paper based, they ignite. Usually just letting out a lot of smoke. This actually happened to me with a Rifa I didn’t spot hidden in heat shrink wrapping behind the power socket on an Amiga 2000 I was repairing a couple of years ago.

This filled the room with smoke, but didn’t really do any damage to the machine. In fact, because it is across the live and neutral, the machine usually stays functioning whilst the capacitor is blowing. It is rare I’ve seen a nearly 40 year old one of these last more than half an hour when a machine is plugged in.
In addition, it is relatively common to replace the starter capacitor for the PSU, this comes under heavy strain and once it fails, the PSU will no longer function.
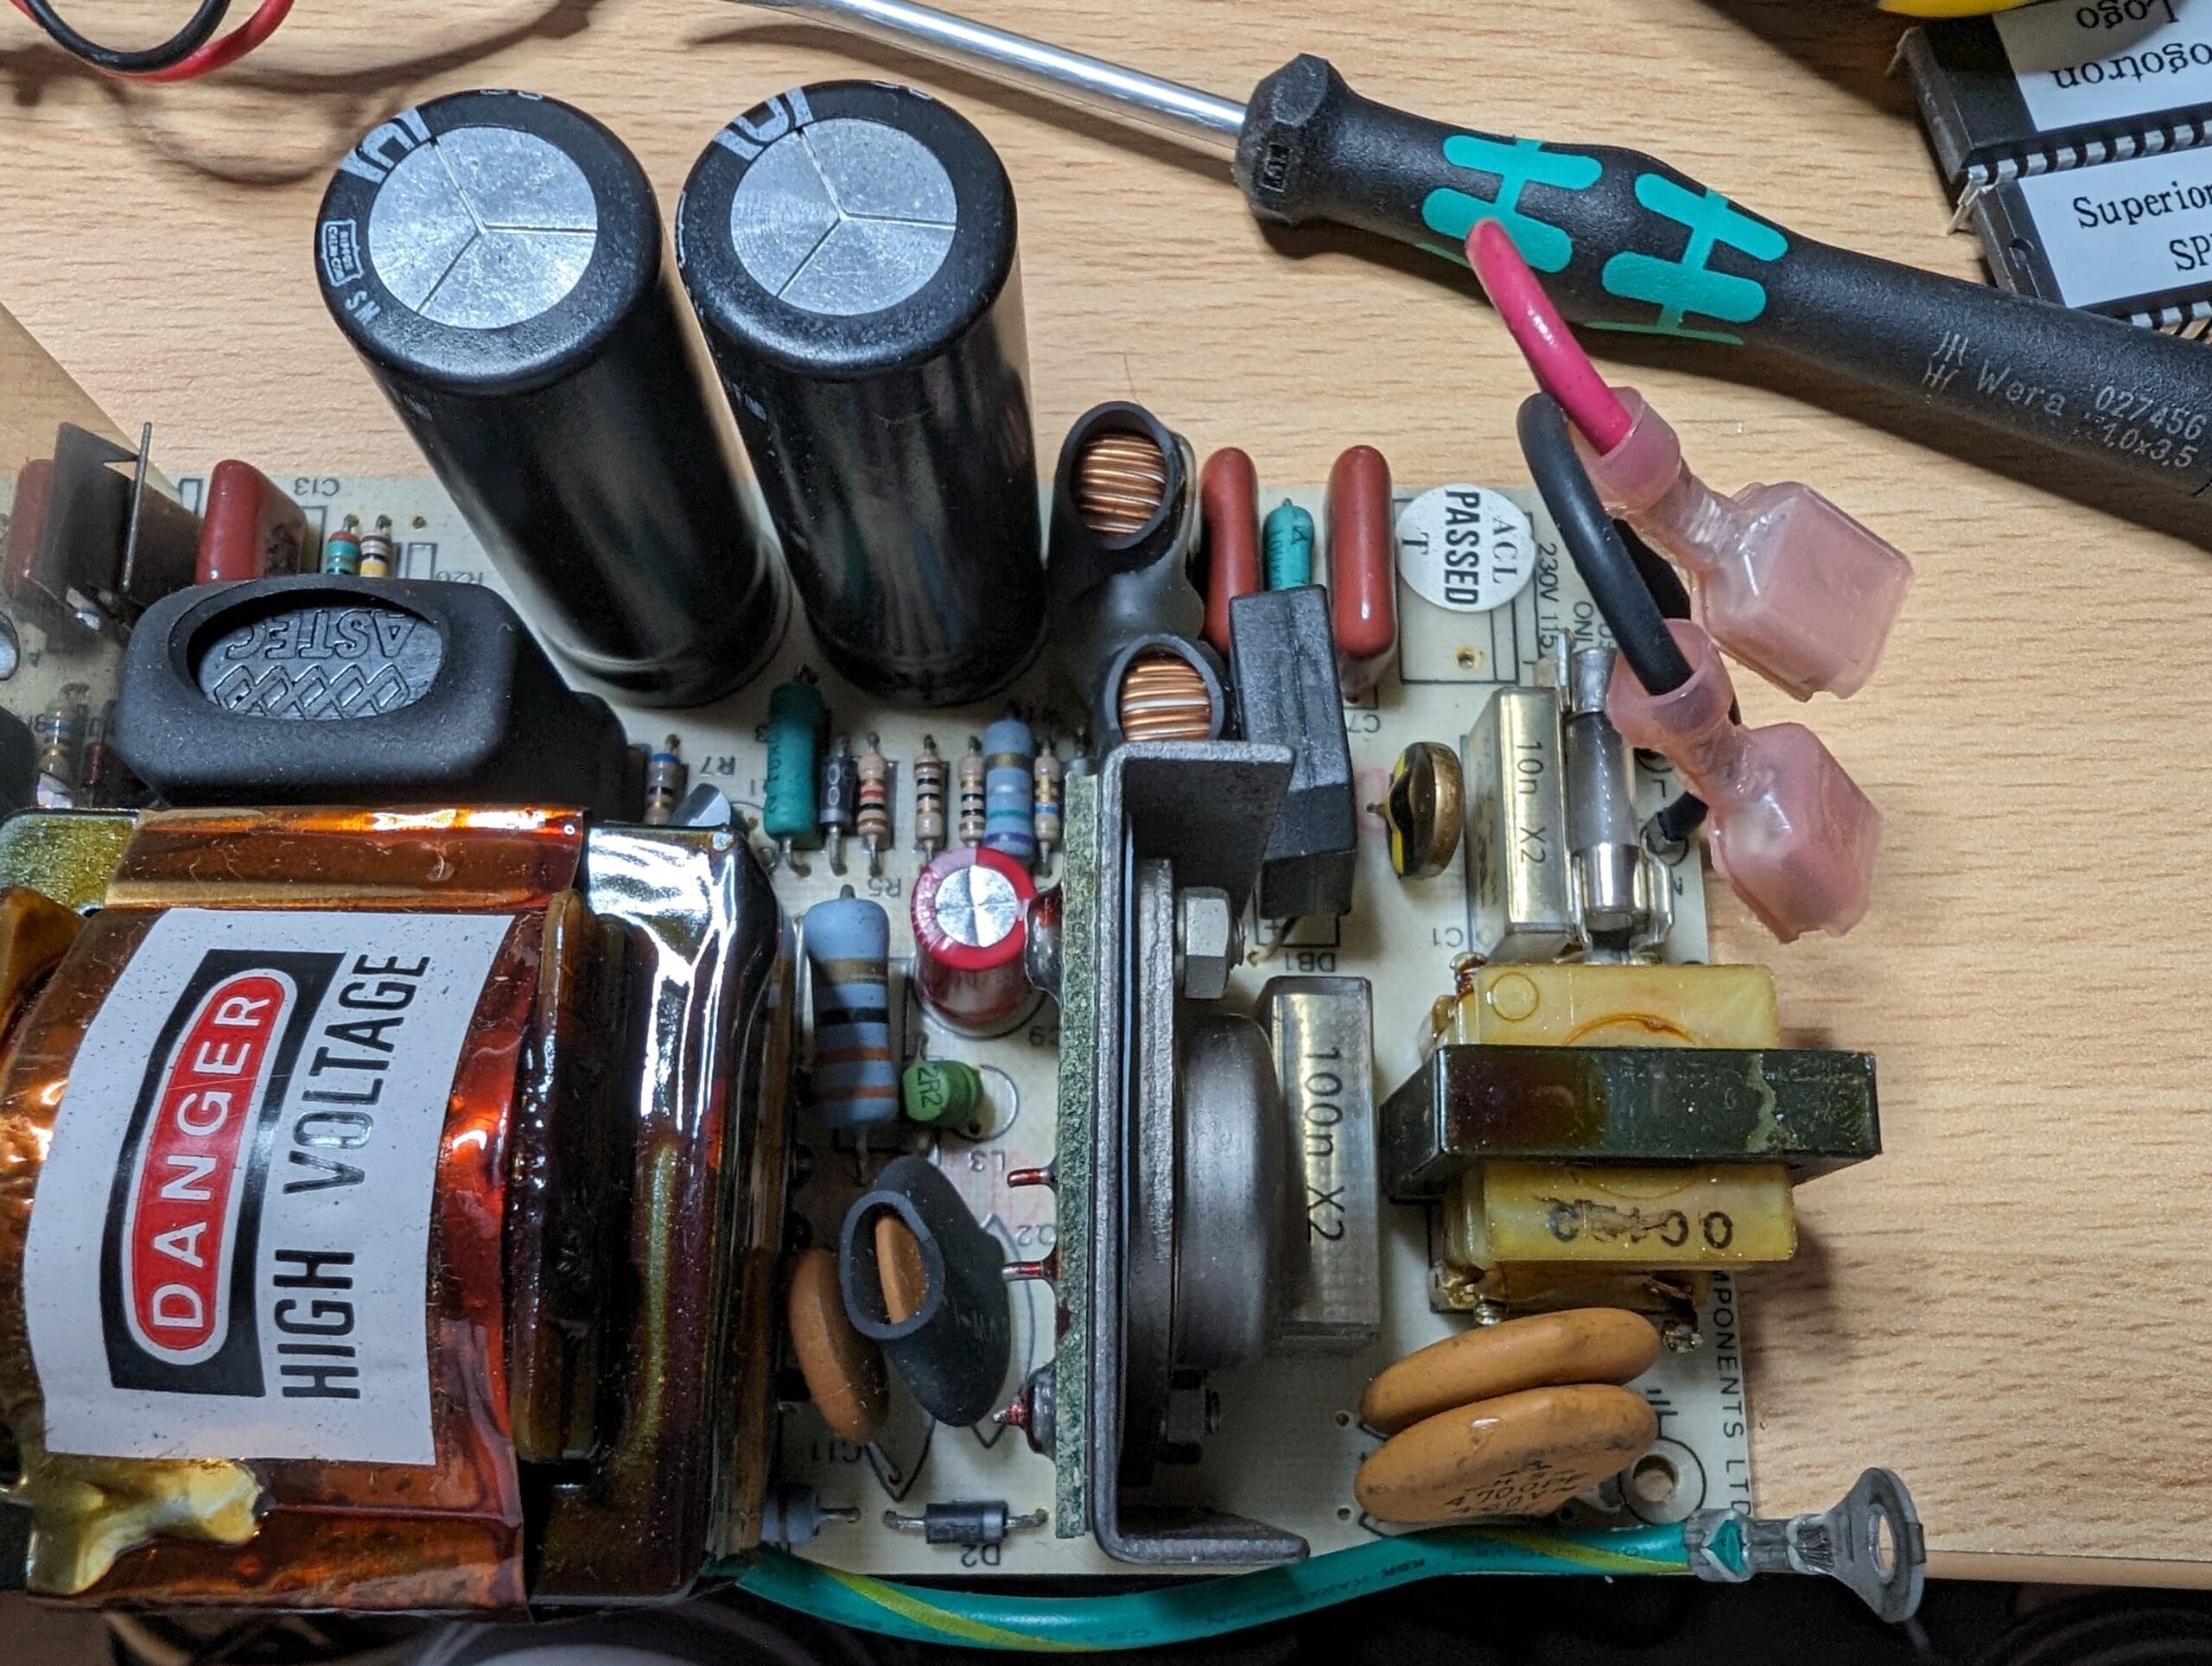
Once the BBC’s PSU was disassembled, I desoldered the Rifa capacitors and looked at them under the microscope.

The casings for both are cracked, and small one is actually bulging slightly. These would not have lasted long. In addition, I removed the starter cap, which is near the middle of the PSU. I popped this onto my ESR meter to check the state of it.

The capacitance is a little low, but OK. The ESR is also well within tolerable ranges. But I replaced it anyway, given the age, this might not have lasted too long.
This is the end results with the new capacitors, the red one is the replacement starter cap.

Power cable
When removing the PSU, I checked out the plug on the mains cable, I immediately didn’t trust it.

It is dirty, corroded, and the two power pins do not have the standard shielding near the base of the plug to prevent possible electric shock. I decided to remove this cable and replace it with a spare one.
I basically took a standard IEC power lead, cut off the connector and crimped on some new spade connectors.

Unfortunately the strain relief grommet wouldn’t fit on this cable, so a replacement is needed, I’ll order a replacement.
I tested to make sure there was good continuity for the live, neutral and earth. I also tested that the casing was earthed correctly and that there was no short between live and neutral.
Testing
With that it was time to test it, I hooked the 5v up to a multimeter and put a floppy drive load on it. I powered it up and got a good voltage reading, and nothing went “bang”, so it was time to install it in the BBC and power it up.


It did the standard “Boo-Bip” which we all love, and immediately booted into the Thurrock Care ROMs. I’d forgotten I’d left them in, but it shows that the BBC is working.
I took out the two Thurrock Care ROMs and put in the DFS ROM it came with and a Logo language ROM (ROMs 2 and 3 in this photo).

Now let’s try powering it on again…

That looks a little more familiar. It shows that at least the Speech and DFS ROMs are detected, how about the Logo ROM I put in? This can be executed by typing in *LOGO.

There is a bit of video cropping going on, but that is solvable. This is the prompt I was expecting, as soon as you give it a drawing command it will show the on-screen turtle and start drawing. But this is for another blog post.
Next steps
I have a couple of upgrades to install into this machine, and I need to screw it back together. It also needs a bit of a clean and a new strain relief for the power cable. But I’m happy the machine is alive.
I also have a second BBC to restore, which I believe is going to be a little more work. So, watch this space!
Leave a Reply