Earlier this month was the Kickstart Amiga Expo, and my Amiga business, Retro Supplies, had a stand there. I had pre-planned to take in several Amiga motherboards to repair and recap whilst there, and among them was a special Amiga 4000 motherboard. Special because it belongs to Mike Dailly of DMA Design fame. It also happens to have a really interesting fault. So, I figured I would document it.
The motherboard

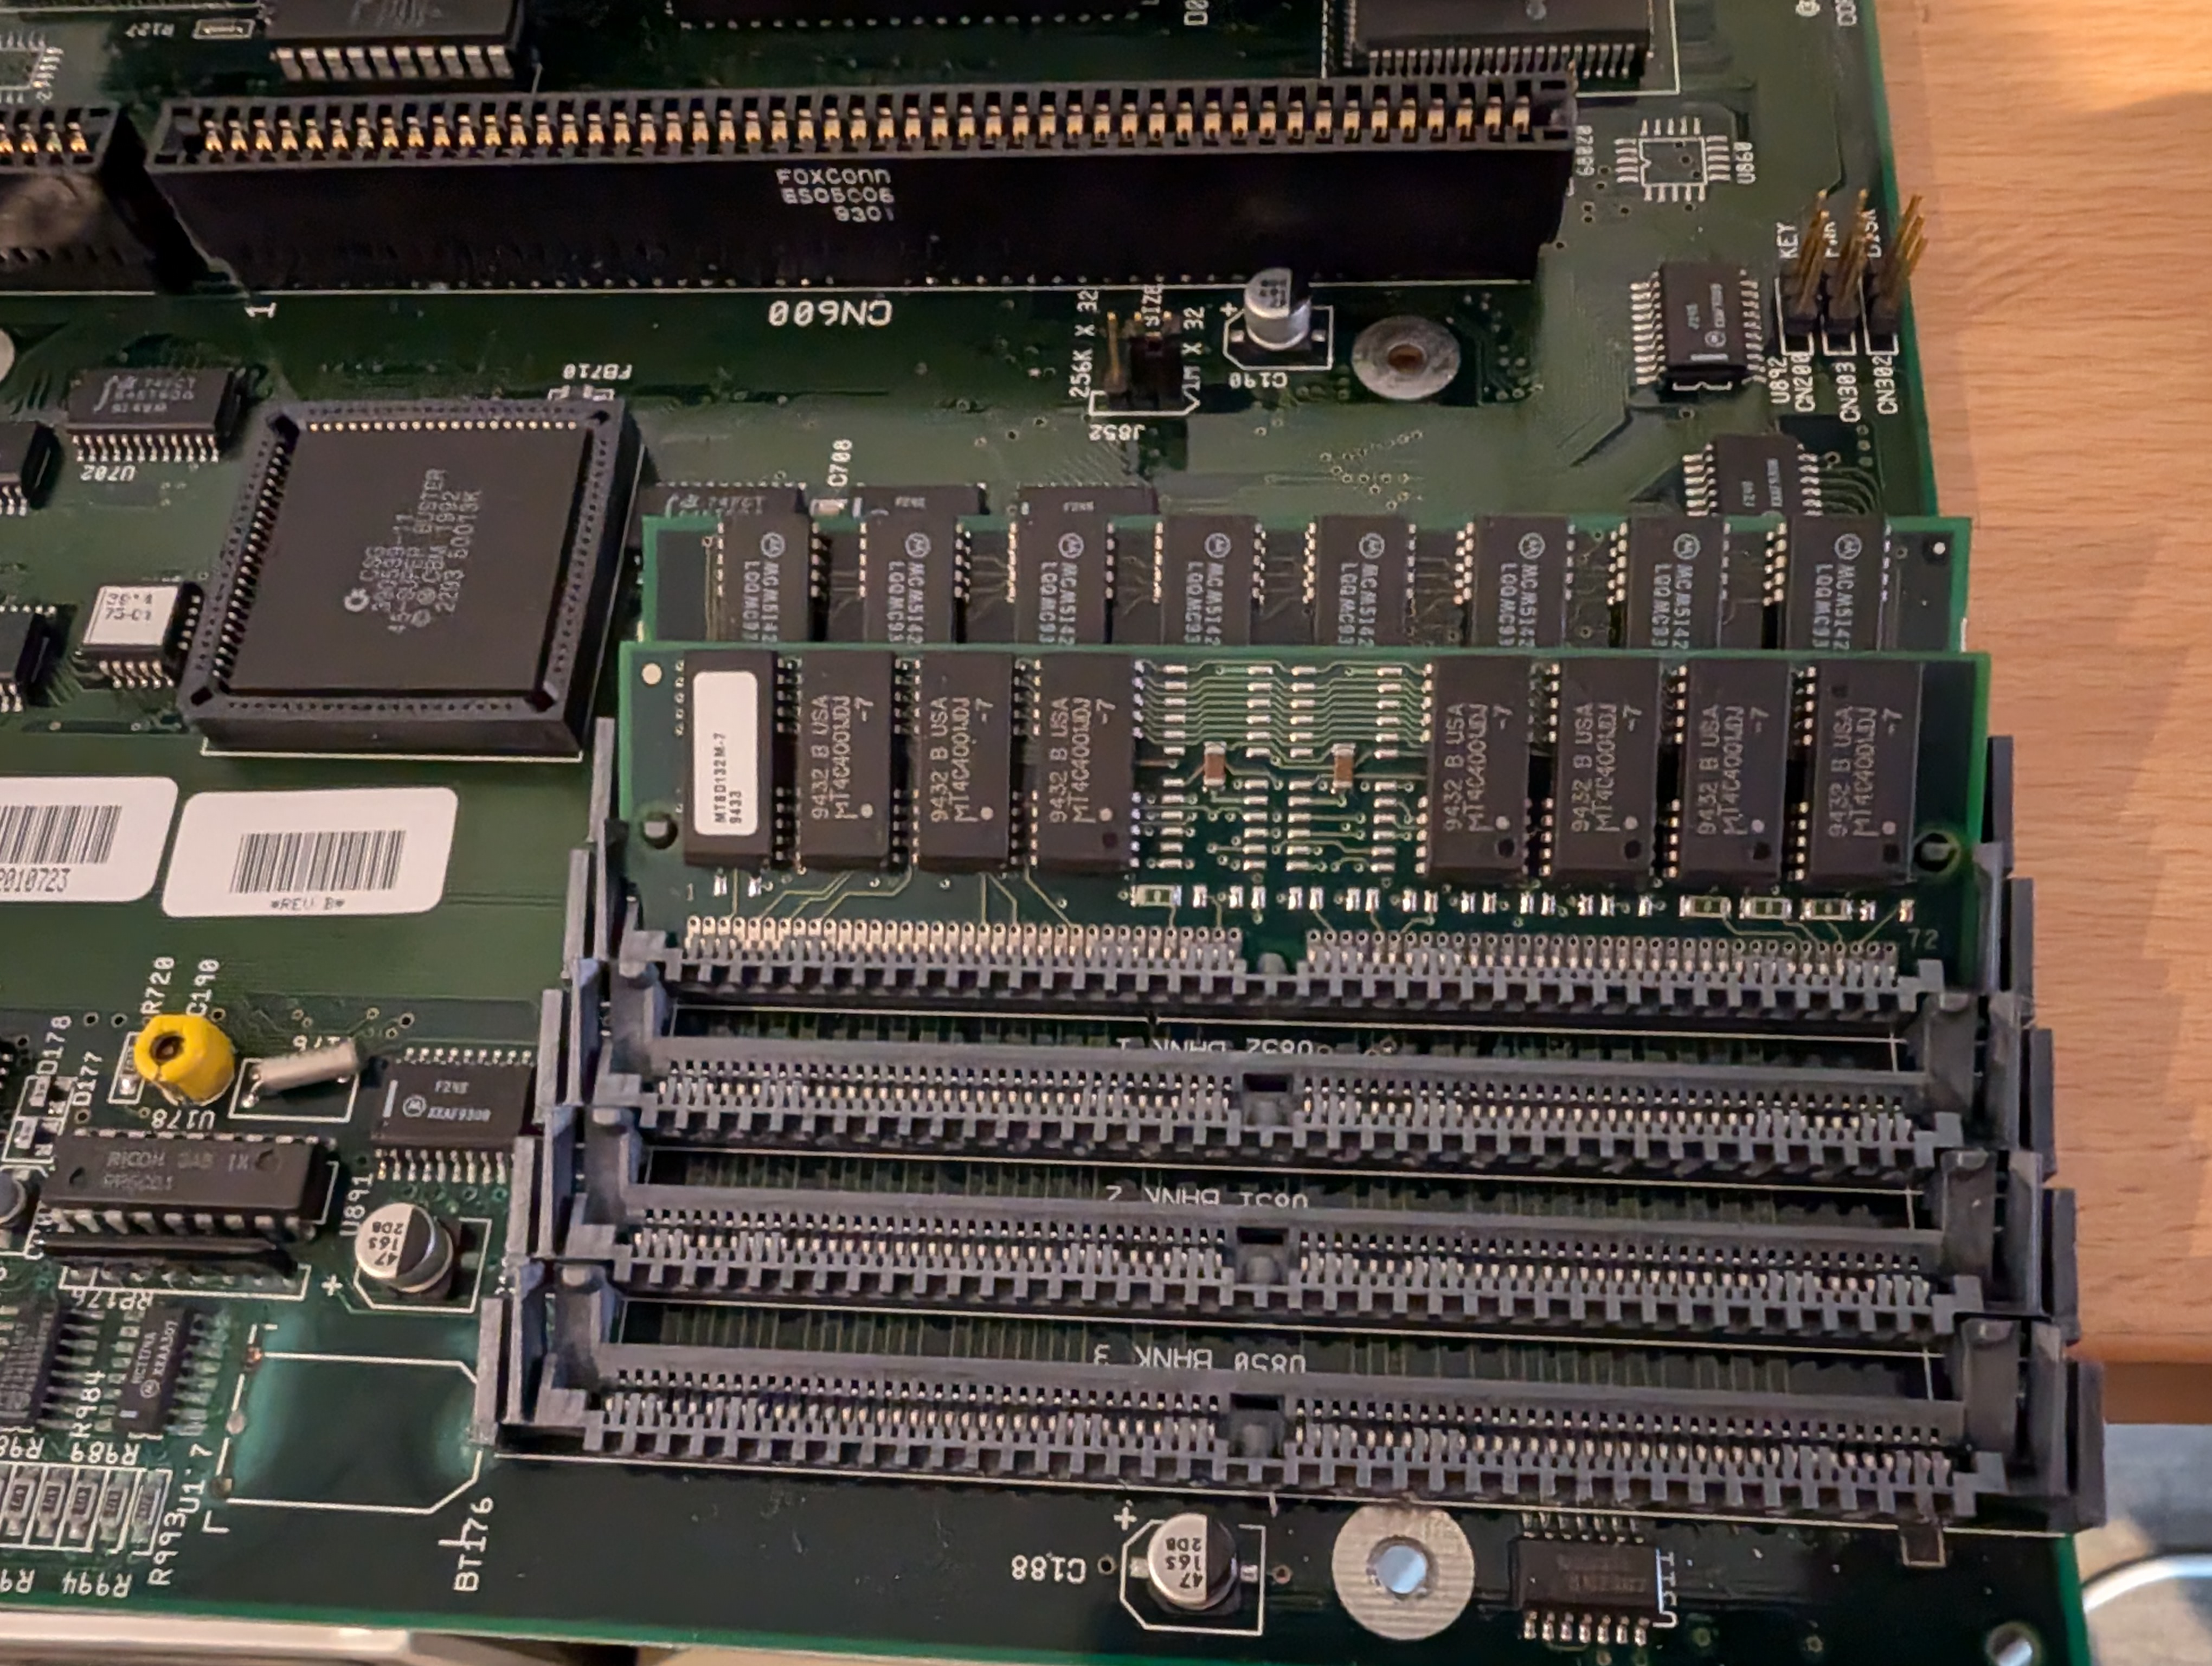
Visually, it is nowhere near as bad as I’ve seen in the past. Some corrosion around the RTC area, but the SIMM sockets appear to be in great condition. Here is what I knew:
- The Fast RAM area doesn’t work
- The machine did work at first, but now no longer boots most of the time
- It needs a recap, Mike included a recap kit with the board
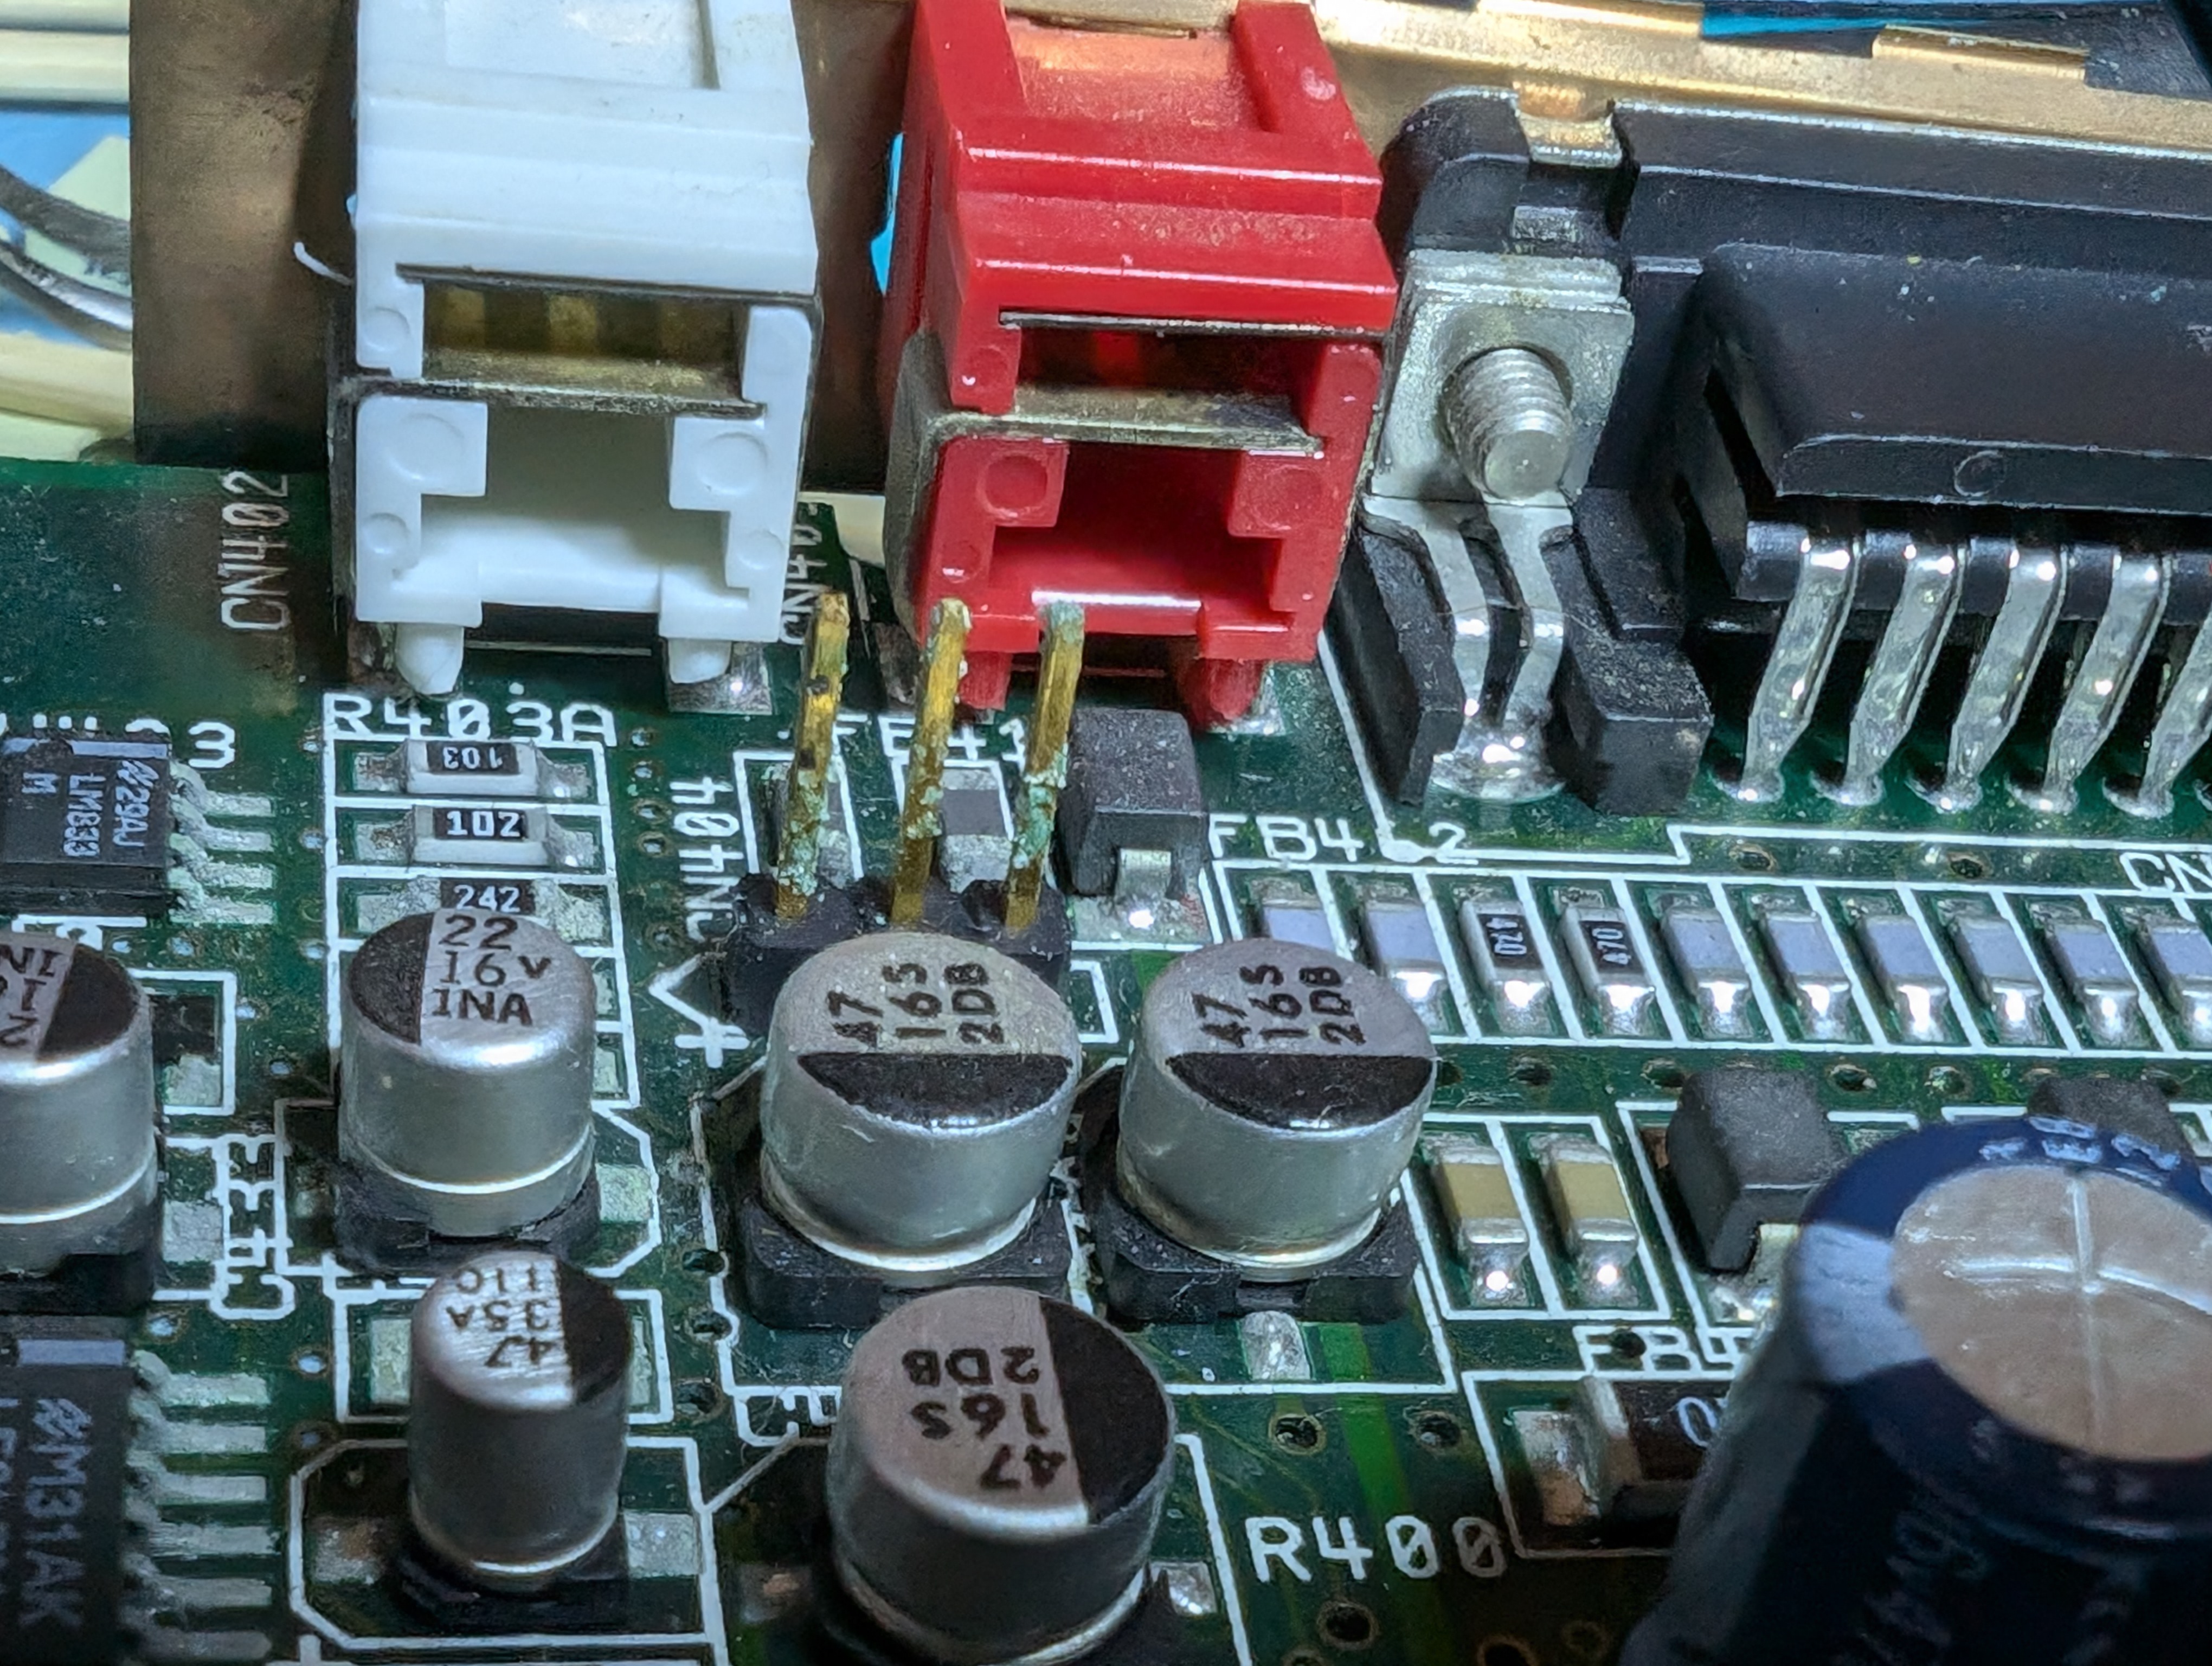
Corrosion tends to travel though, these pins are the opposite end of the motherboard to the battery.
Diagnosis
The first thing I used is my trusty Hafnium board. The photo below is of me using it after I have done the repairs. But beforehand it showed that 4 lines in the lower data bus are faulty, D2, D4, D6 and D7, which indicated trace damage to the 74F245 to the left of the SIMM socket:
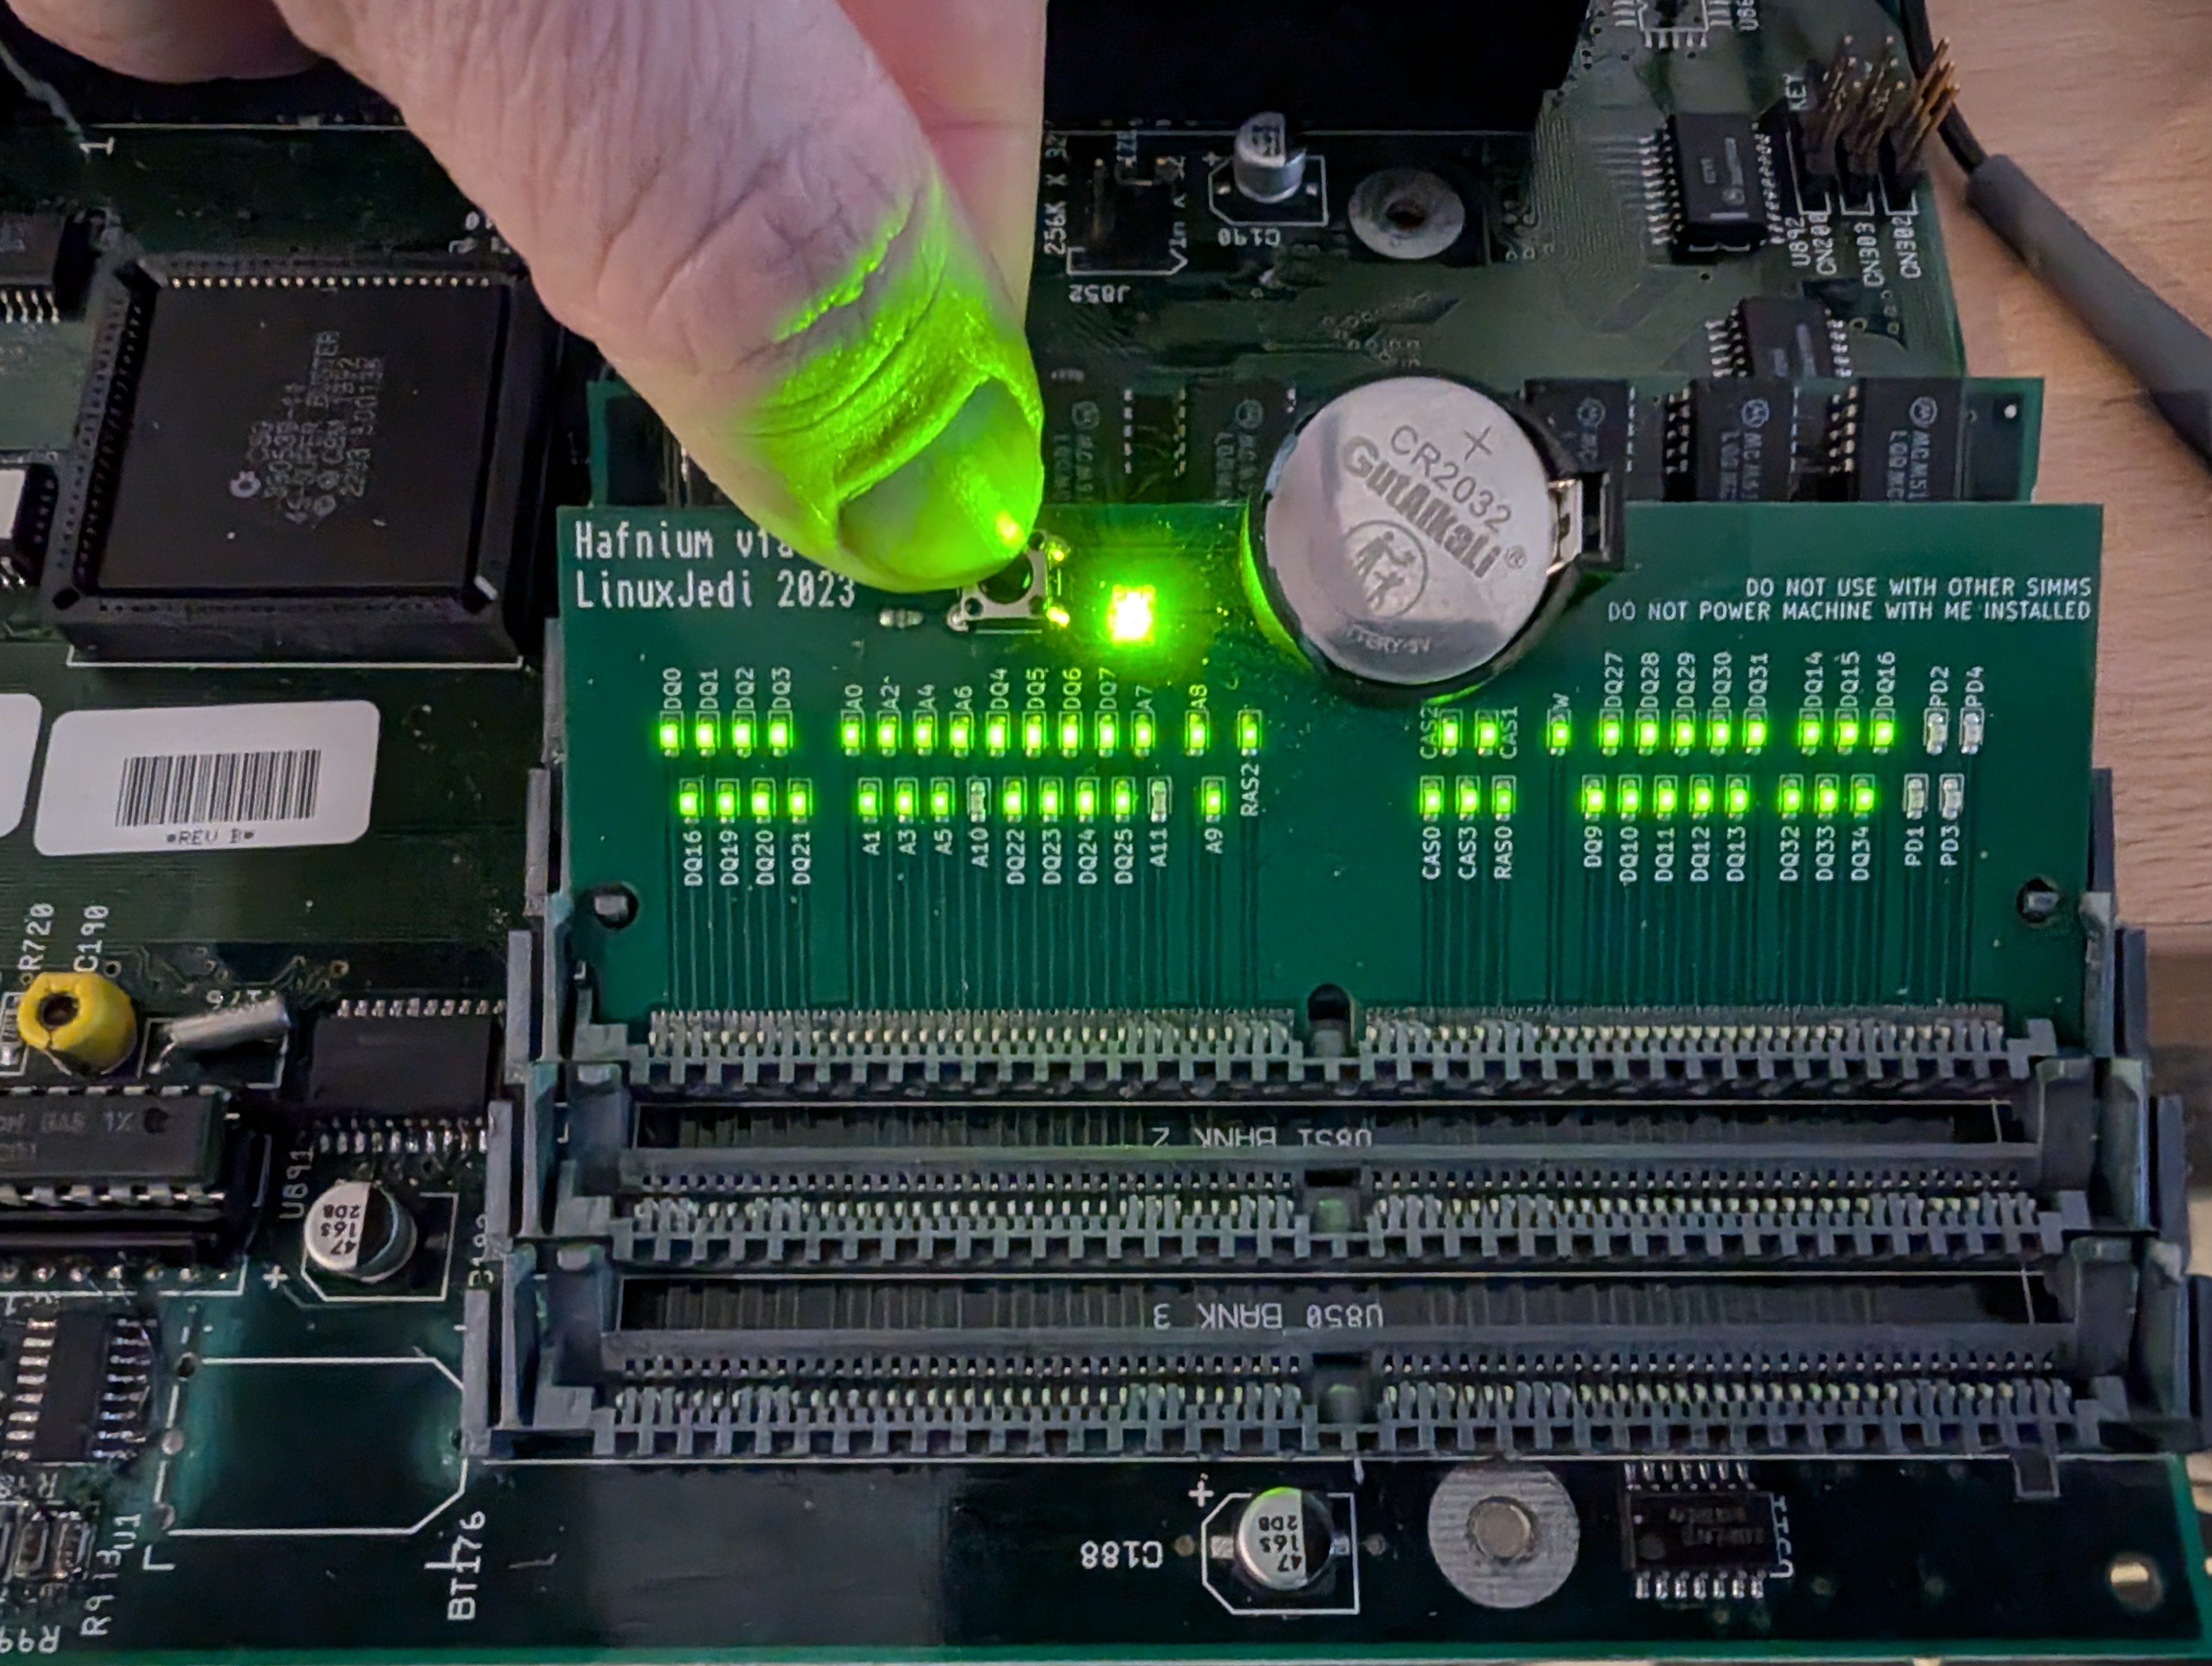
This was straightforward to repair. I also had to replace the 74F245 itself as it failed tests.

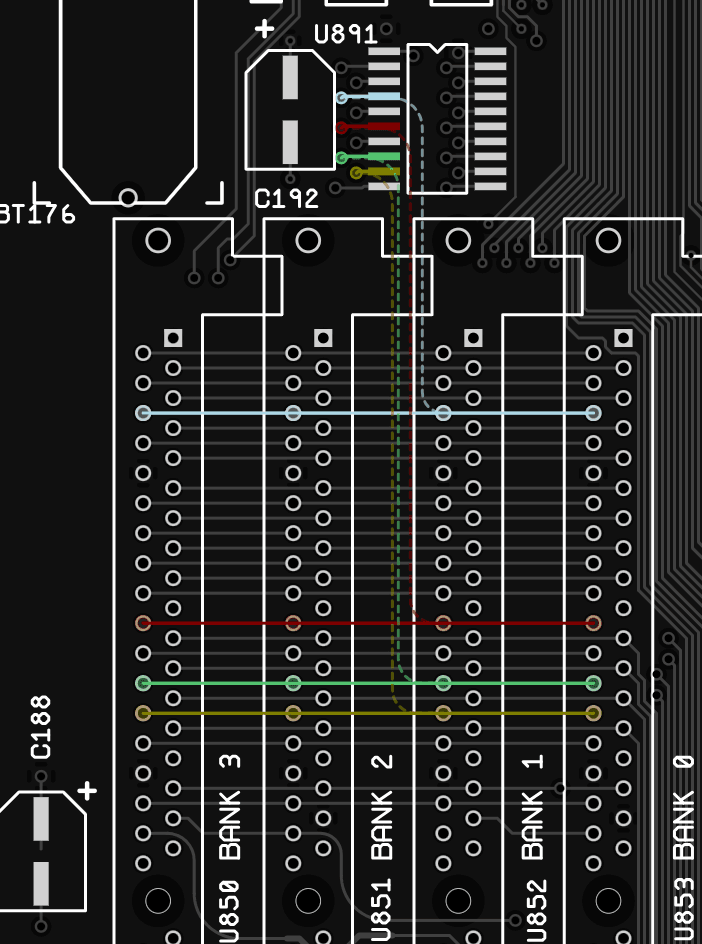

Now for the black screen. I popped in DiagROM, and it still wasn’t showing any indication of booting. Which means the first thing to look at is the reset lines. Sure enough, this indicated a problem, Gary was holding the reset down, which meant that it had detected some kind of issue.
There is much to Gary’s logic that is not documented, the obvious things are KBCLK failing from a CIA or the PSU saying the power isn’t good. Both of were working correctly. Next up I checked the reset signals were getting to the entire chipset, if something isn’t resetting, then it upsets everything.
Sure enough, IORST into U975 and U976 were not connected, and it caused both chips to be in a weird state.
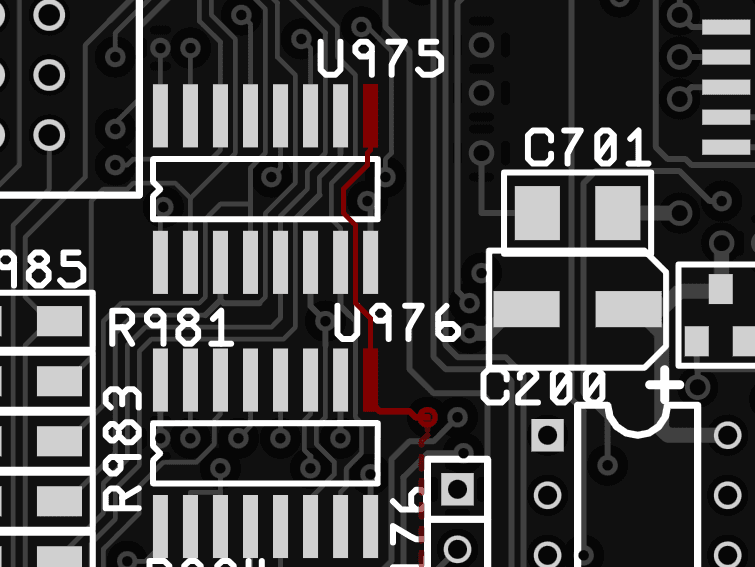
Why is this important? Well, it is kind of weird, but I will explain. These are shift registers which serve two functions. The first is to read the data of the mouse / joystick ports. The second is to read an unused expansion that was meant for the chipset that was intended to come after AGA.
Lisa needs these chips to feed data correctly before it can supply clocks to synchronise the rest of the system. If these chips are in a perpetual reset state like they were, then the MDAT (mouse data) signal is held low and Lisa doesn’t start the clocks. I don’t know exactly why Lisa is designed this way, but it is a known quirk of the system. Without the clocks, Gary has no timing data for the reset. So, it just holds the reset down indefinitely.
This would be somewhat random and why it sometimes booted for Mike.
Repair
Before I did any of the repairs, I neutralised the corrosion and often used a fibre pen to expose corroded parts where required.
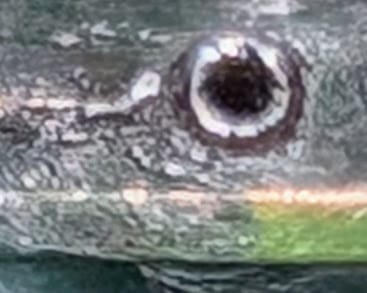
Inspecting the bottom of the board, I found a crack where a trace met the via which caused this (unfortunately I didn’t capture this under the microscope, so the quality of photo isn’t great). The photo is after I cleaned it up with a fibre pen and applied some solder to it. I decided to fix this by running a patch wire through a wide via to another part of the IORST signal.
Finally, I found 9 more faults around U177, which is right next to the battery and normally the worse affected. This chip was replaced, along with the resistor array which had been partly eaten, and the broken traces patch. The RTC was tested outside the board, passed and put in a DIP socket. Incidentally, Mike did have a spare (and I have dozens), but his spare one was actually faulty!
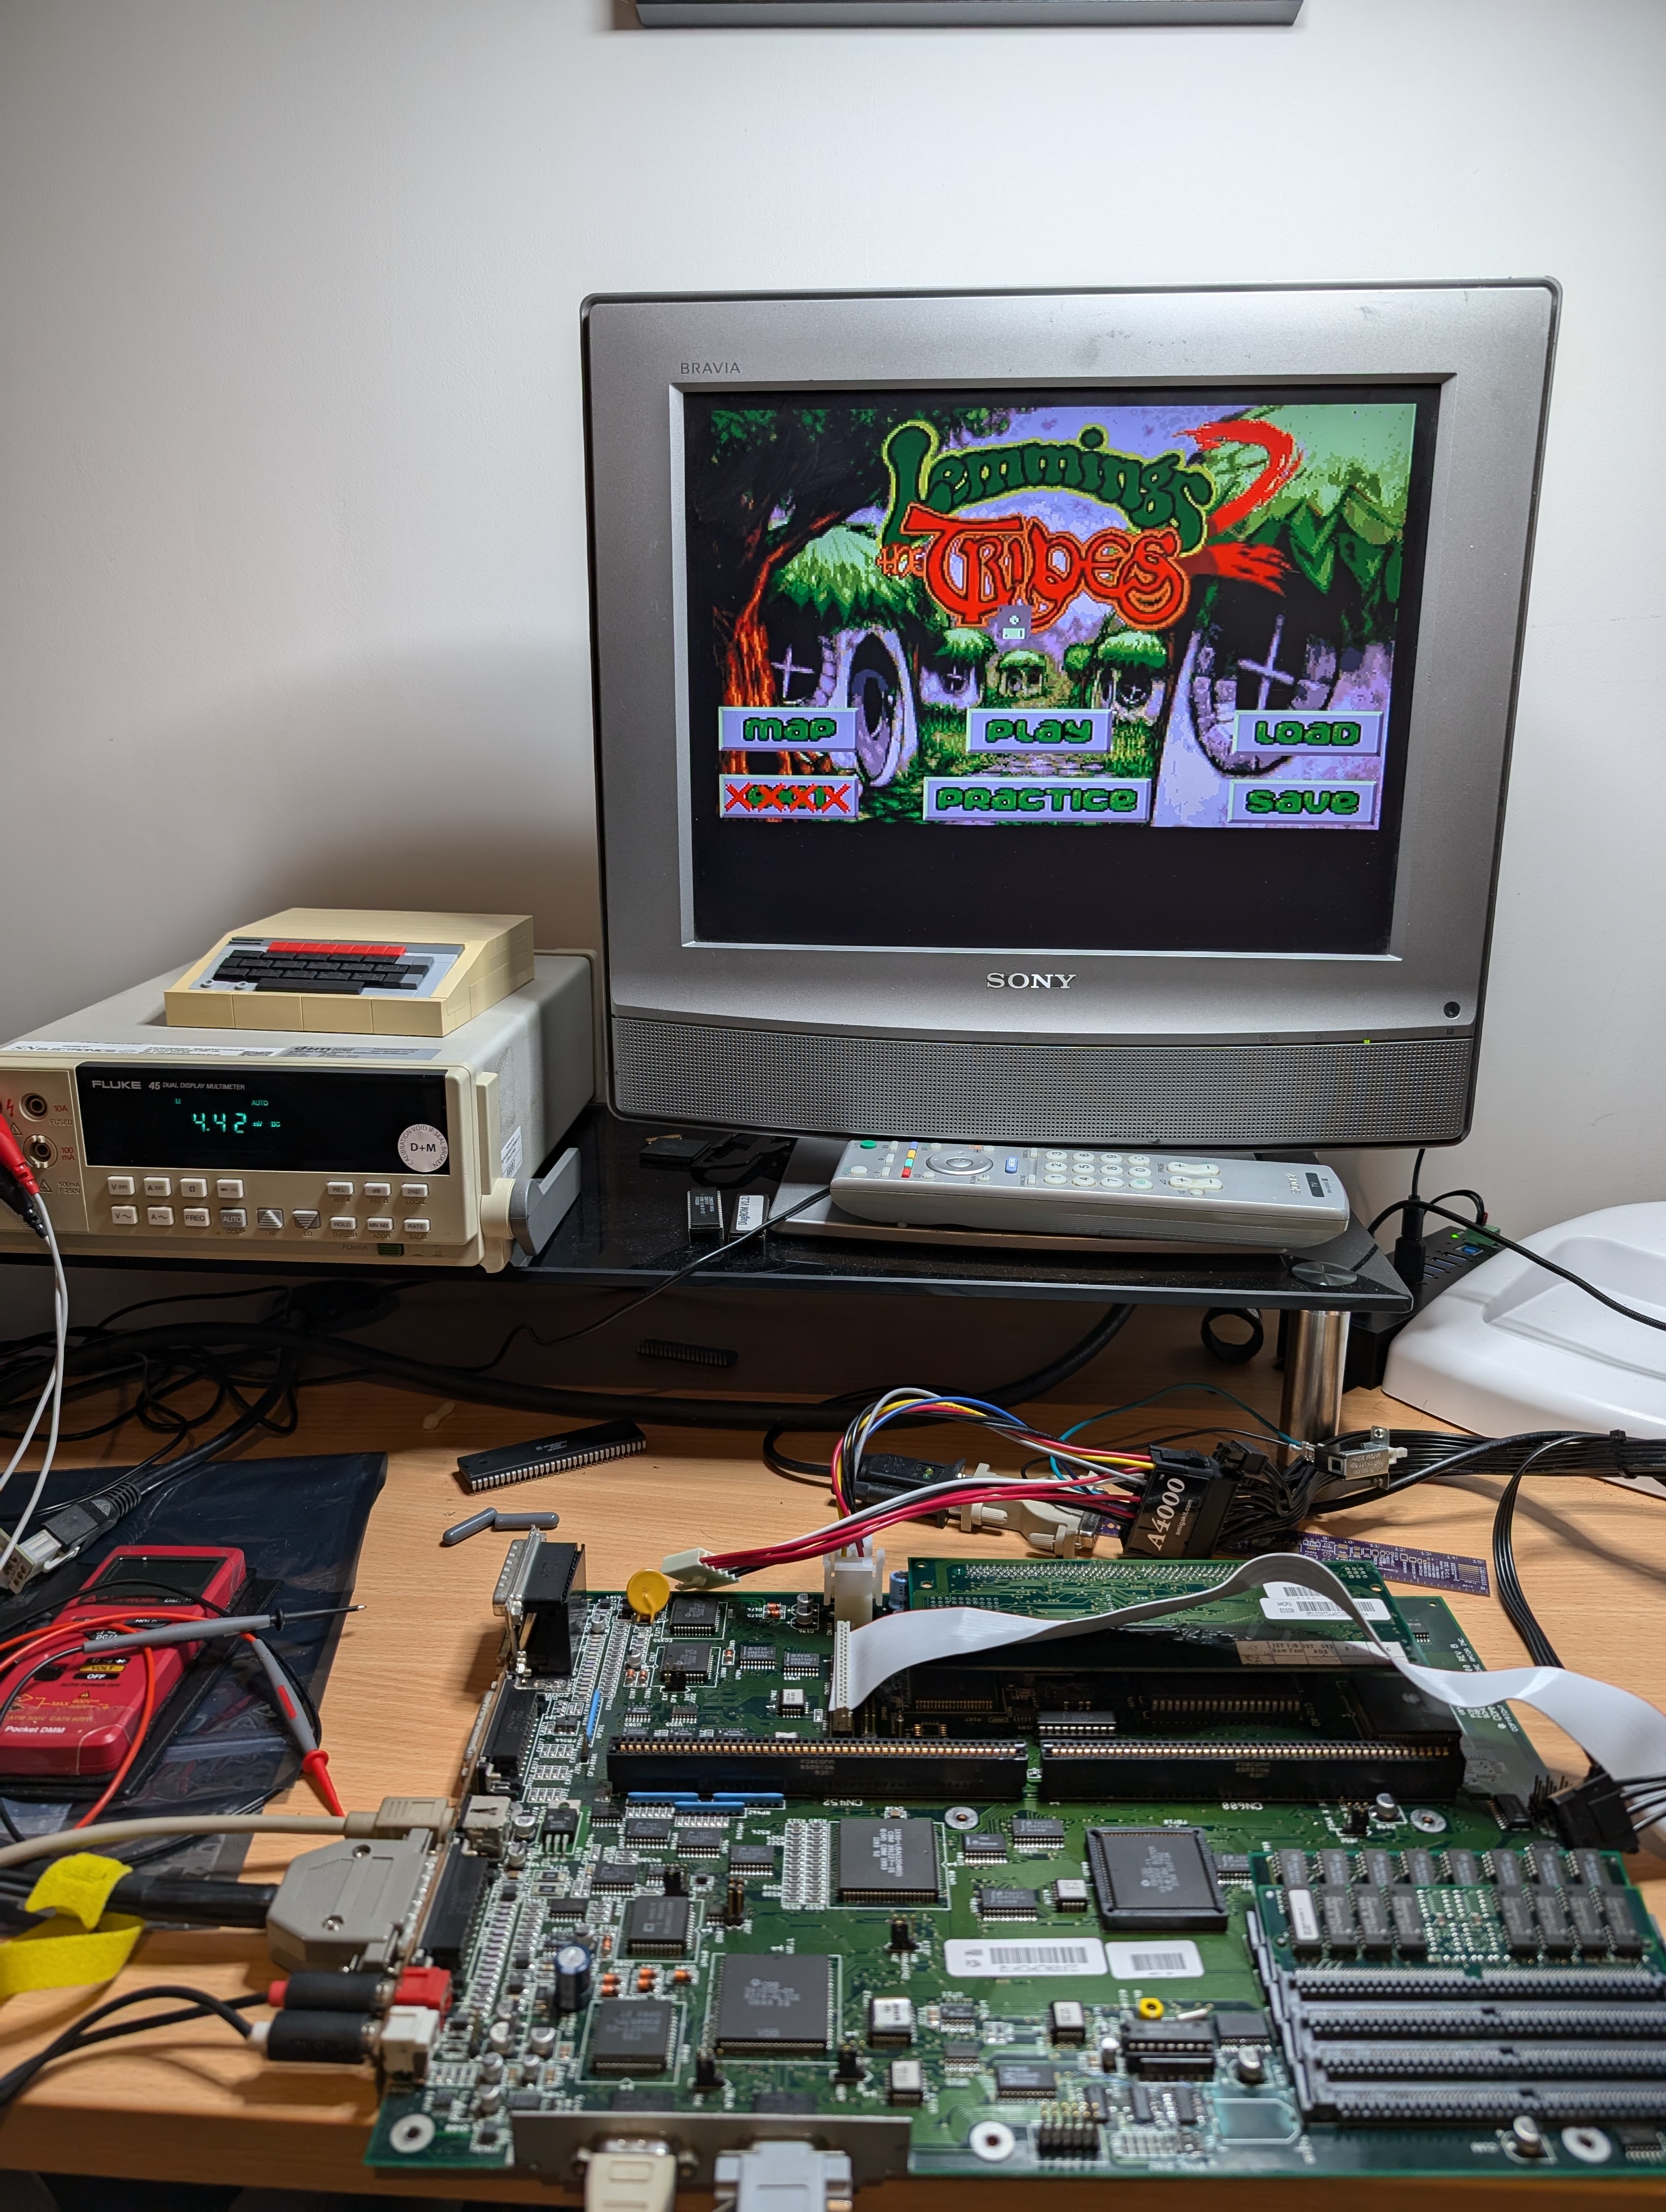
With everything patched, and tested in DiagROM and Amiga Test Kit. I decided to show Mike the progress, of course, this had to be using Lemmings 2.
Recap
The final job was to recap the board. Mike provided some capacitors to use, he had already bought a recap kit, so I used these instead of my regular Wurth capacitors. Although the recap kit did not include capacitors for the CPU card, so I provided them myself.
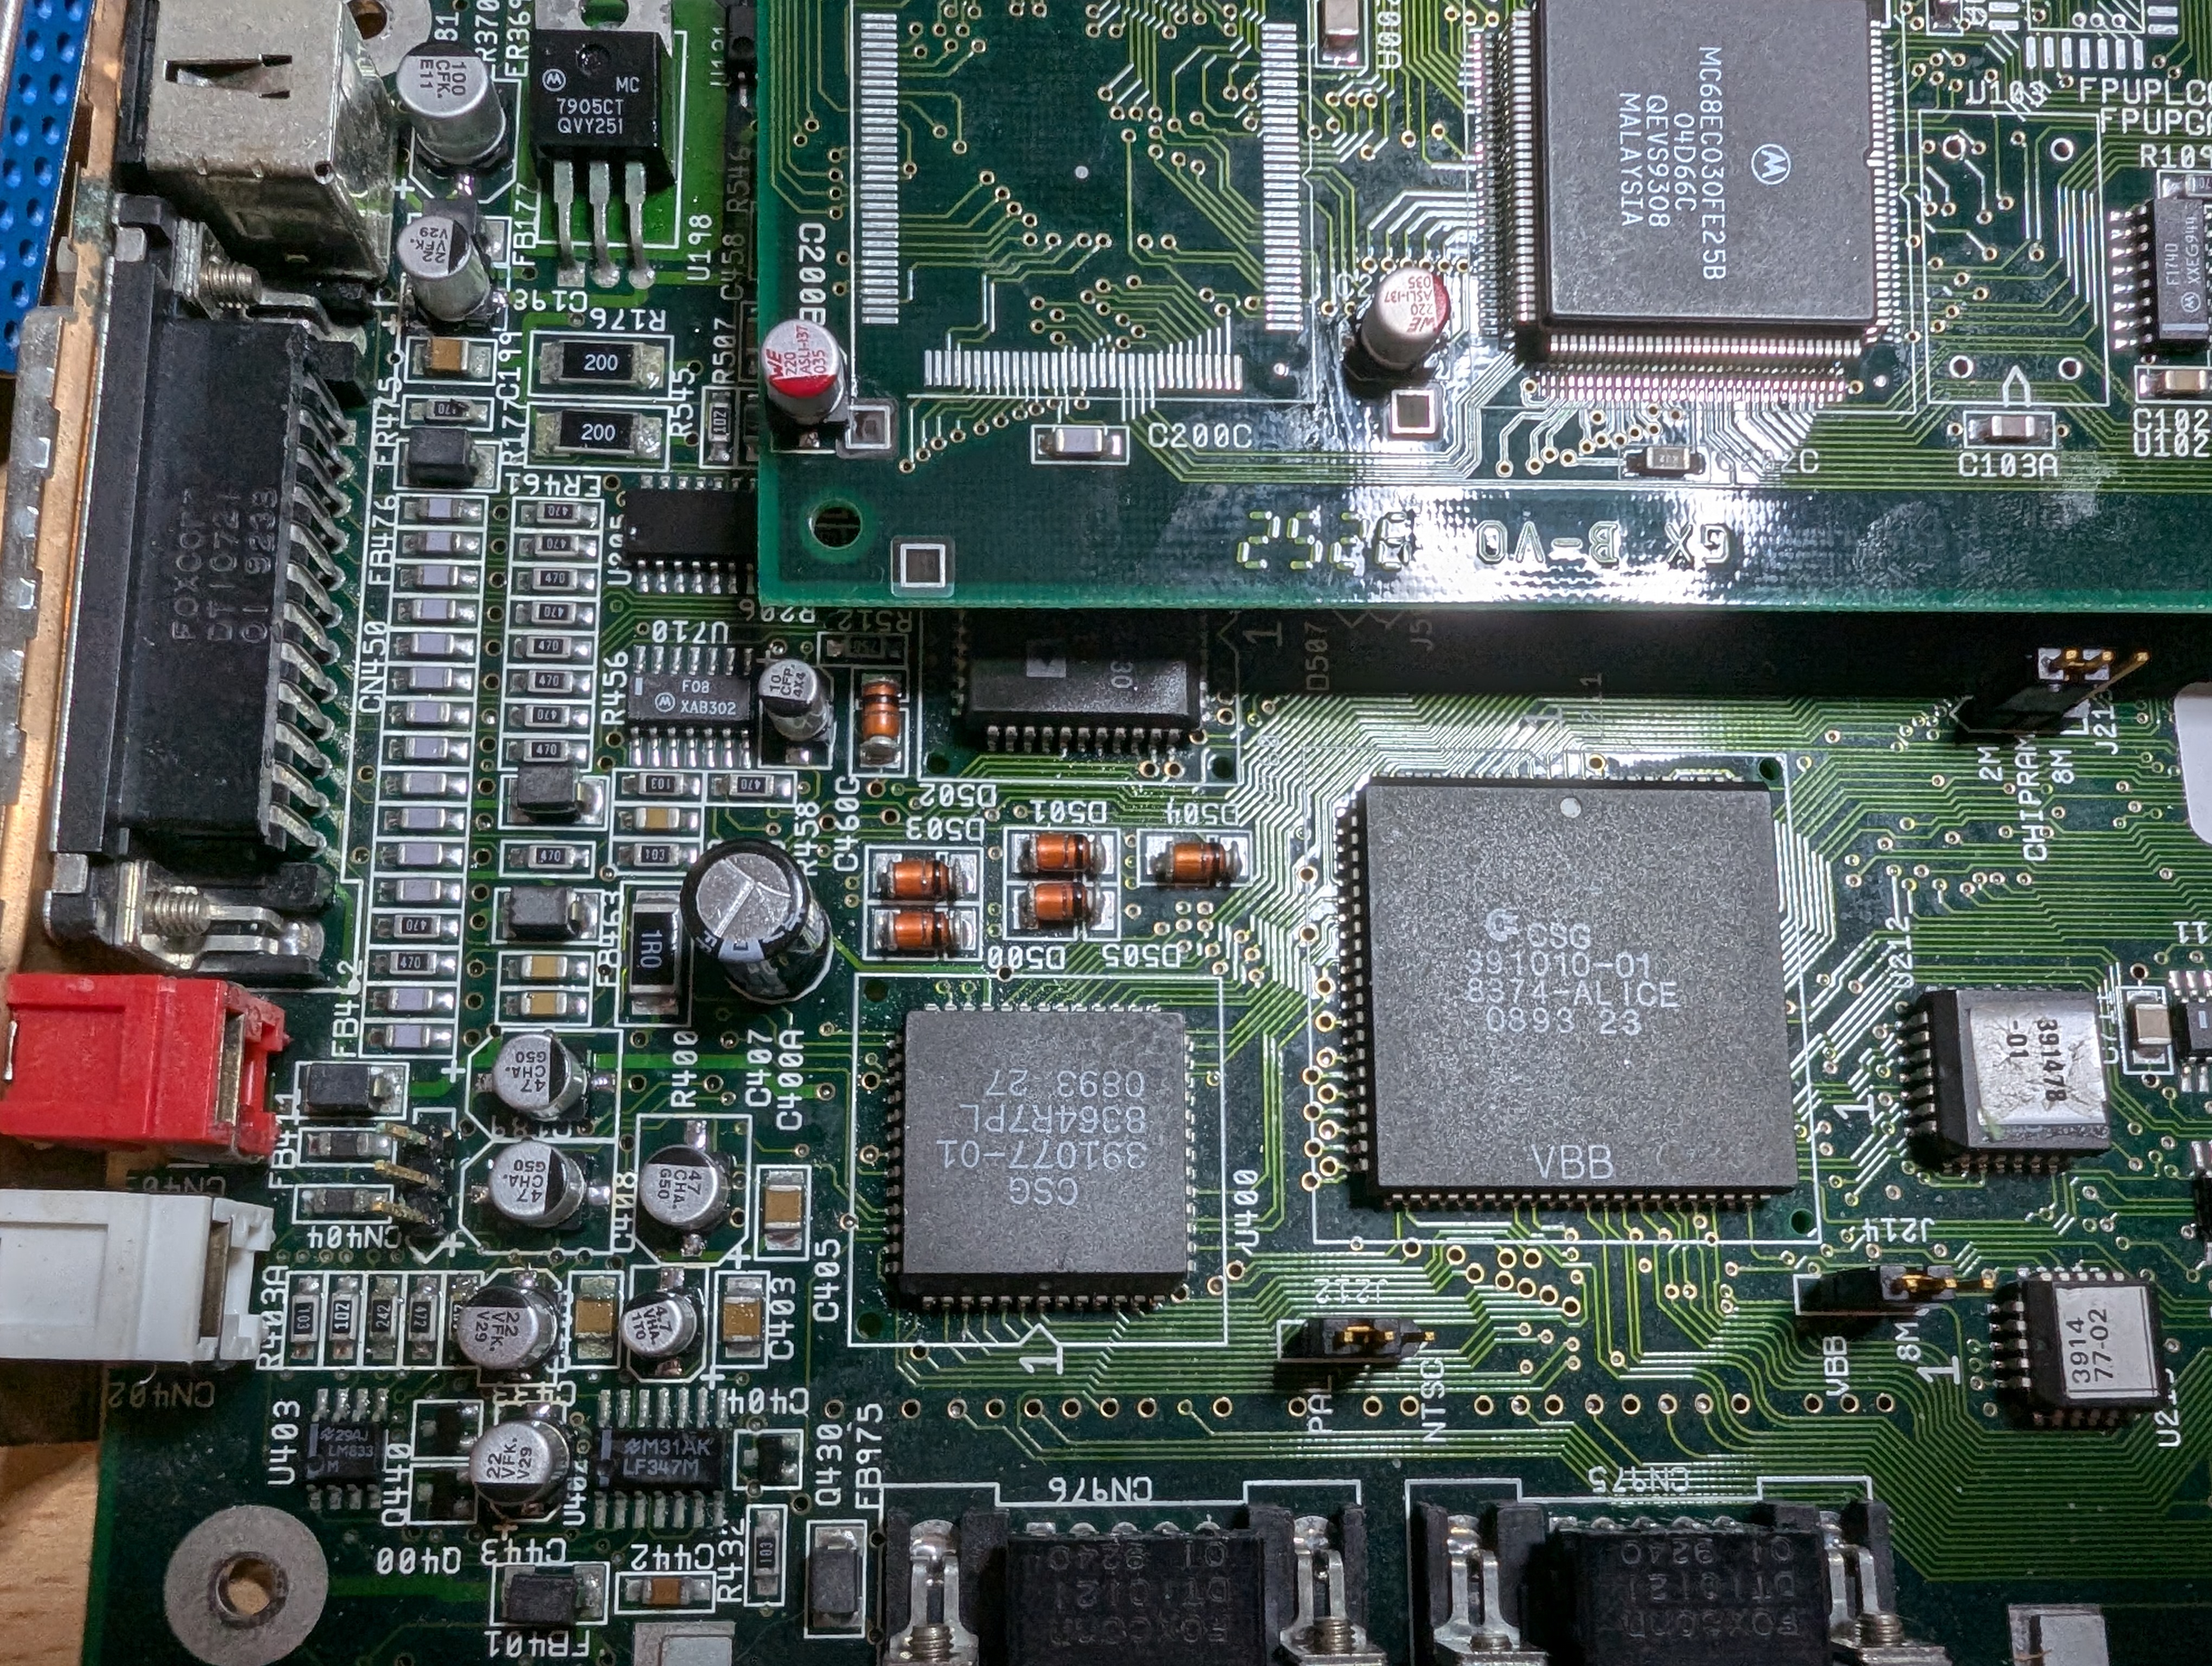
One thing to note is I have deliberately soldered the two audio capacitors backwards (C433 and C443). This is because the originals were the wrong way around from the factory. It isn’t so much of an issue because we are talking very small voltages, but it will likely increase their life slightly.
Cleaning
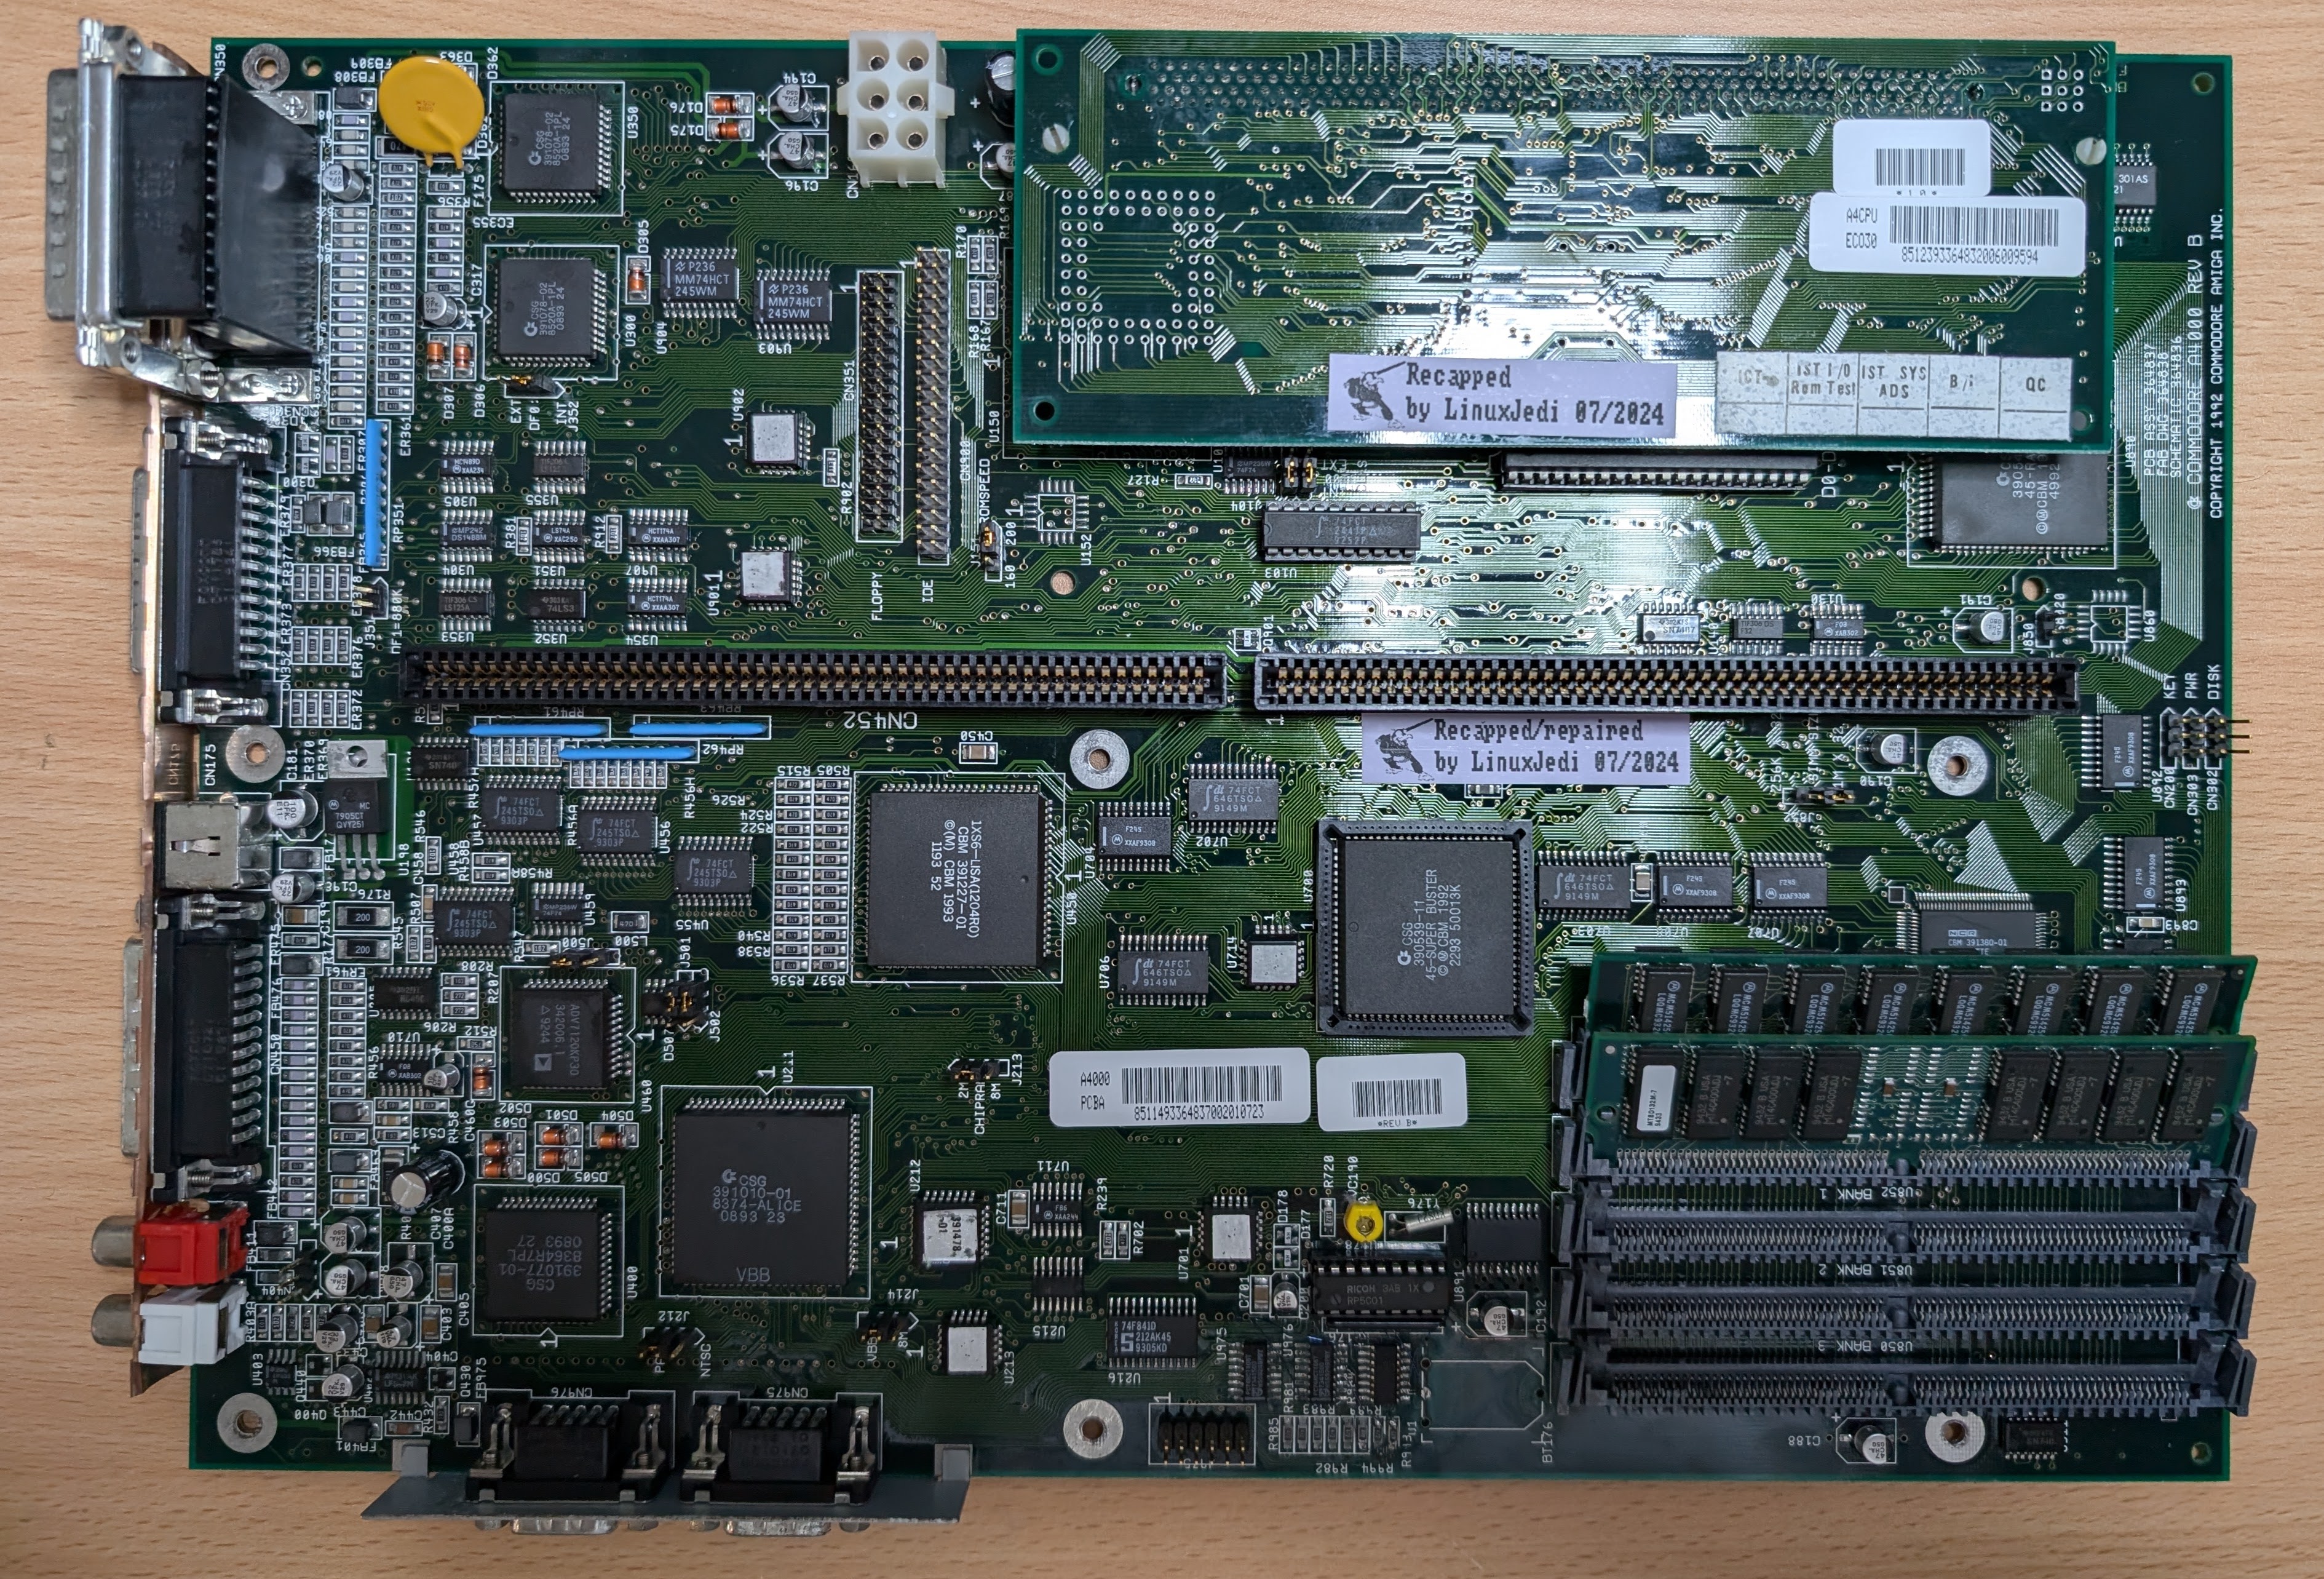
The board is quite fluxy and a little dirty after all that work, so it went into an ultrasonic bath in Safewash Super, a rinse, and then a dry in my drying oven. This is the result.
Conclusion
The work is all done, and another interesting problem is solved. I thank Mike for giving me the opportunity to work on this board!


Leave a Reply