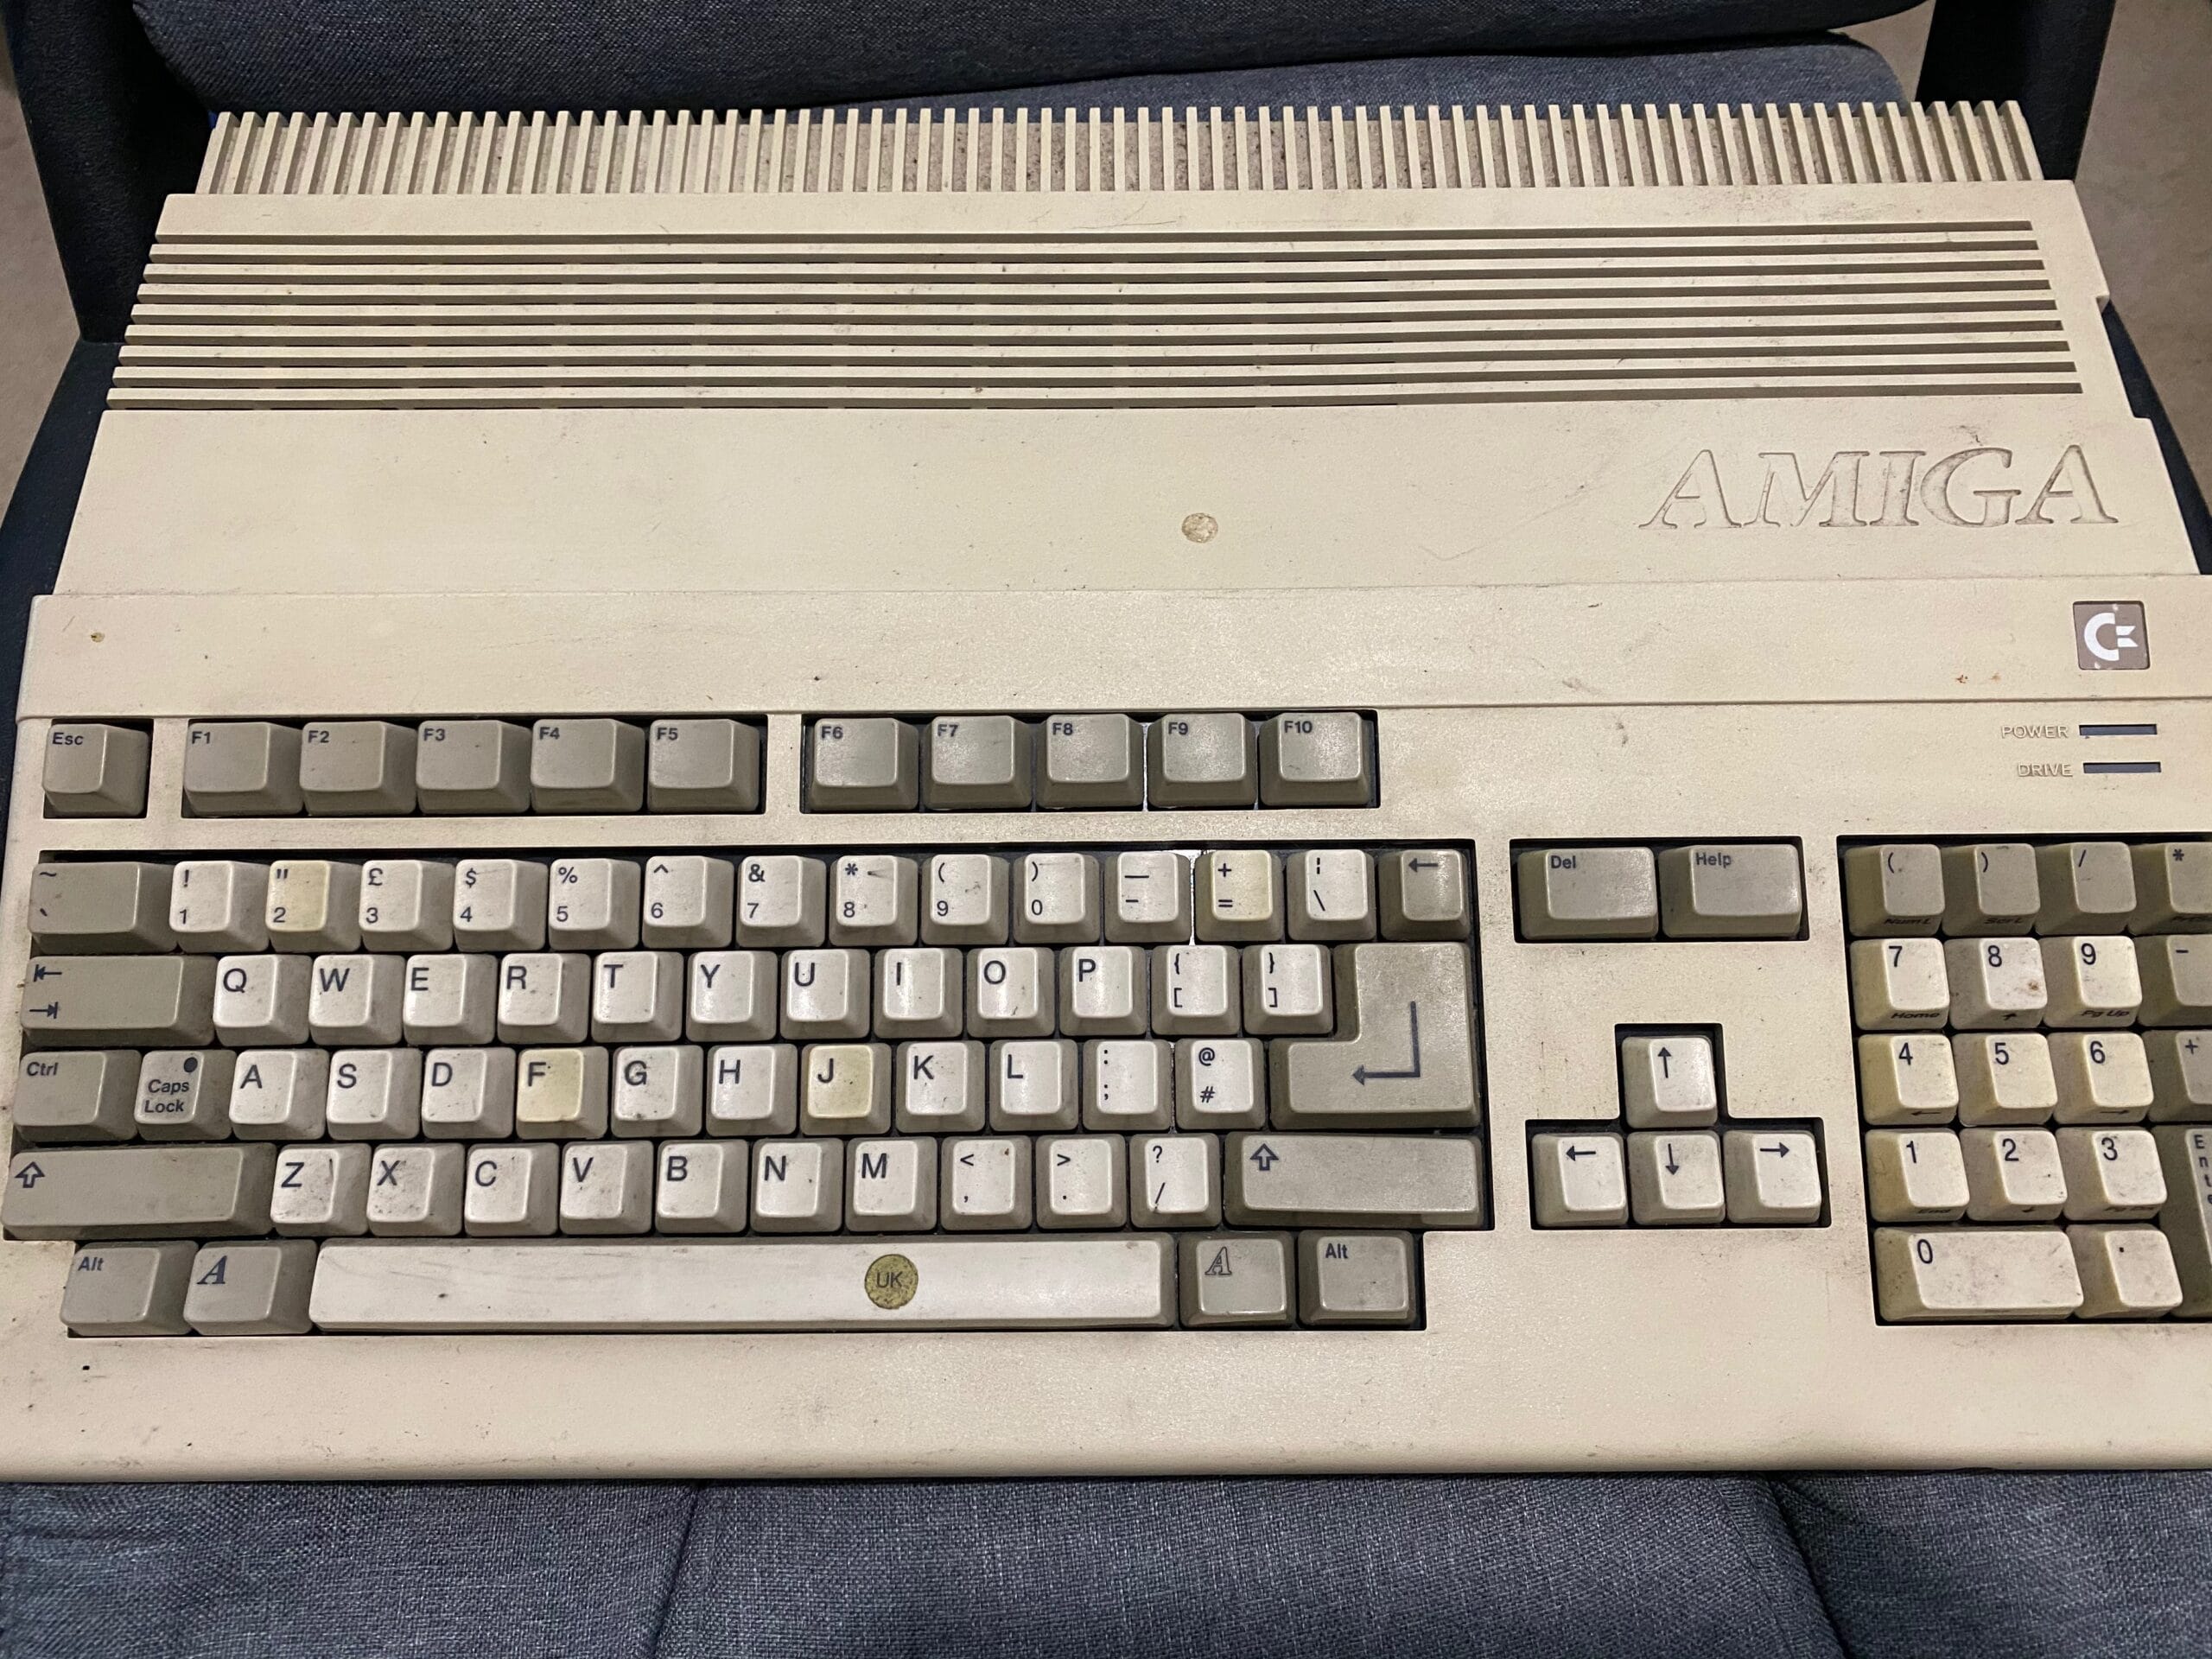
Now that I have much better desoldering equipment I decided over the weekend to get the motherboard for this Amiga out and start working on repairing it. Before now I was going to give up on it and scrap it for parts, but a friend donated a keyboard to use with this board and I now have all the equipment to do the motherboard repairs myself without using a local lab.
The 1488 line driver IC was definitely bad, so this was first to be desoldered. A new socket added and new chip inserted. Now I can actually boot DiagROM and get some real RS232 output. This was useful because although I could get the RS232 output via the logic analyzer, there was so much data it was difficult to read.
The RS232 port was telling me that there were 2 bit of data which were consistently bad across all the tested memory addresses. So either the RAM is bad or the data latch ICs. I replaced one of the data latch ICs with a known good one and there was no change, the problem is definitely the RAM.
All four RAM chips were removed, sockets added and known good RAM chips installed. I did manage to break a couple of PCB pads when removing one of the RAM chips hence the yellow wire-wrapping wire to repair this.

Success! DiagROM booted up completely fine and after running several tests it was clear that the machine was good. Below was connected to the monochrome output as well as RS232 to my Linux laptop where I could control it.

One by one I switched out the first new RAM chip for the old chips to test them. It turns out two of the original RAM chips were bad and the other two appear to be still good, I’ll keep those aside for another repair. I suspect at some point this board took a power surge which may explain the fried RS232 line driver too.
DiagROM was removed and the original Kickstart 1.3 ROM installed. The board booted to the familiar “insert disk” screen. I plugged in a Gotek and had an error on the FlashFloppy menu saying “LBA change test failed”. A bit weird, but it turns out the floppy cable I was using was bad. Replacing that got it booting properly to test fully.
Now that the board is good I need to work on the more exterior parts of the machine. I’ve had a keyboard donated with a good membrane but yellowed keys, so I’ll use this to repair this keyboard. The machine needs a good cleanup, the metals are very rusty so they will need a cleanup and painting and then I think it should be ready to go!


Leave a Reply