

This final part is a large one, the Amiga is finally fully restored but there were a few things I needed to do first. So, here we go…
I left part 3 of this series with a temporary wire to fix the issue with the RST line. A permanent fix has been made which is detailed in a special blog post here.
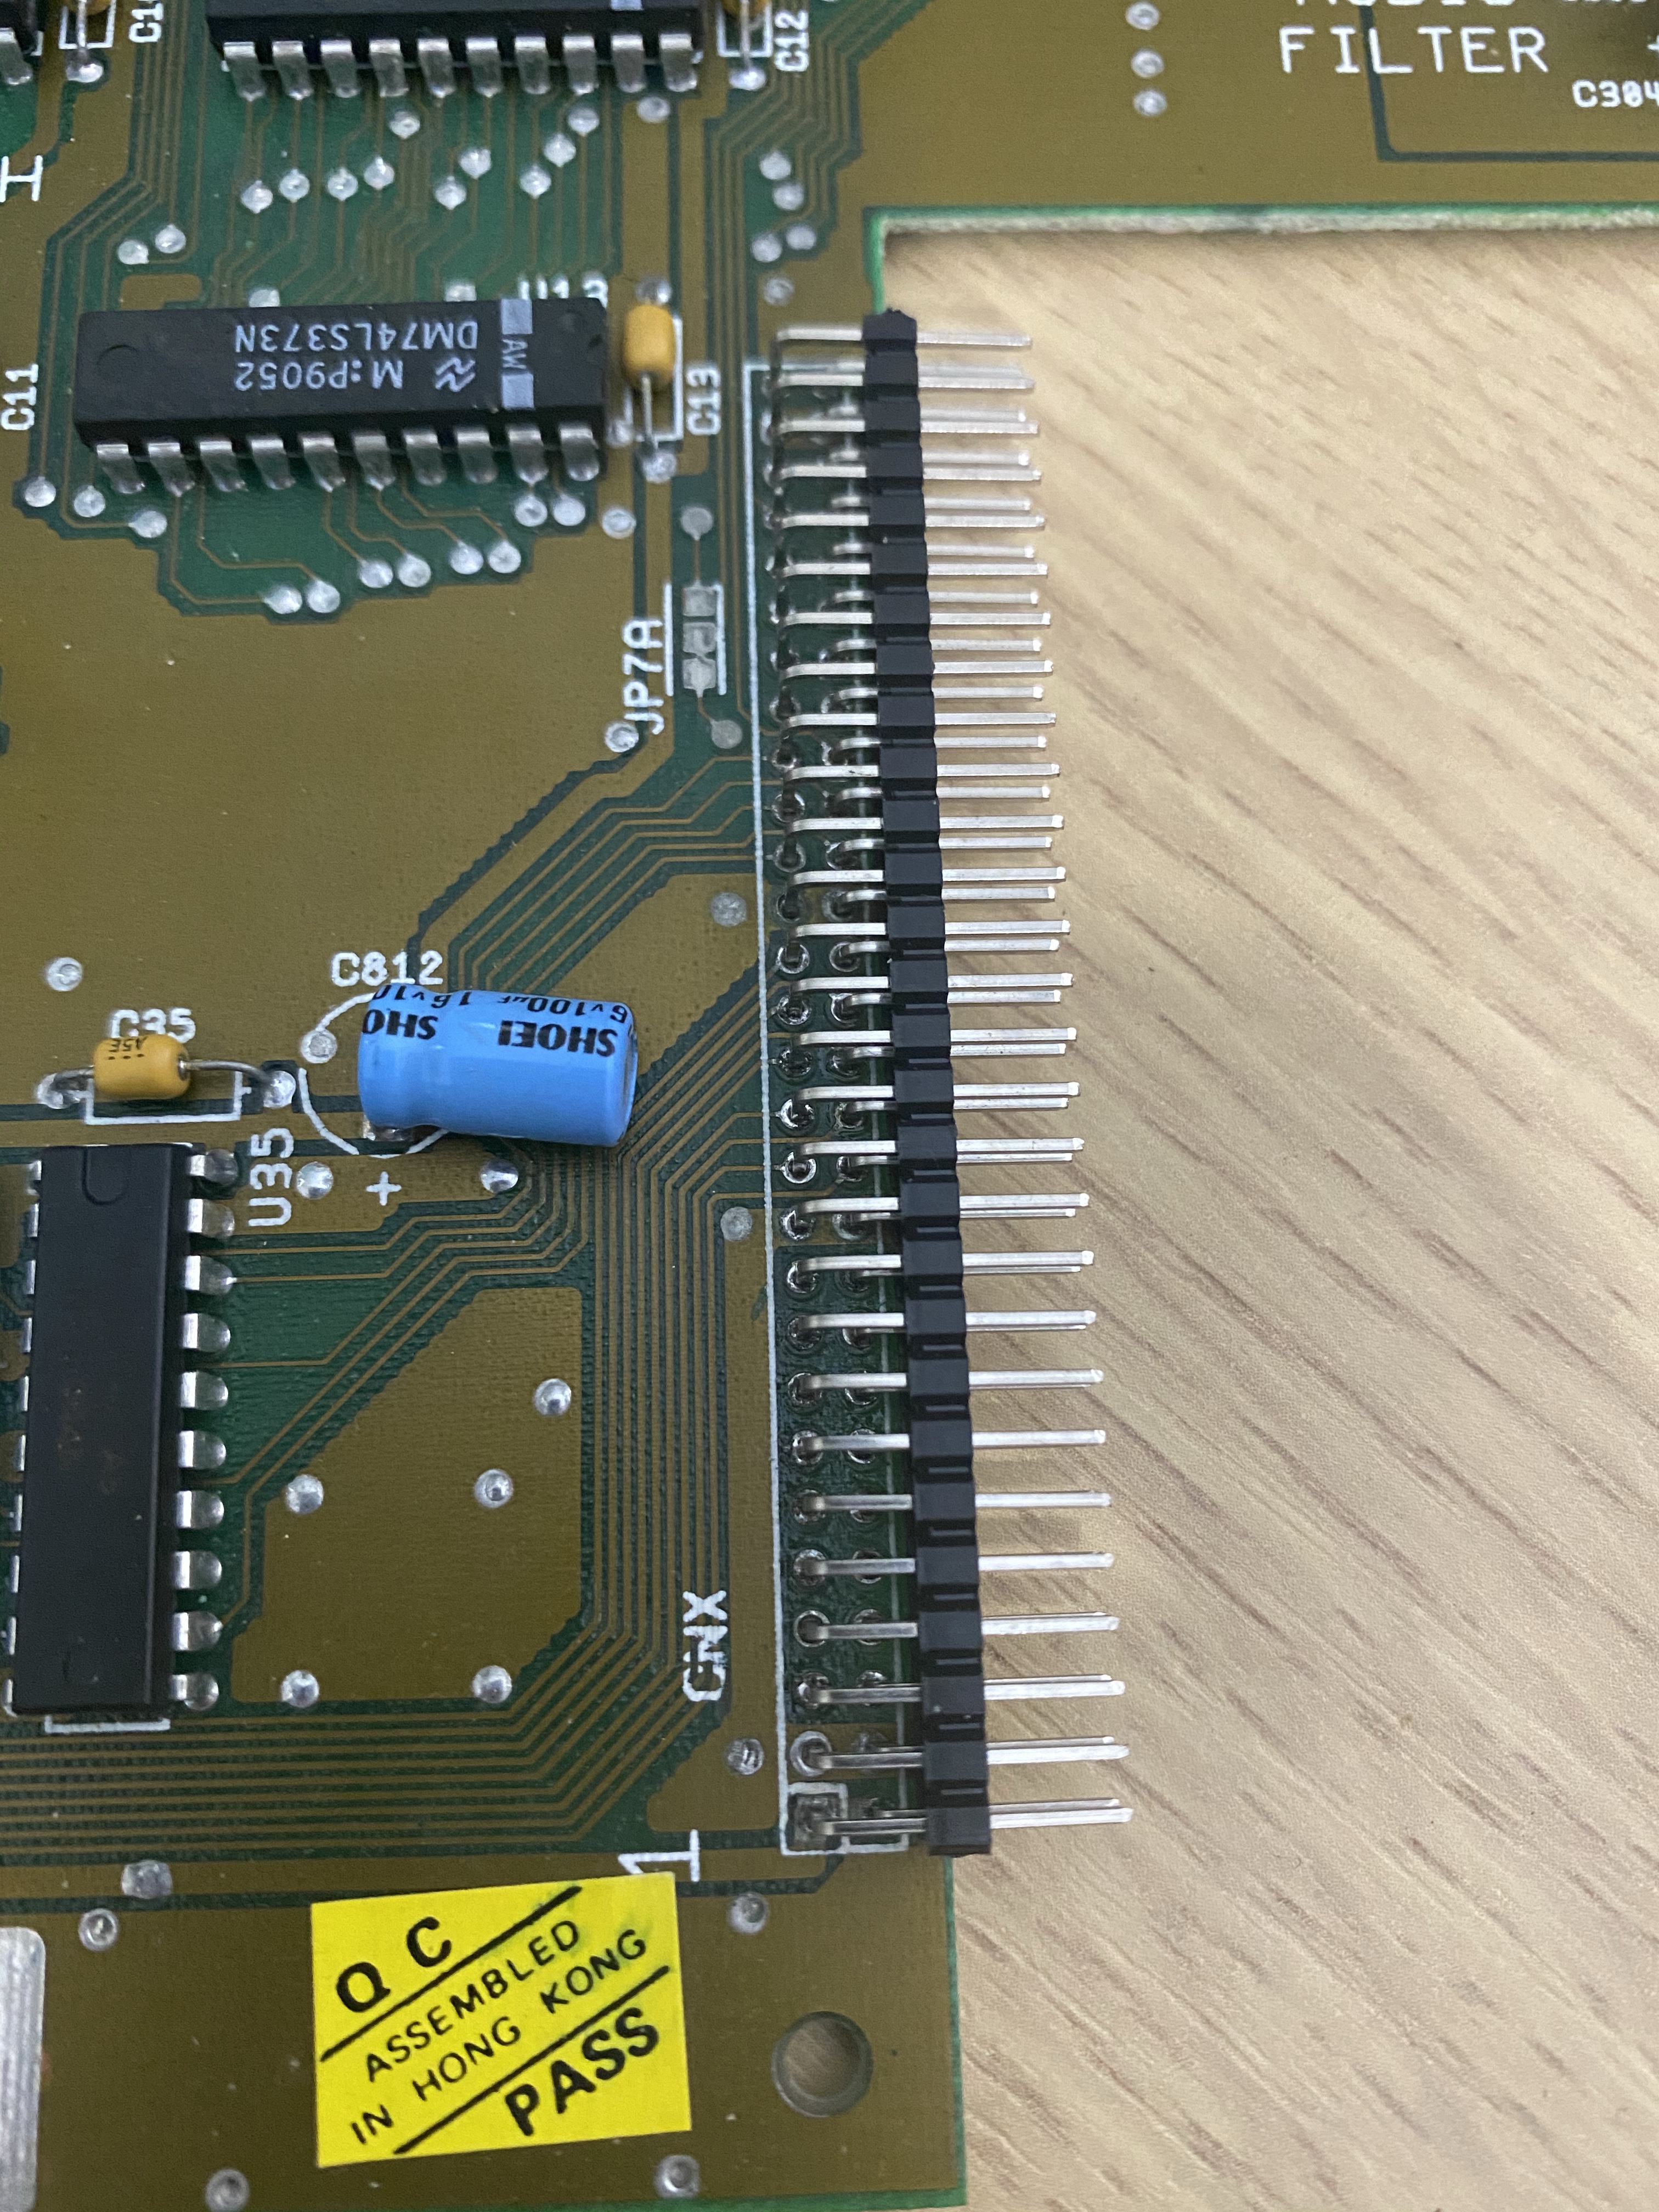
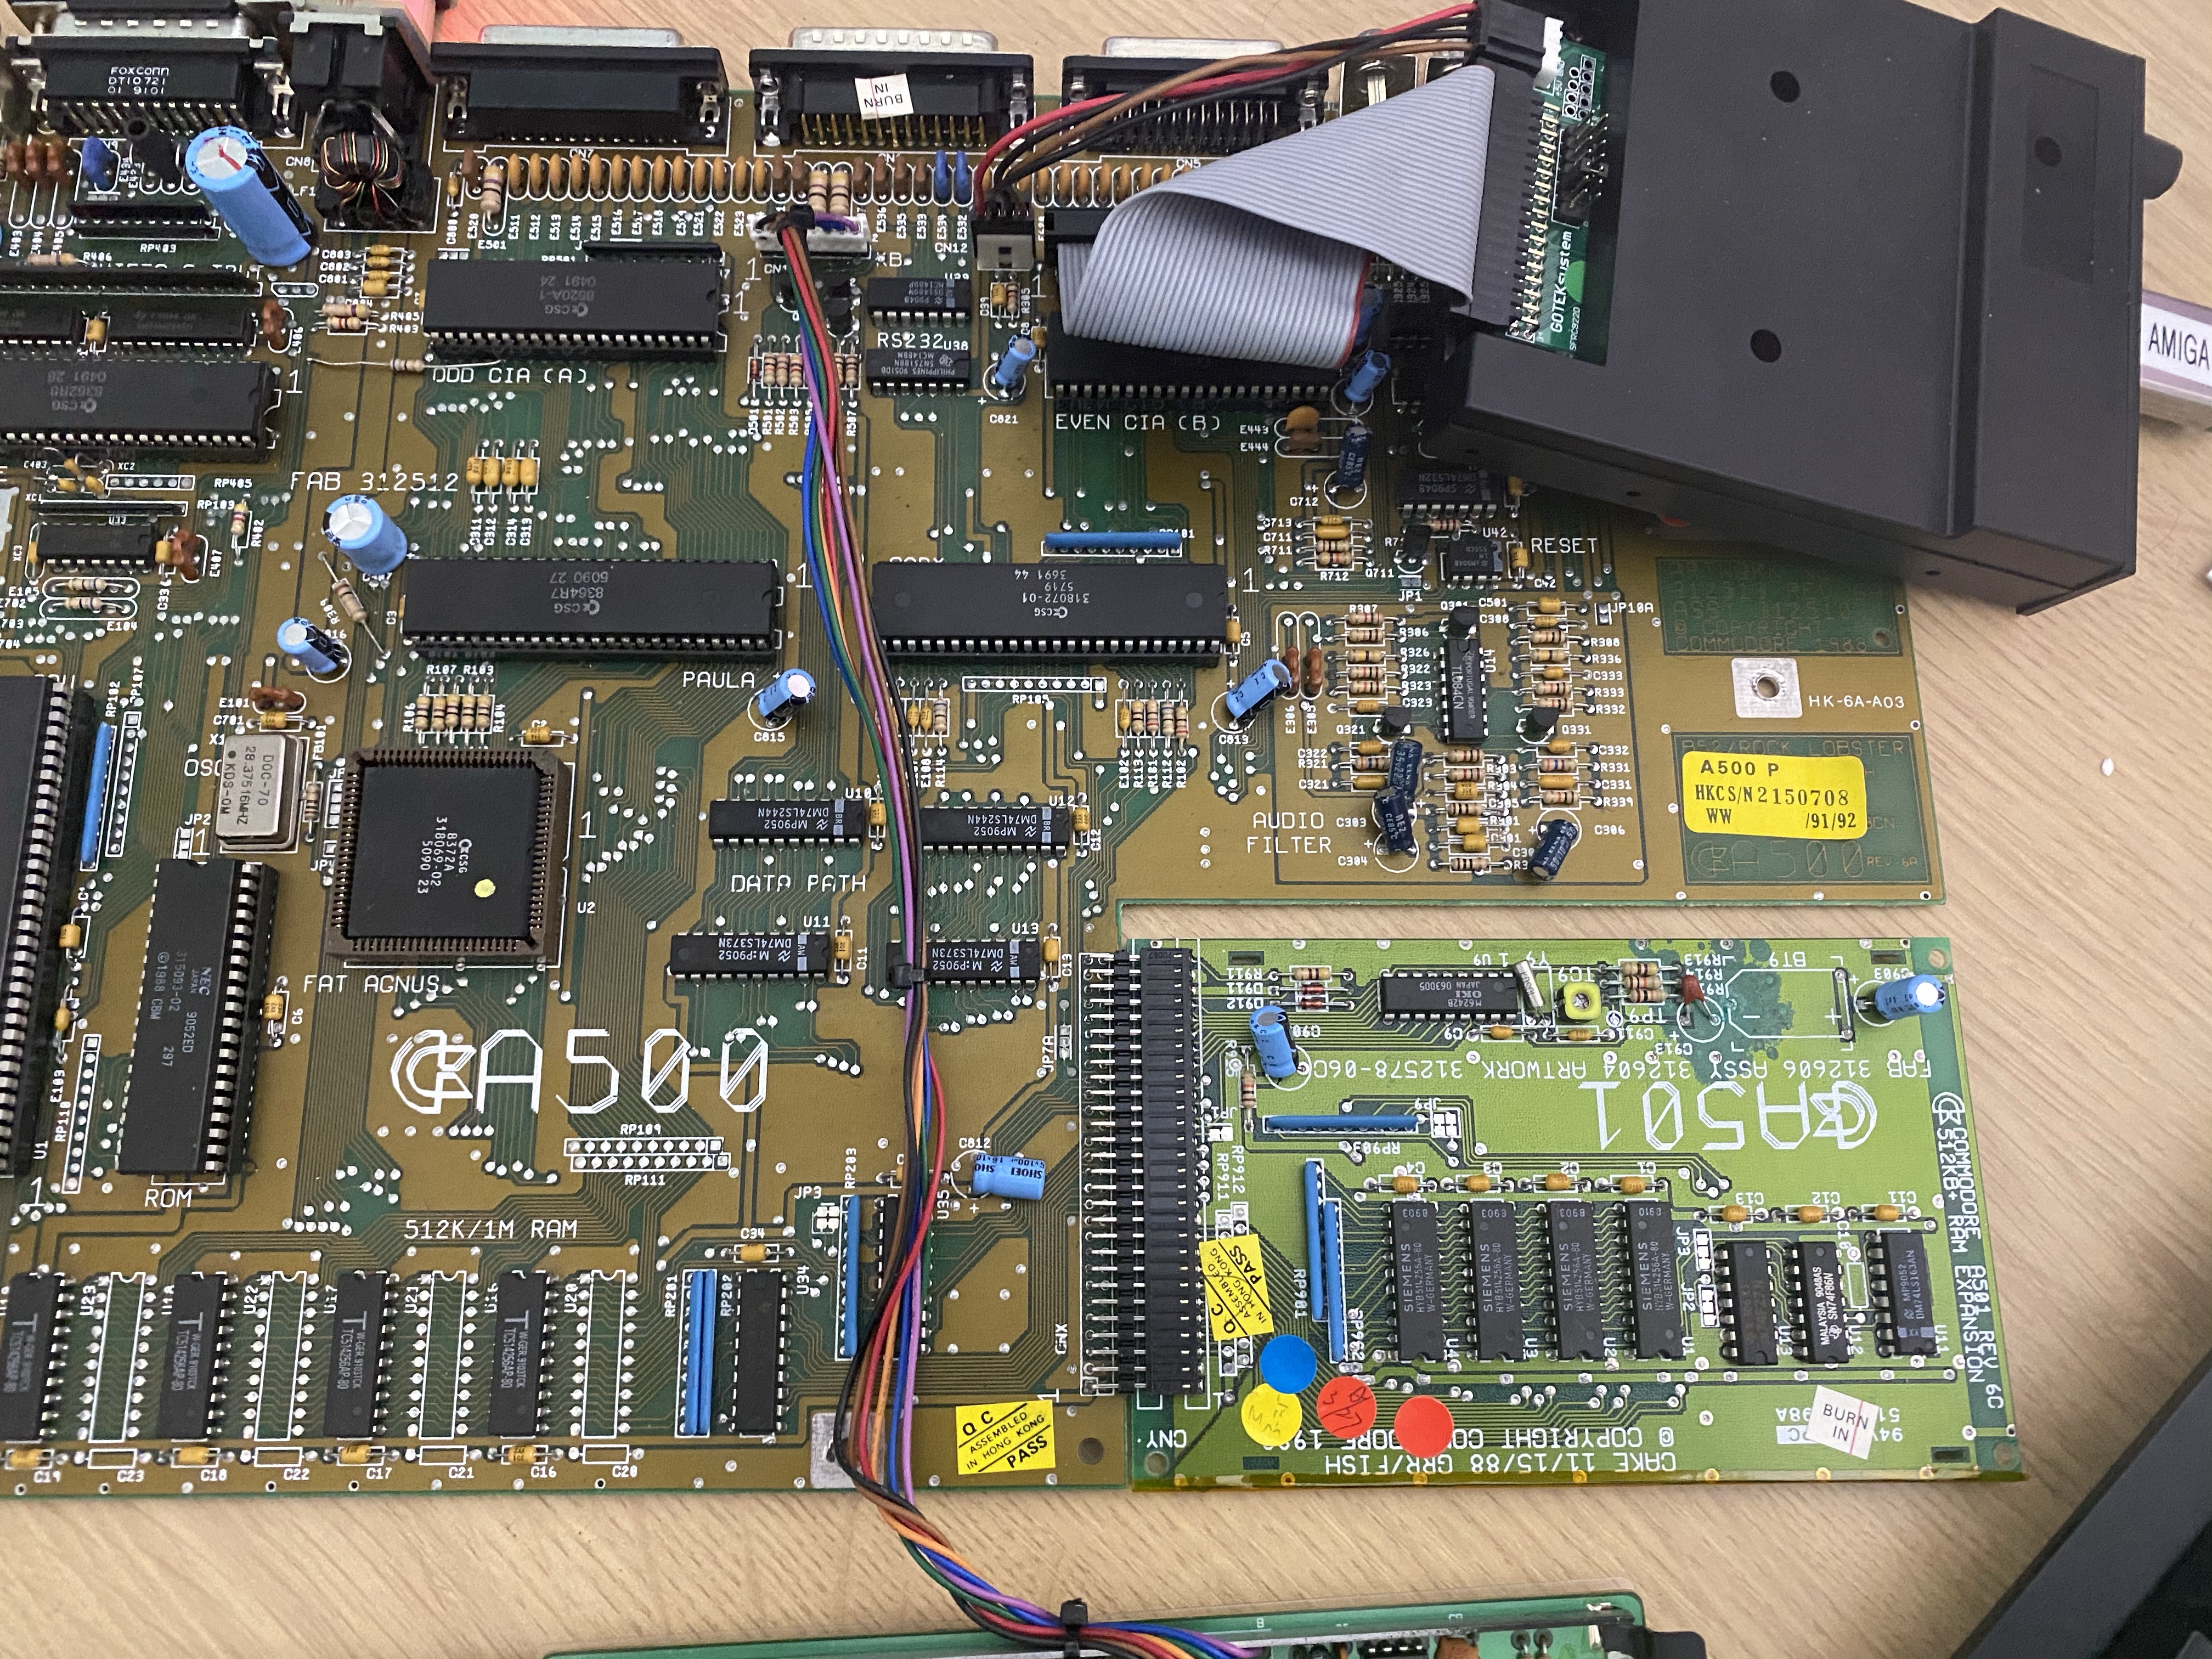
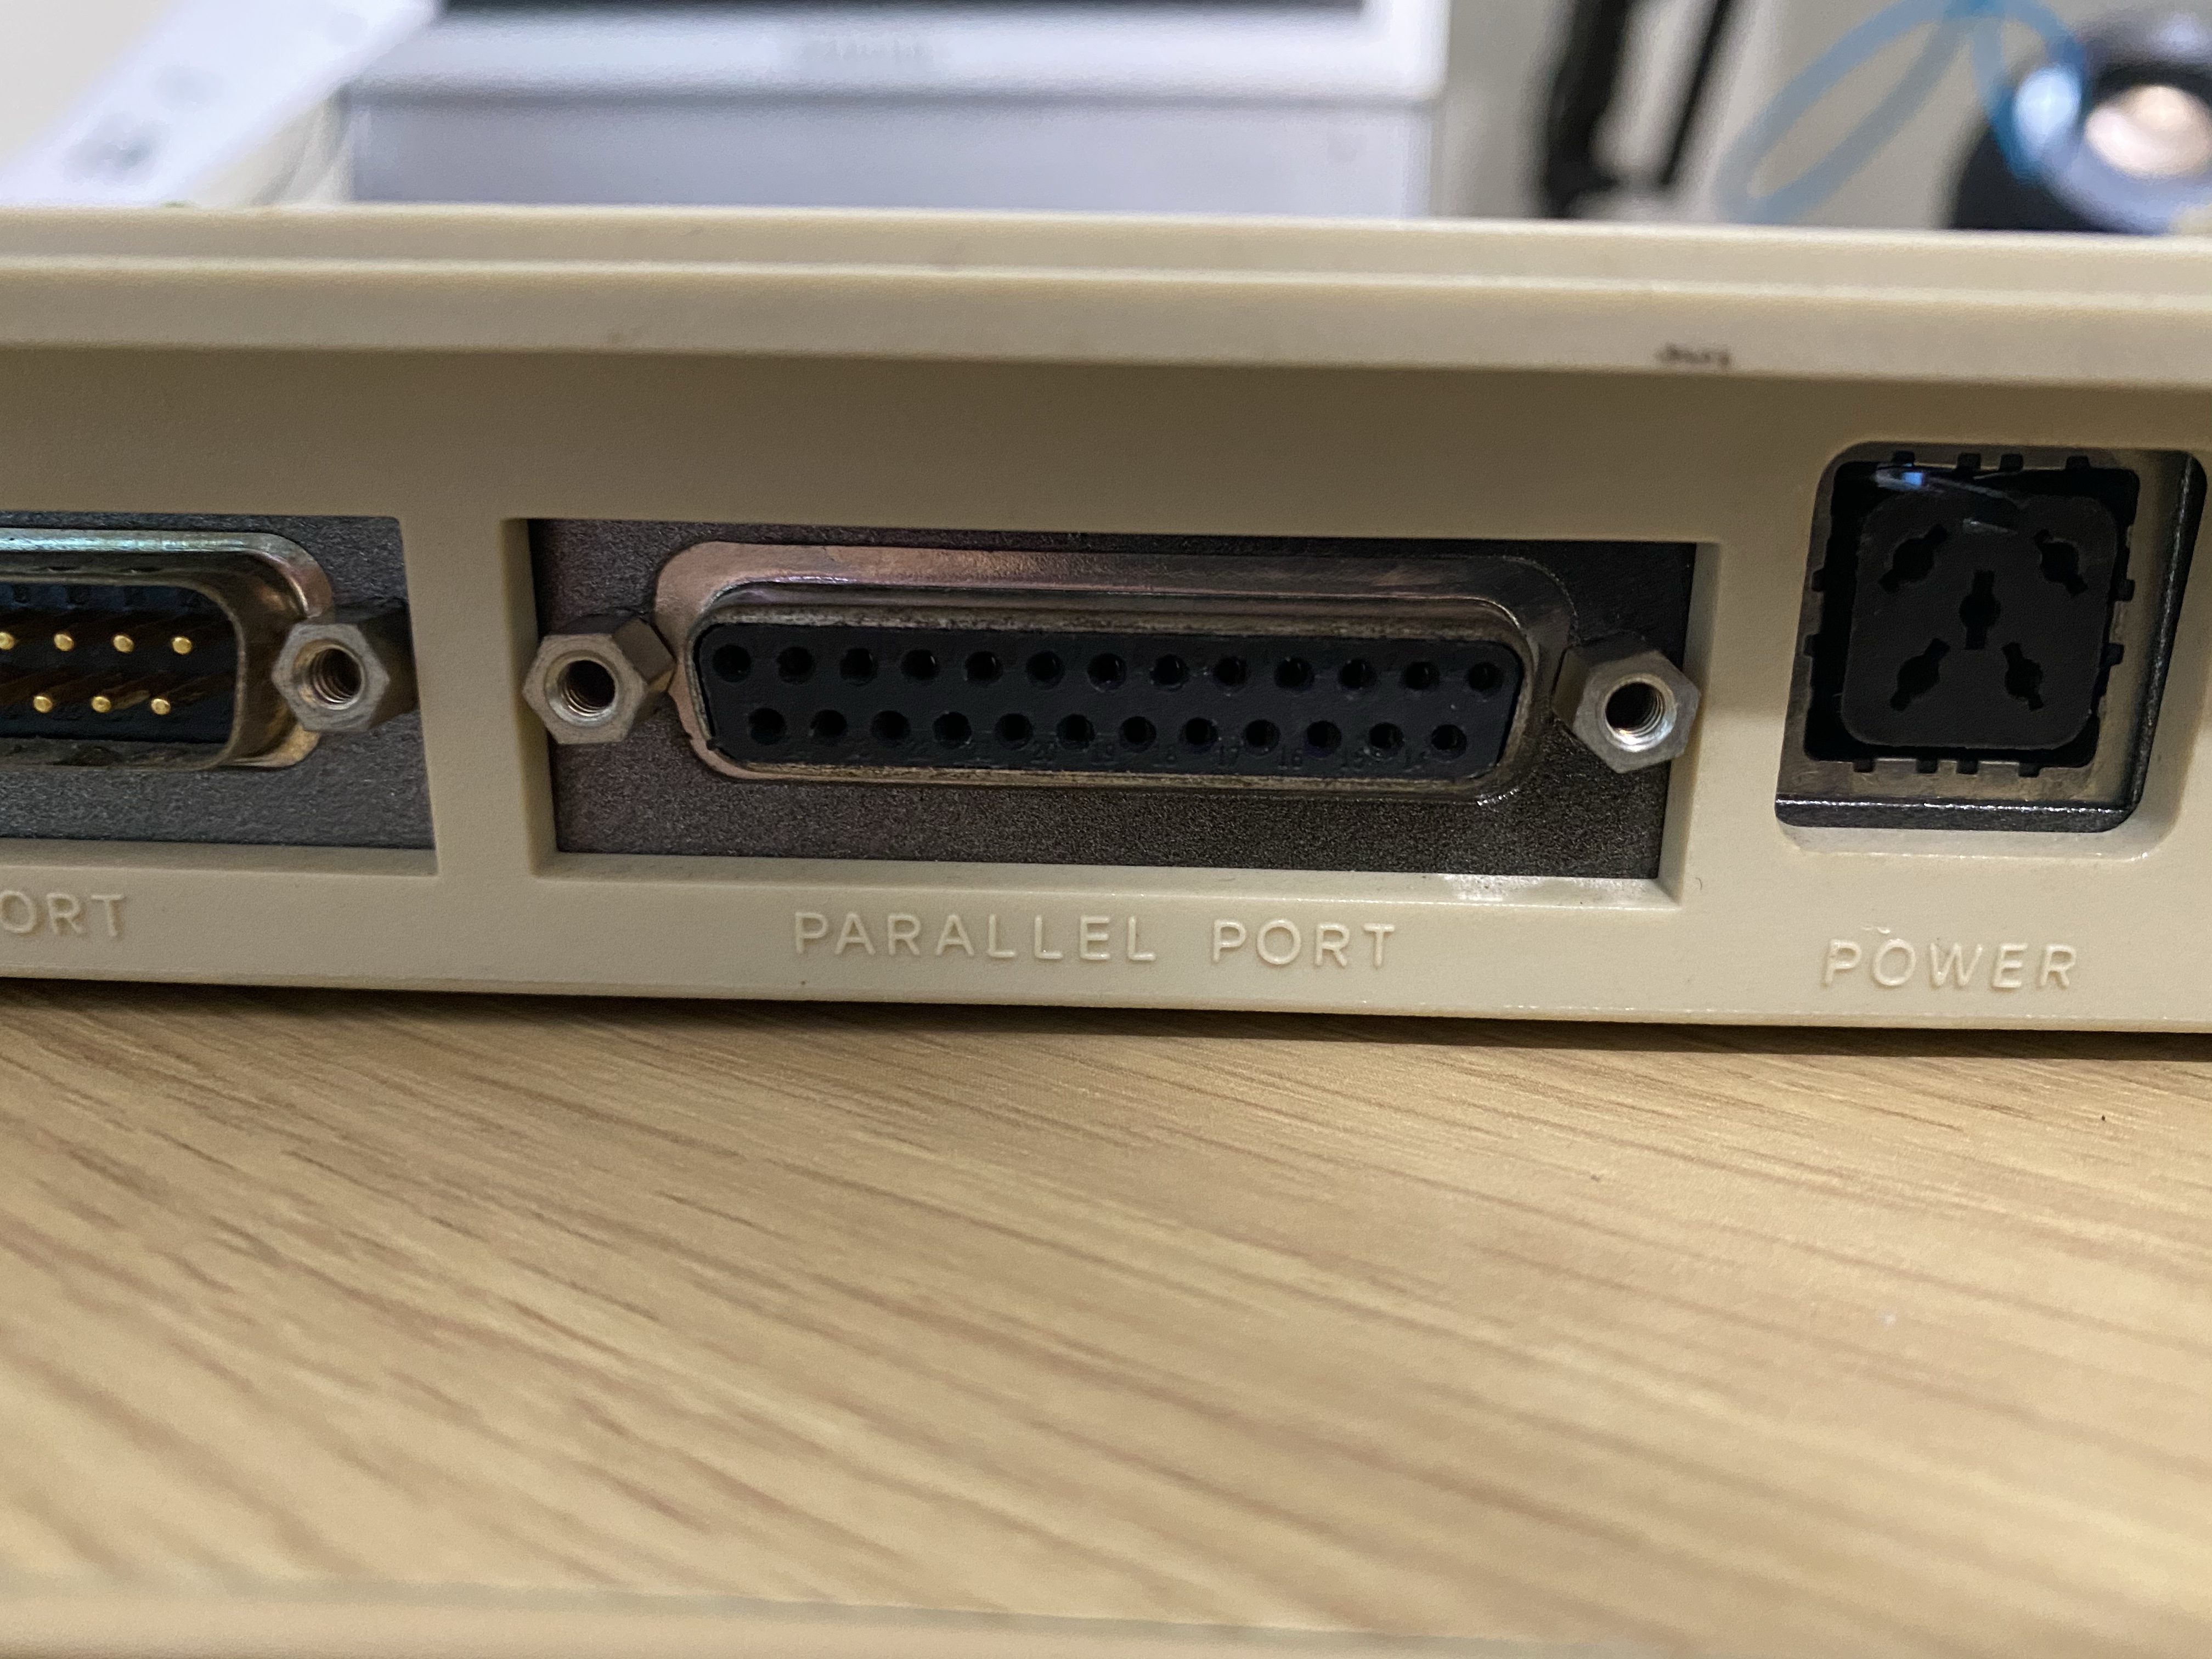
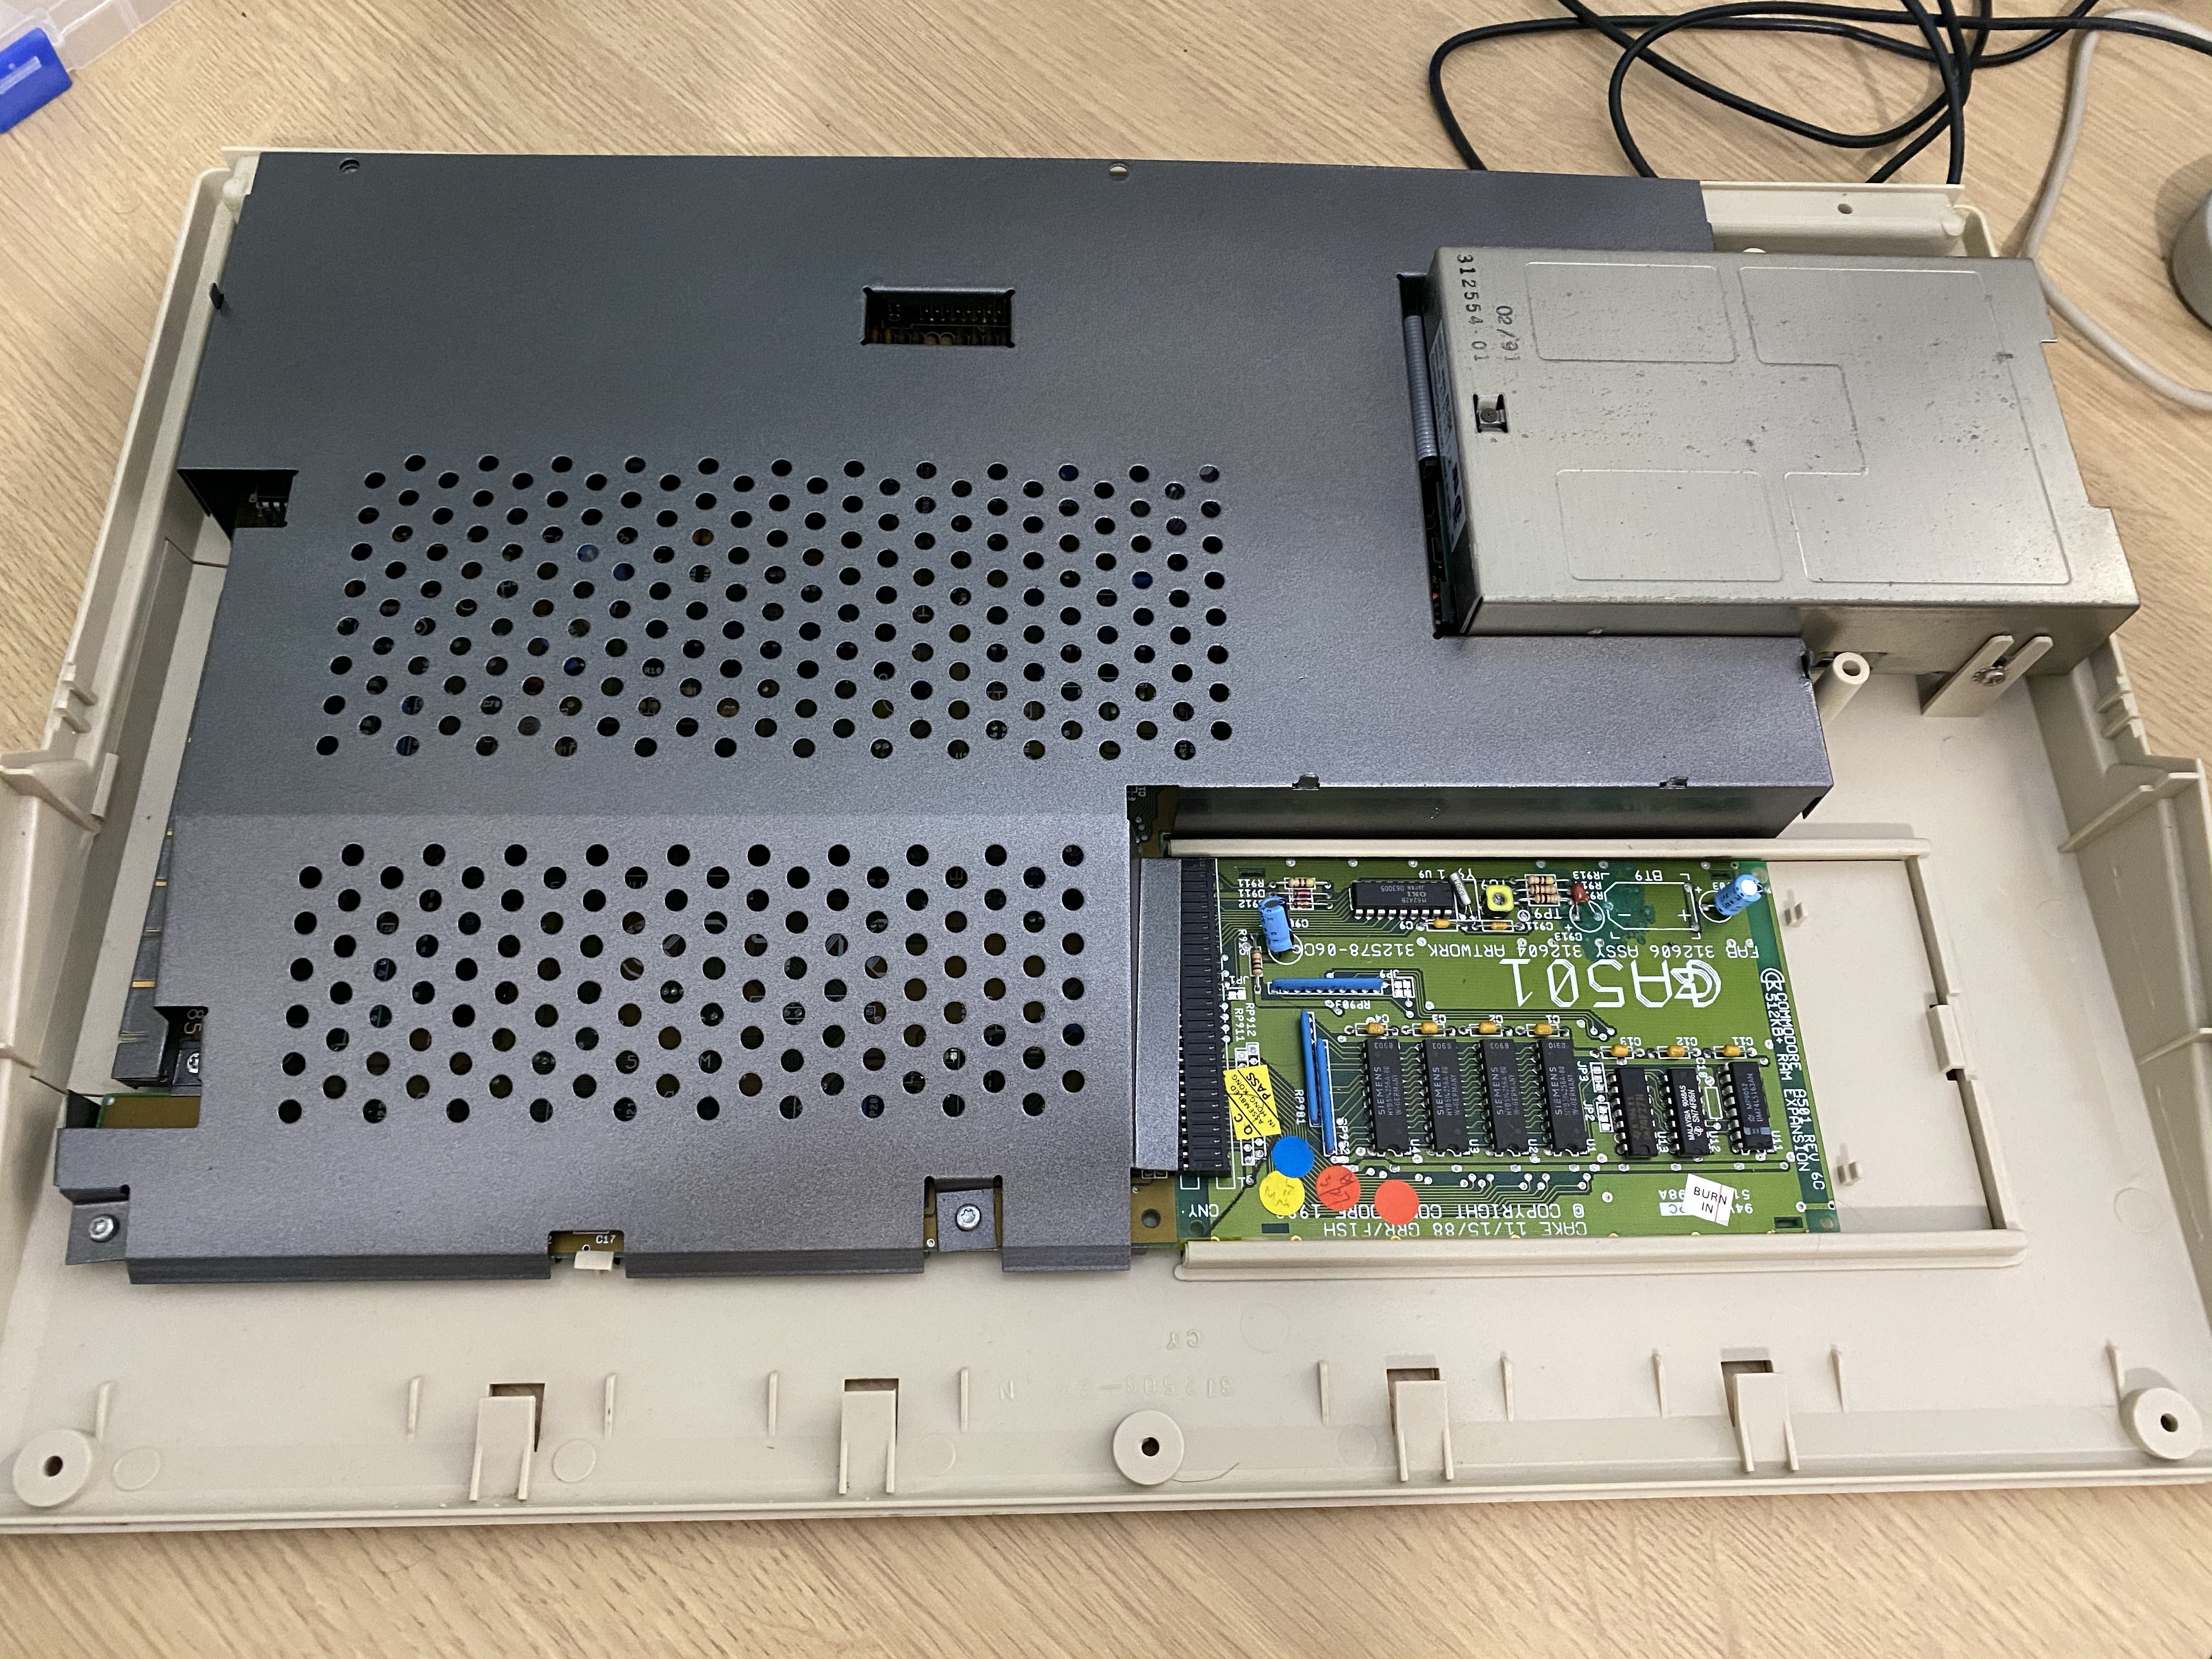
Next up the trapdoor connector. As with my other Amiga 500 I took this to Embedded µ Systems so I could desolder the old, damaged connector. I managed to obtain several replacement connectors for next to nothing on eBay, delivered from China. I soldered one of these on and tested it with an A501 expansion.
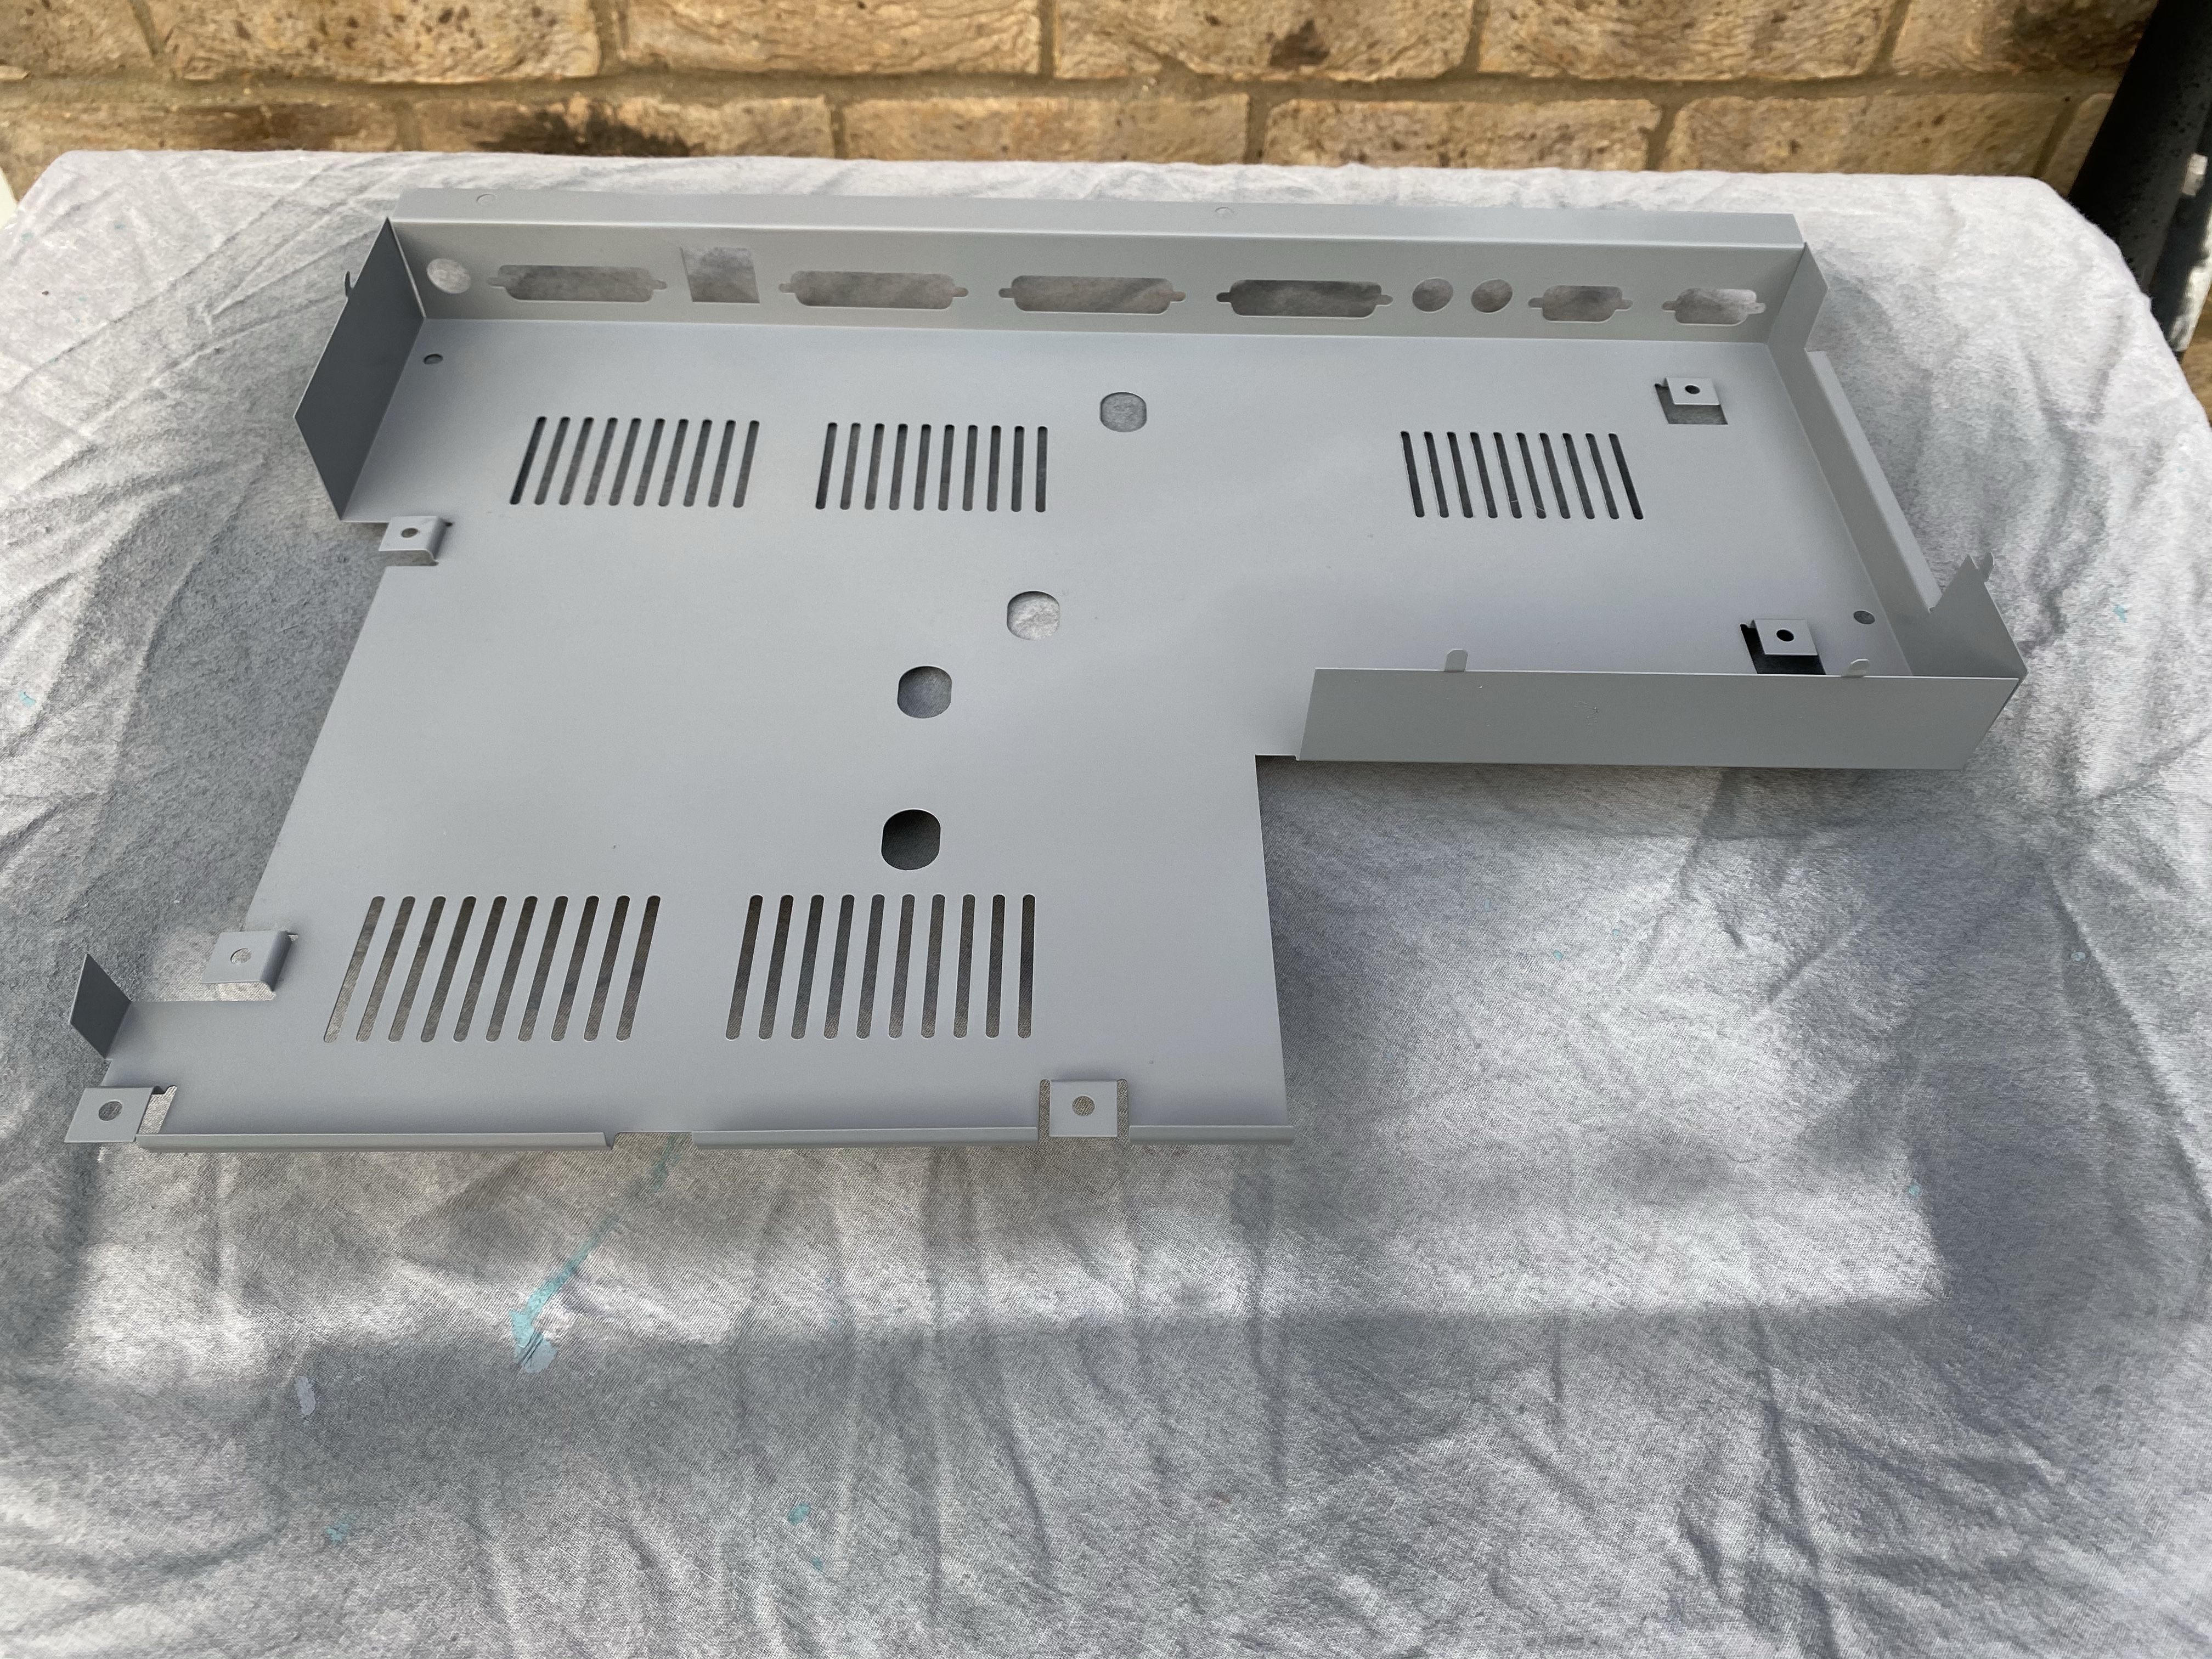
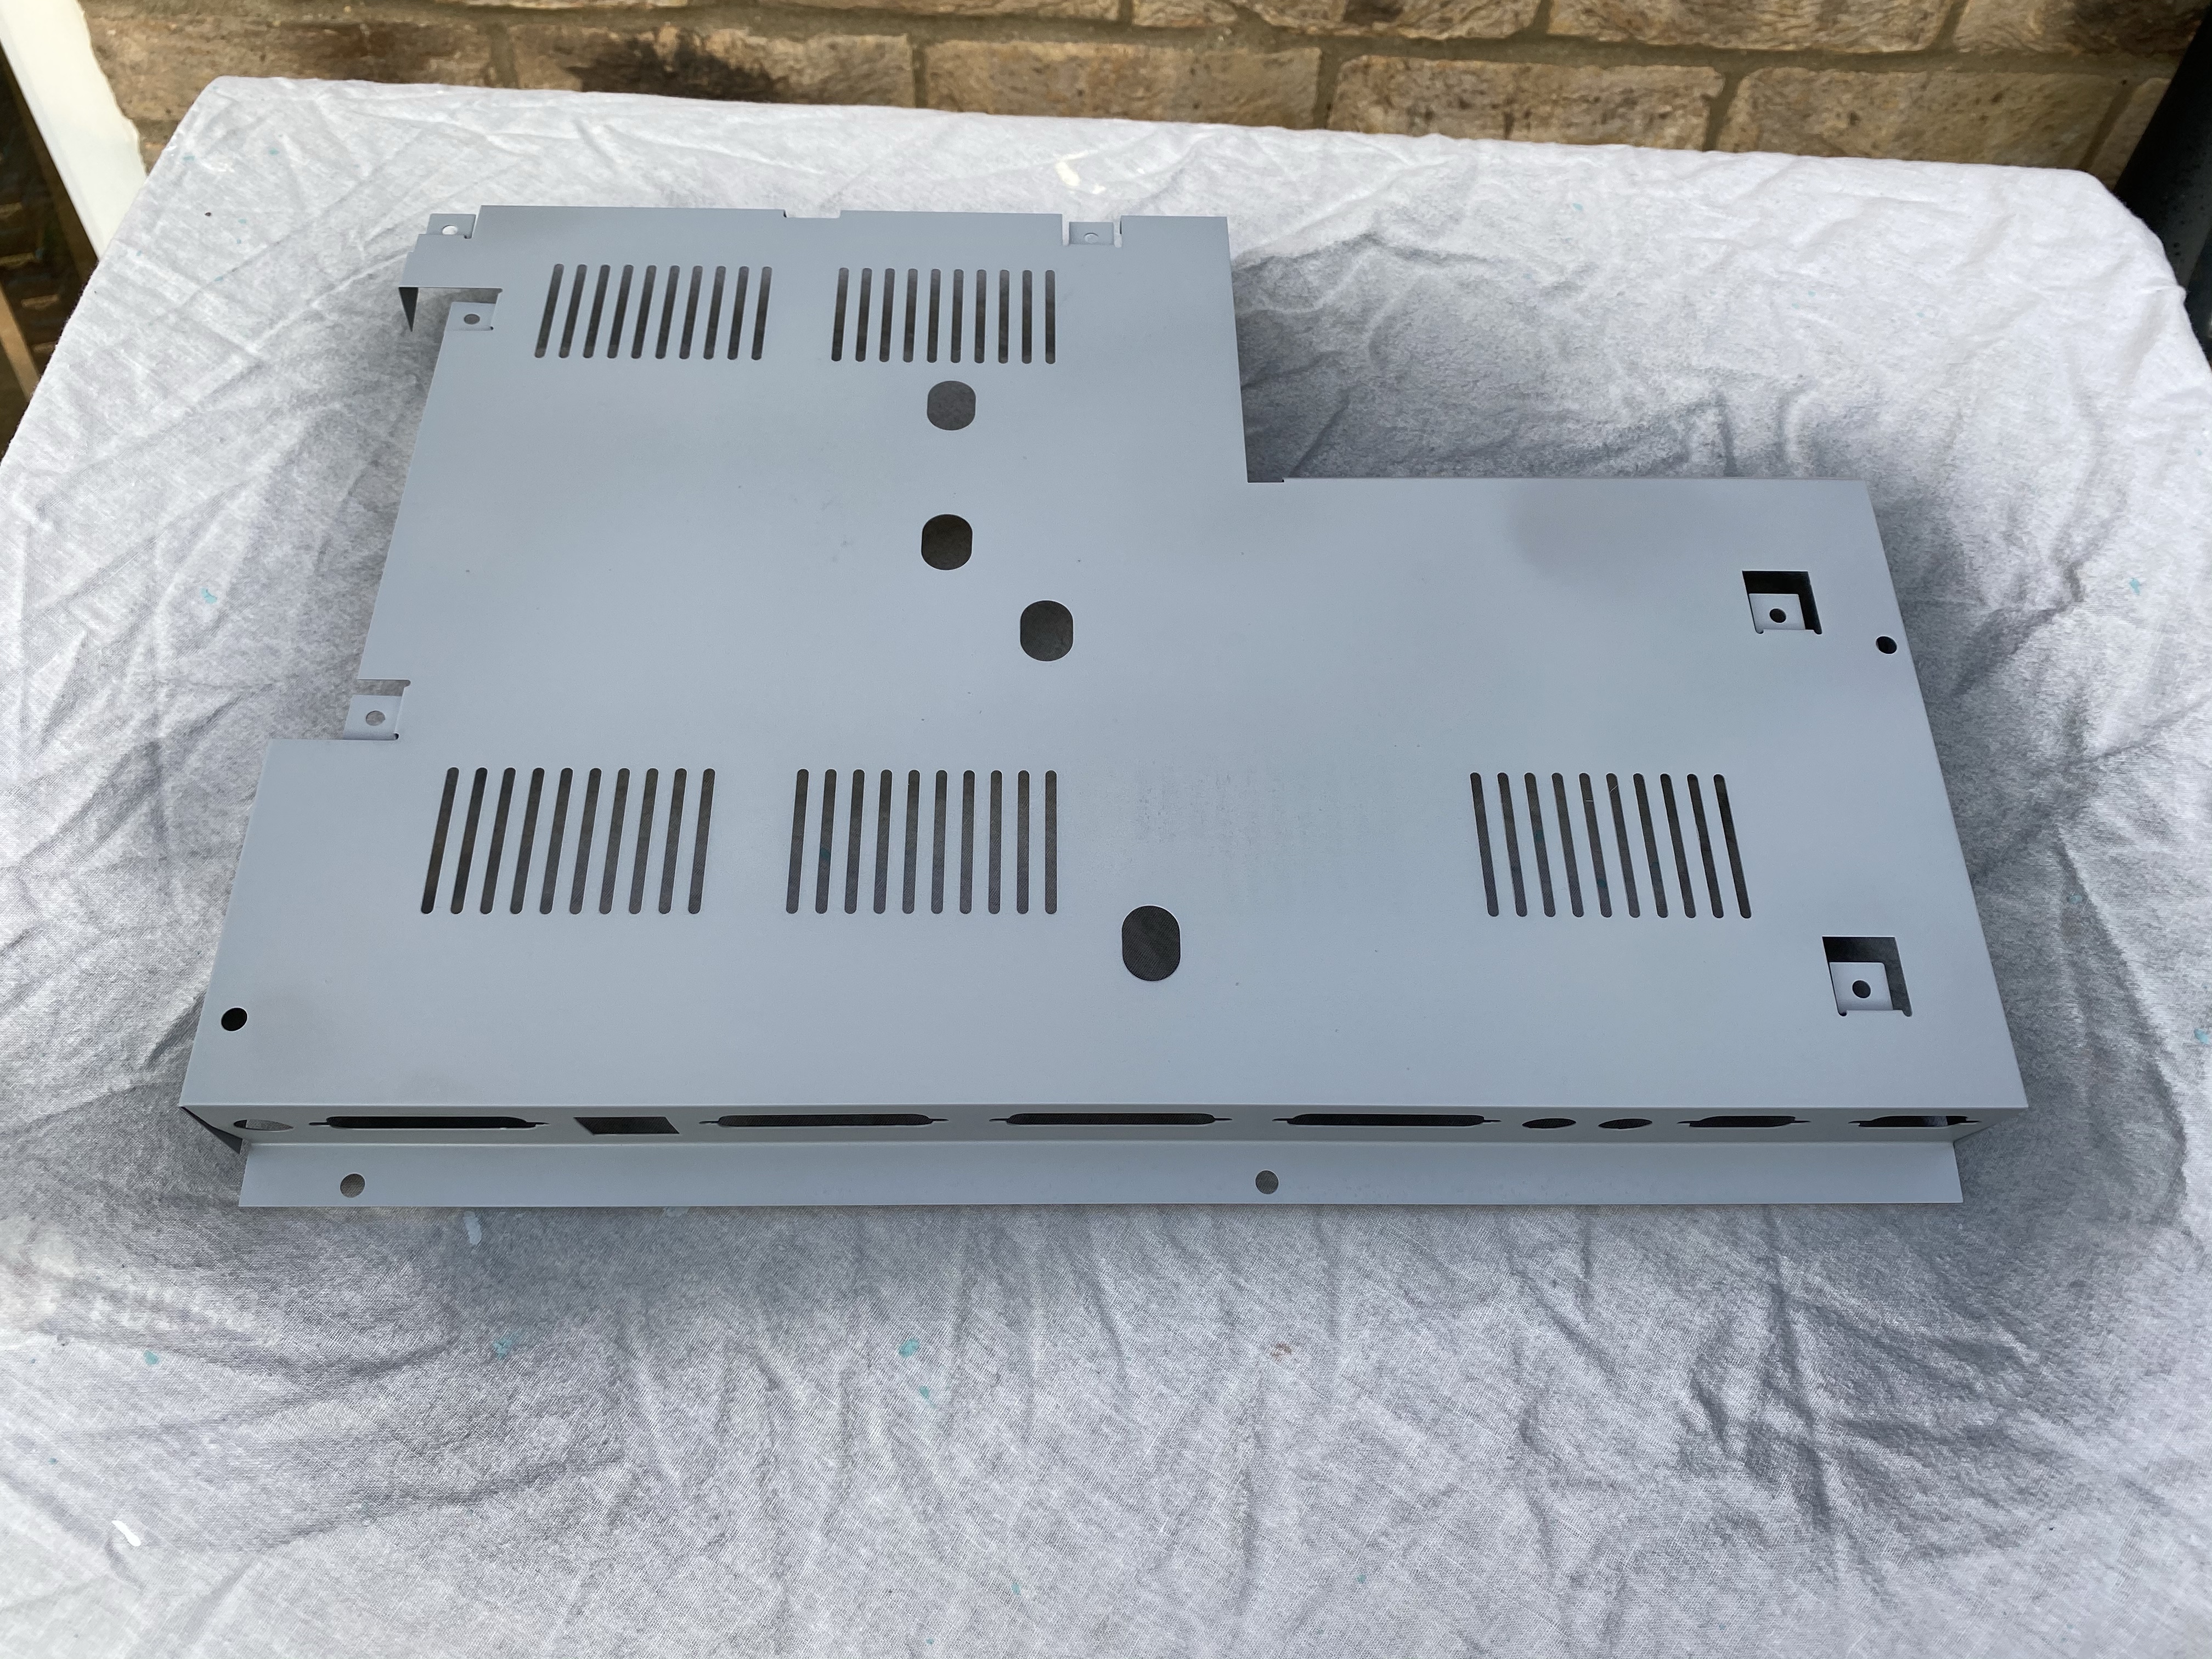
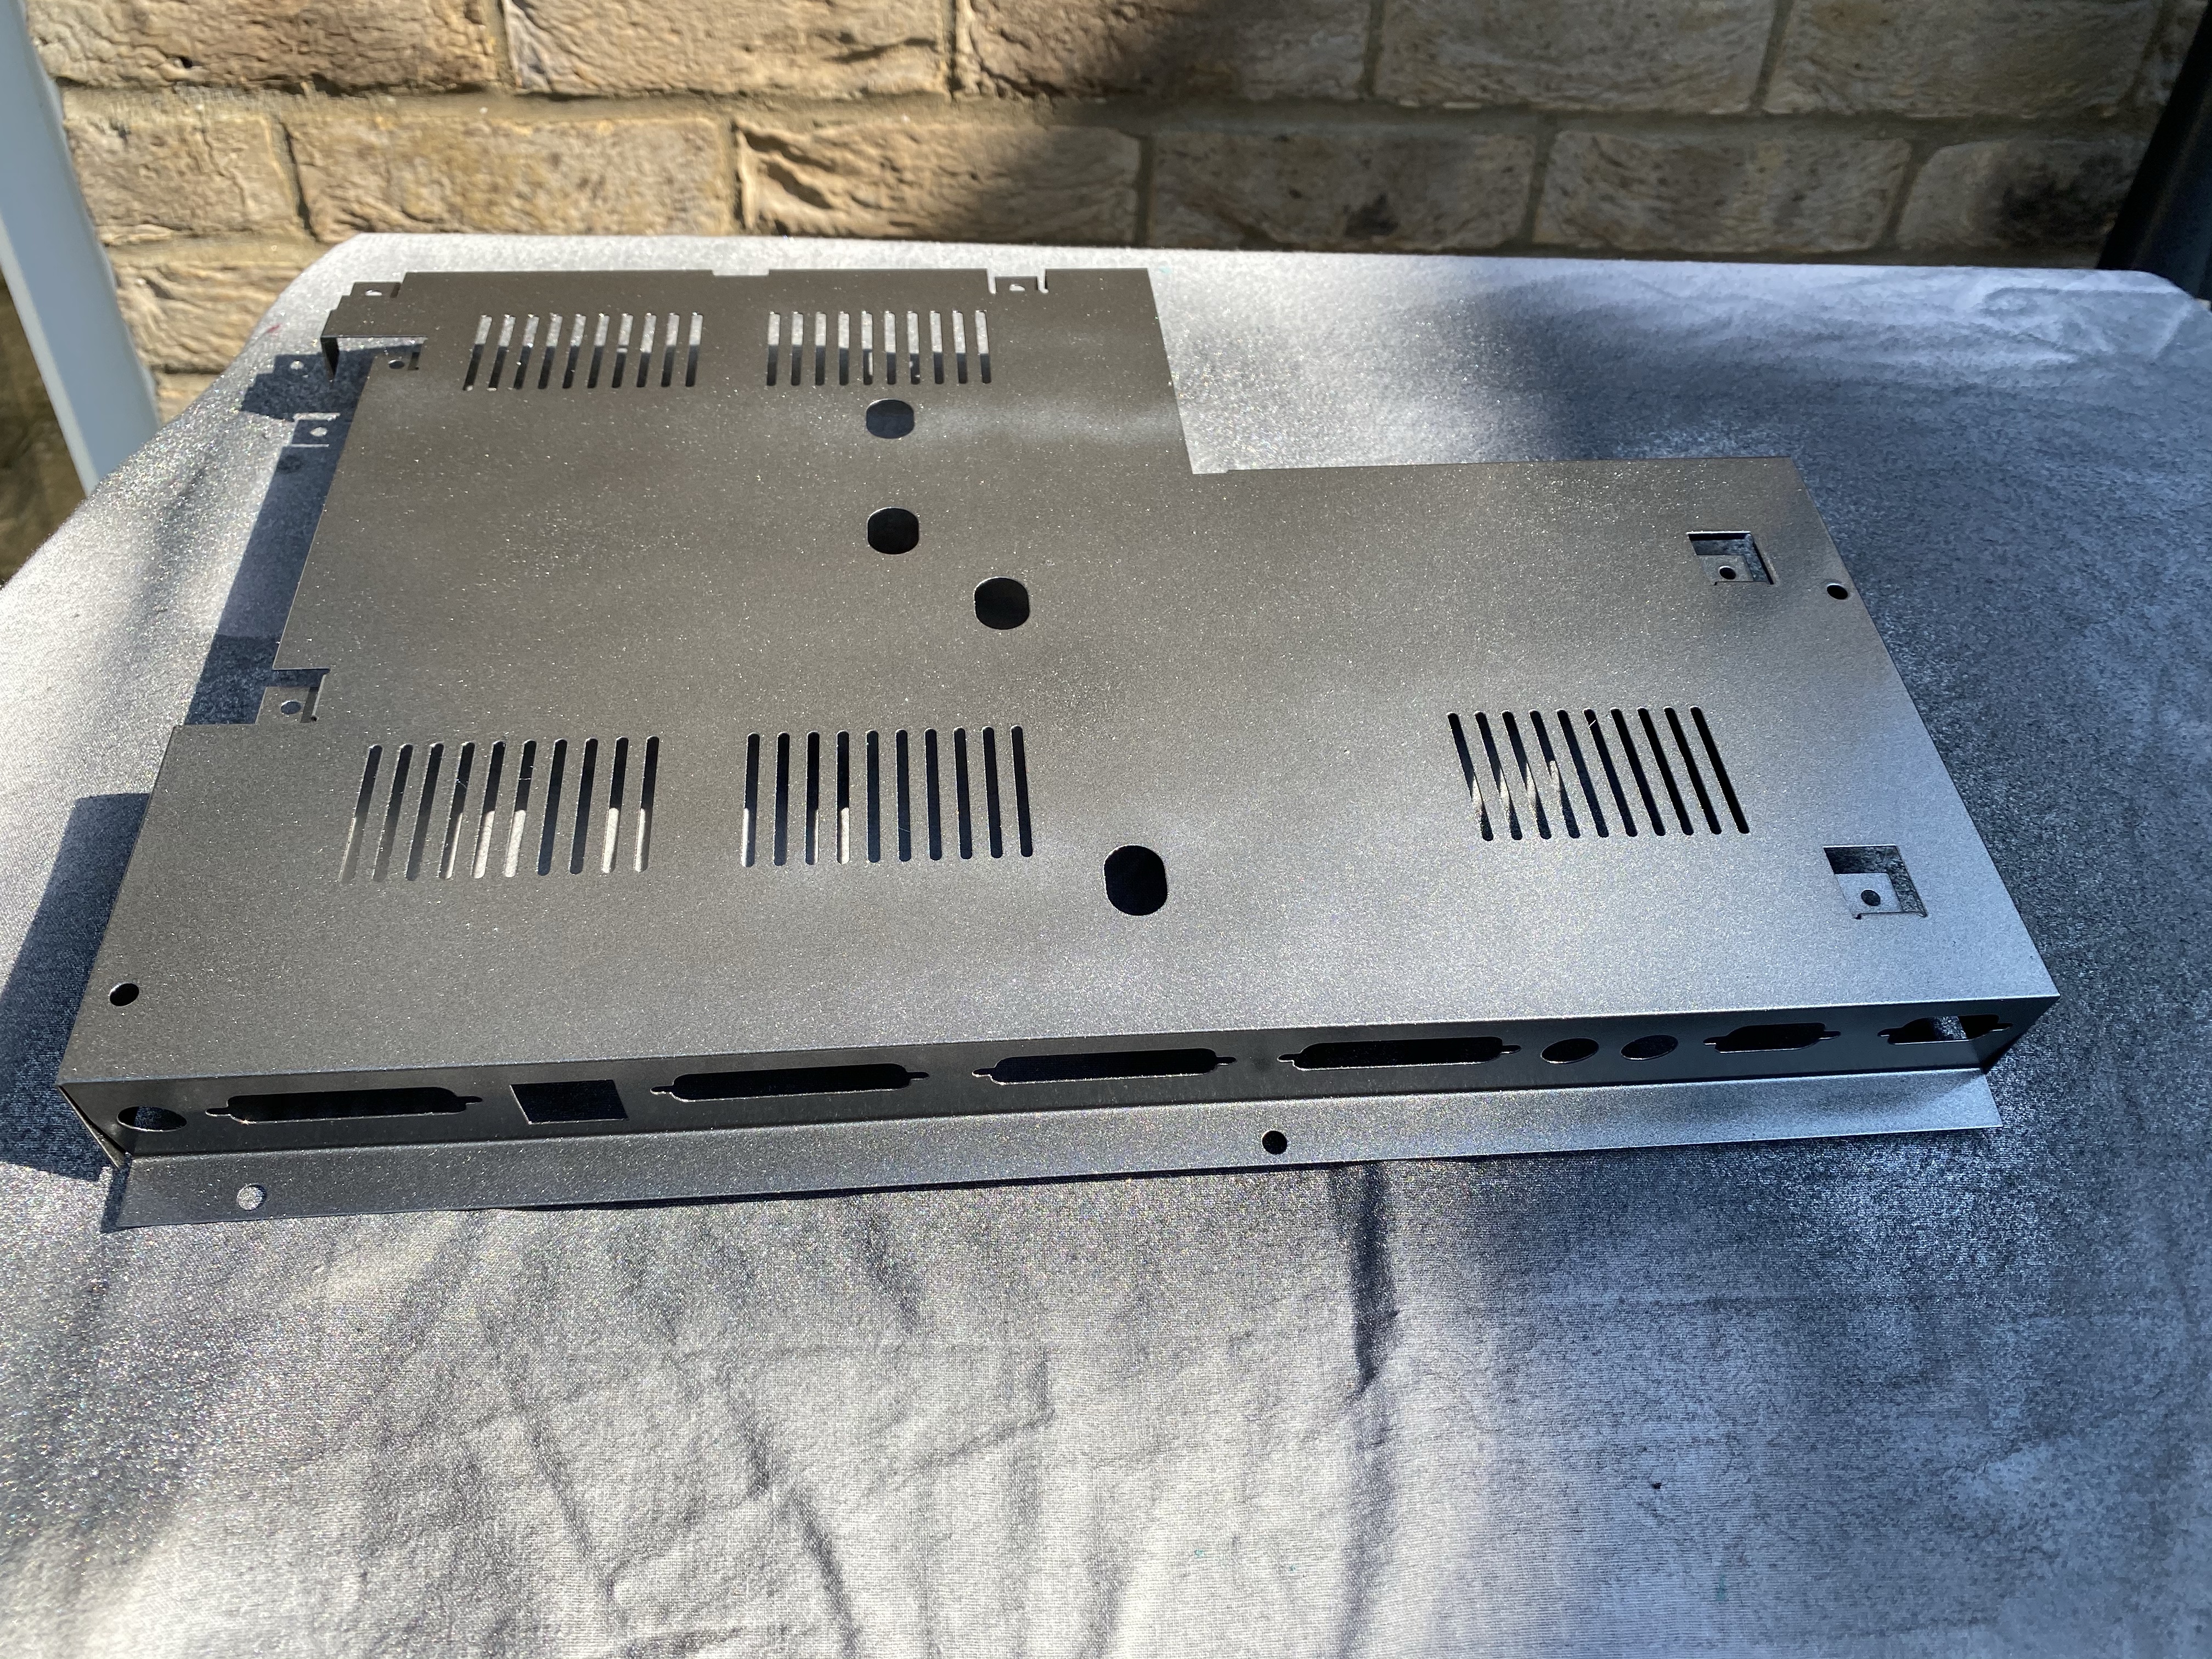
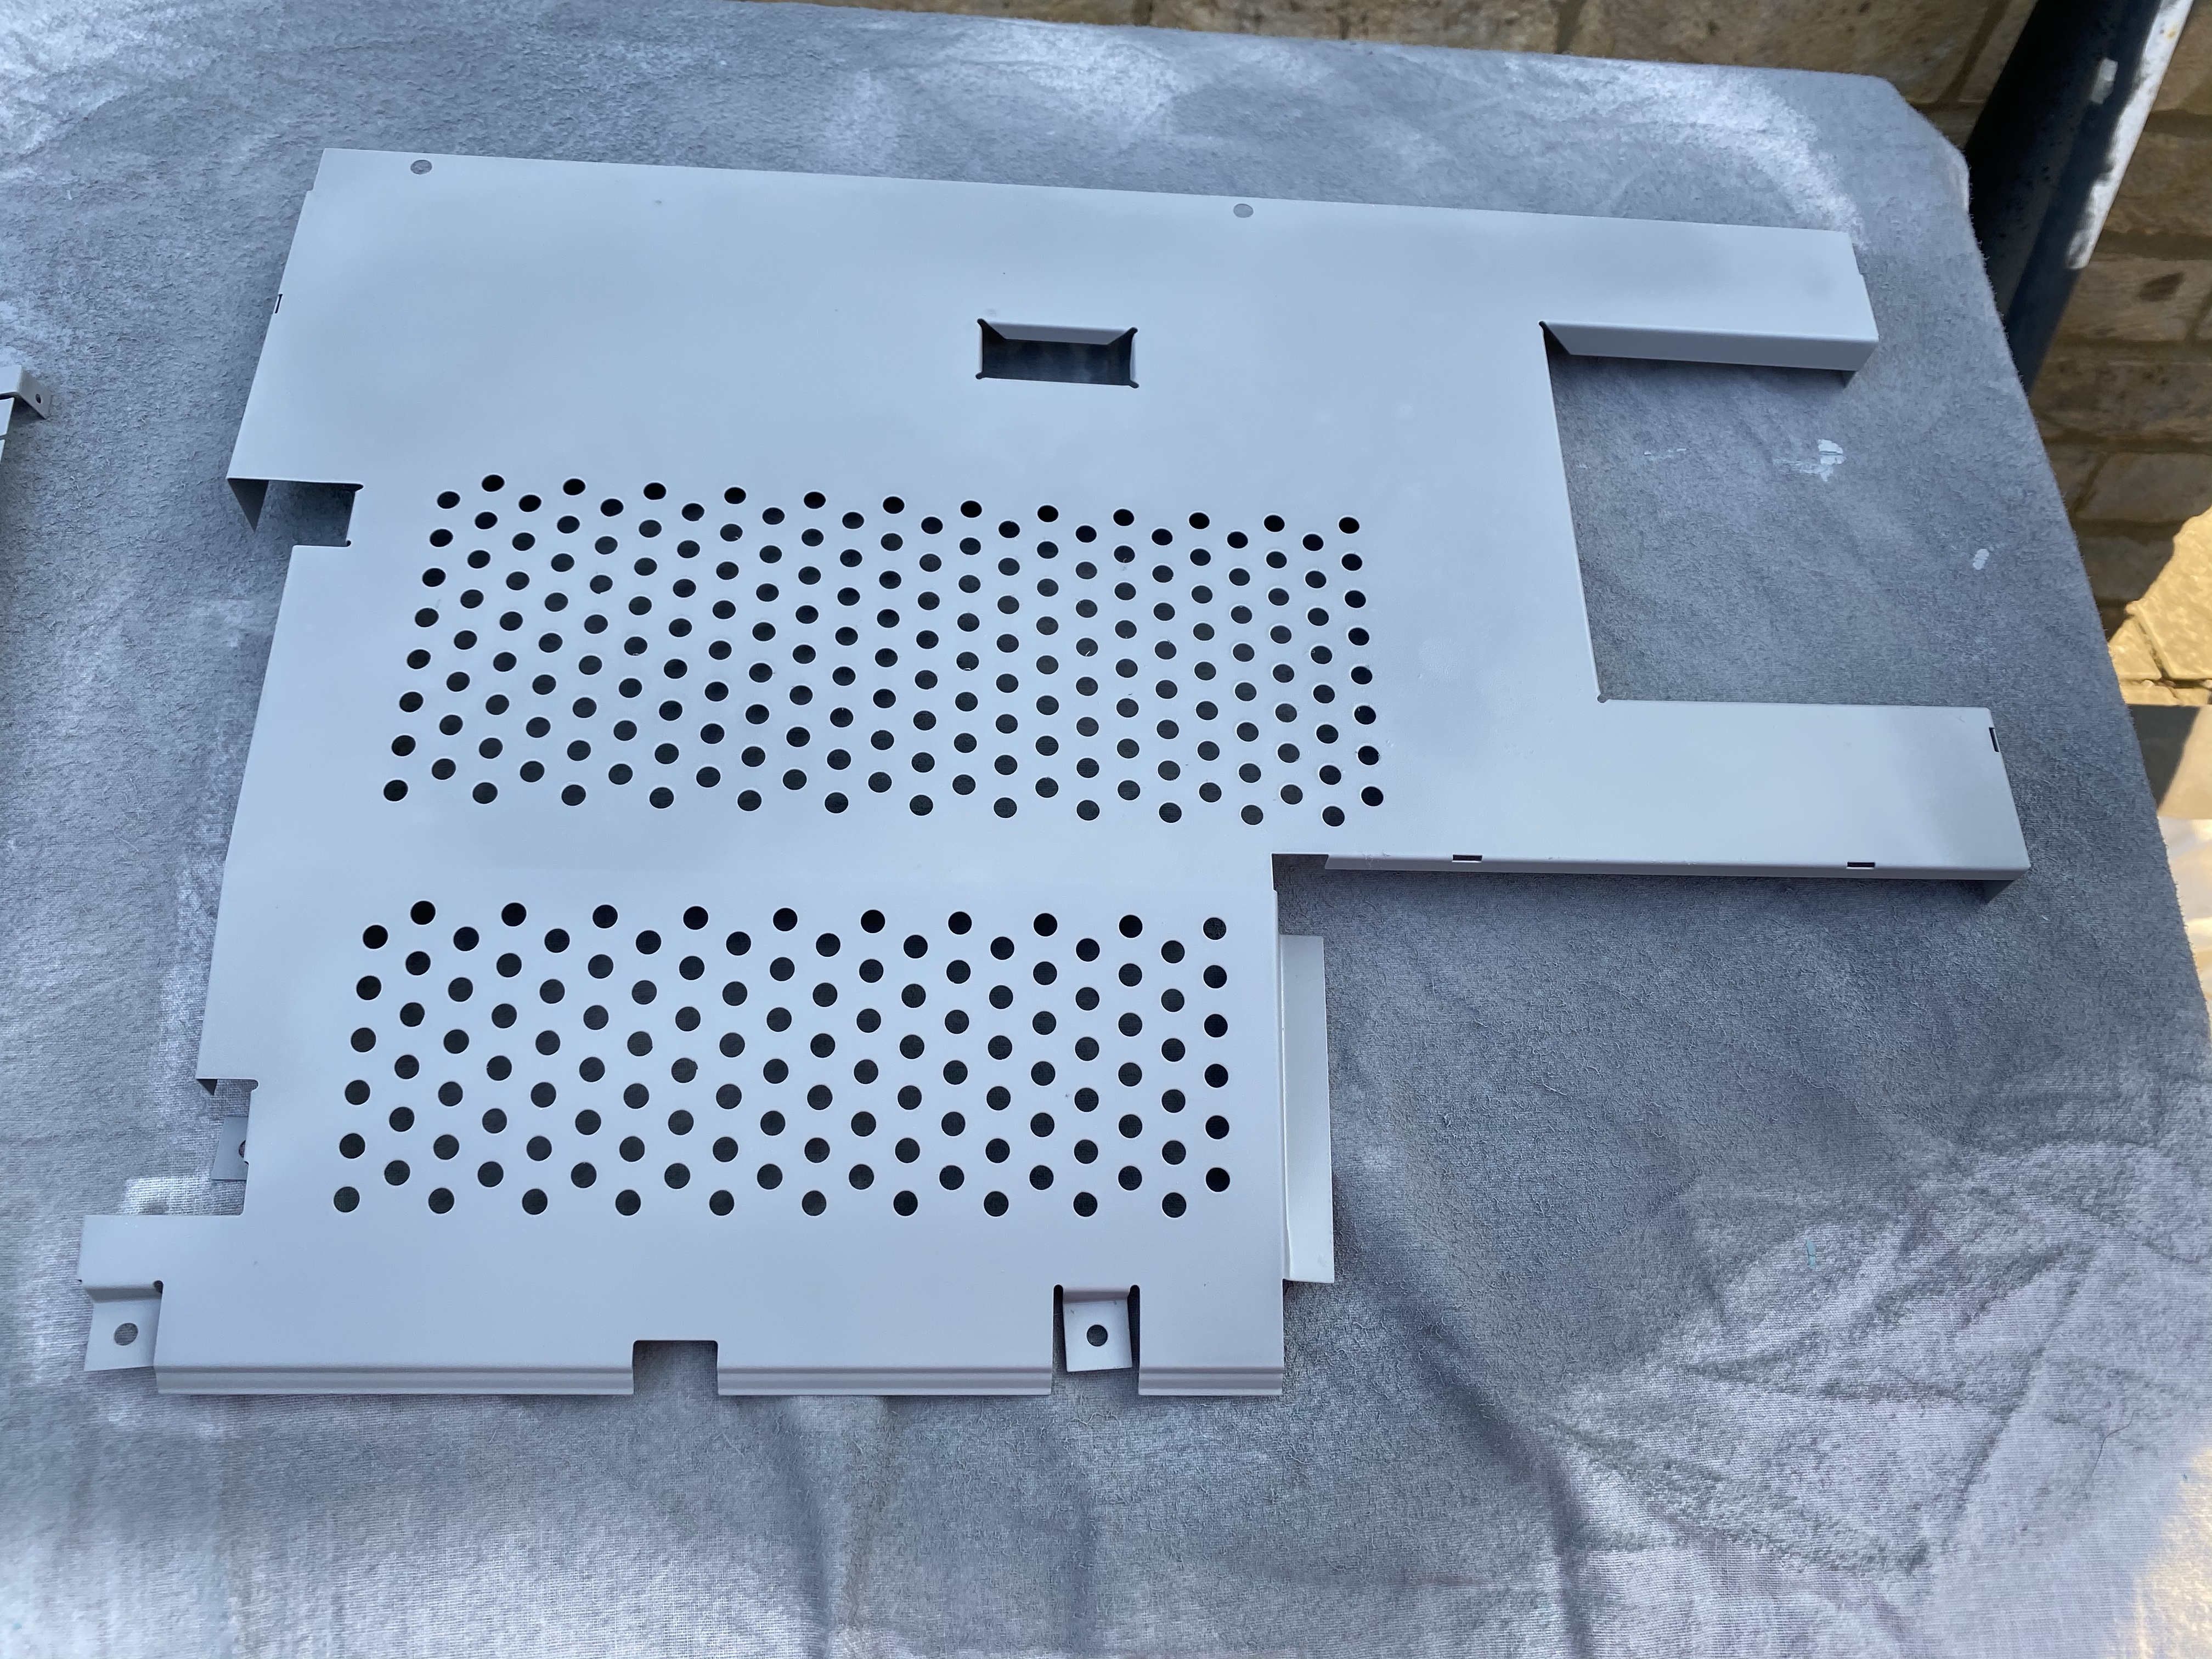
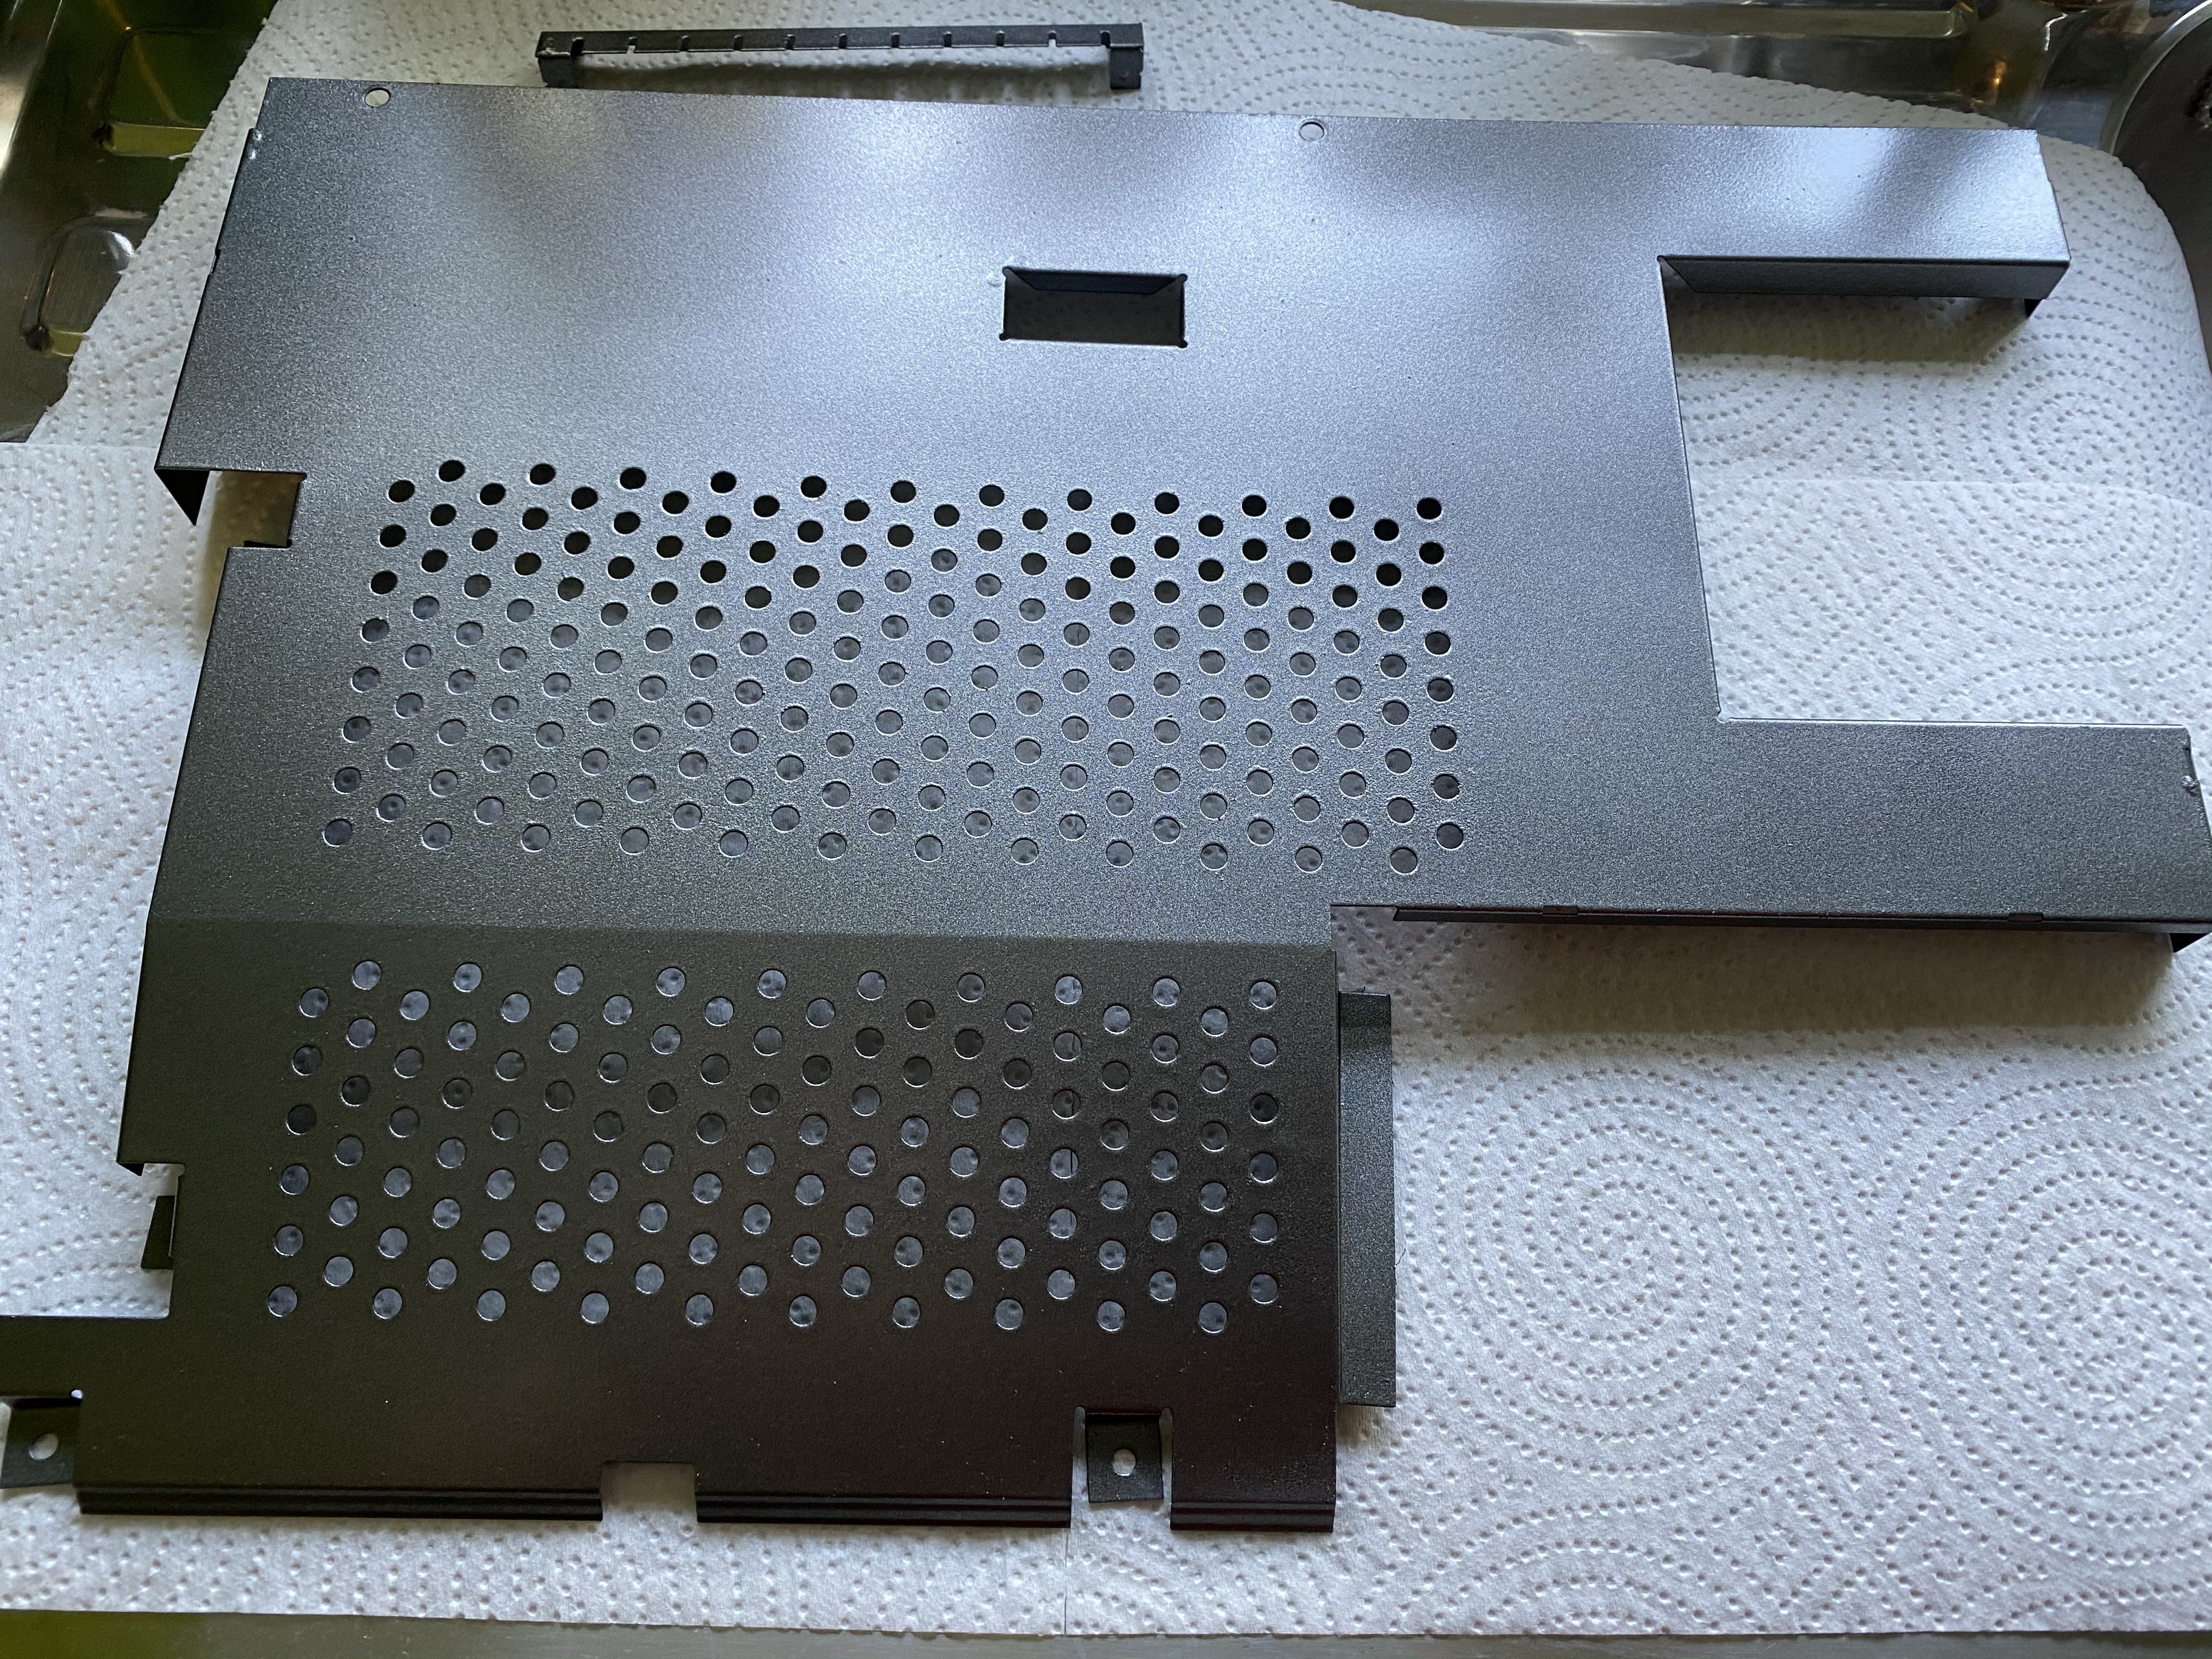
Next up the metal casing, it was corroded and a little rusted, I thought the best thing to do was to remove the corrosion using a wire brush and spray painted these parts. For this I did two coats of primer and two coats gunmetal colour, both Rust-Oleum branded paints.
Now I could start reassembling the machine and the outcome was quite impressive.
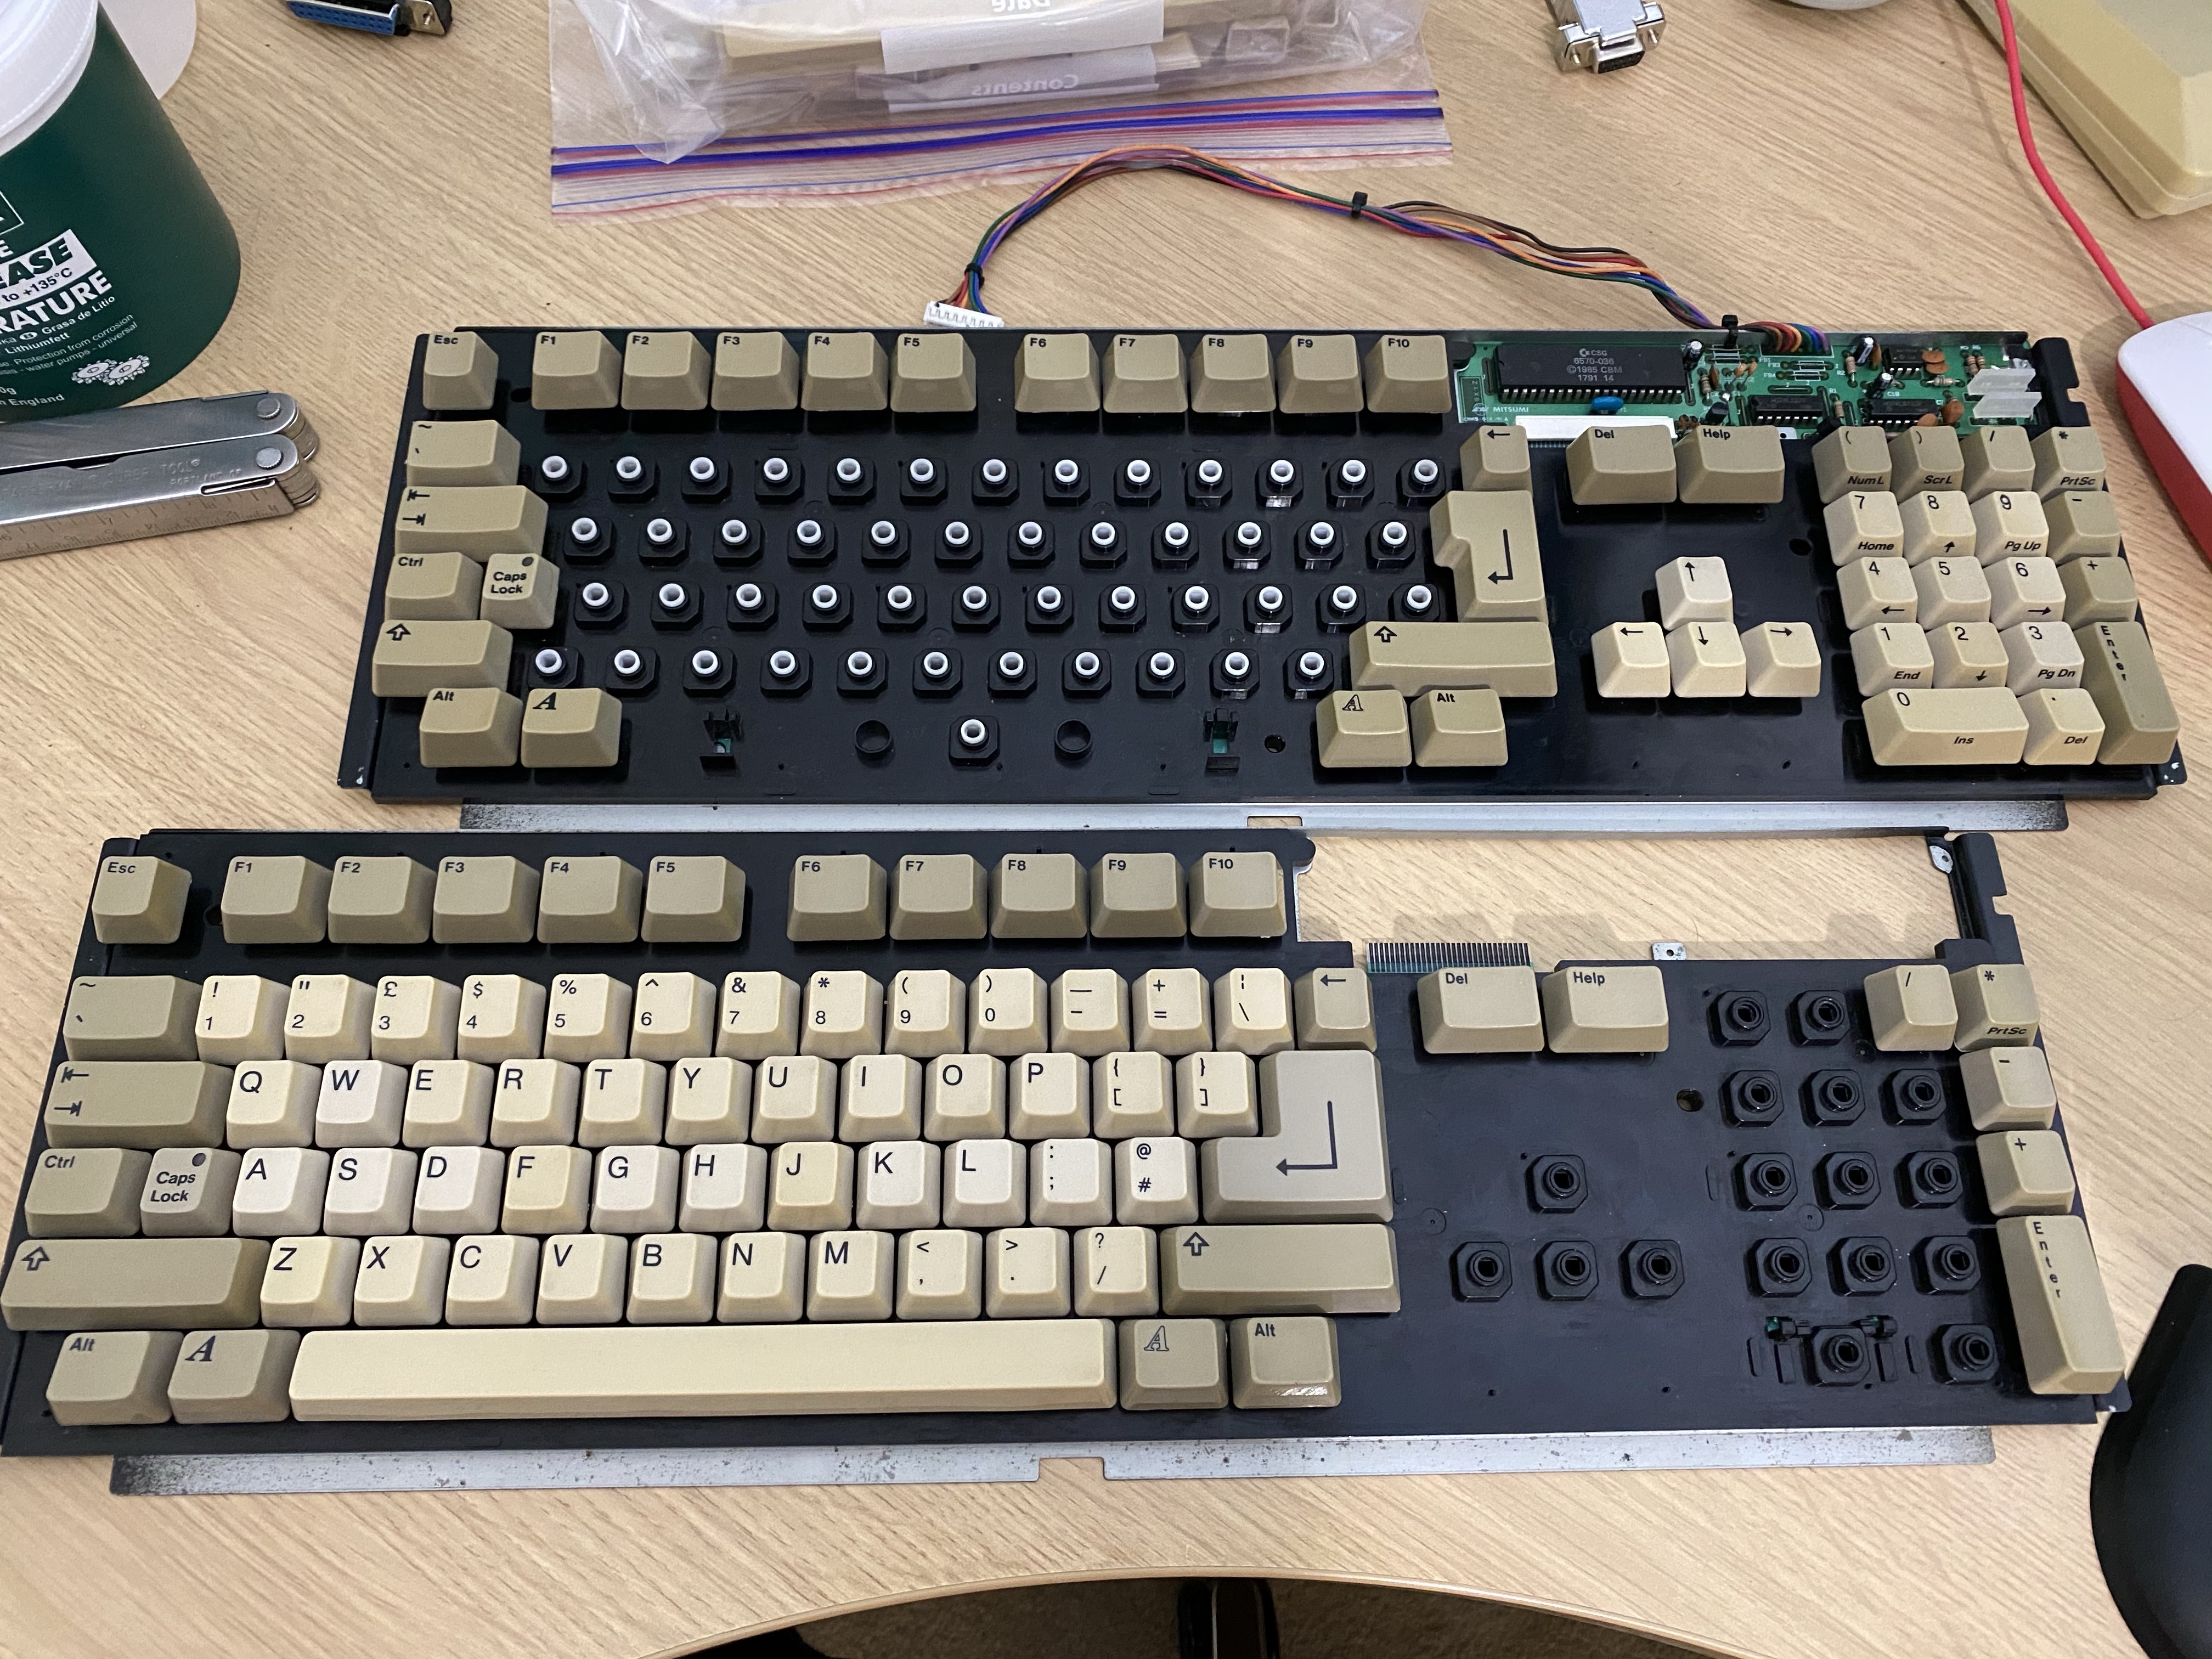
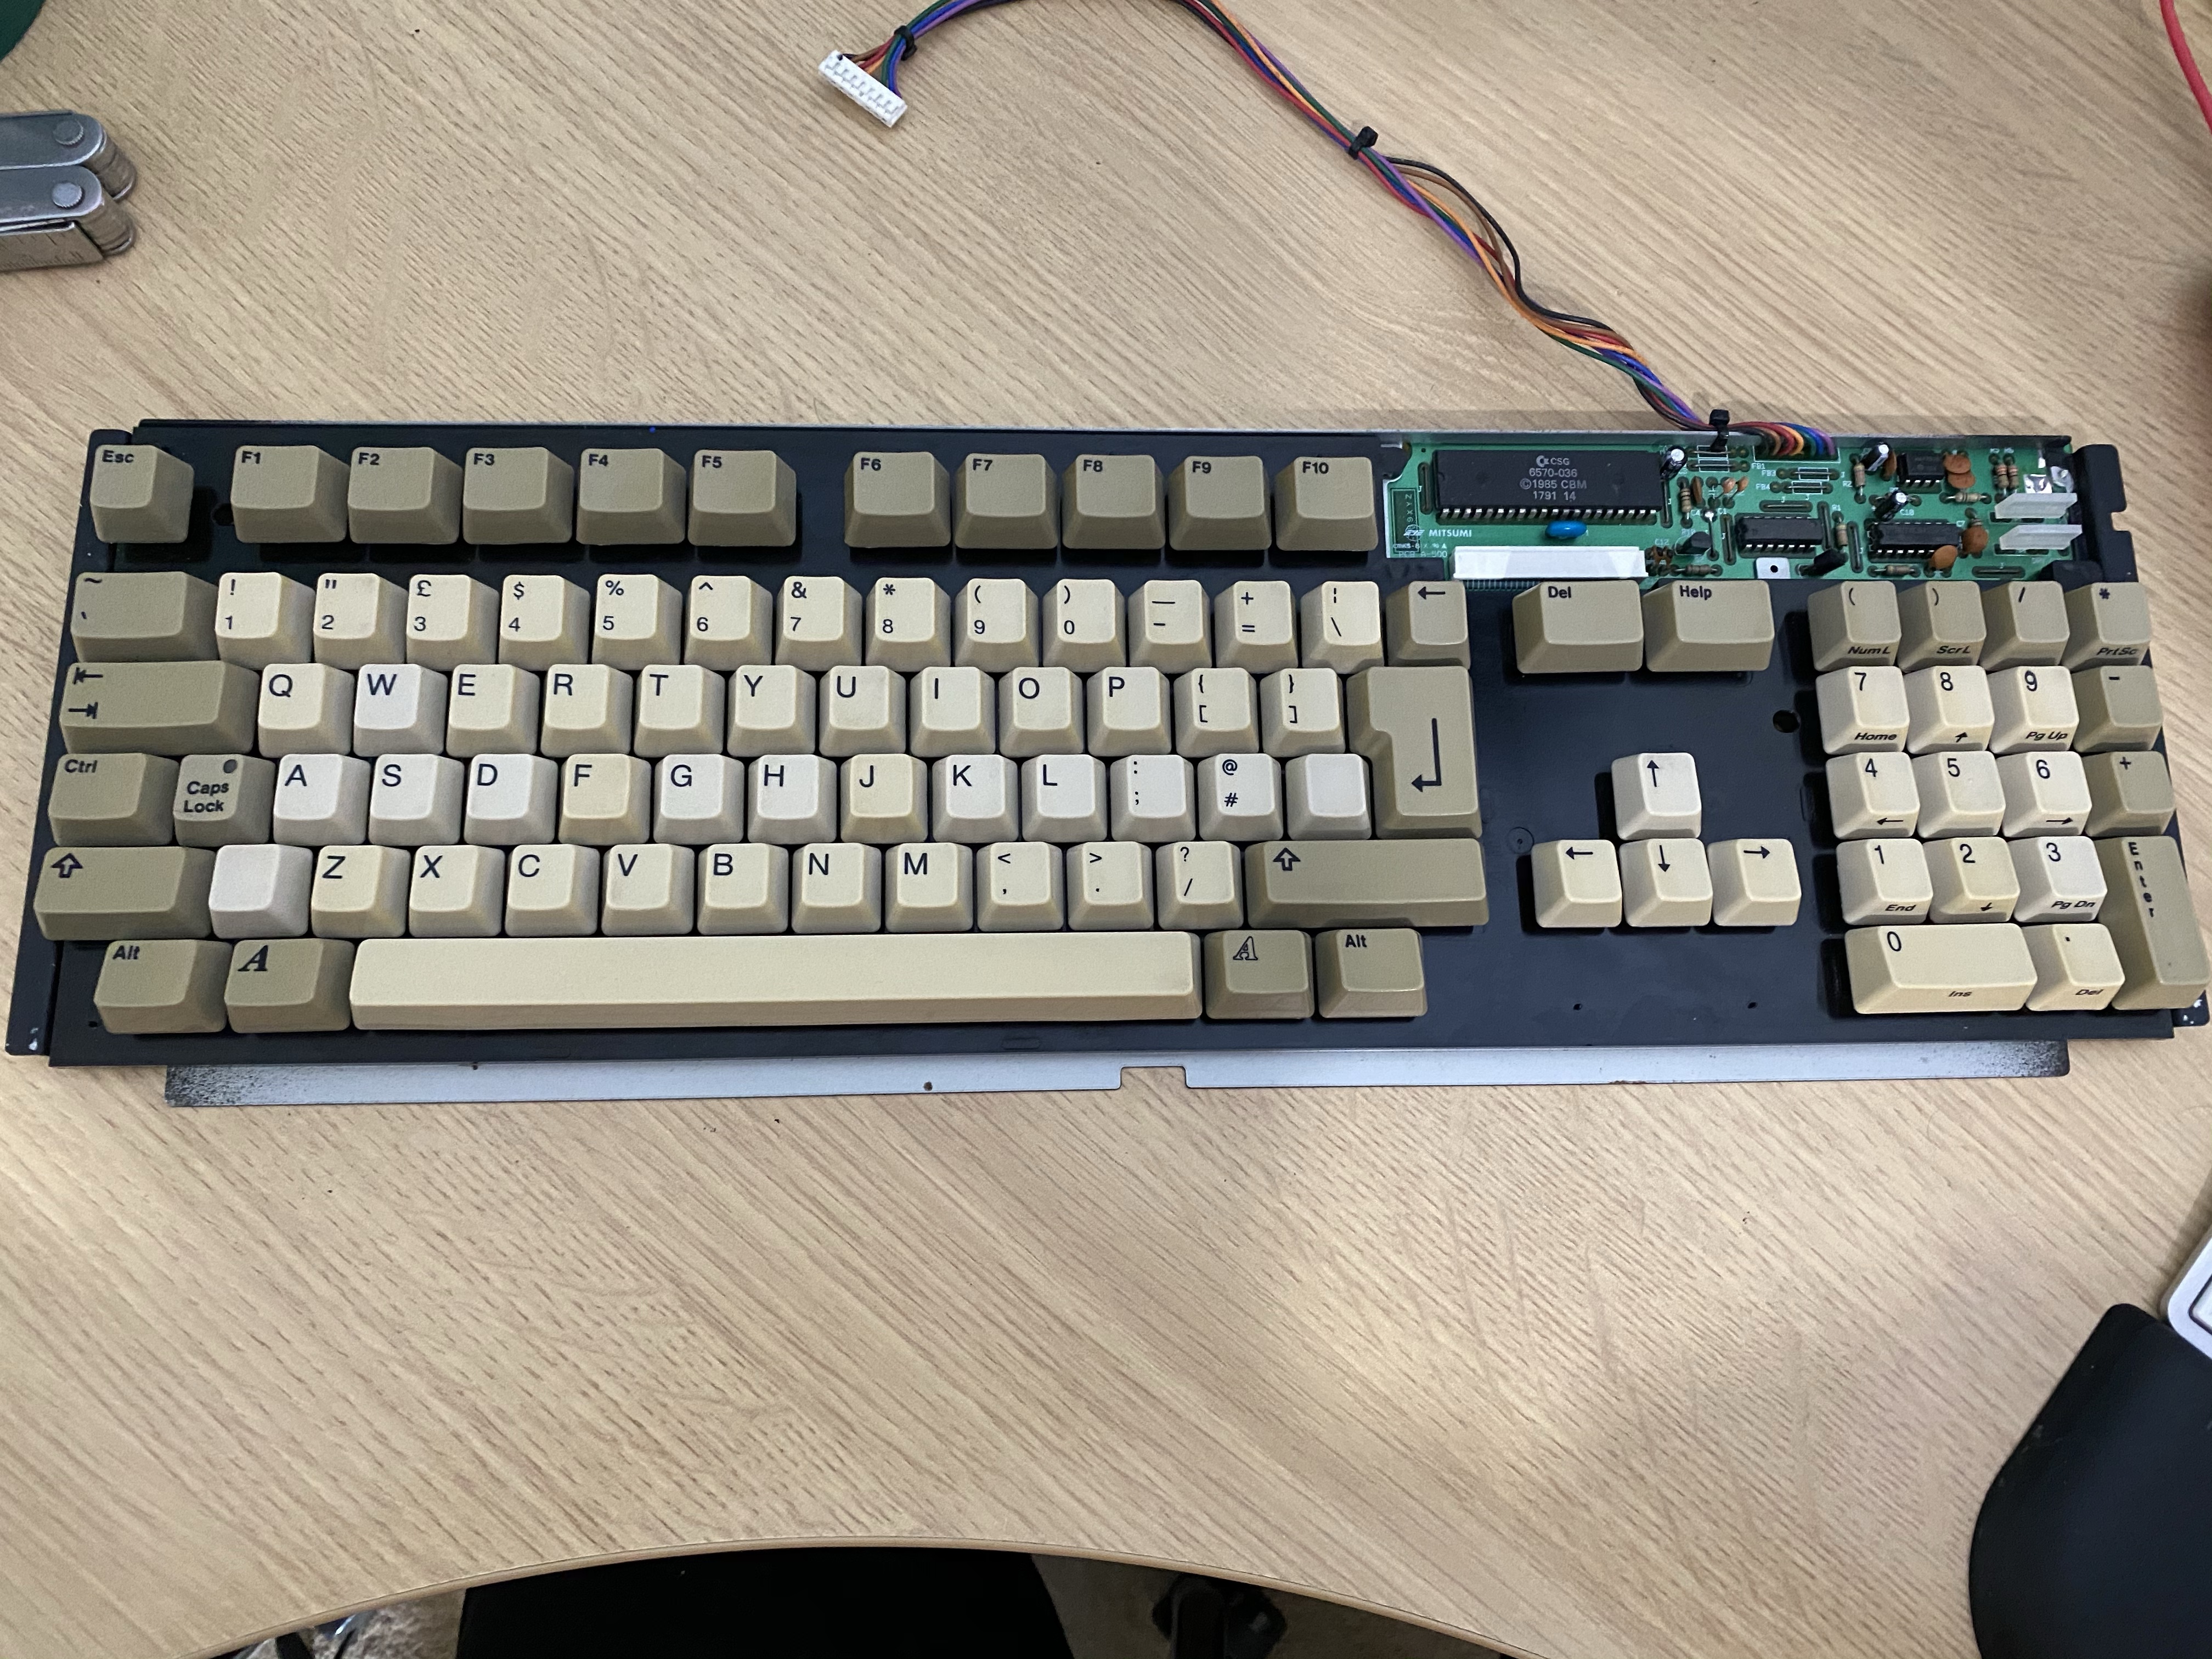
Finally the keyboard. The membrane on the original keyboard was faulty beyond repair, all traces on it were damaged somewhere near the connector. I was looking for a new membrane when I found a complete Dutch Amiga 500 keyboard even cheaper than a new membrane. So I purchased this to use as a replacement. The problem is the Dutch keyboard is a 96-key layout, like the UK Amiga 500 Plus, but the UK Amiga 500 is a 94-key layout. The membranes are incompatible. So I managed to get two blank keys from a nearby Amiga dealer and transplanted the UK keys over.
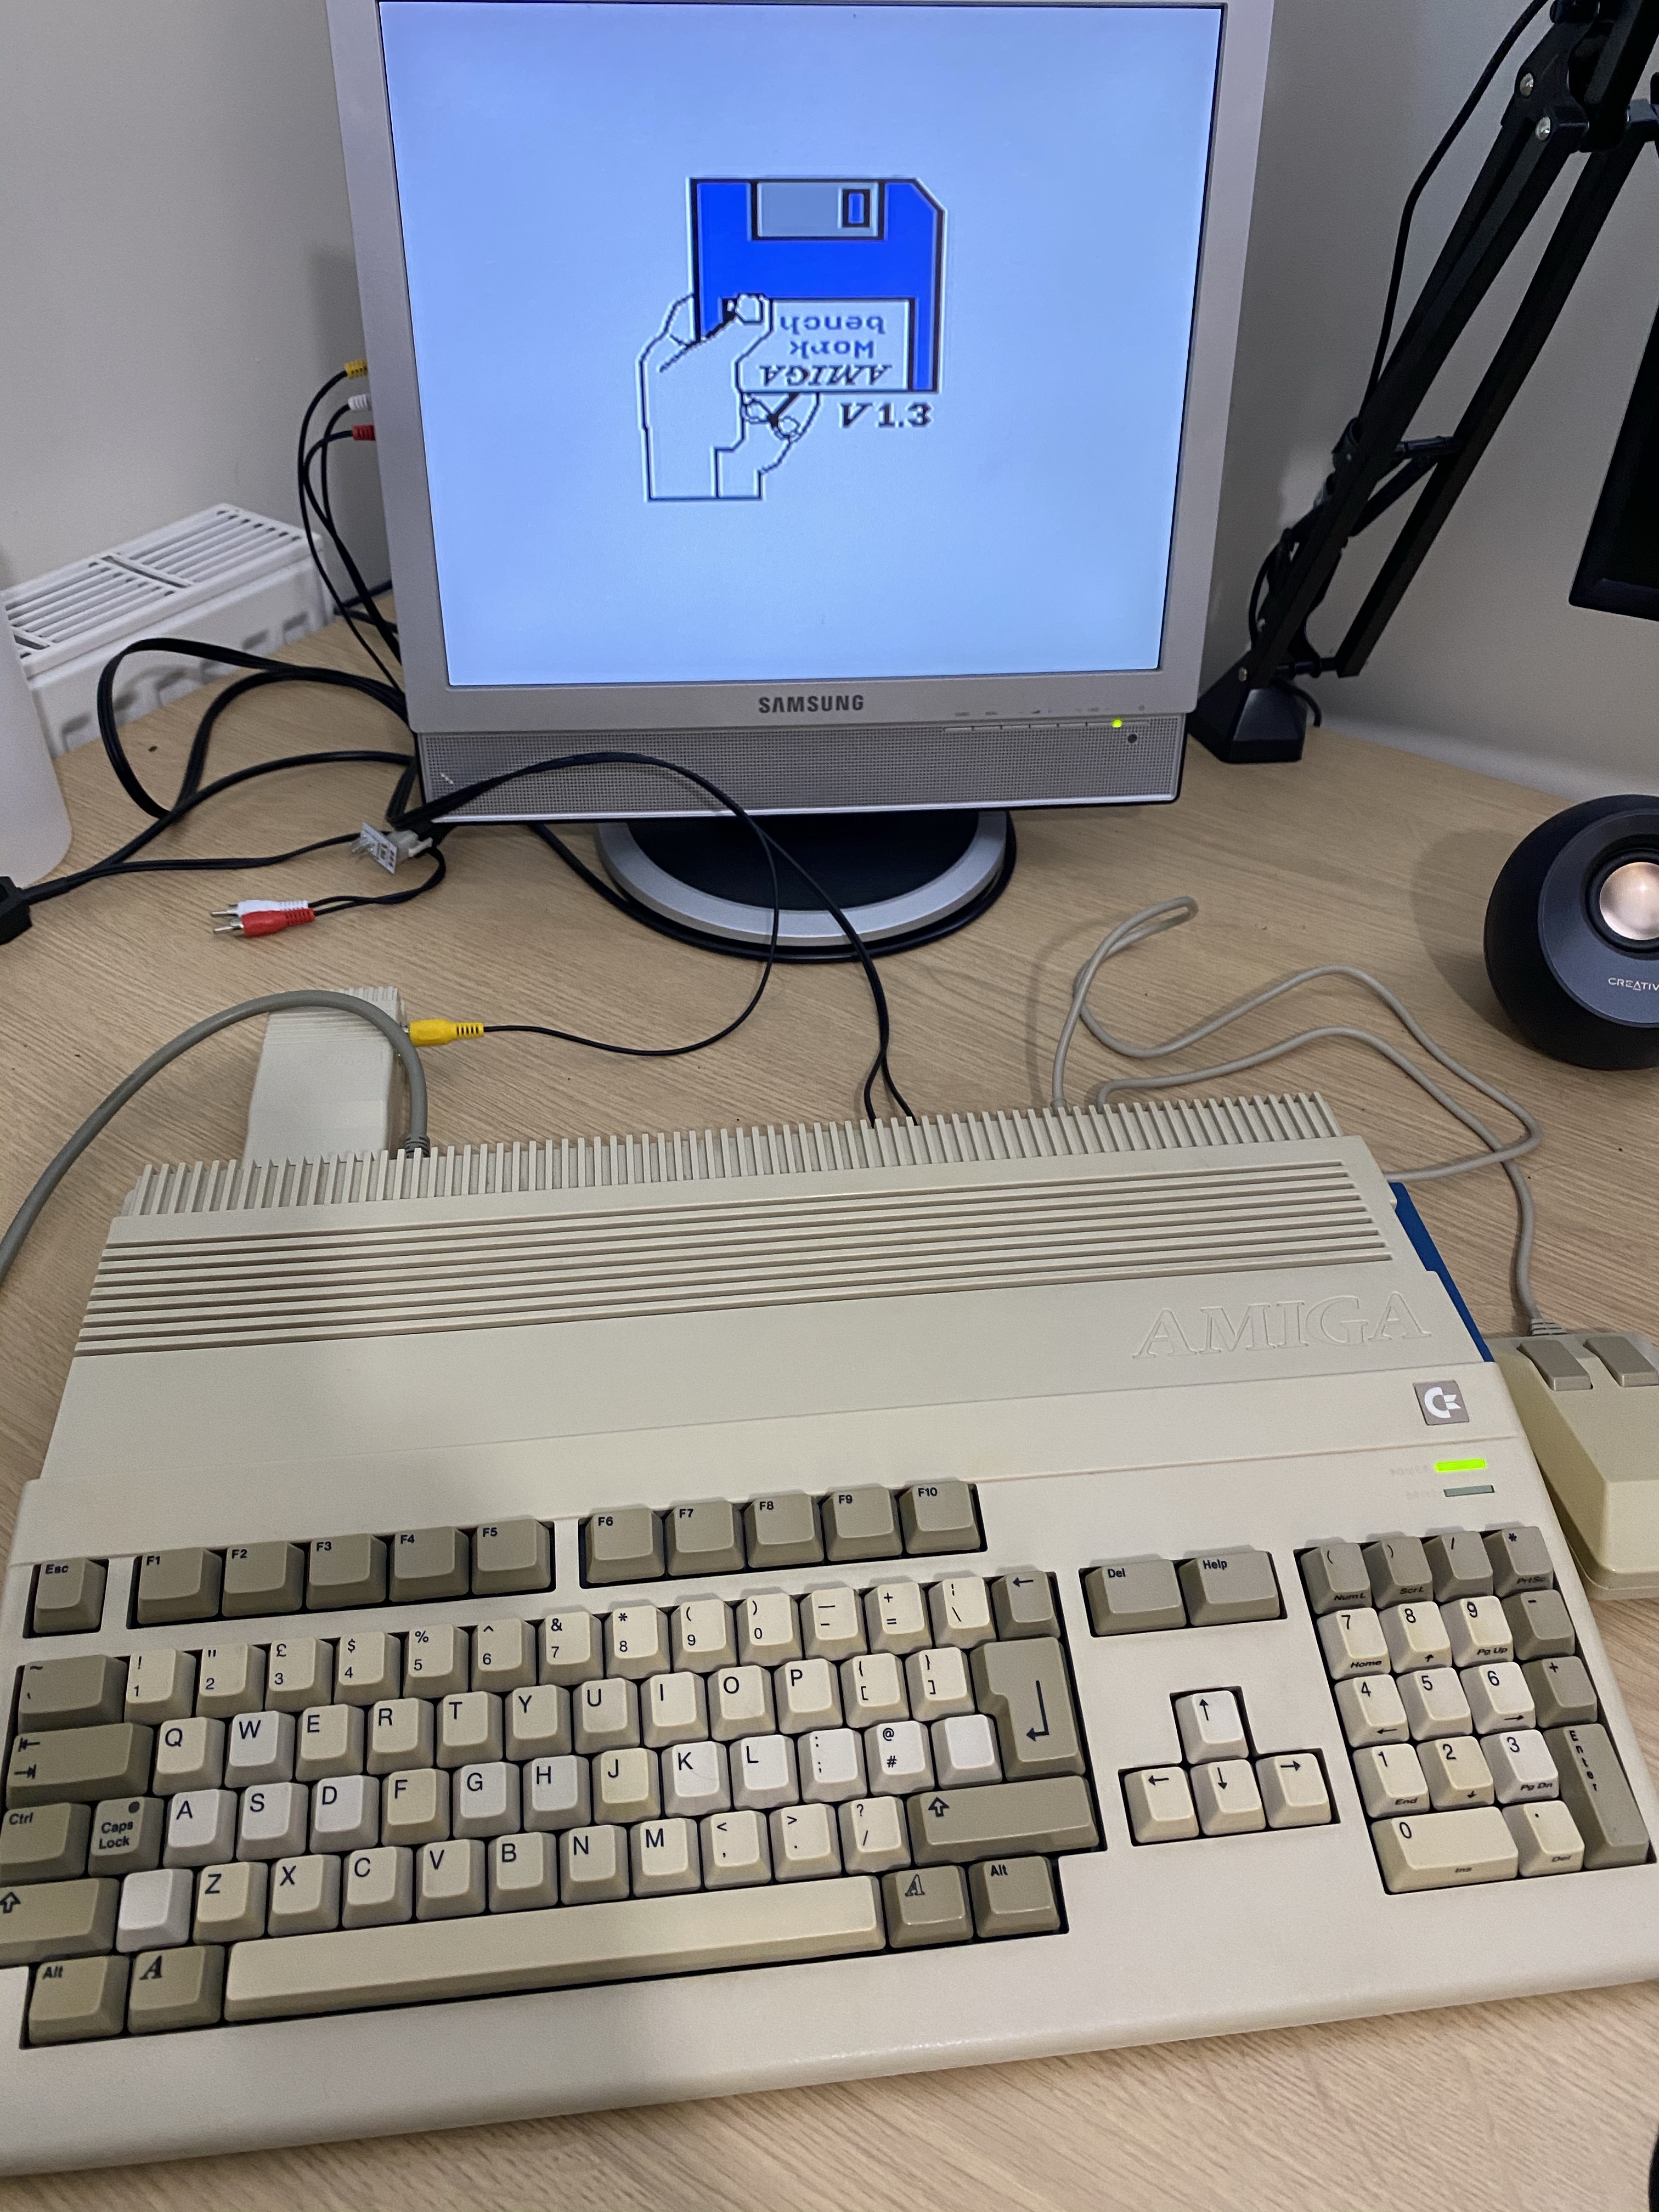
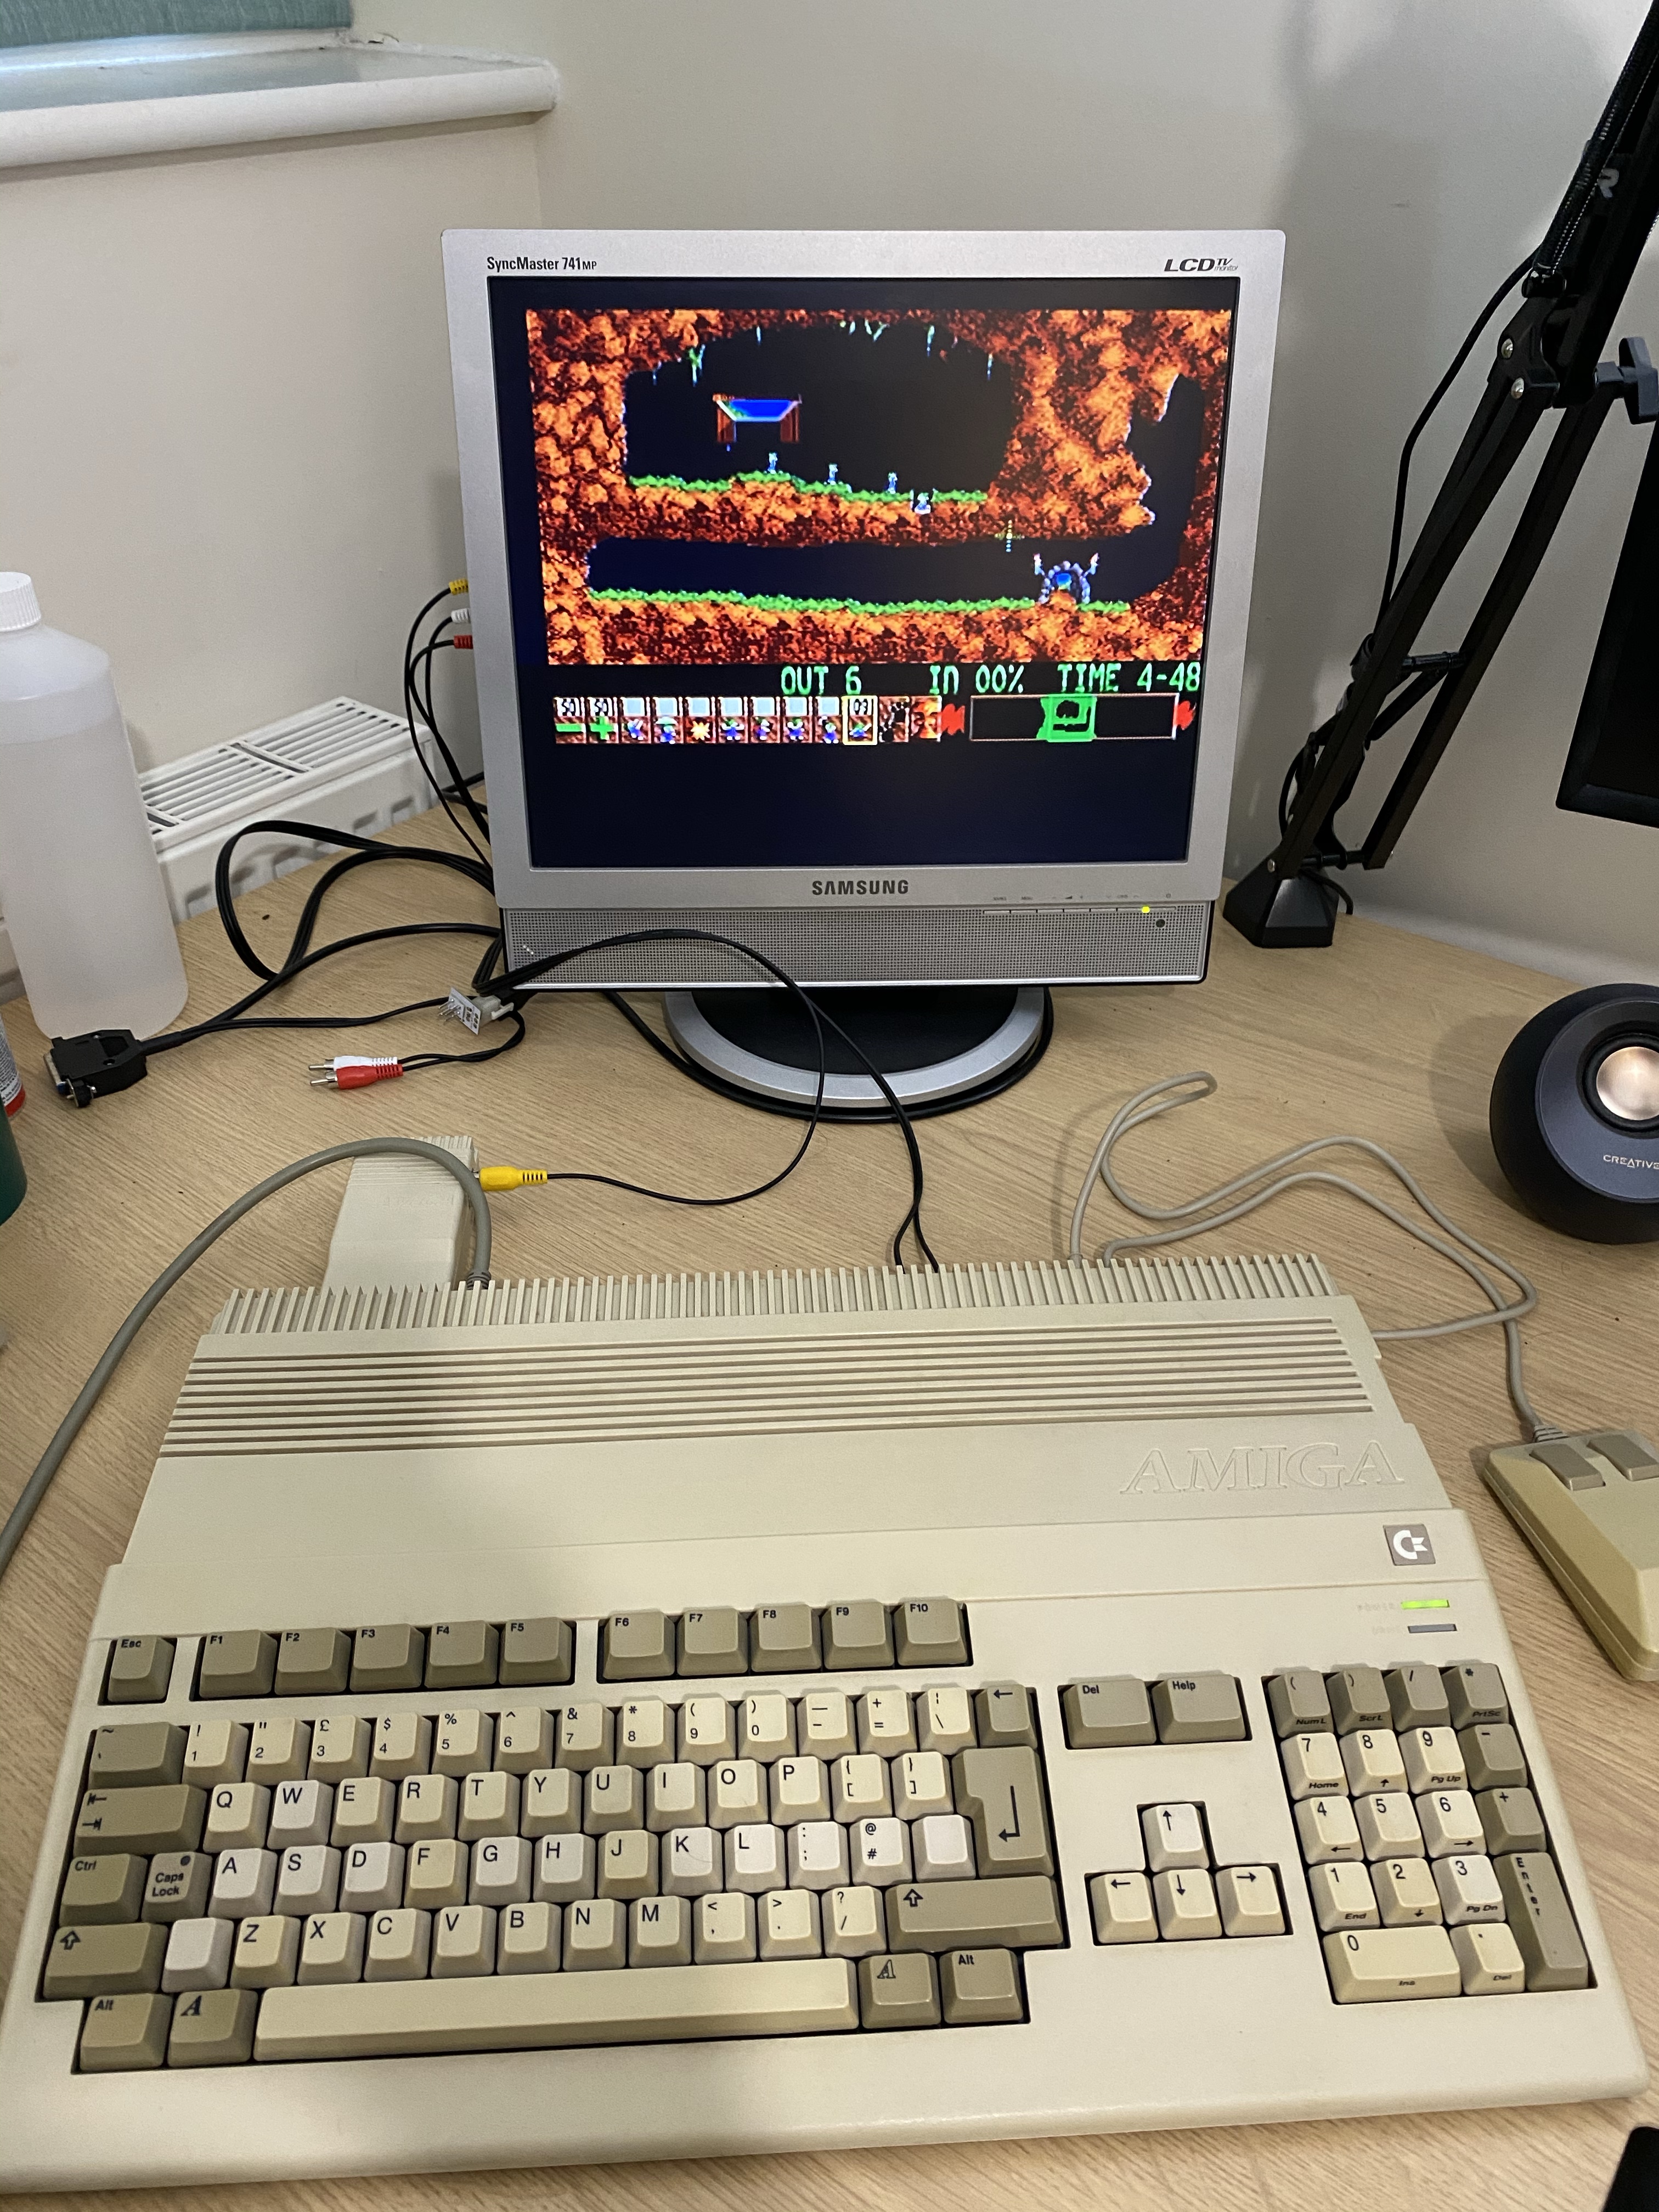
Top case screwed on and some final testing!
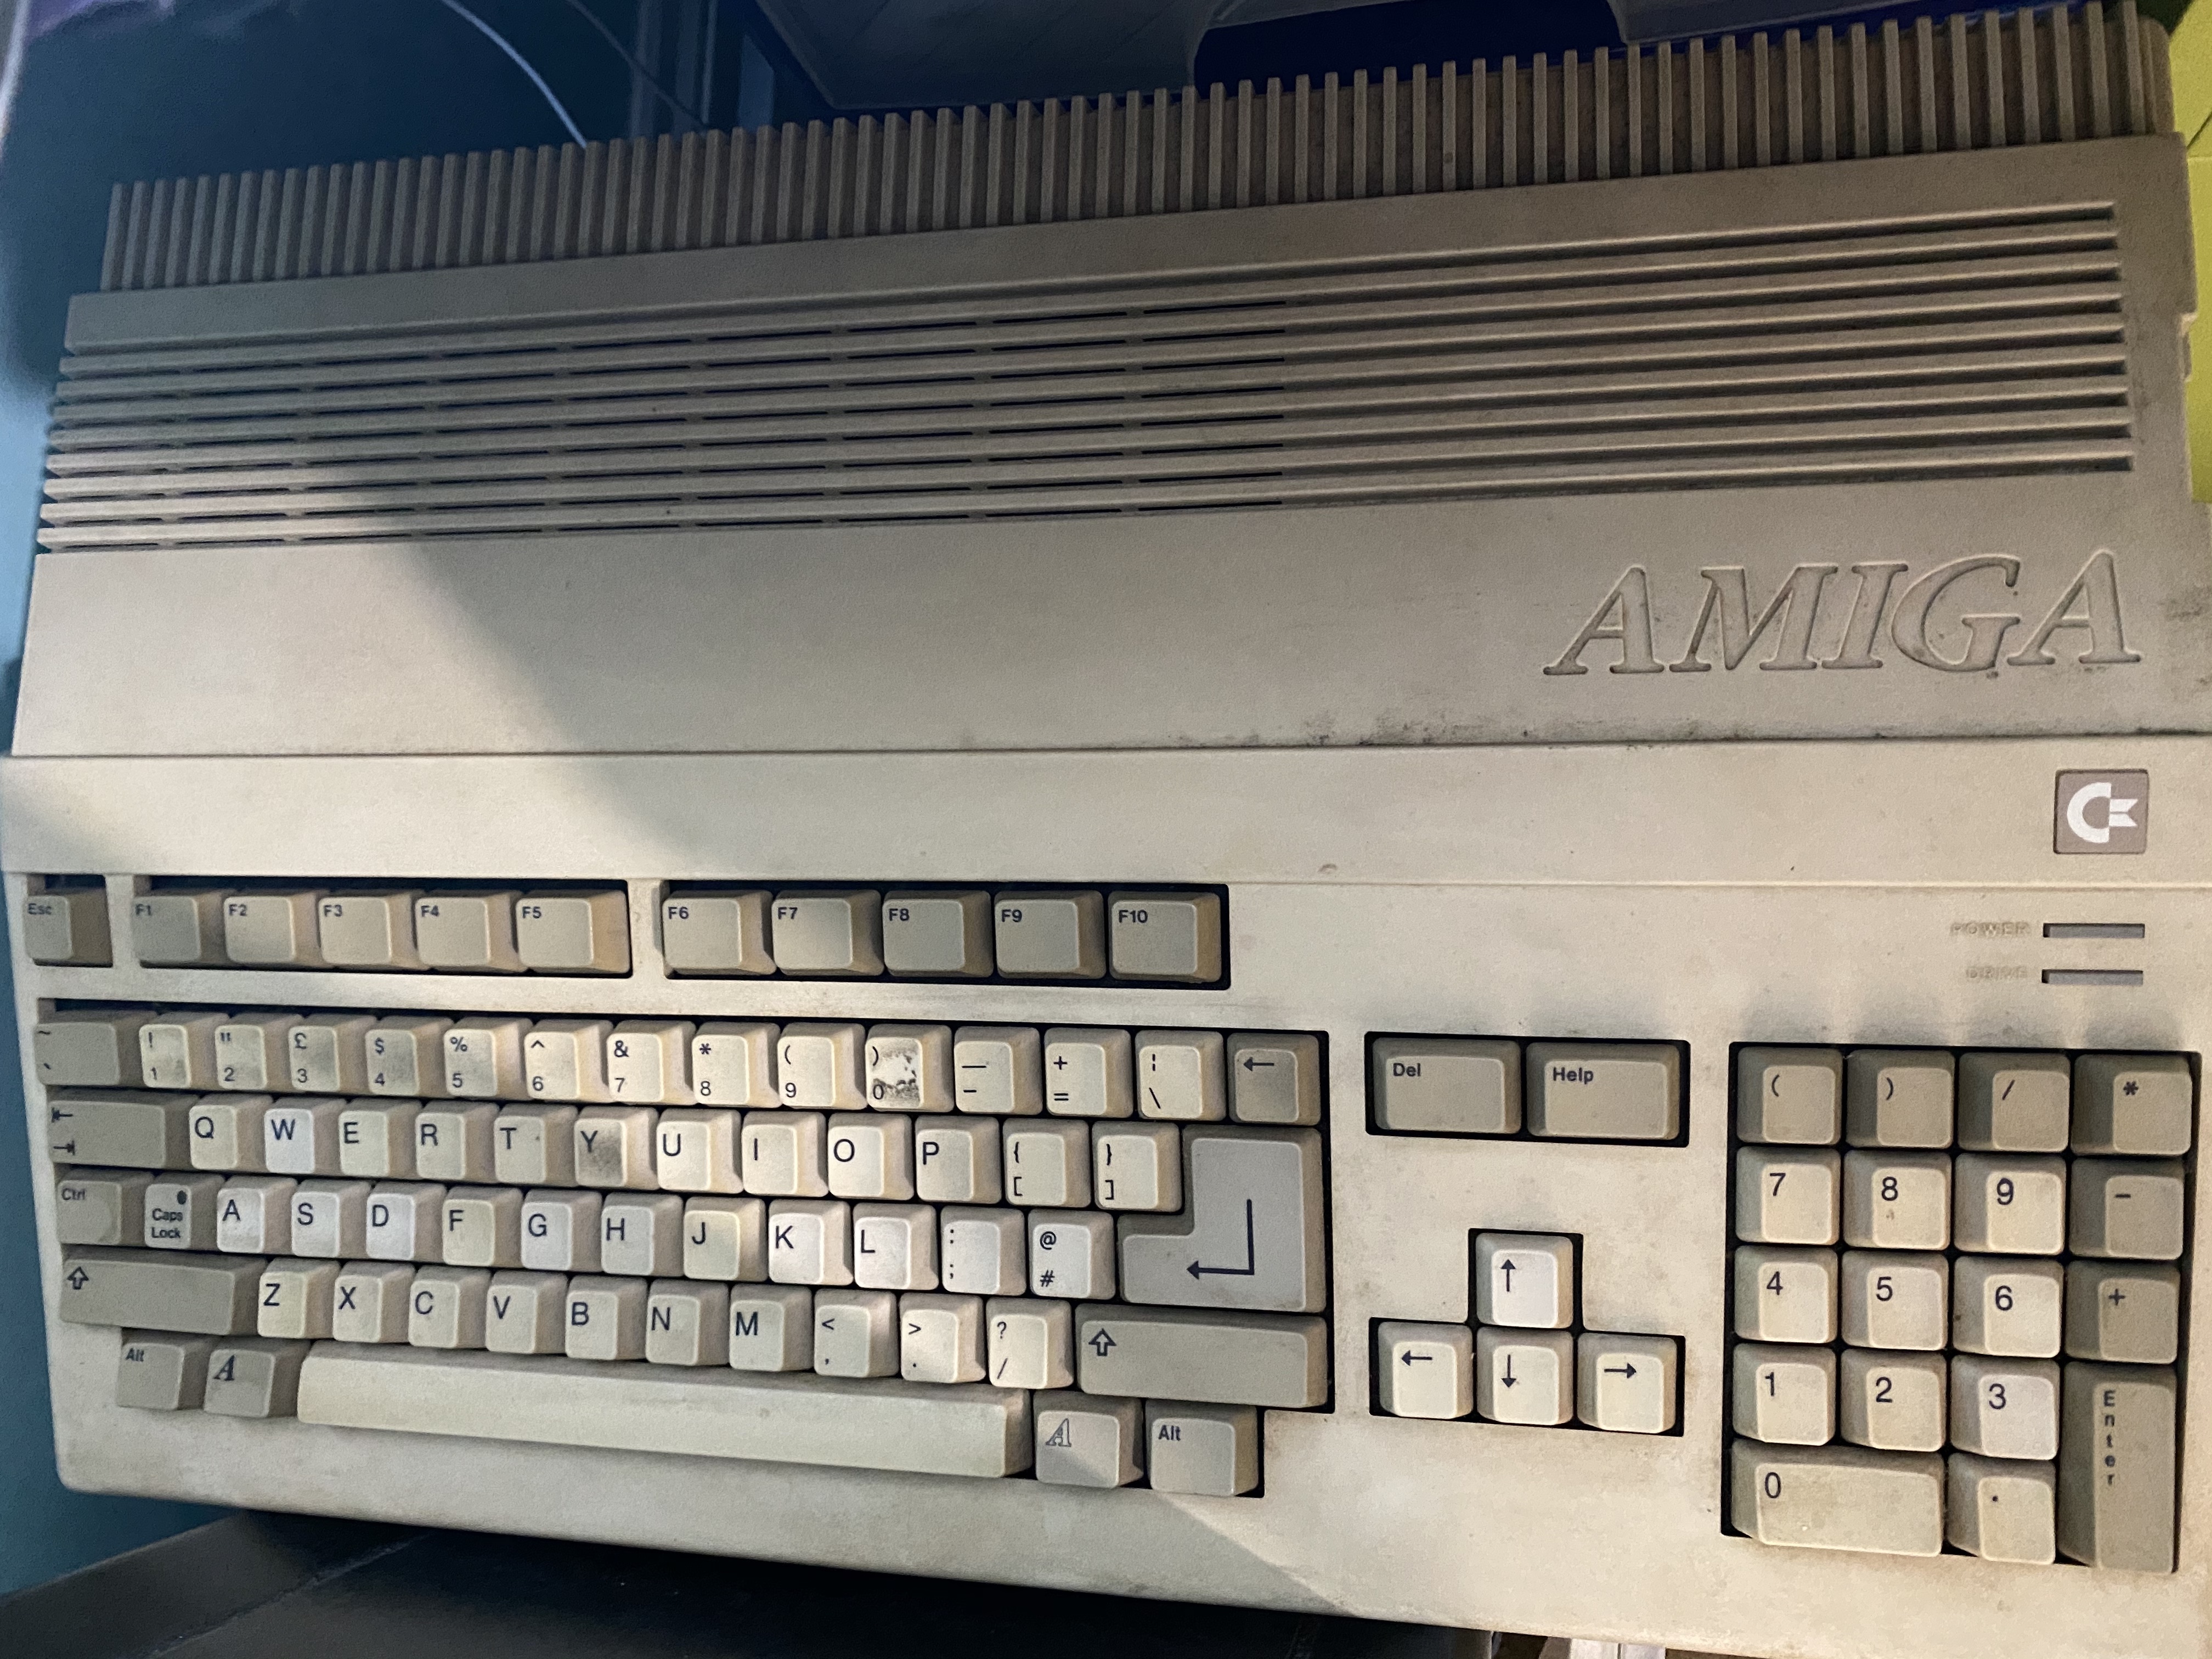
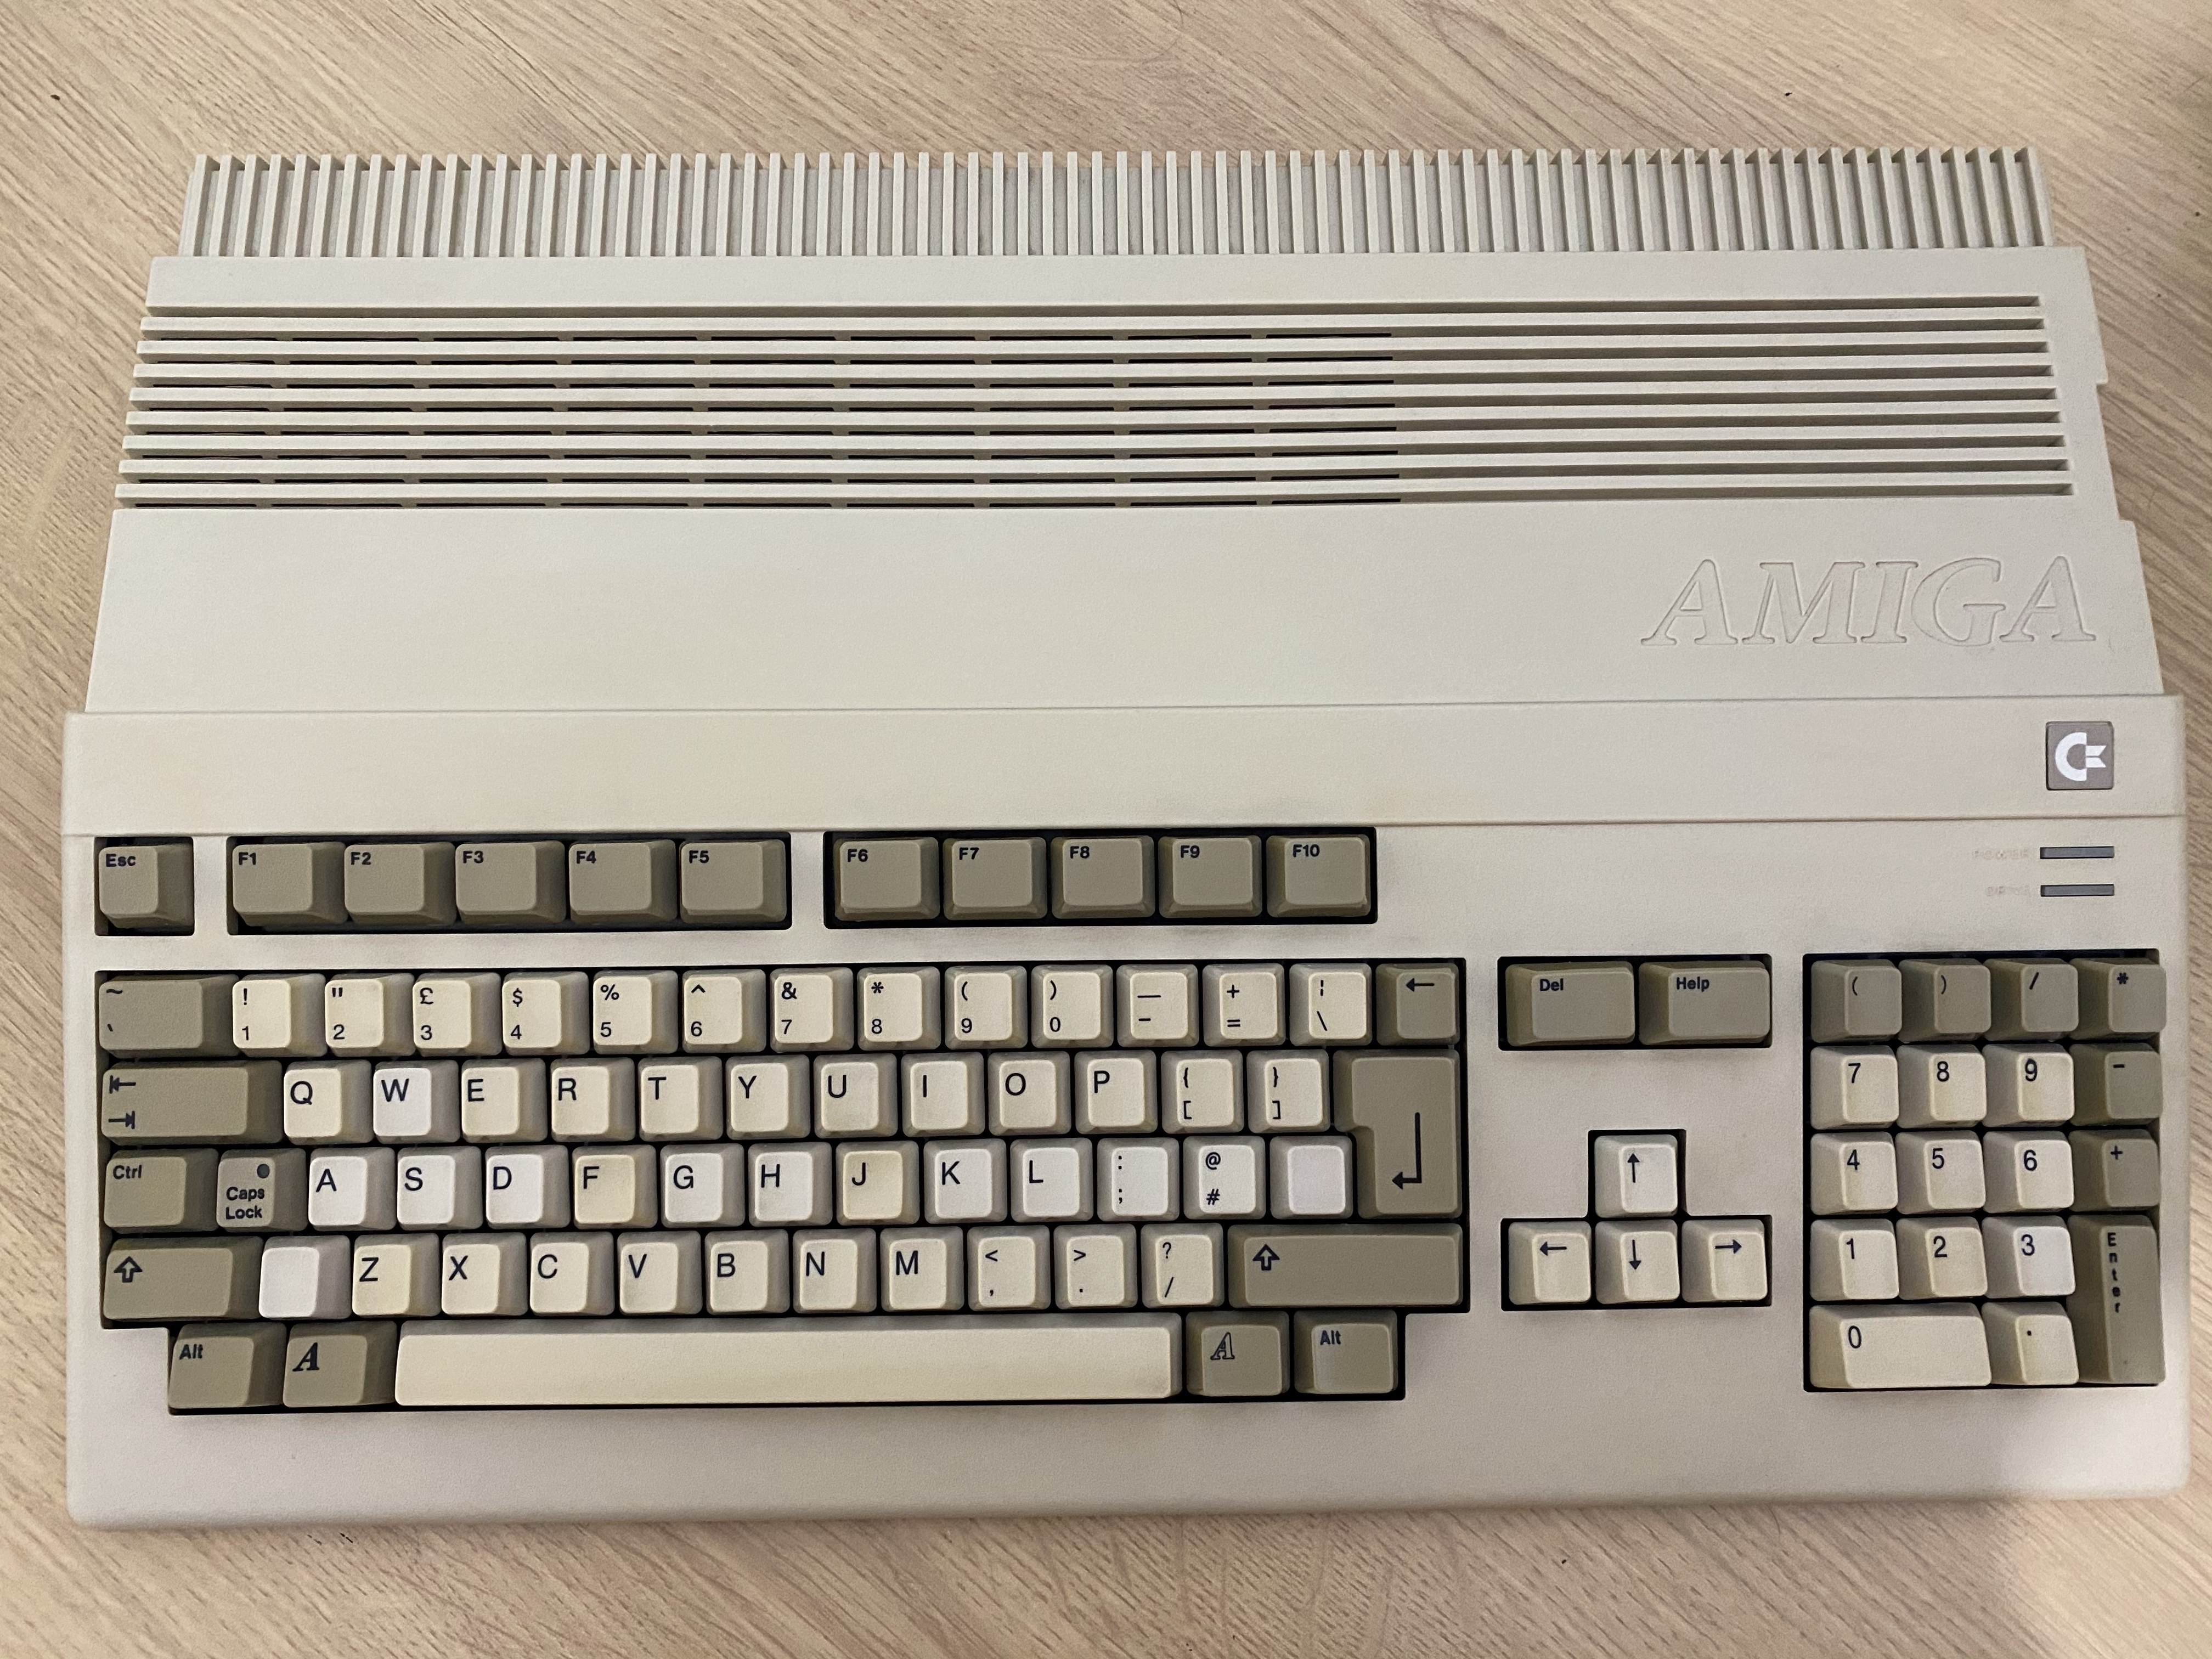
I shall end this with before and after shots of this Amiga 500. It is now on eBay up for sale to fund my next restoration project.
Leave a Reply