
In part 1 I took a quick dive into what I had to work with. Now I’m working on the actual restoration.
First thing I did was remove the battery. Mostly desoldering but I did break off one leg. It is unlikely I’ll replace the battery but if I do I’ll probably do something with wired rather than directly soldered on. I’ve also cleaned up some of the corrosion with vinegar and then isopropyl alcohol.

Something I missed the first time was a foot was missing from both the Amiga and the external floppy drive, the rest of the Amiga feet were also disintegrating. These are typically replaced with 3M Bumpon SJ5012 rubber feet so I’ve ordered some.
I’ve disassembled the external floppy drive, it is belt driven and the belt pretty much disintegrated when I touched it. So one of those is on order too.

As for the internal drive, cleaning the heads has not fixed it, so it is probably a capacitor or alignment issue (I’m suspecting capacitor). This is a problem for another day and I’m using the drive from the other Amiga 500 for now.
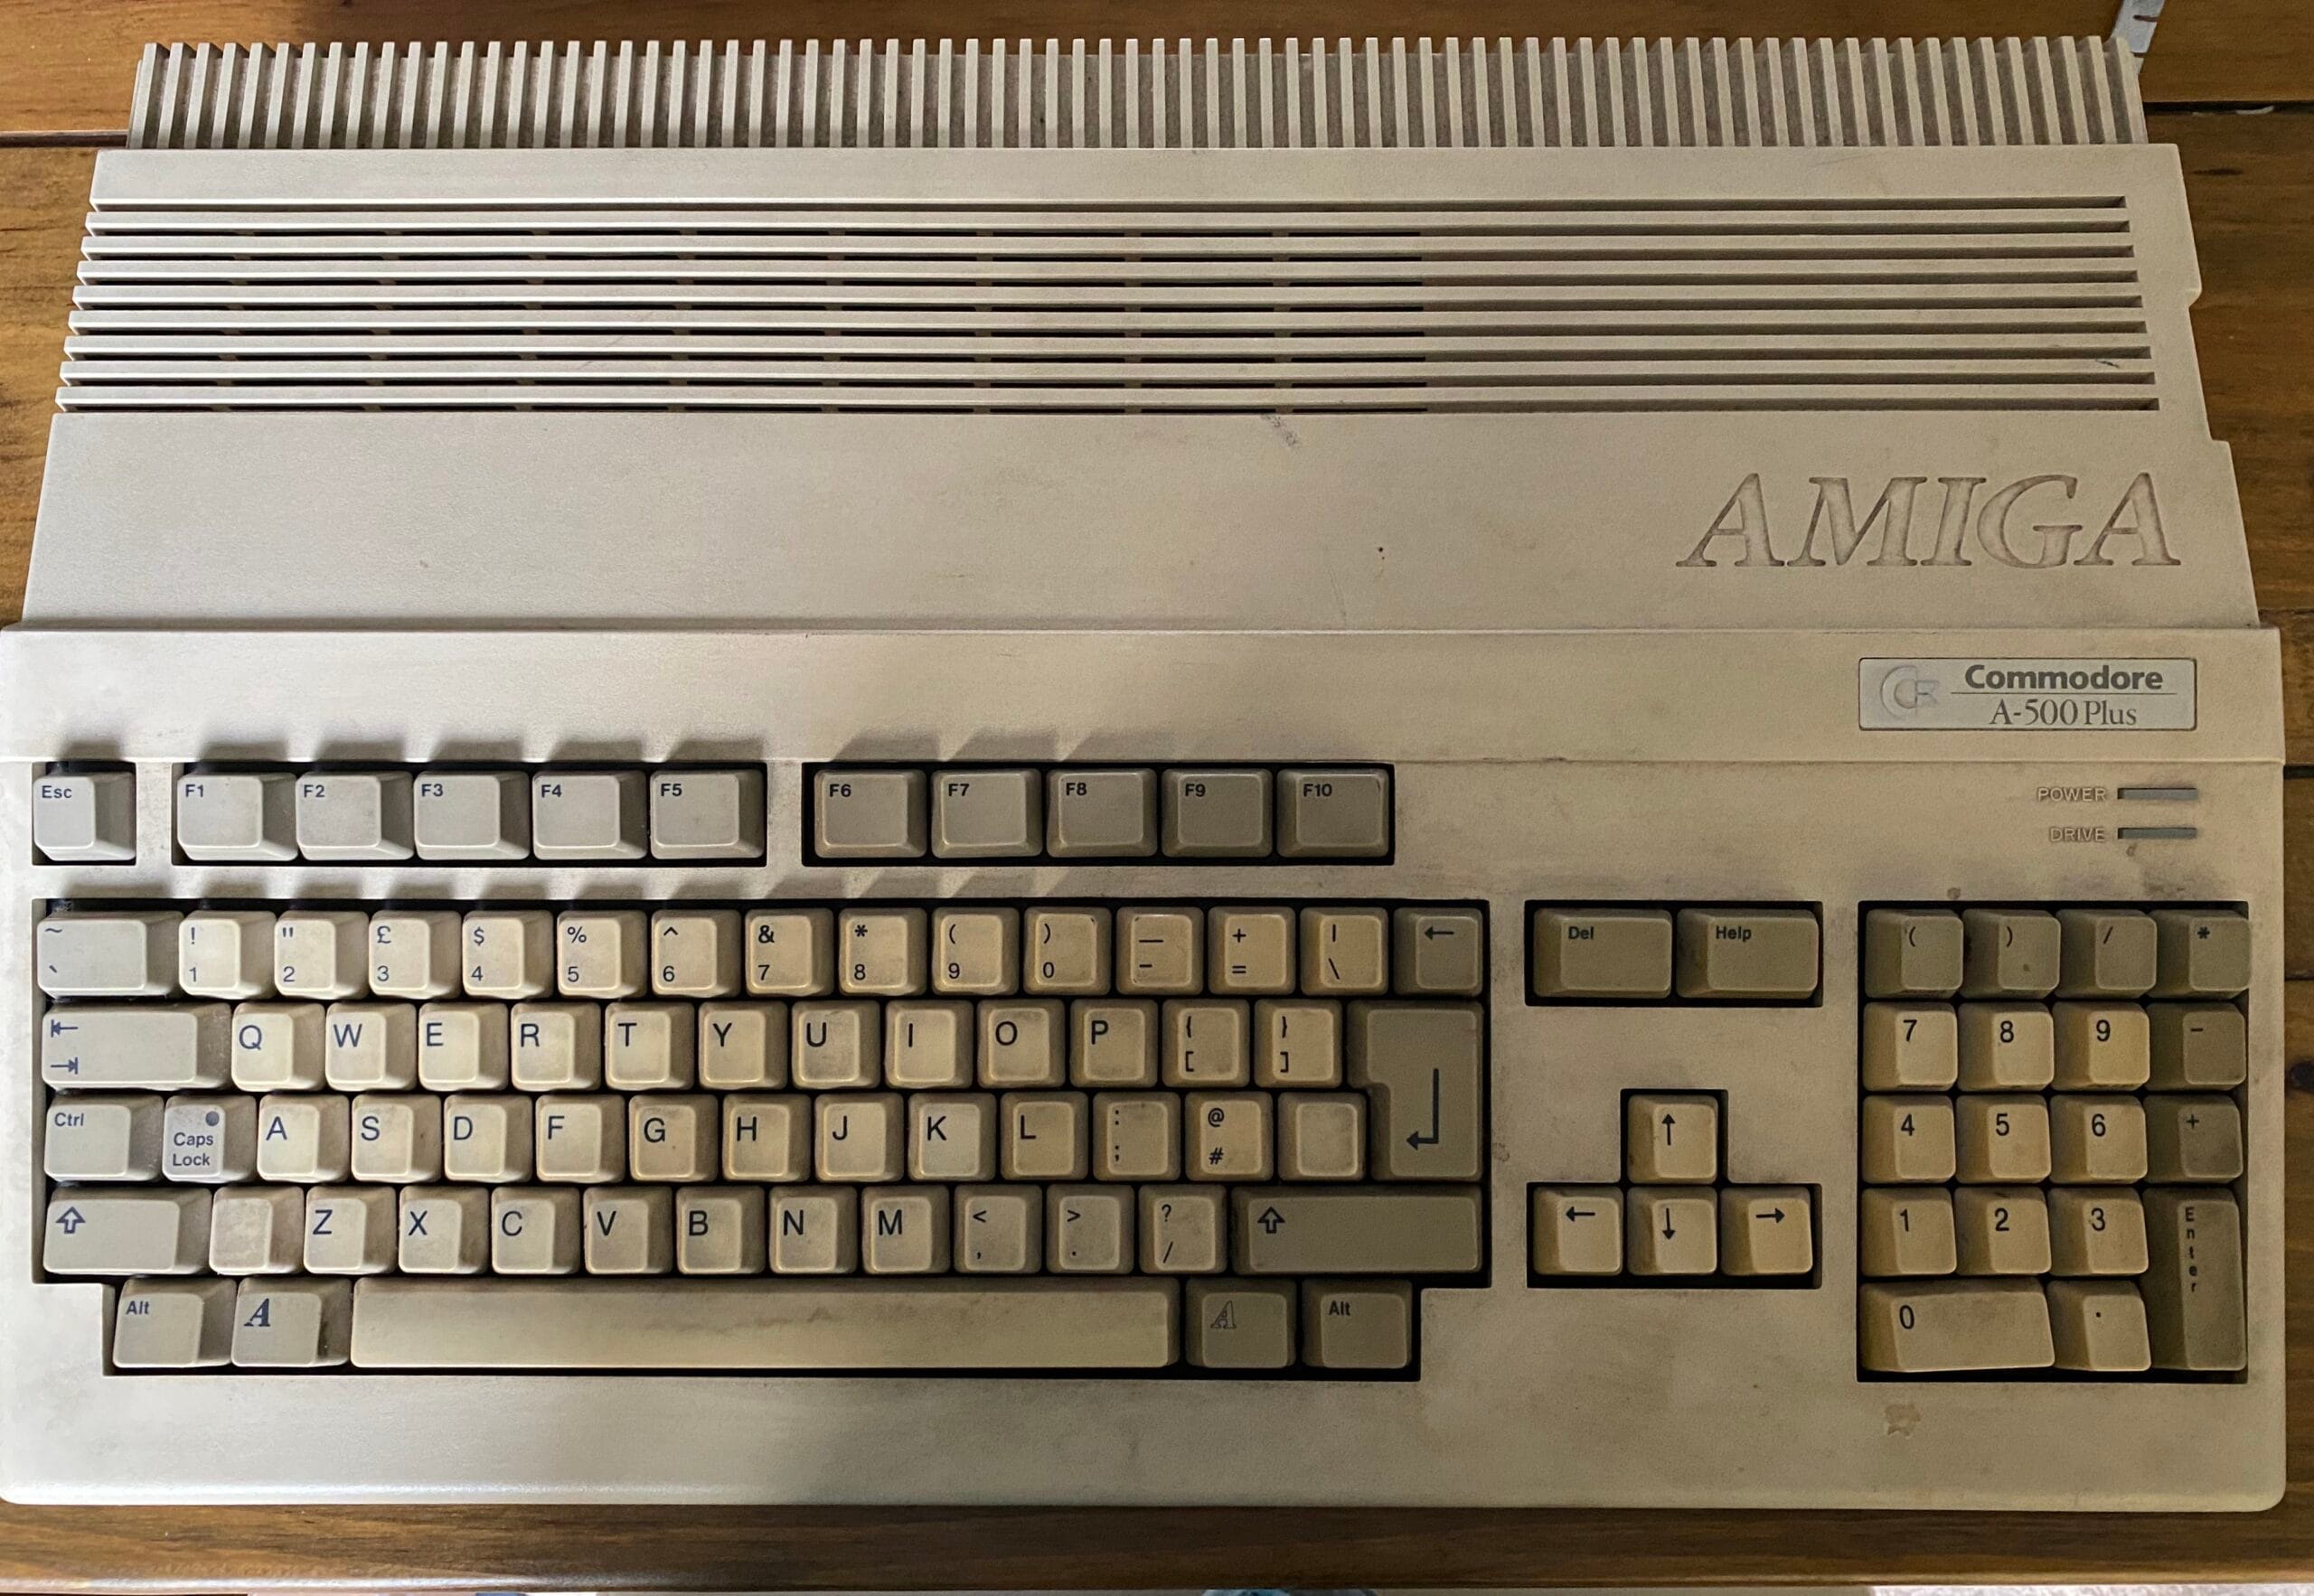
The case has cleaned up quite nicely, it took soap and water along with a couple of baby wipes for some of the more stubborn marks. I’m still waiting for the keys to dry after cleaning those. Unfortunately my compressed air can has run out and there is a lot of buildup on the keyboard main board to clear off. So I’ve ordered CompuCleaner Air Duster Blower to finish it off.

Next up, finishing off the cleaning, repairing the remaining things and putting it all back together!
Leave a Reply