

Before the Internet, if we wanted to read up-to-the-minute news or weather, we had Teletext. It is a low-bandwidth text standard that used to be sent via the hidden black border on TV signals. BBC Micro and Master computers had a Teletext character generator chip and mode, which they actually booted into by default. Therefore, Teletext was easy to implement via a small ROM and a modem. I managed to get it running, despite Teletext here in the UK being killed off years ago. Here is how I did it.
Teletext characters
Teletext is rendered using just a font which not only has standard alphanumeric and basic symbol characters, but a set of characters that had various configurations of blocks in a 2×3 grid turned on and off. Using this, you can create crude graphics. Each character can have a foreground and background colour, as well as a flashing mode. This is an example of its graphics capabilities, not great, but extremely low bandwidth required:

In the BBC Micro / Master computers, this had the advantage over the graphics modes in that the memory used for the screen only needed to store the character data rather than pixel information. It was therefore much lighter in RAM usage and in general was much faster for rendering text.
Teletext transmitter
It turns out that there are web services that generate up-to-date Teletext feeds, and there is a project to turn a Raspberry Pi into a Teletext transmitter based on these feeds.
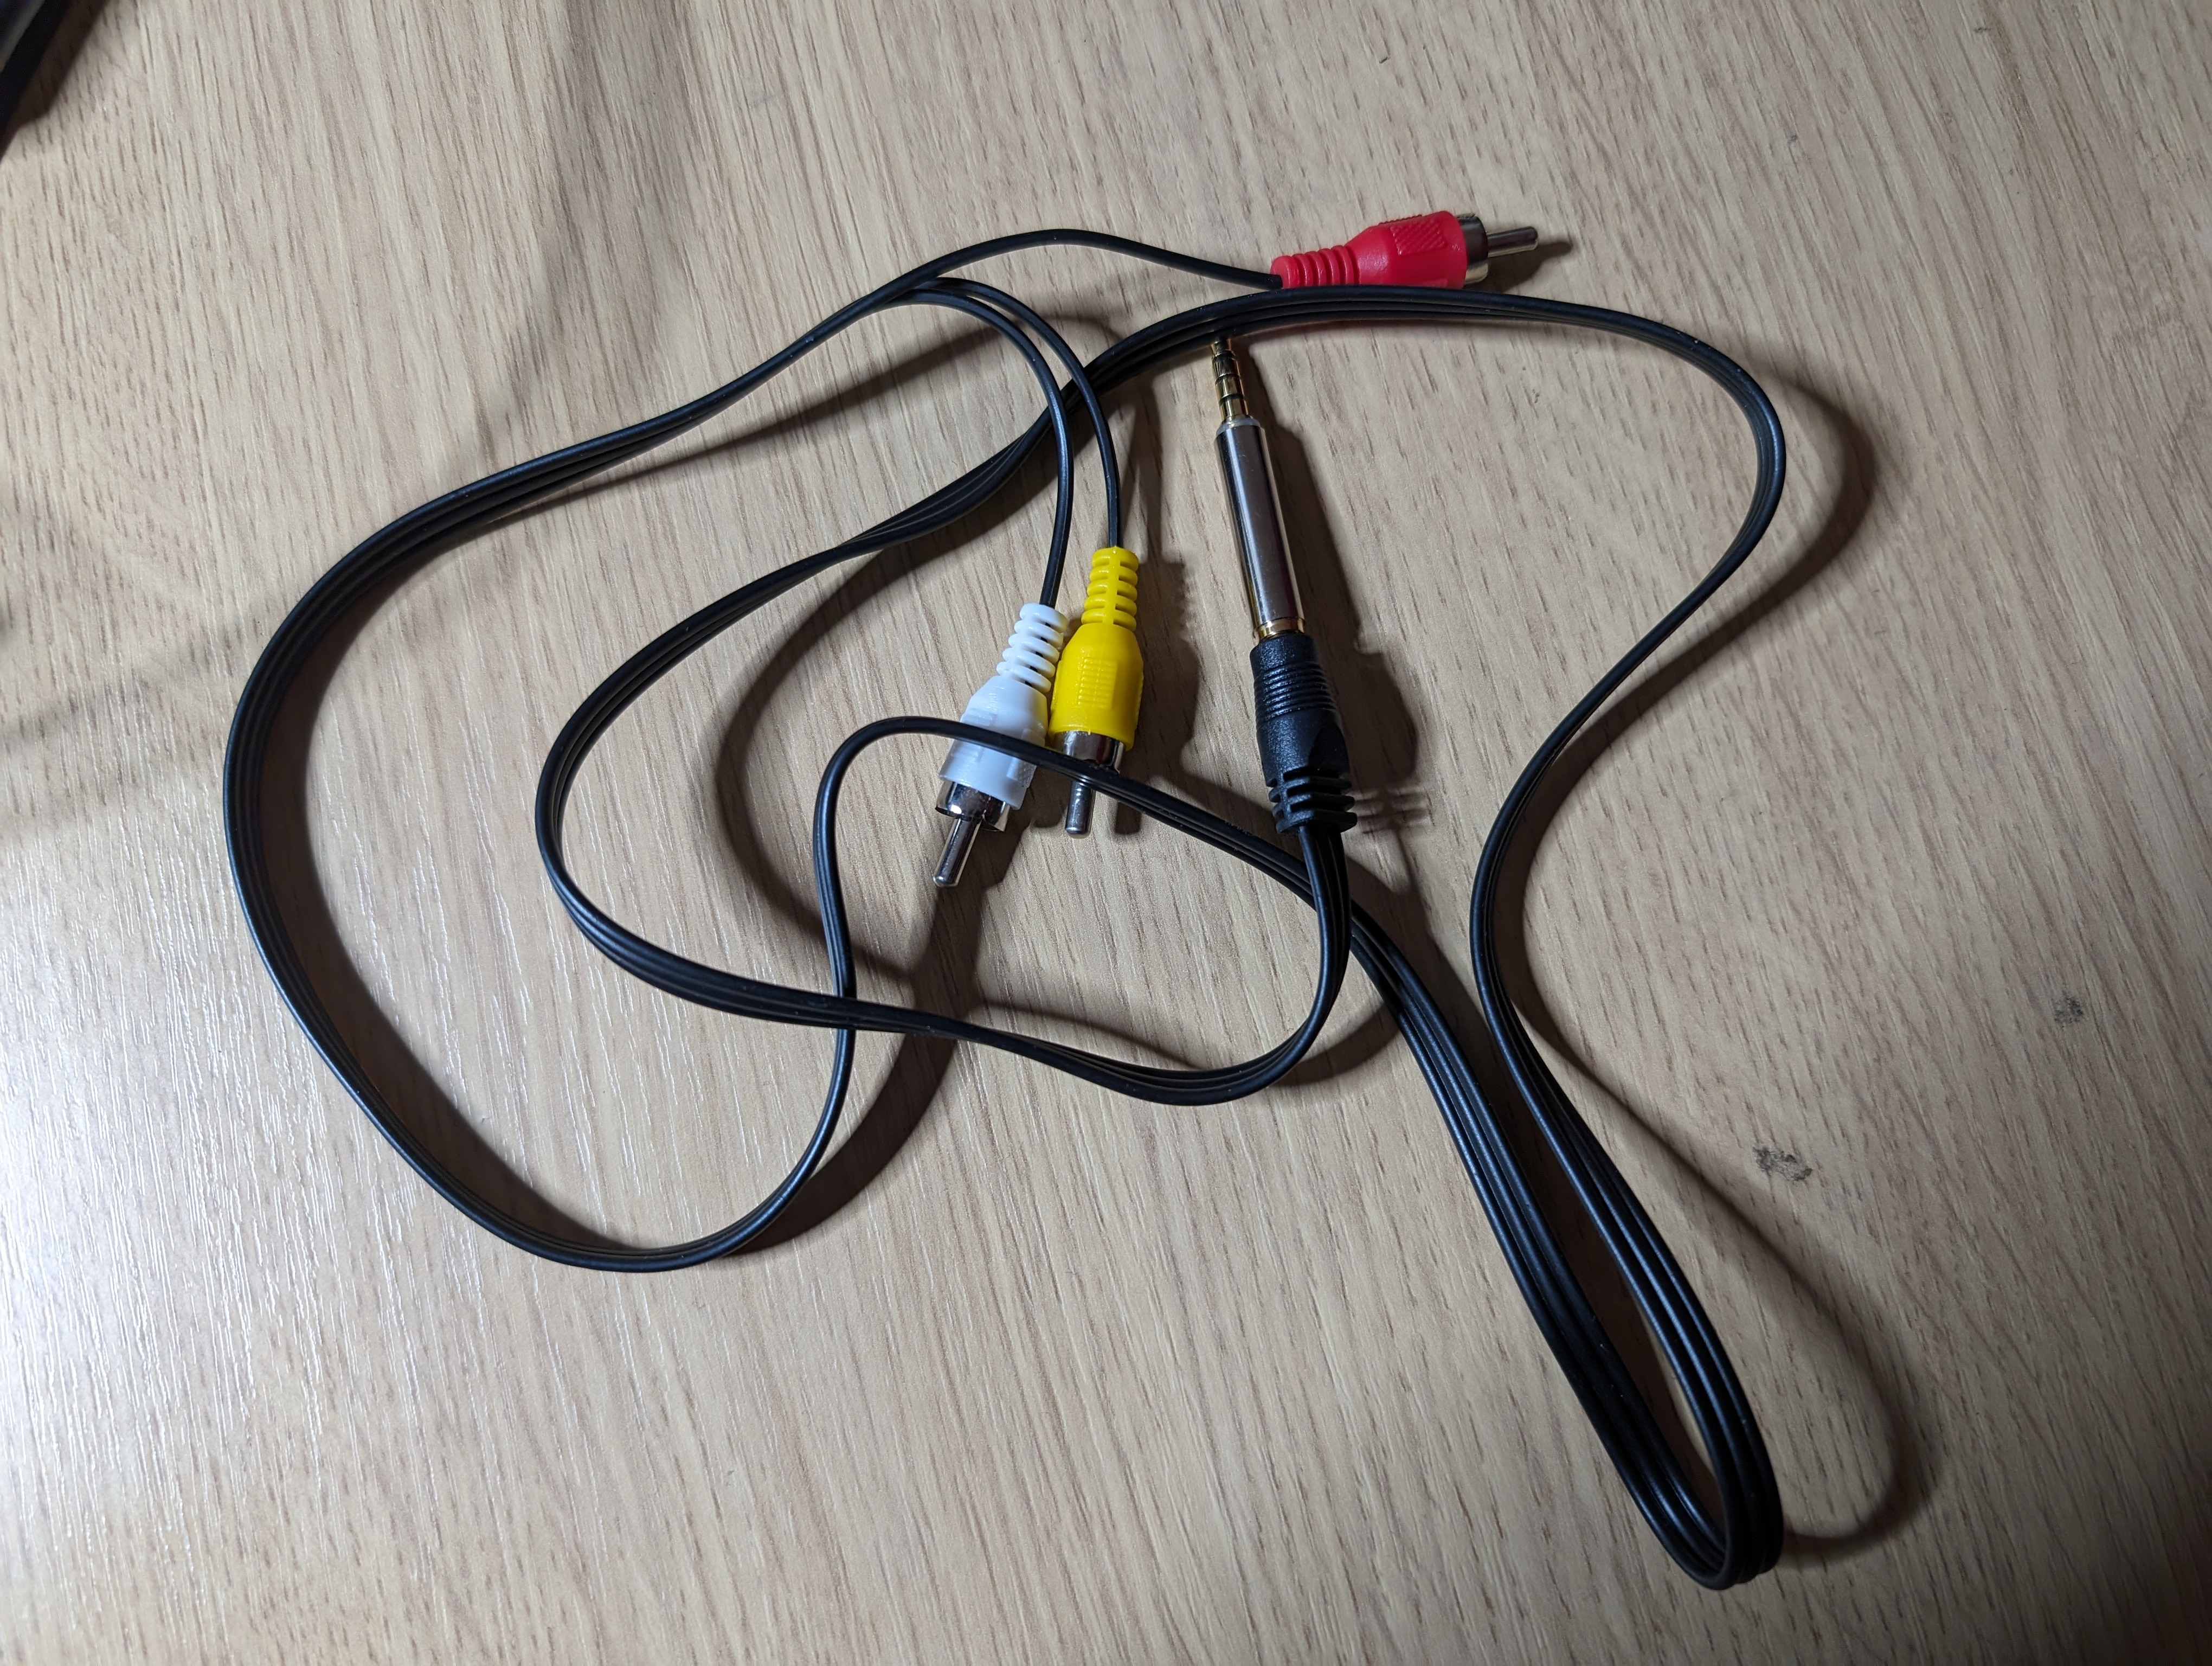
The first step to setting up is getting composite working on the Pi. Most Raspberry Pi models have a 3.5mm socket which not only carries audio, but carries composite video too. The problem is, as with many things, there are competing standards for the pinout of the cable.

I bought a cable on Amazon which was advertised as being for Raspberry Pi, luckily I tested it before use. It was the MP3 player standard, but came with an adapter which turned it into the camcorder standard. This works, but you have to use the red connector for composite video and yellow for right audio.
As for a Raspberry Pi, I have a spare 3A+ which I used to use to test PiStorms, but I accidentally fried the GPIO on it. The rest of the Pi is fully functional, so it is ideal for this.

Next up, the Pi OS. I installed Raspbian Lite and modified the config.txt to comment out dtoverlay and set sdtv_mode to PAL:
#dtoverlay=vc4-kms-v3d
sdtv_mode=2
Then boot into the Pi and connect via SSH to run the subsequent commands. The first of which is the following:
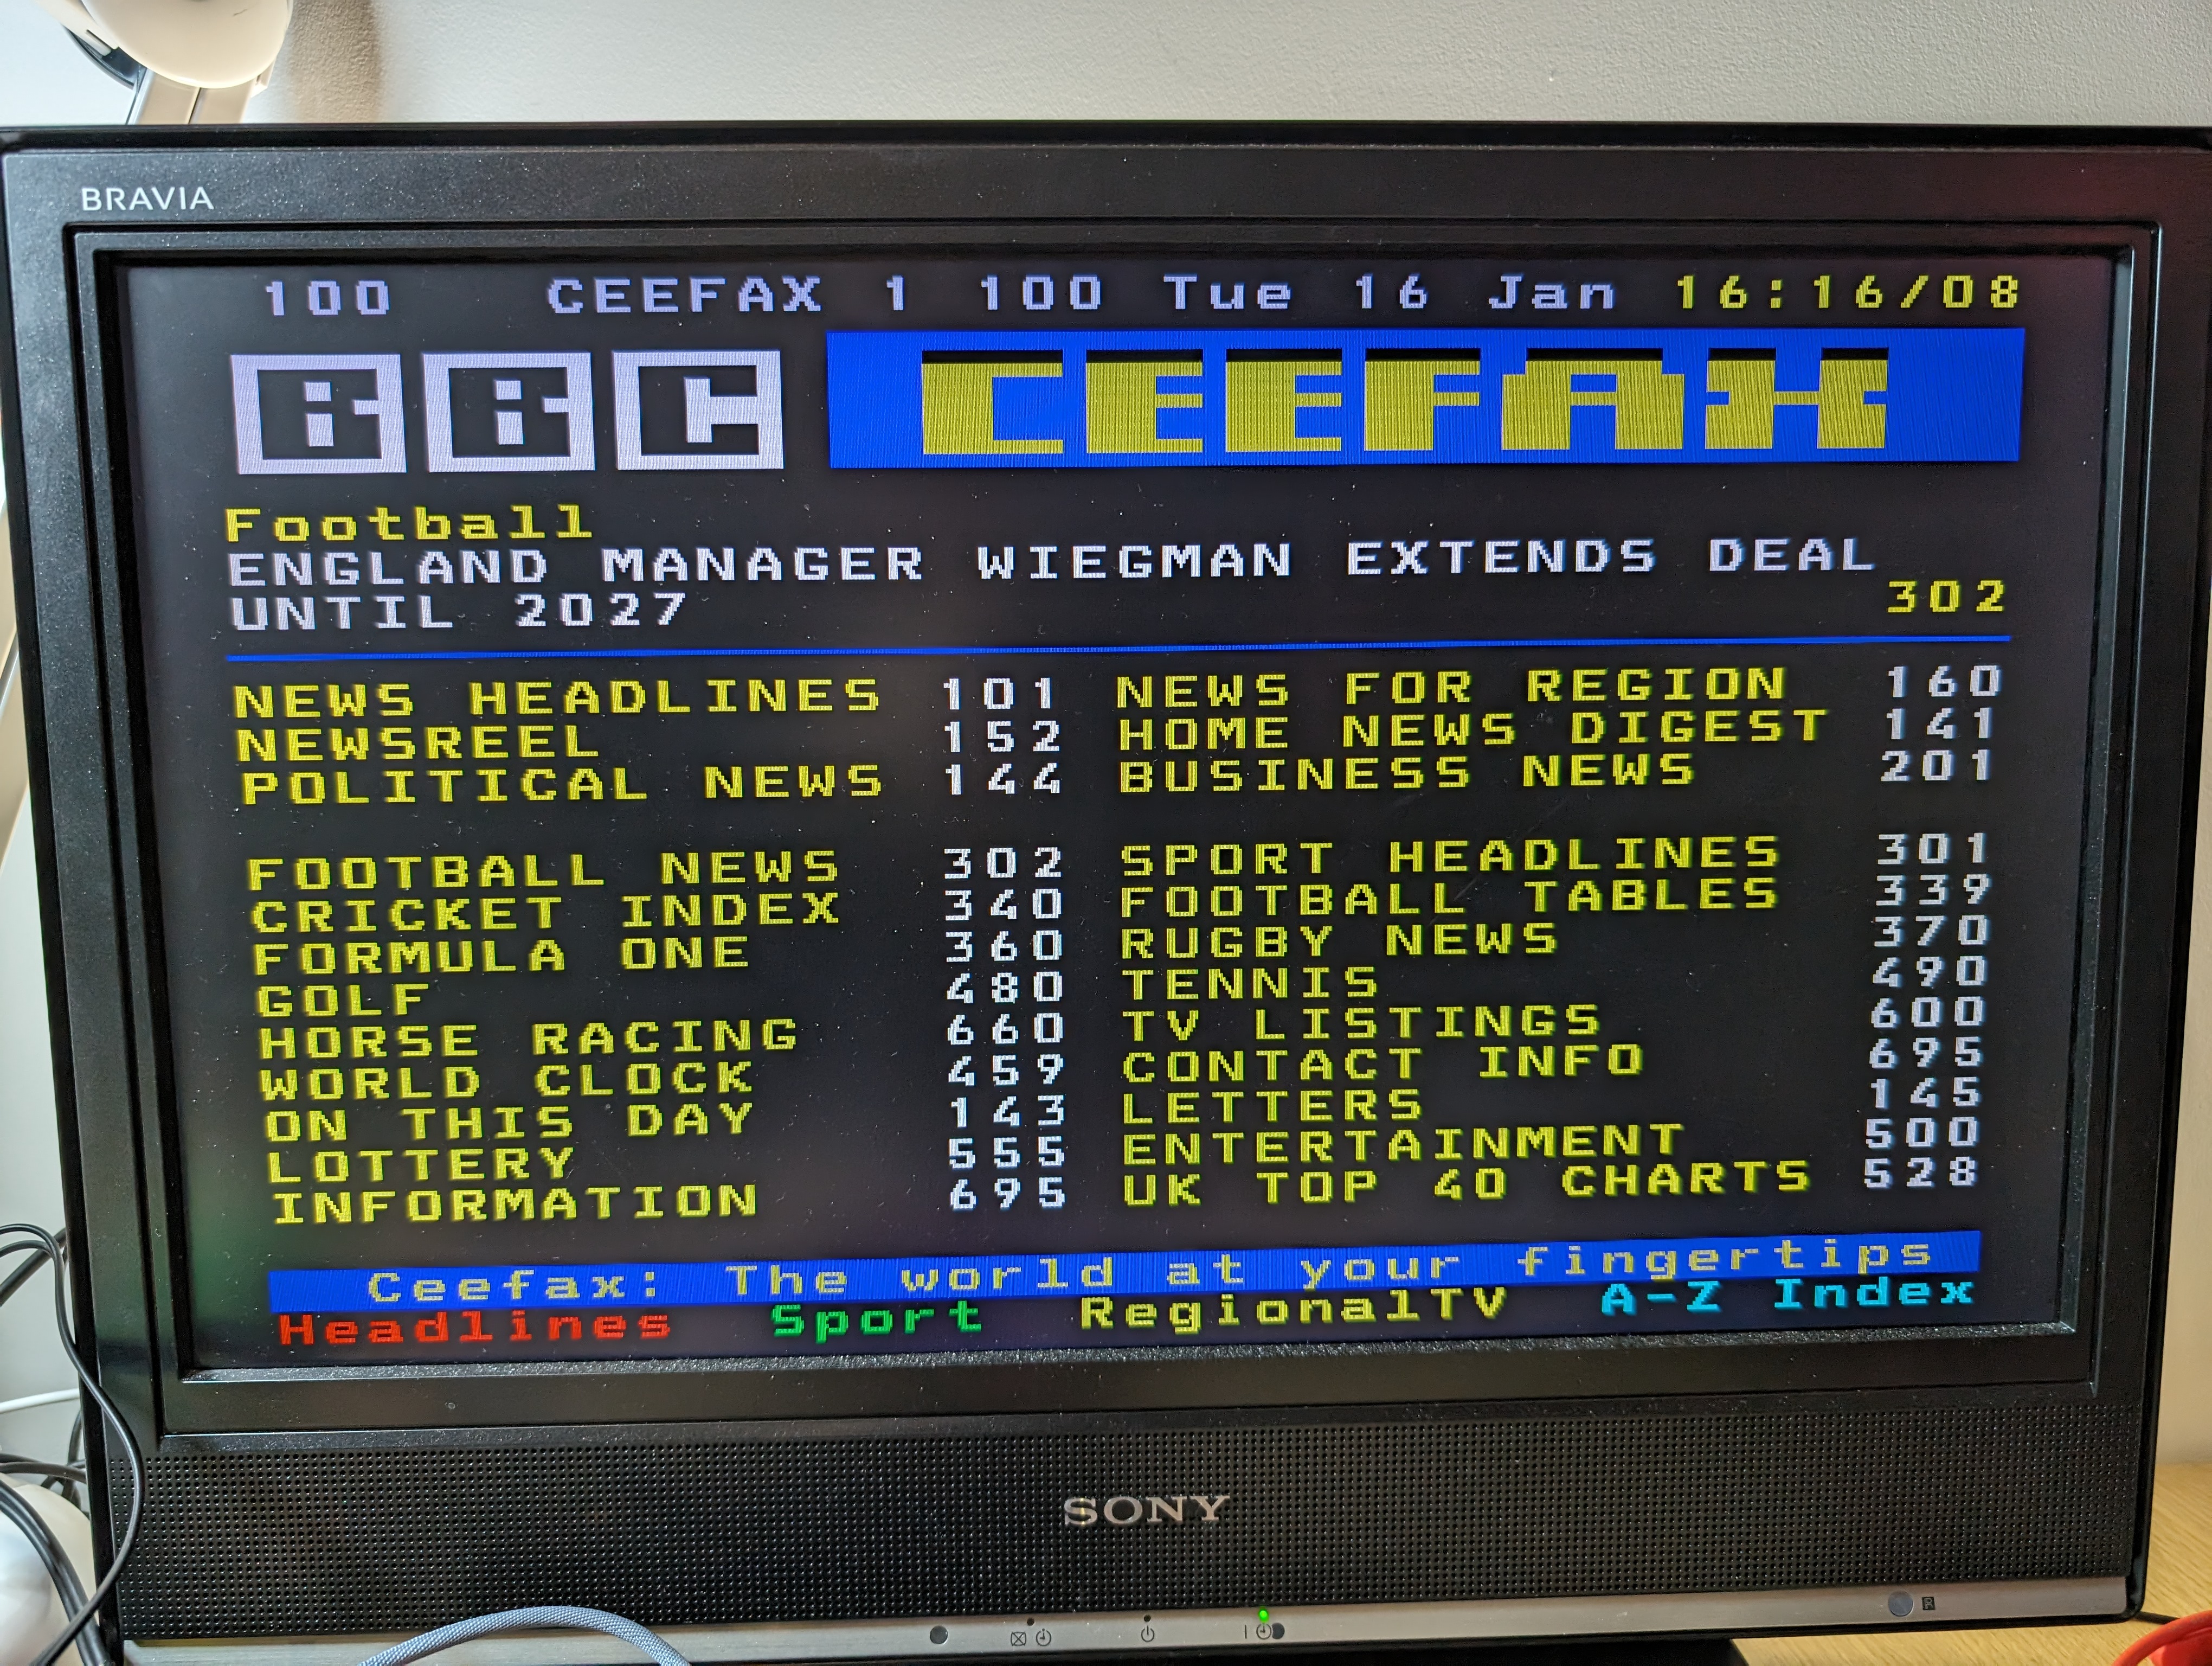
source <(wget -O - https://raw.githubusercontent.com/peterkvt80/vbit2/master/getvbit2)This will take a while to install everything, but when done it will pop up a menu to configure it. From here you can choose a feed and I chose CEEFAX, which is generated from current news, weather and other data. Details of how this service is generated can be found here.
I told the service to start from this menu and hit the Teletext button hooked up to my old TV. Just like that, it worked!
Finally, I set things up so that it run on boot. This is done using:
systemctl --user enable vbit2.service
systemctl --user enable teletext-update.timer
Of course, I need to make it look pretty as well, instead of showing a Pi console output before you hit the Teletext button on the TV. I found a test card image and set things to show this on boot. First, I edited /boot/cmdline.txt so it looked like this:
console=serial0,115200 console=tty3 loglevel=3 root=PARTUUID=d95012a0-02 rootfstype=ext4 fsck.repair=yes rootwait cfg80211.ieee80211_regdom=GB logo.nologoThe key parts are changing console to tty3 and adding the loglevel and logo.nologo. The rest is how my Pi was configured, so don’t change those parts.
Next, I installed a tool called fbi.
sudo apt install fbiFinally, I added a crontab entry to autorun as boot. To do this run:
sudo crontab -eThen add the following entry:
@reboot fbi /opt/test\ card\ f\ 2.jpg -d /dev/fb0 -T 1 -noverboseChange the .jpg to wherever you put an image.
Then finally disable console login:
sudo systemctl disable getty@tty1.serviceThe final result looks like this, and the Teletext service still works!:

Broadcast TV
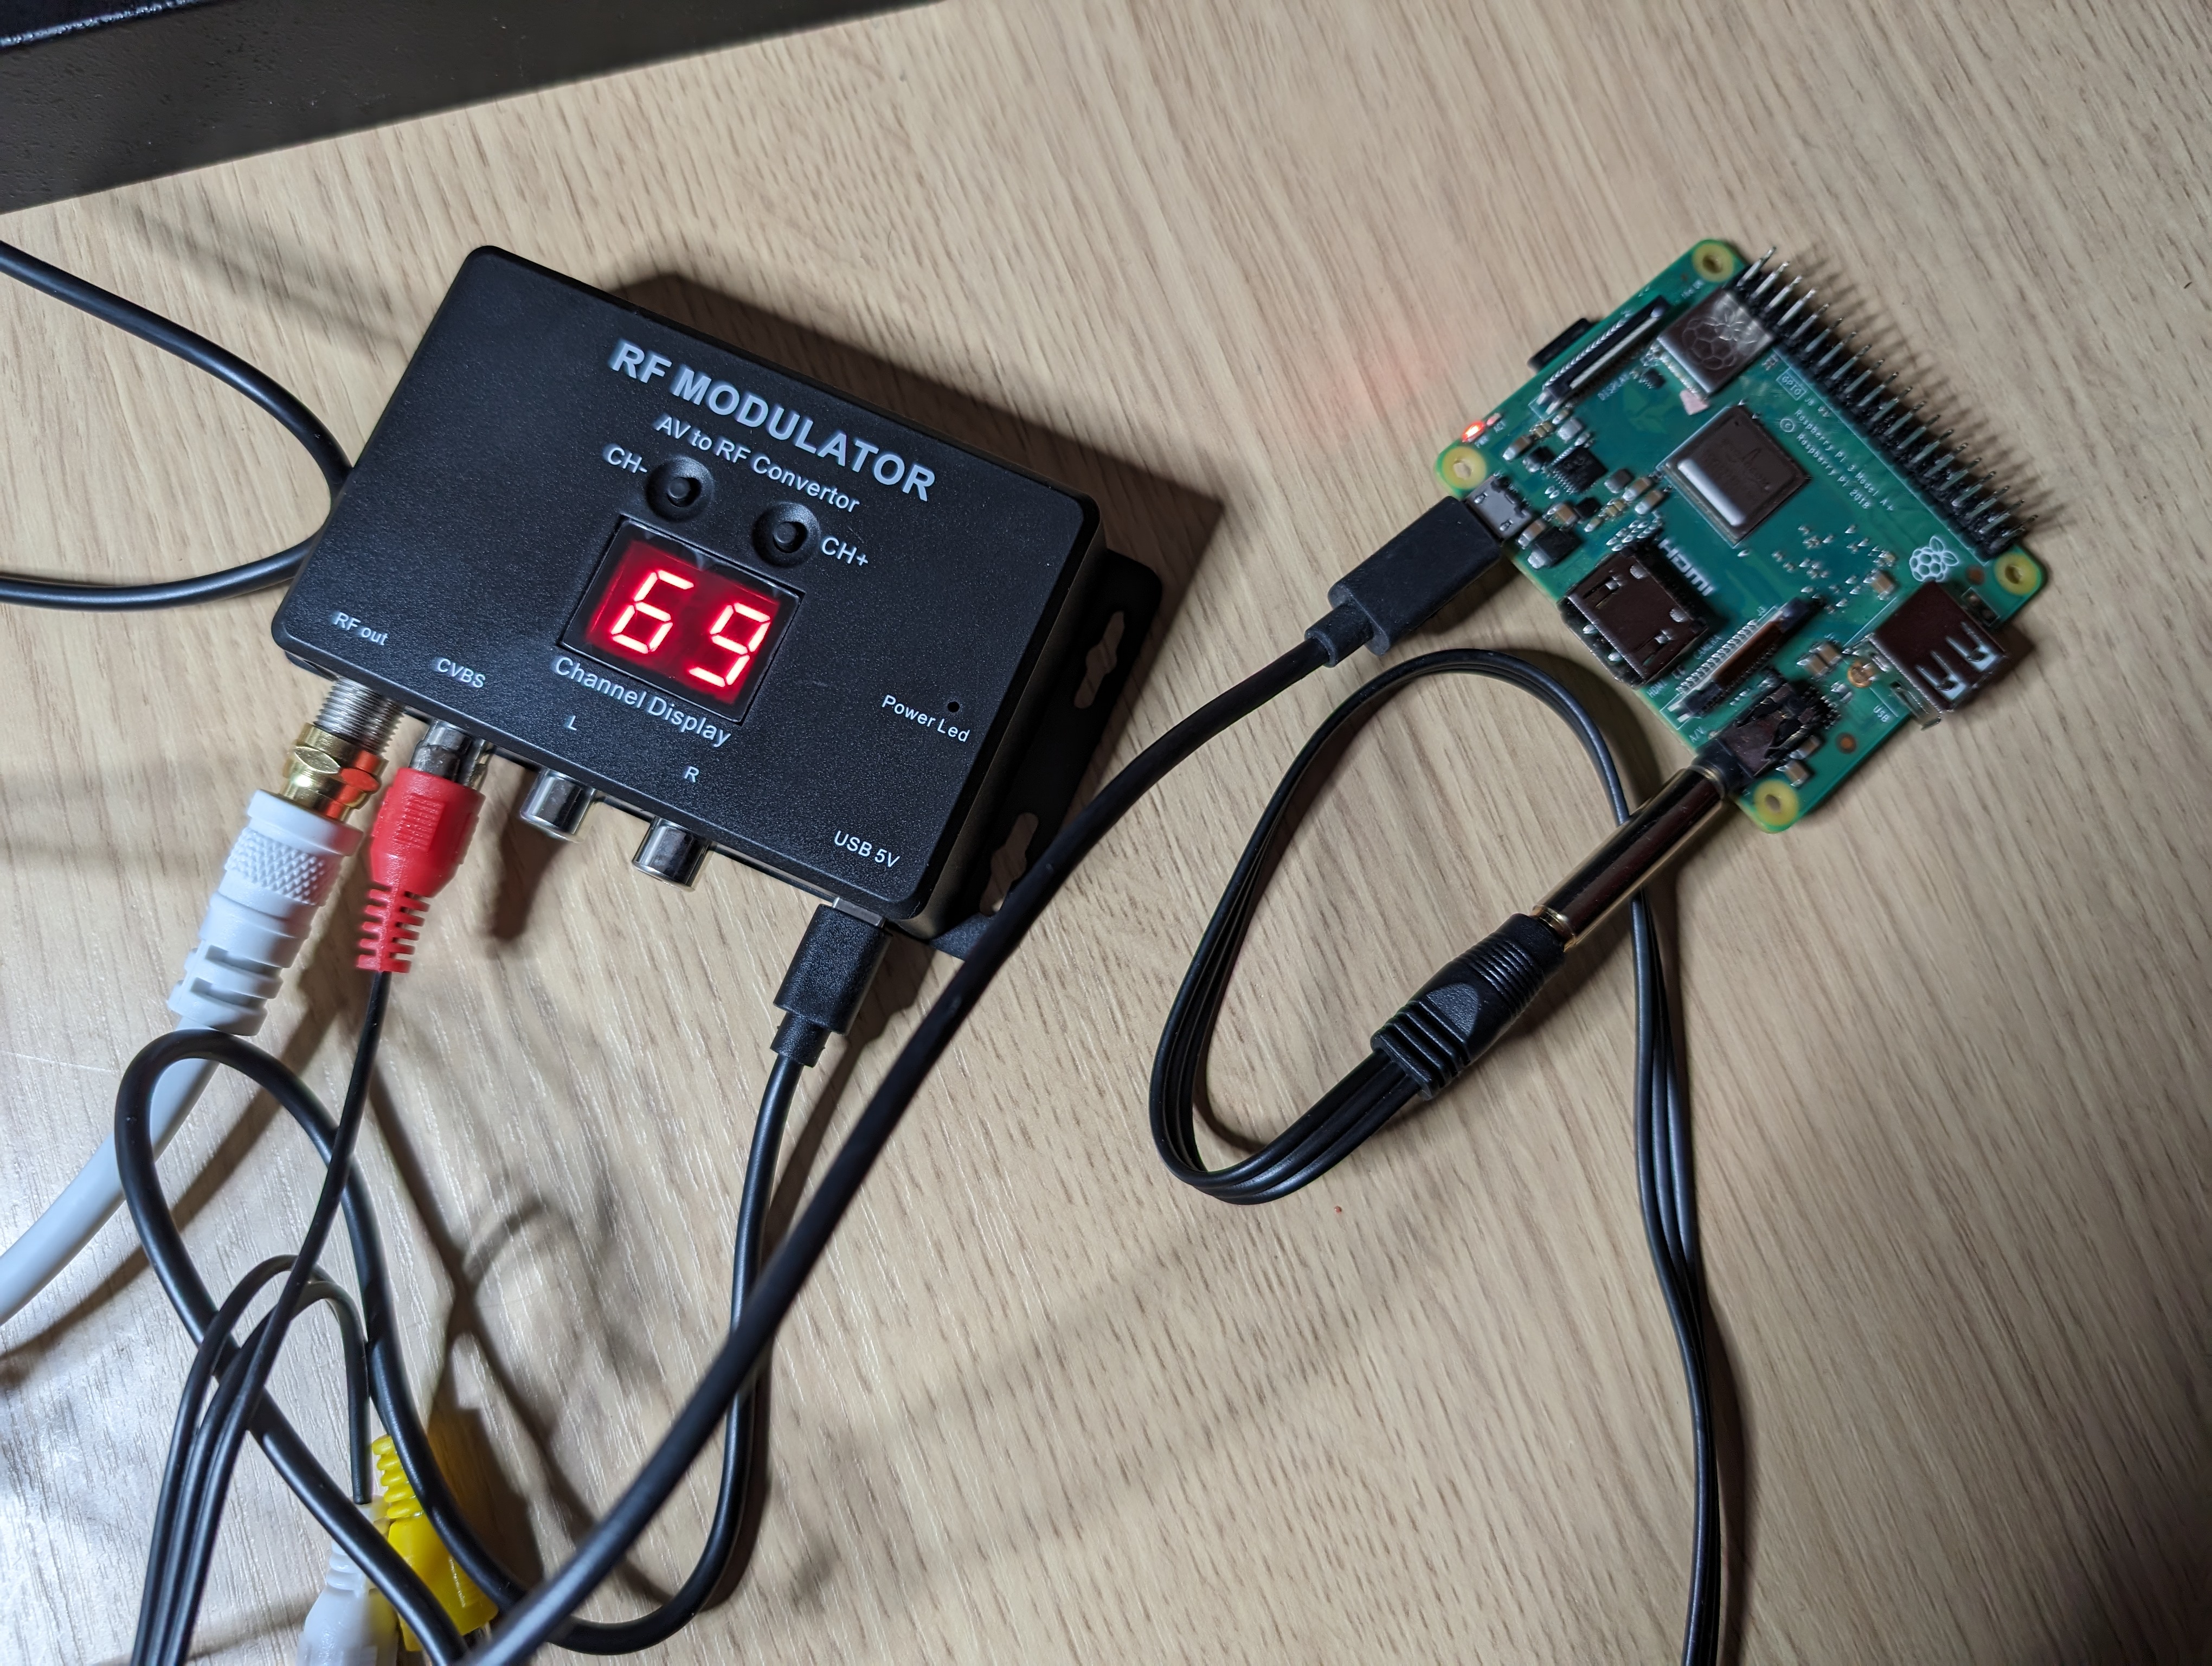
The Pi is giving a composite output, but for this project to work, I need to be able to tune to a TV channel. Analogue TV has been dead for a number of years, but I found a device which will convert a composite signal to a broadcast on a specific UHF frequency. A TV can be tuned to this, and my Sony TV has analogue support, so we can test it.

It has an F-type screw connector, which as analogue TV used a normal RF aerial connector, but I found a cable to do the connector conversion.
From here I cabled everything up, the Pi to the RF modulator, the RF modulator to the TV. The modulator booted into channel 69 (855.25), so I auto-tuned the TV. It found channel 69 and locked-on without any issue.
I again hit the Teletext button on the TV, and…
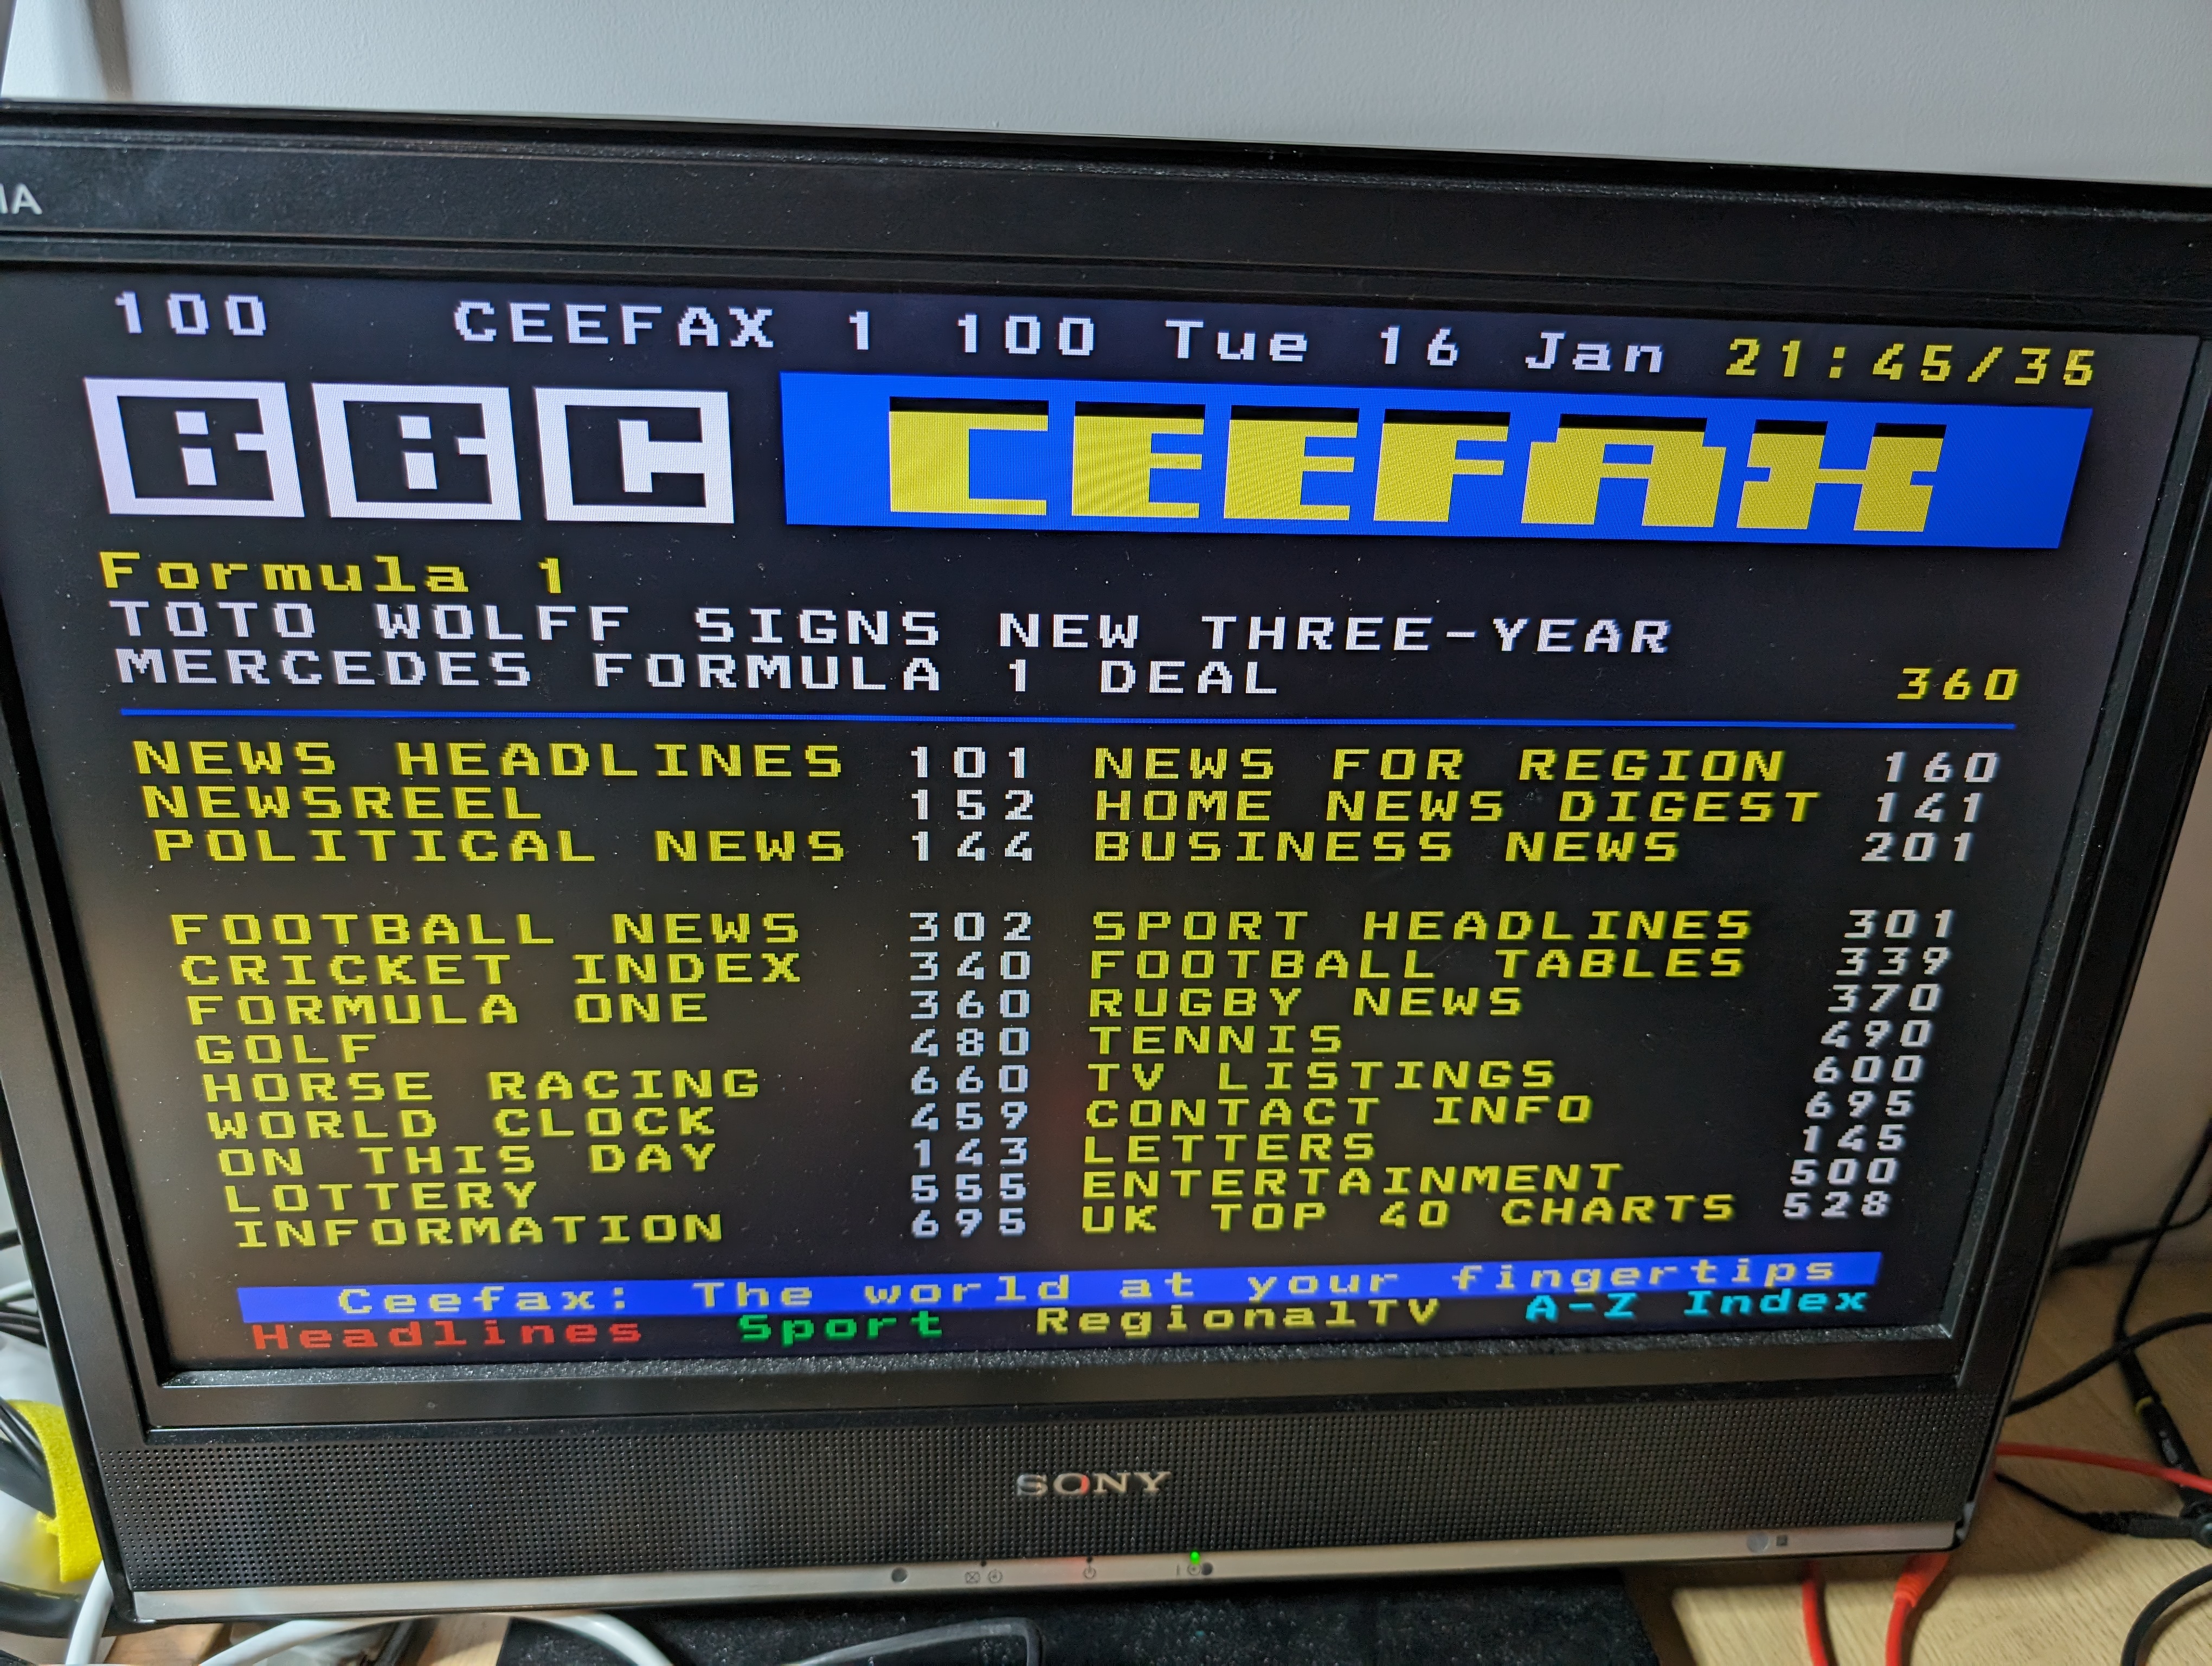
Bingo! So far, this has been much easier than expected. Whilst I was at it, I decided to 3D print an enclosure for the Pi in some PETG I had loaded in the printer.

Teletext modem
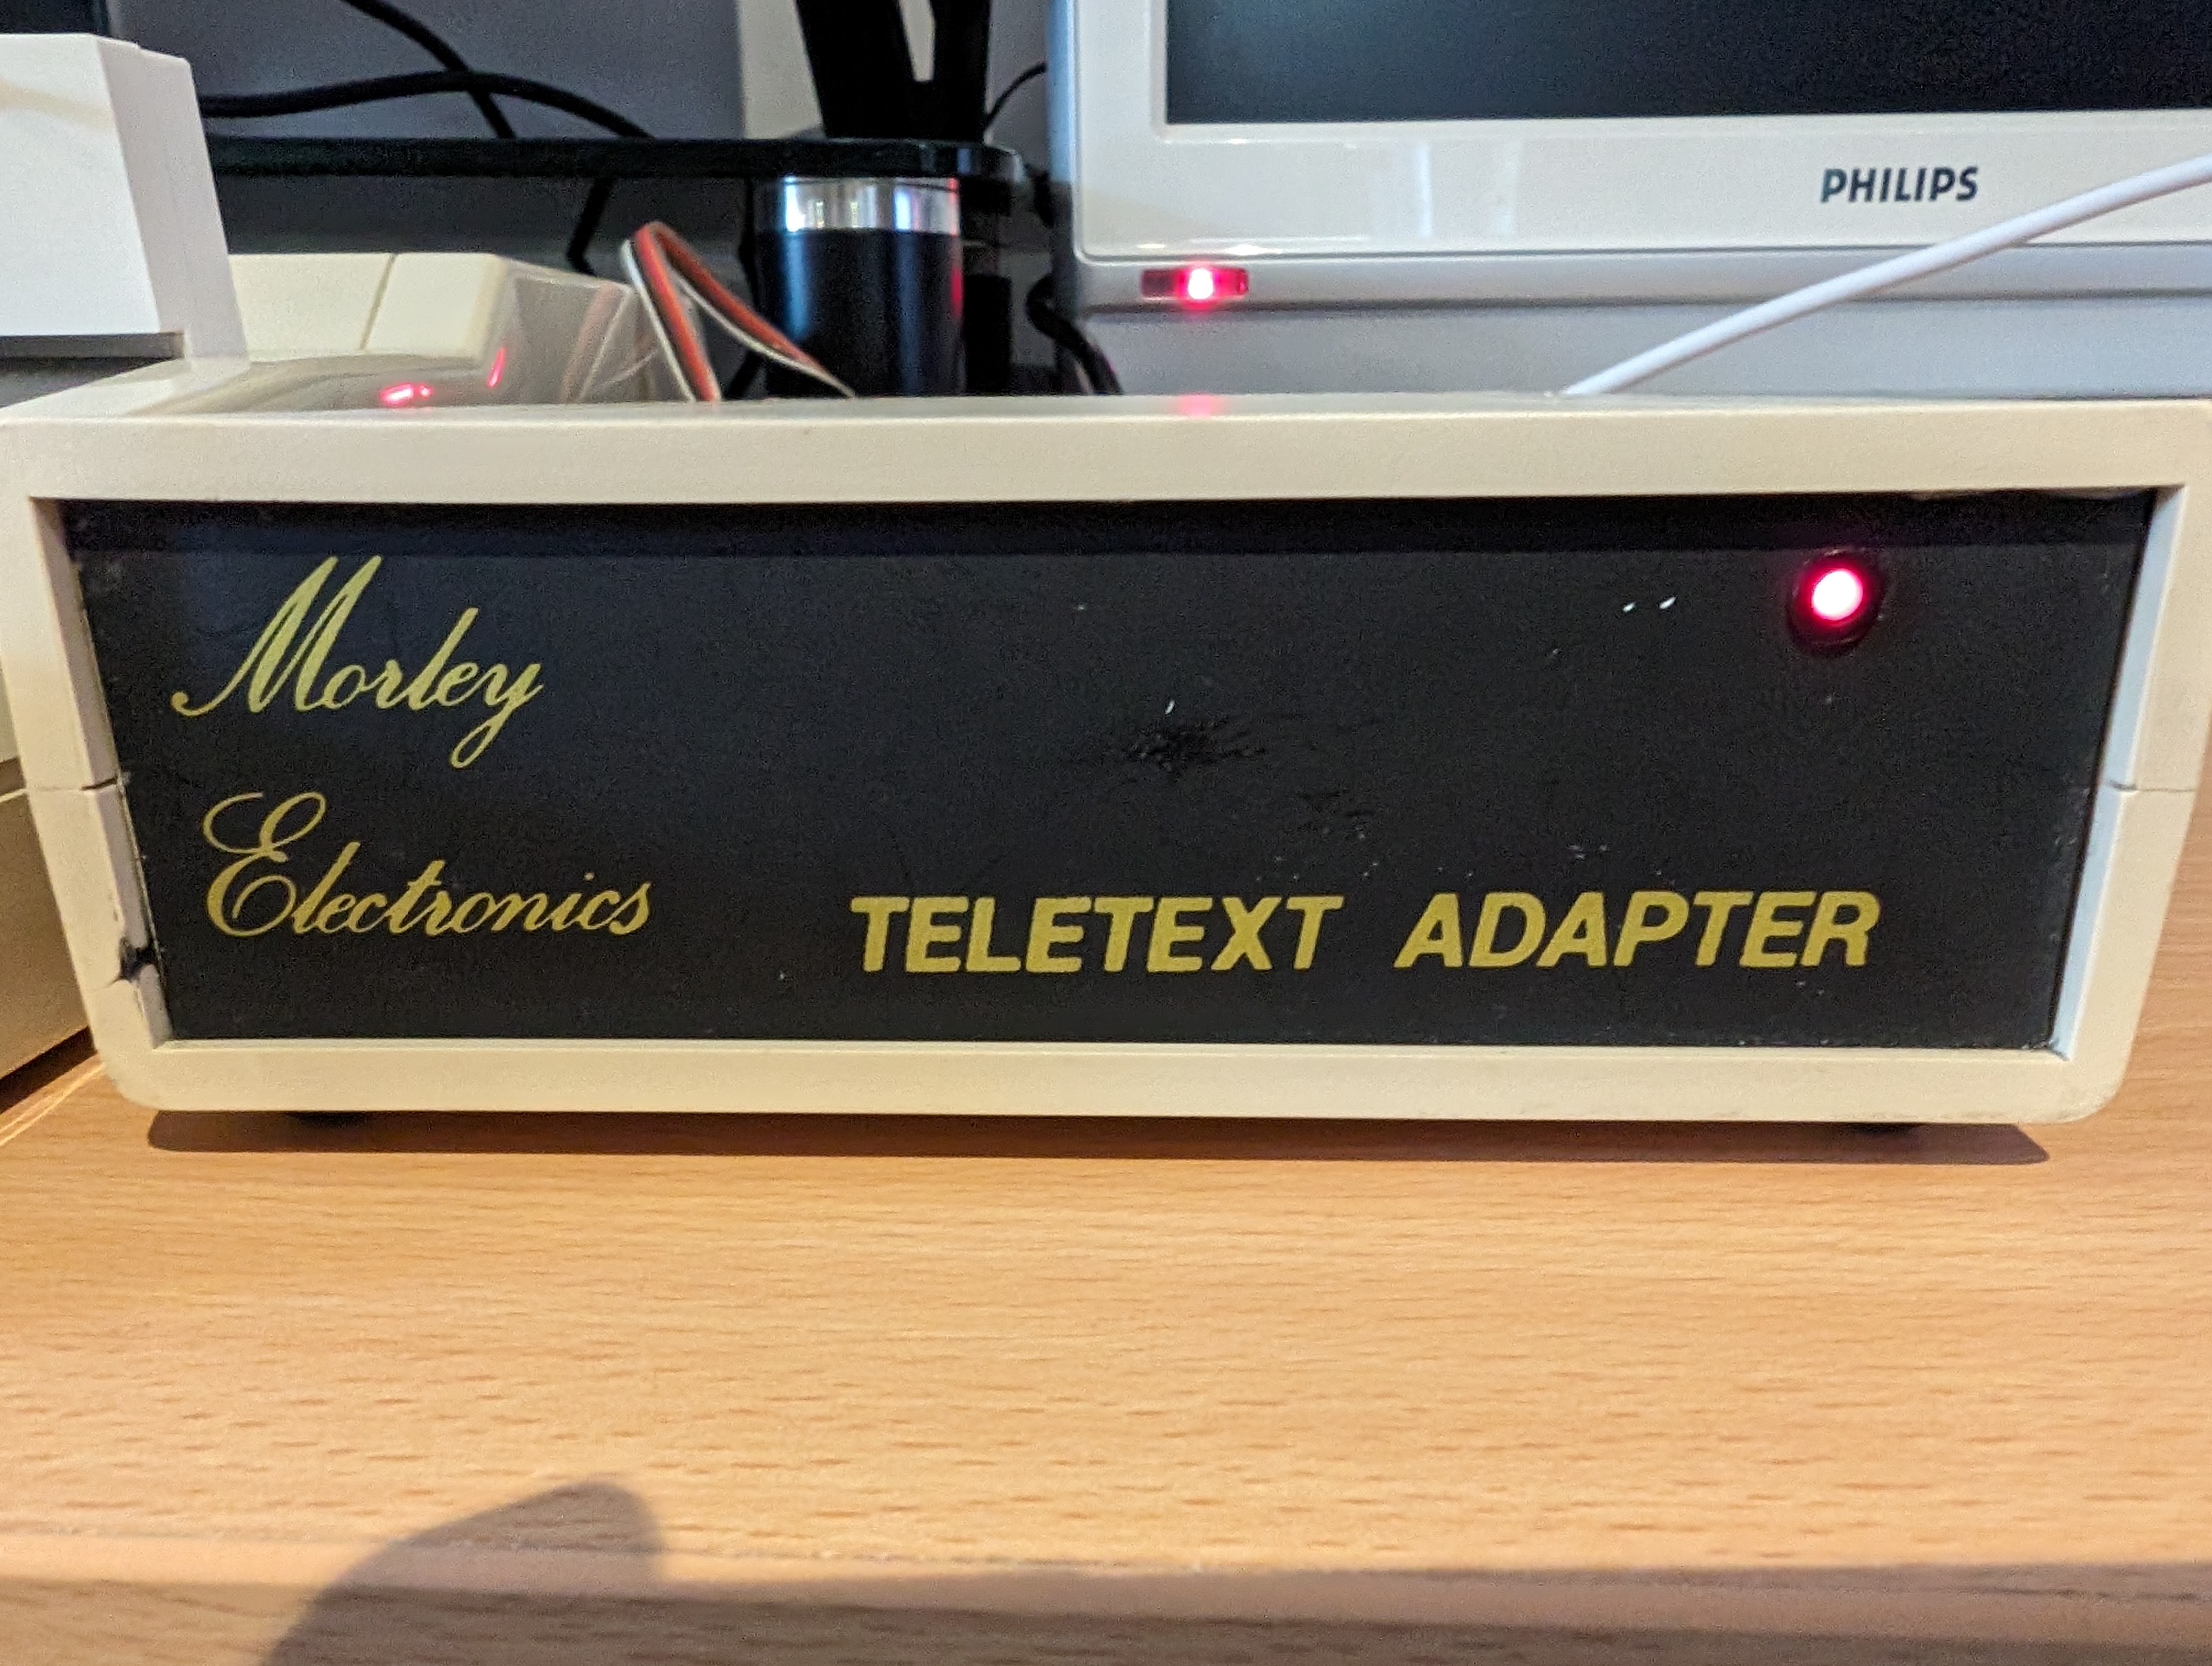
As mentioned, the BBC computers came with a Teletext graphics mode. This meant that it really only needs a modem to get the data and a small tool suite in a ROM. The rendering is already built-in. There were several such devices that existed, but I ended up with one made by Morley Electronics.
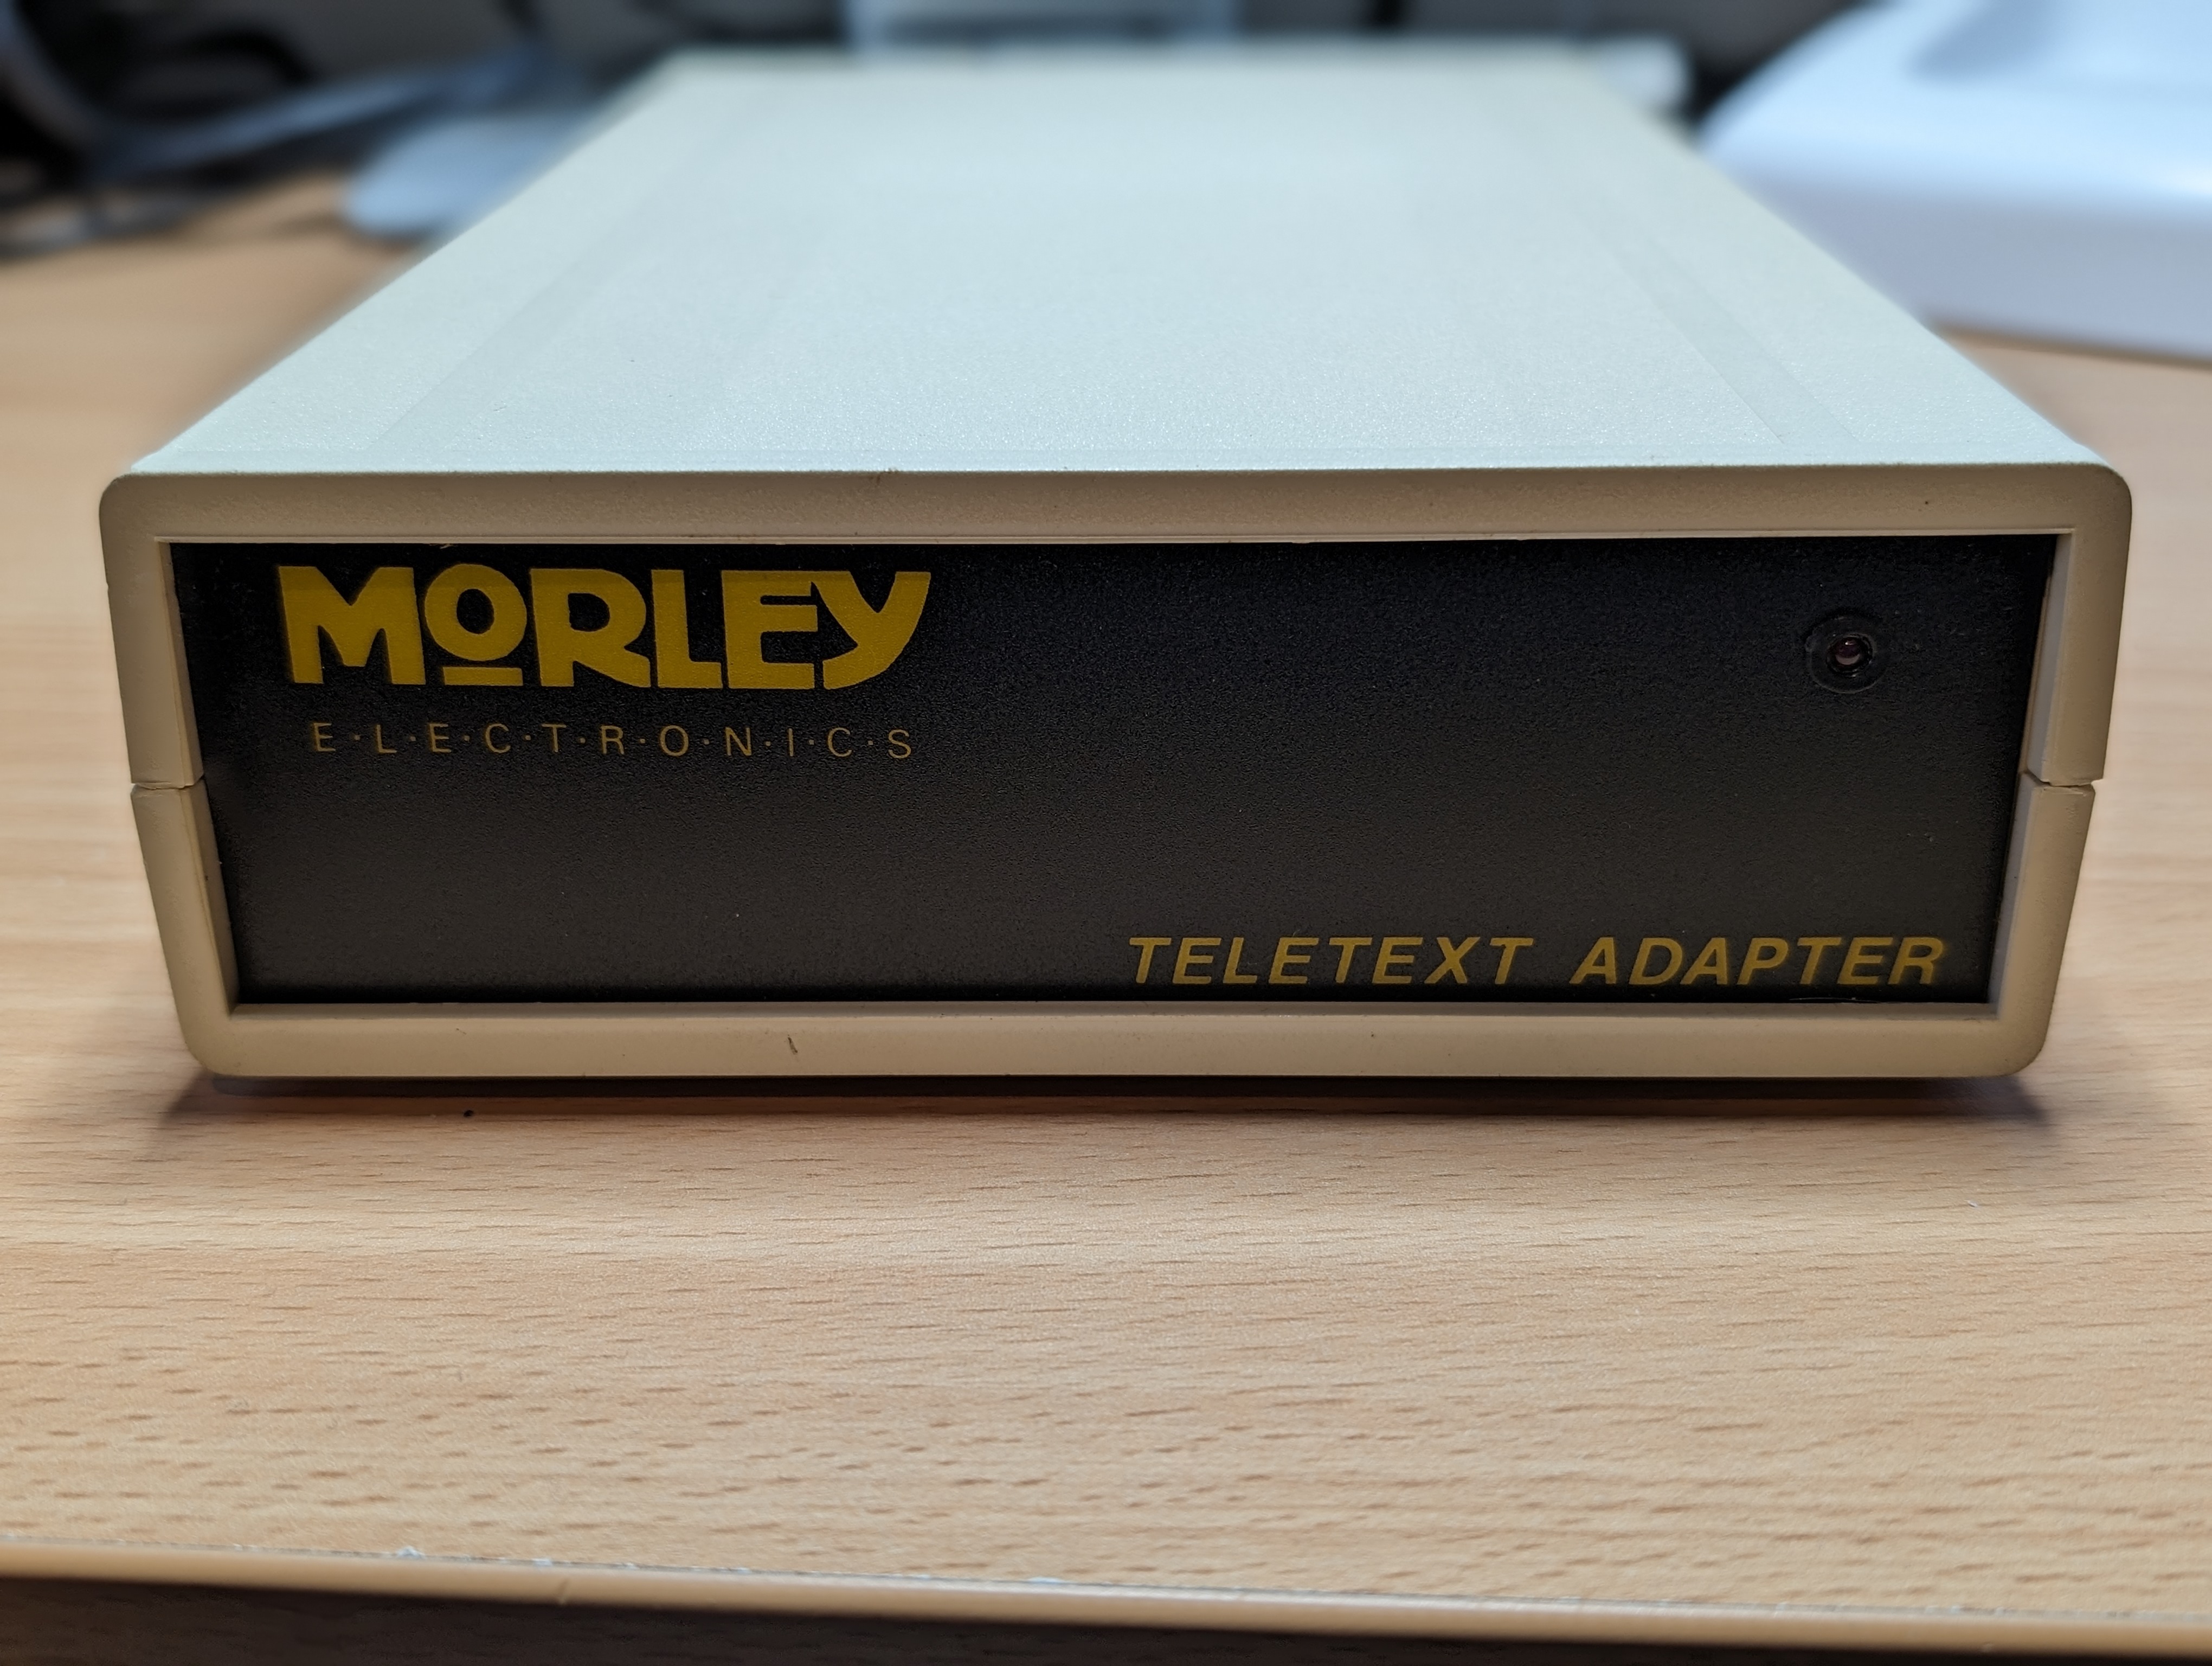
The main difference between this and some of the others is that it is tuned digitally via the BBC, instead of analogue tuning on the device itself. It is also powered from the BBC computer’s auxiliary port.
To make this work, we first need the ROM. BBC made an “Advanced Teletext Service” ROM for their Teletext adapter, Morley modified this ROM slightly to work with their device, including adding the digital tuning. I found the ROM in an archive and flashed it onto my Master 128 ROM cartridge.

What also could be useful is the function key strip. It is the same for the original Acorn ROM and the Morley ROM, and I found the Acorn one here. I cut it out on my colour laser printer and popped it into the holder. Whilst not perfect, it is good enough to help indicate the device controls.

I plugged it all in, turned it on and ran *HELP which should show the adapter connected.
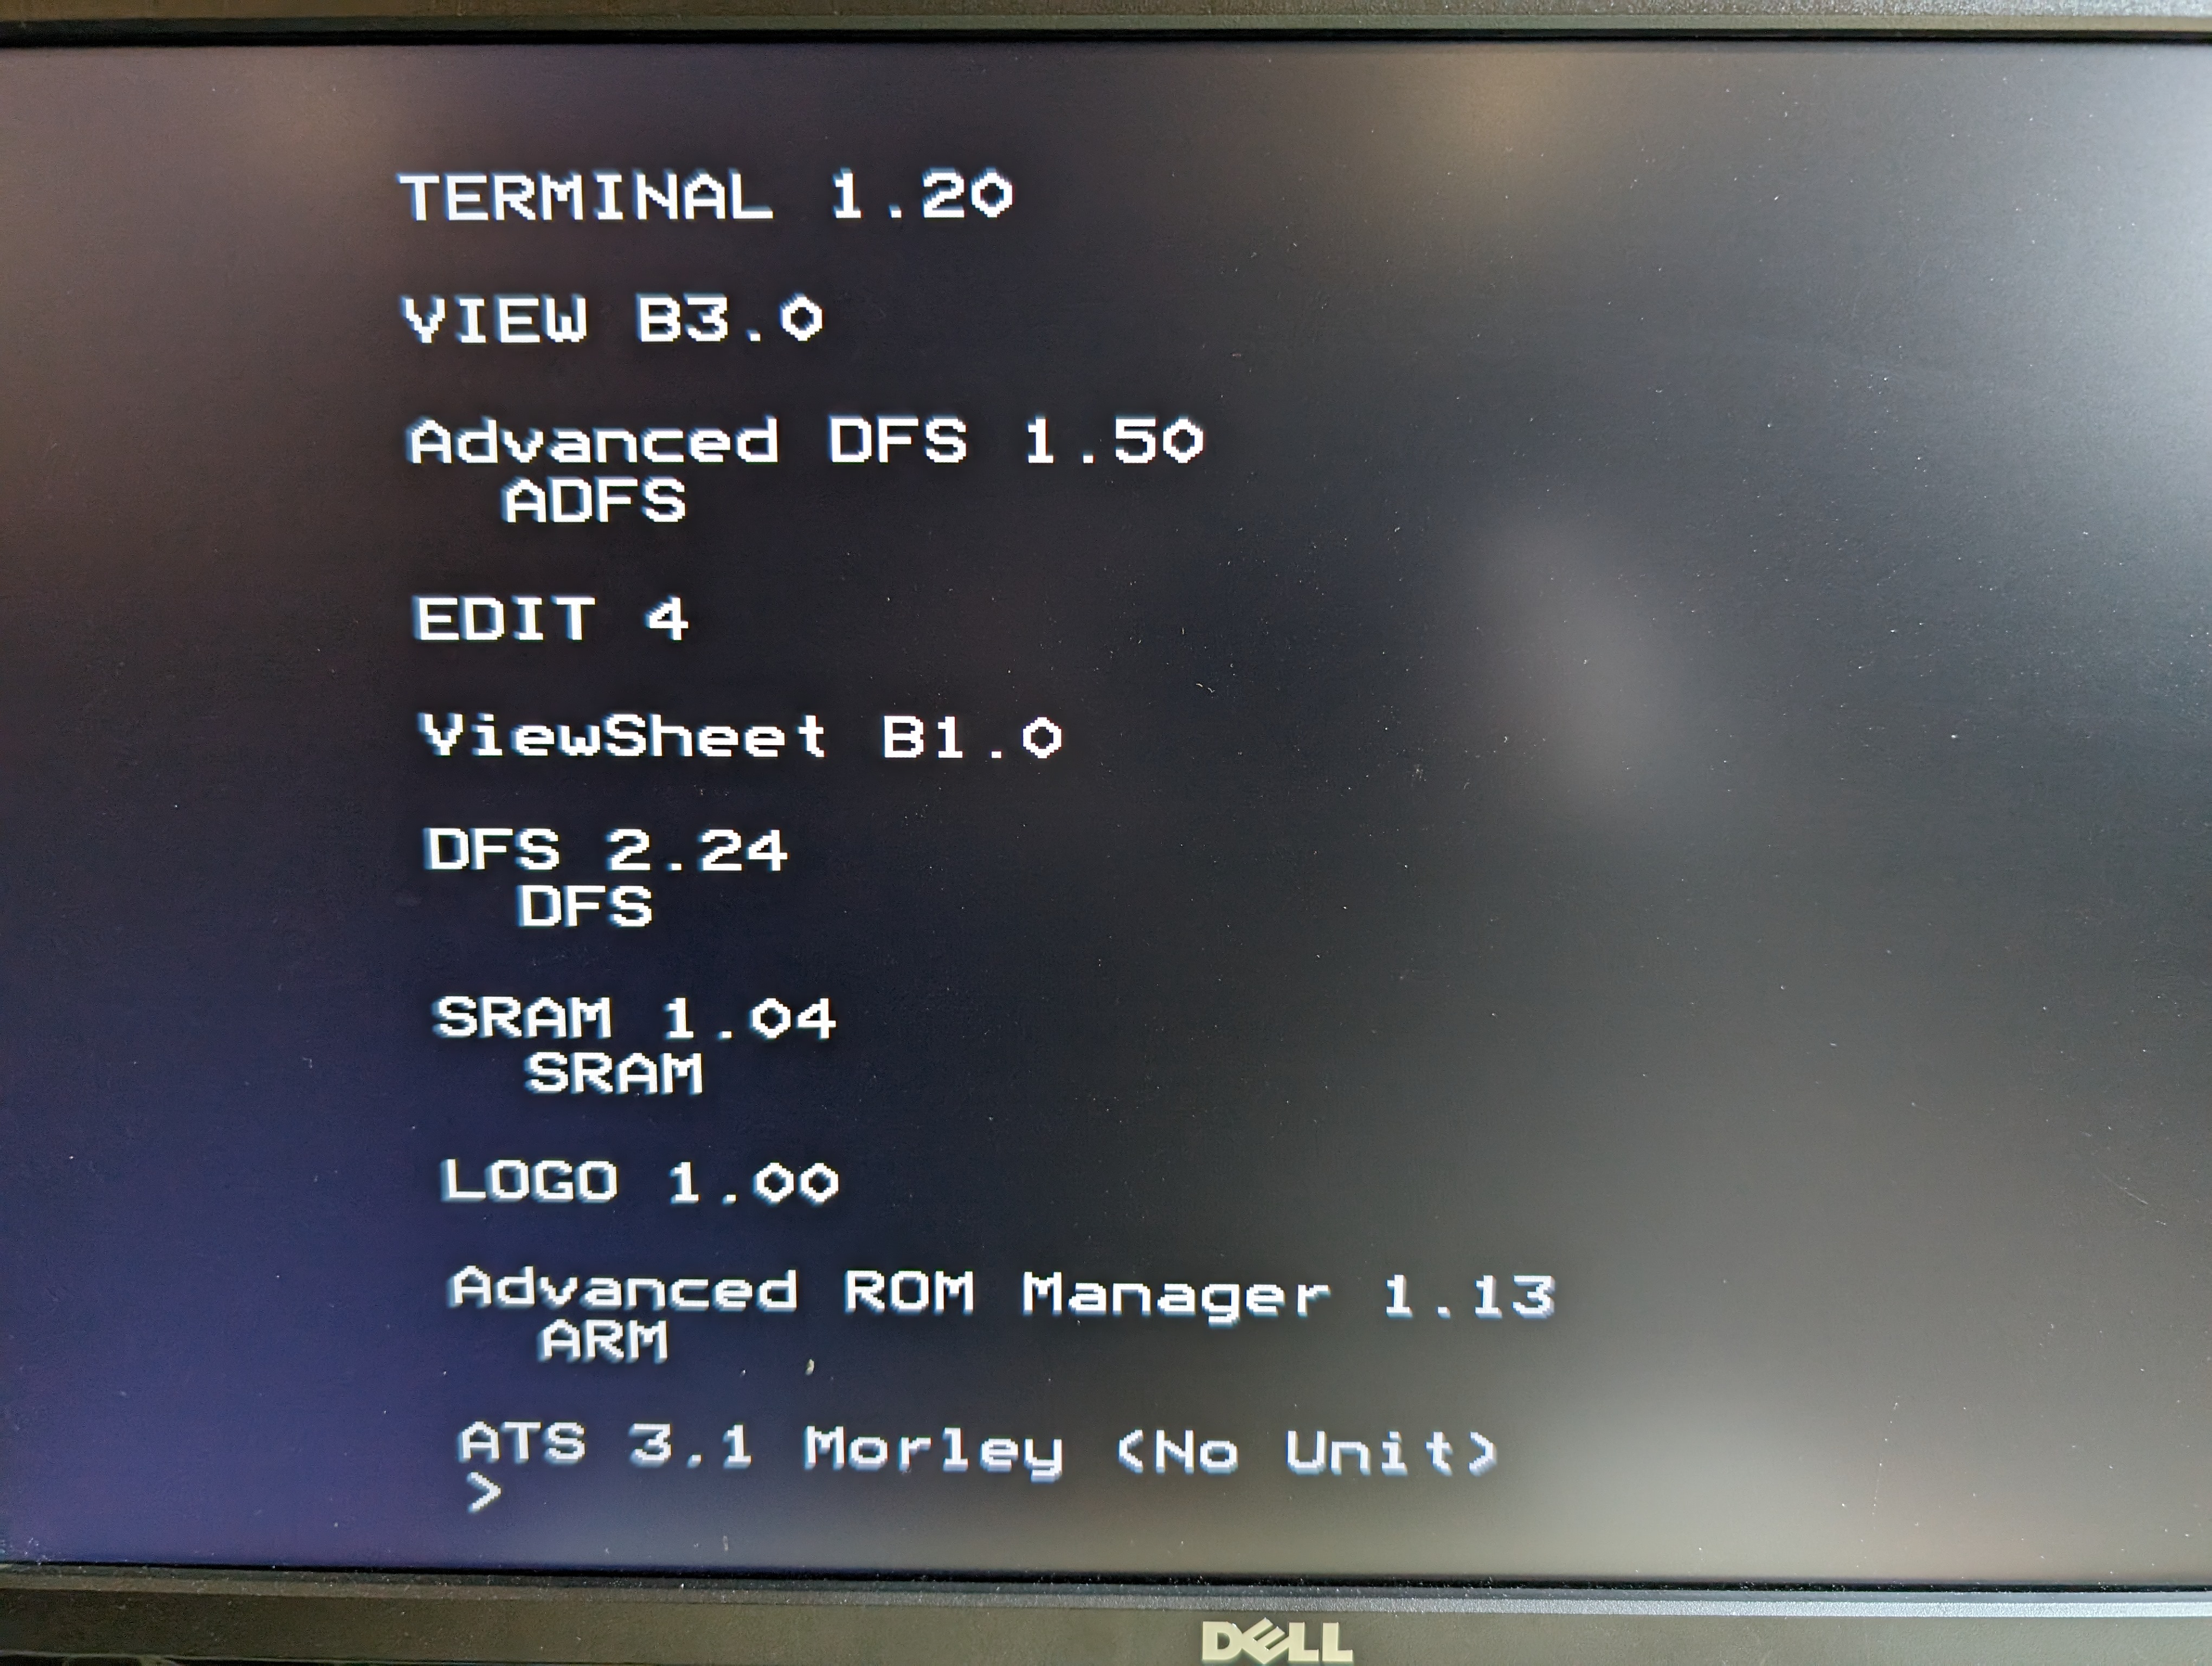
“No Unit”. That is not good.
Troubleshooting
I noticed when trying things out that if I don’t connect the 12v power connector to the BBC and just the user port, it does show as working. But, of course, without the 12v I’m not going to get it all working.
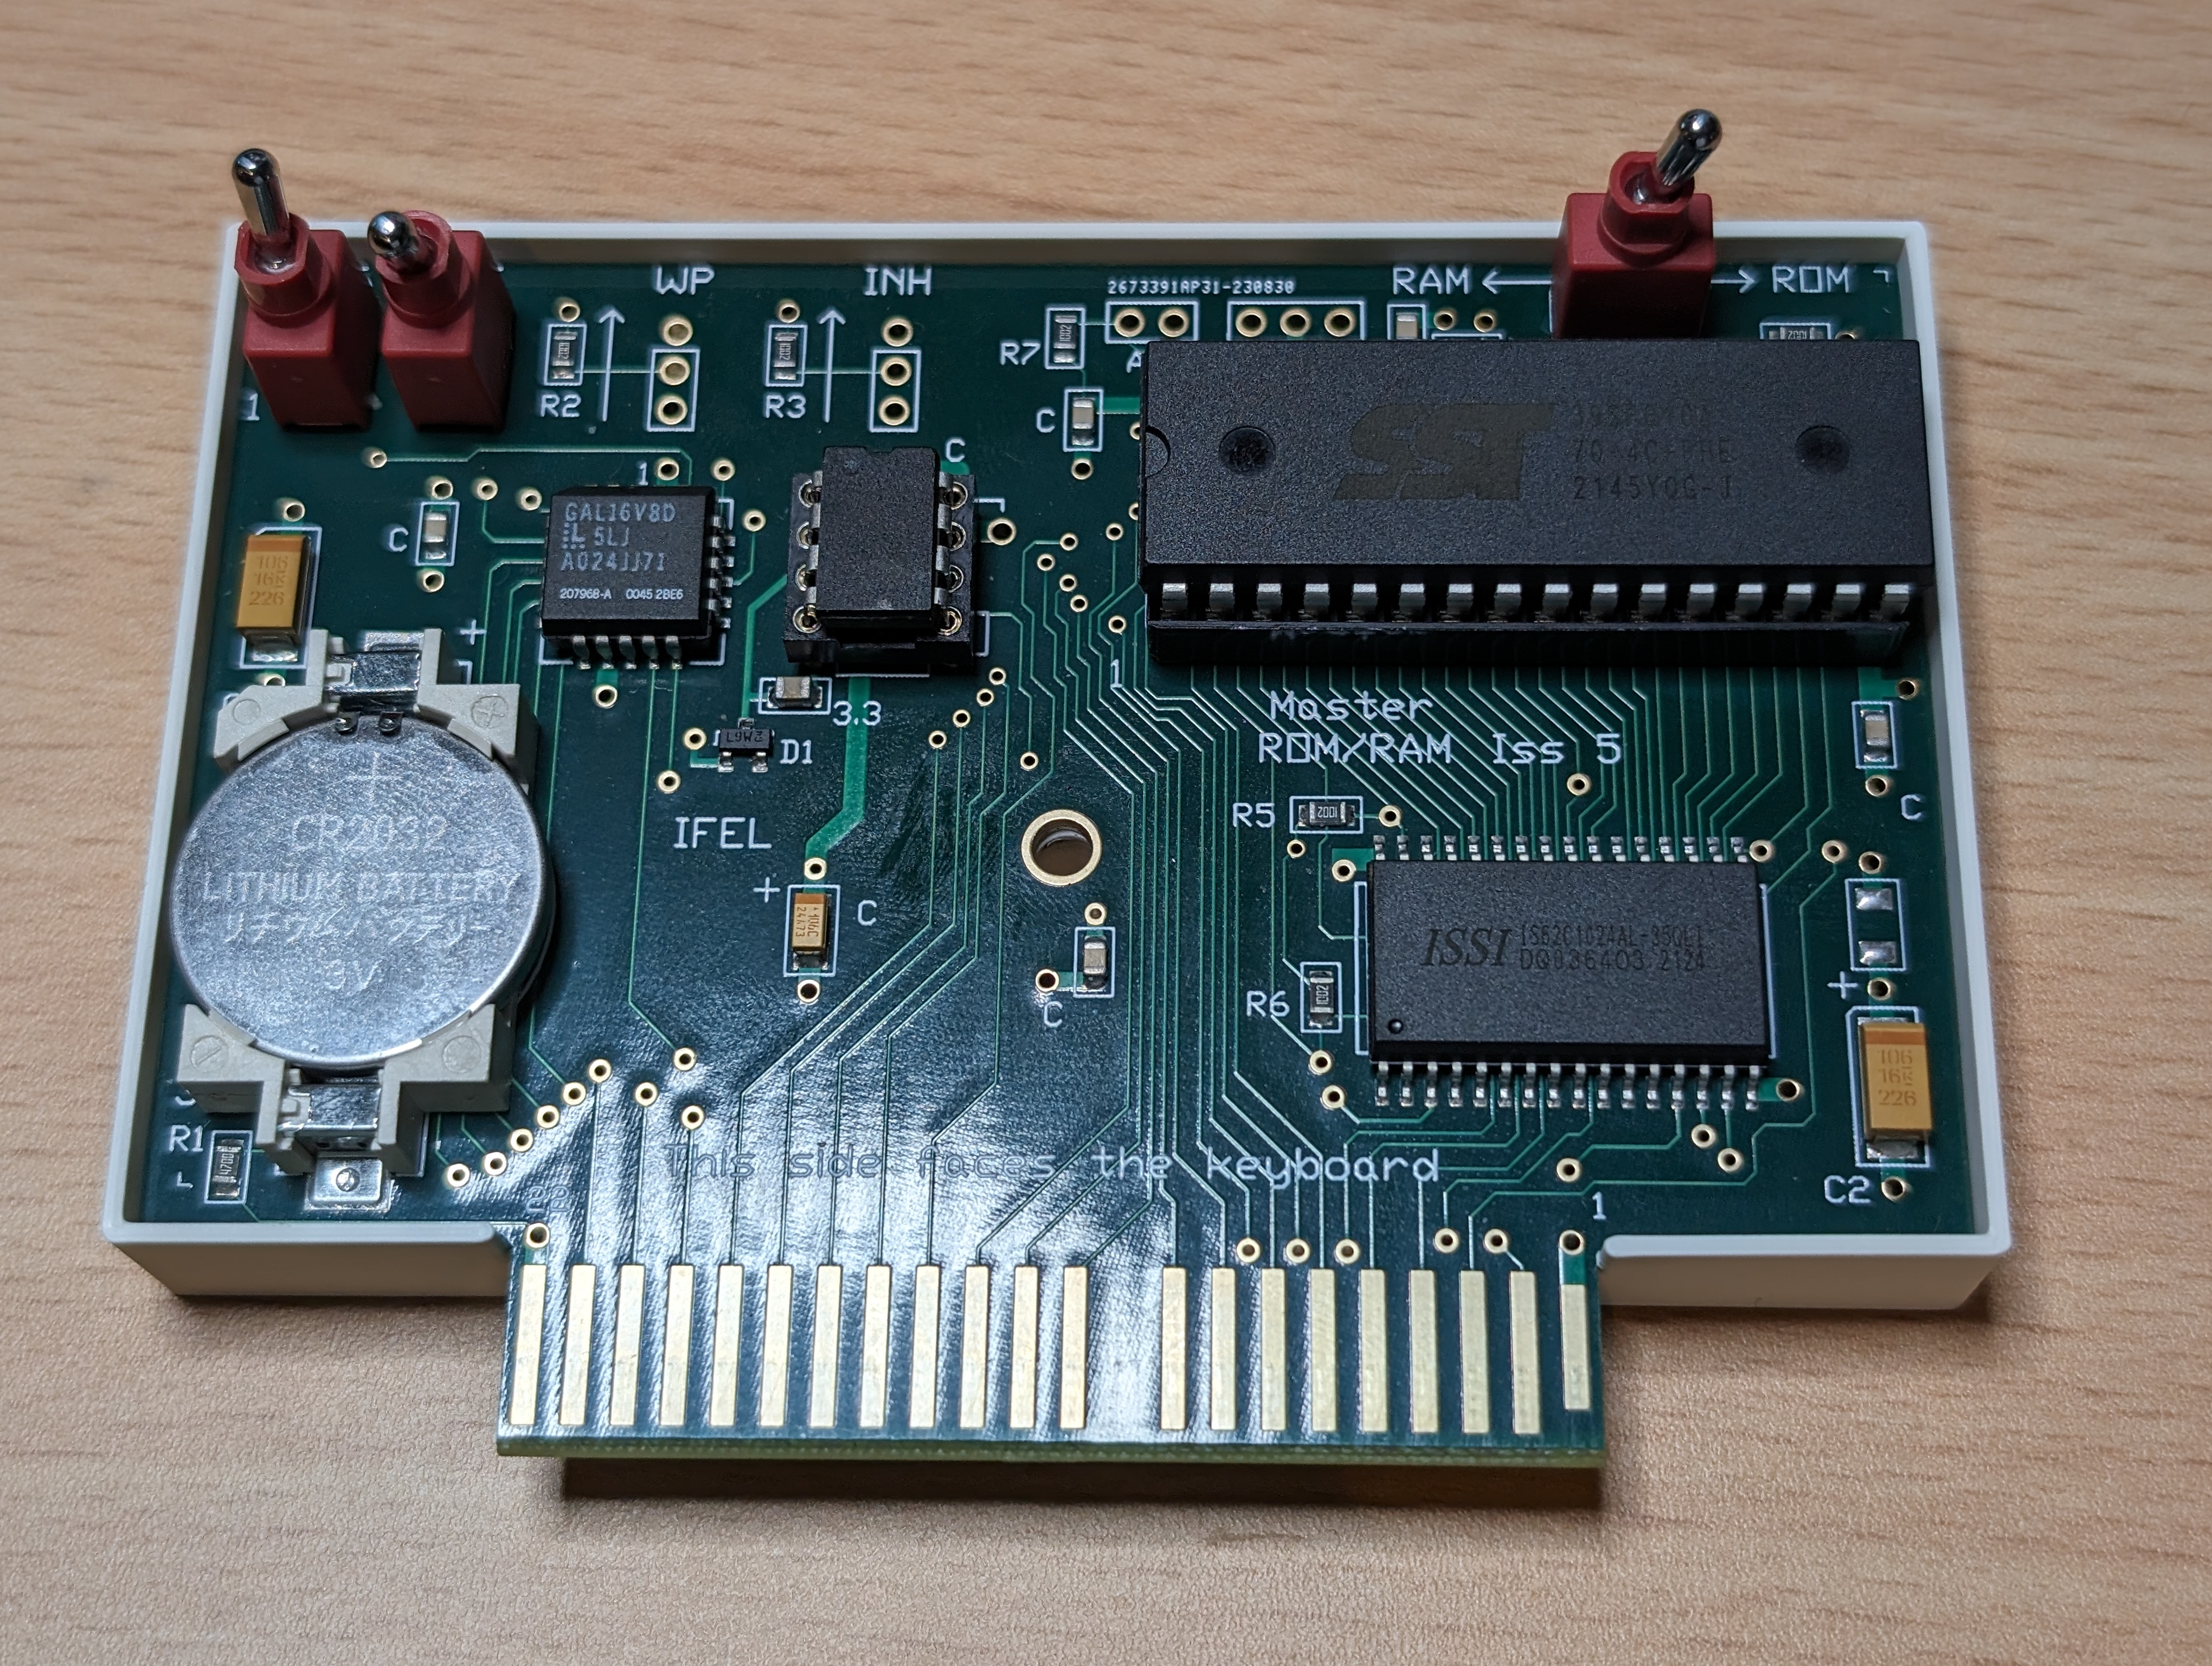
Which means something powered by 12v is causing it to fail. So, let’s take a look at the board inside the box. I’ve marked it up so I can show what I have figured out.
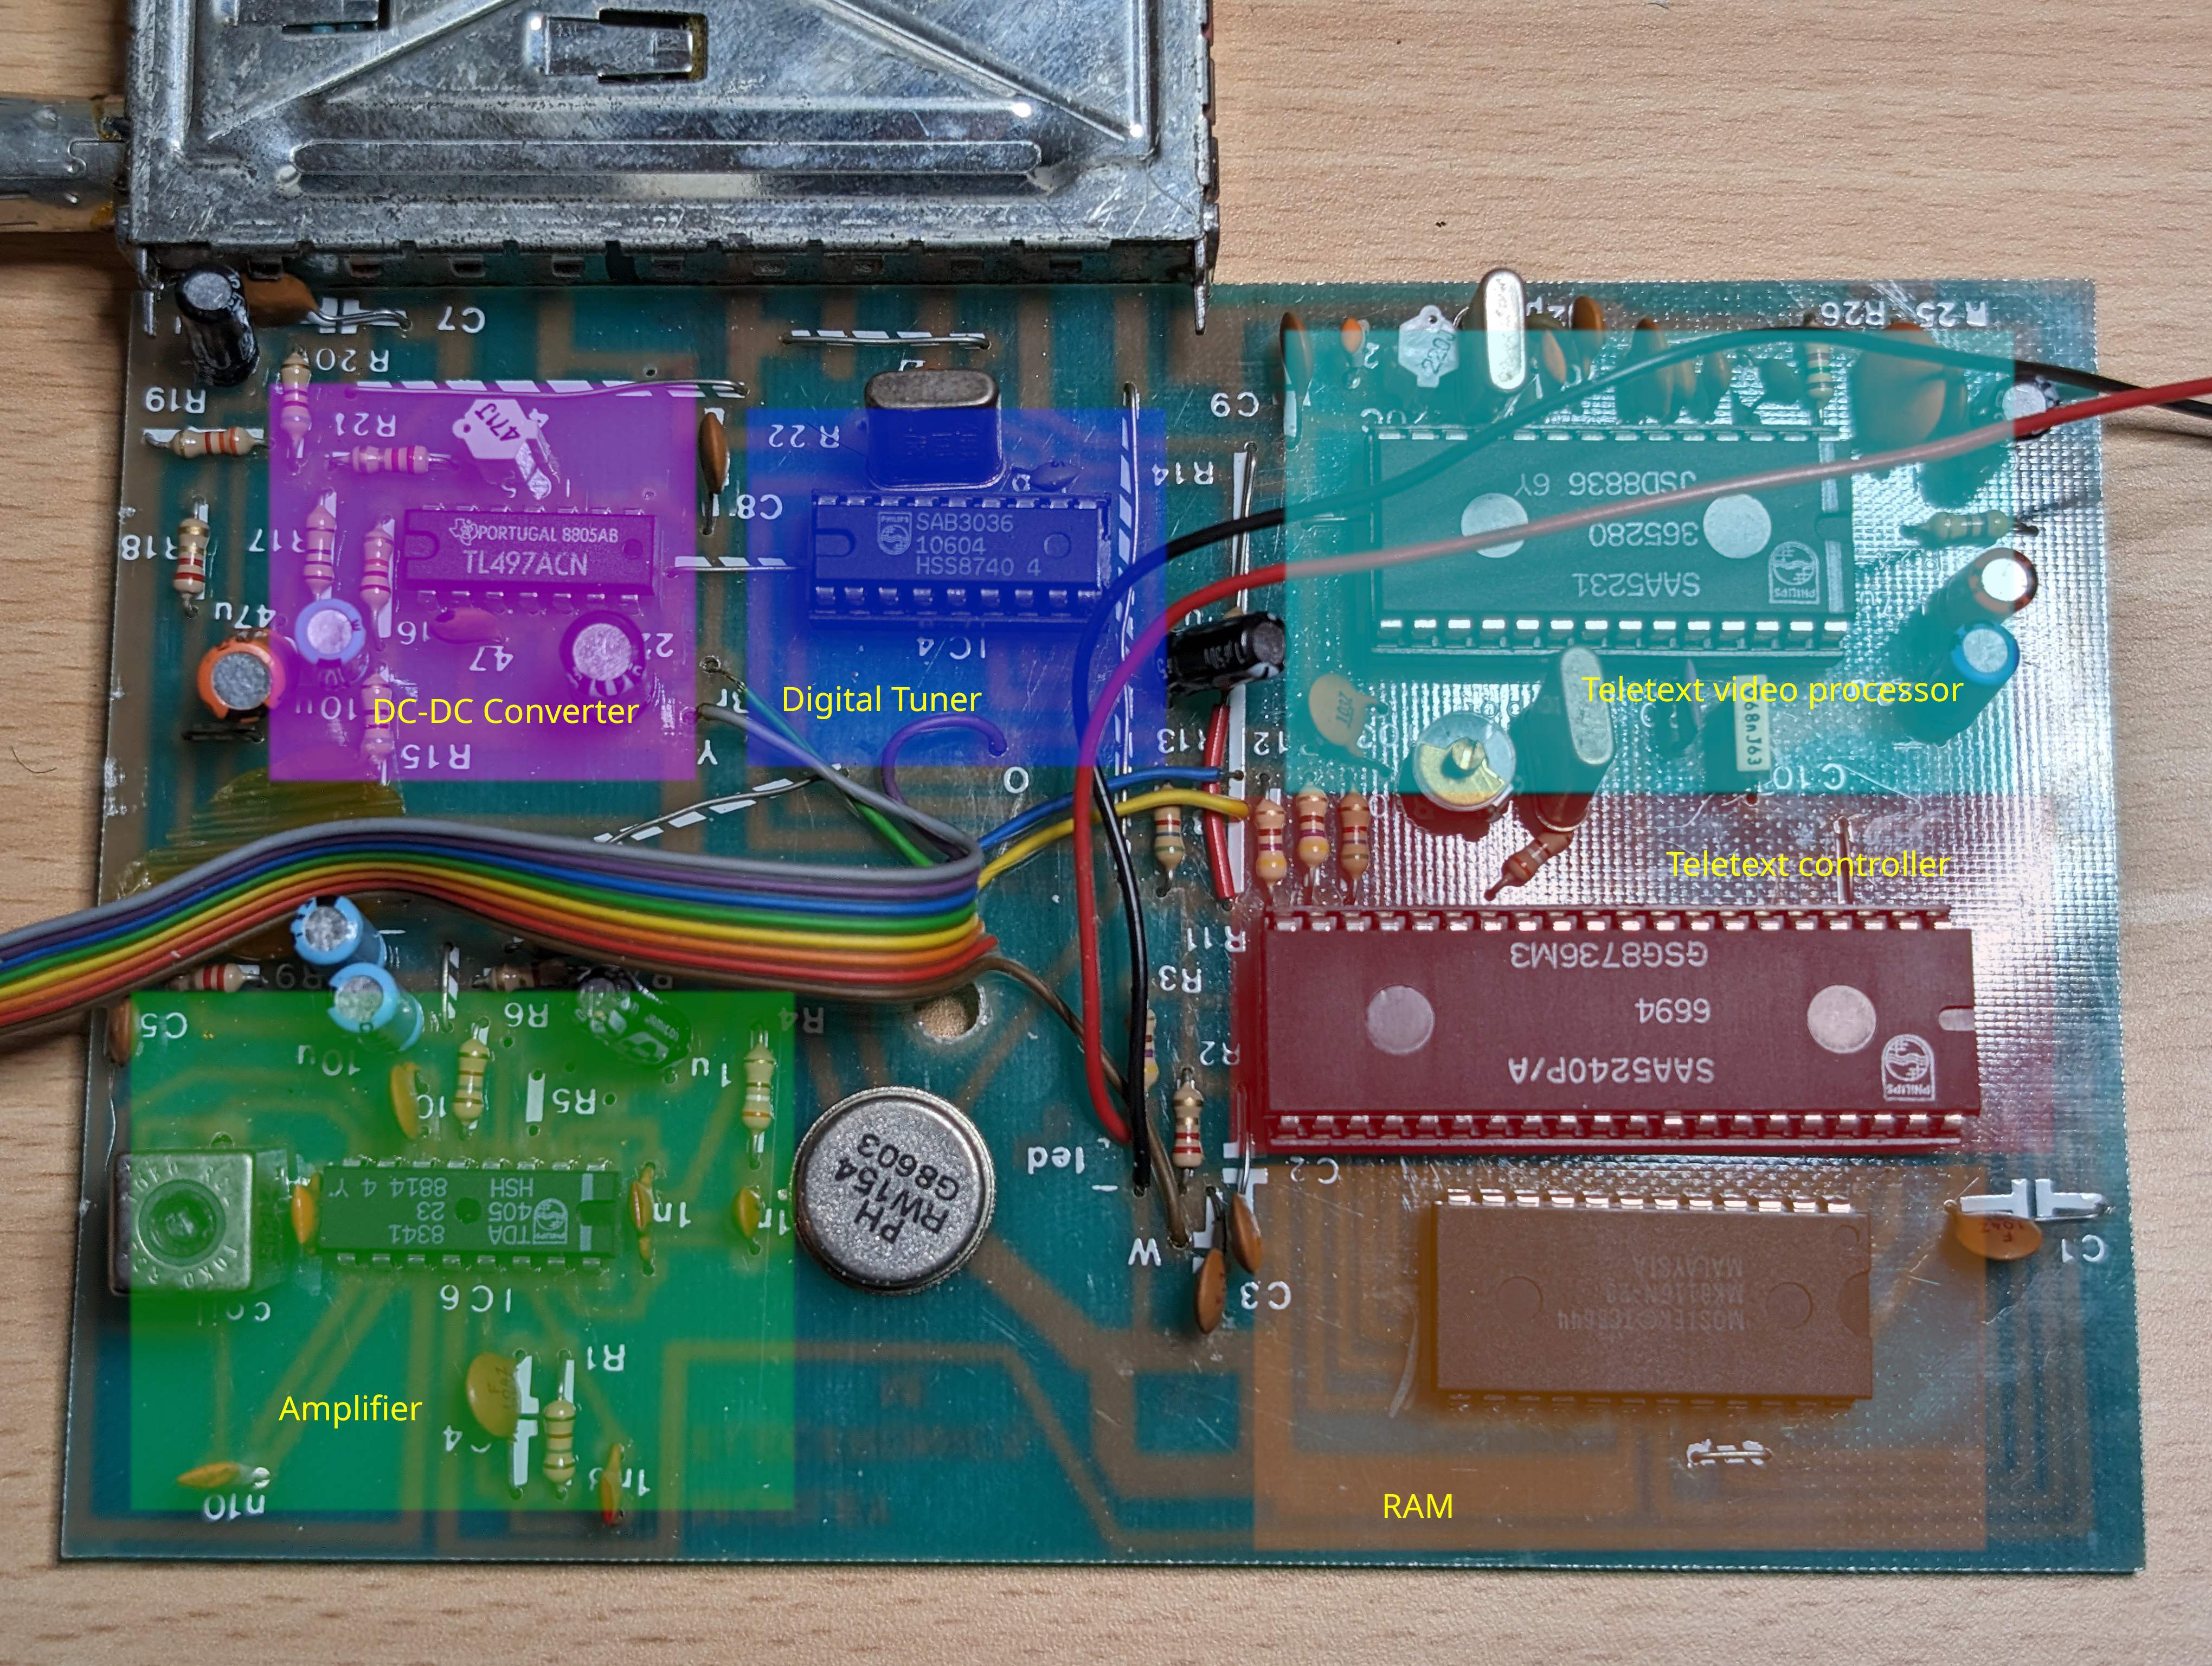
So, the DC-DC converter creates a 32v output to power the digital tuner circuit, the digital tuner takes an I2C input to tune the input signal to a specific frequency. The amplifier does what it says on the tin, it amplifies the TV signal. This is signal is pumped into the Teletext video processor and this is controlled by the Teletext controller, which also has an I2C output. This is connected to the RAM which I’m assuming is a buffer for Teletext pages.
Now, the fact that there are two components connected to the I2C is what got me thinking, what happens if I remove the tuner chip? I tried this and the BBC could talk to it! So, something is either up with the tuner chip, or the circuit around it which is causing it to jam up the I2C bus.
Replacement
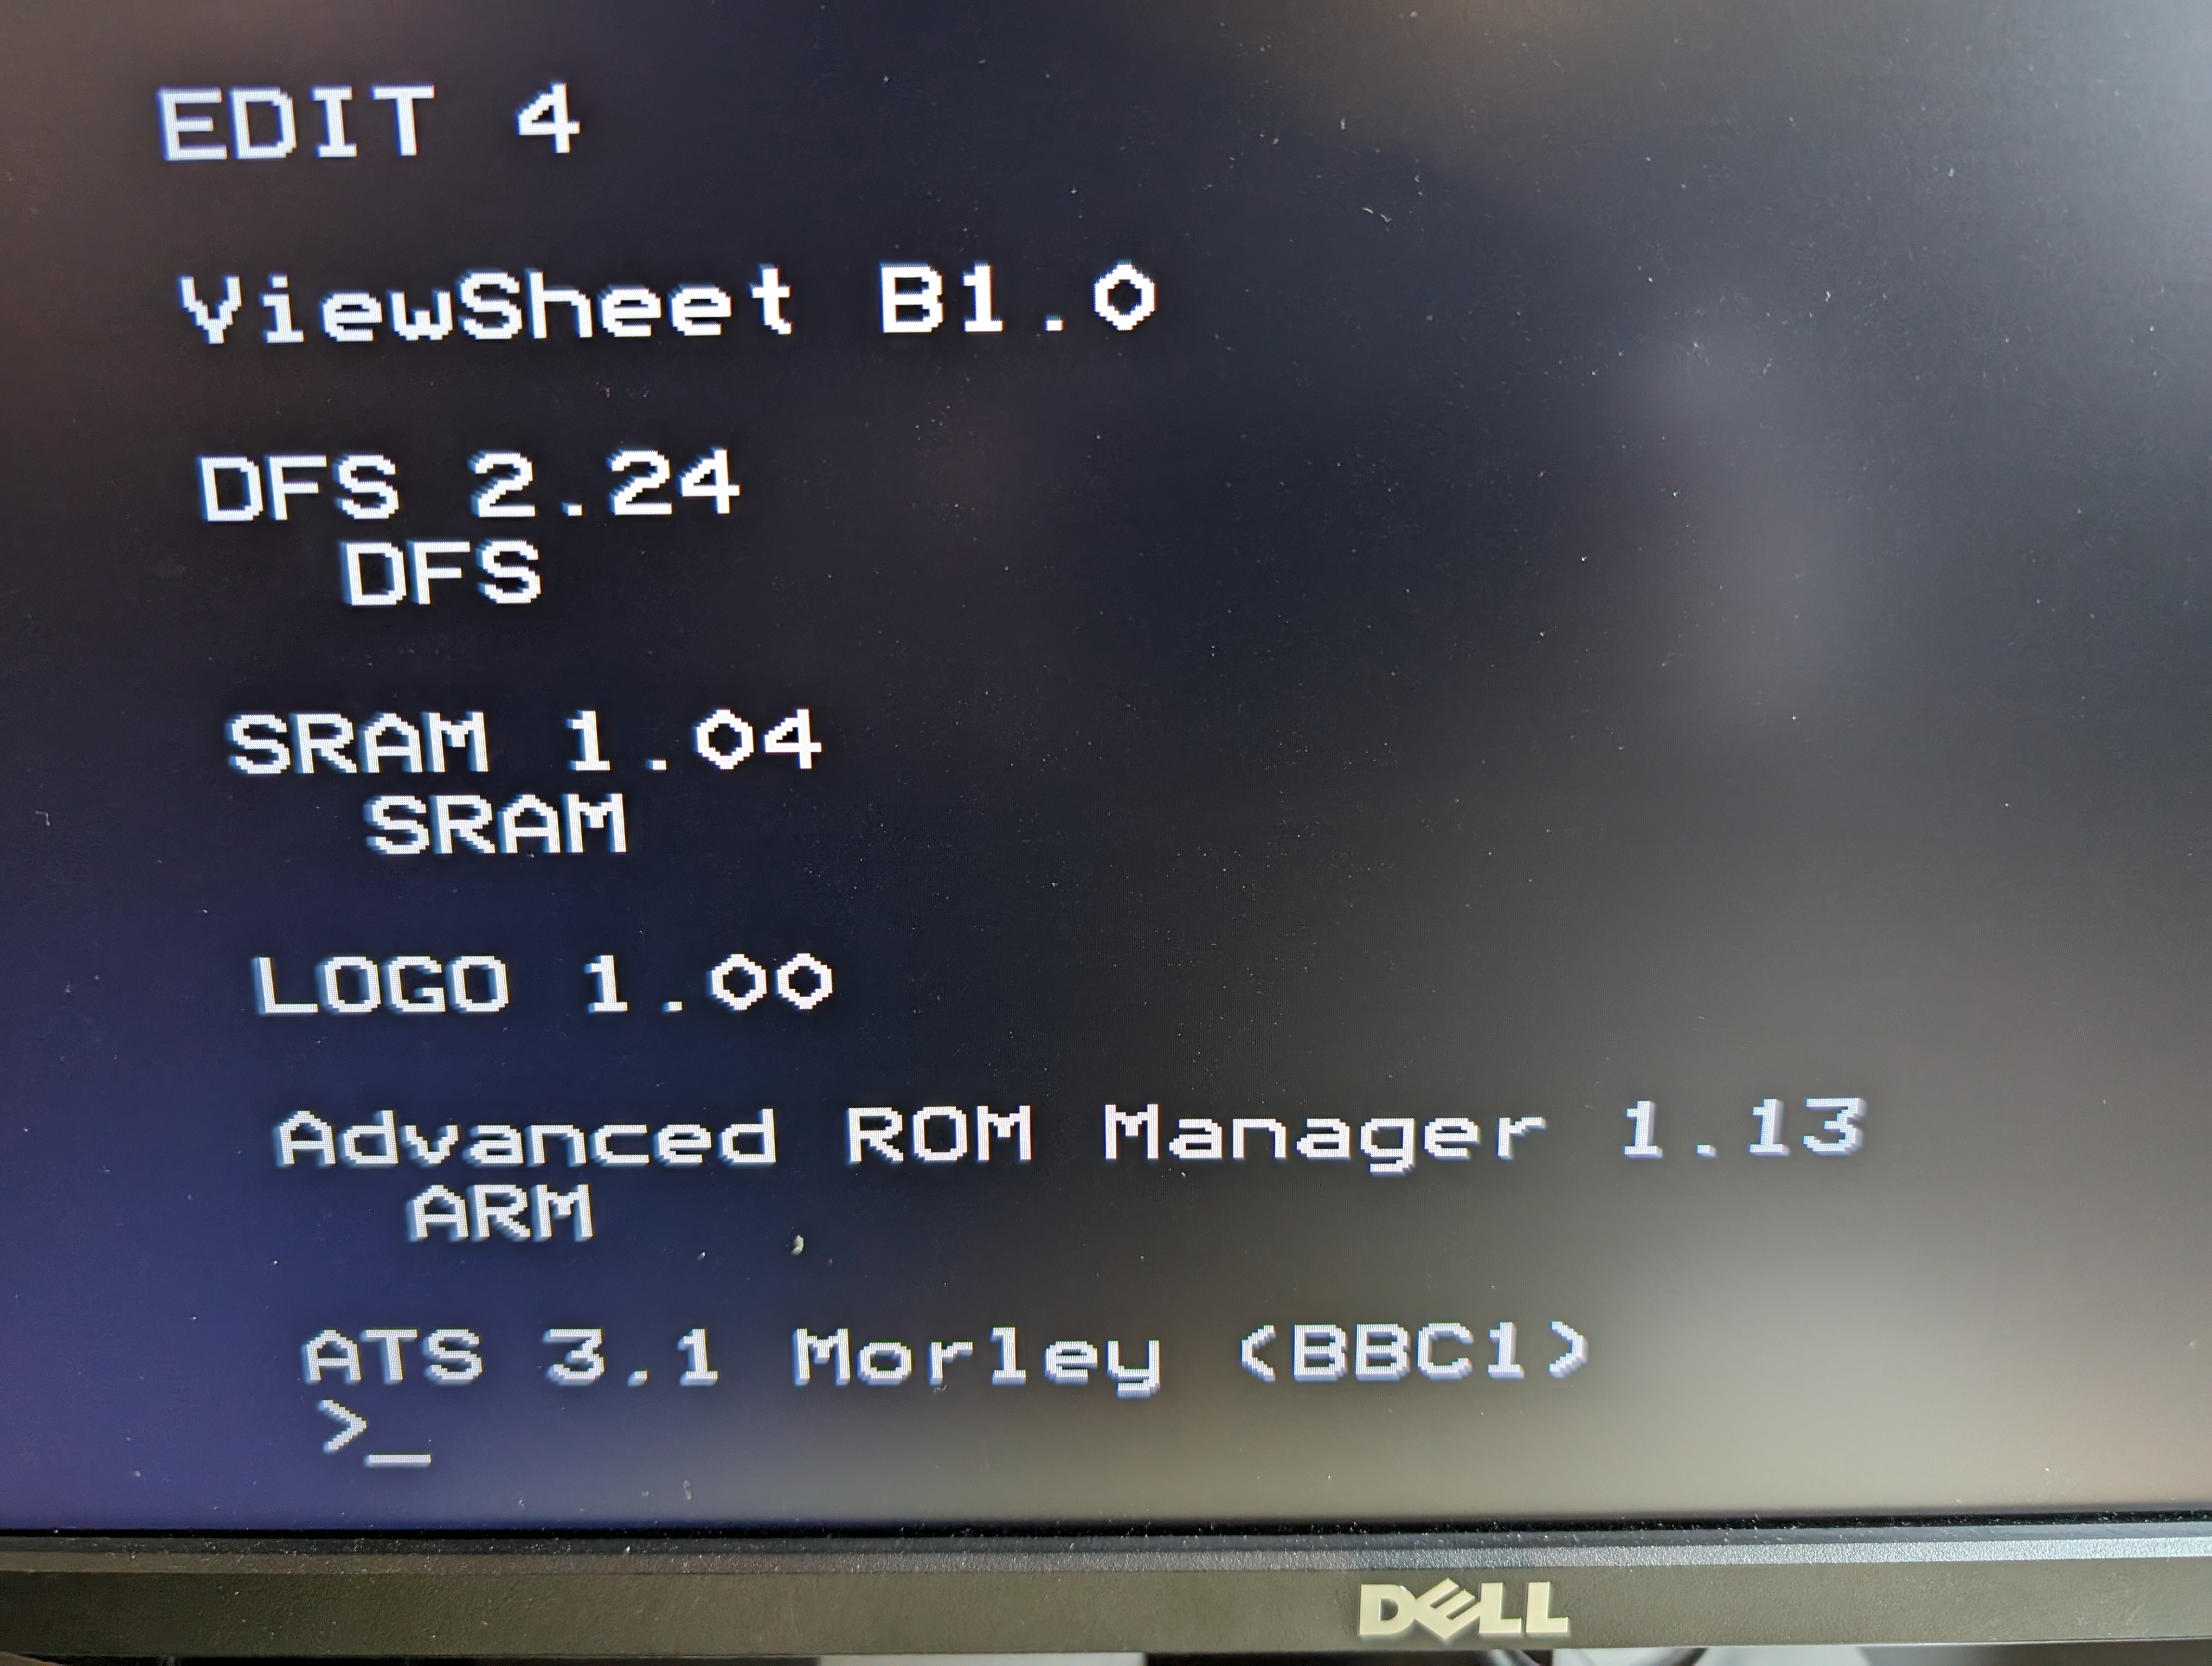
I had a good chat with the person who sold the Teletext unit, and he happened to have several more, so sent me a replacement. This one has a slightly different front panel, but functions correctly.
Now, to use it, we have to load the software from the ROM, this can be done with the command *TELETEXT. This will bring up a black screen with “BBC1” at the top, not very exciting yet. I started to use HDMI screenshot captures for the setup.

If we hit SHIFT-F0 as indicated by the command strip I printed, a tuning menu pops up.
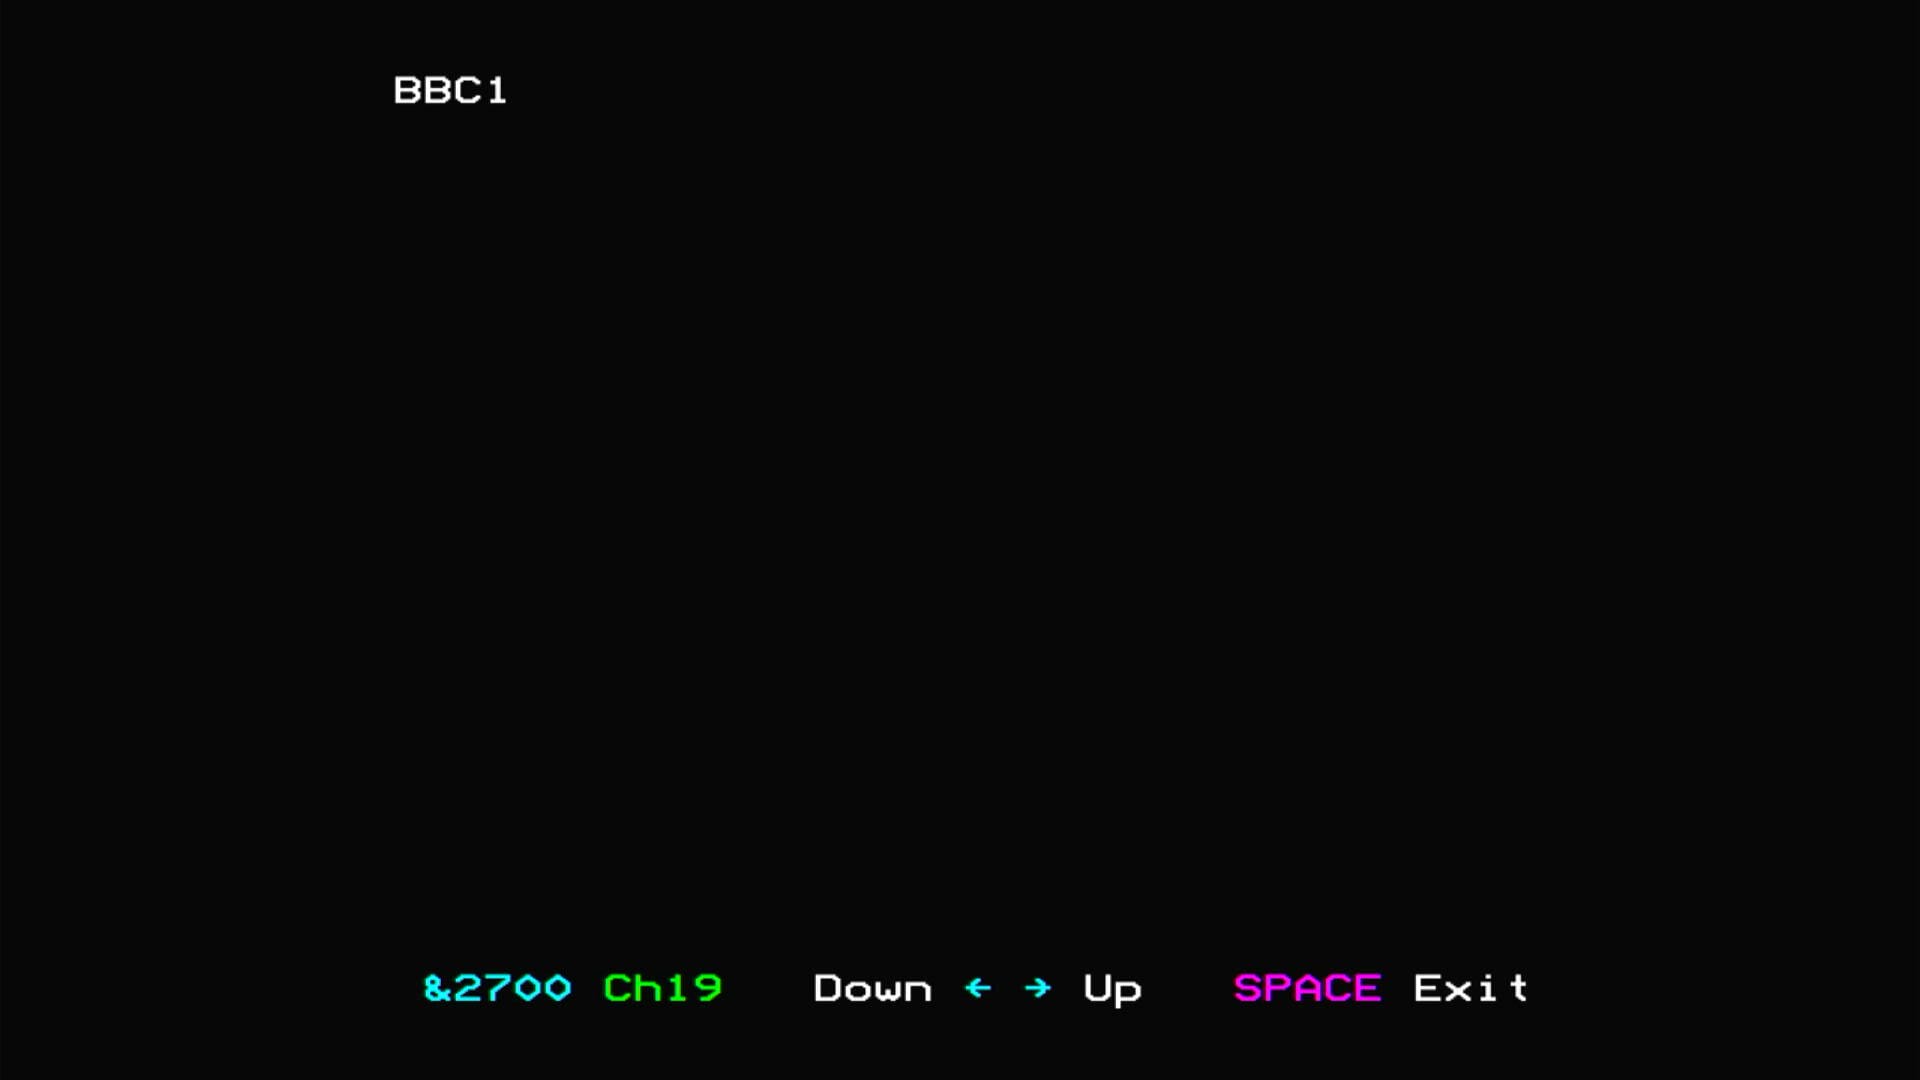
This can be controlled using the left and right arrow keys. I set the transmitter to the lowest channel it can do (21) and tuned the unit by holding down the right arrow until I was at channel 21, tapping to fine tune from there.
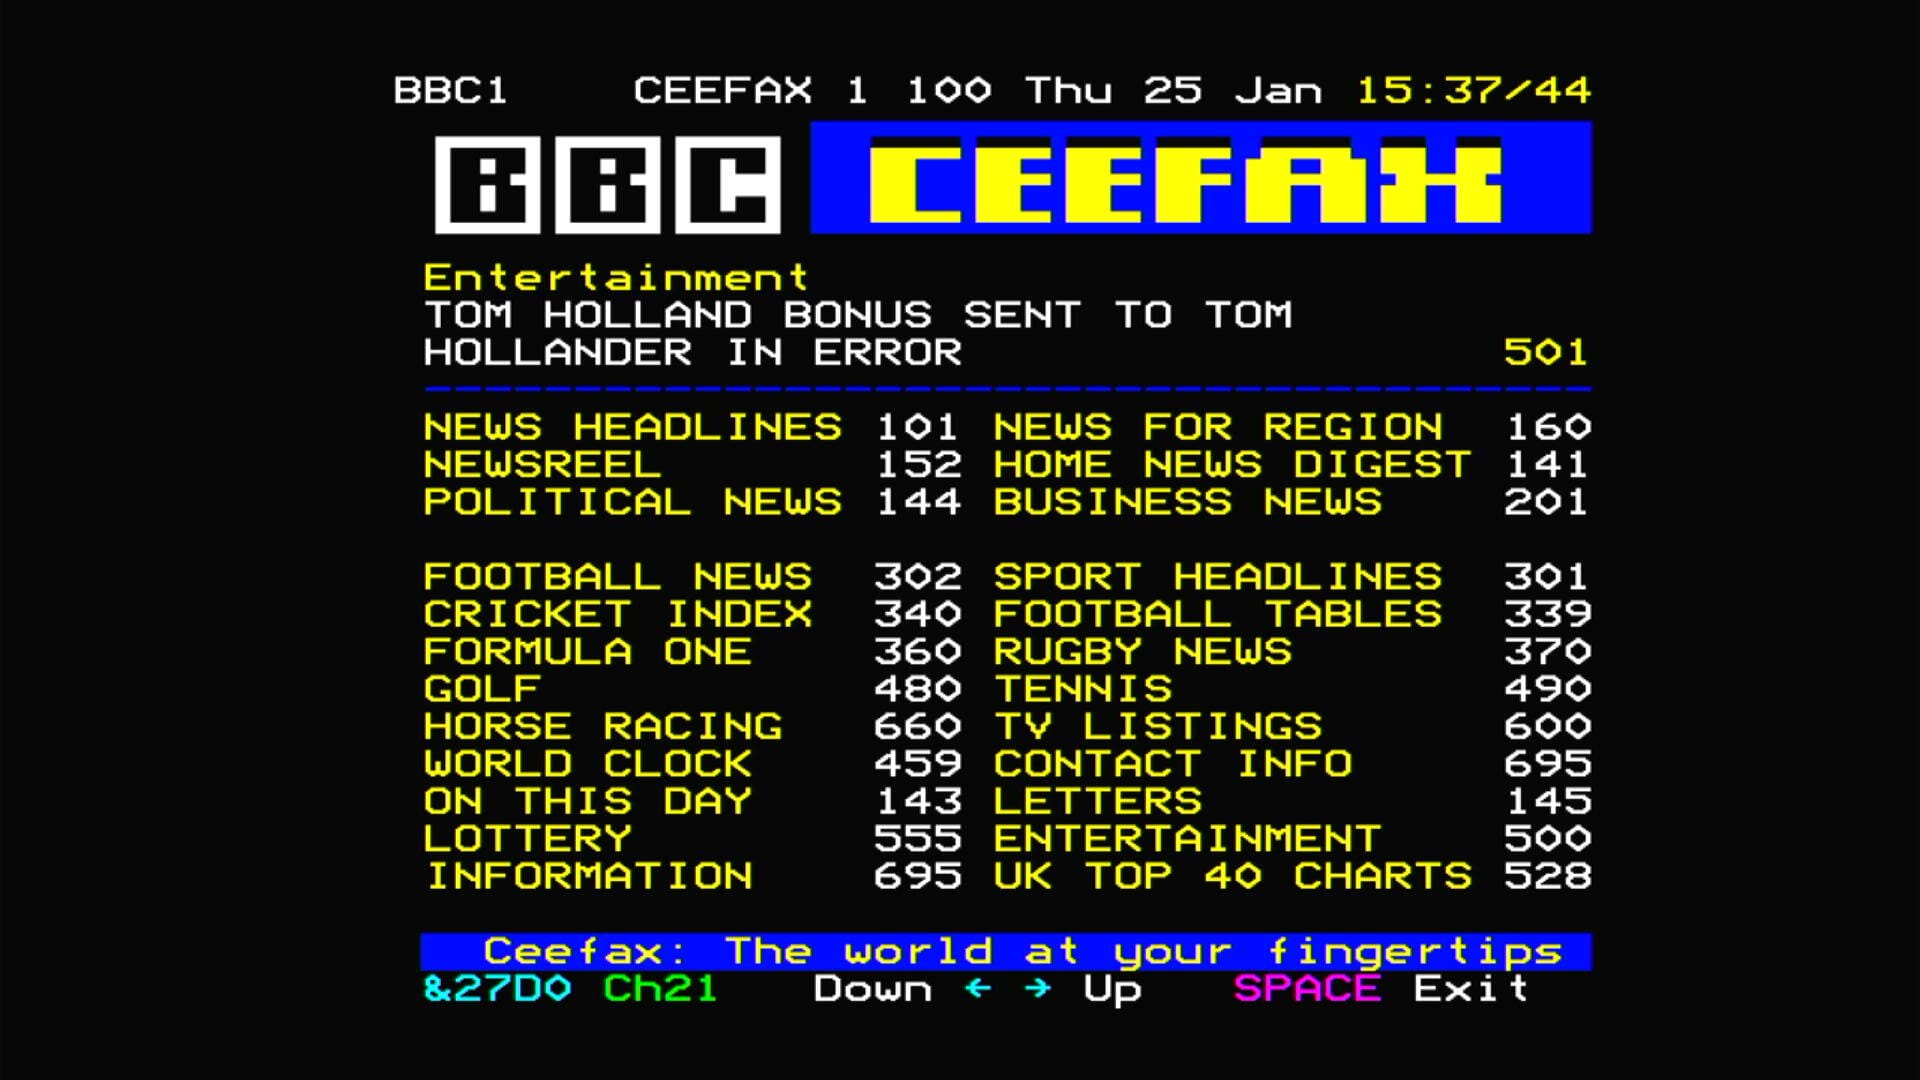
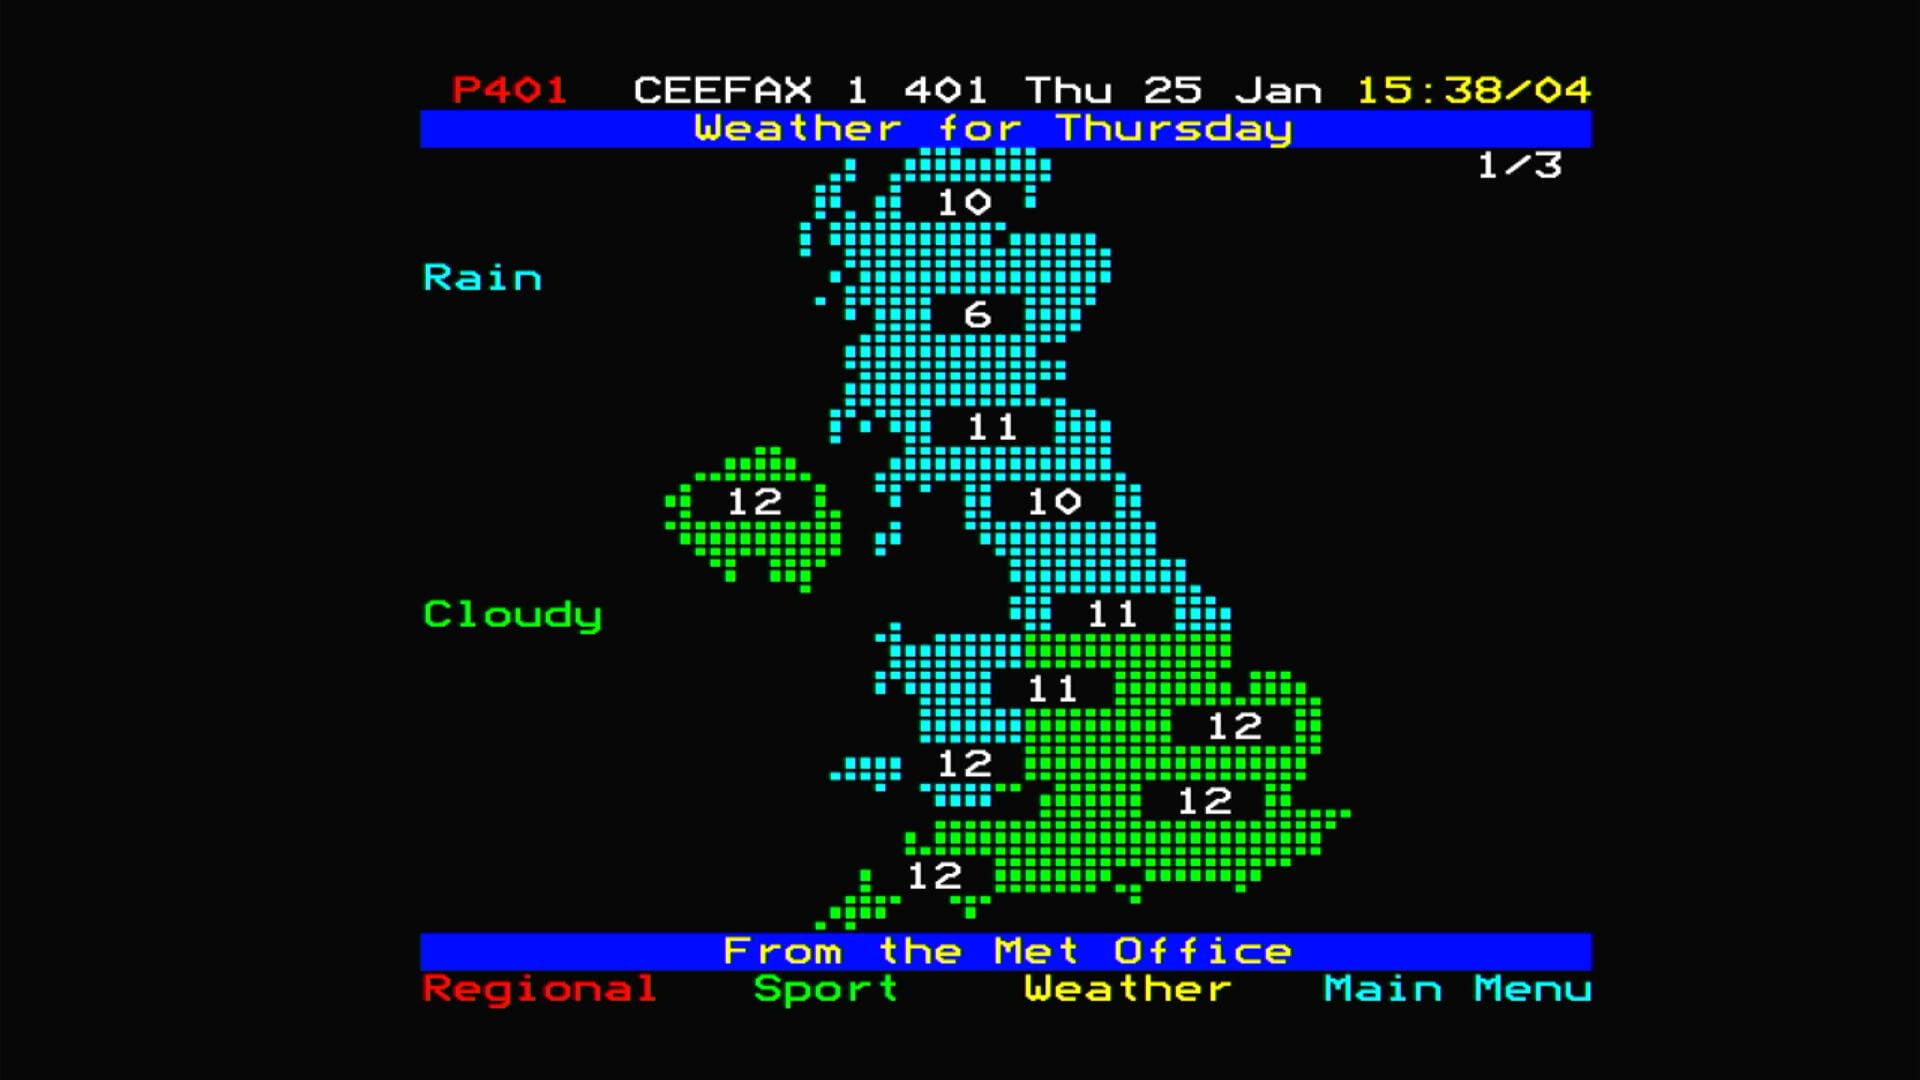
Once we were into channel 21, the index page loaded! We can now hit SPACE to exit the tuning menu and use Teletext as normal. For example, jumping to page 401 (literally typing 401 on the keyboard) gives me the weather for the next 24 hours over three pages.
Summary
This photo pretty much captures the entire end-to-end setup. The Pi obtains the raw Teletext data and outputs the control signals in the hidden part of the composite output image. Then the RF modulator turns the composite into an RF signal, just like an original analogue TV used to use. The Morley Teletext Adapter pulls the data from the RF signal and the software and hardware in the BBC translating that into something it can display.

Leave a Reply