
In my previous post about the restoration of the Valiant Turtle, I managed to get it powered up, but the battery door was not closing properly. Now that he is living, I’ve decided to name him Tobias the Valiant Turtle. This is the continuation of his repair.
Battery Door
One of the battery doors would not close properly because one of the screw hole posts had cracked and the screw was no longer biting. I first tried some two-part epoxy glue and clamped it.
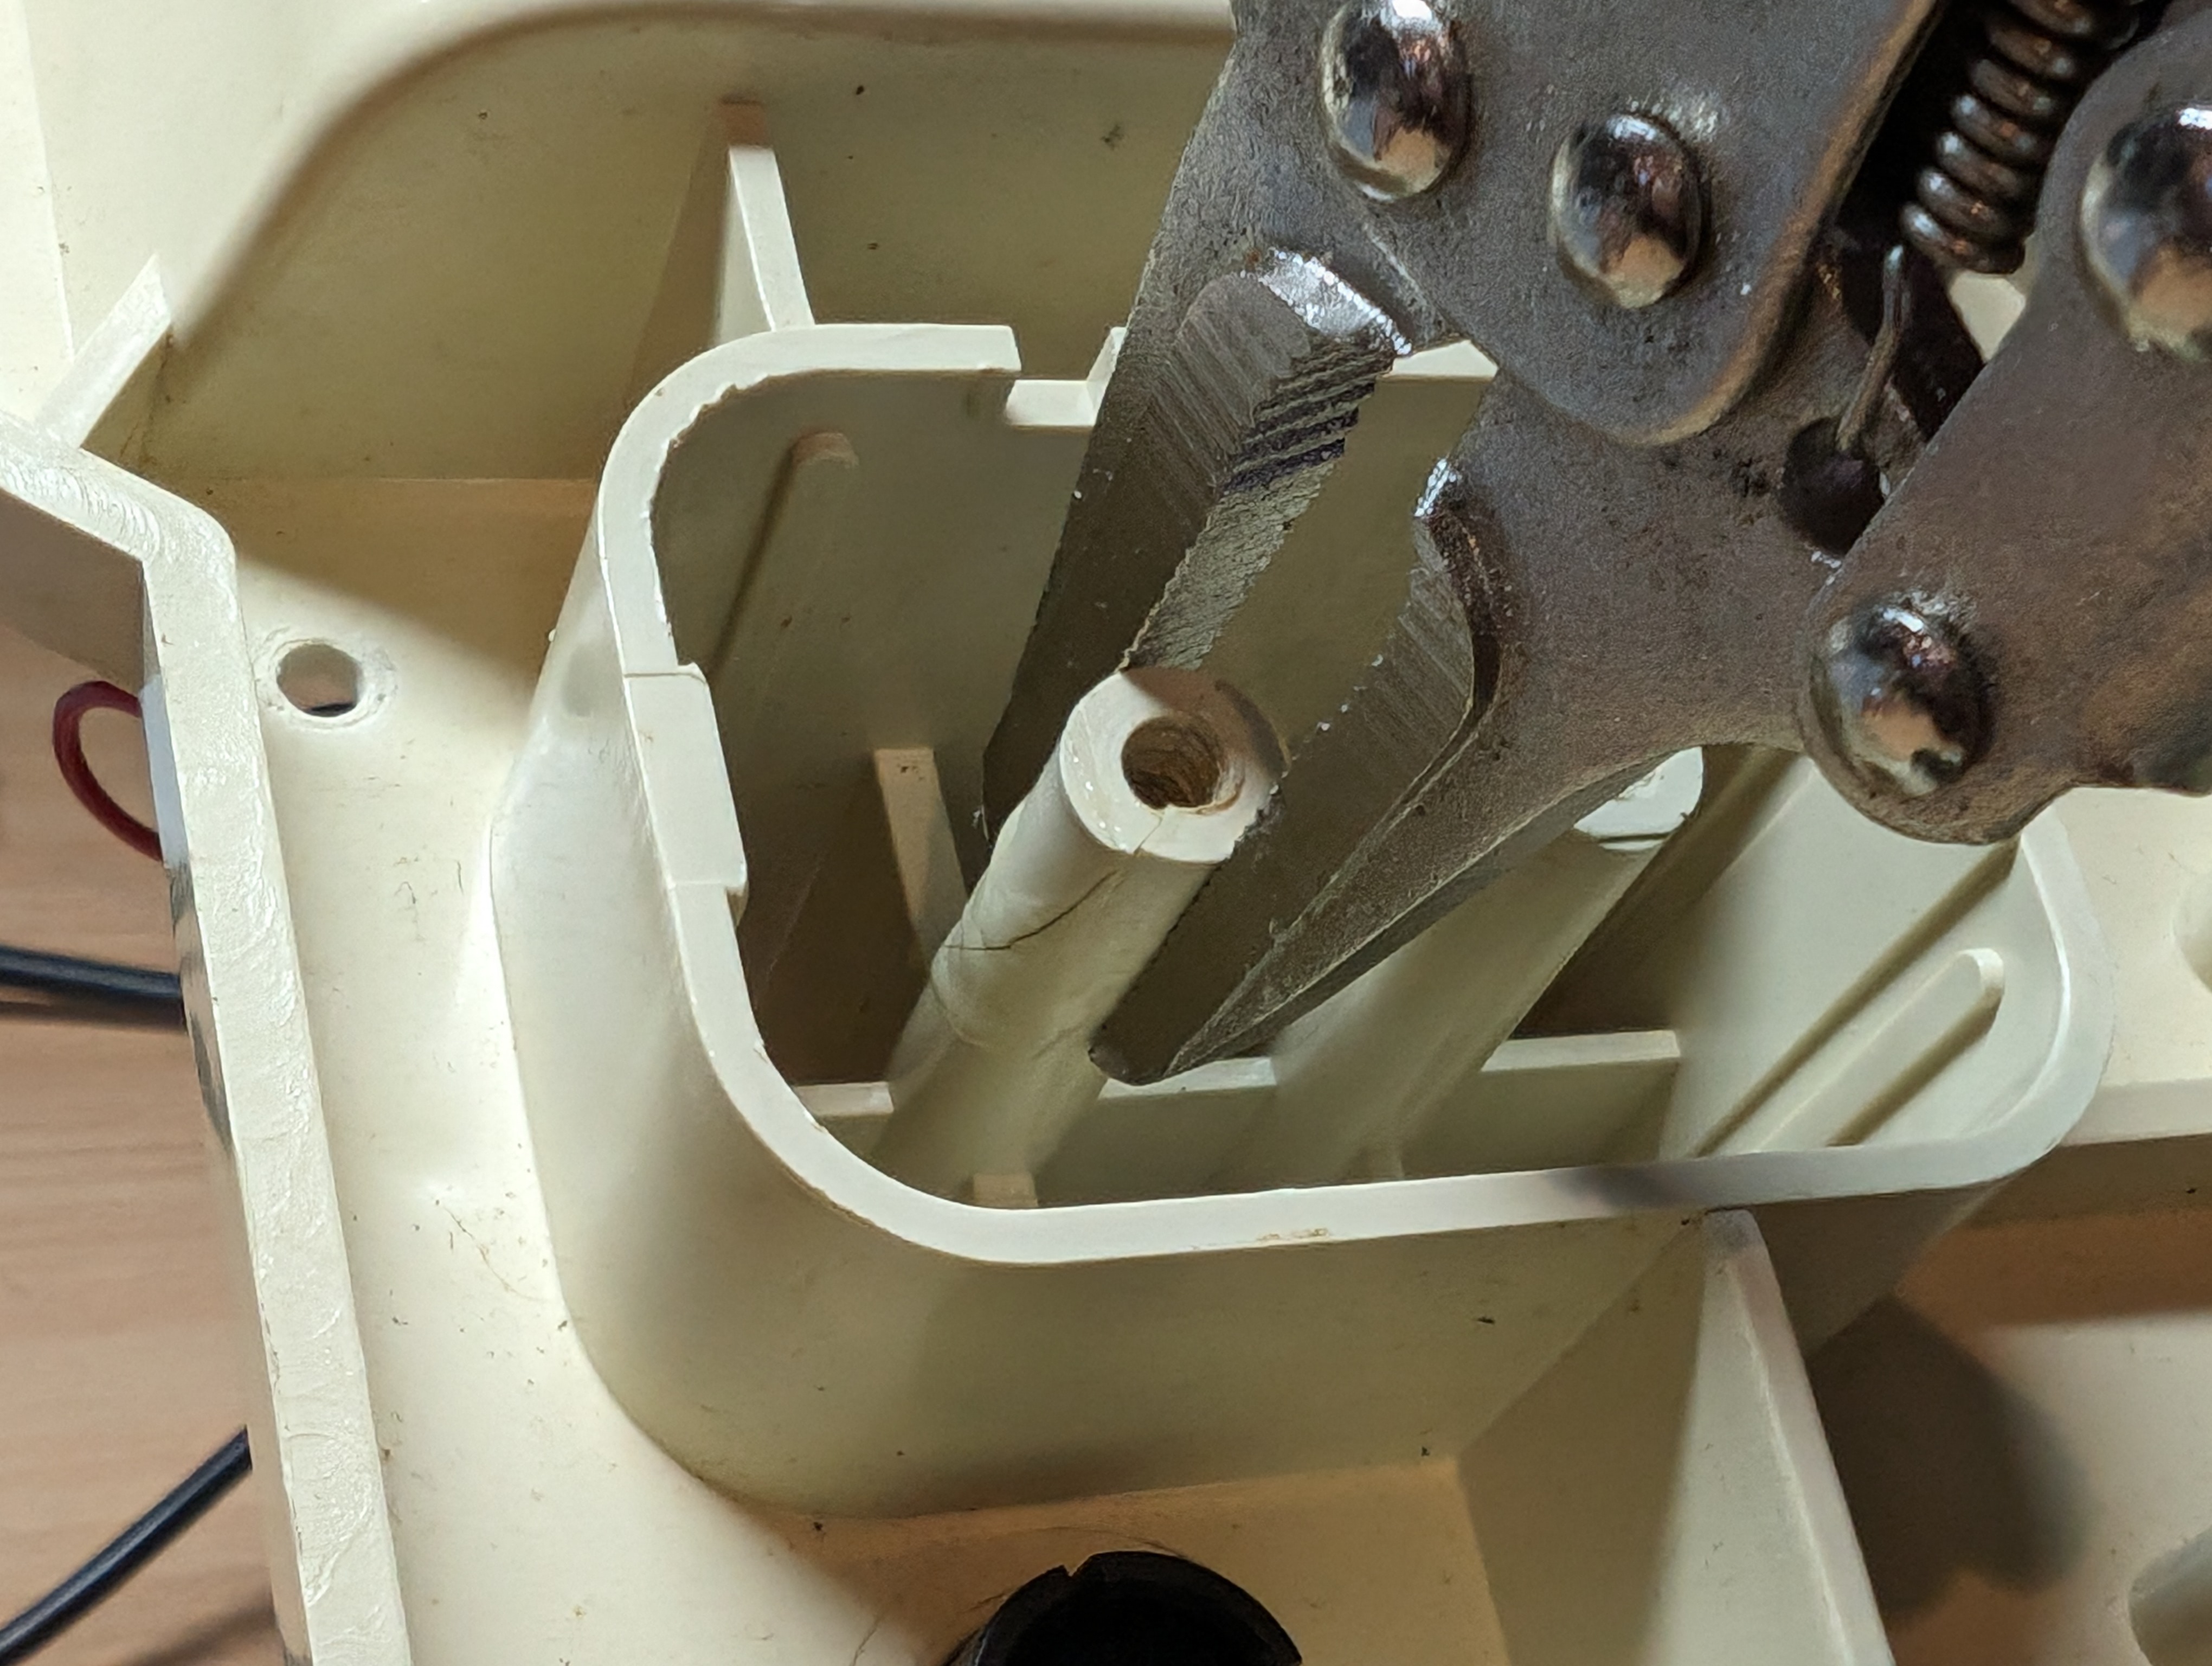
Unfortunately the second a screw was put in, the crack immediately reopened and the screw still wouldn’t bite. Then I had another idea. What if I could 3D print a small ring to slip over the end of the post to hold it together? Then the screw should bite. I opened Tinkercad and designed it.
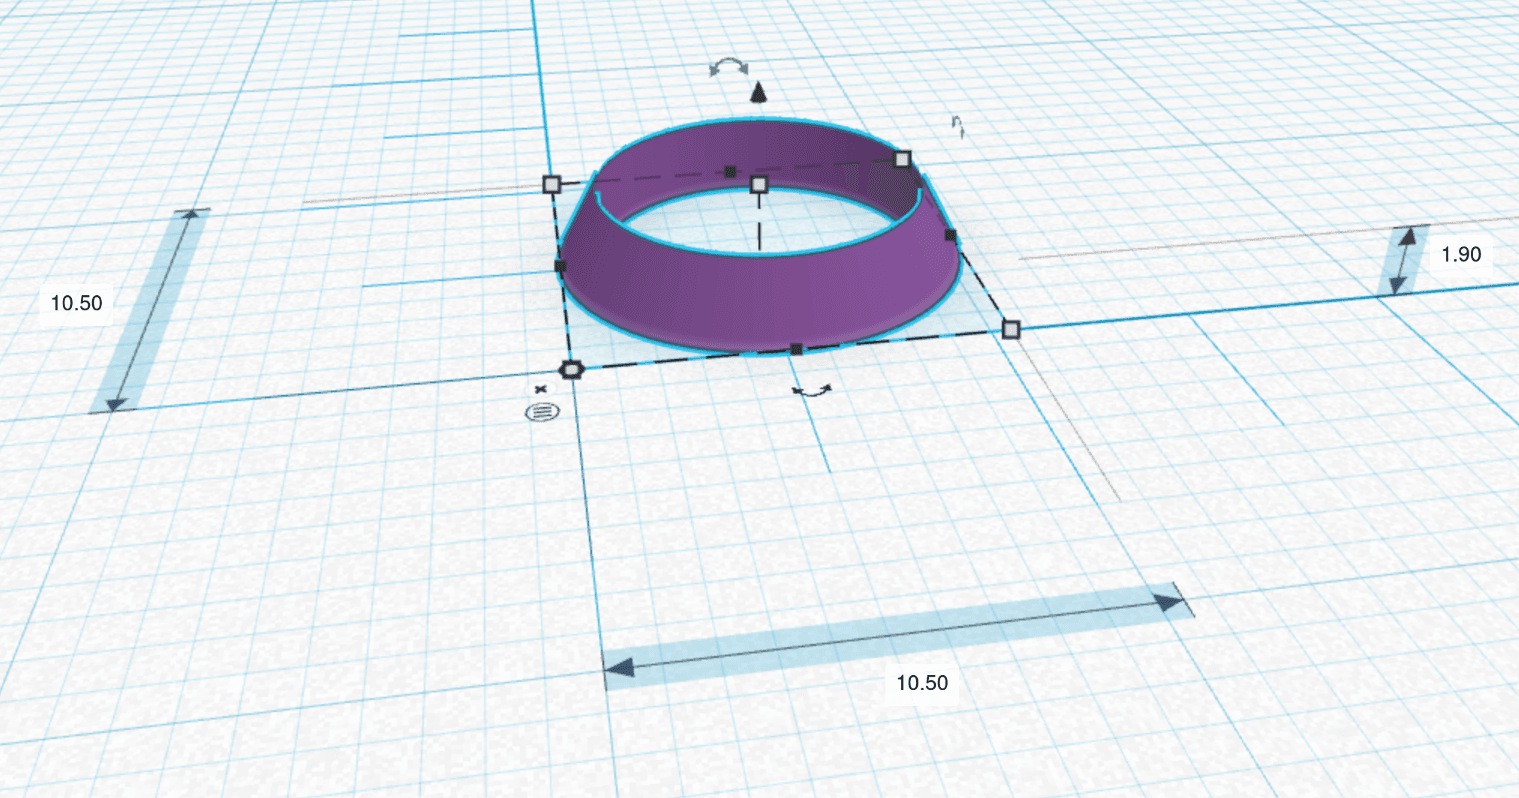
It is basically a cone with a hole through it, so that it should slip on easily, not get in the way of the batteries, but still be strong enough. This worked, once I fitted the batteries, I fitted this ring and was able to close the battery door. Unfortunately I did not get a photo of it, and I don’t want to risk things by opening it up again.
Controlling
Tobias did not come with a controller, so I had no way of making him actually move. Luckily, someone has created a replacement controller board that can connect to the BBC Micro or even a PC using an RS232 connection. I ordered one of the boards, and here it is.
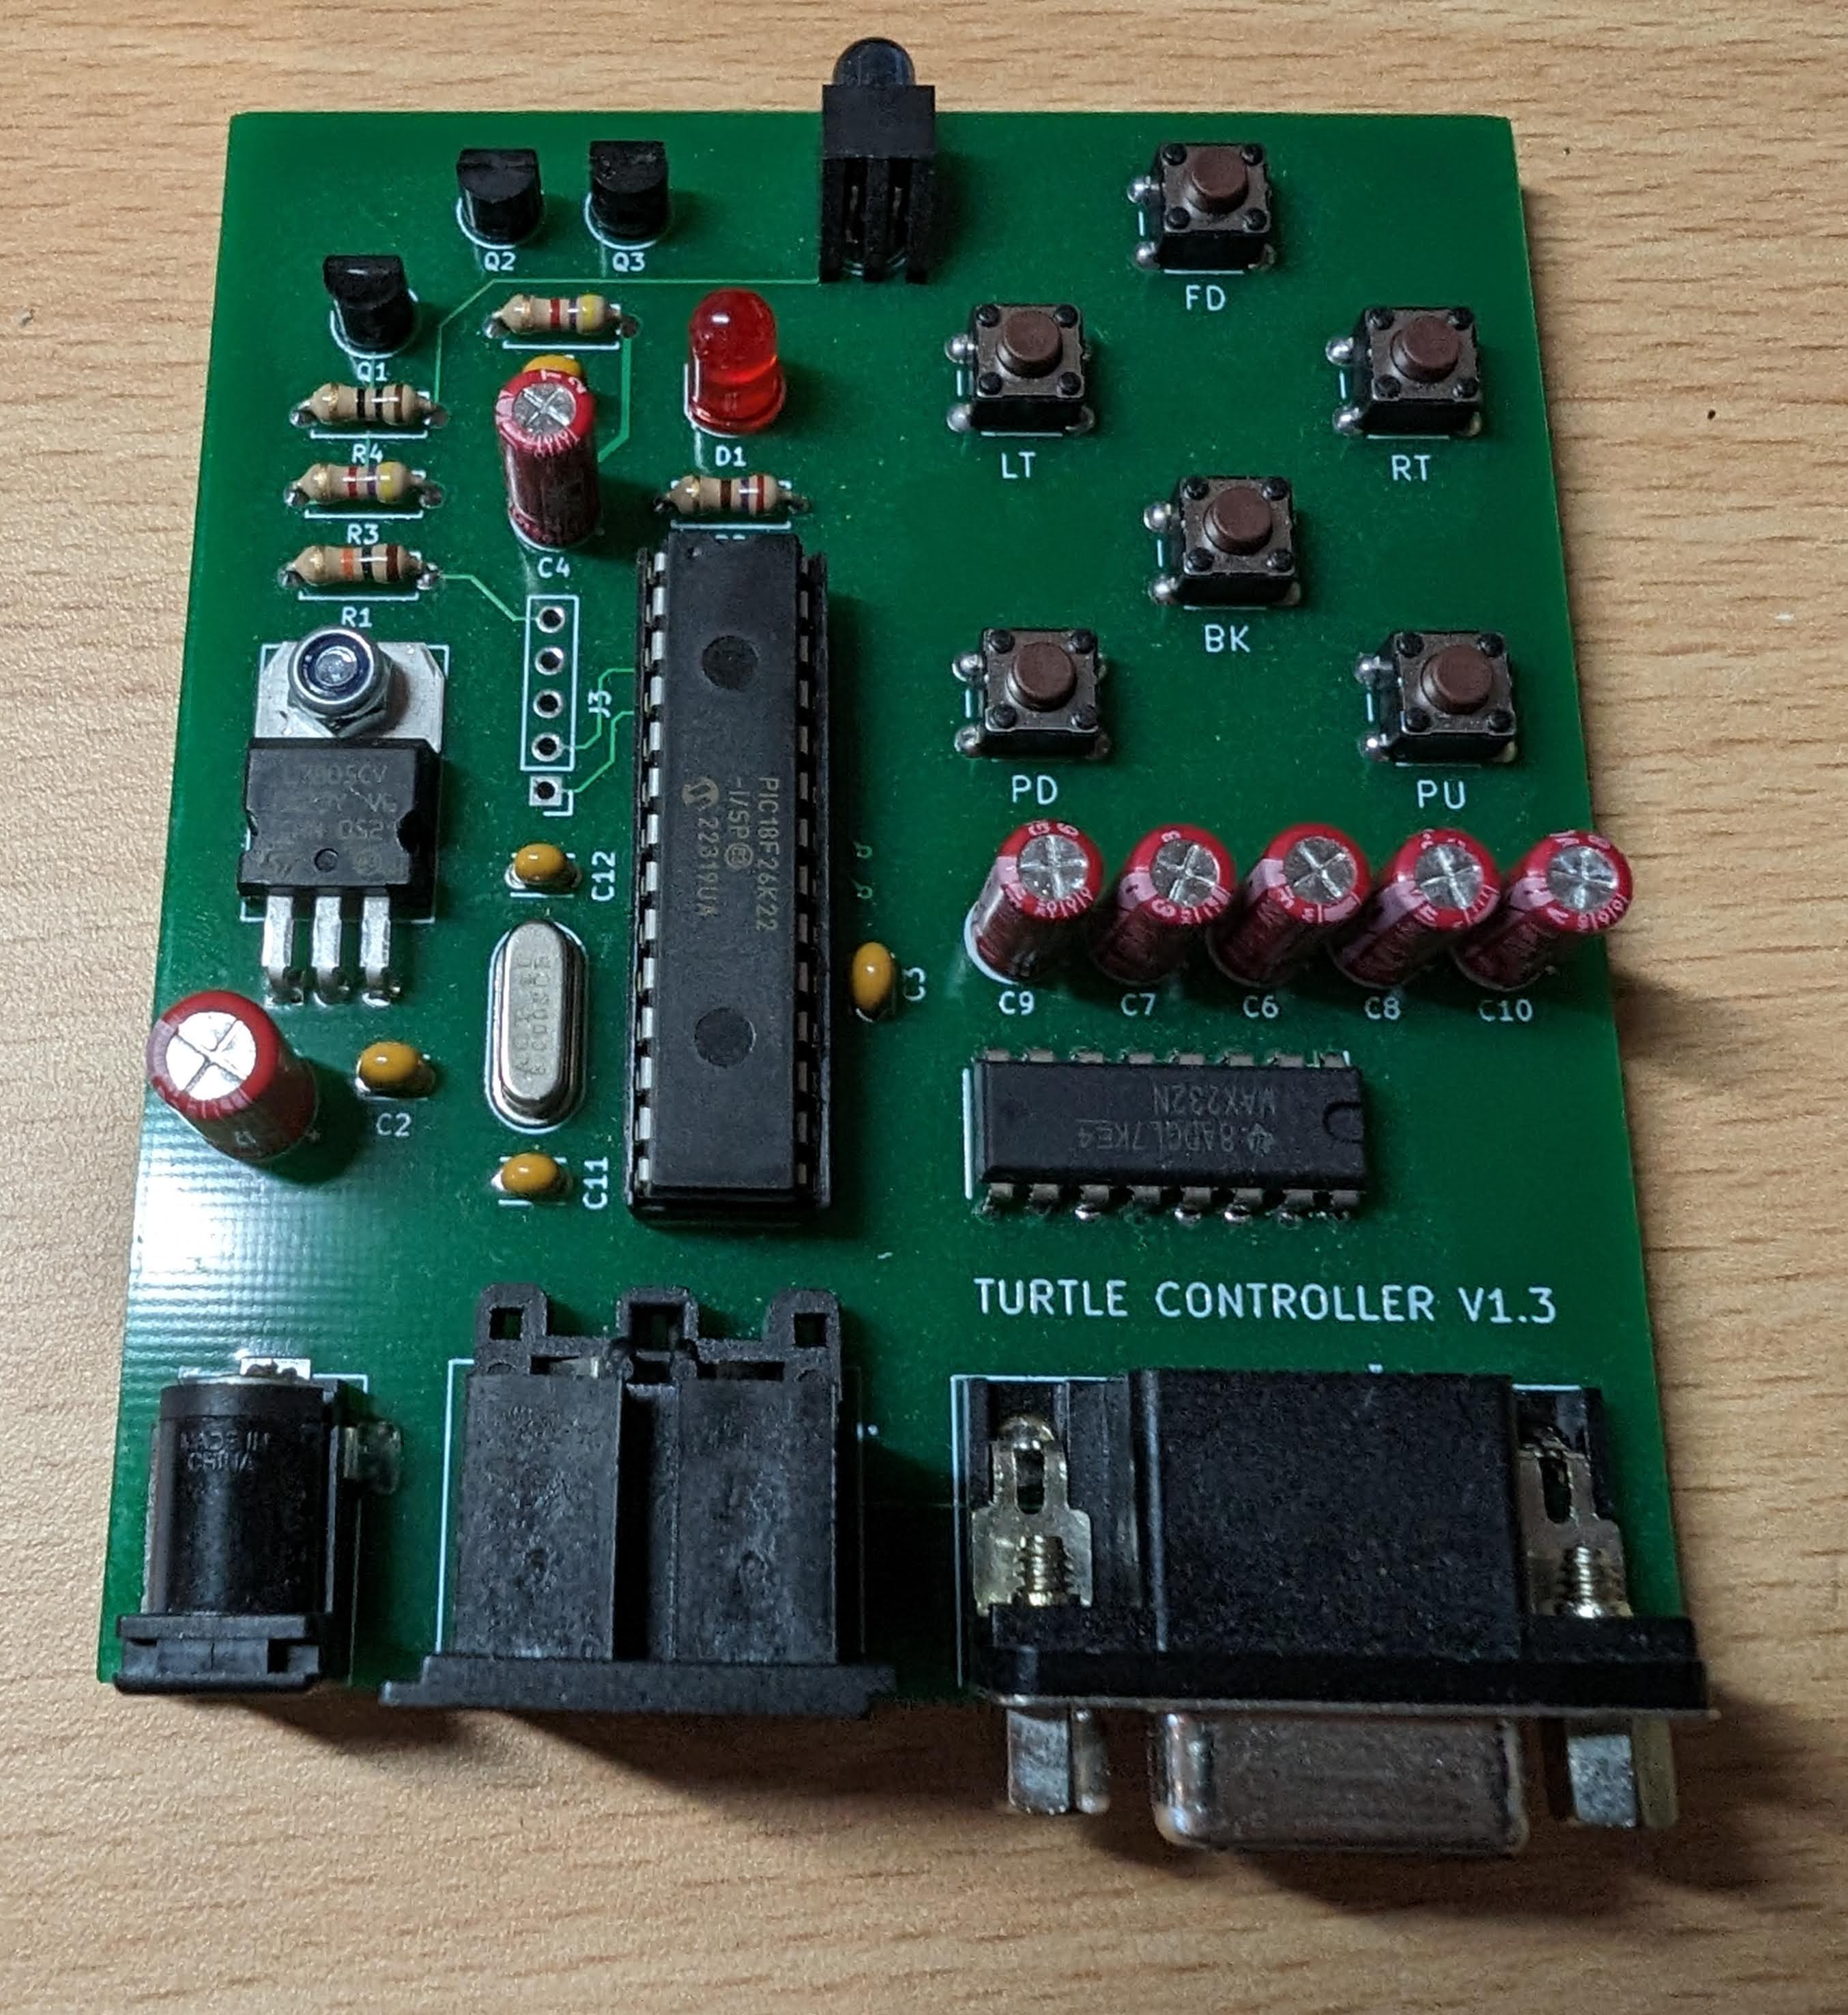
It can be powered by a wide range of DC voltages thanks to the 7805 voltage regulator, I happened to have a Meanwell 7.5v PSU spare that should work perfectly. In addition, it has buttons on it so that you can control the turtle without having to use a computer, ideal for testing.
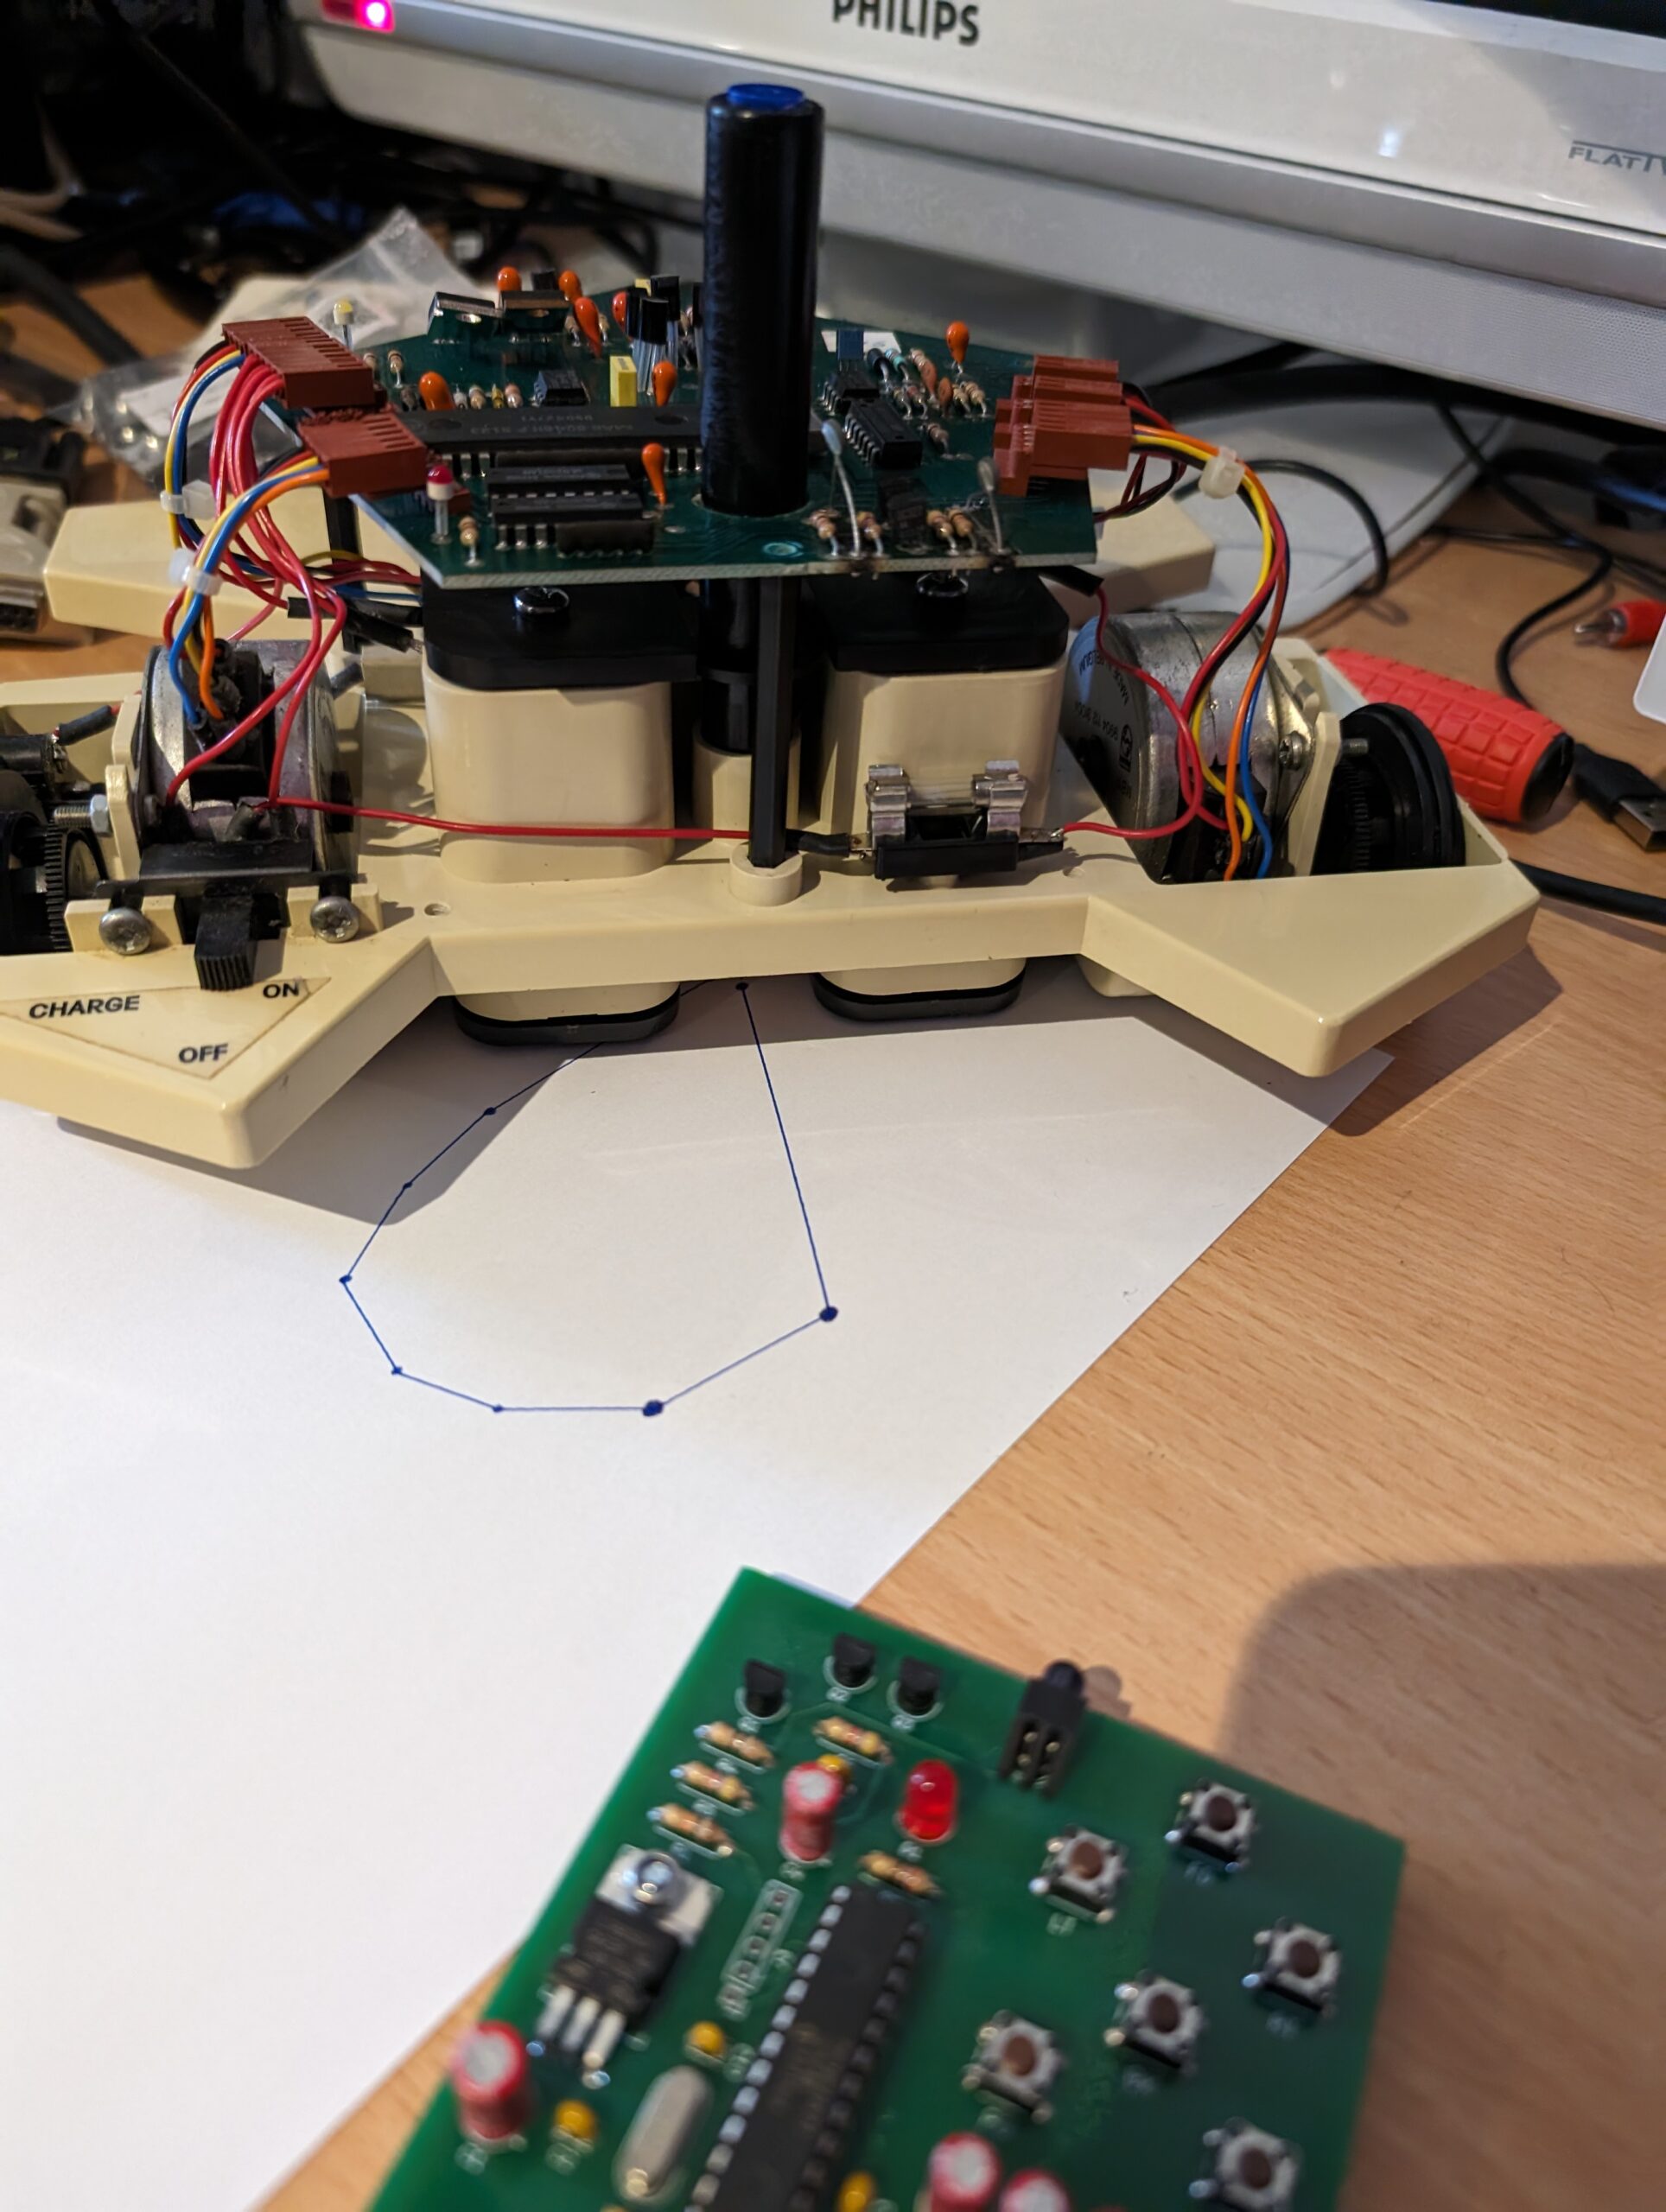
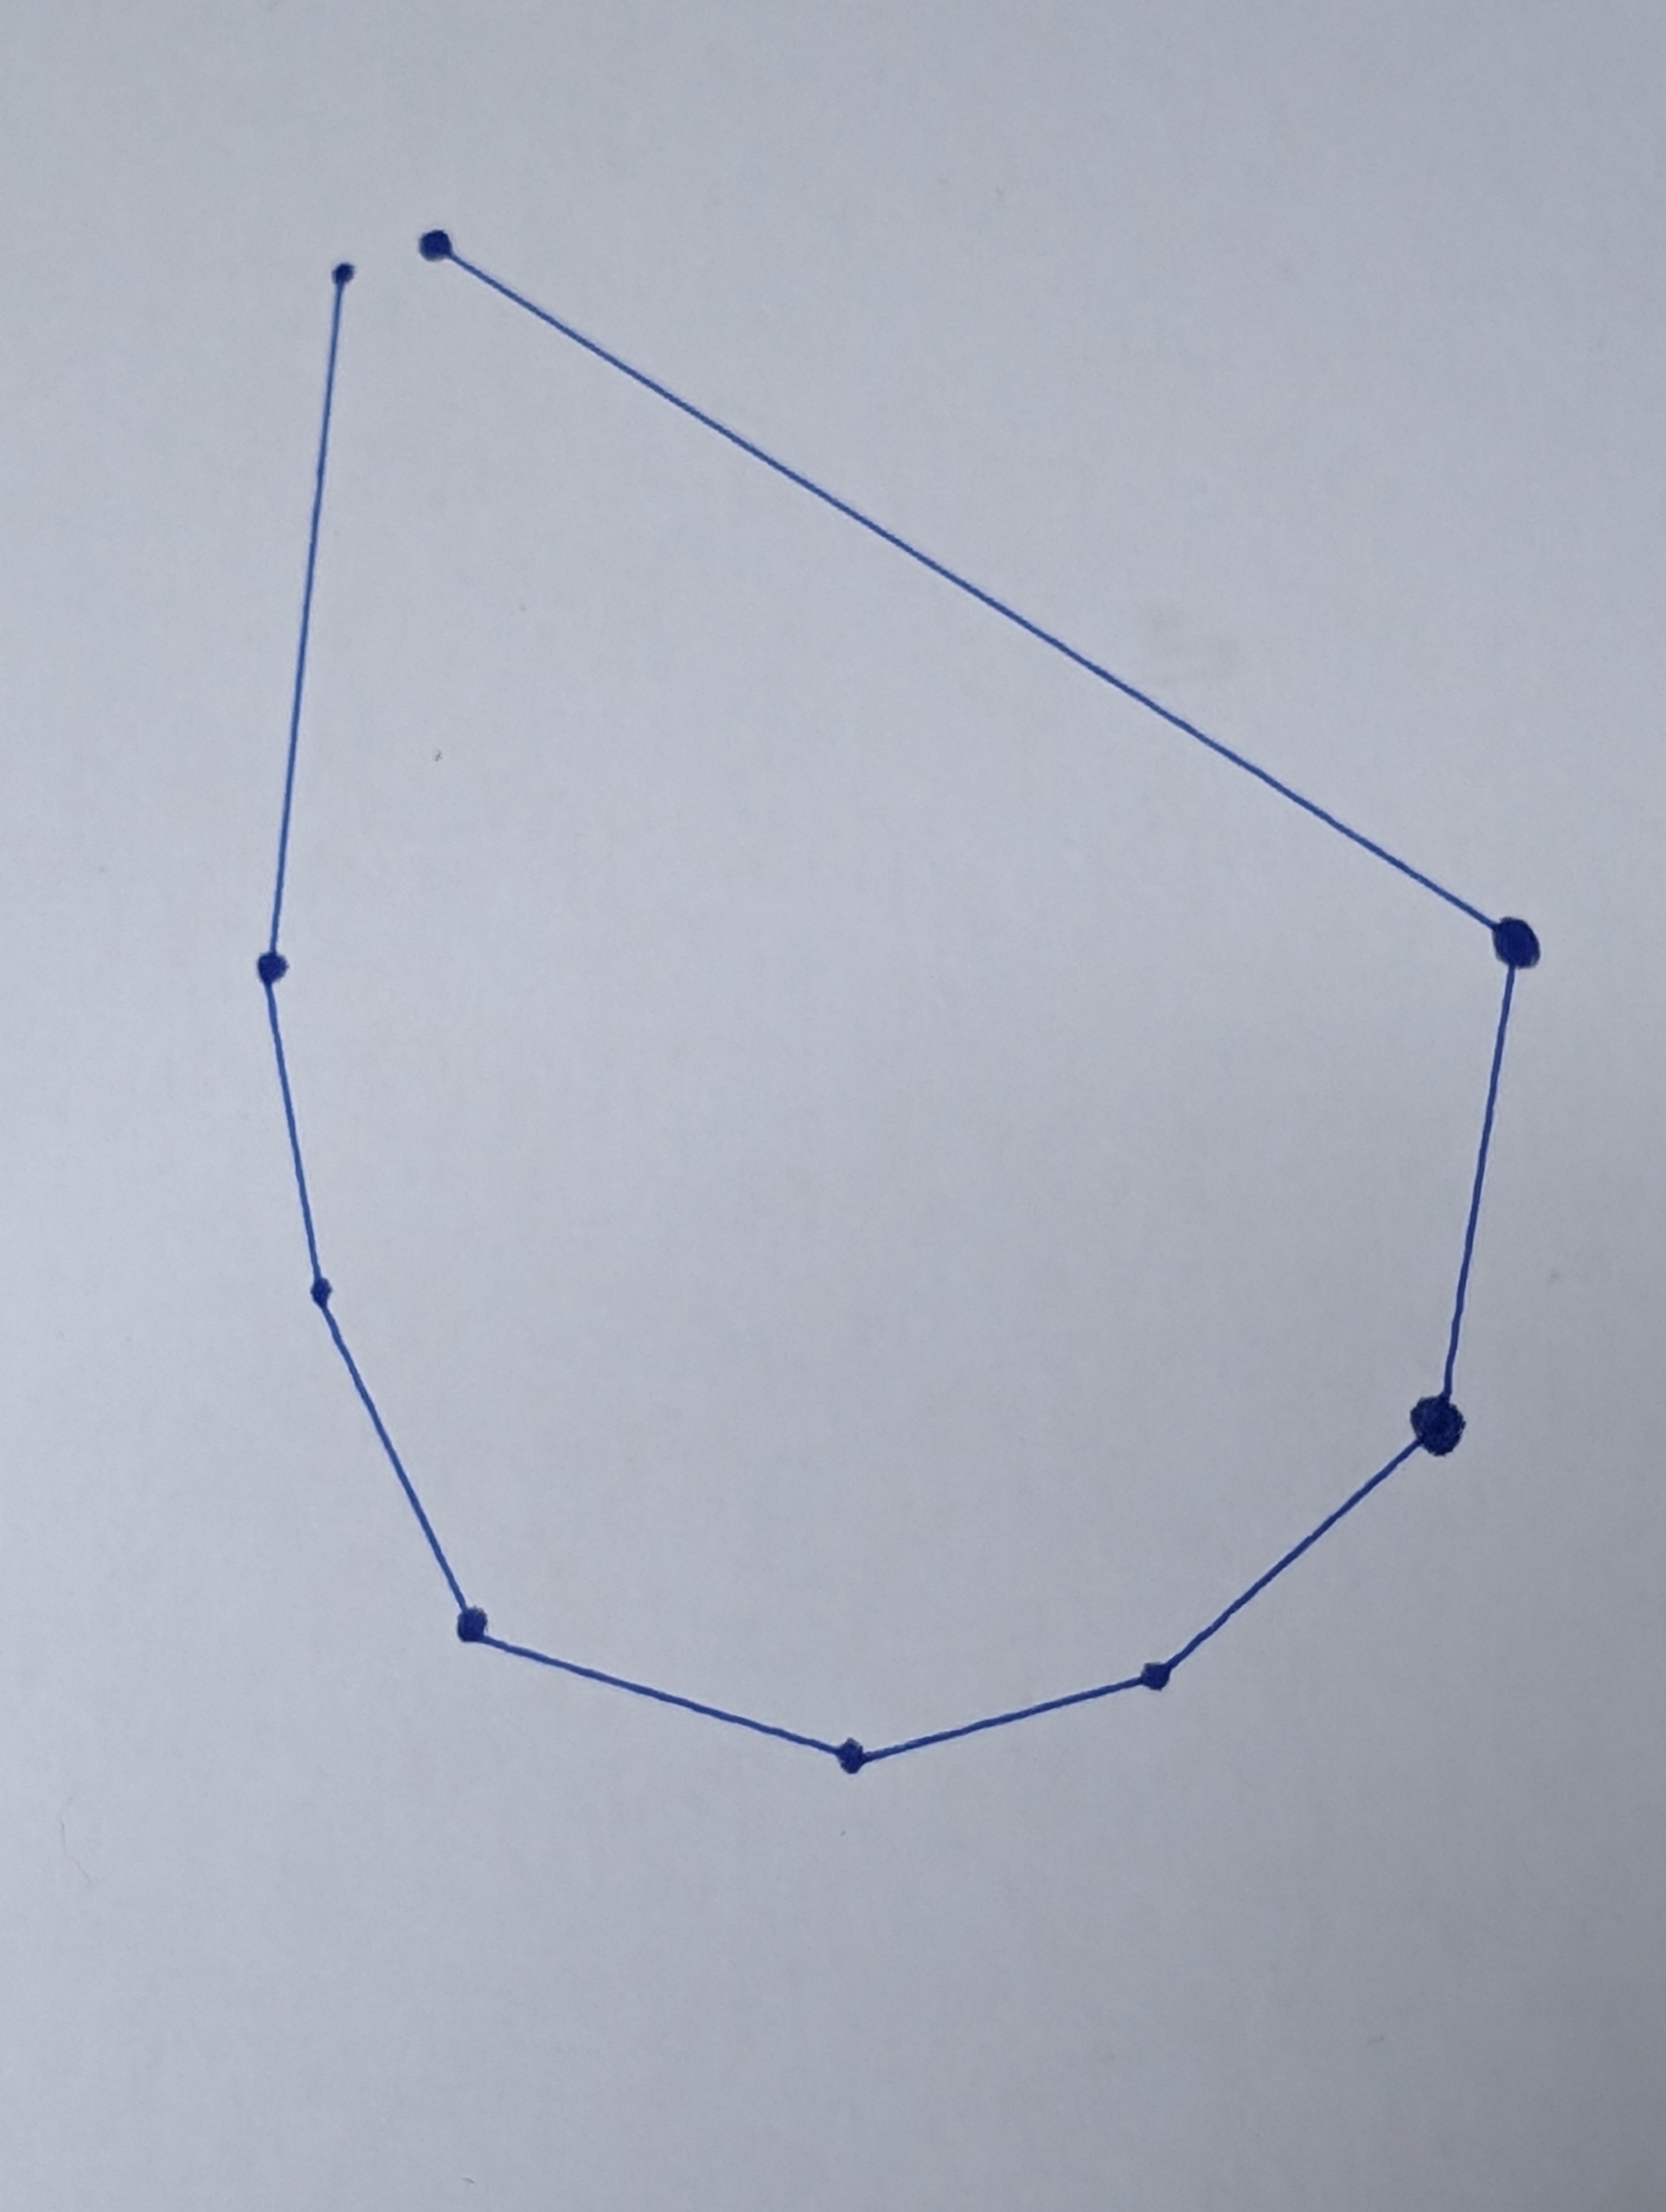
I taped some paper to my desk, put a blue Berol pen inside Tobias, plugged in the controller and gave it a try.
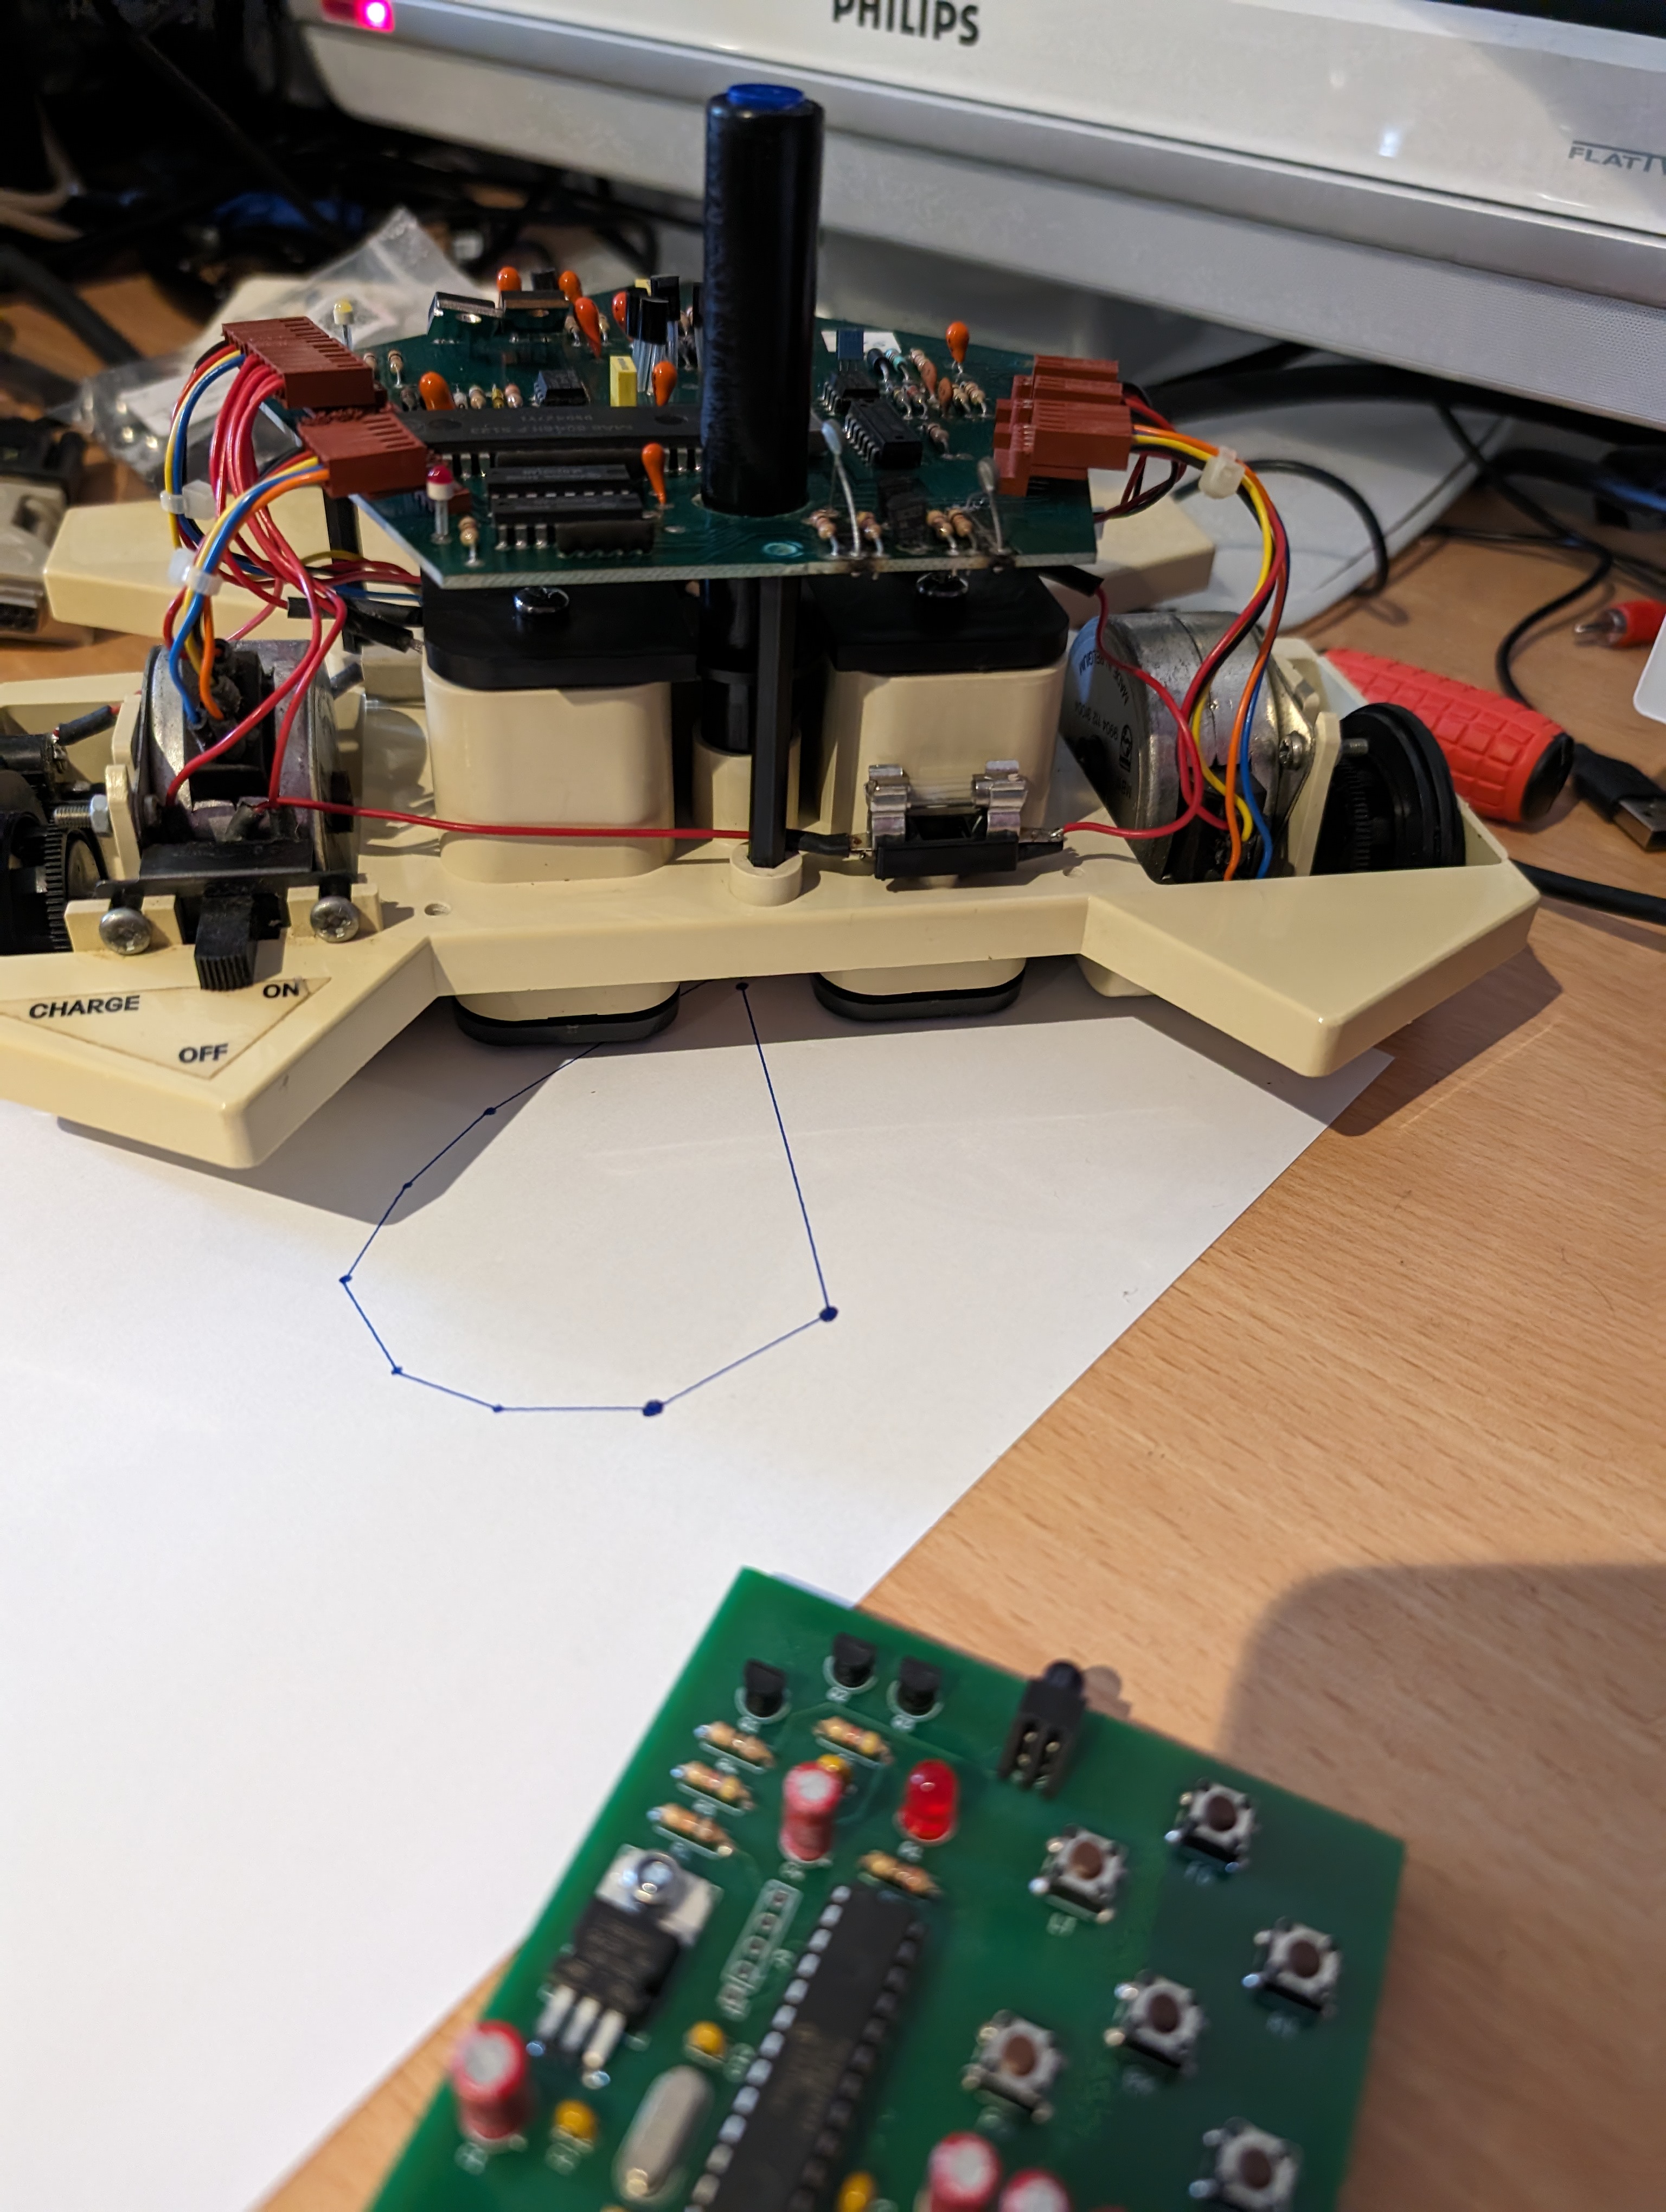
It all works! The object isn’t pretty, but he moves very smoothly. The blobs on the paper are due to the paper blotting the ink when it isn’t moving. I’ll have to find some better paper to try this out later. But every movement control and pen control worked perfectly.
What’s Next
Well, he is fully functional, so now I need to install the software onto a BBC computer and give it a try. I also want to design a 3D printed box for the controller. Once I have everything hooked up, and I’ve found some paper that doesn’t blot the ink so much, I’ll record a video of him in use.
With that, I’ll leave you with the assembled Tobias with his eyes glowing, ready to roll!

Leave a Reply