At the end of part 1 I had a lot of cleaning to do and a failed PSU. So I’ve been working on those things over the past few days, here is my progress.
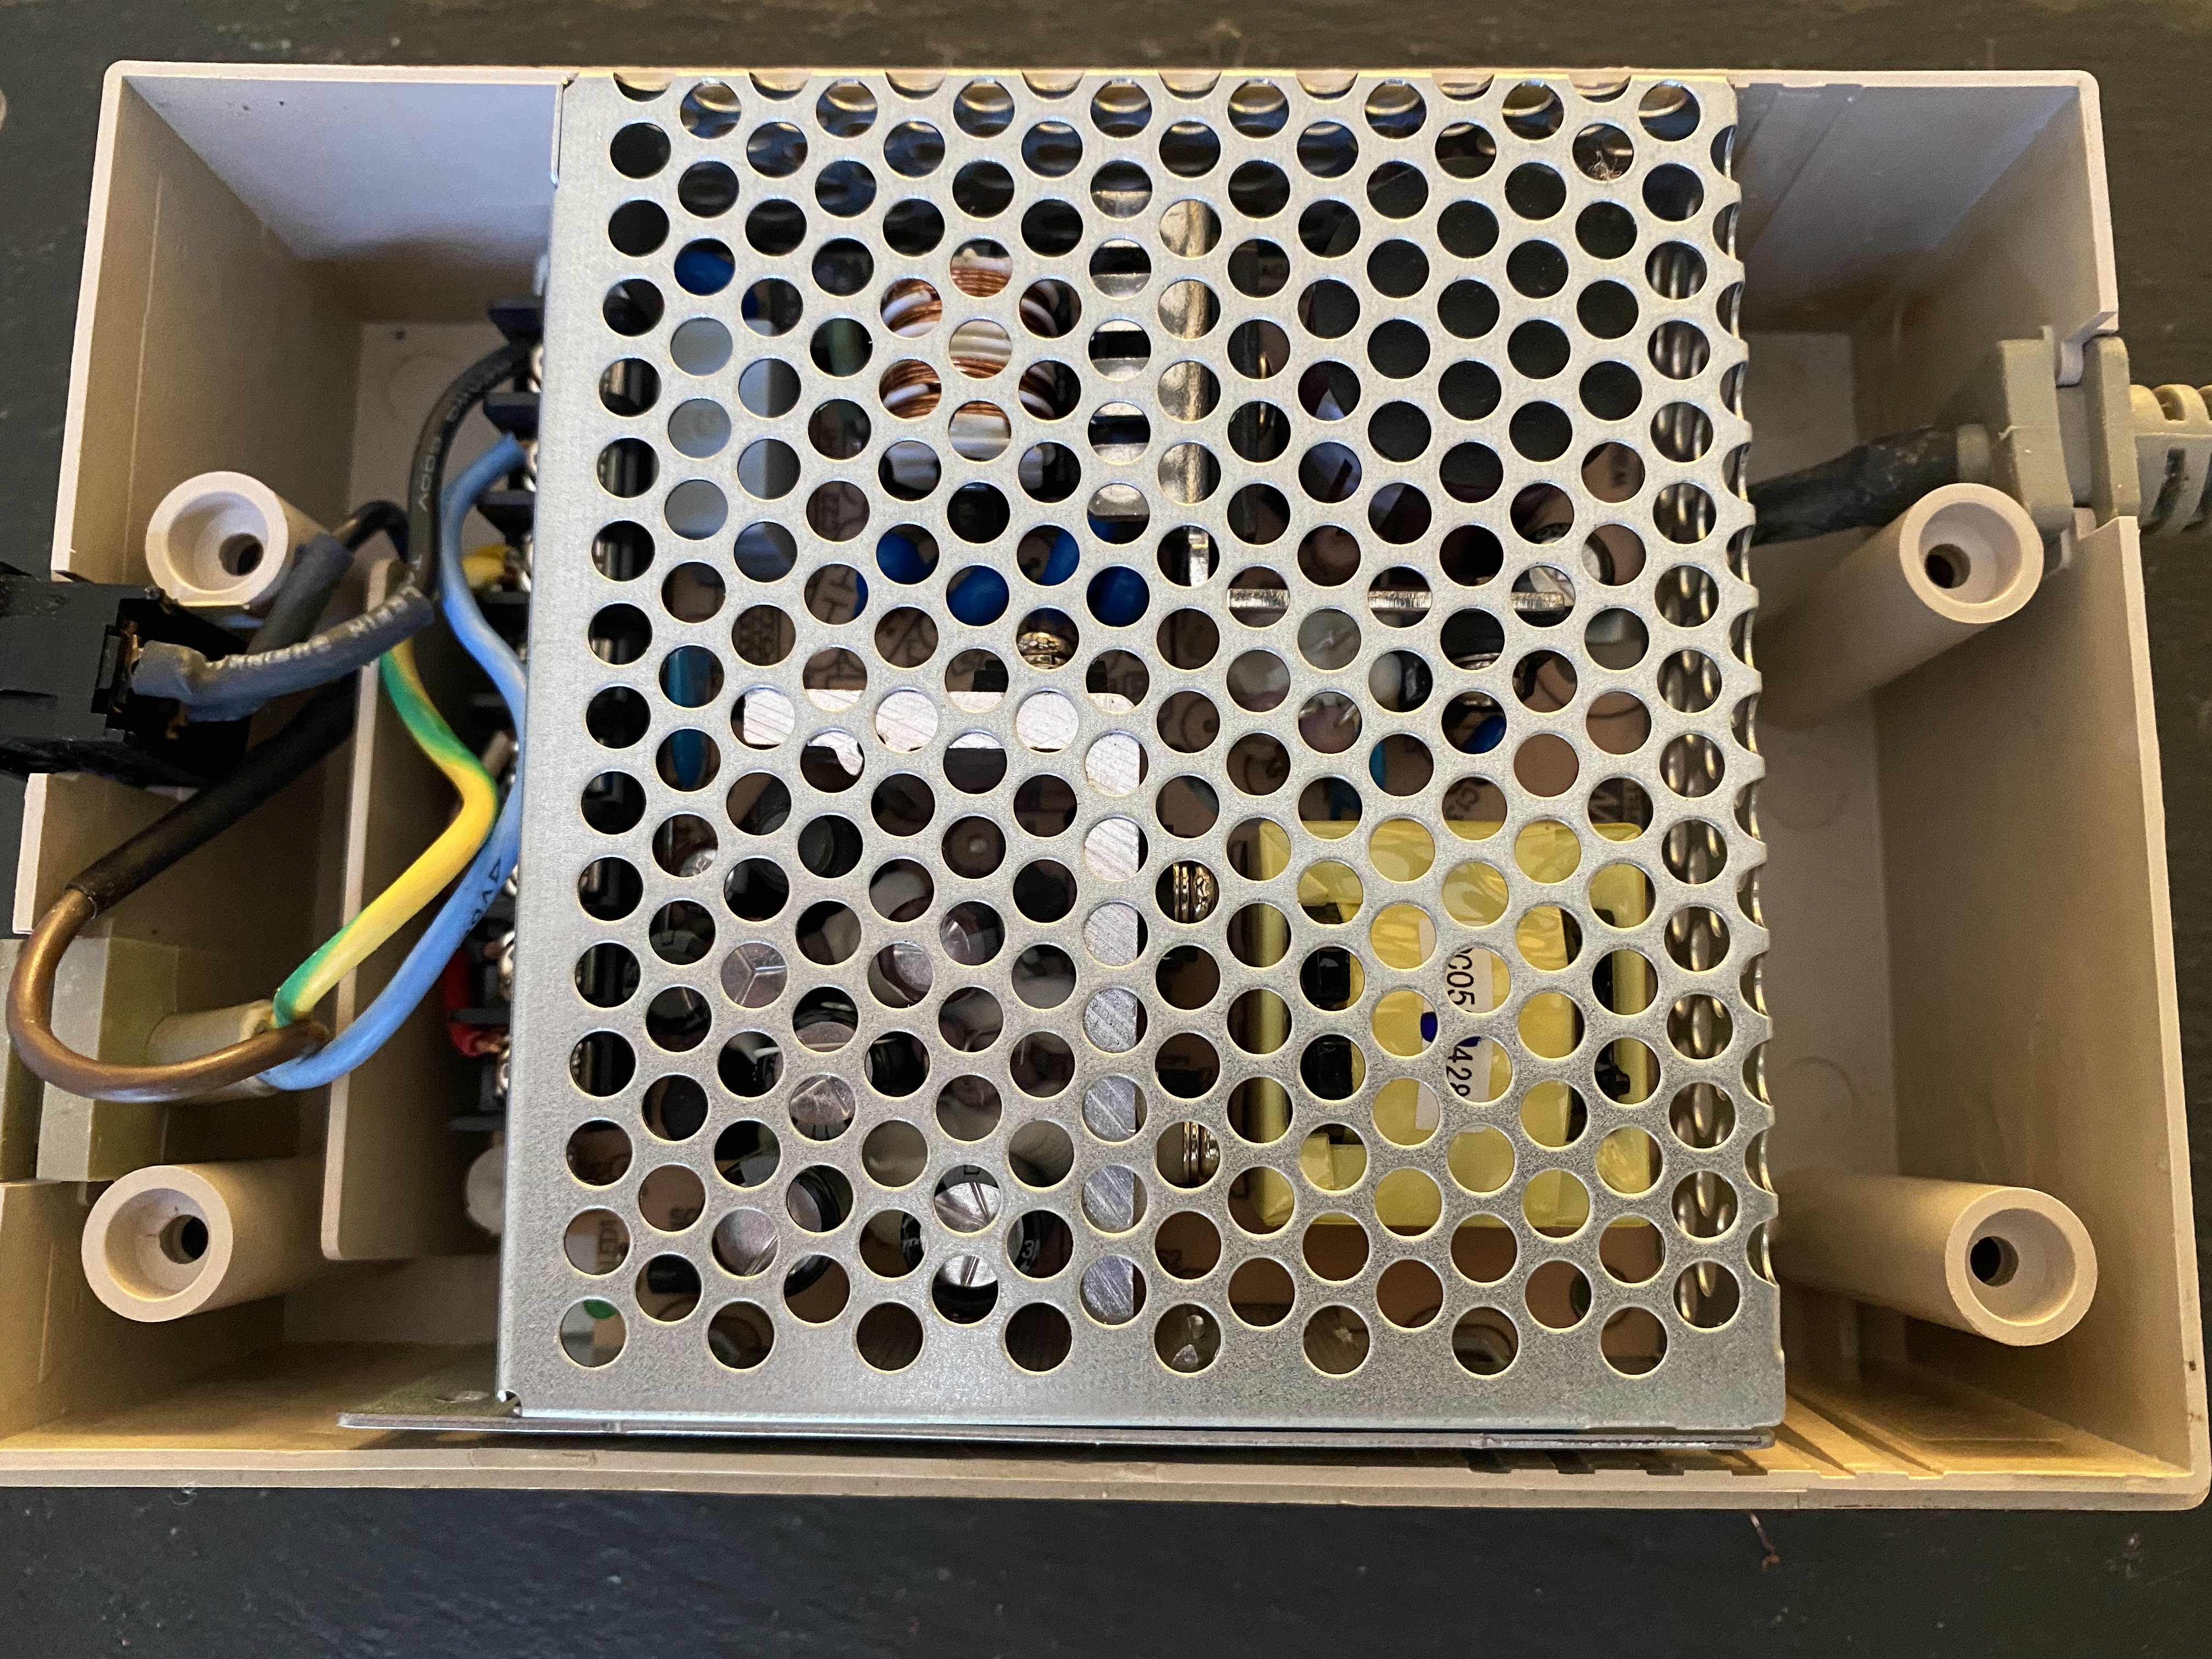
So, first the PSU. Regardless of what failed here I suspect more things would fail. So I decided to look for a compatible PSU board that would fit inside the Amiga PSU case. I soon found the Mean Well RT-50B, it provides the +5v, +12v and -12v that the Amiga requires at the correct currents and it is small enough to fit inside the PSU case. More importantly it uses good quality components as should last a few more decades.
I basically cut the cables off the old PSU board, joined the power switch to the live wire, stripped the ends of the cables and screwed them to the terminals of the new board. The Amiga connector wire colours and pinouts can be found here.

So, with this wired up I figured I would use it to power up the Amiga board to see what I had here. I knew there was corrosion on a pull down resistor for RGB output but the black and white composite should be fine, so this was used first.

Bingo! We have a power up, the floppy drive is also making the right noises. I don’t have any floppies to use in it right now, but I do have a Gotek drive which emulates a floppy drive using a USB.

I hooked this up, booted the “flashfloppy” boot loader which brings up a menu to select which disk to use. This is where I hit problems. The keyboard doesn’t function so I cannot select anything.
I have also cleaned up and replaced R402 and the RGB output now appears to work fine (at least for the insert workbench screen). Not perfect but I’m getting a better PCB cleaner soon which should completely remove the remaining corrosion.

As far as functionality goes we have hit a roadblock, in part 3 I’ll cover the keyboard repair steps.
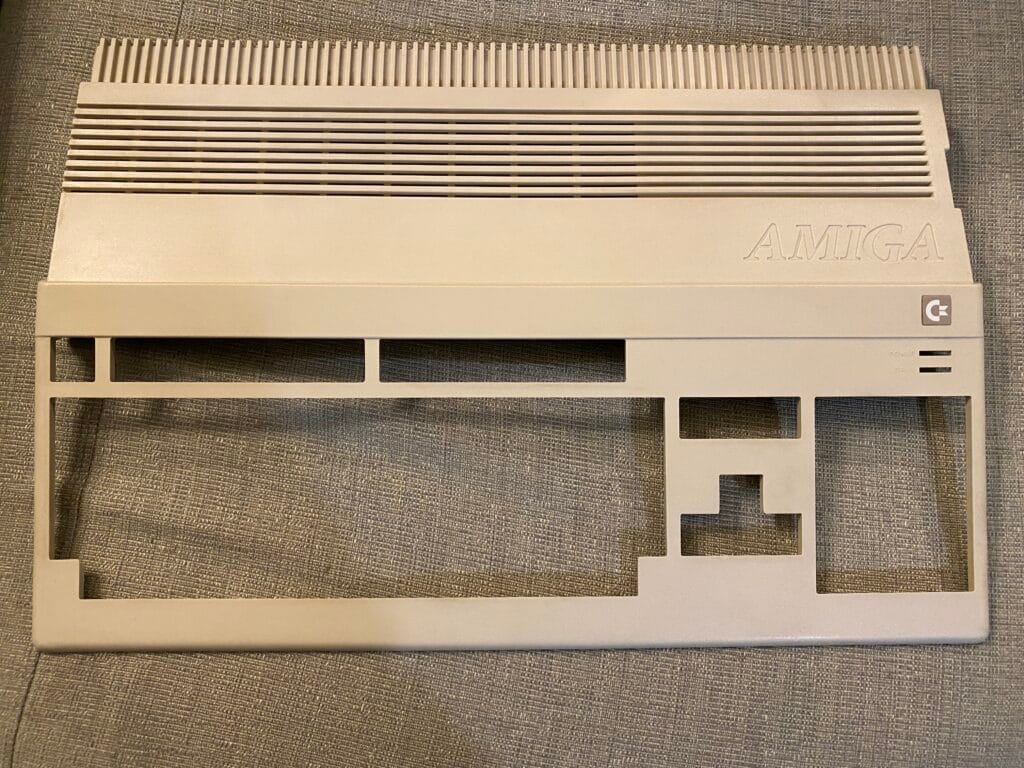
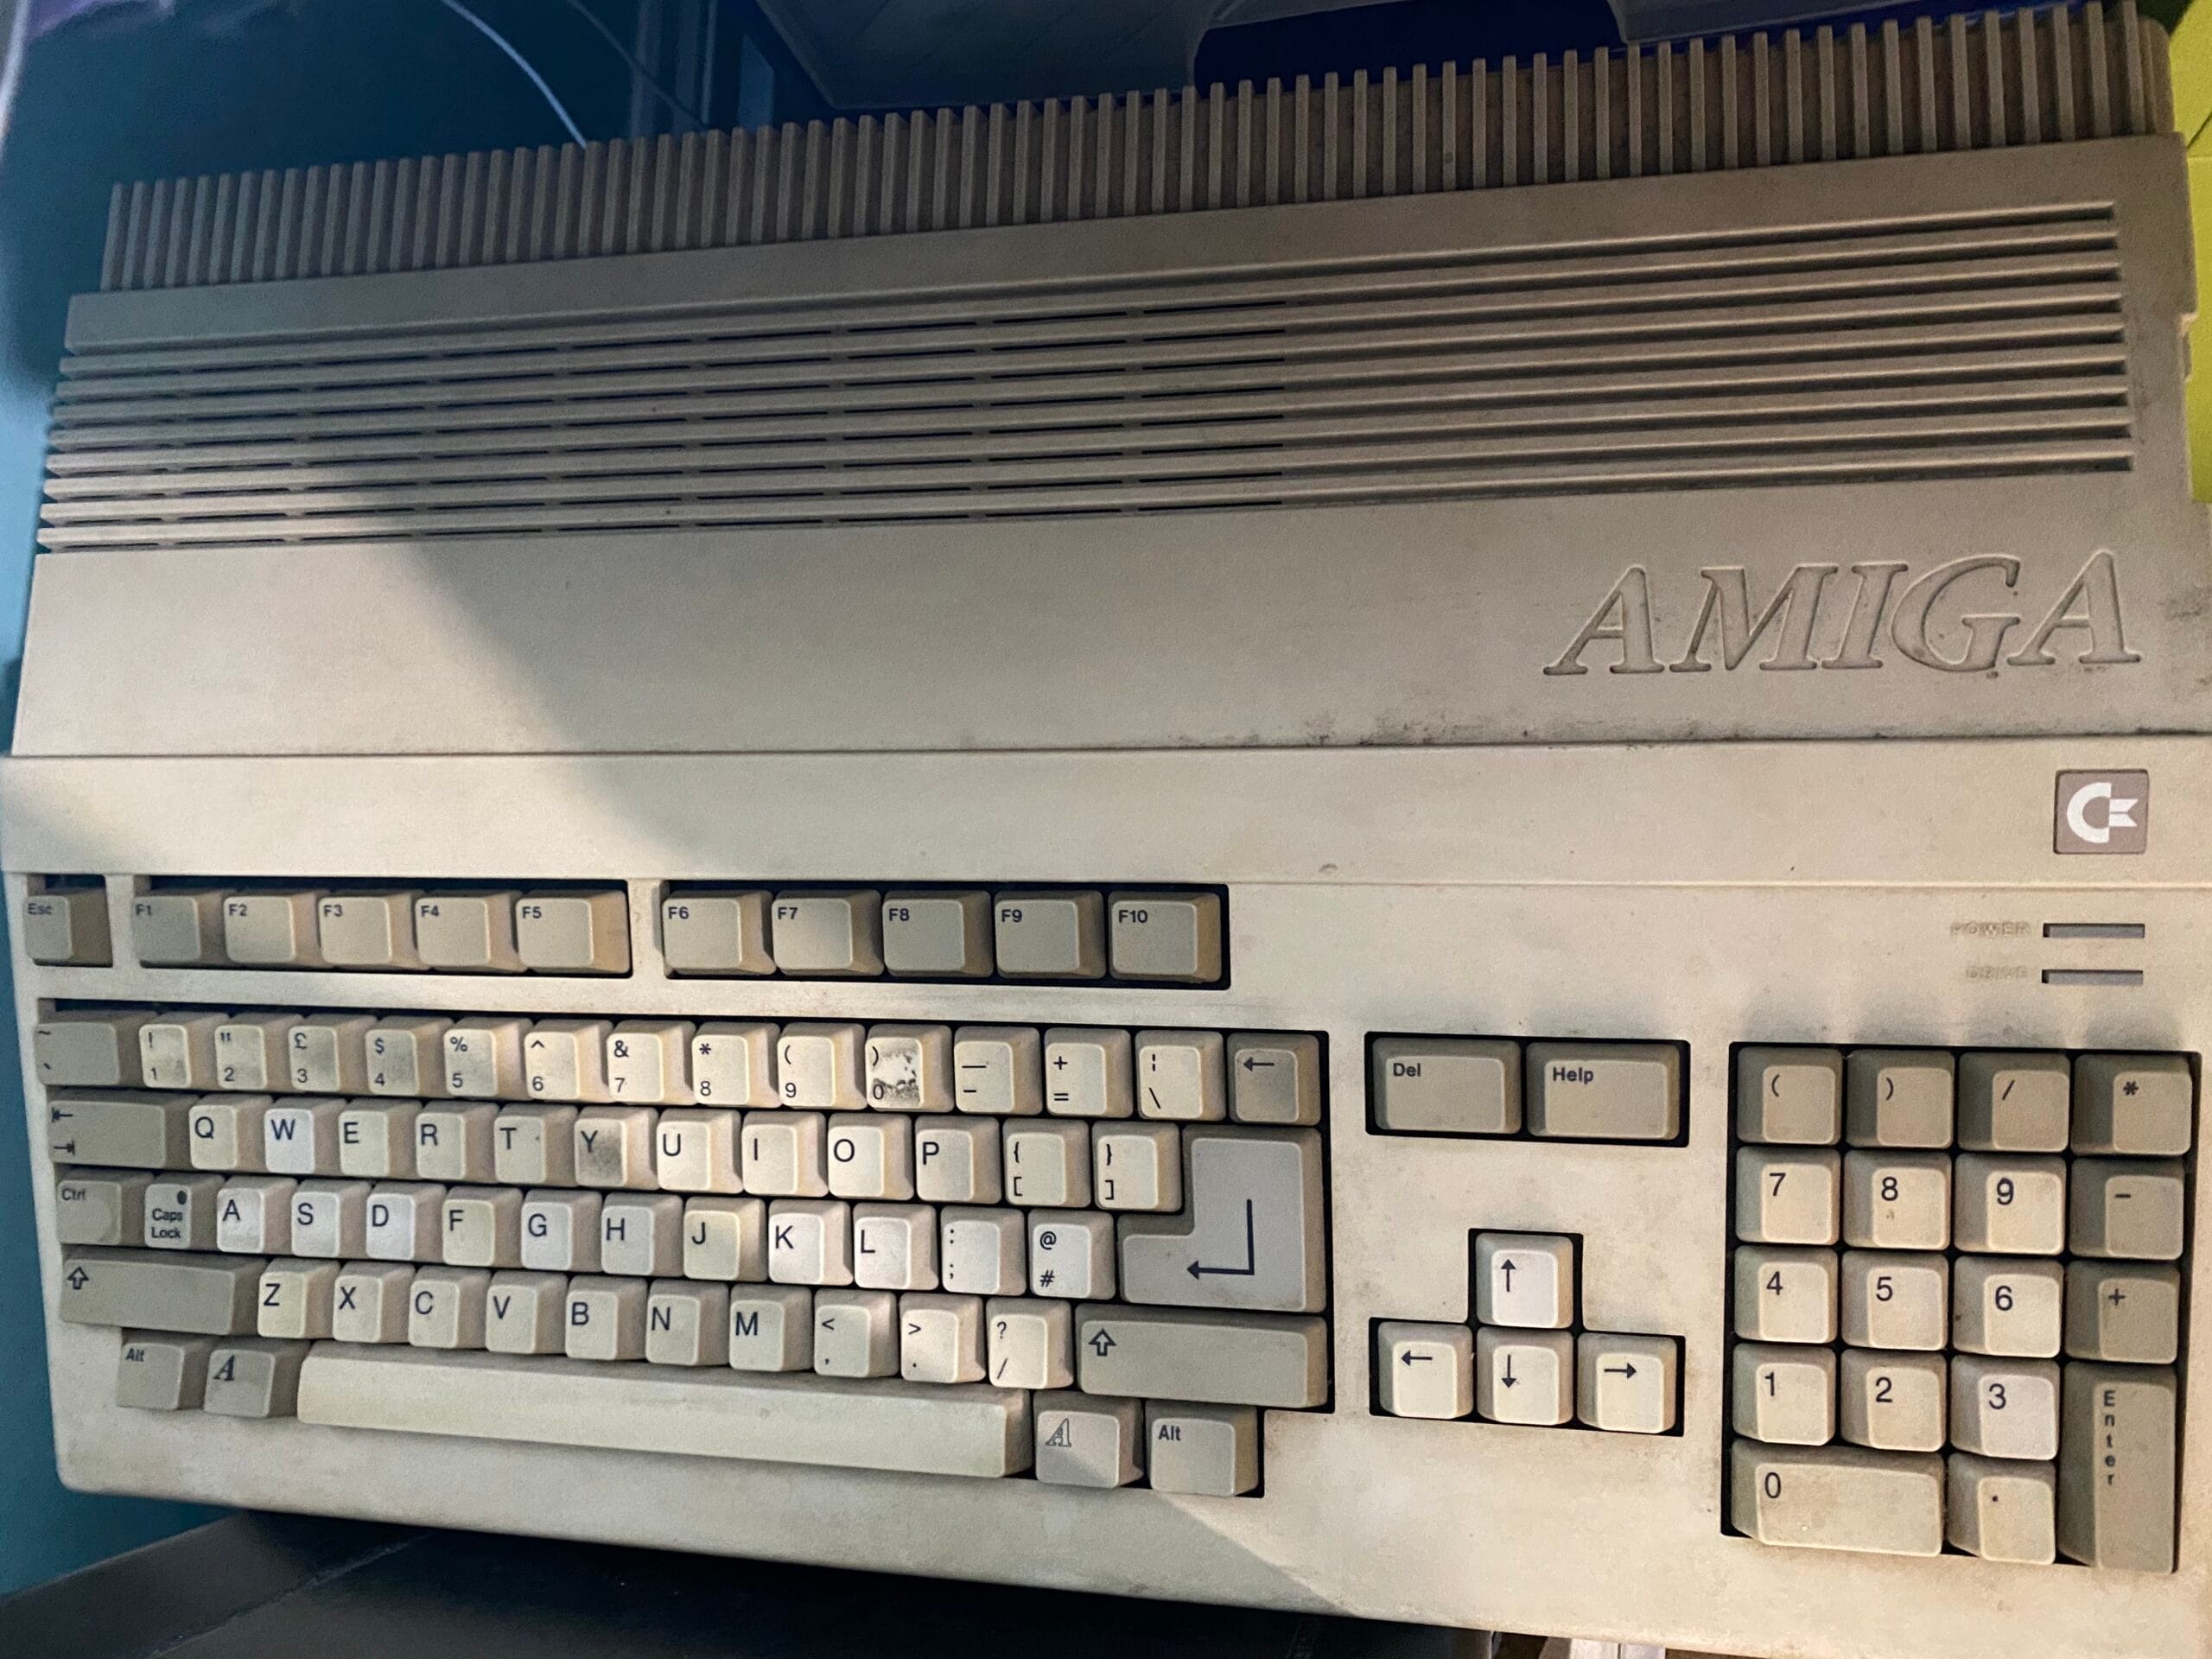
Next the cleanup. Using some soapy water I cleaned all the plastic parts, including the keys. This made a massive difference, it looks years younger.


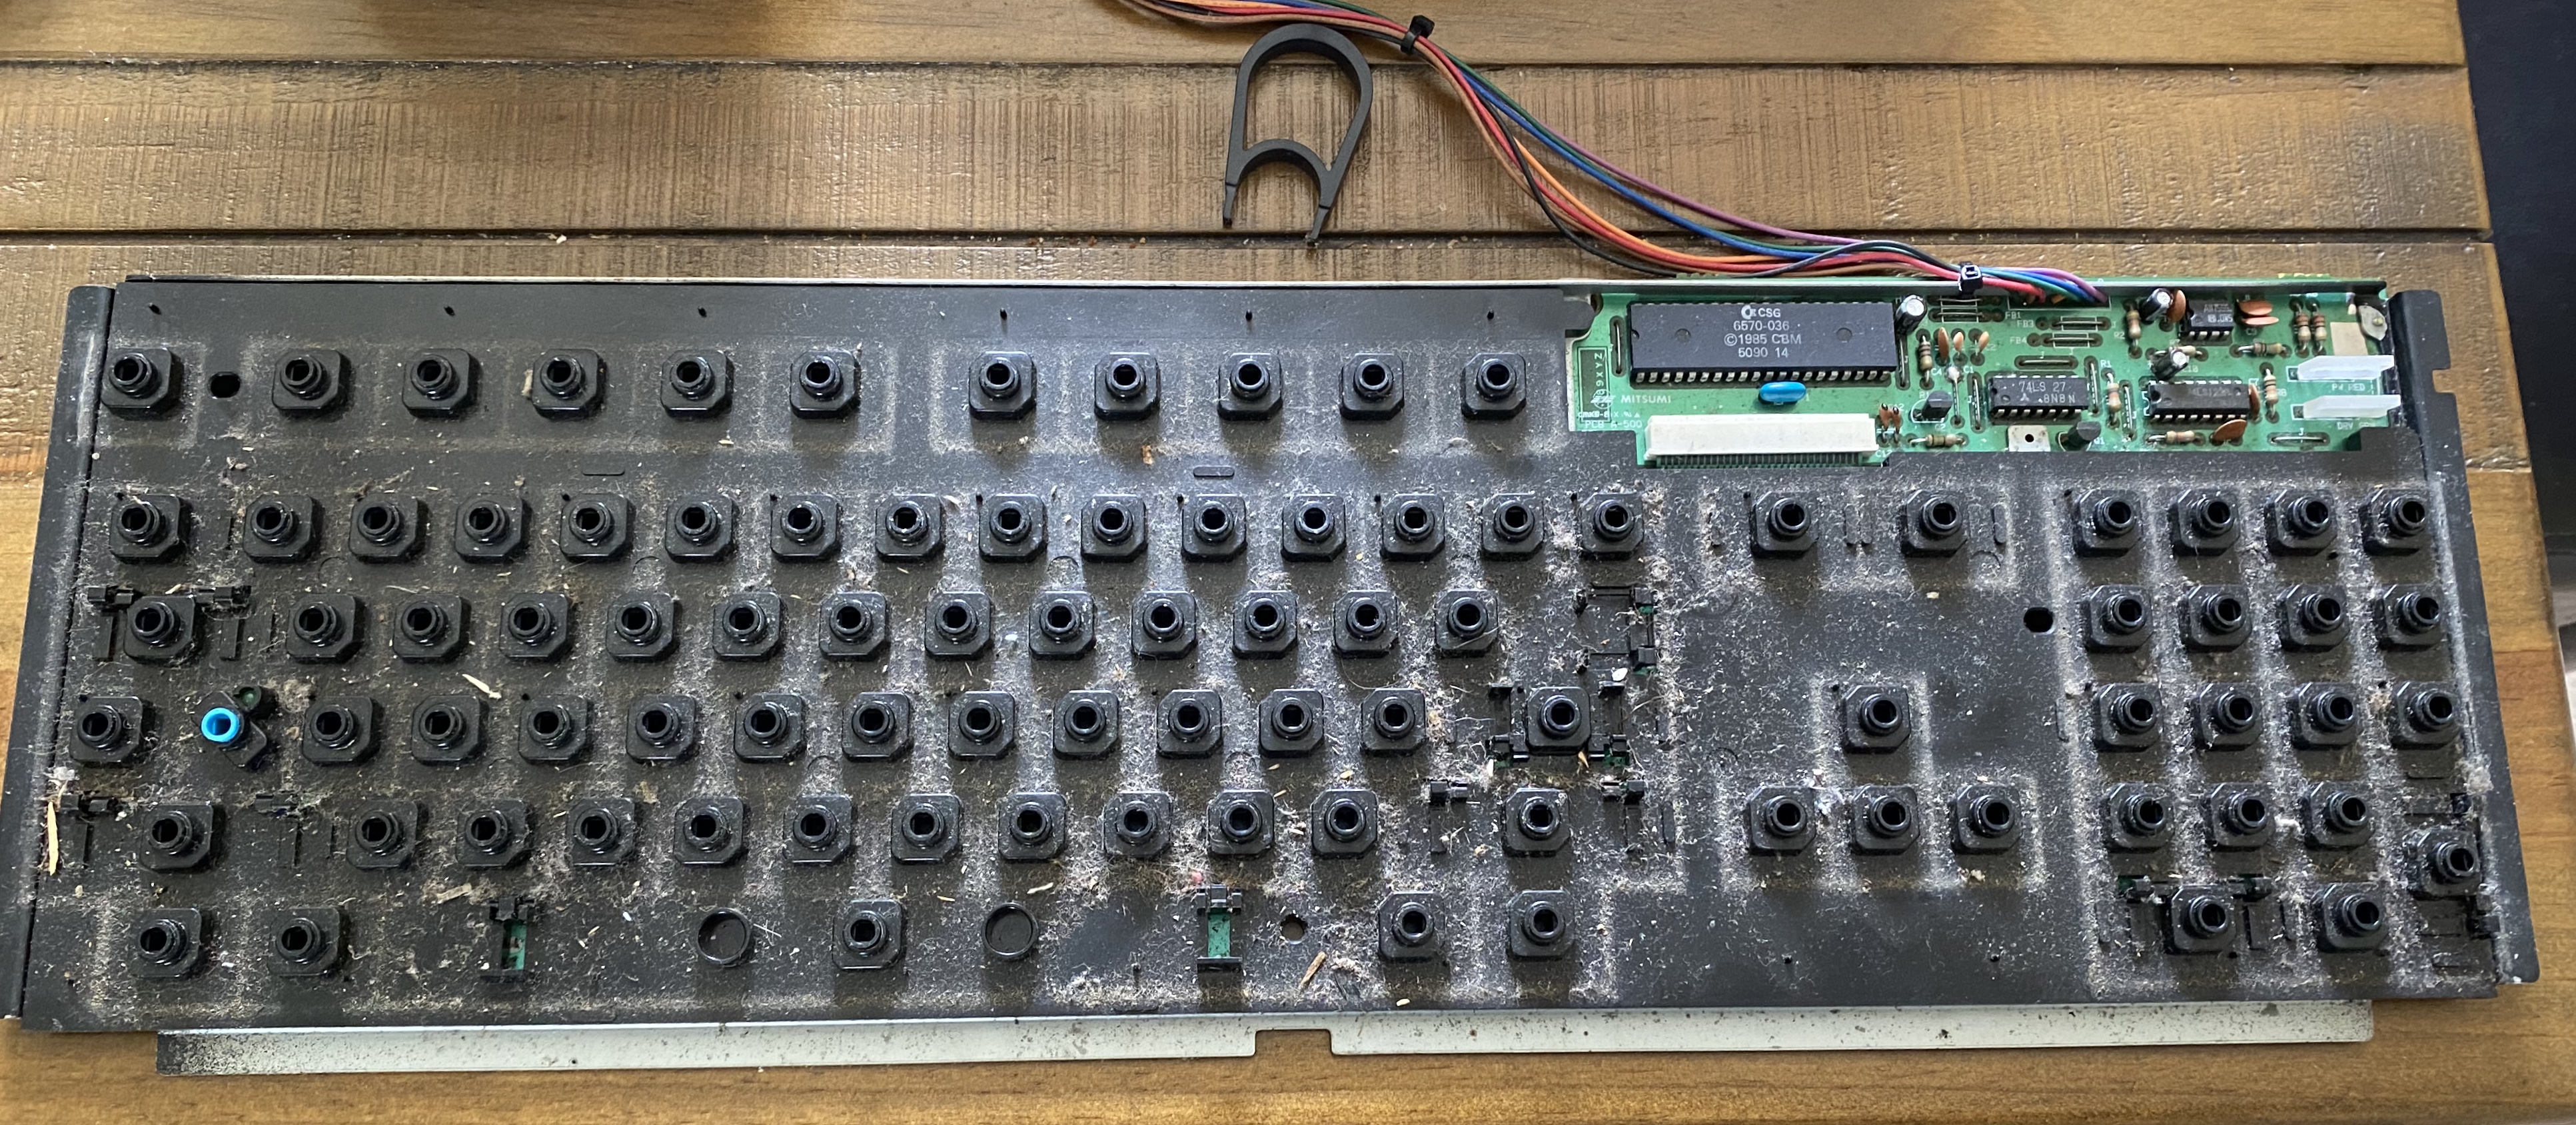
Underneath the keys, lets just say it wasn’t pretty…

Some compressed air, a light scrubbing with a toothbrush and a cleanup with isopropyl alcohol later and it looked a whole lot better.
So… I’m left with cleaning a few more things, including removing the rest of the corrosion and fixing the keyboard. I may also get another Gotek drive just for this machine. Watch this space!


Leave a Reply